
Project Management
Our first FabAcademy assignment is to build the website for our documentation. It should include an about page, final project first sketch page and documentation of first week's work.
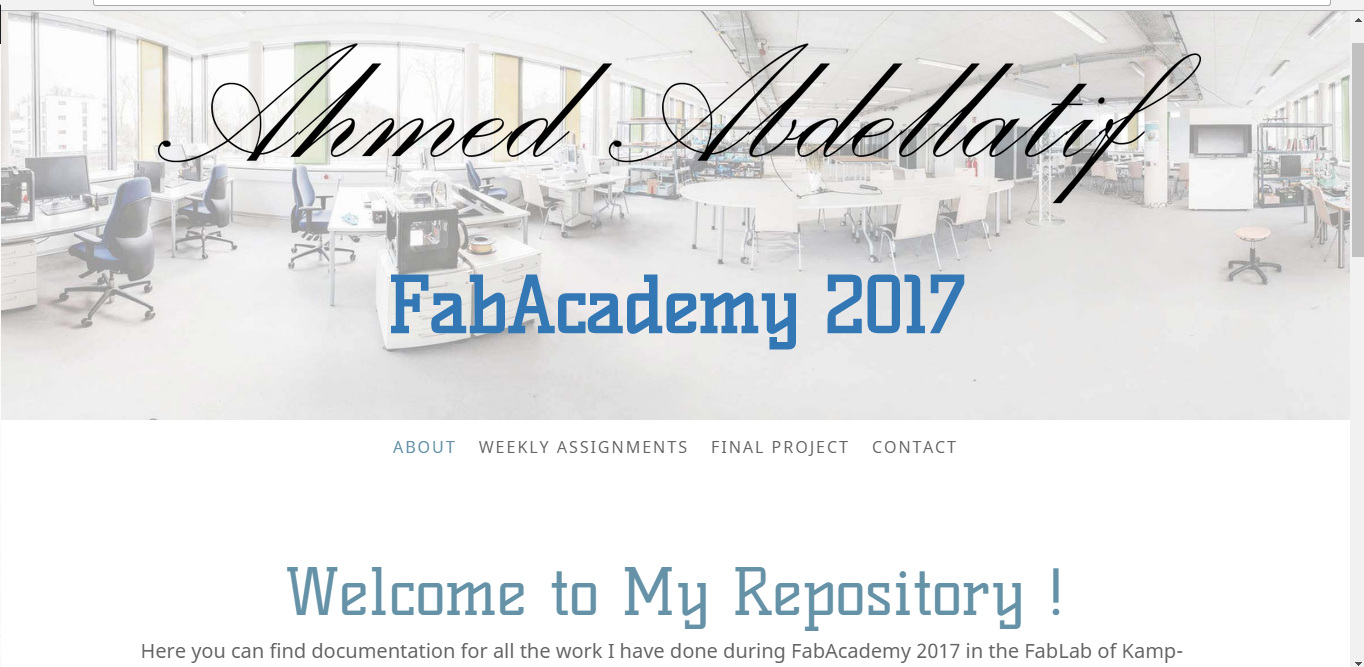
Here is the link for about page
And here is the link for final project first sketch page
The slides I am using in this documentaion were part of the material of Fundamentals of digital fabrication course by Daniele Ingrassia that took place in FabLab Kamp-Lintfort.

GIT Repository

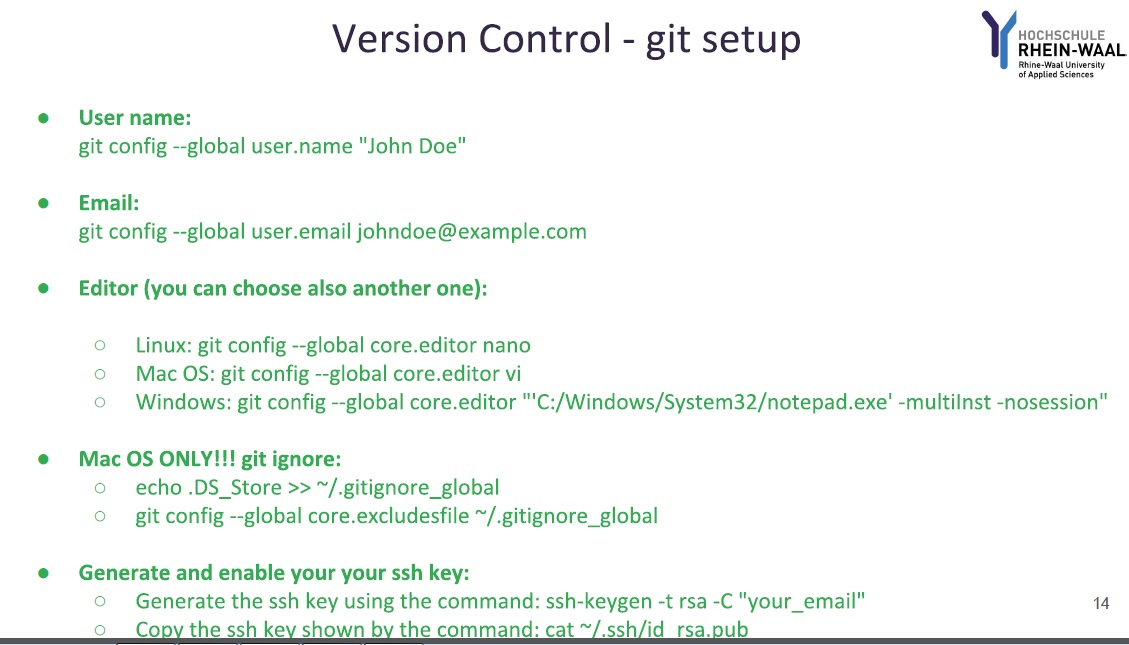
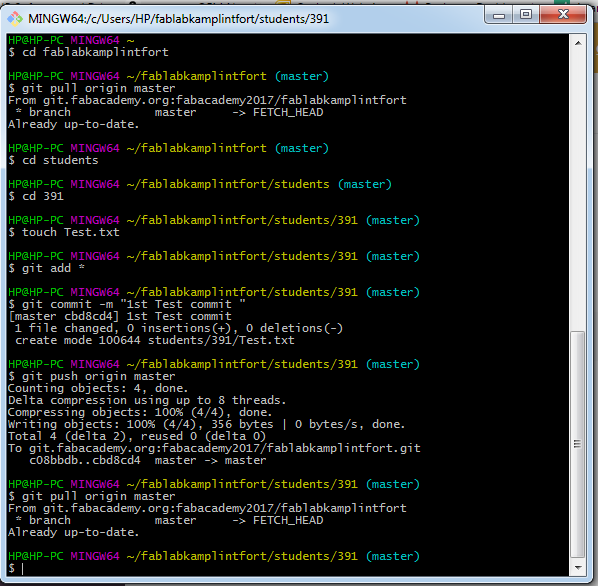
-Open GIT bash and follow instructions in the pics keeping in mind that you will need to change parts of the commands for examle the user name this should be your user name and the email too.

GIT commands
- cd To access folder through path
- ls To view eveything in current folder
- pwd To know your current path
- cd .. To go back
- clear To clear the screen
- ls -l To show information about files in the index and the working tree
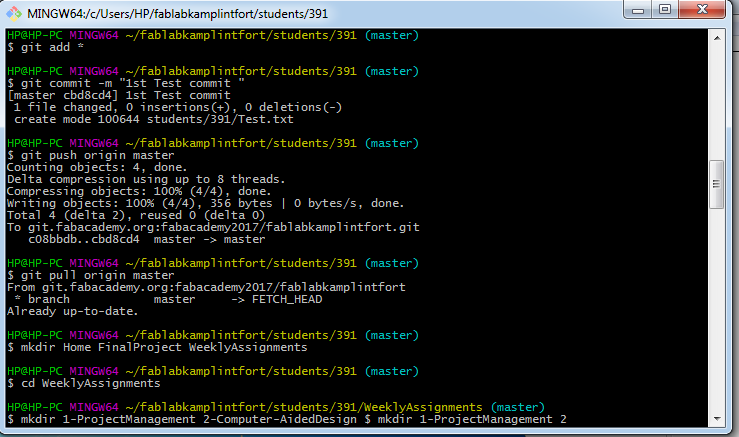
- mkdir To make a new folder
- touch To make a new text file
- mv To move or rename a file or a directory
- cp To copy a file or a directory
- git-rm Remove files from the working tree and from the index
- git status To show the working tree status
- git add -A To add all file contents to the index
- git commit -m "test commit" To record changes to the repository
- git push origin master To update remote refs along with associated objects
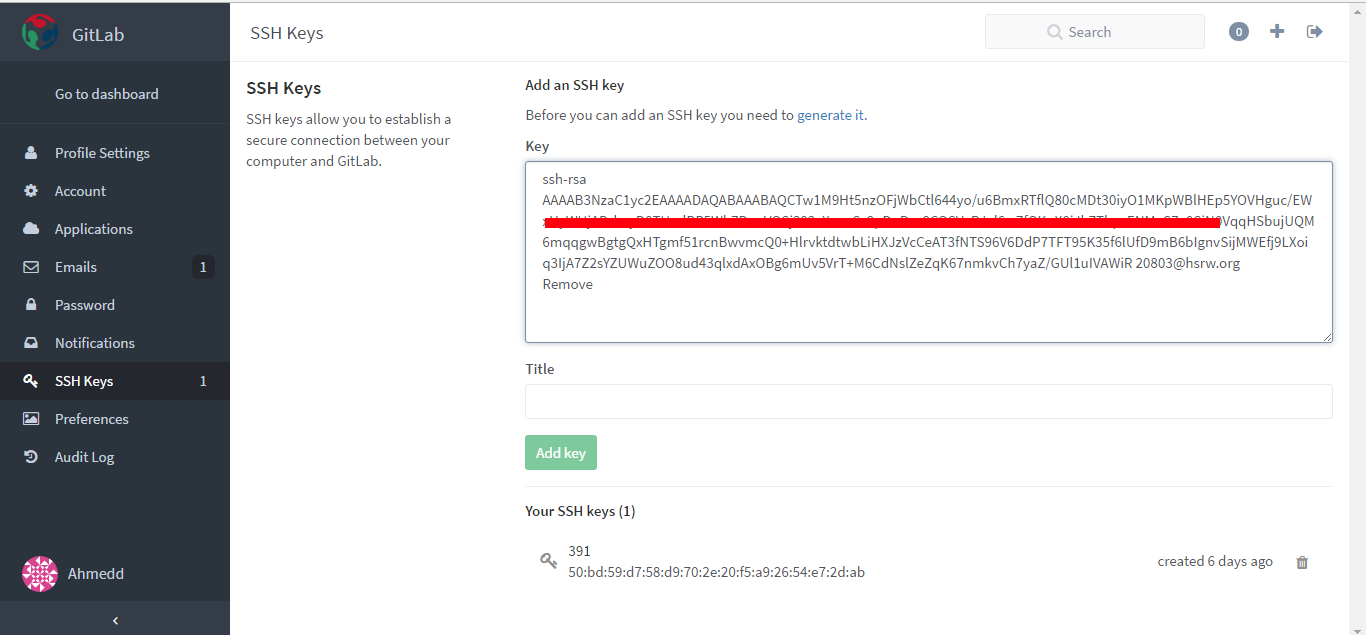
First I created the SSH key using
ssh-keygen -t rsa -C "My_email"
Then I copied the SSH key generated using
cat ~/.ssh/id_rsa.pub

Then I pasted the SSH key to the git repository
-
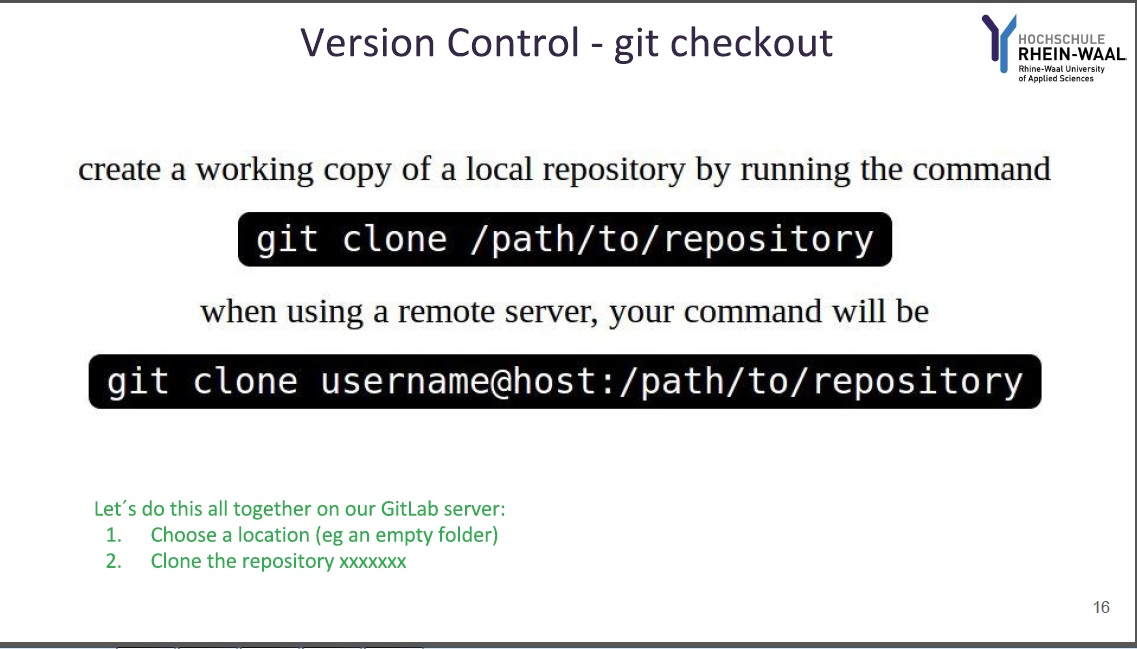
I then cloned the repository using
git pull origin master
-
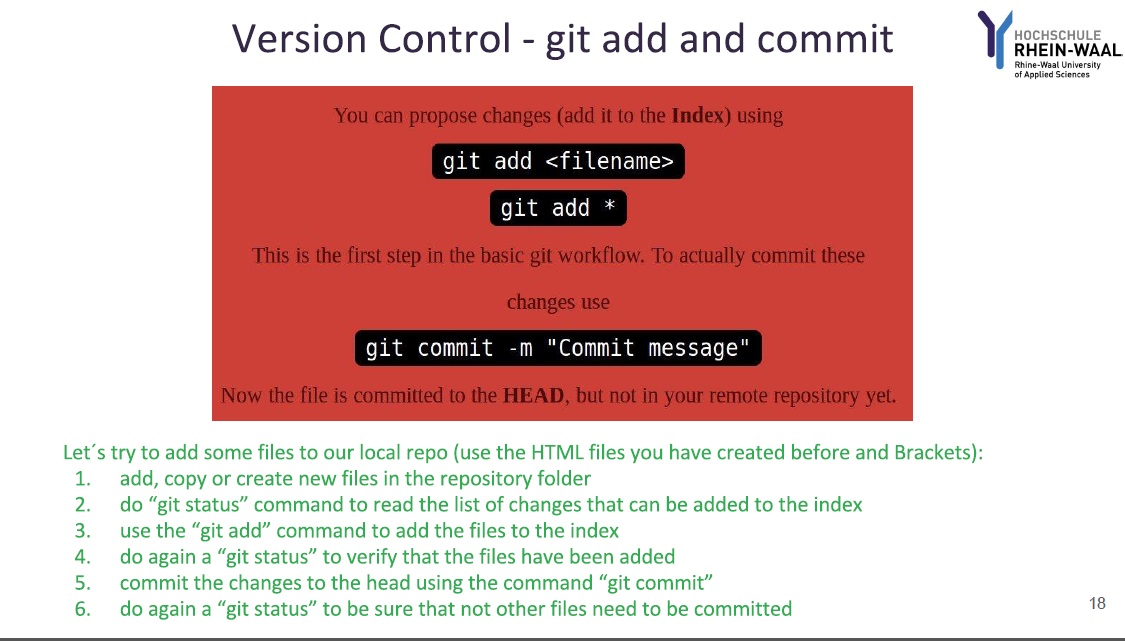
I created a text file in my folder and pushed as a test
git add *
git commit -m "1st Test commit"
git push origin master
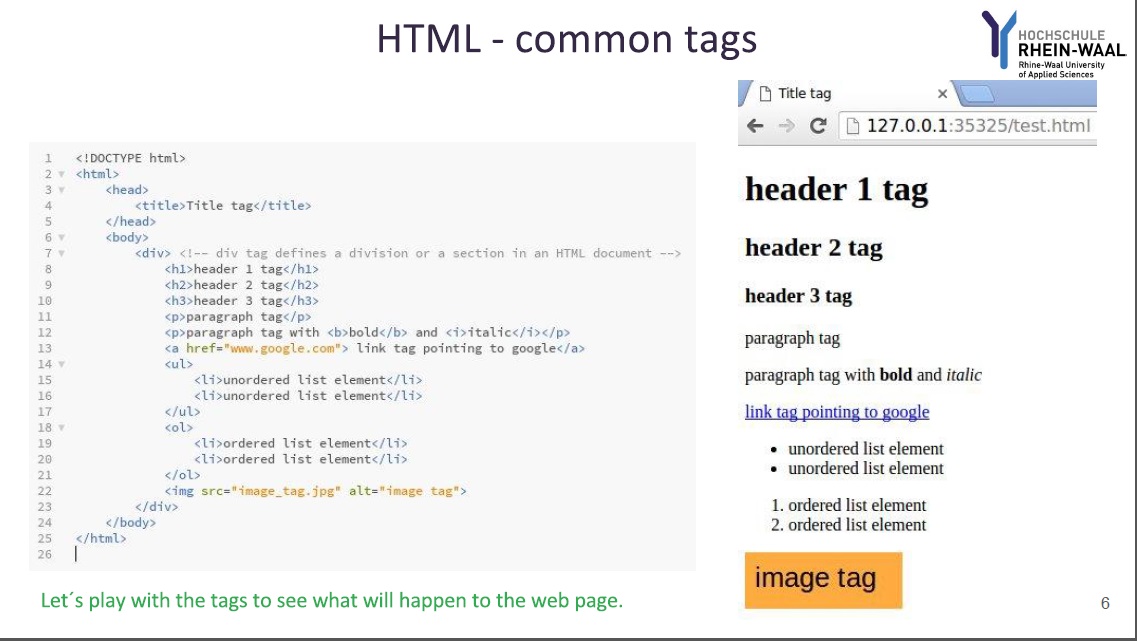
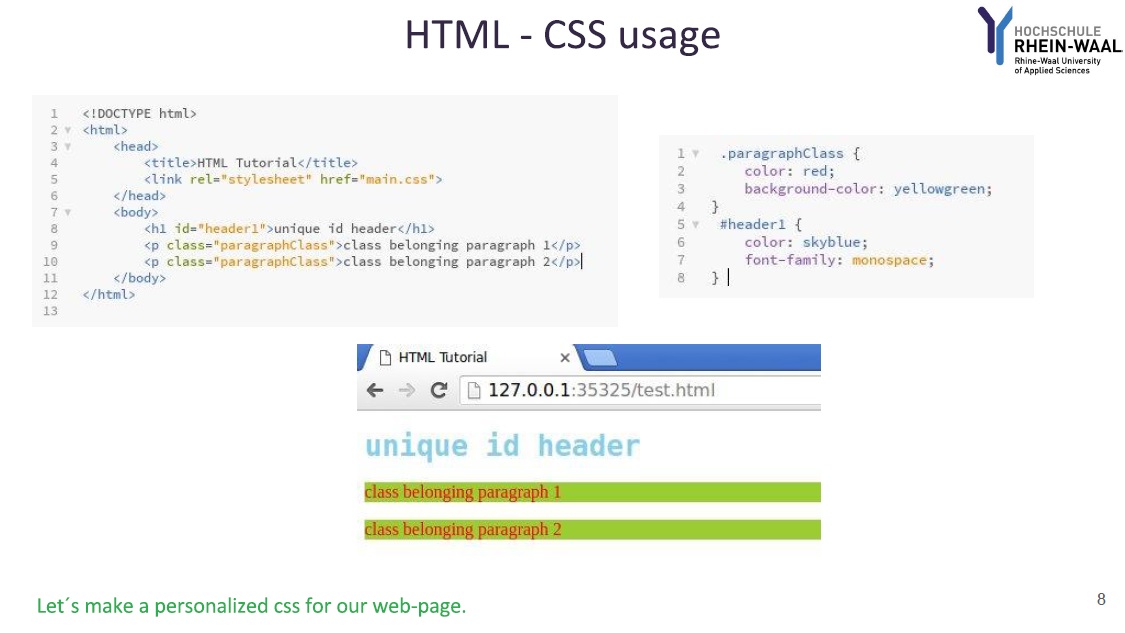
HTML
I will be using Brackets as an html editor throughout this course as we are supposed to document everything we do in this website.
I started building the website by using a free platform to create my own template by adding elements that I think I will need to an empty template. The reason why I did this is that I didn't want to start from scratch but also I wanted my website to be as much as personalised as possible
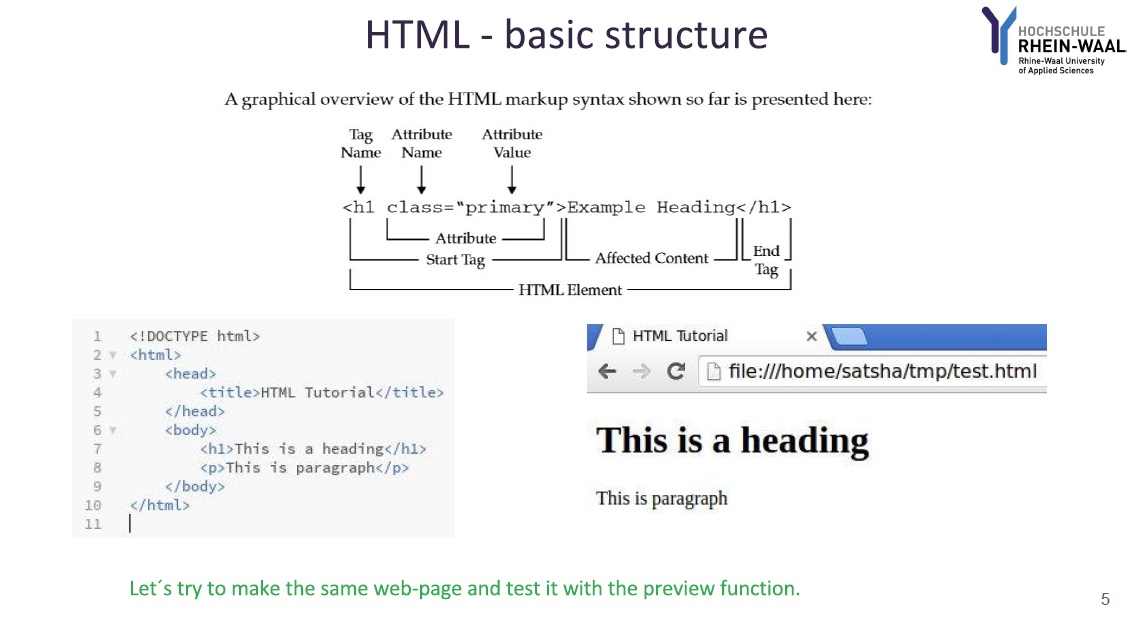
<!DOCTYPE html>
<html>
<head>
<title>Test Page</title>
</head>
<body>
</body>
</html>
<!DOCTYPE html>
<html>
<head>
<title>Test Page</title>
</head>
<body>

<h1>Heading</h1>
<p>Paragraph.</p>

</body>
</html>
<center> <img src="media/html4.jpg" alt="Mountain View" style="width:860px;height:502px;"></center>

<!DOCTYPE html>
<html>
<head>
<title>Test Page</title>
</head>
<style>
body{
    background-image: url("Test.gif");
    background-color: #cccccc;
}

</style>
<body>

<h1>Heading</h1>
<p>Paragraph.</p>

</body>
</html> 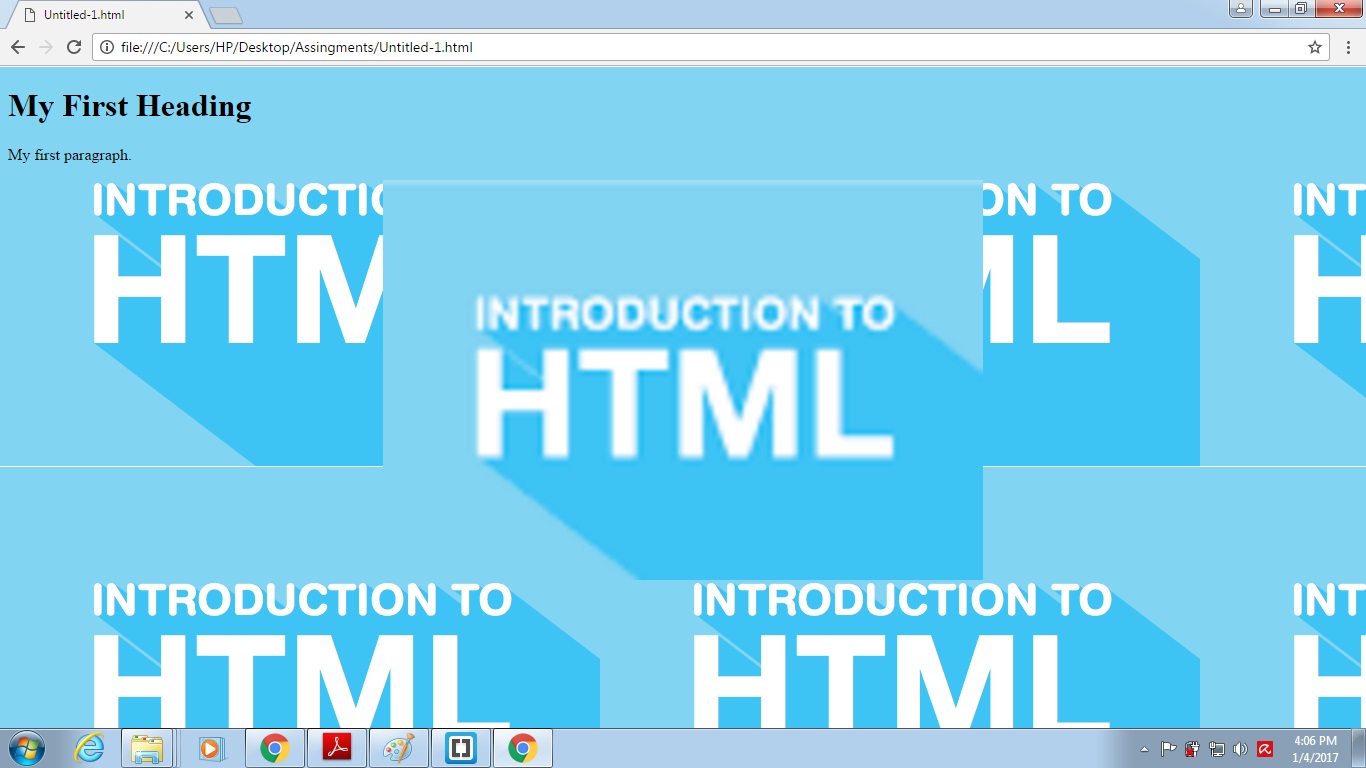

Adding title to the page
<head>
<title>FabAcademy</title>
</head>
Adding favicon to the page
<head>
<link rel="icon" href="fab.png" type="image/png" sizes="16x16">
</head>
Changing font size
<span style="font-size: 24px;"><strong>Here some of the modifications: </strong><span>