Molding and Casting
Have you:
[ ] Explained how you made your files for machining
[ ] Shown how you made your mould and cast the parts
[ ] Described problems and how you fixed them
[ ] Included your design files and ‘hero shot’ photos of the mould and the final object
I'm FAB Dog
2016 Class Review
Siew Chin Yue, Fab Lab Singapore, was introduced by Steven Lai Keat Chew. She used 123D to make the model of the tooling, then 3D printed. Neil reminded her that the goal of the assignment was to make the tooling using three-axis machining. Machineable wax can be used in ways that are different from 3D printed tooling. It allows for better surface finishes. It can be melted down and reused. It can make things larger than the build area of most 3D printers. Siew Chin Yue made a separate box, which Neil added should have been part of the toolpath calculation. She used Easy Mold Silicone Rubber cured in a vacuum gas chamber for over 24 hours. Neil then mentioned Oomoo which is in the recommended fab lab inventory. Oomoo demolds much faster than 24 hours. Oomoo cures at room temperature and can be demolded within an hour under optimal conditions. Siew Chin Yue used an epoxy resin which takes more time to cure. This resulted in Siew's documentation to be incomplete by class time. Steven joined the conversation when asked if the lab had access to Hydrostone or Drystone for casting media. During the discussion, it was mentioned that I or Jean-Michel Molenaar would develop a global supply chain for class materials. We did, for the 2017 cycle, develop class kits. These were adopted at a very low rate, given the coast of shipping, duties, and taxes. A world map of Smooth-On suppliers can be found, here. A map of distributors for USG can be found, here.
Miki Nakazawa, Fab Lab Kyushu (Japan), machined a button. Miki used a 3mm square end mill for rough cutting and a 0.5mm ball end mill for finishing. Rough cutting took only 15 minutes. For the finishing, it took many passes which took hours. Miki used Rhino to model the button, because the program is useful for editing stl files. Miki was not able to finish casting her assignment. For her final project, Miki wanted to develop a puppet that functions as an alarm clock which would also remind a user of appointments. This led Neil to recommend Fiore Basile's digital companion final project. This similar to the toy alligator that I proposed in 2015. Each project would be helpful for me to focus the scope of my resulting final project.
Adriana Cristina Cabrera Galindez, Fab Lab Kamp-Lintfort (Germany), was only able to complete machining the wax and creating the mold with silicone. On her completed page, there were two examples of mold making and casting. One was a washable gyro which was a lilypad sensor embedded in a part cast from Axson UR 3440. Adriana did not originally succeed, instead there was too much air in the mold which resulted in the part not curing. Another example was a kinder egg, the mold was made with an aljinate and cast in chocolate. This cycle was Kamp-Lintfort's first time machining with the MDX-40. Neil suggested designing a continuous lip to constrain a mold for casting.
Fabio Ibarra, Fab Lab TECSUP (Peru), used the ShopBot to 3-axis machine a mold out of wax. He used a 1/8" single flute end mill for rough cutting. He then used a 1/8" ball nose for finishing. Both sides of the mold were machined out of the same block of wax. These were separated by a sheet of paper. After making the old from Oomoo 25, he used three materials to test casting his part: resin, plaster, and hydrostone. The final part was a pipe fitting. At the time of the review, Fabio was taking the course in Lima with the aspiration of opening the first fab lab in Paraguay. This resulted in Fab Lab CIDi.
Mario Fullone, Fab Lab Toscana (Italy), was volunteered by Fiore as an example of a student who achieved metal casting for the week's assignment. Mario started by downloading a model of a dagger from thingiverse. He then imported the model into Rhino to break the part into two halves. Neil commented that Mario's video was good documentation of the week's work. Mario also painted his part that was cast out of resin. To achieve metal casting, Mario melted scrap wax from his first part. Mario then machined a part from the reused wax. He used clay to make the mold and used Zamak as a casting medium.
brushing metallic powder into a mold to "fake" metal casting
Thomas Feminier, WOMA/Volumes (France), who is apparently a fan of Lego, South Park and Philip K. Dick discussed a "fake" metal casting. His part was a Lego figure that incorporated aluminum powder with Parts A and B of the casting medium. Saverio Silli taught WOMA a very cheap method of mold making which involved corn starch and silicone which would normally be used to make joints in bathrooms. You can mix both, and the amount of corn starch affects the time need for the mold to cure. Despite hardening, because the mold is silicone; it remains flexible. Saverio added to think of brushing aluminum powder into the mold like spreading flour onto a cake pan. The powder was primarily added into Part A of the casting medium.
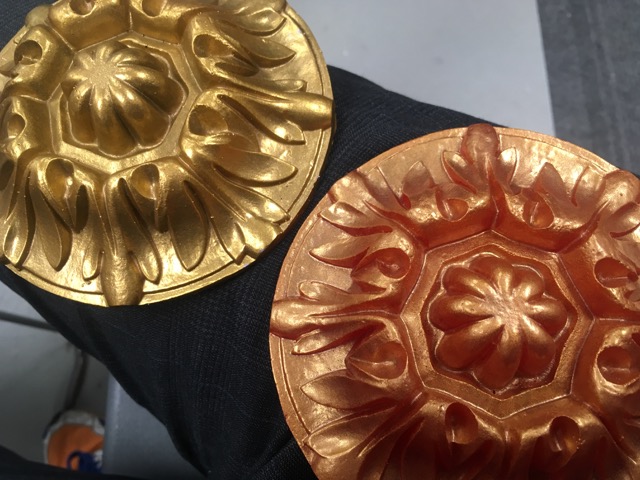
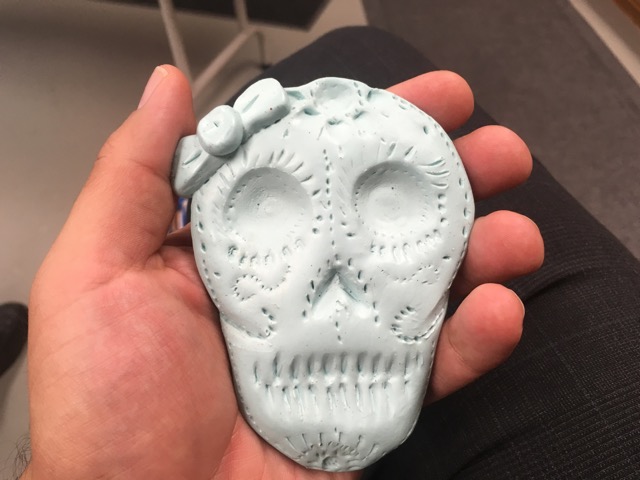
resulting parts
2017 Class Notes
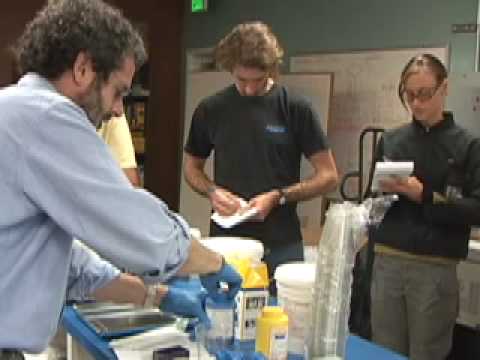
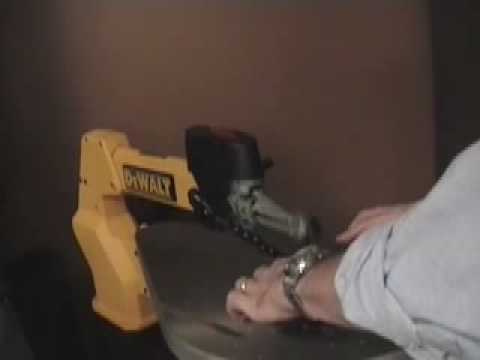 Part 1 of Demo for molding/casting led by Neil Gershenfeld at the Heads on Fire :: Fab Lab in San Diego. We used a DeWalt DW788S 20" Variable Speed Scroll Saw. (filmed by Xavier Leonard)
If 3D printing is over represented in digital fabrictation, molding and casting is under represented. Mold making takes as long as 3D printing. Once done, you are at an advantage by being able to make many parts.
In injection molding, plastic pellets are melted, heated, and then a sprue forces them into a mold. The sprue is where the casting media interfaces with the mold. The runner is how it travels in the mold. The gate is where the media goes into the cavity. Then, in the cavity, the vent is where the air leaves. A parting line is the seam between the faces of the mold. Flashing is any material left in the parting line. A bad mold needs lots of finishing a good mold produces parts that need no post-processing.
 Part 2 of Demo for molding/casting led by Neil Gershenfeld at the Heads on Fire :: Fab Lab in San Diego. We are using a Modela MDX-20 milling machine in the video. (filmed by Xavier Leonard)
Insert molding is where you mold around something. Examples of this are, Alex Schaub's fabfoos or Adriana's washable gyro from the 2016 review.
Vacuum molding is where you heat a piece of plastic and pull it down with a vacuum. That's commonly used for product packaging.
Blow molding is where you heat and inflate media inside of a mold. Applications for this would be how bottles are made.
Rotational molding is where you turn the mold as you are casting to drive the media through the mold.
 Part 3 of Demo for molding/casting led by Neil Gershenfeld at the Heads on Fire :: Fab Lab in San Diego. We used Smooth-On's Mold Making Rubber (PMC-121/30 Dry). (filmed by Xavier Leonard)
Flexible or soft molding is the goal for this week's assignment. We machine a rigid material. Then a mold is made from a flexible material. This is often the first step before conducting injection molding. Mold faces are not limited to two sides.Matt Edwards made a mold with six faces.
 Part 4 of Demo for molding/casting led by Neil Gershenfeld at the Heads on Fire :: Fab Lab in San Diego. (filmed by Xavier Leonard)
Amaco Flexwax Moldmaking Material is flexible at room temperature, reusable, and good for making copies of objects.
 Part 5 of Demo for molding/casting led by Neil Gershenfeld at the Heads on Fire :: Fab Lab in San Diego. (filmed by Xavier Leonard)
Machineable Wax is a rigid material which can be recycled. An example of recycling can be found in Mario Fullone's documentation.
 Part 6 of Demo for molding/casting led by Neil Gershenfeld at the Heads on Fire :: Fab Lab in San Diego. (filmed by Xavier Leonard)
FOAMULAR® 150 Rigid Foam Insulation can be used for architectural molds. The issue with these applications would be sealing the parts. This can be achieved by applying coats of Gesso or melting the foam onto itself.
Lifecasting is achieved by using an aljinate such as Activa's Instamold. This is also good for food safe applications. Sorta Clear is also food safe.
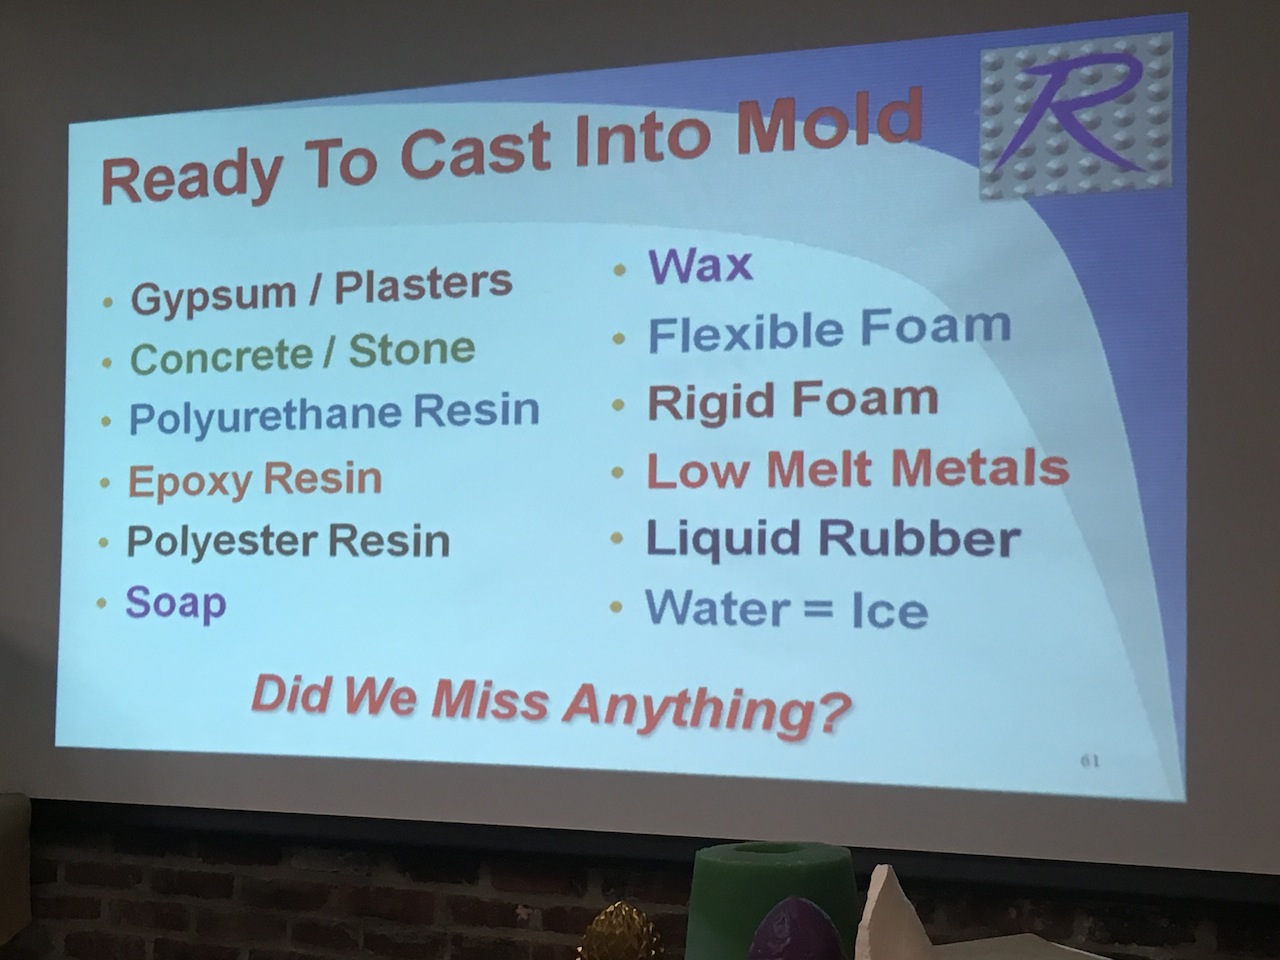
Media for casting
Urethane plastic, such as Smooth Cast 300, is used for casting which is a medium that can be dyed and creates very well finished plastic parts.
Urethane part
Oomoo 25 is a silicone that is not as reusable as urethane, but it is very friendly for beginning mold making.
Drystone and Hydrostone Super X are casting media that are based o calcium compounds that are the basis of plaster. Plaster is granular and brittle. Drystone, for comparison, mixes with a polymer and produces nice plastic parts. Hydrostone Super X is grey and needs time to dry. These media do not need ventilation as opposed to the urethane which does.
Metal casting can be achieved with media such as Zamak described above or with a low melt 281F Bismuth alloy. This alloy is cheap at $15 USD and can be melted in a toaster oven. Jason Wang has an example of making a Fab Academy medallion. Jason read a blacksmith article which led him to use regular baby powder (talc and some perfume) to produce finer detail while casting. Aluminum can be cast using casting clay or sand, but requires a more foundry setting than a fab lab.
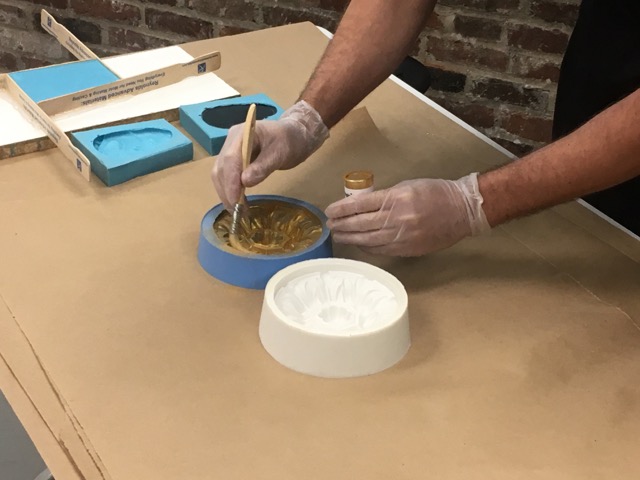
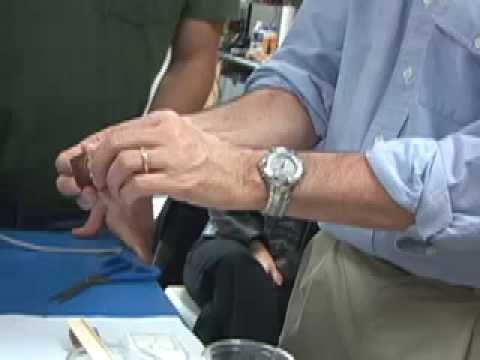
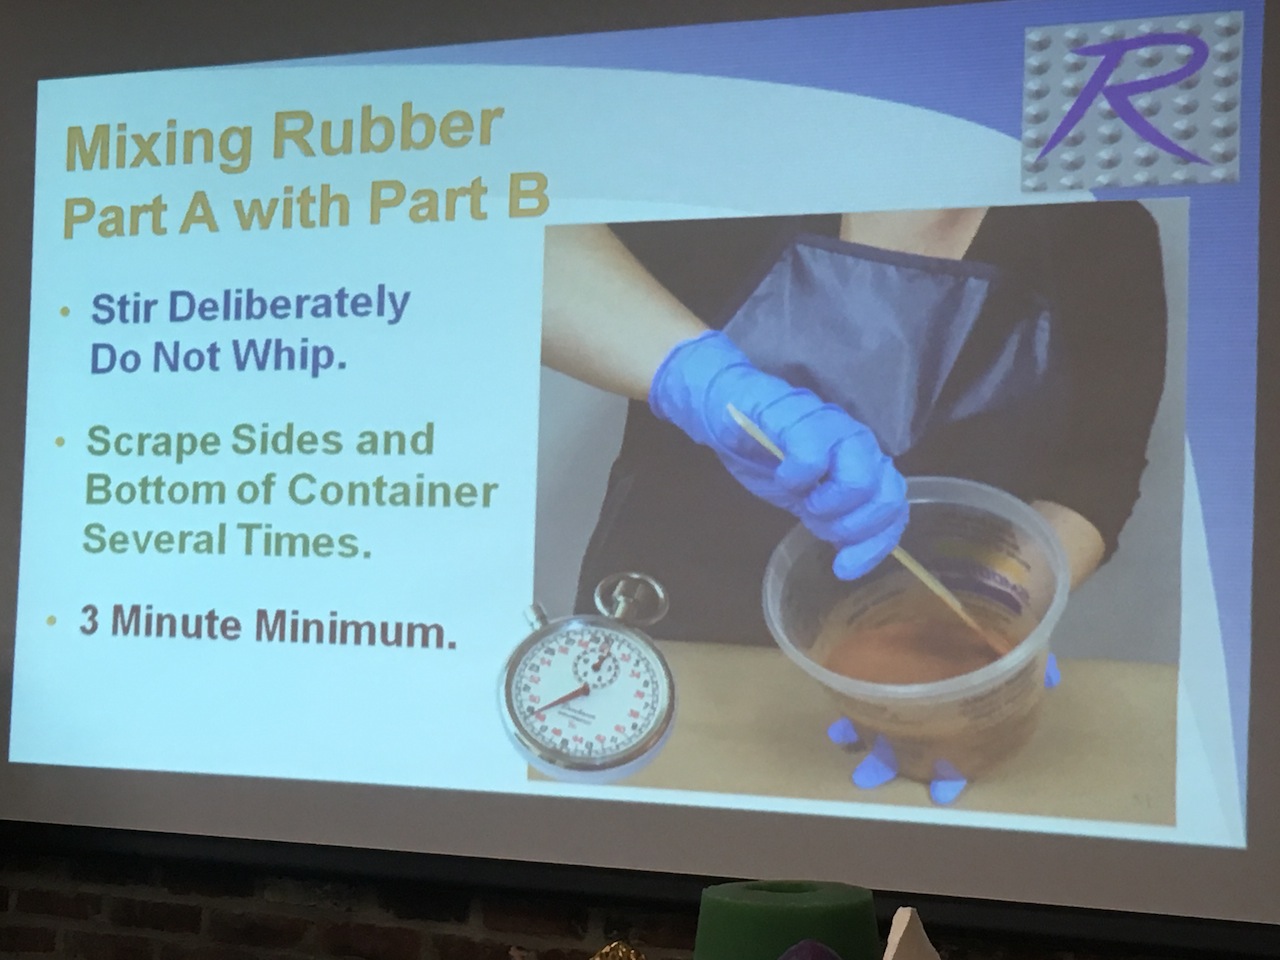 Tips for mixing rubber
Workflow for this week is Machineable Wax (positive) to Oomoo (negative) to Hydrostone or Drystone (positive). The casting material does not need to be solid. Among additive materials are: graphite (friction, conductivity), aluminum or nickel, quartz for thermal conductivity, and glass microspheres. Microlight filler is an additive that acts as a matrix for plastic to add porosity.
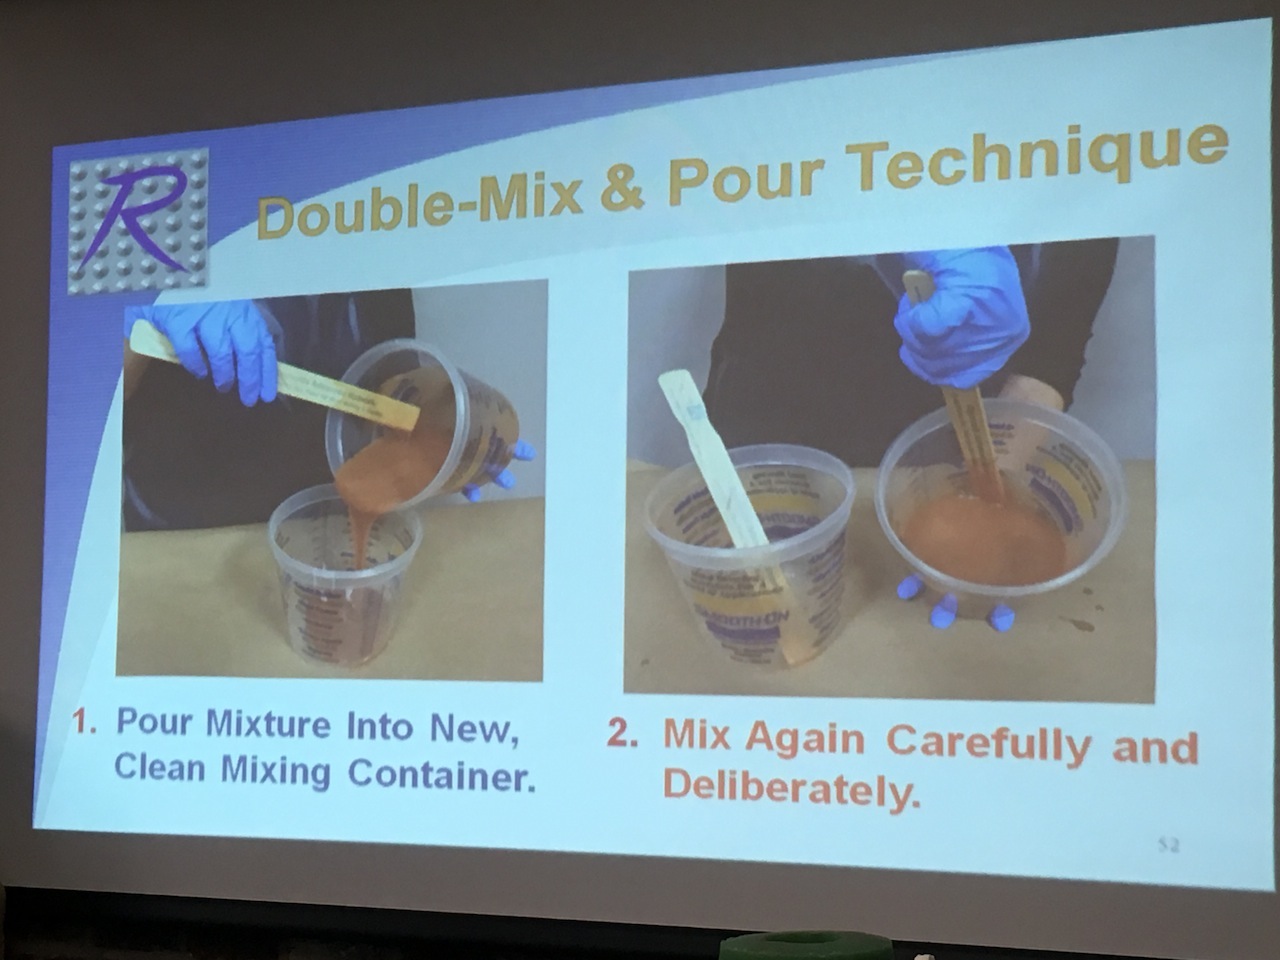 Double mix and pour technique
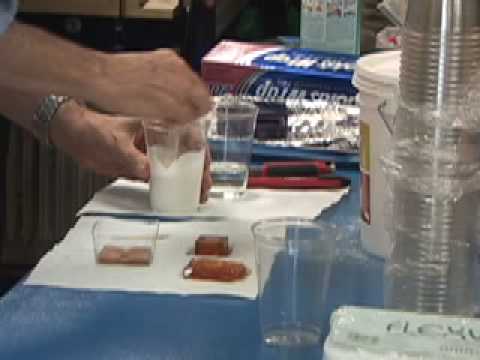
To make the mold, first make a little test cast. Cast a little part in anything such as a plastic cup. These materials have a shelf life, 1 year unopened or a few weeks once opened. These are two part compounds that need to be uniformly mixed so that you see no striation. The mixing takes about fives times longer than you would expect.
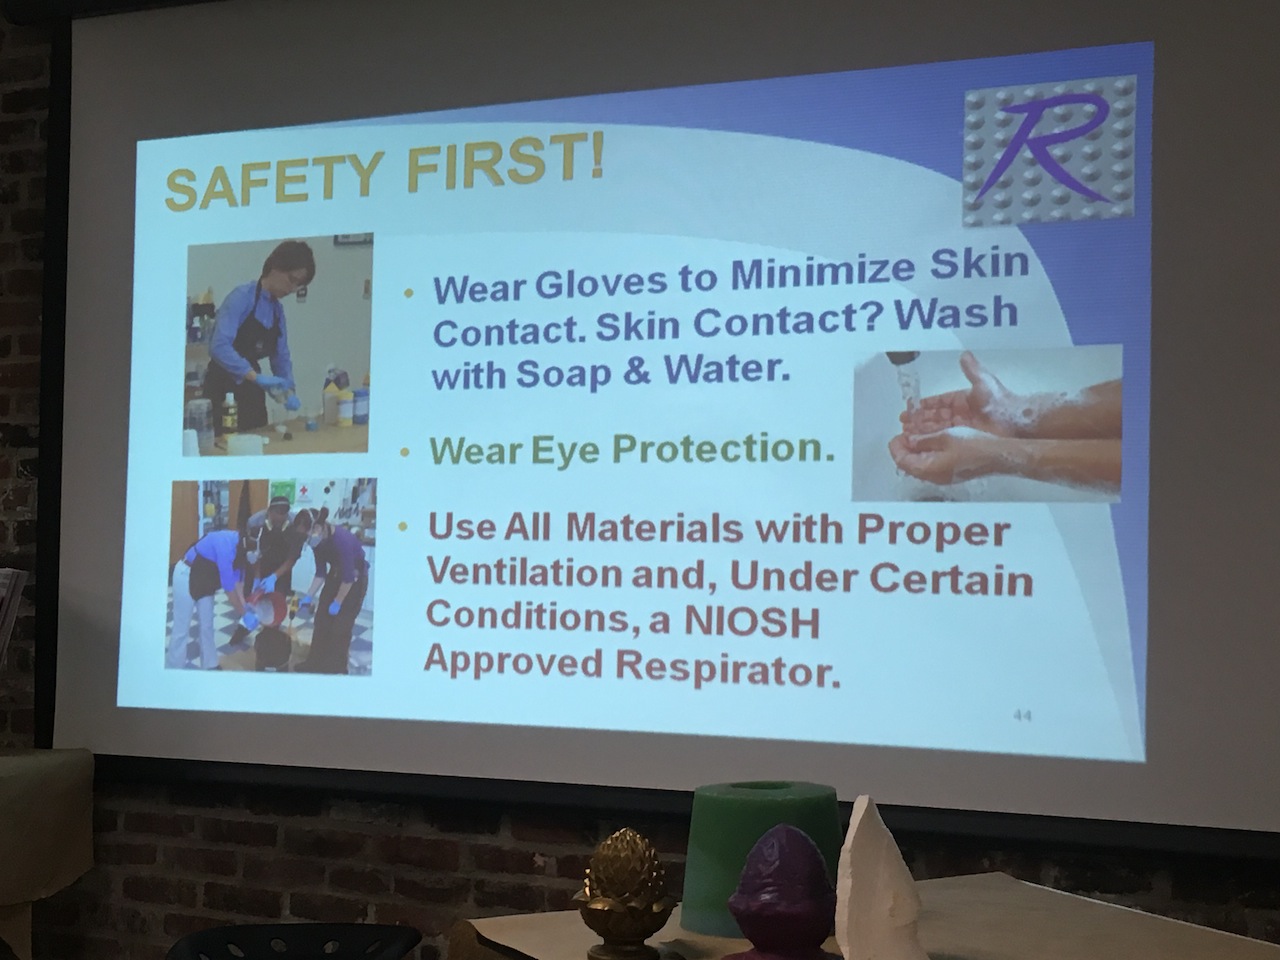 Safety tip for pouring a mold
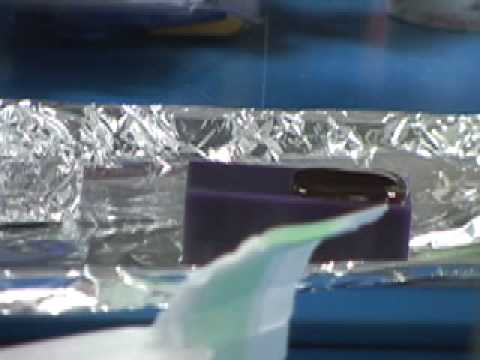
To pour, you want a thin stream of material to pour into the mold and or tooling. If you have corners in the mold, come in with a wooden stick to poke the material in to fill. You can also paint the surface of the mold to ensure coverage.
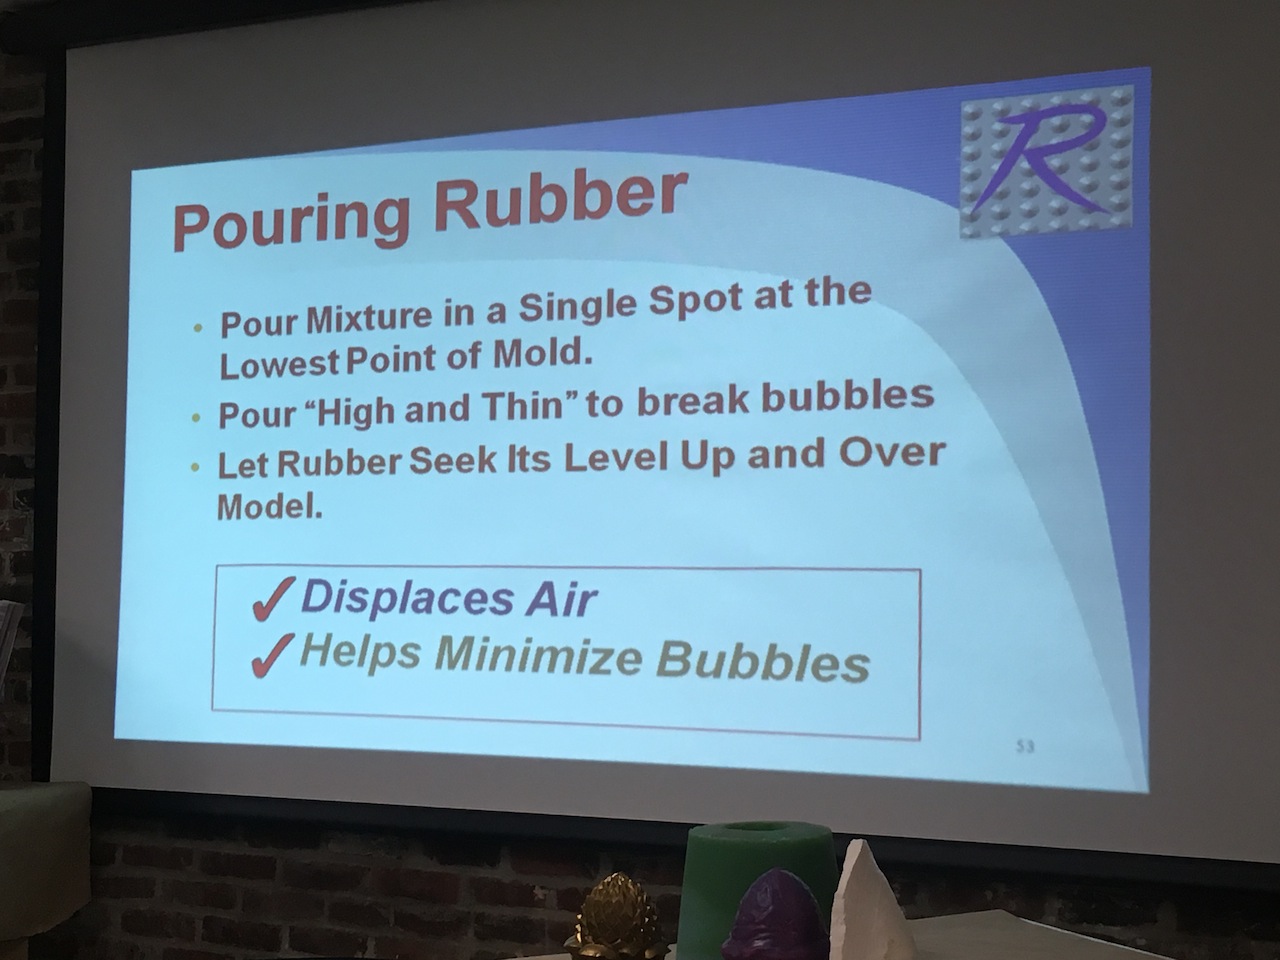 "high and thin" pouring technique
One trick to avoiding bubbles is to shear the compound as you are mixing. This motion is not scooping, rather you mix from side to side. Vacuum pumps are also handy to eliminate bubbles. Once the compound is mixed, you should let it sit for a few minutes and wait for the bubbles to naturally float to the top. When the resin is curing, there is an exothermic reaction. This means that the resin will heat up. This is an indication that the compound is reacting as expected.
Storage of resin is very sensitive. When using the material, build up tends to form on the rim of the container. Proper care of the material and the container are important to be able to use the full amount. Build up degrades over time. If it comes into contact with cloth, the container may seal. Diligence about storage and shelf life helps to avoid gooey messes.
For safety concerns, a number of the materials have warnings. In procurement and deployment, I have to be familiar with reading MSDS to know what can be sent via air. For users what could happen is sensitization, one student in Barcelona ended up in the hospital after exposure to the materials without ventilation. The materials required for this week are more friendly for beginning users.
To complete the assignment, it is a requirement to use 3-axis machining. While tooling could be 3D printed, the resolution of the printer is a limiter for the resolution of the tooling. The first sequence of passes is called a rough cut. A second sequence of passes is the finishing cut. A rough cut passes in layers horizontally and then plunges. Jens Dyvik added that 7% stepover is a "magic number" when calculating finishing cut toolpaths. Stepover of 20% is okay and doesn't leave very visible artifacts. Stepover of 100% leaving clear beading, according to Neil. CAM software options include VCarve, Fusion 360, or Fab modules.