<-- back
Step 1 -->
PROJECT VIDEO:
Graphic Softwares Used to achieve this:
1. Adobe After Effects
2. Kden LIVE
3. Movie Maker
4. Lumion
5. Adobe Photoshop
Captured on Nikon D5200 DSLR
PRESENTATION SLIDE:
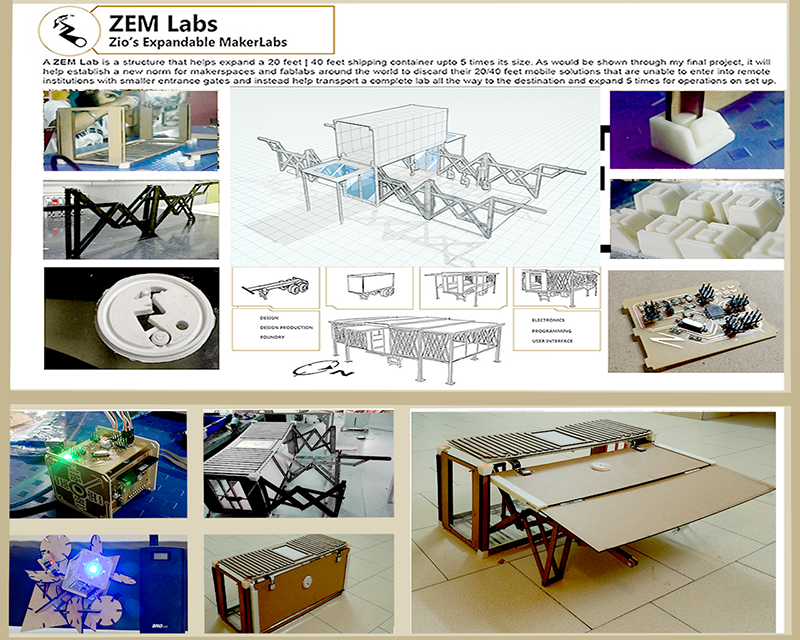
BRIEF:
My project is more mechanical than electronics, probably thats why i am able to finish my electronics which integrates the Intrusion system for my container. I have done the following processes by now but still working on making my containe rmore compact structurally. Using and choosing materials which are more stable and suitable for my prototype. Working on joints, folds, cantilevers, roof. All this structural but it does covers very unique digital fabrication processes like Laser cutting my expansion linkages parametrically which i explored far later with regard to laser cutter software which is actually a chinese software. Beside that I was able to complete my Cuboid with Atmega 328. I havent been able to wrk on video due to different resource issues due to our lab being in remote place plus due to the complicated structure i am ambitious about. But im pretty sure that I will be able to work on the mechanism solution very well but on the same page work on its engineering drawings to fabricate the real one.
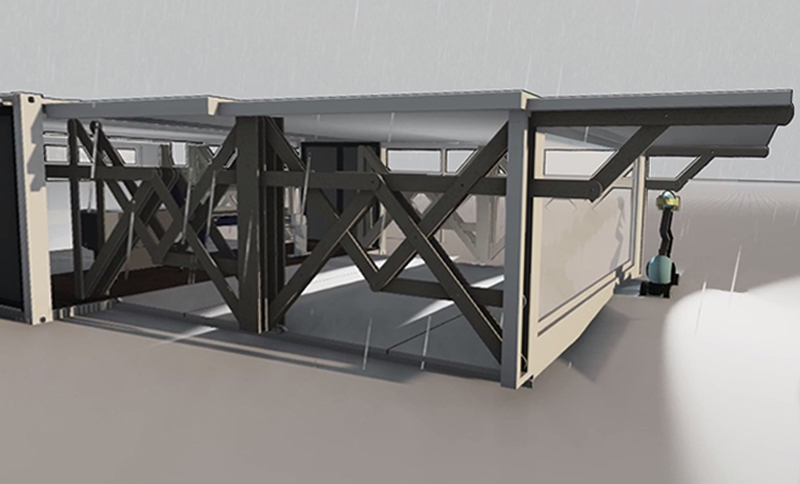
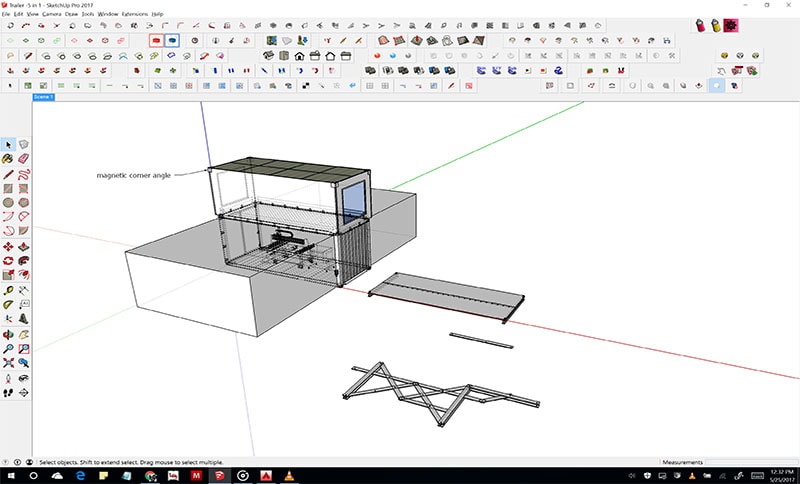
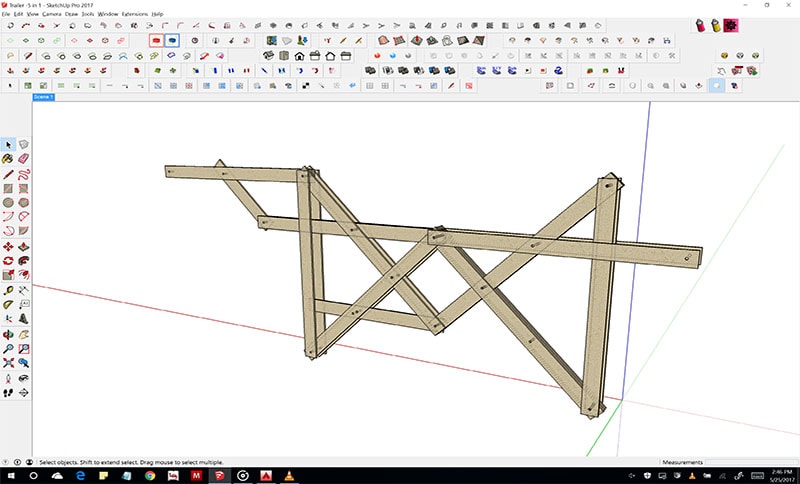
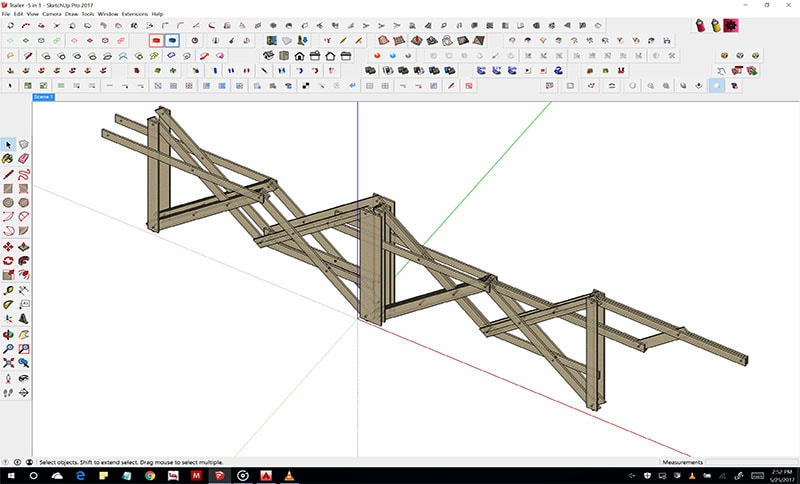
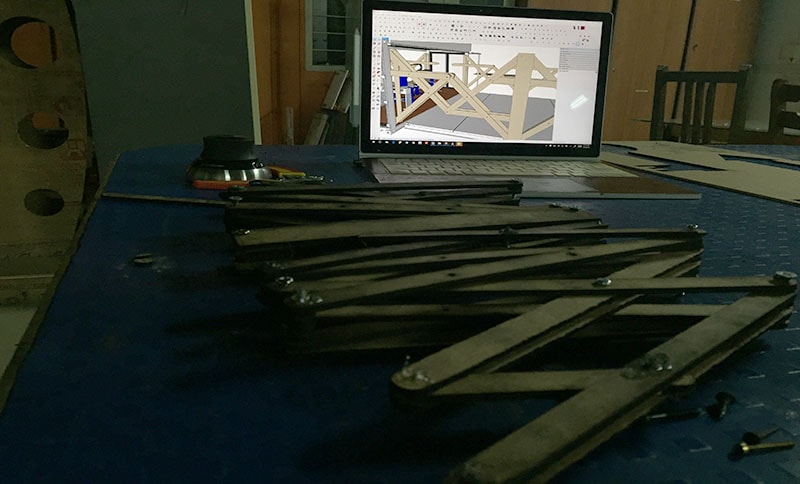
Render
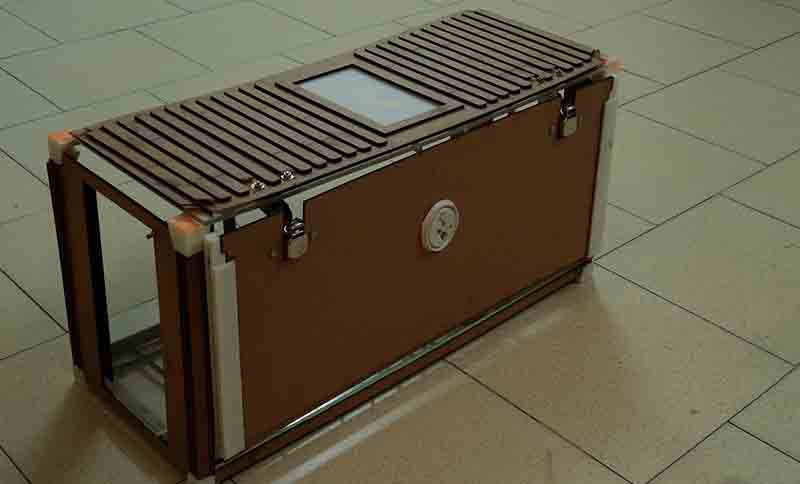
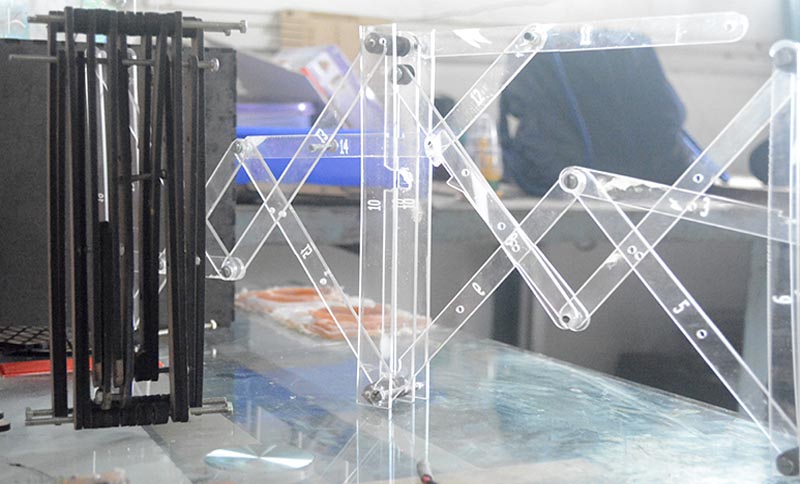
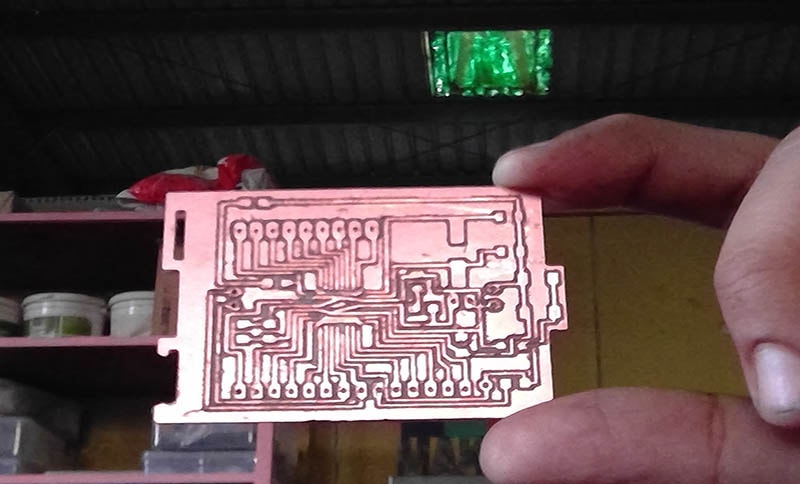
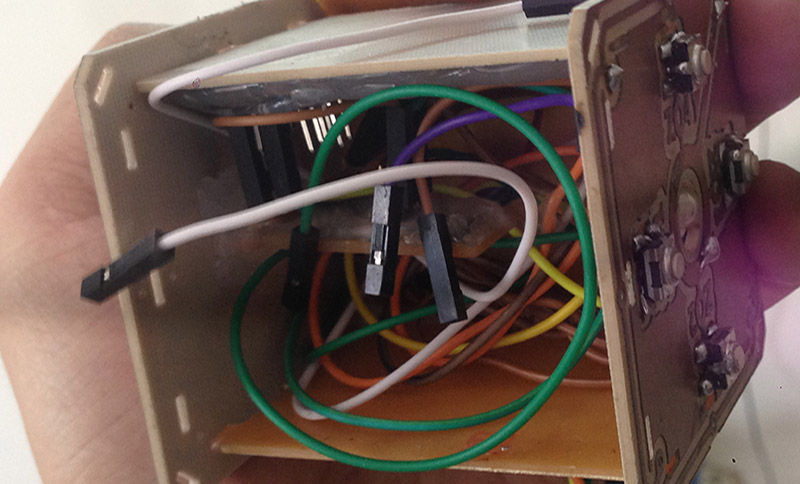
Depiciting one side of the dual expansion possible in design. I exectuted a single expnsion leaving this dual concept for later. It works thought.: As of now, the quadra cuboidal electronic box containes and hides all the wiring to give a clean outer look. The PCB itself is used as a piece of art instead of seperately printing/cutting an outer shell. The IR module and Pizo Buzzer are connected to it along with a 10 V LED. IN addition , the cube fits well within another press fit laser kit in the shape of a flower. This Flower supports my container roof as a central spine at the centre of the container.

All the Digital Fabrication processes are done, just struggling with my board Atmega 328, i am able to program it but its responsing very slow. So working on simplifying the code.
(UPDATE) Electronics is compelte, the support system is ready, 3D printed pillars, joints are ready. Basic assembly has been done but im still working on getting the right stability in my expansion joints. Final project video is what majorly left.
2. What has worked? what hasn't?
I am trying to achieve a structural stability in my design through pressfit joints and cantilevers. Yes, its new so it will take time to achieve the perfect one during real fabrication. But this brings me immense peace to see that it has so much scope ind esign and it can work after i achieved my first successful expansion after so many trials.
3. What questions need to be resolved?
Well, thats a difficult question to answer because such things never have a right end . Majorly having the linkages compress down to the max is a major issue to resolve if this project is to realise in reality at a true scale. Figuring out its roof in the design is another challenge.
4. What will happen when?
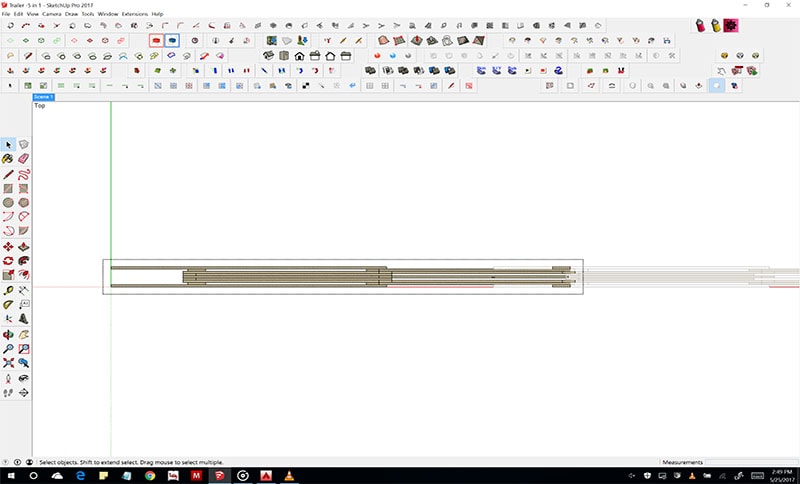
My prototype is majorly foloowing a parallel approach and everything is happening at the same time which means 3d printing of fixtures, laser cutting panels and linkages while the modela is milling my electornic boards.
5. What have you learned?
3D printing, Laser cutting, Milling, Vinyl Cutting, Electronics, Embedded programming, Molding casting, and a lot of nitty gritties towards achieving precision along with the other assignments. Pretty much an extensive amount of learning.
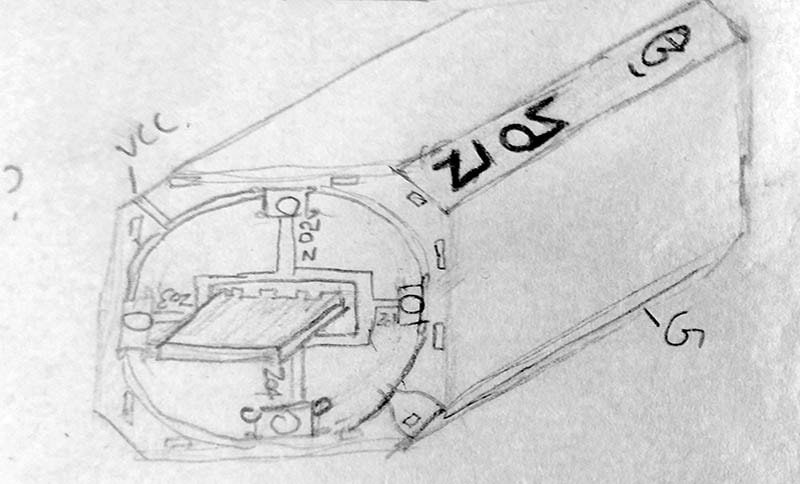
INITIAL SKETCH:
After fabricating a scaled model of the expandable container, I plan to incorporate the iris window within my design to facilitate the completion of rest of my fab academy assignments. The window shall be having a lux sensor as an input and servo motors as outputs to control the opening of the iris windows. I further plan to develop this on Firefly | Grasshoppper | Rhino 5.0 so as to have an interface controlled directly from my pc.

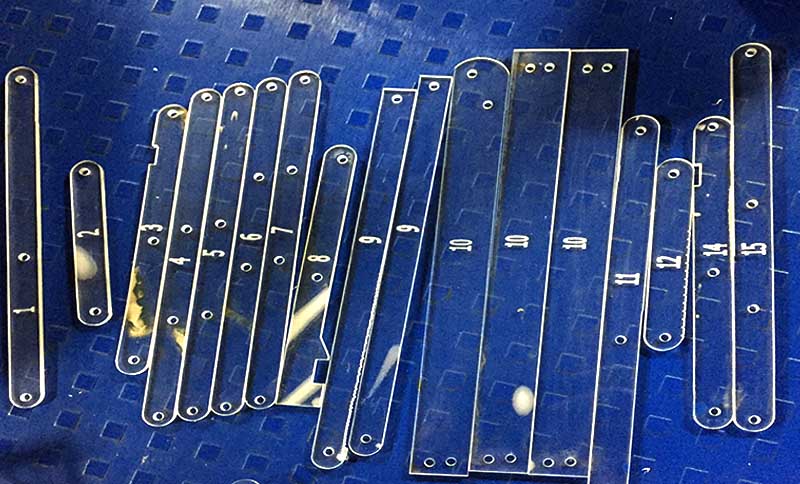
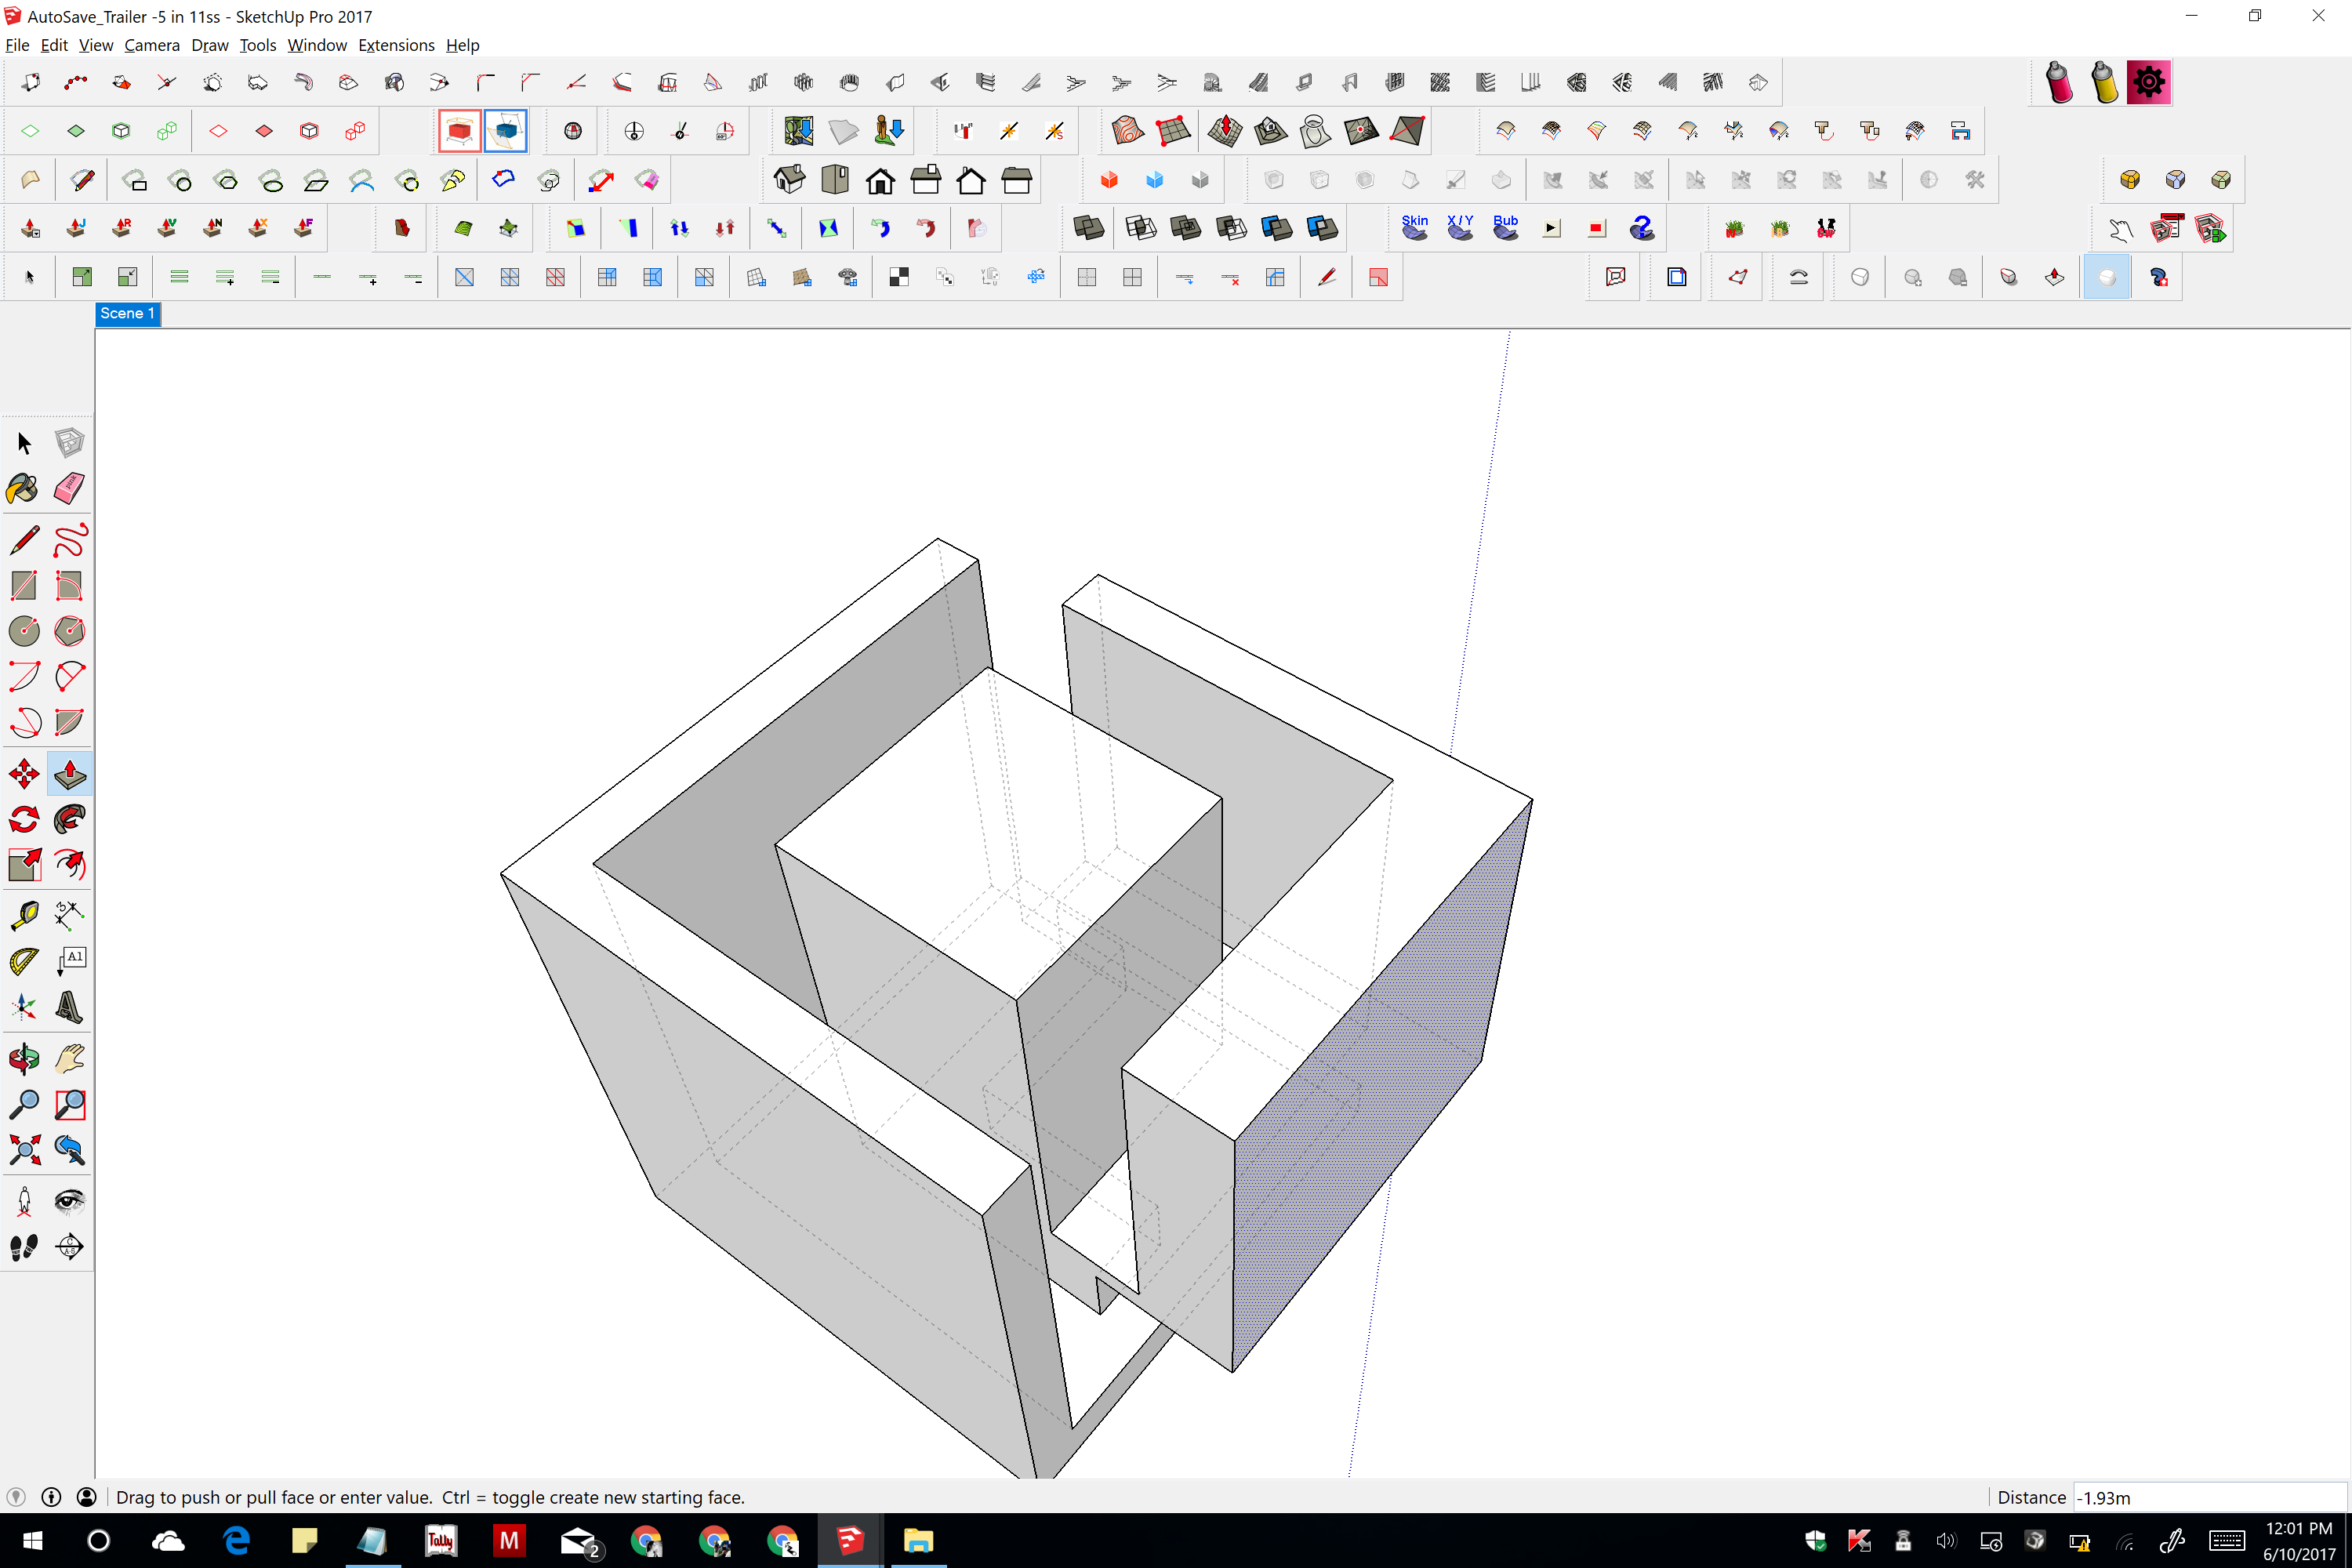
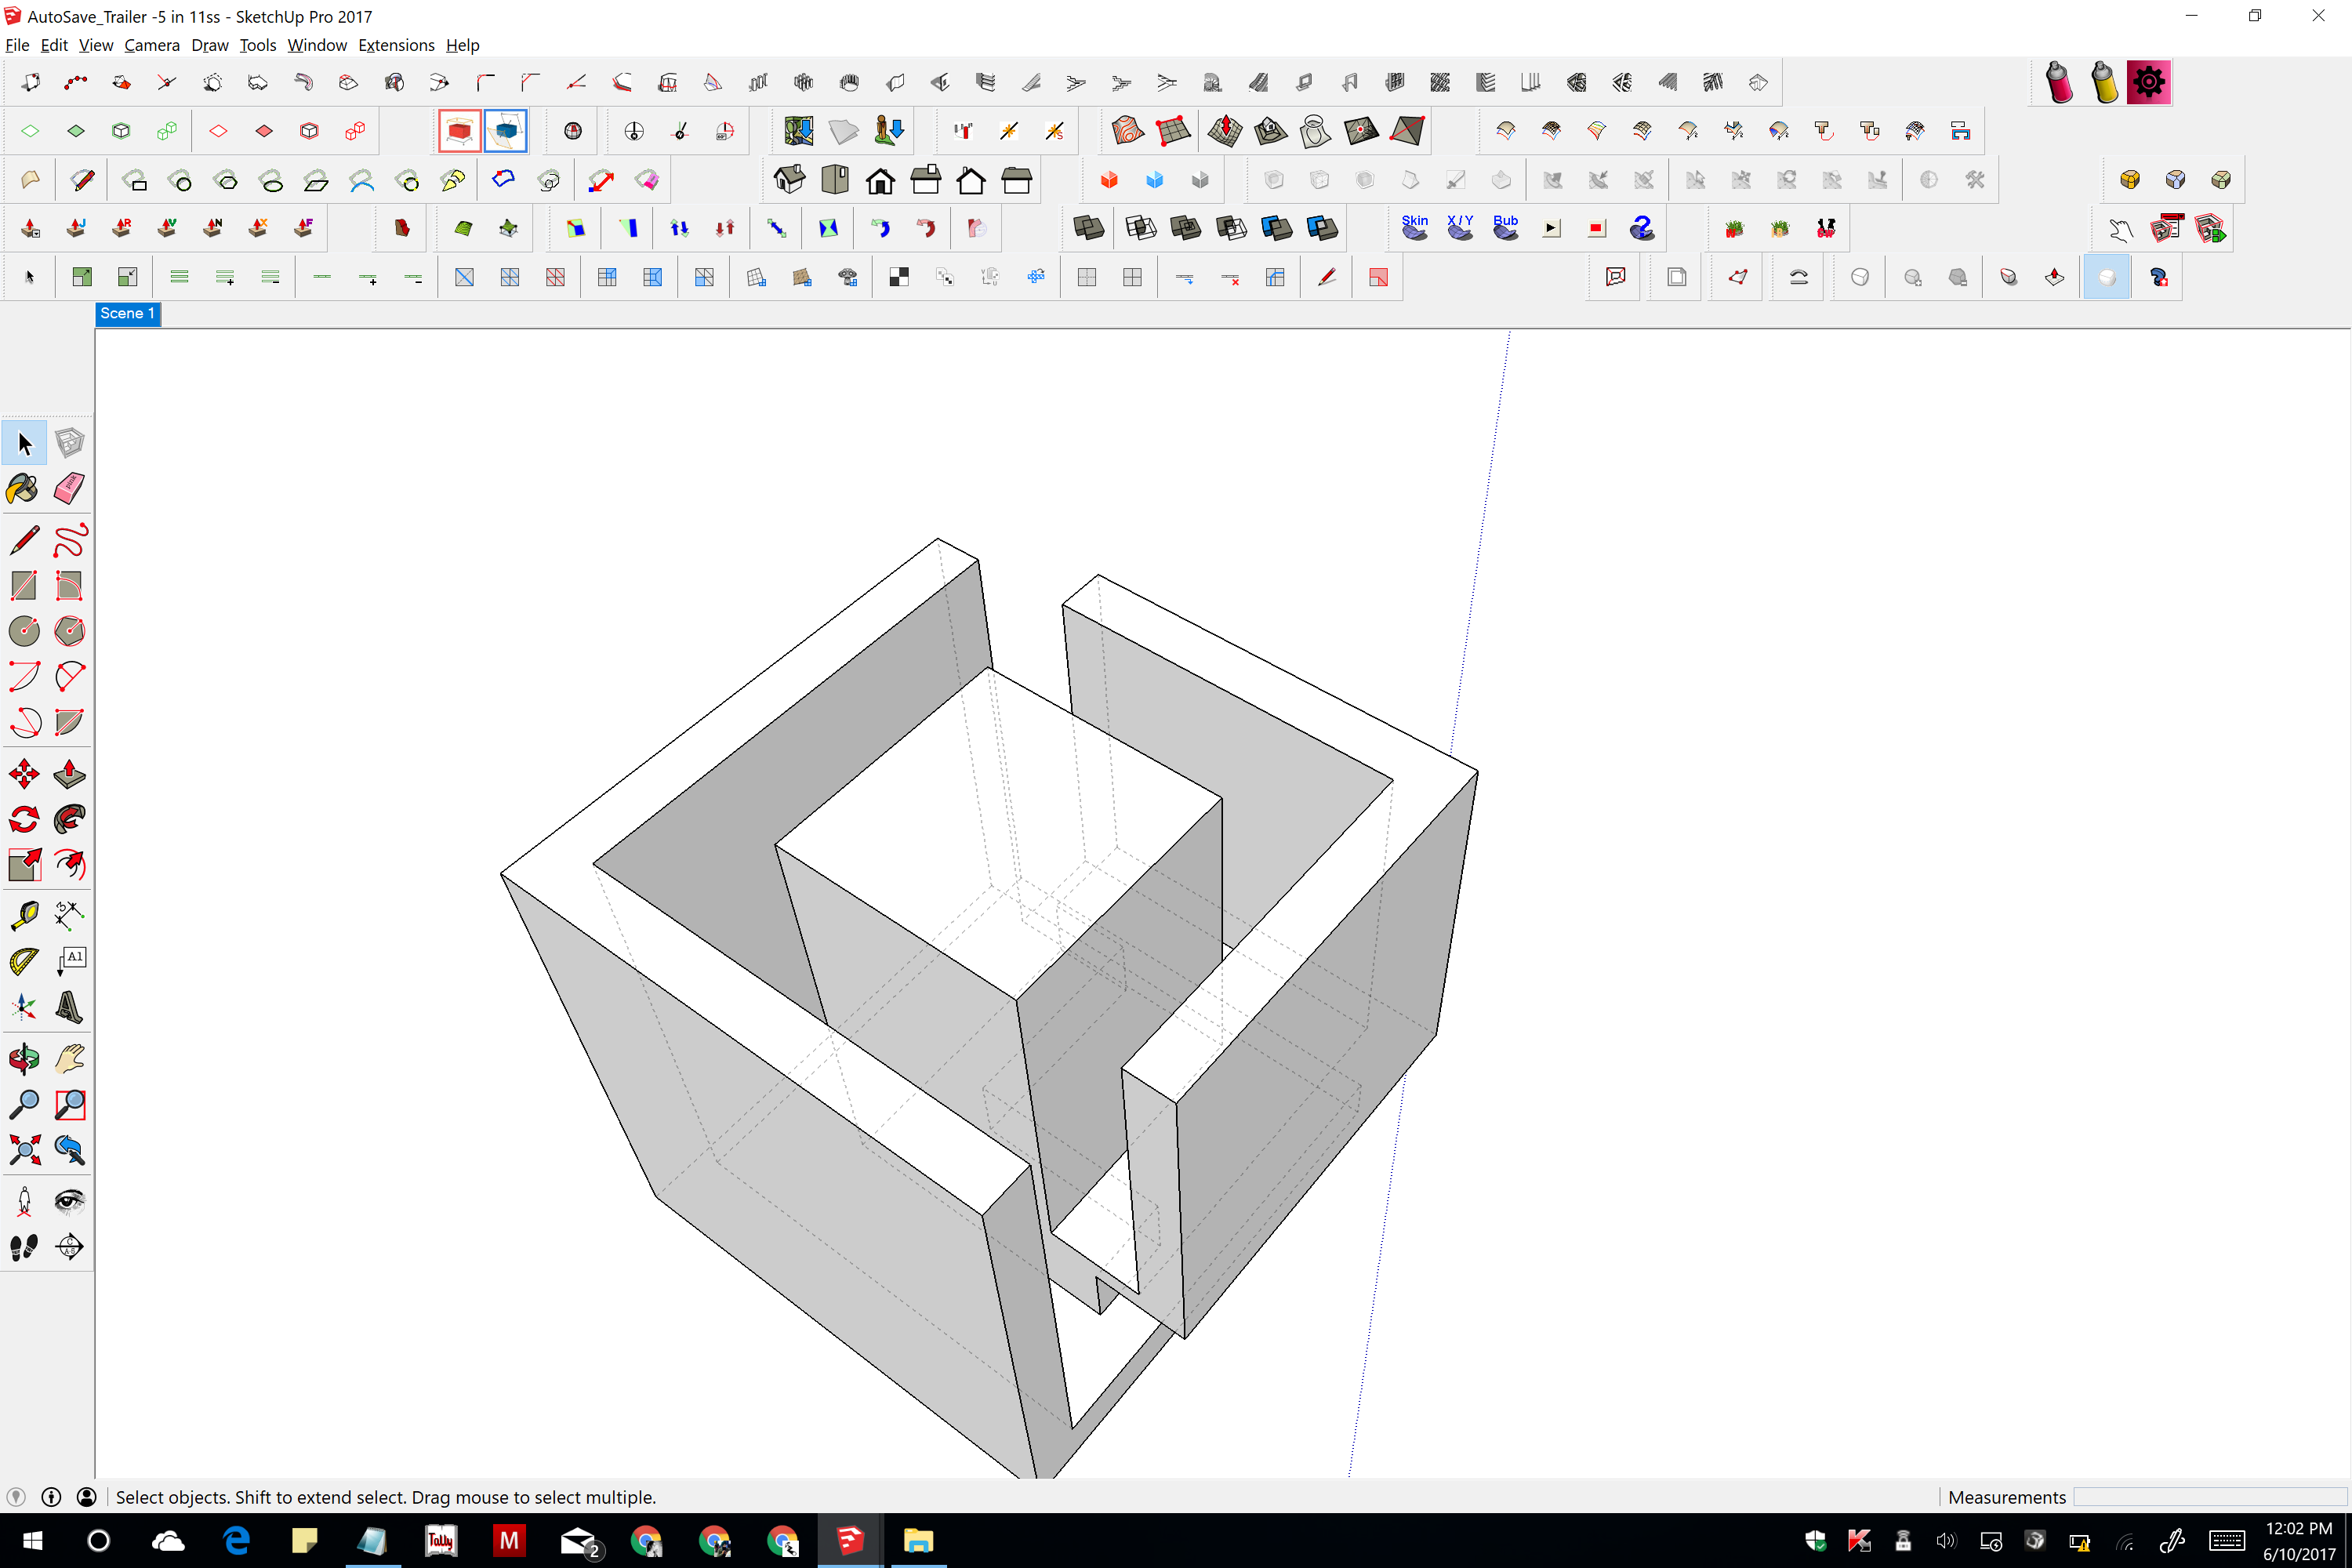
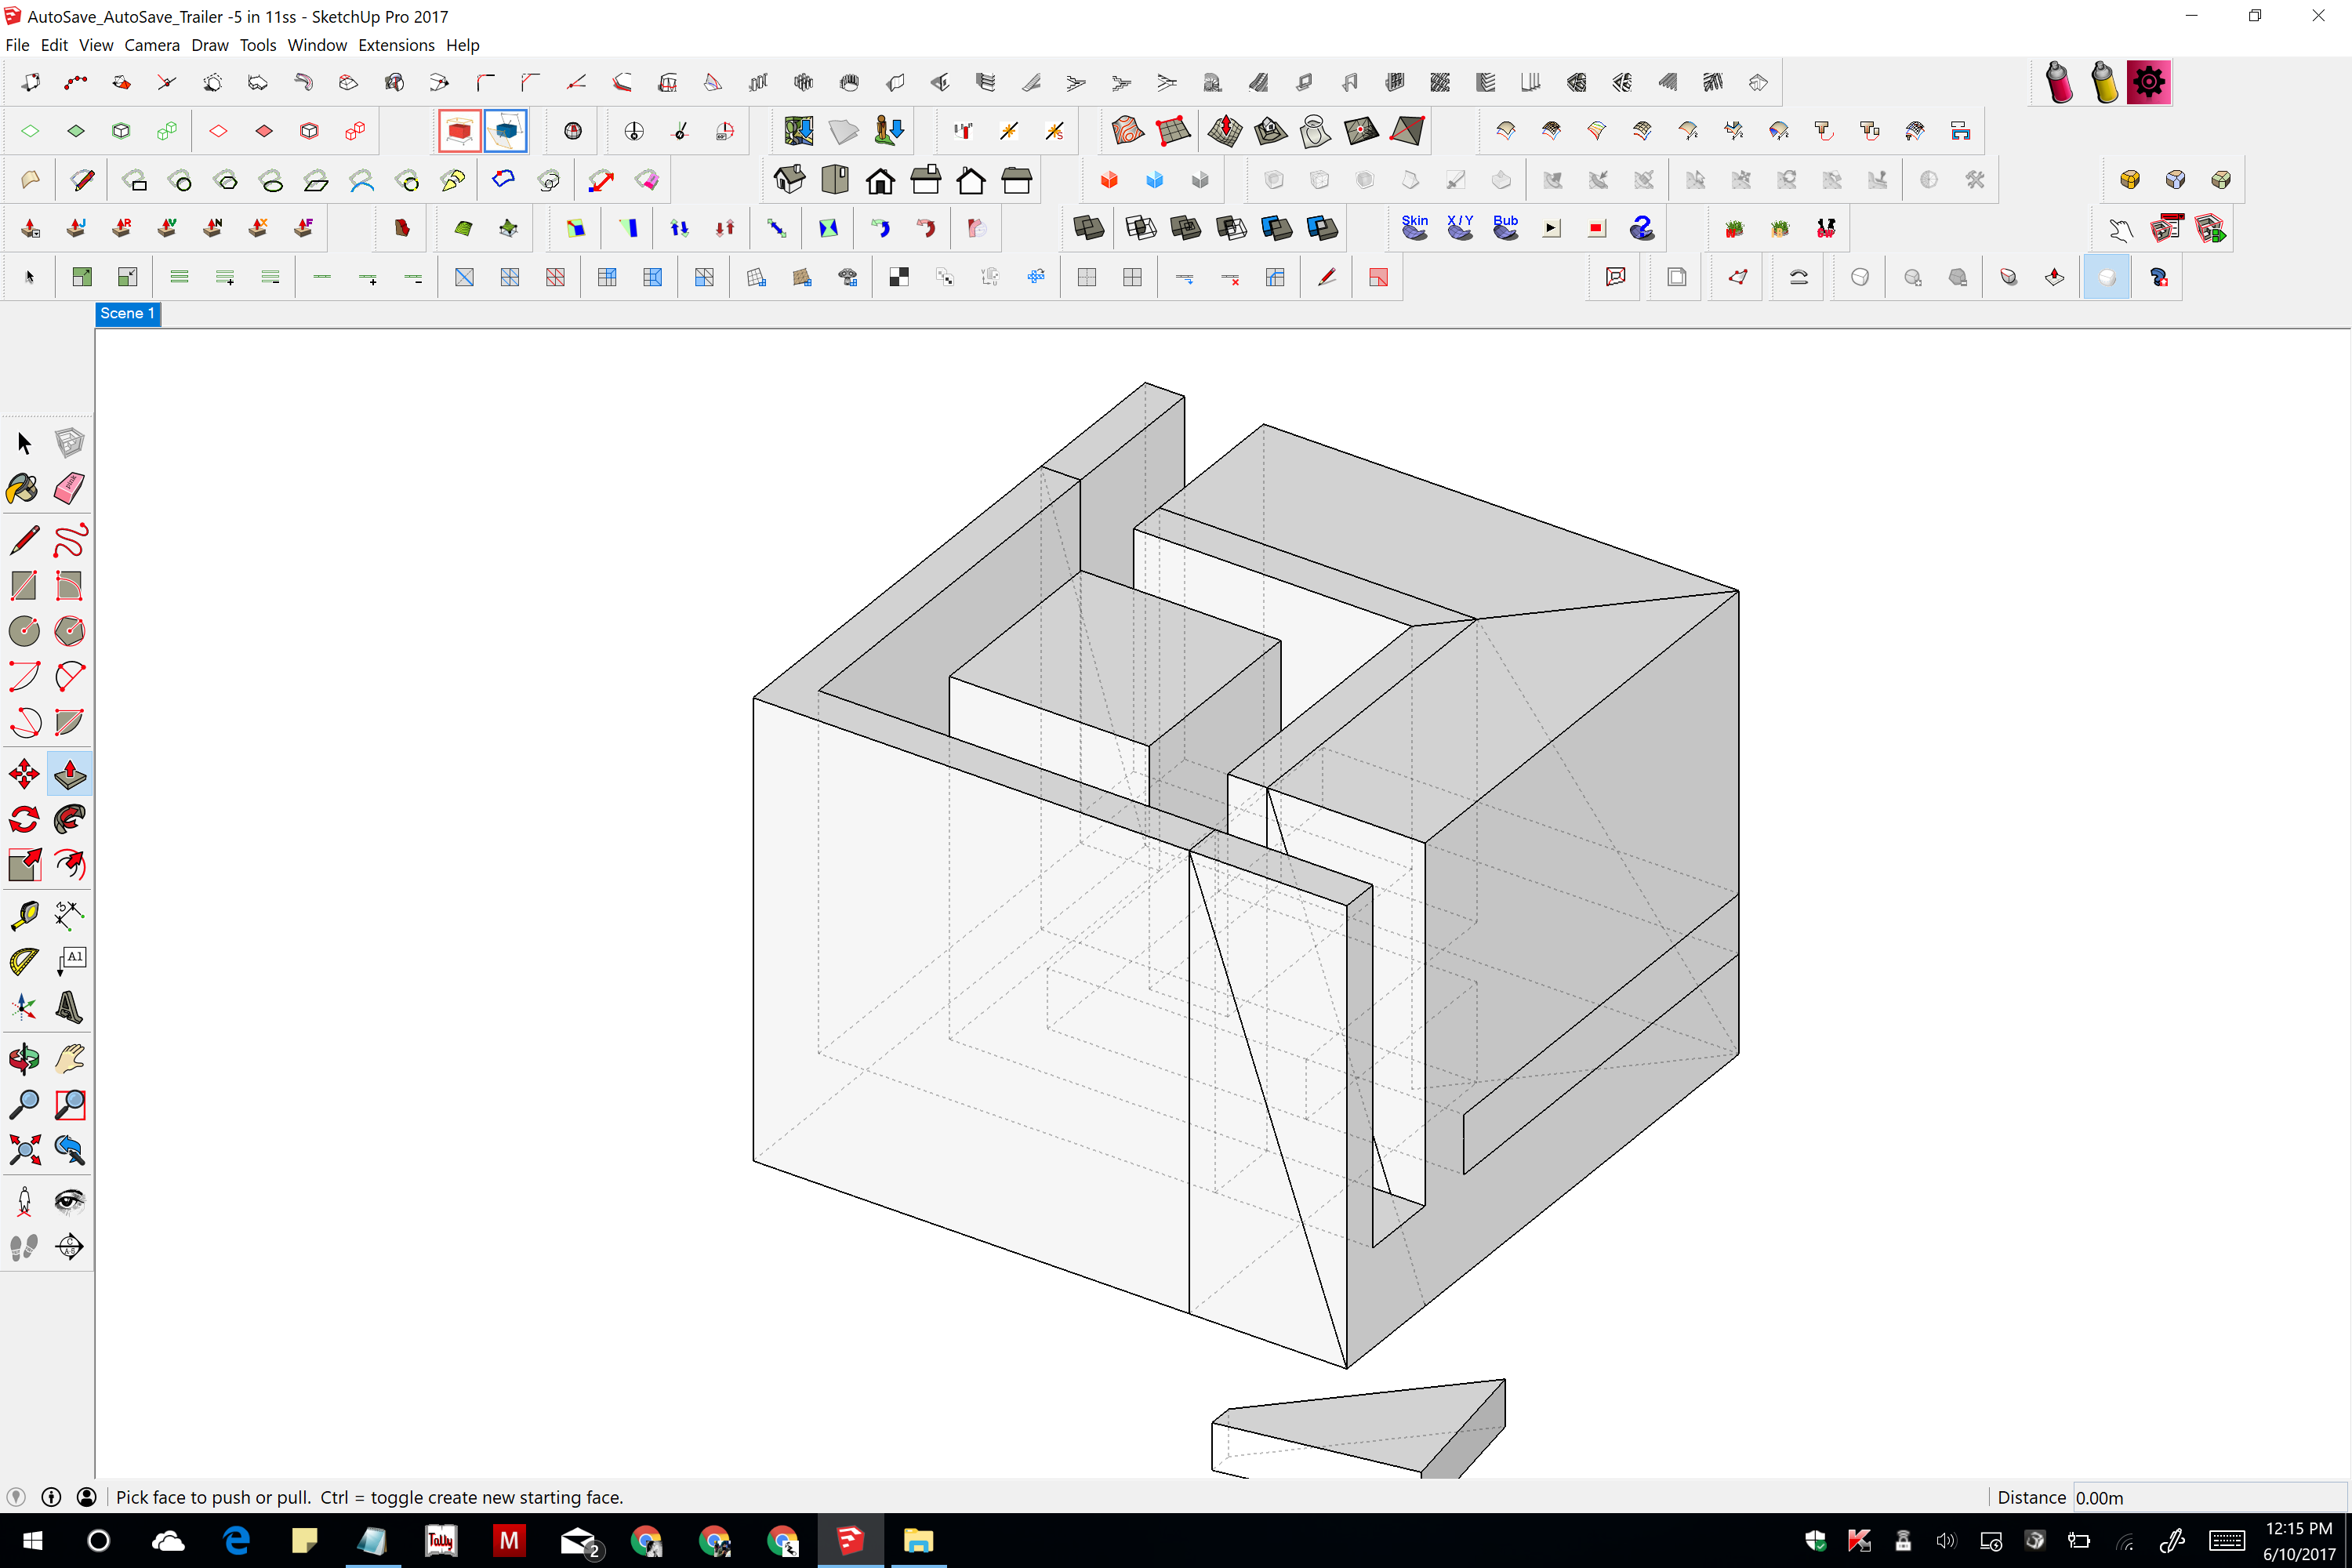
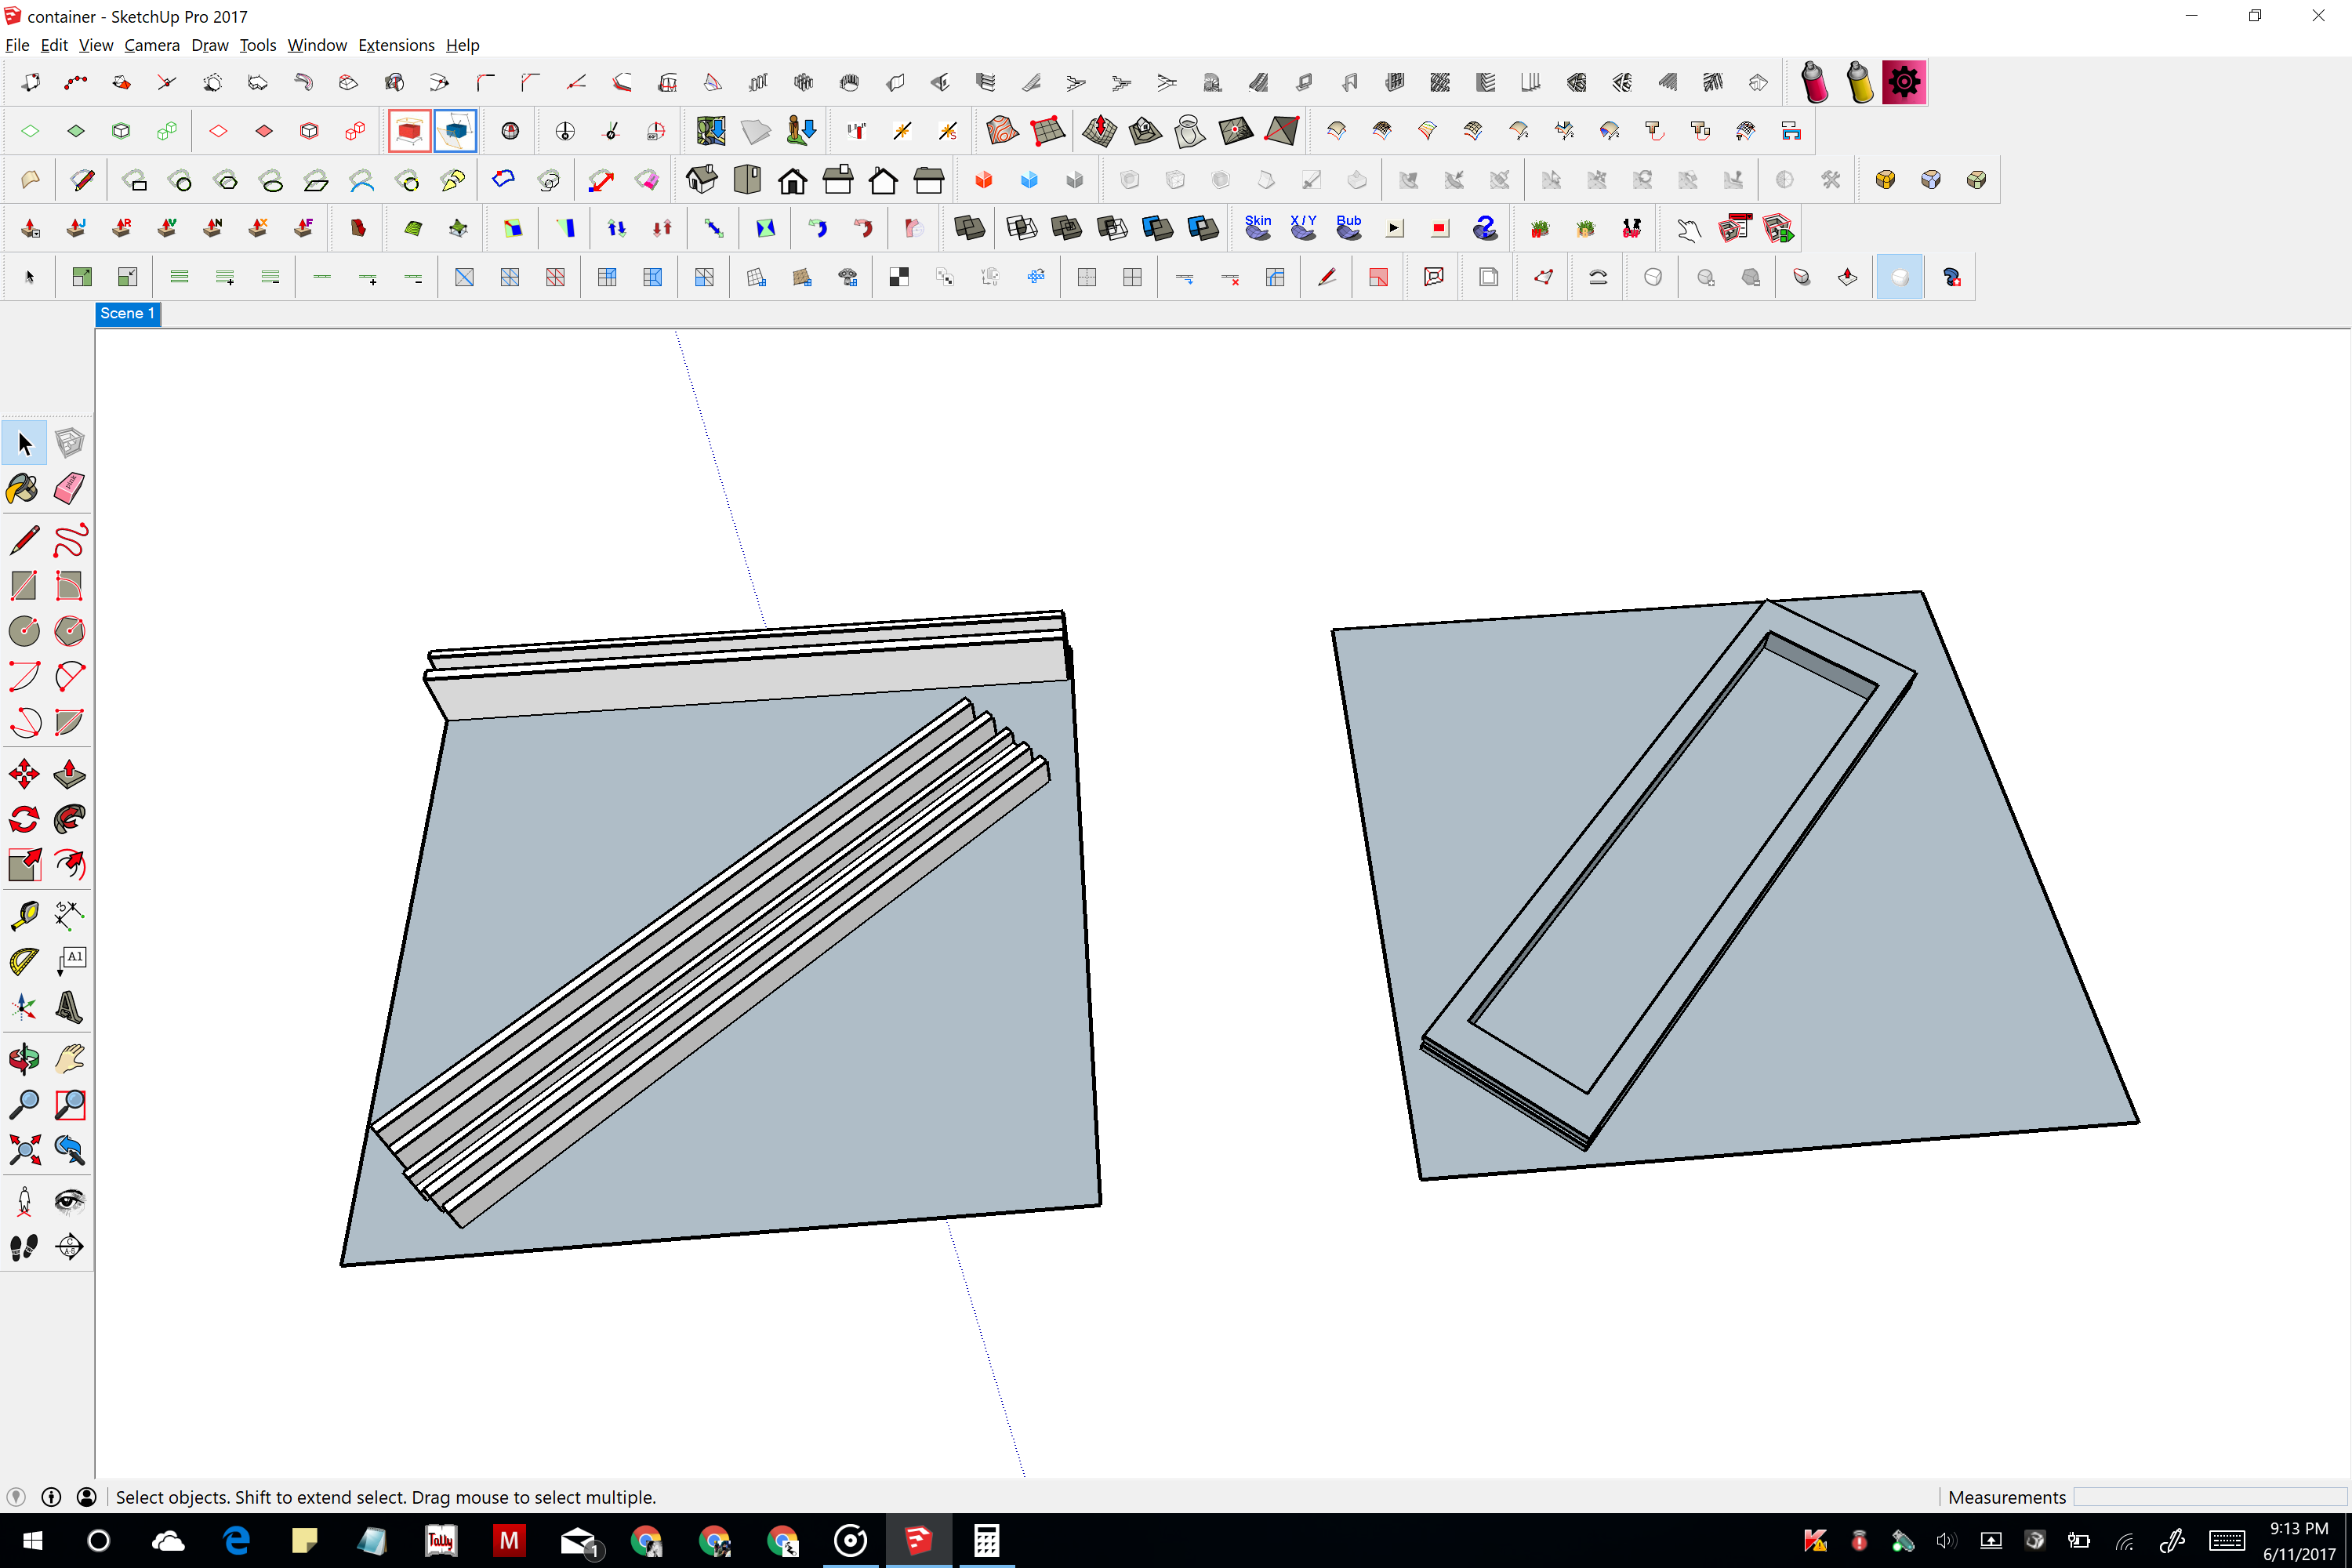
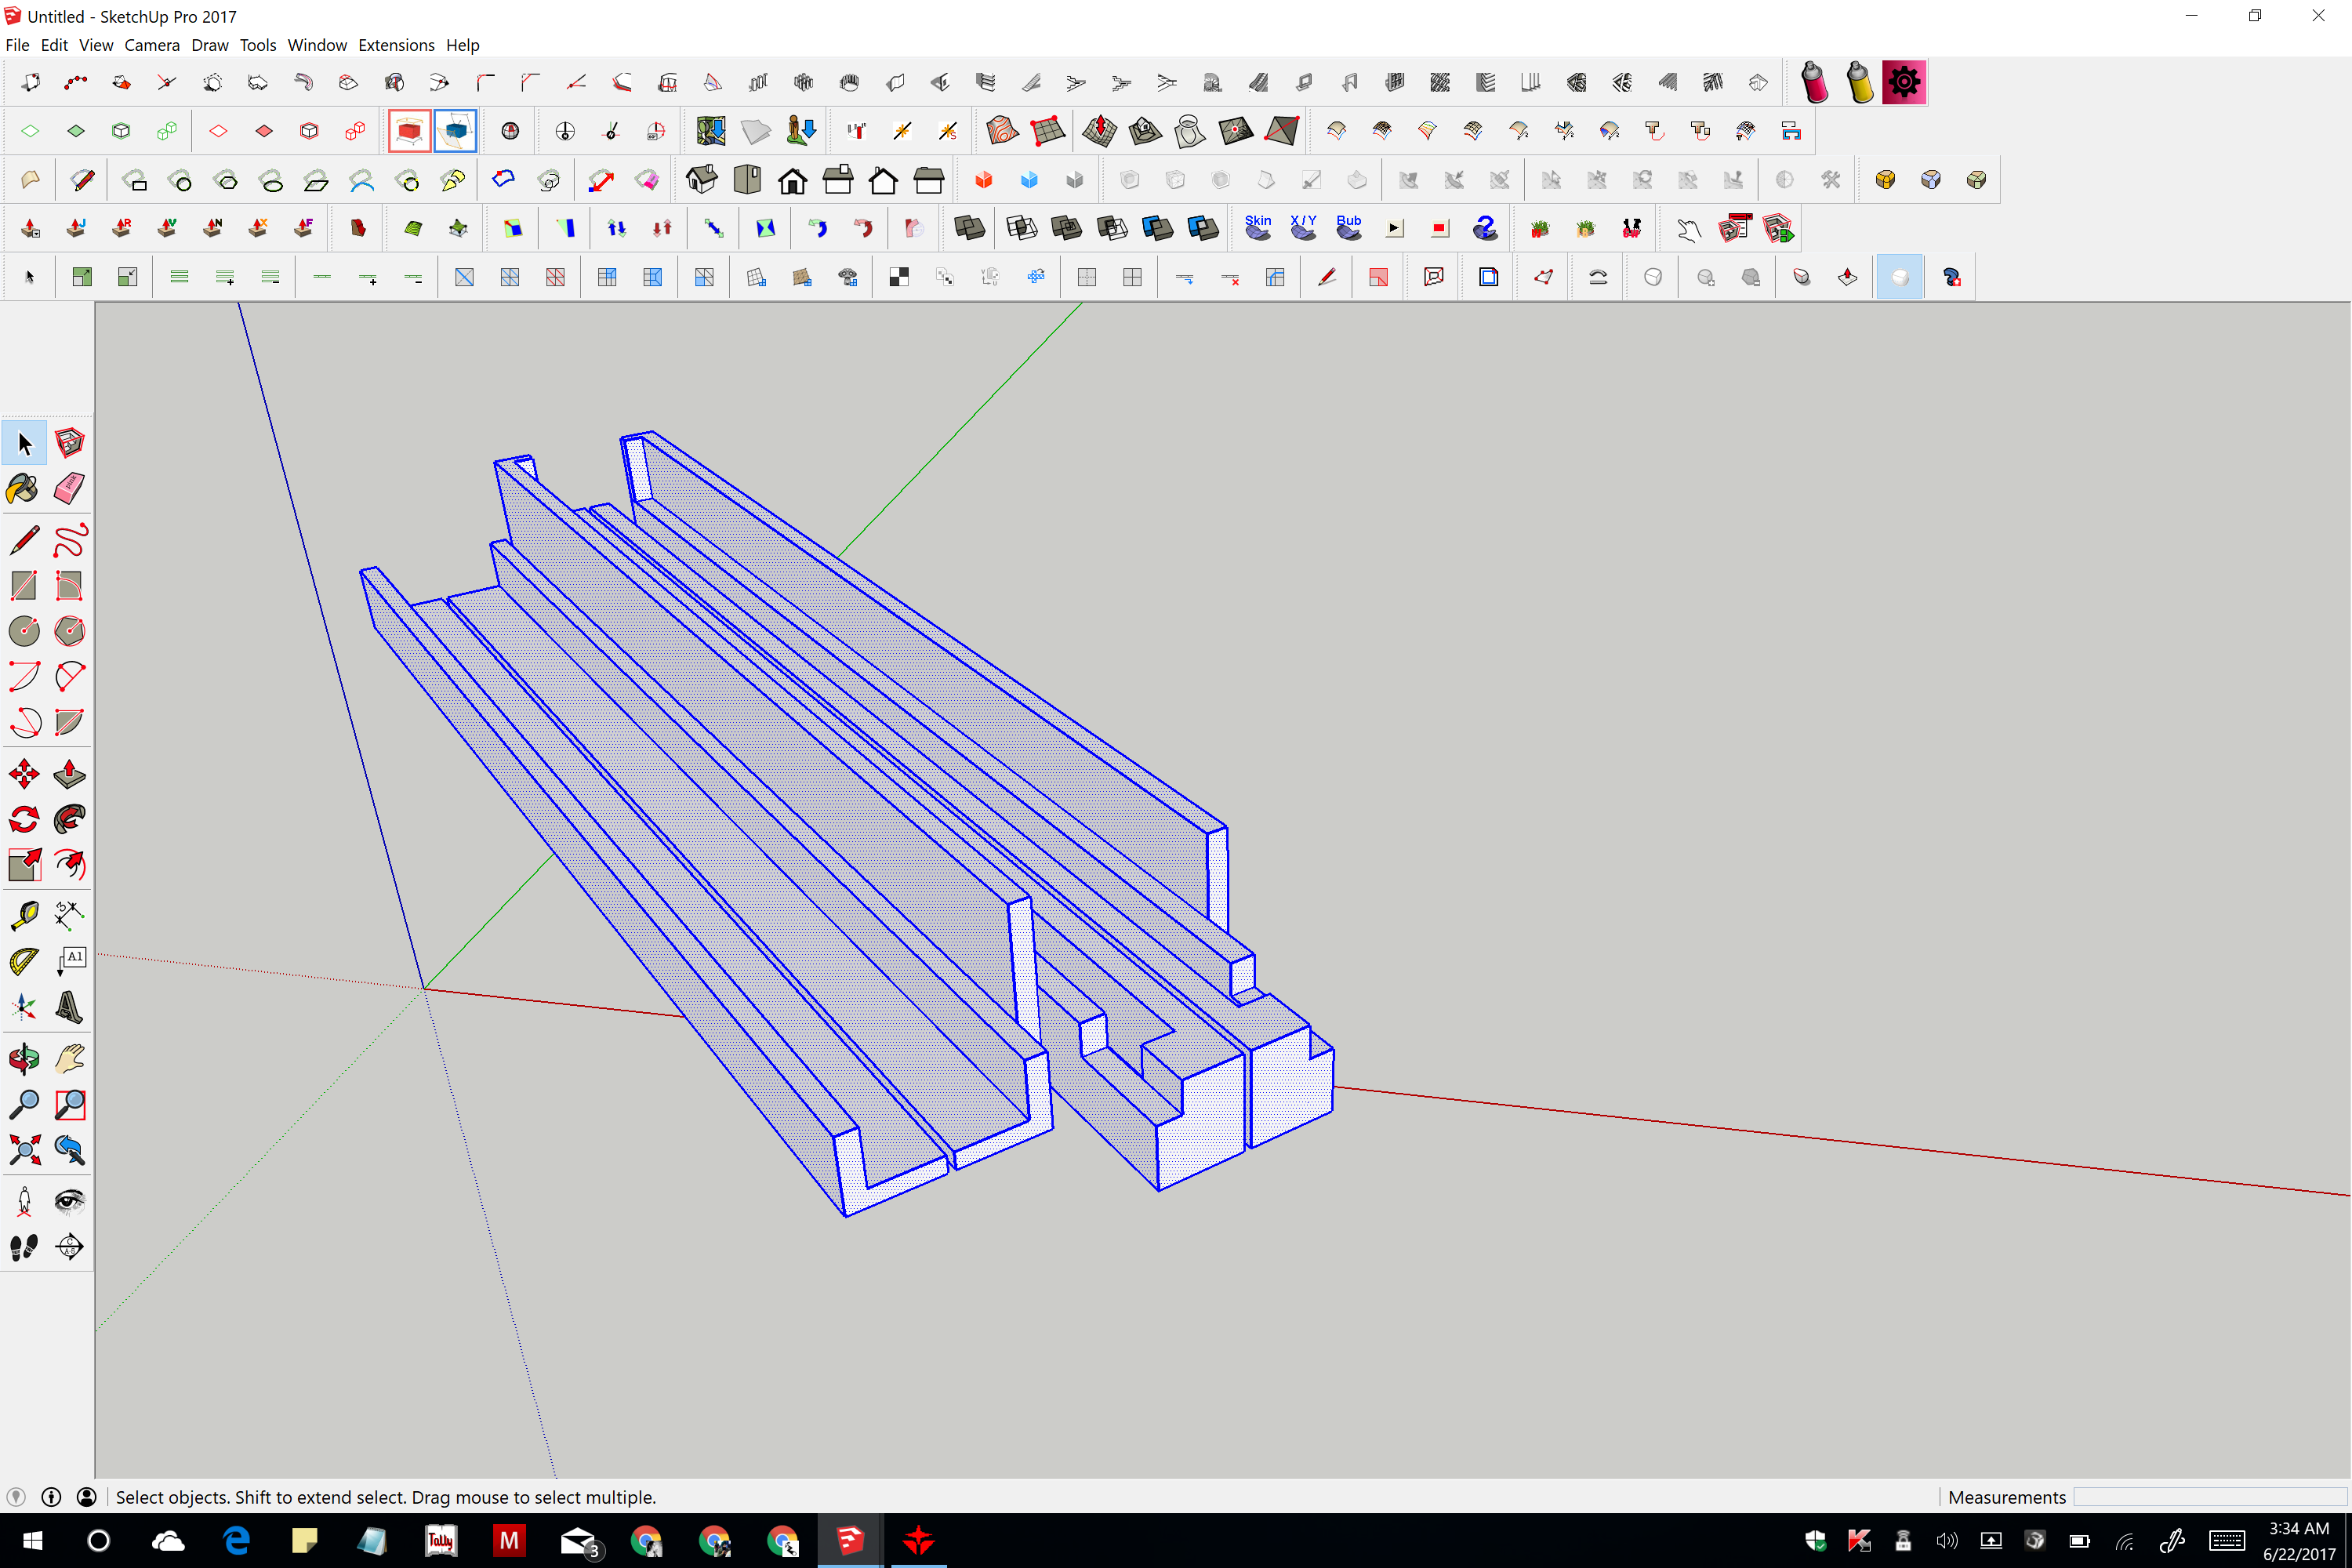
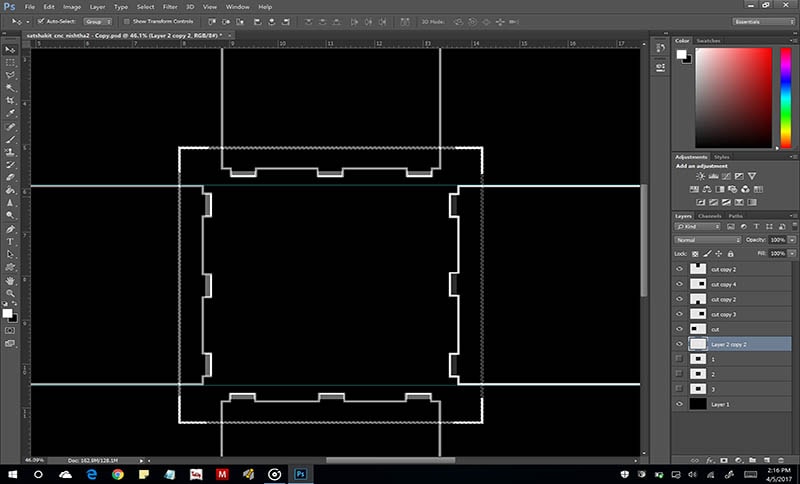
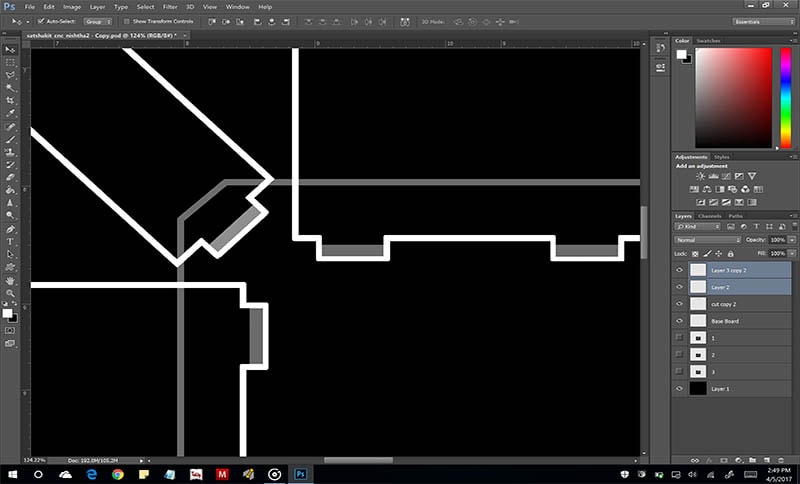
DESIGN COMPONENT PARAMETRIC EDITING:
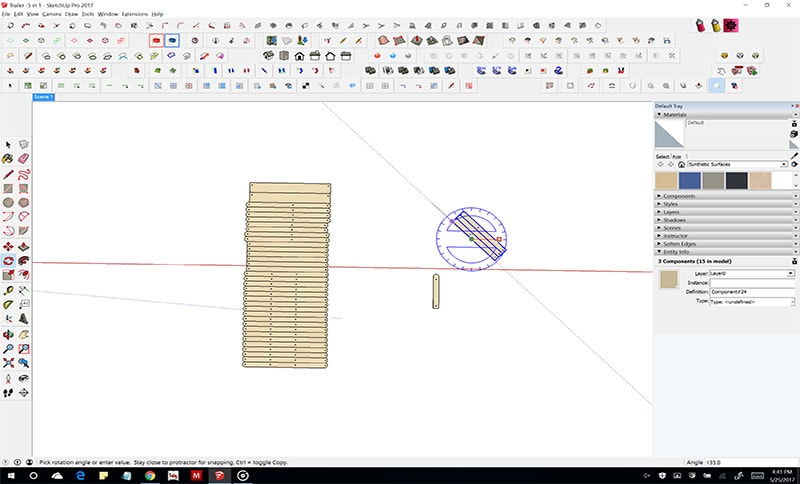
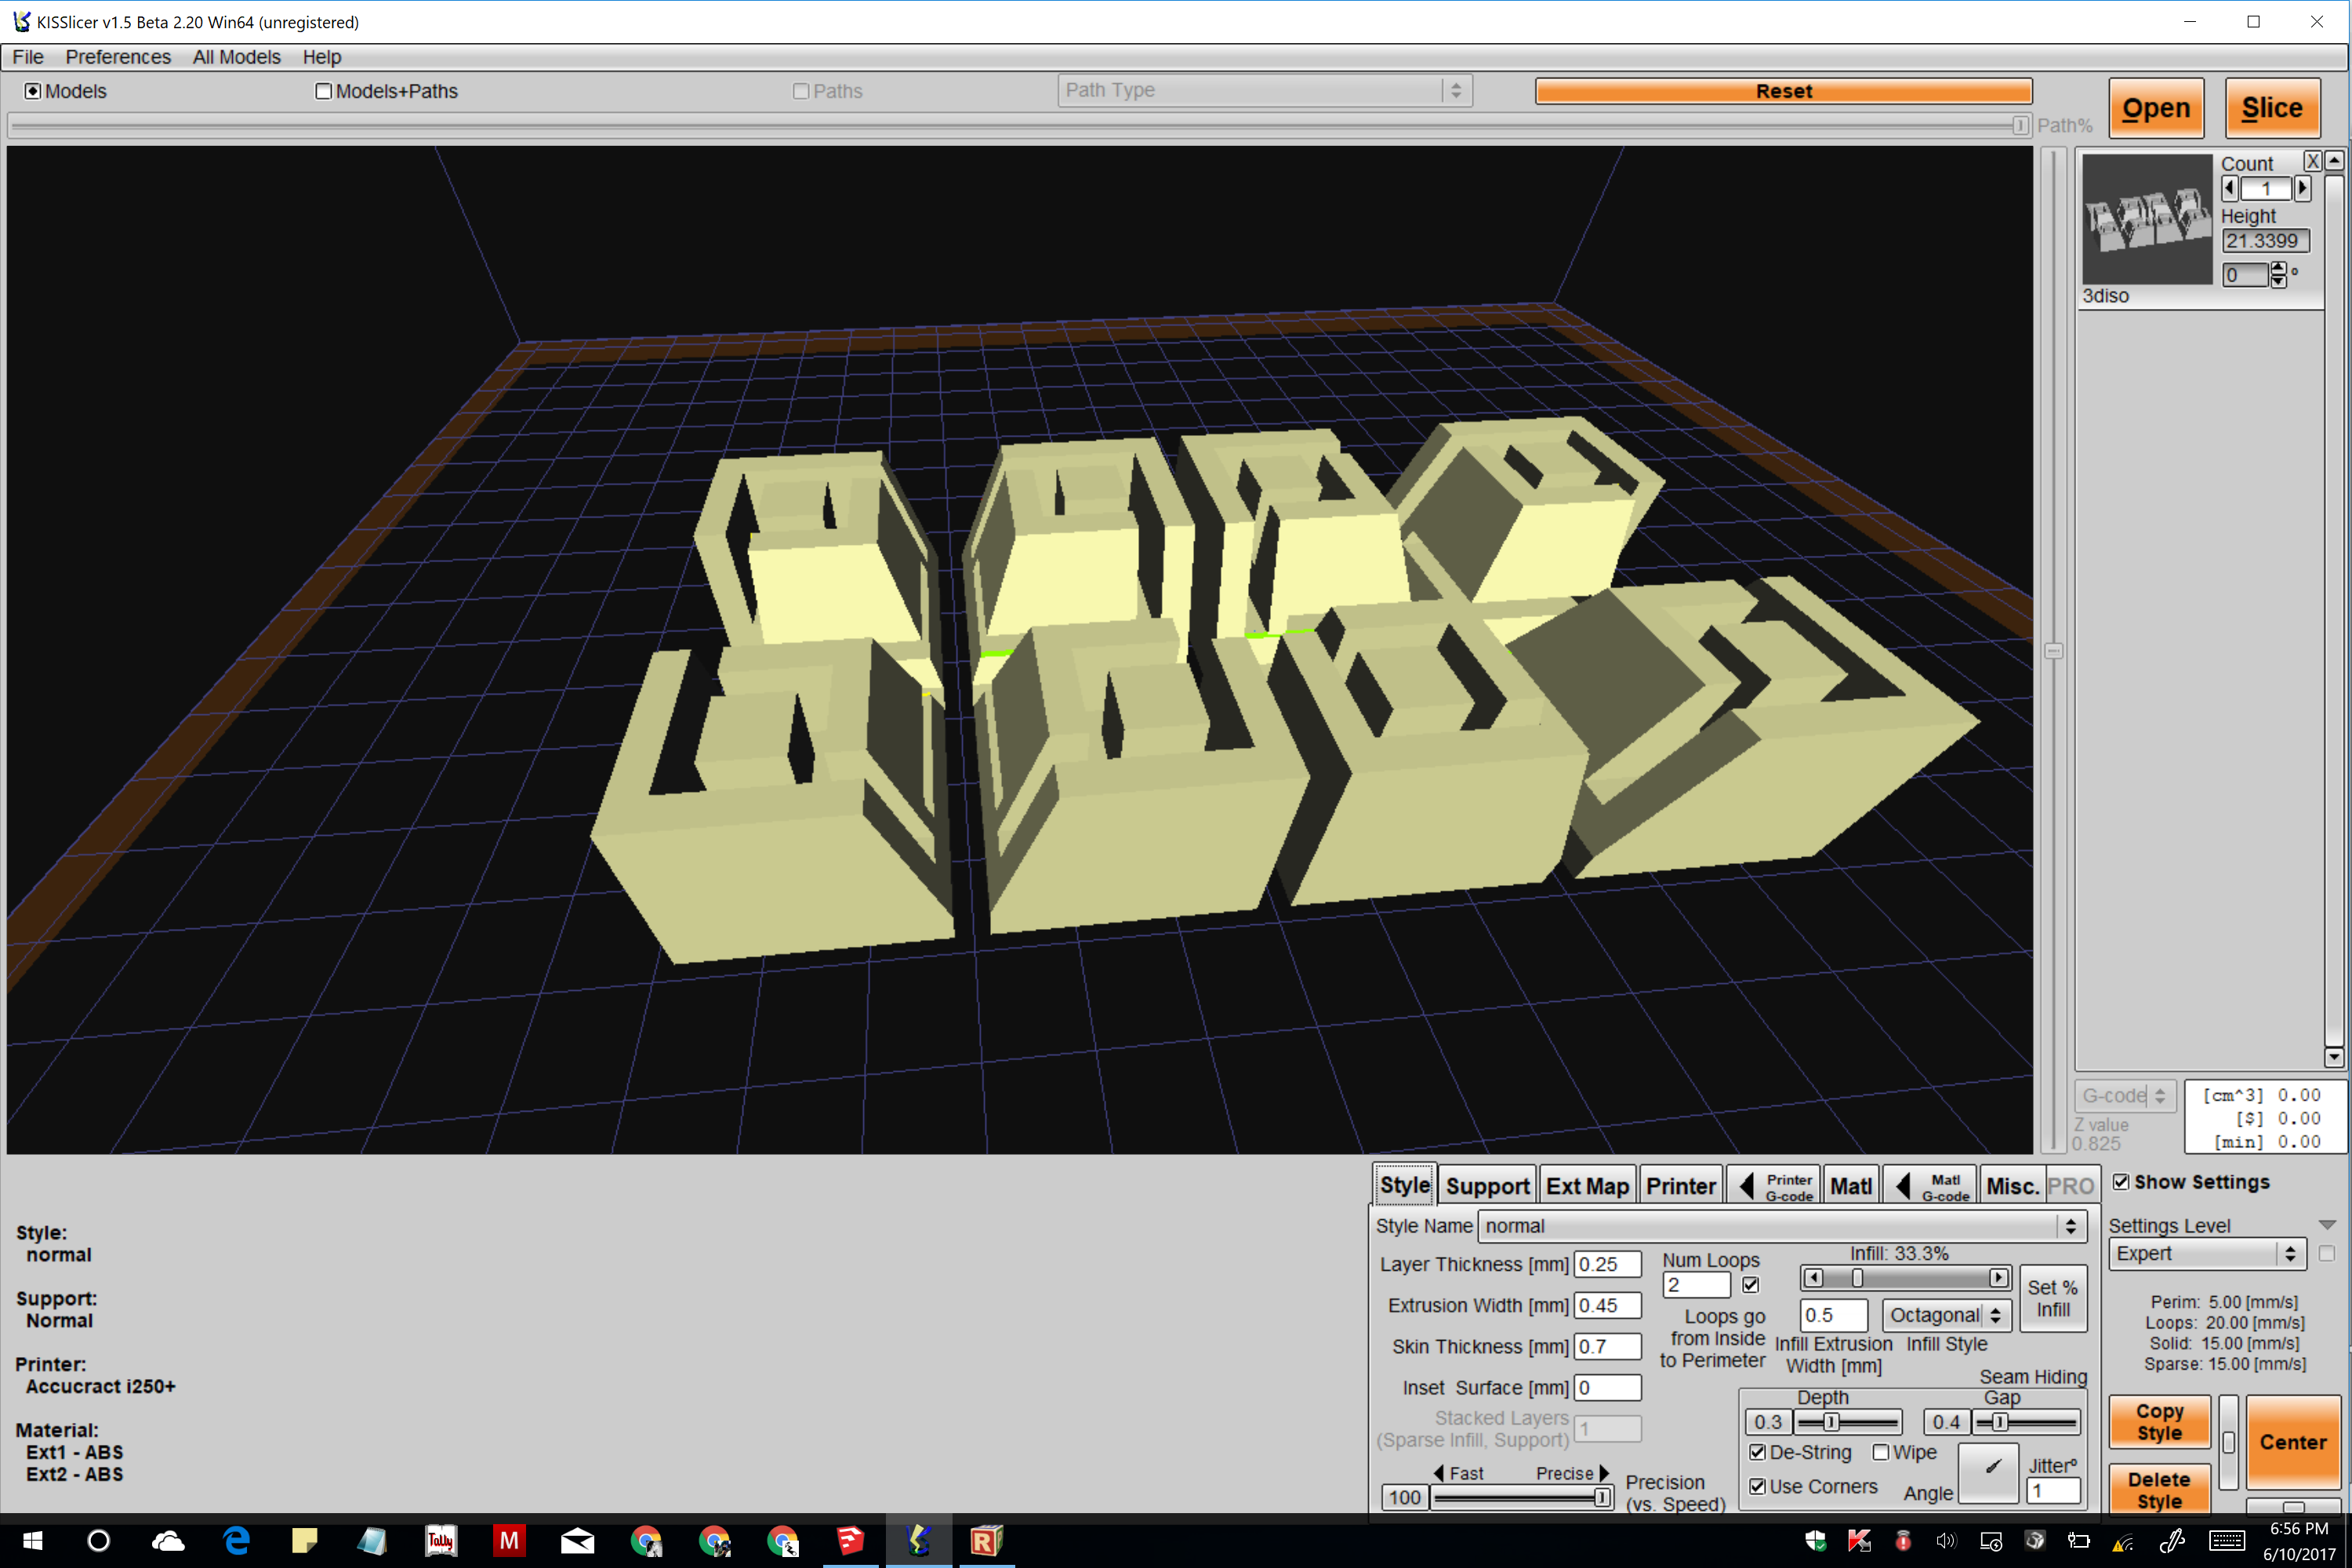
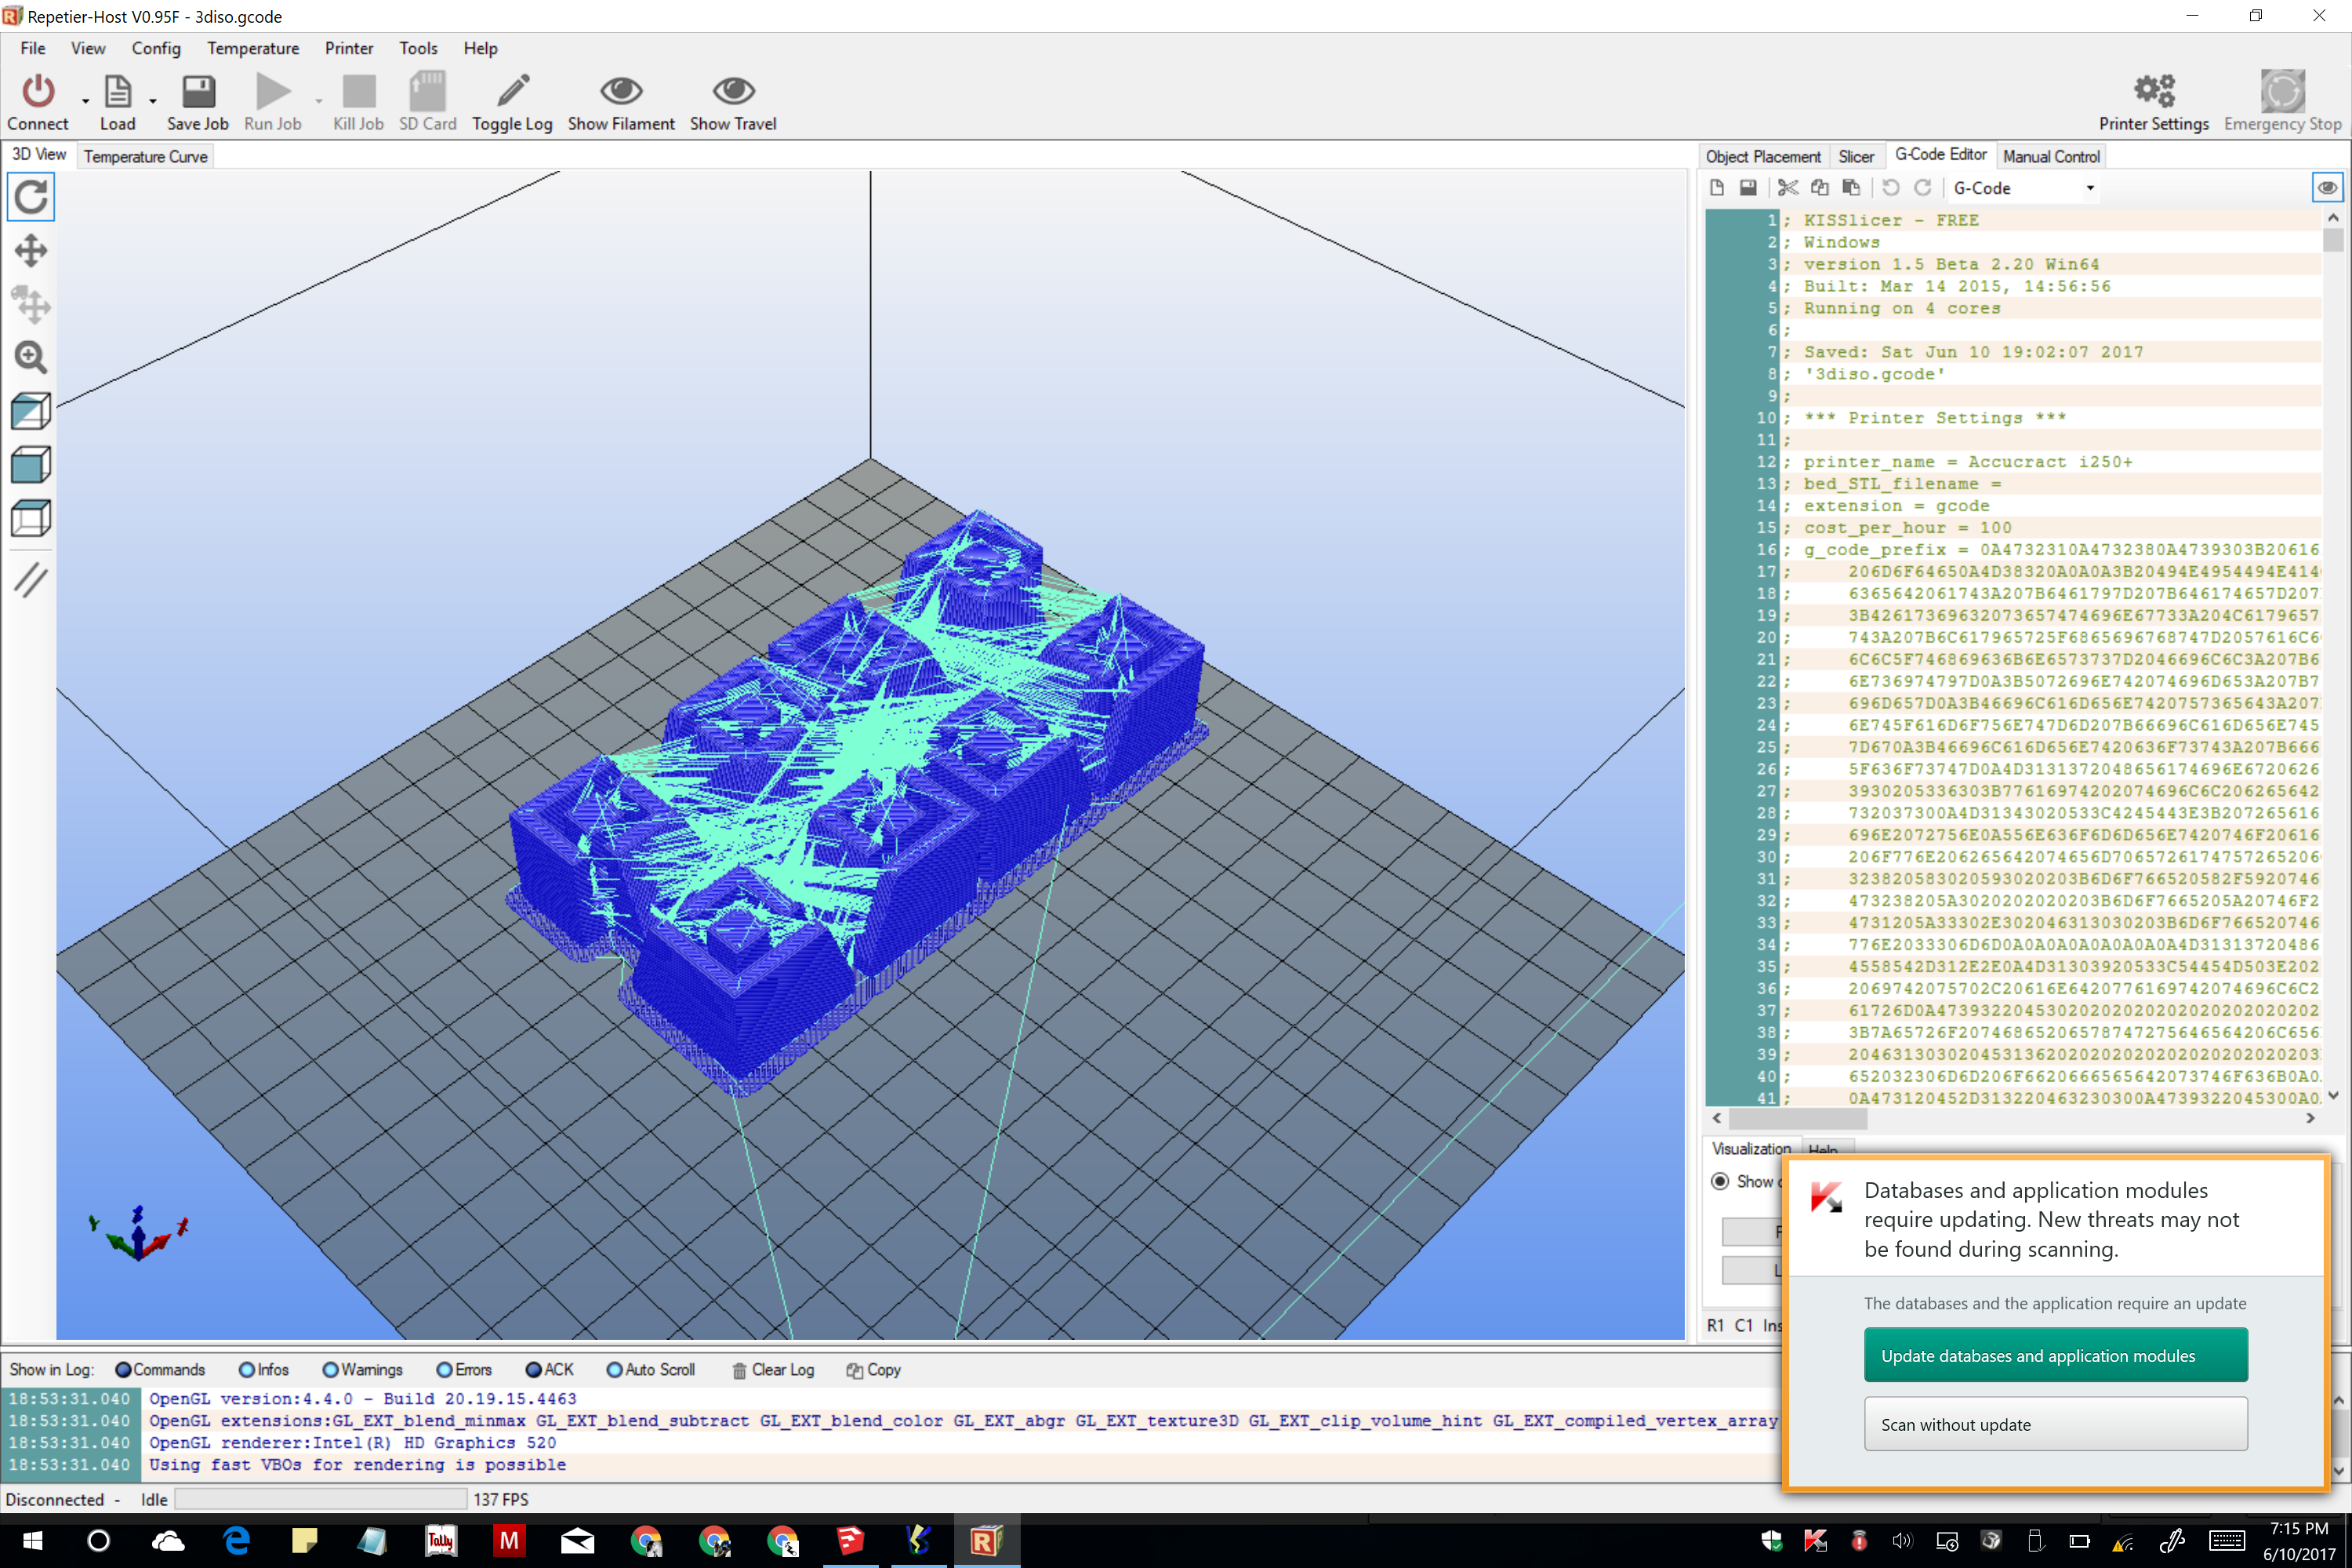
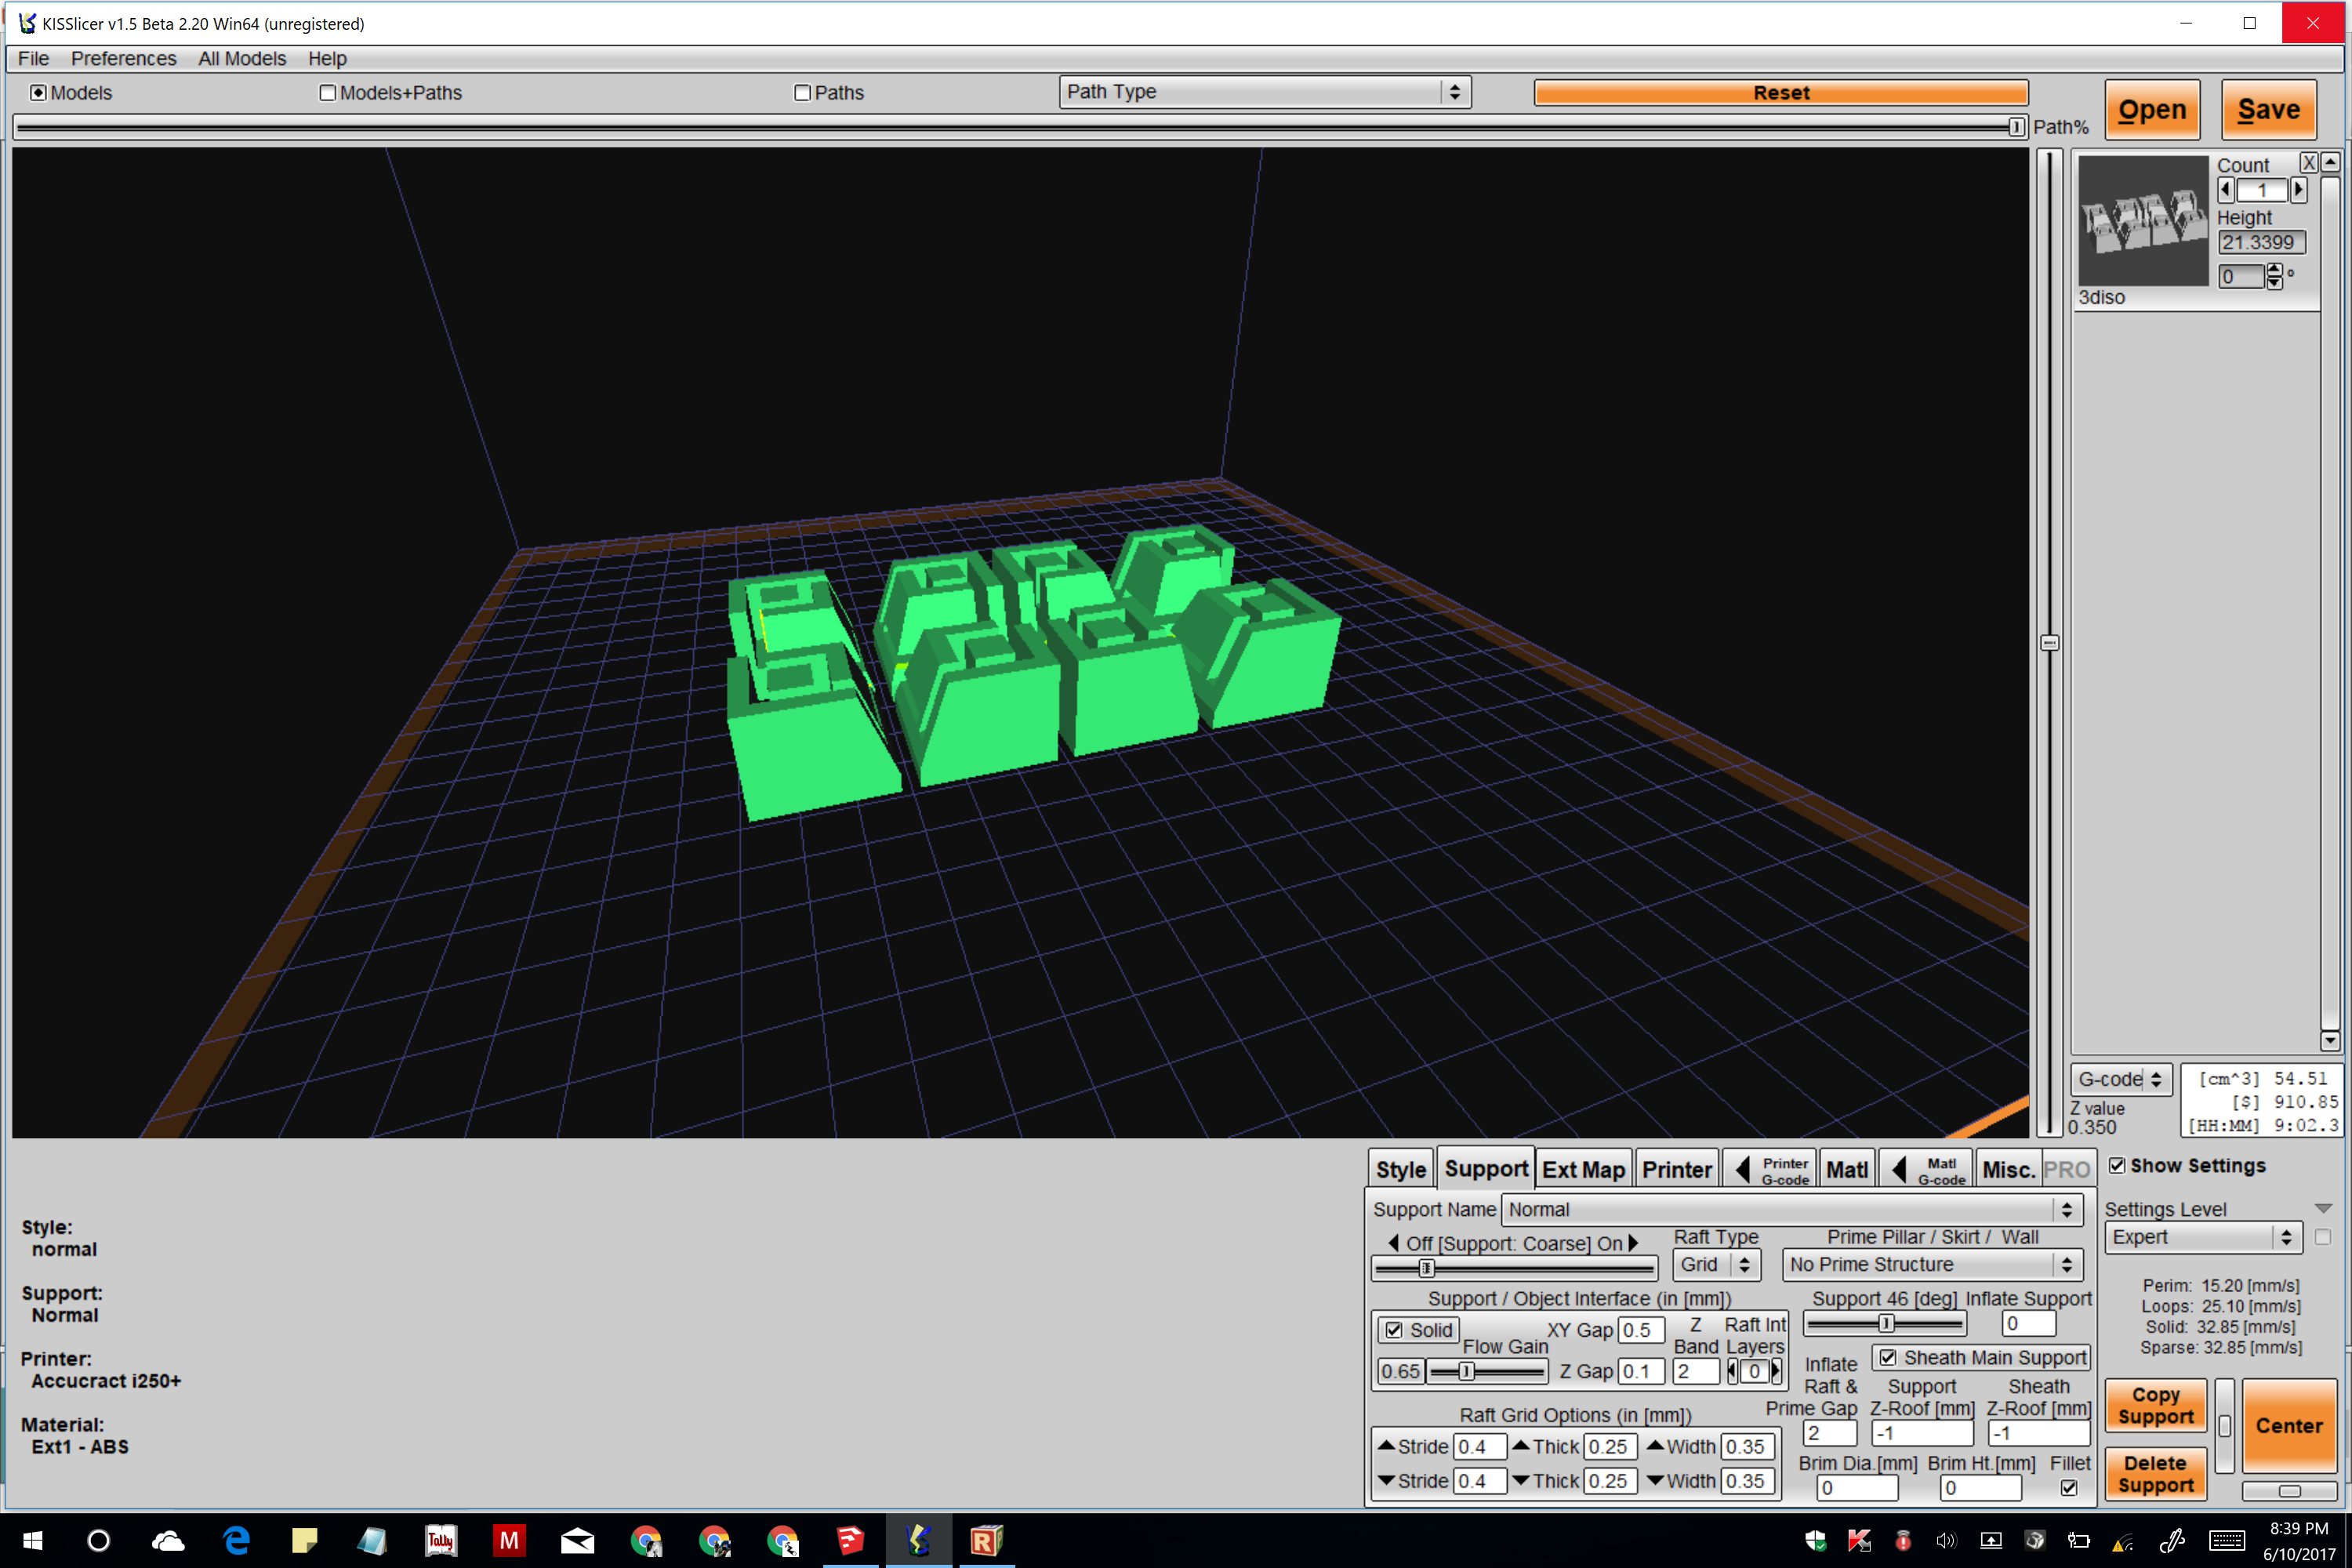
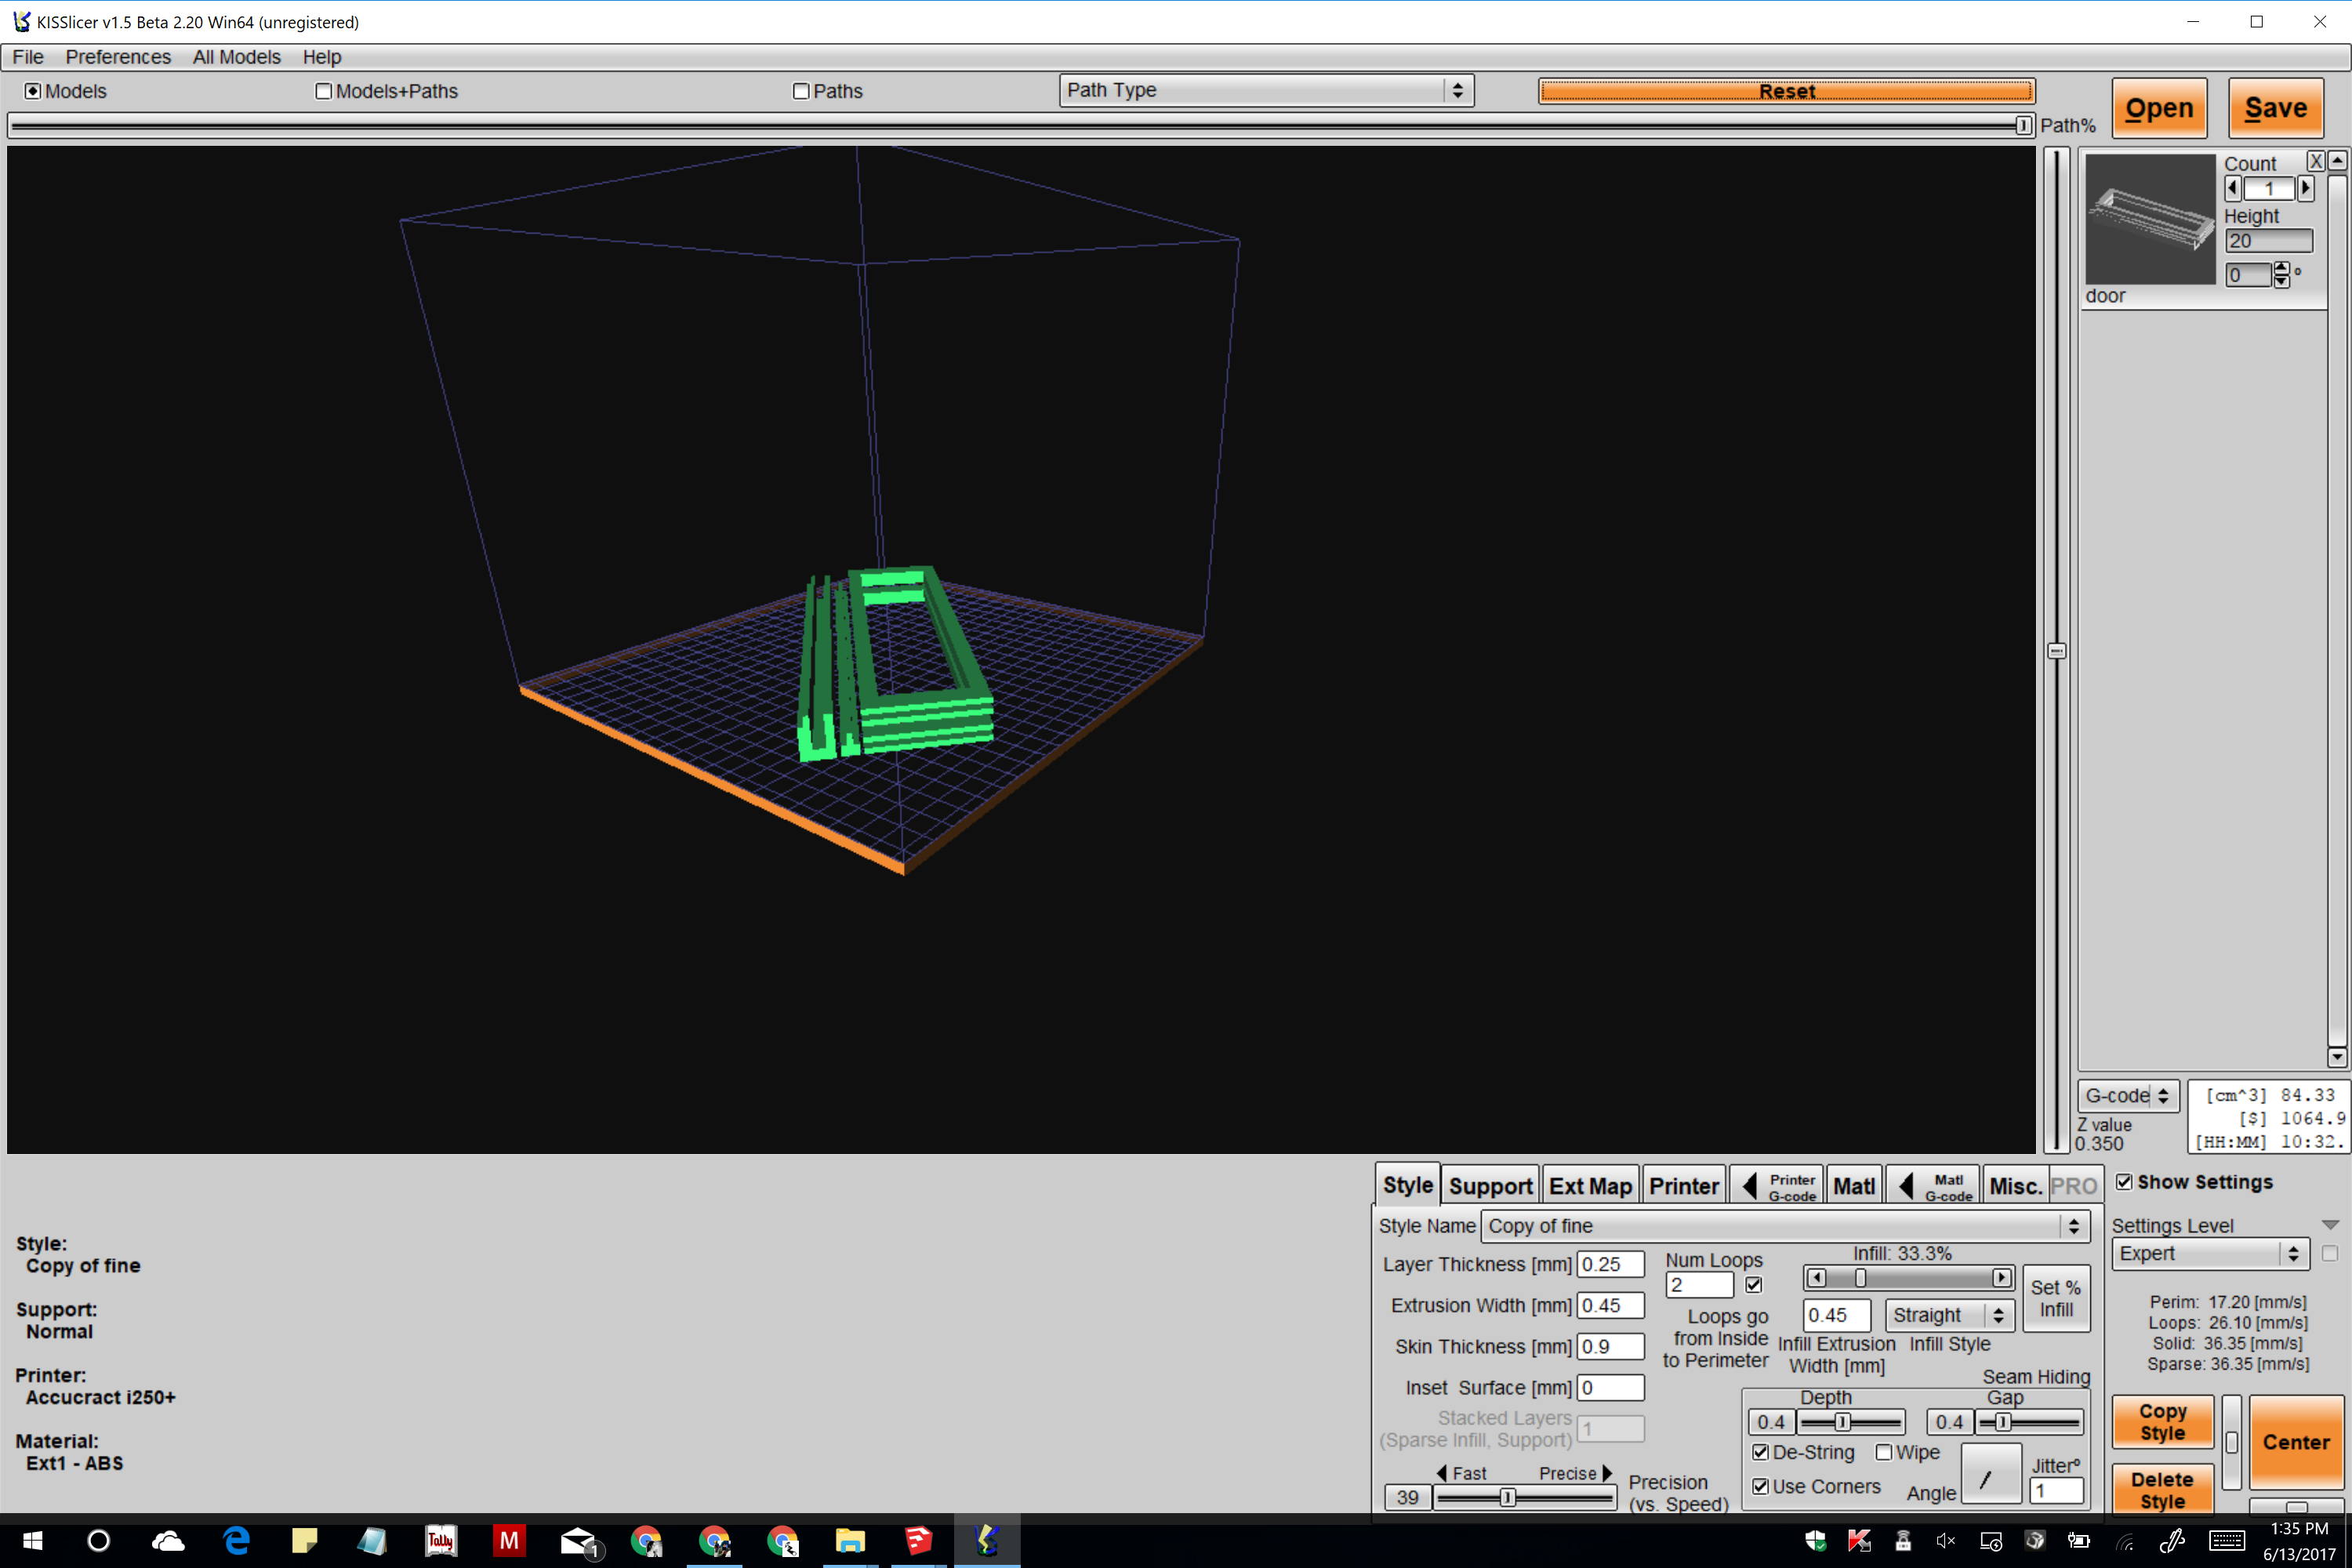
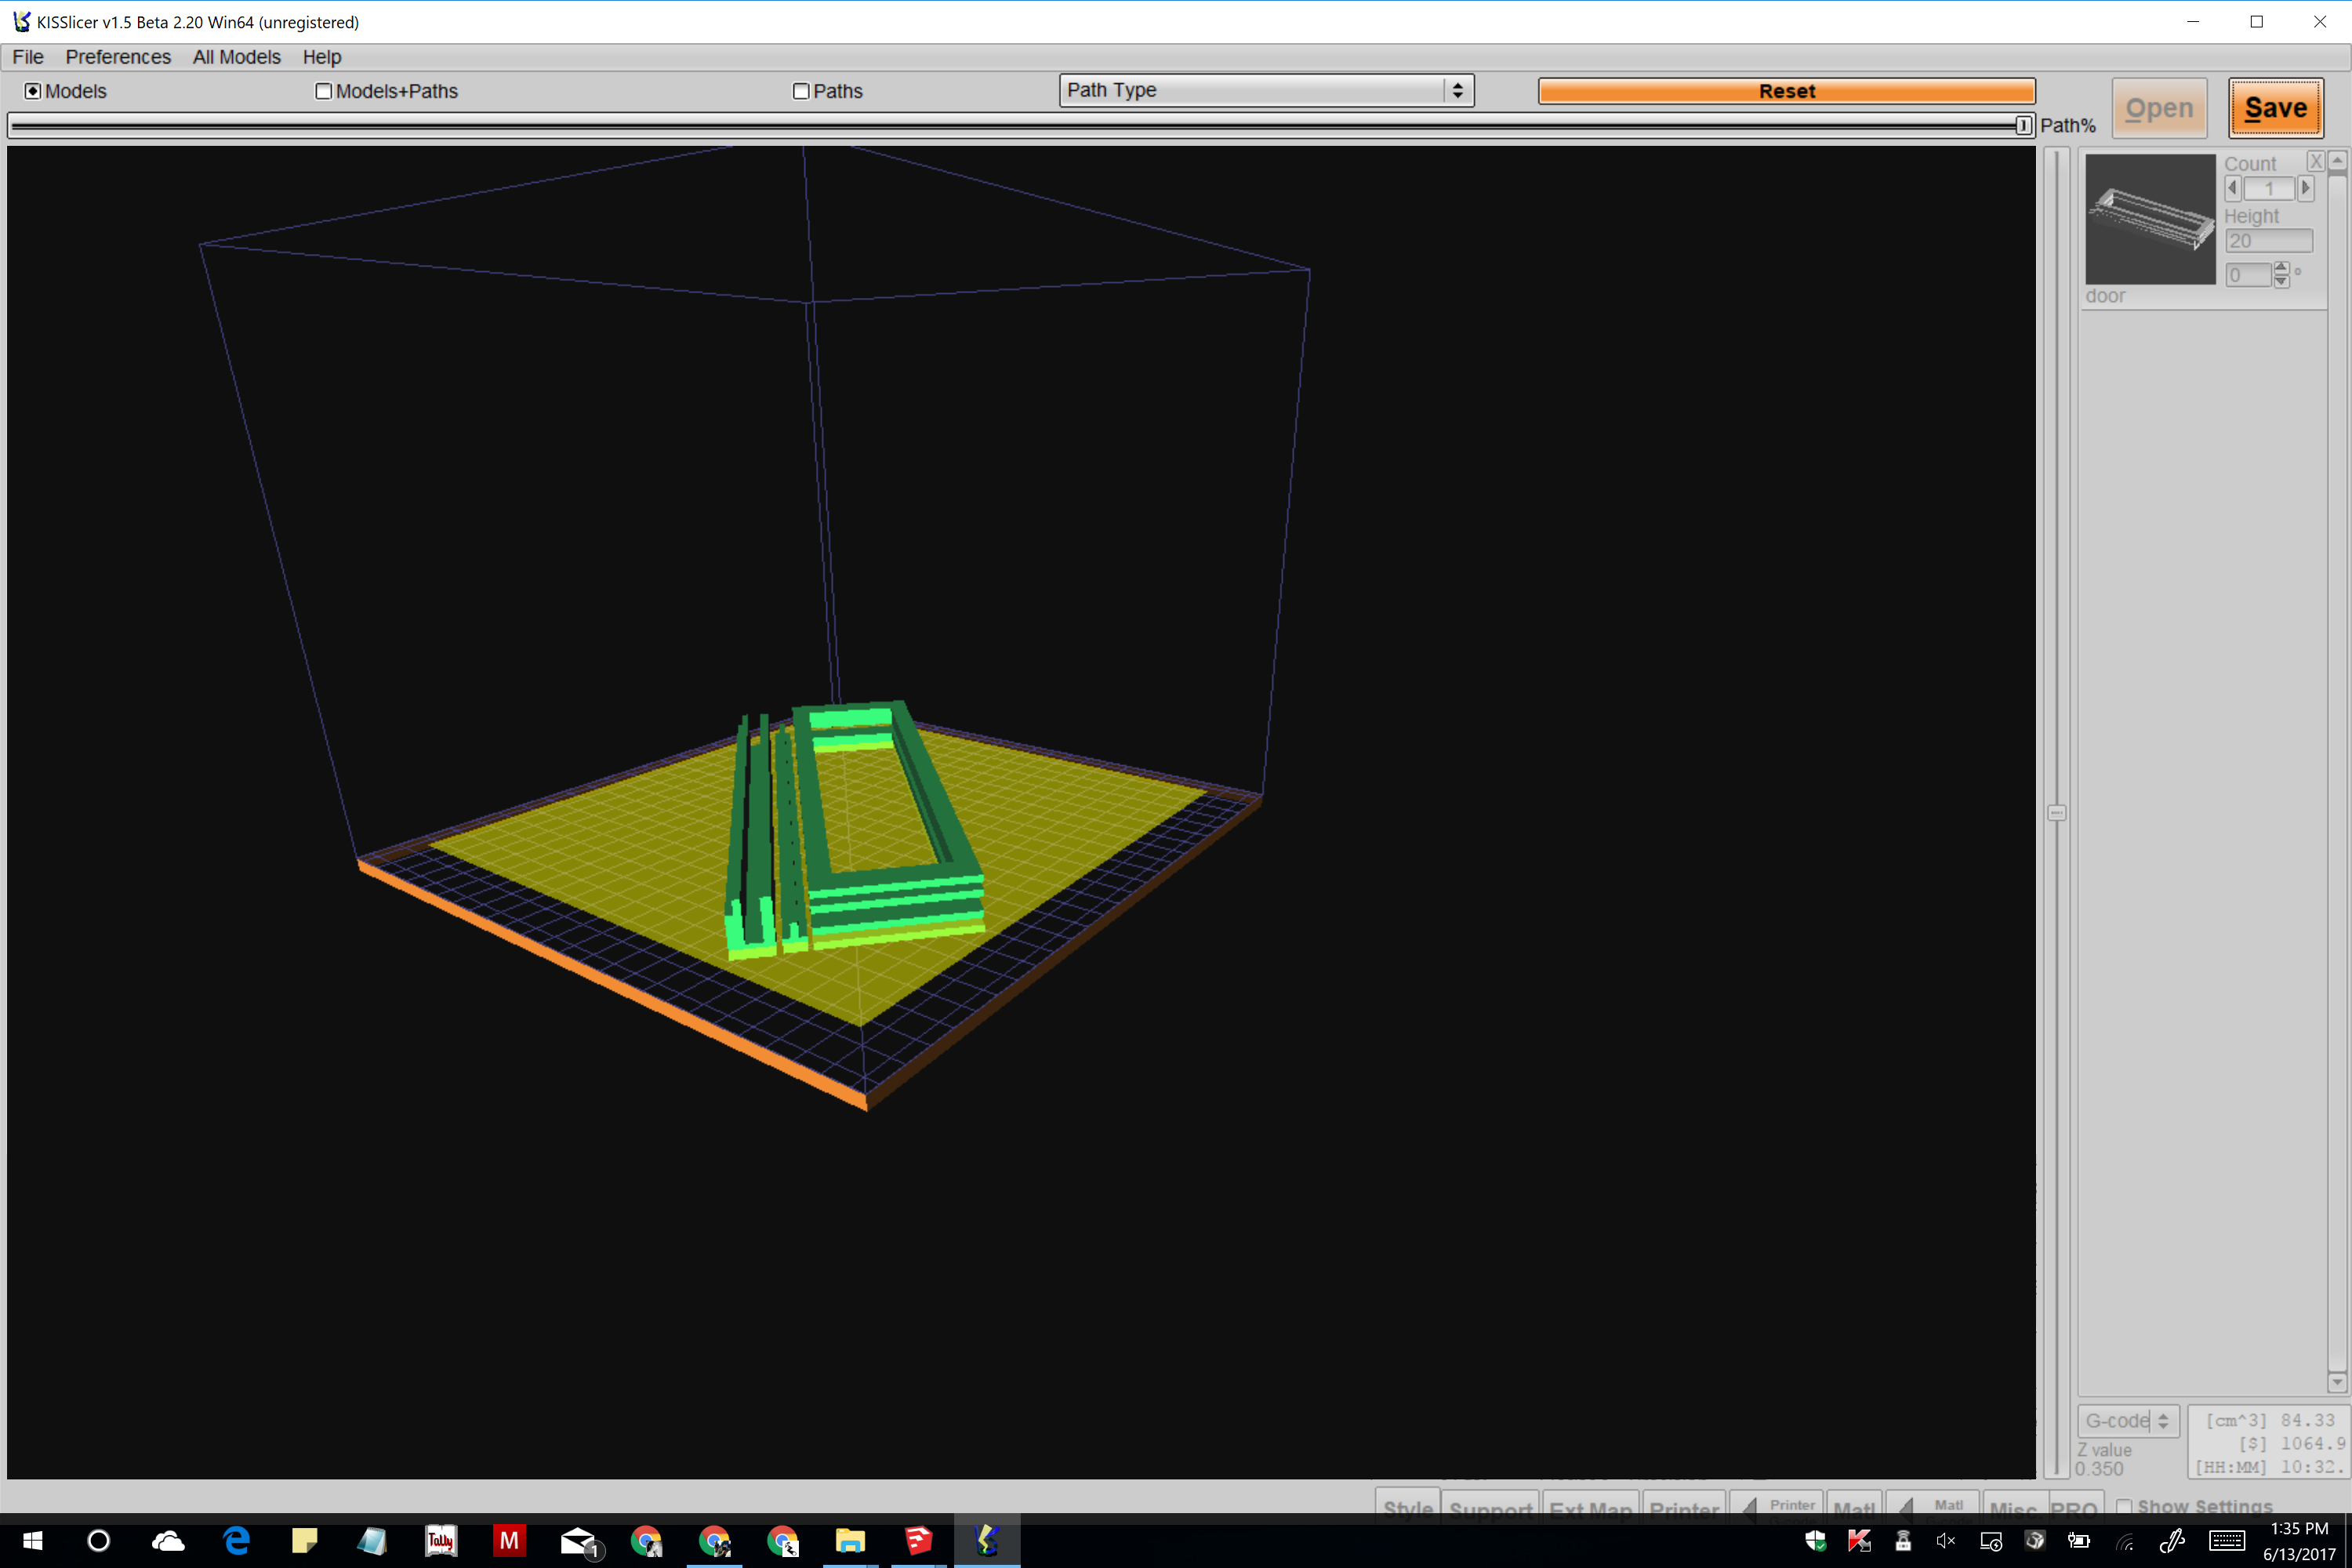
RAPID PROTOTYPING
Laser
VIDEO
A brief laser simulation i alwasy do before printing to optimise my cuts. Feature available in RD works in tools section.
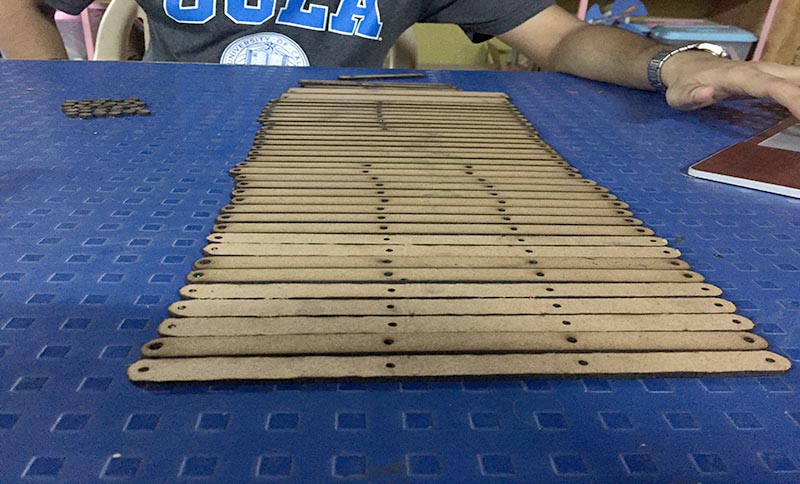
Laser Cutting Extentions Trial 1
Laser Cutting Extentions Trial 2
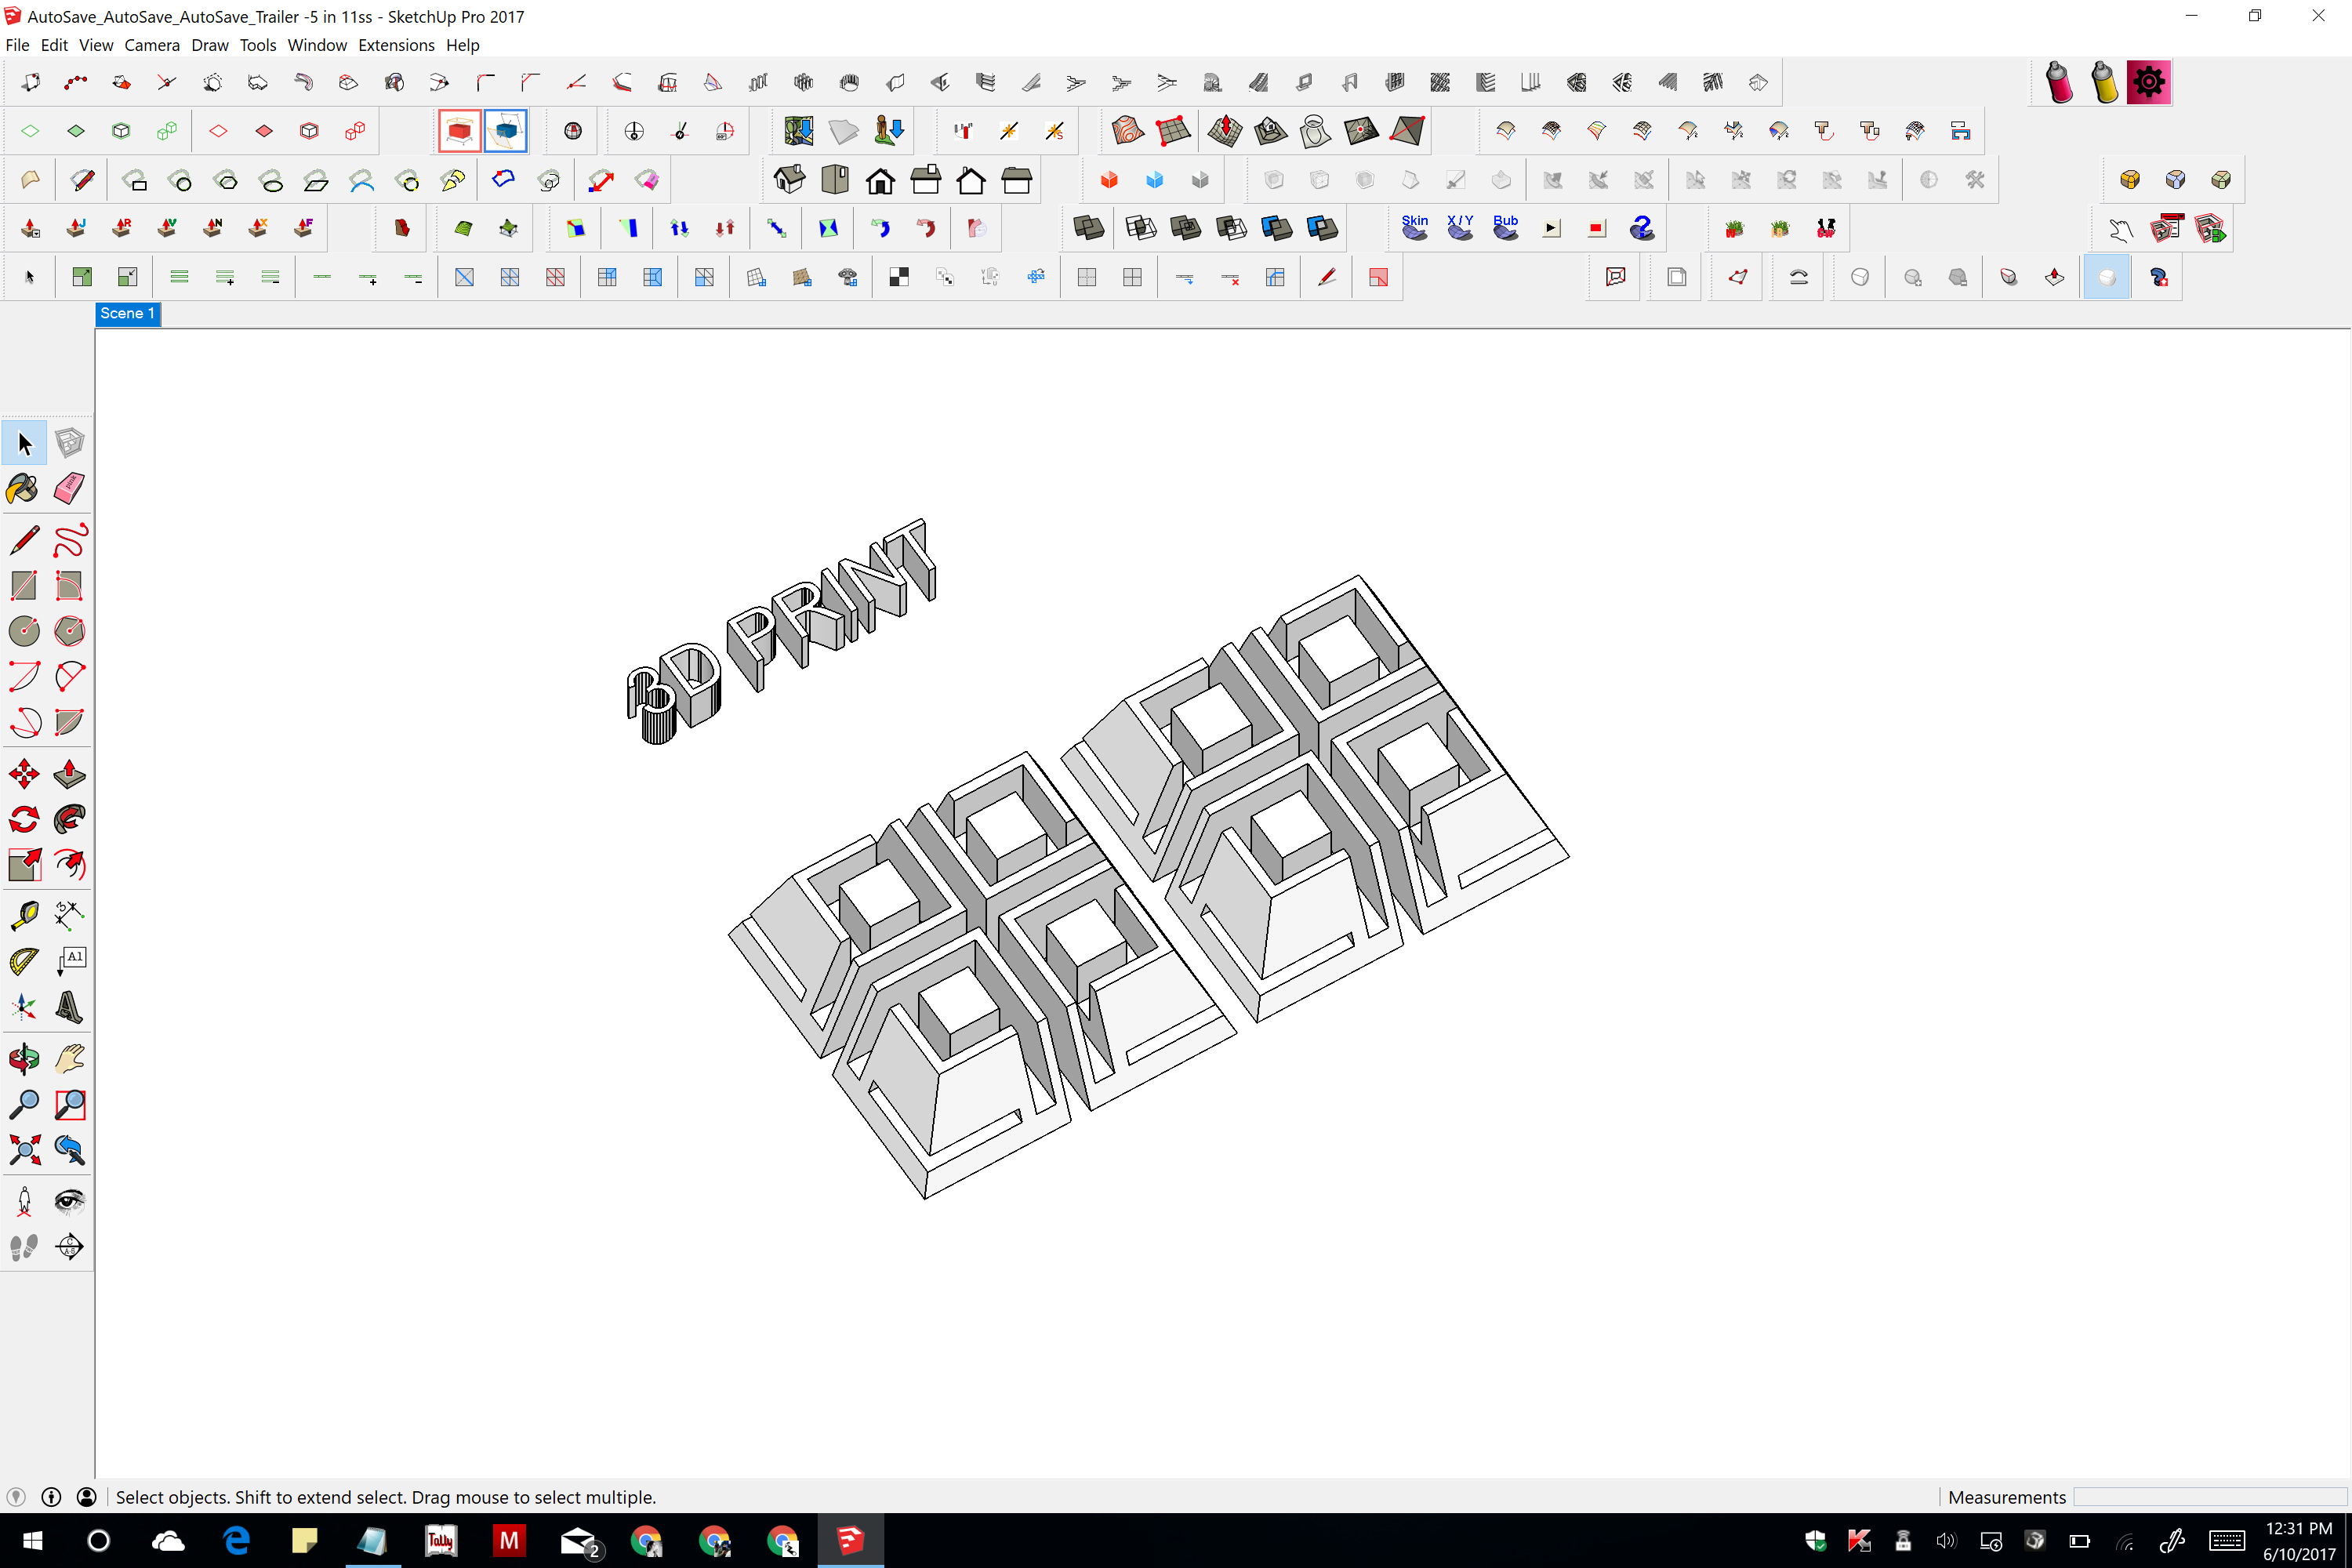
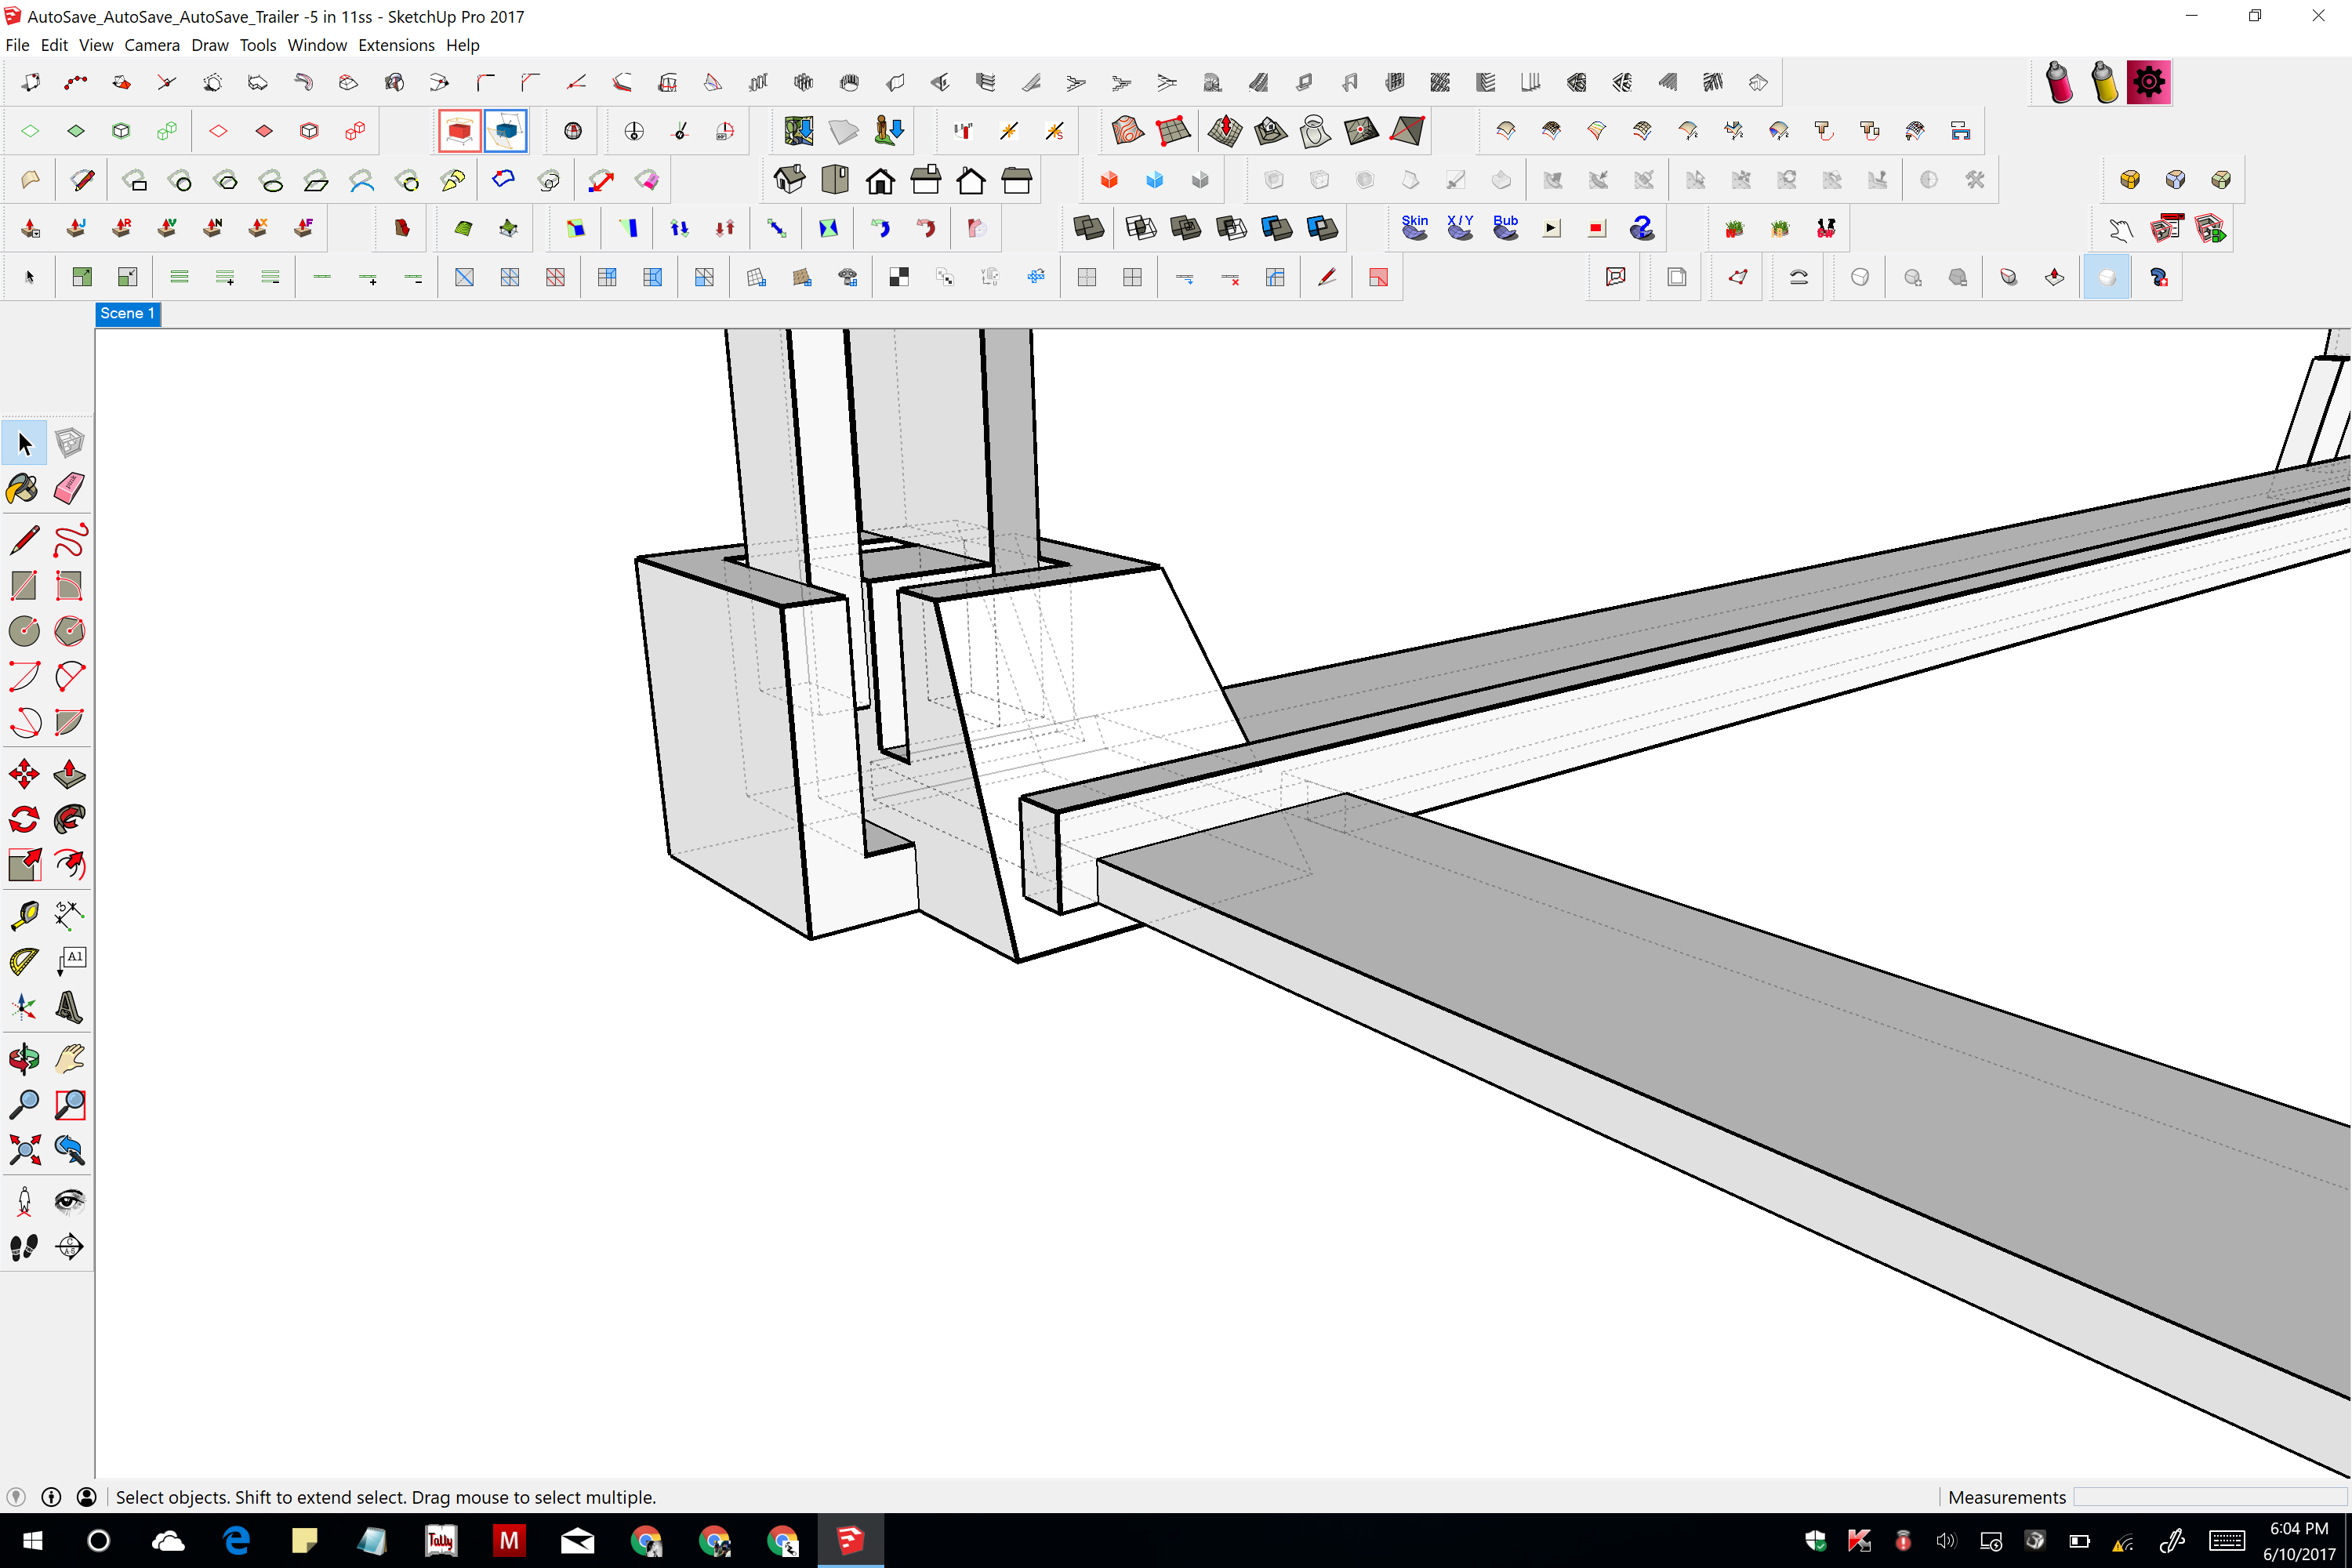
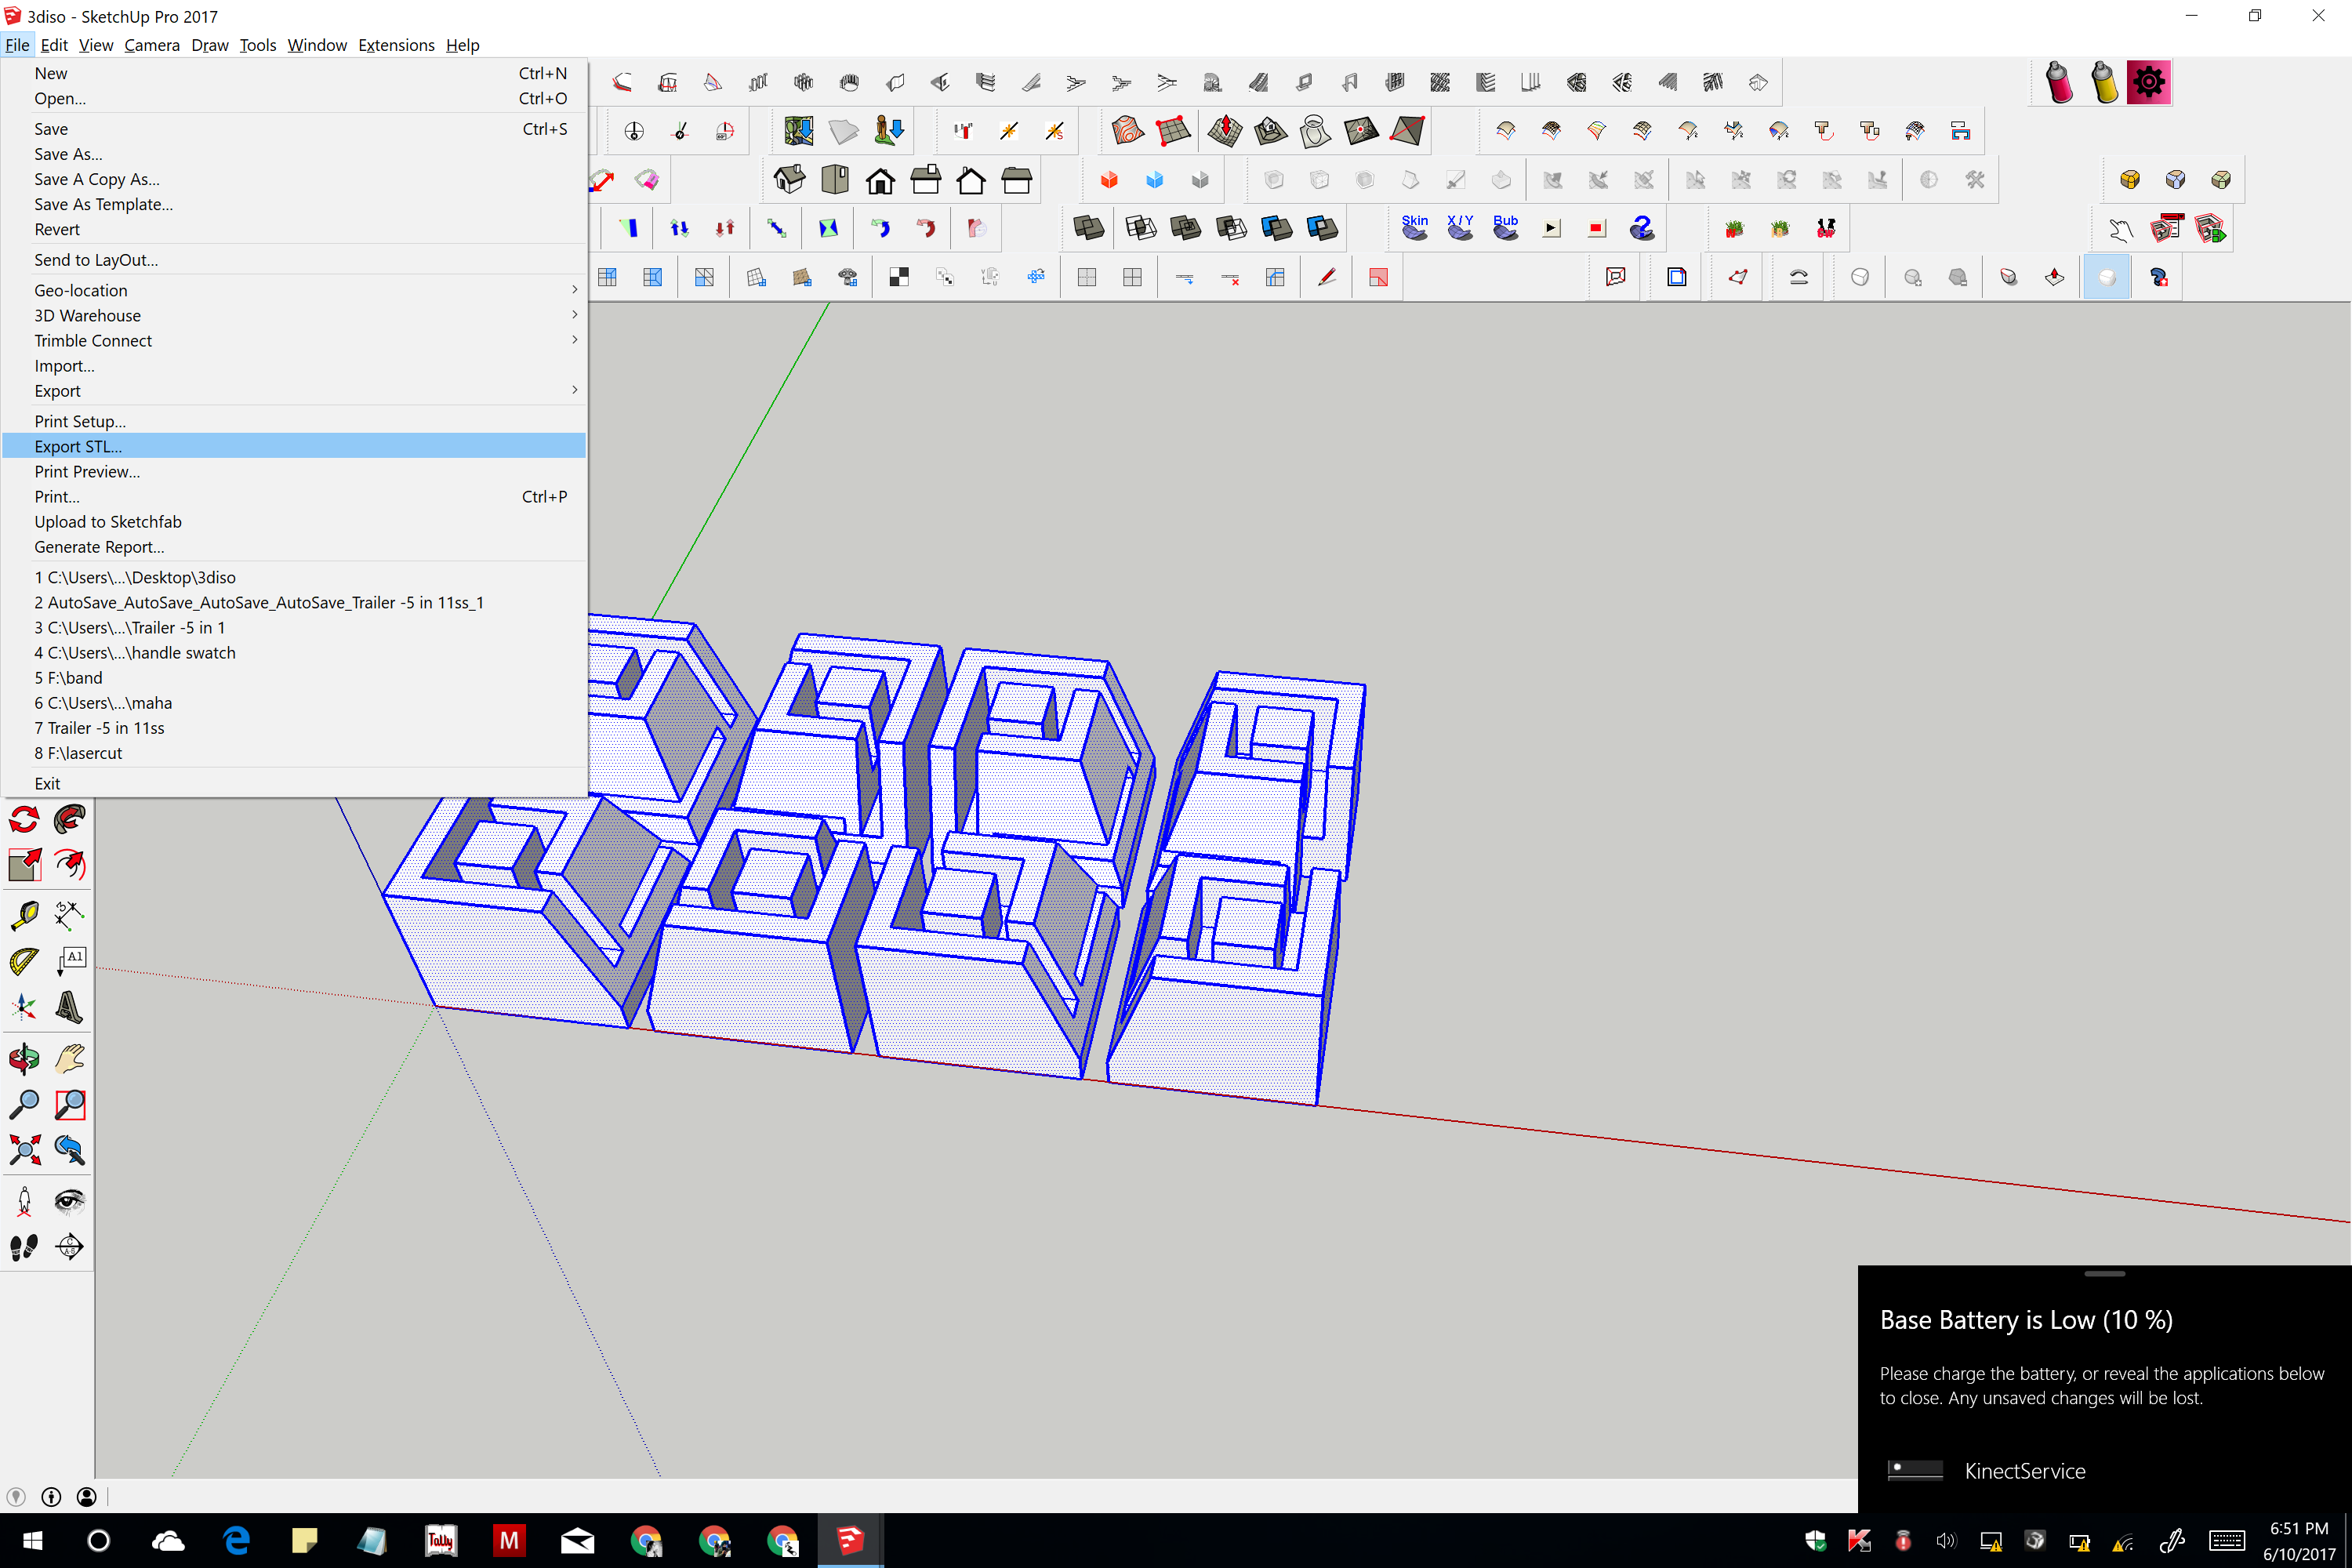
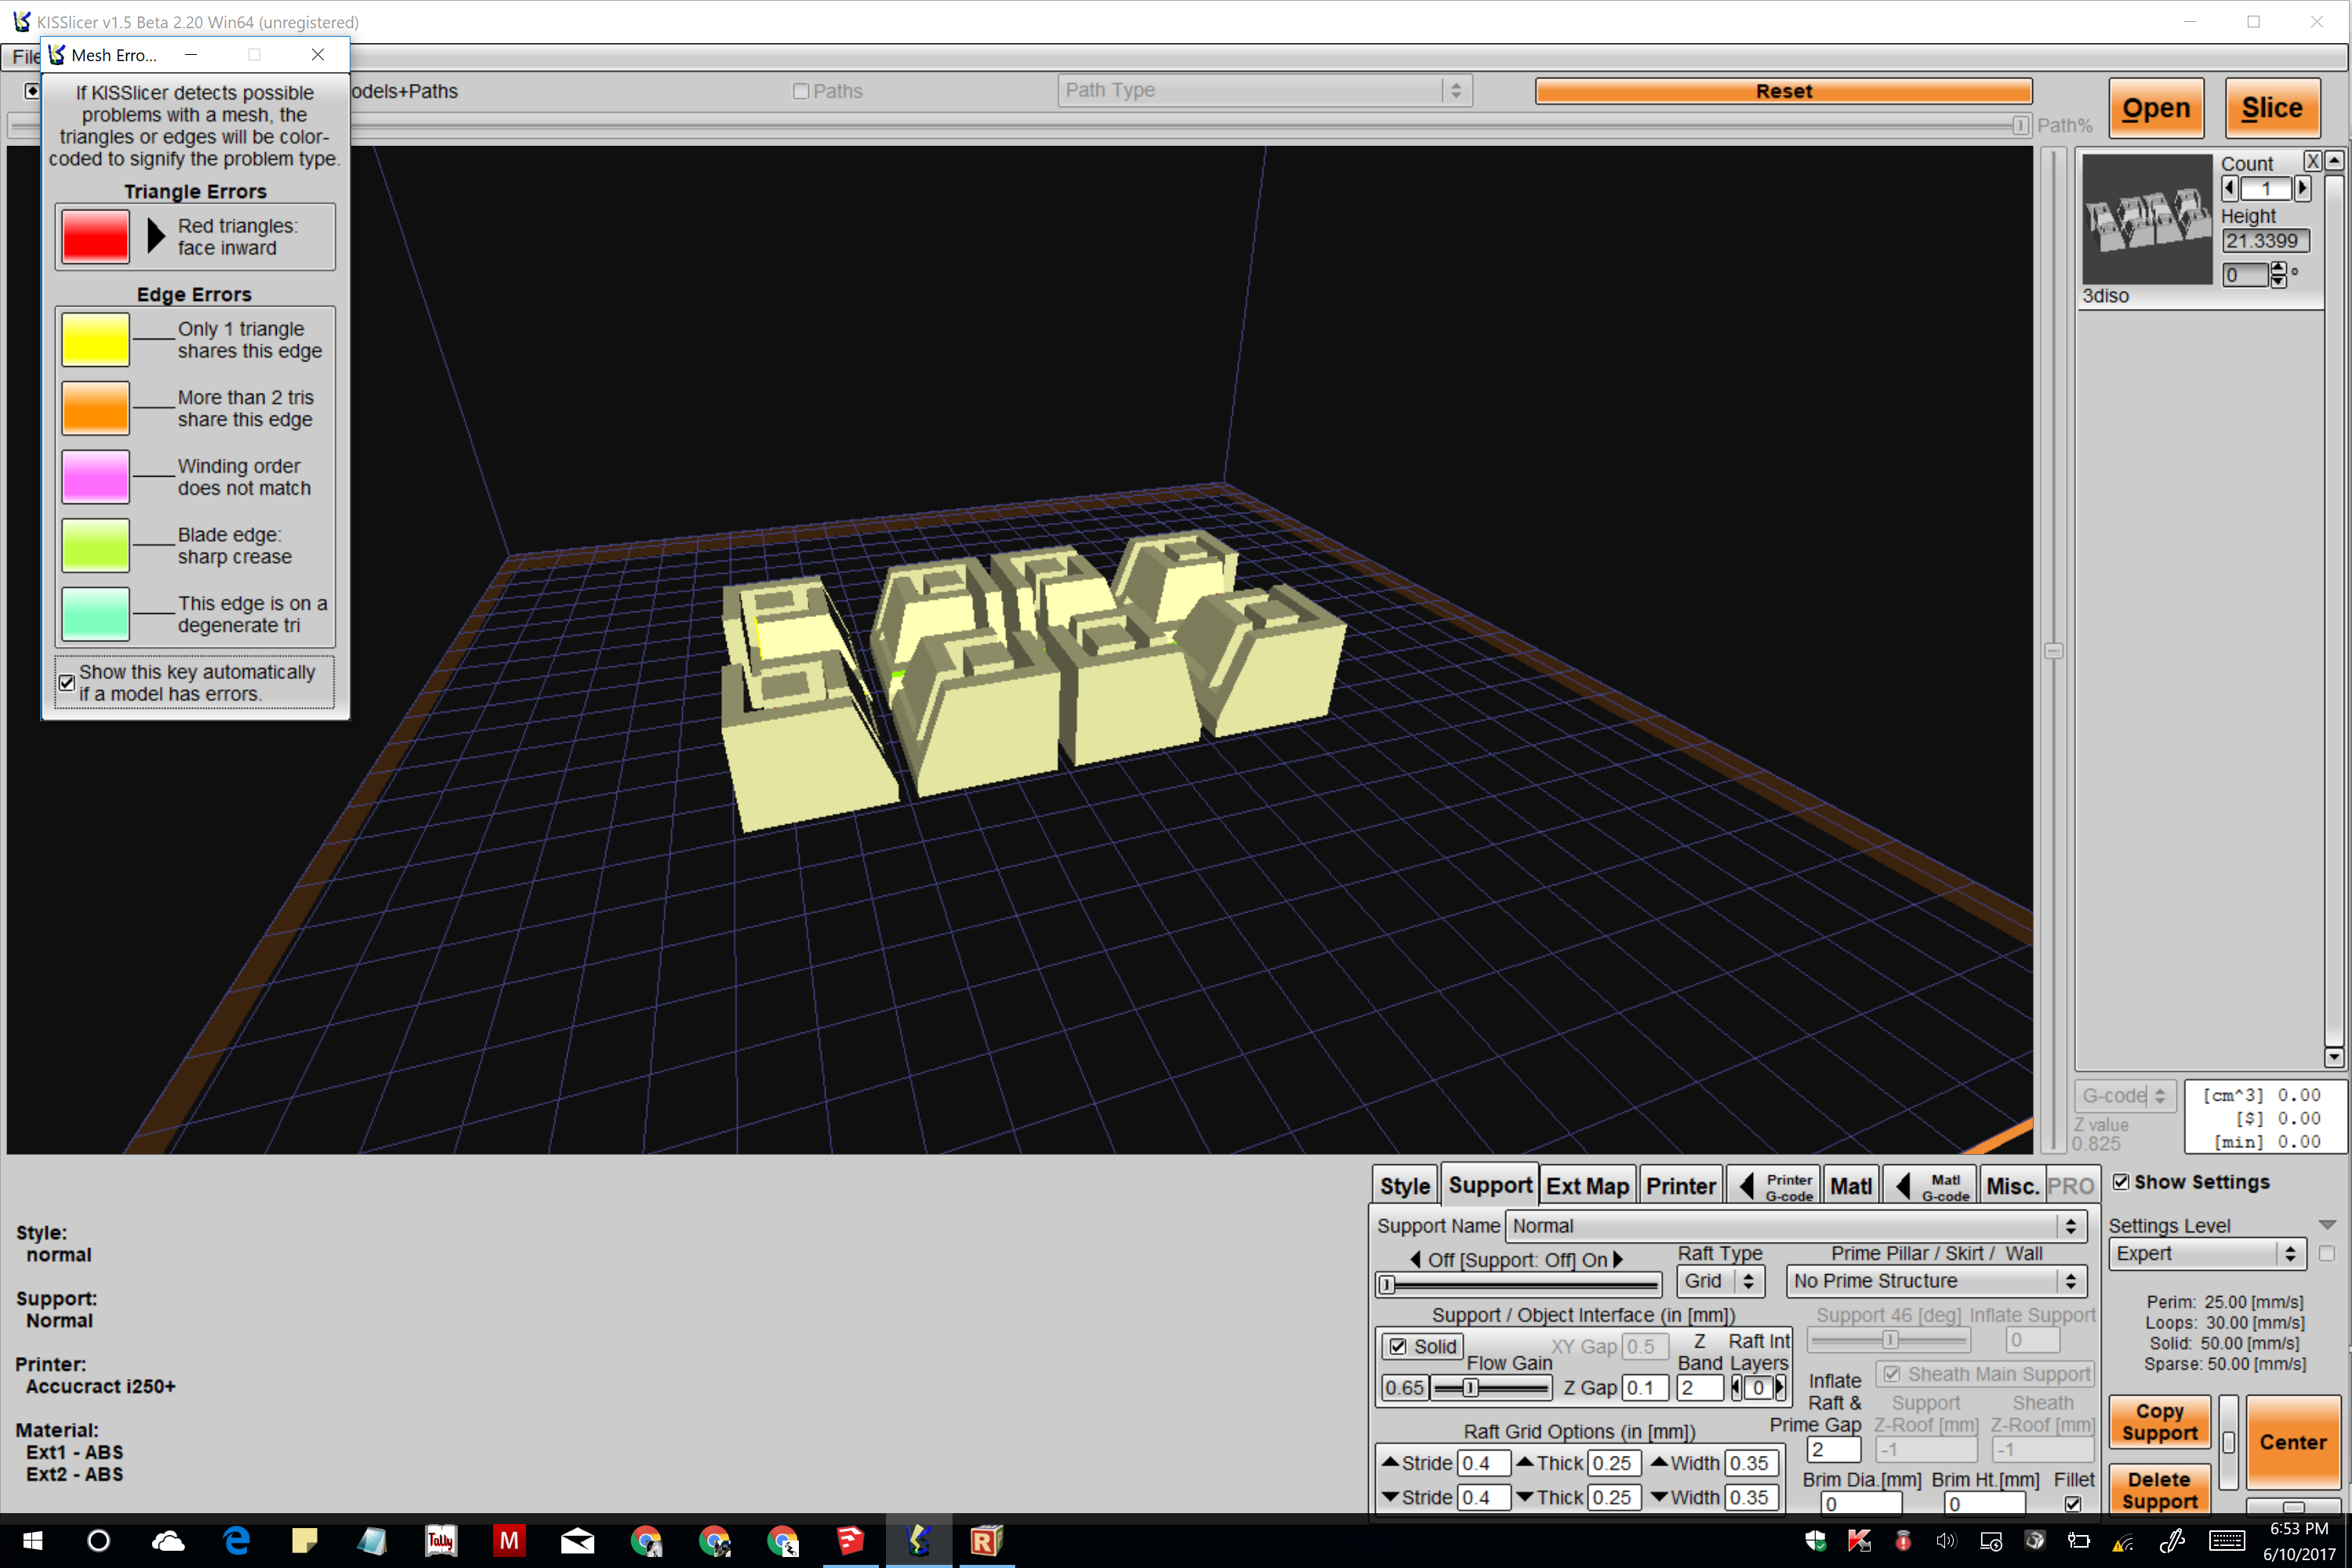
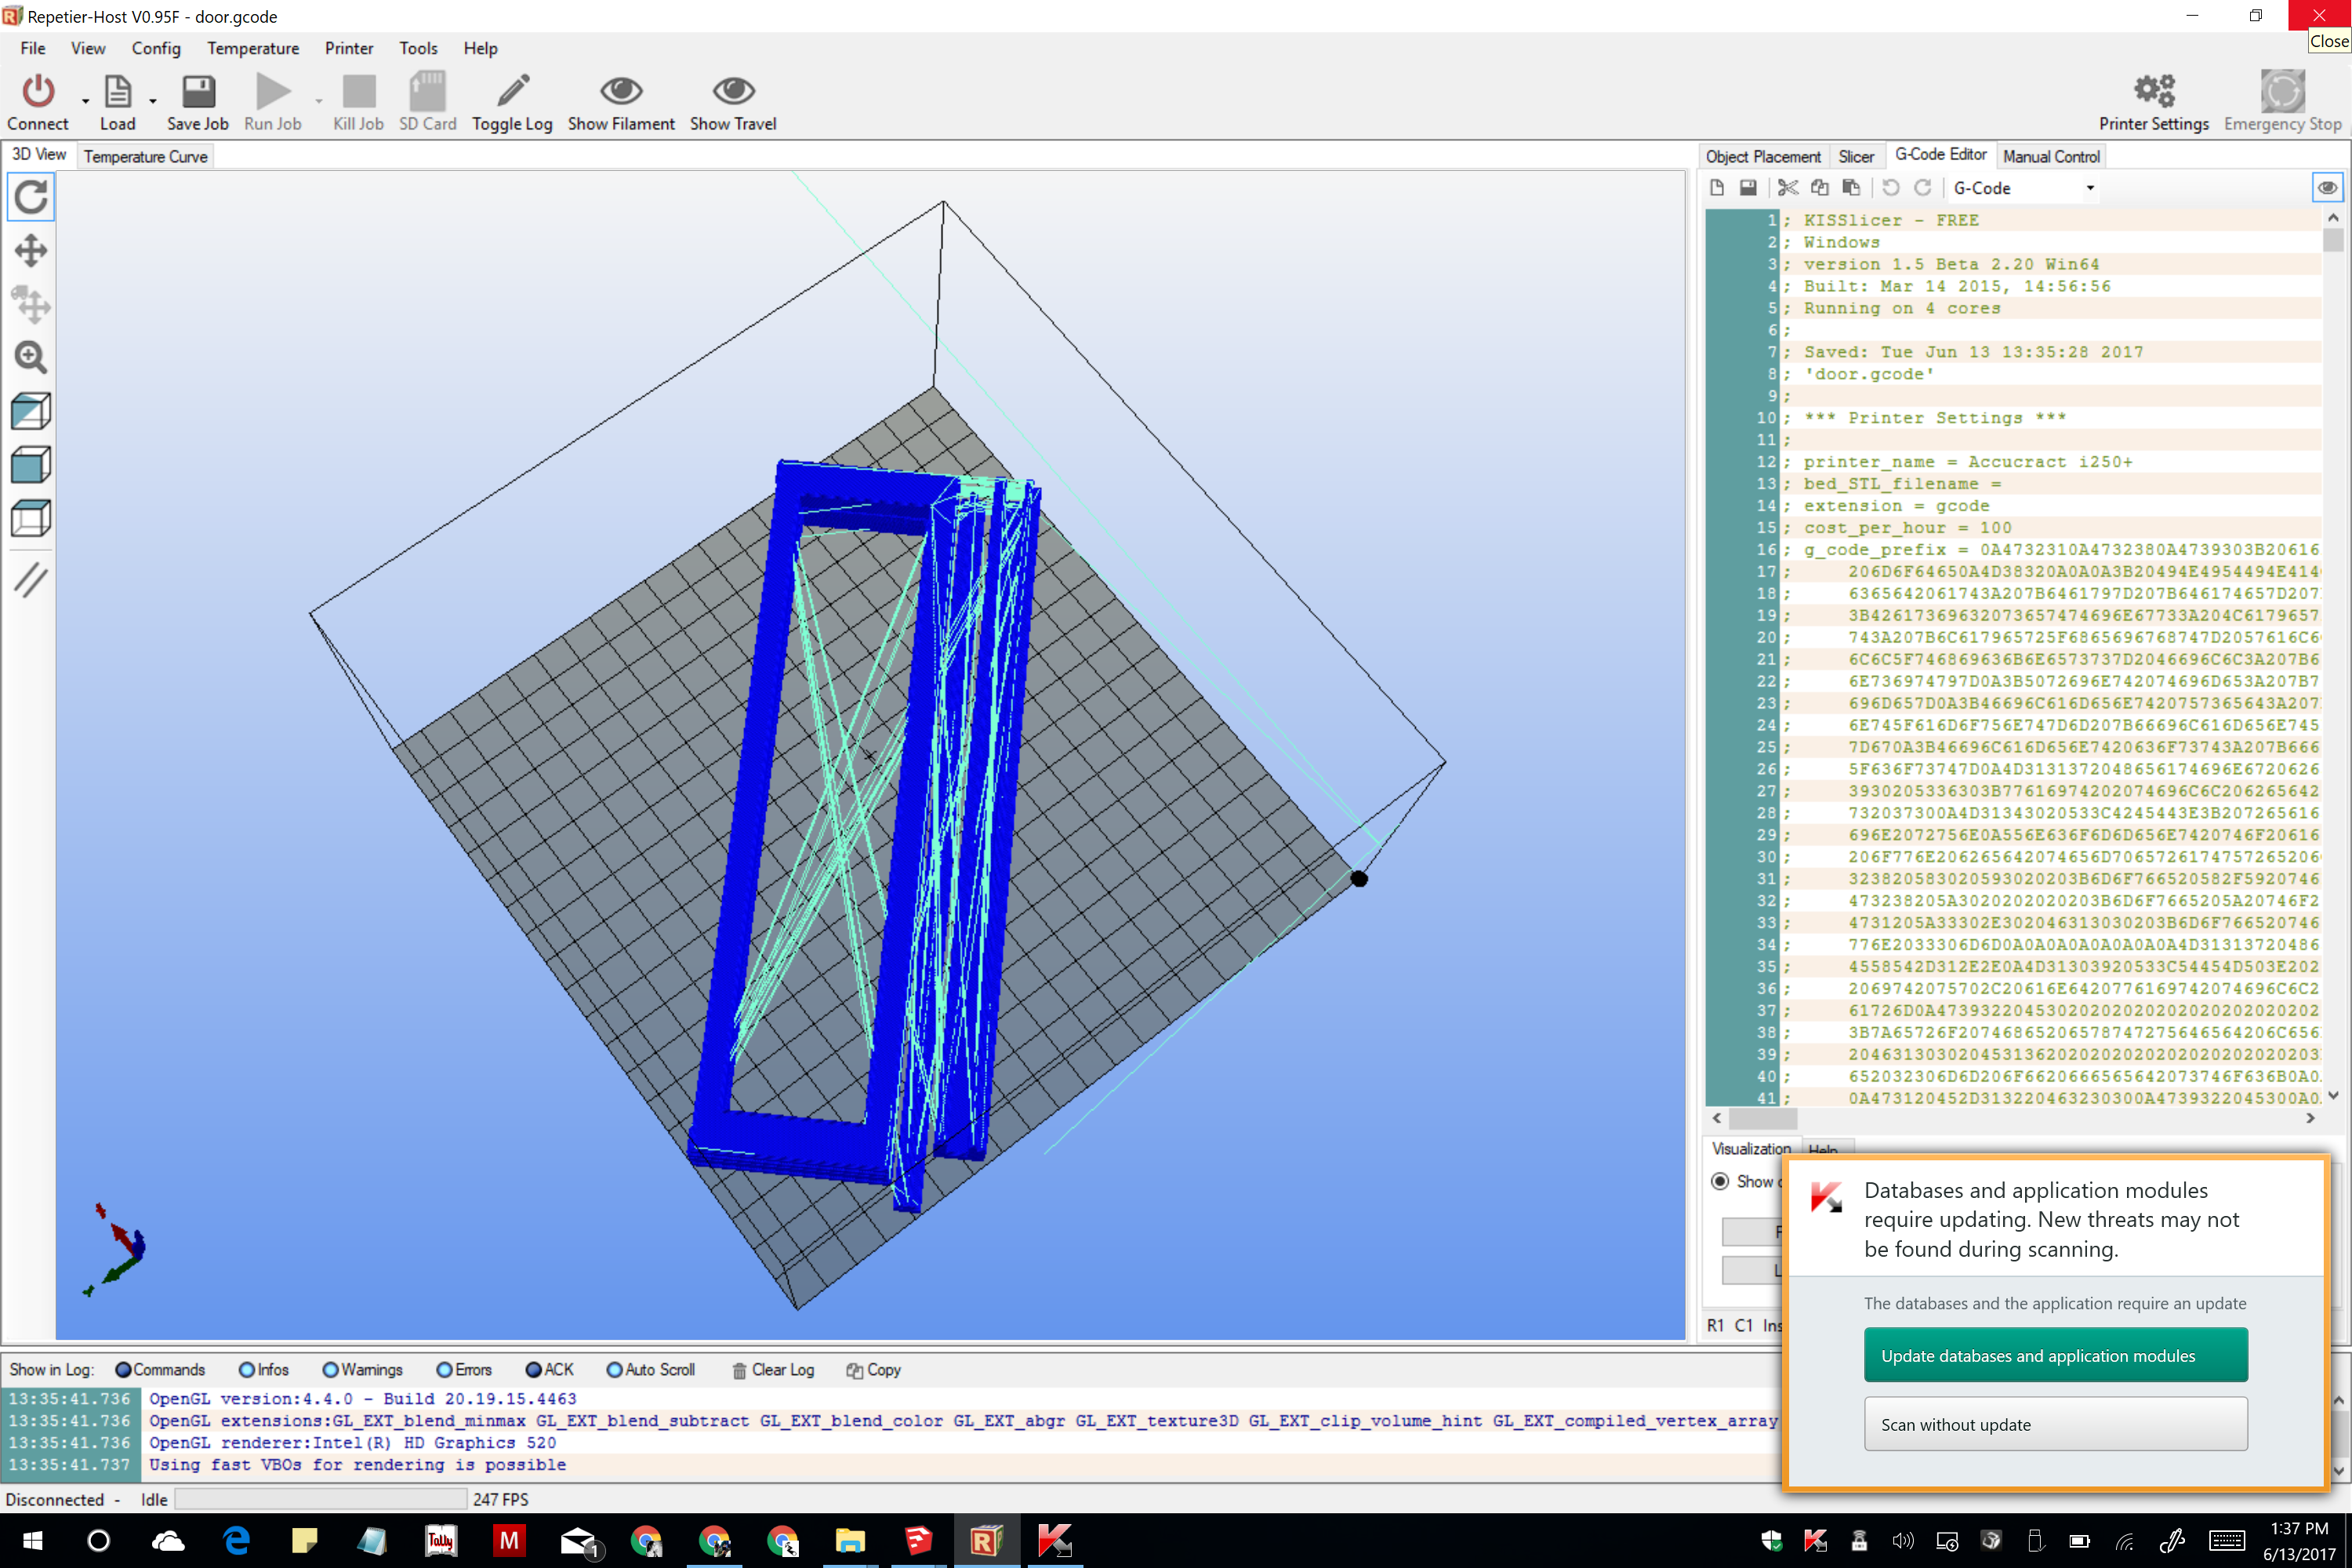
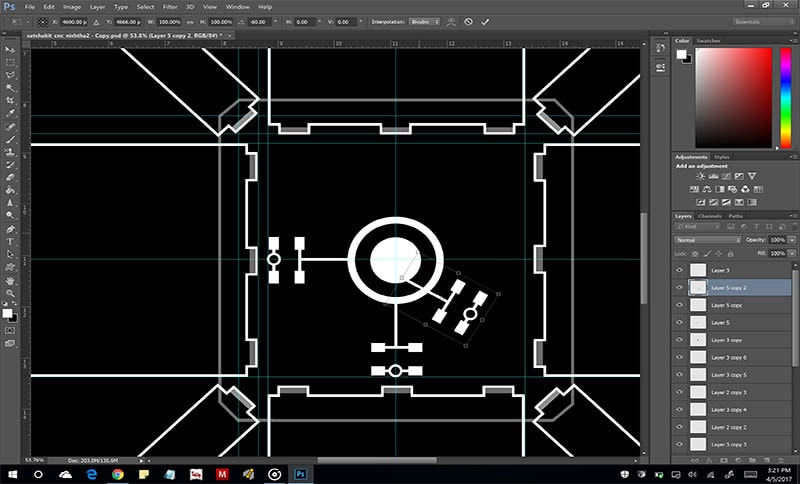
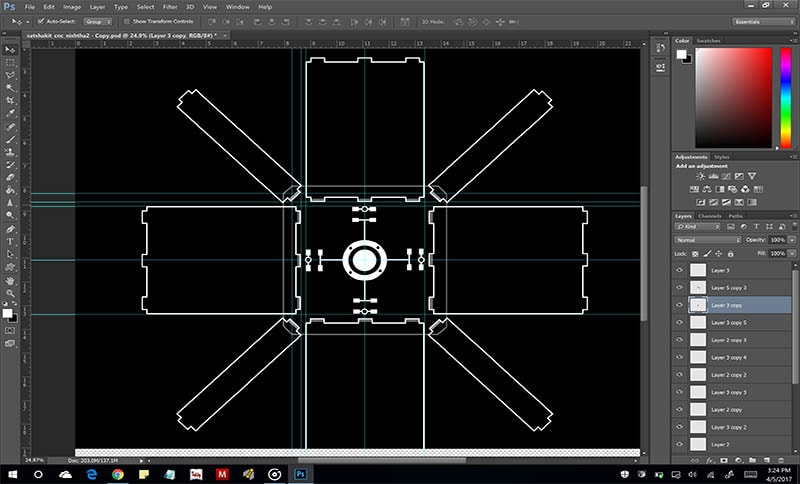
3D Printing and Laser Cutting Parrallely: Container ISO and Wall Panels
3D Printing: Sliding doors of the container
Vinyl Cutting
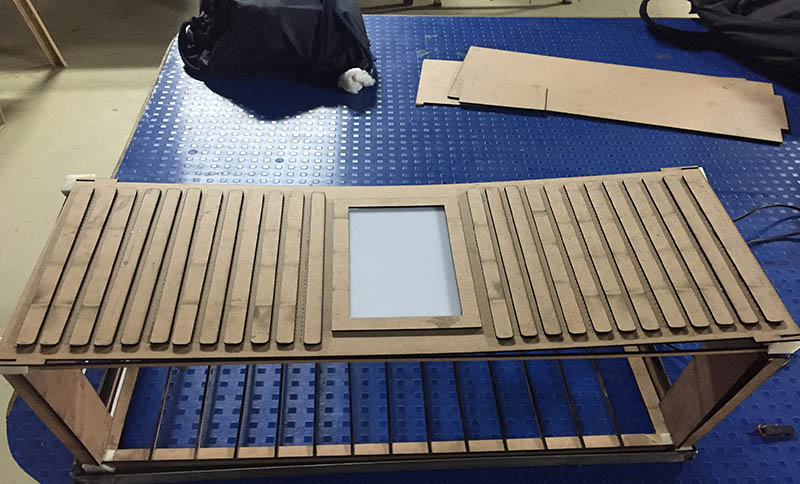
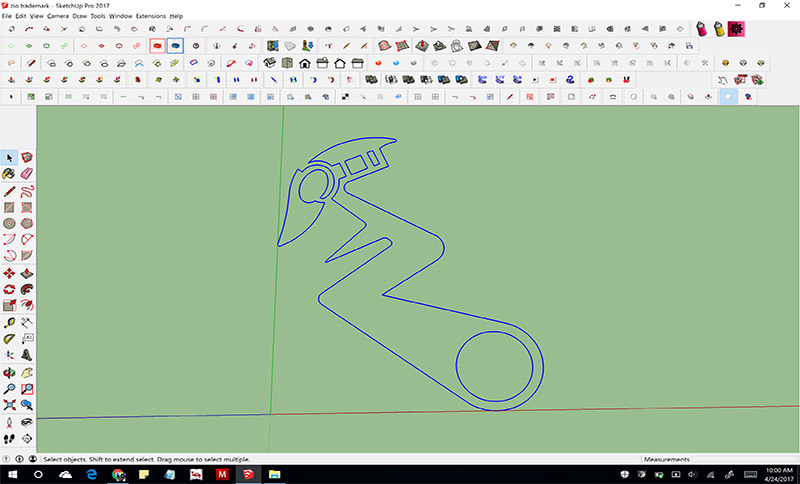
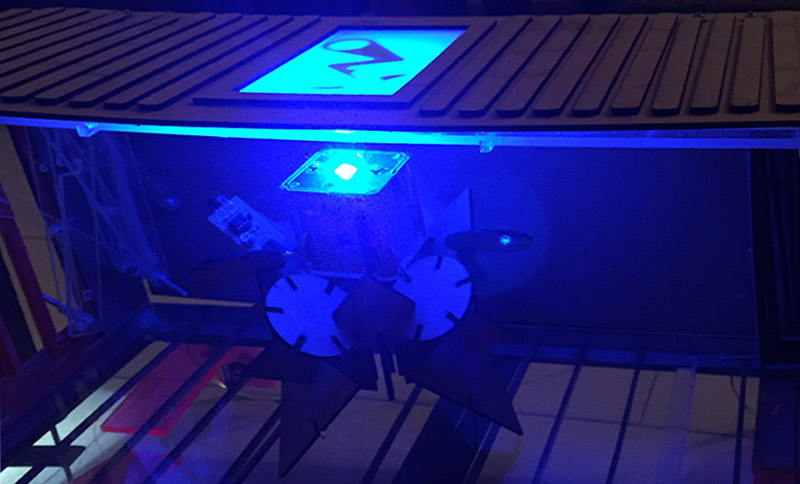
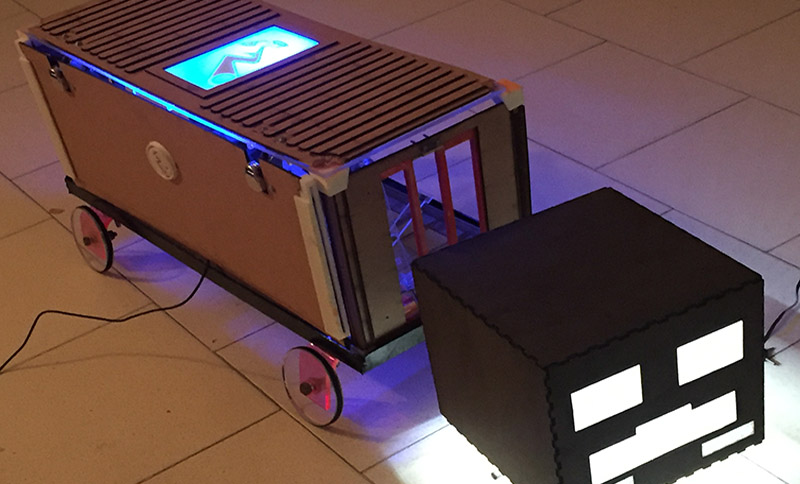
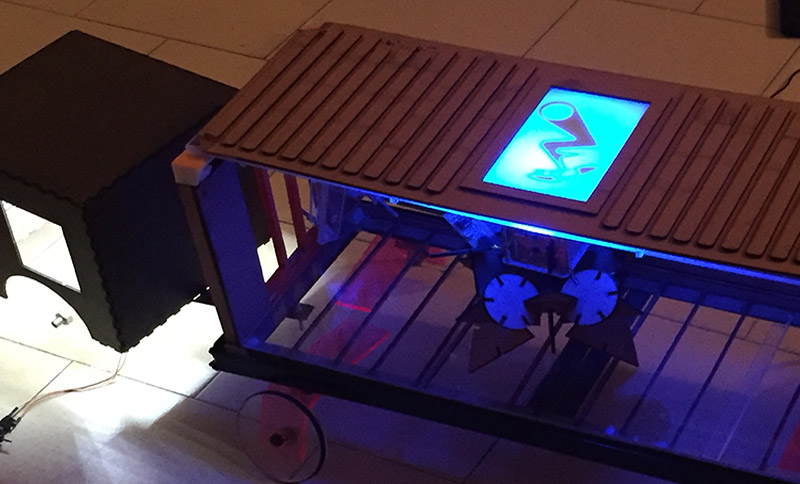
In this part of the skills, i vinyl cut the logo-put it on the backside of a semi translucscent white acrylic and had my structural lighting electronic(the quad board) placed beneath it. It means we cant see the vinyl directly but only when the light glowes does the shape come on the skylight. I like this way of using vinyl as it means to use vinyl more artfully then plainly showing the sticking part of vinylUsing Scan 2 CAD, to convert my previous png image to a vector to export to sketchup
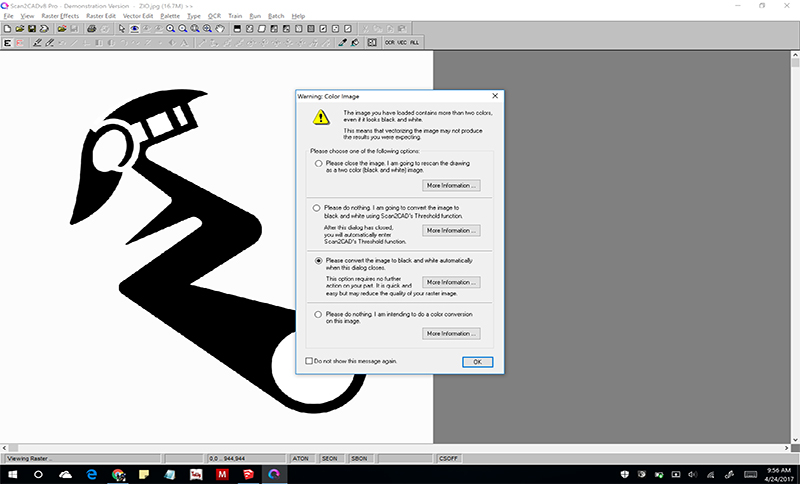
Making changes in sketchup as per my need for moulding castin operations but use this to generate neater png too wiht very small tweaks to the design.
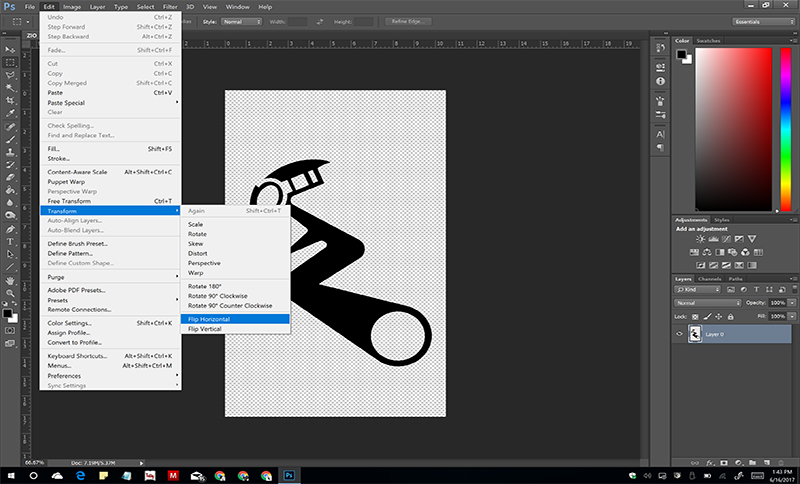
I'll be using the logo from the backside so i need to flip the design horizontally before i give an order to the vinyl cutter to cut it.
Vinyl cutting was done in same technique as i showed in my week 3. After being put onto the white acrylic, I flipped the acrylic to introduce it to a light source of my electornics.
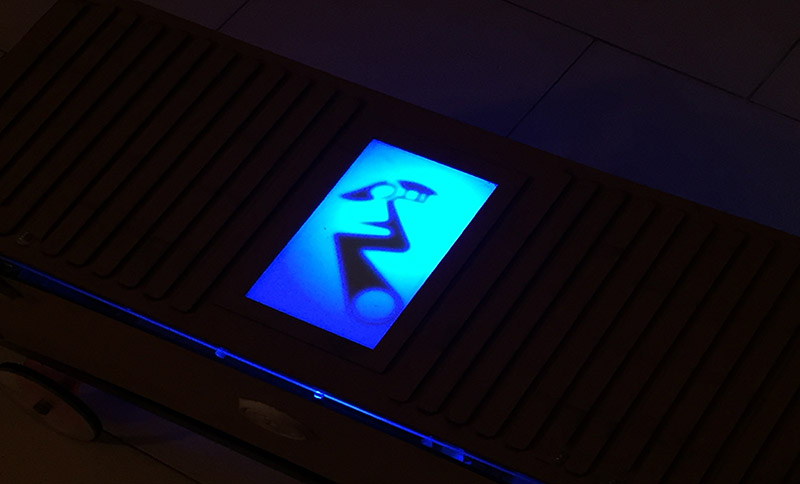
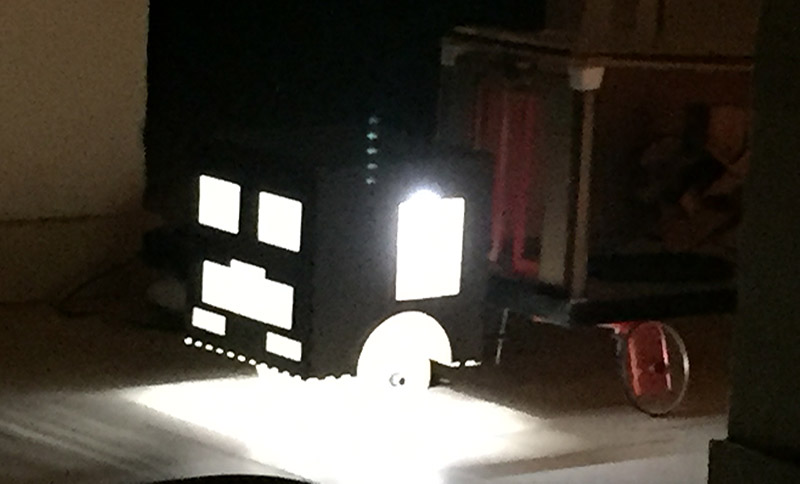
THIS IS HOW IT LOOKS-WE CANT SEE THE SEAM NOR ANY PART OF THE VINYL, i used a yellow vinyl as that was availble only at the time, Yet i can control the logo's shade dependendent on the color of LED one uses. SO thats something unique i tried to do from my side with vinyl.
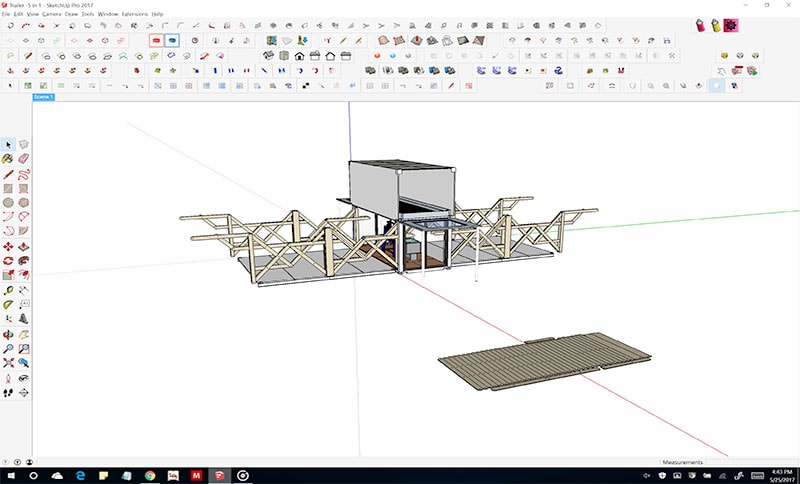
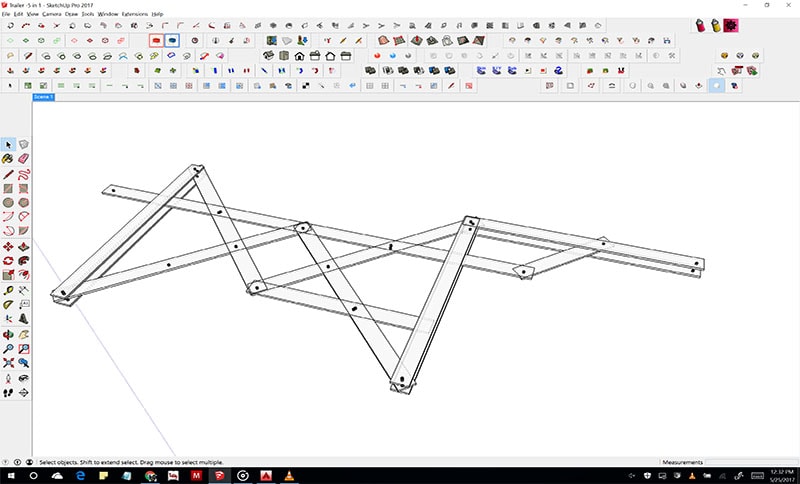
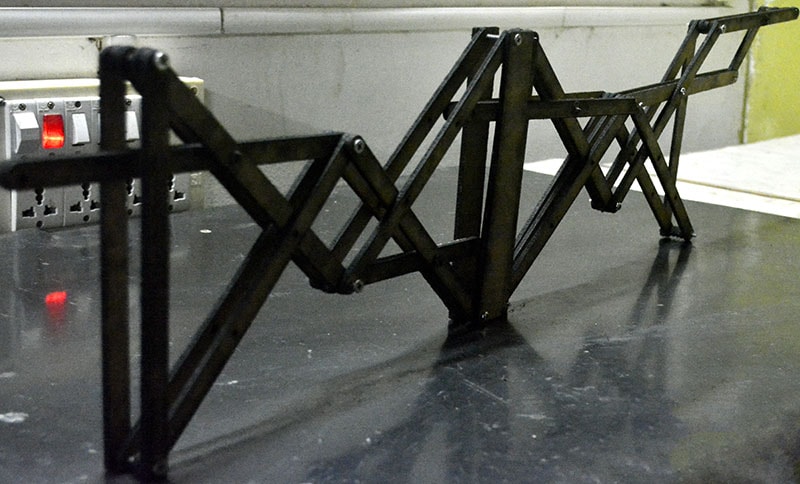
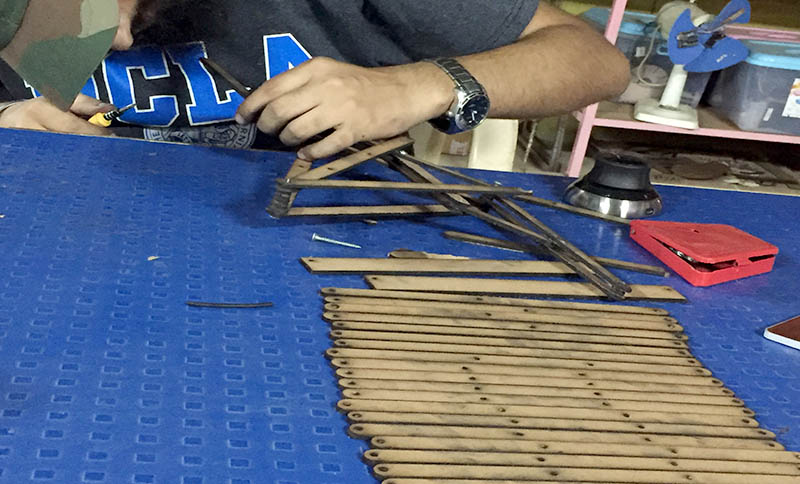
FINAL PROJECT EXPANSION (One time expansion:
3d printing


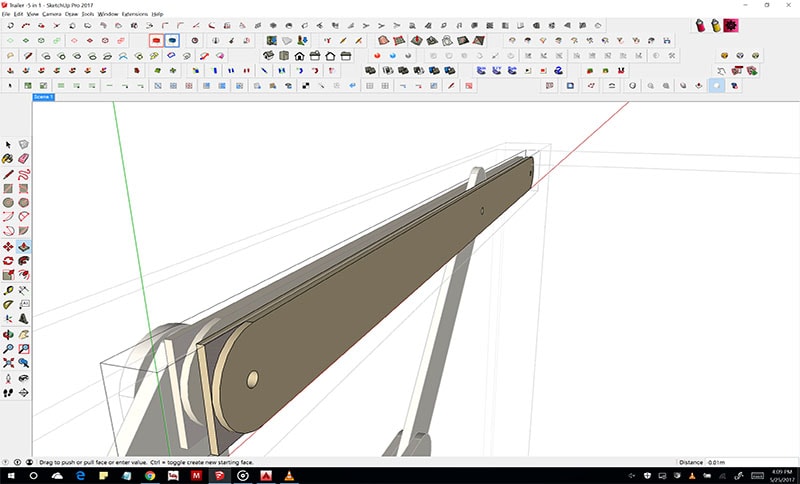
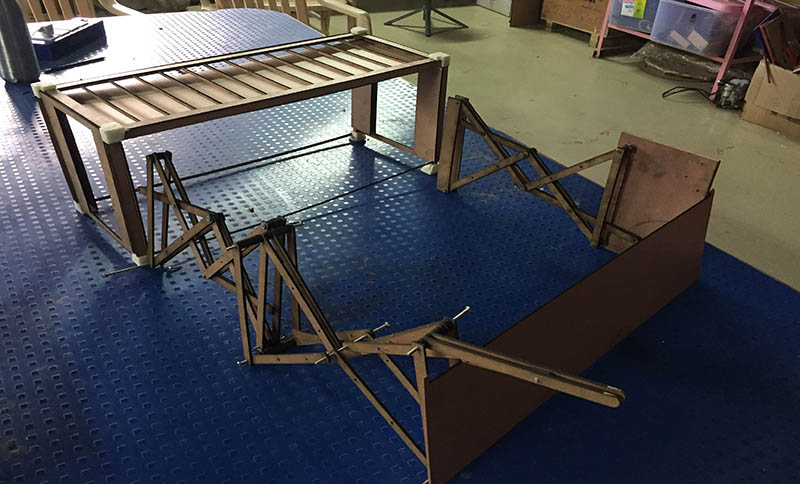
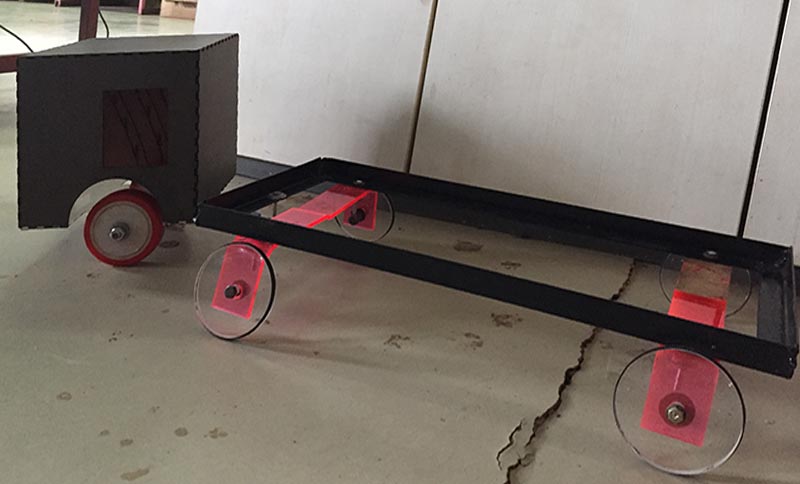
Basic Welding of Metal and bending of Acryclic
I used a hot air gun to bend acrylic pieces to 90 degrees and used welding to make the basic frame of the flat bed trailer.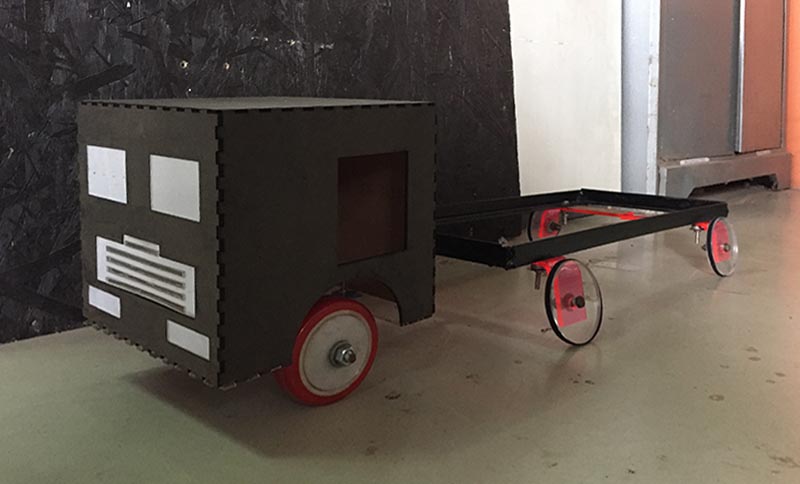
ELECTRONIC COMPONENT:
Final Electronics: Obstruction Detection Sound System
1. Quadraboard
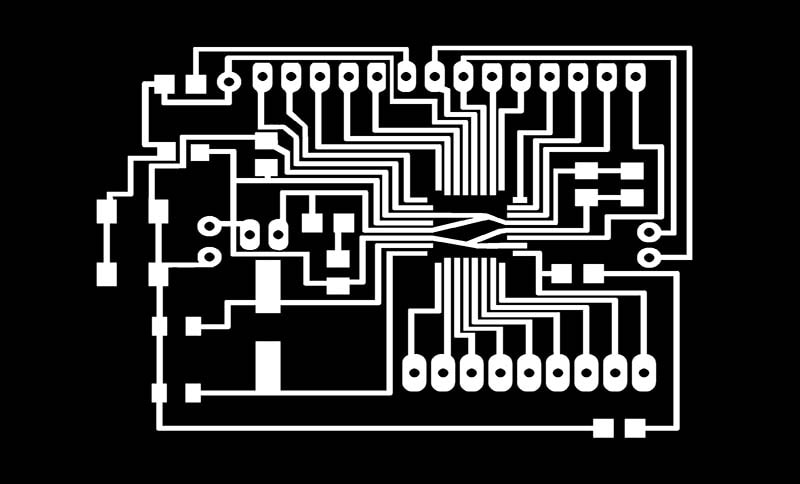
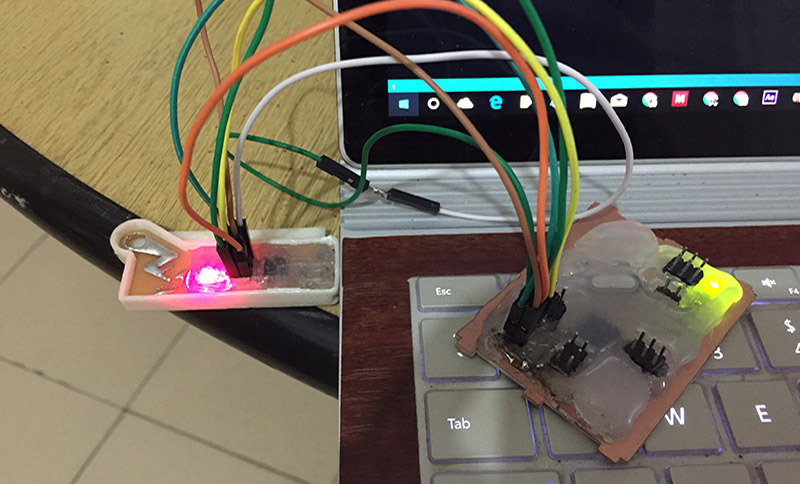
Started developing a quadra board that enables one to connect 4 different boards which they just have to fit in my cut files to compensate for the size. Once the connections are made to the buttons(G and vcc) only those boards get programmed on whose side you press the button switch. This is becuase the board's Programming pin get pconnected to Brian's ISP which is press fitted within this quadra arrangement from the inside. Therefore when we make file in git bash, the pc sens progamming signals to the quadra arrangement which in turn only powers on the boards you press down the corresponding buttons of. So at any given time, all 4 boards can be programmed with the same code at once, or different codes can be sent across by pressing down the switch buttons of the corresponding boards or Even 8 boards can be programmed by using double sided PCBs. I made a seperate 'IN' PCB too which is an array of switches. So basically the output here would be the boards themselves that get programmed the way you ask it to.


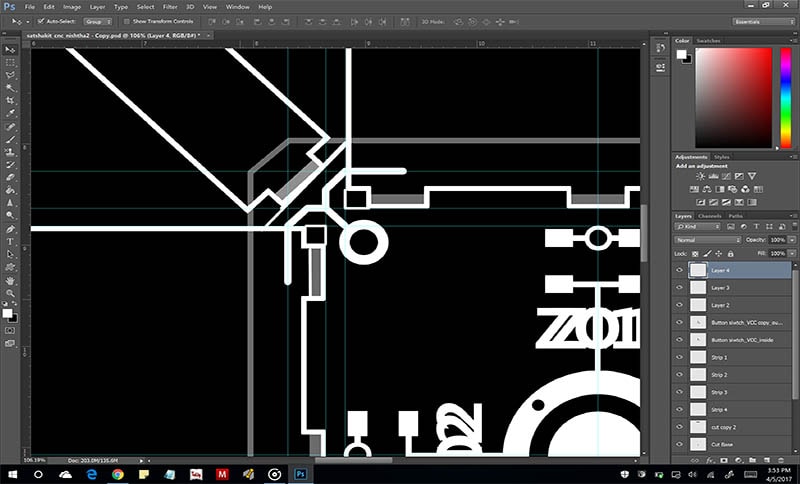


Embedded Electronics
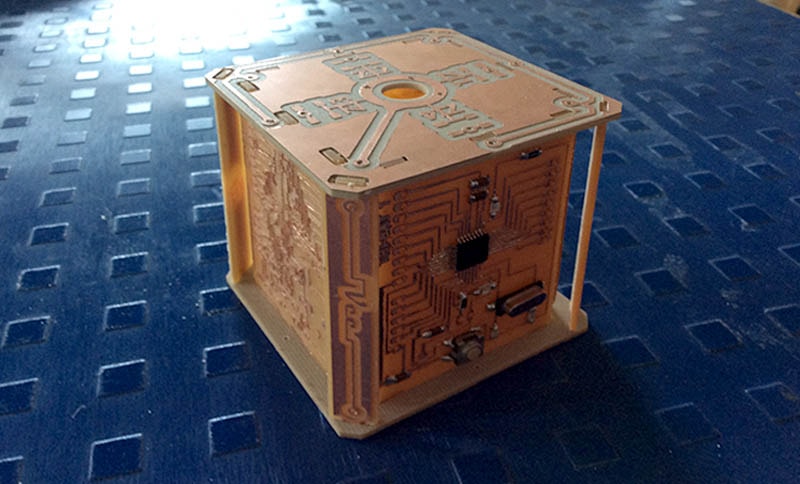
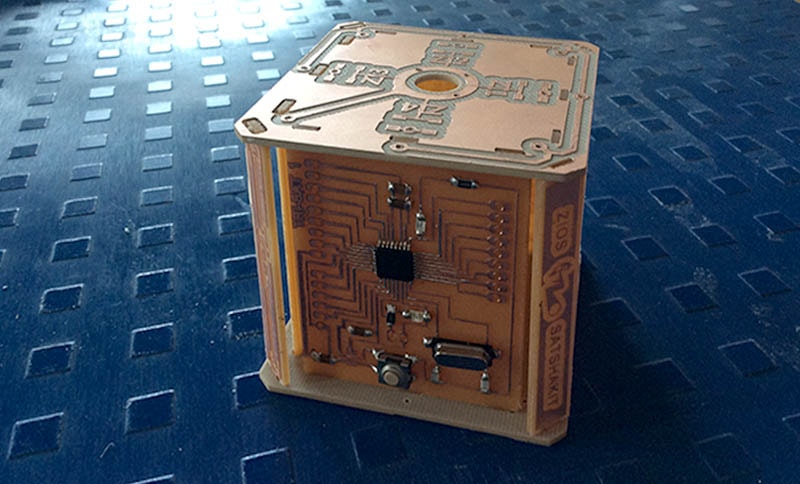
As shown the intention behind the design is to also enable the board to be flipped inside exposing its plain surface towards the outside(the white-top right). Pic also shows the fabisp embedded within.

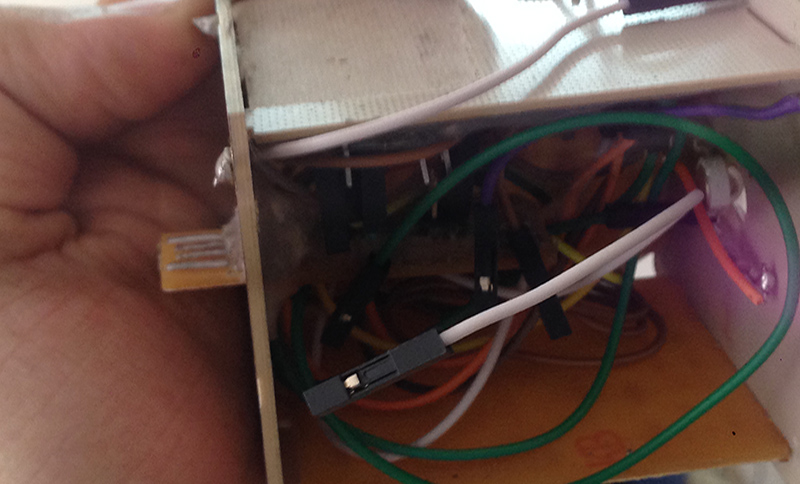
Wire spacers
The wire spacers exist in order to let wires come out from the board. these also get camofolouged once the 4 outer strips are press fit in.
Base Design 1-press fit with Brians isp+ 4 switches for internal sides of double sided boards
You can see how the board is connected to the ISP as explained above.
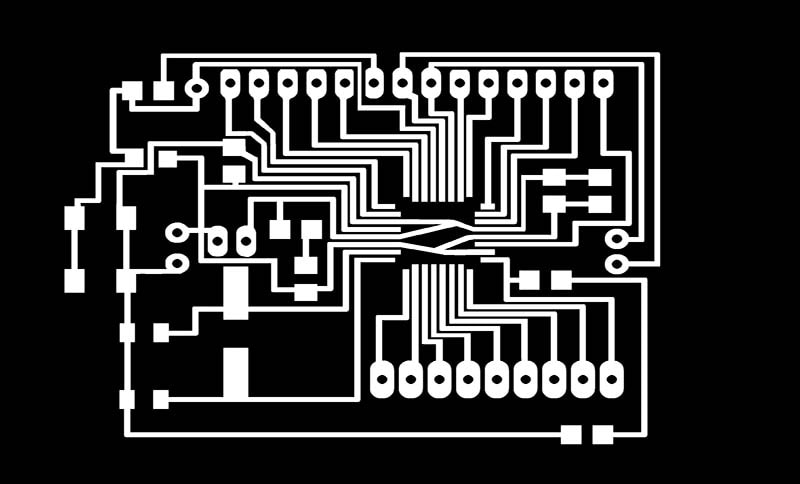
Base Design 2-consists of 4 switches
The respective board switch you want to program needs to be pressed while programming to enable VCC and ground both to be recieved by that very board.
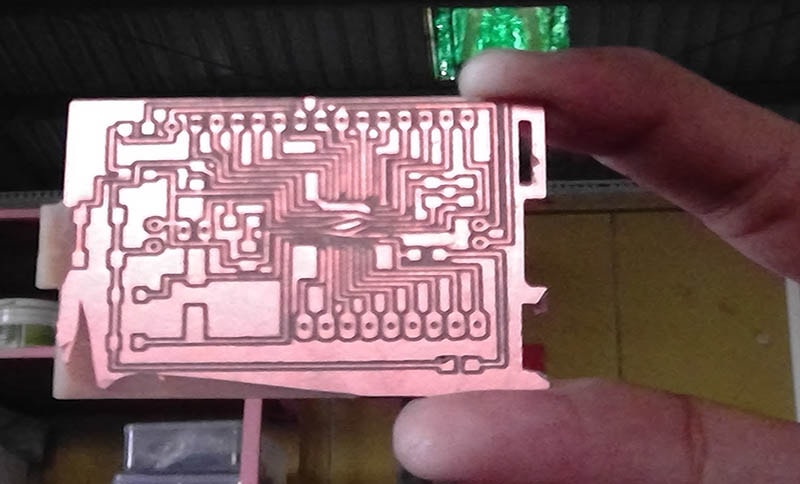
Working
OTHER MISC. parts of design
Basic Welding of Metal and bending of Acryclic
I used a hot air gun to bend acrylic pieces to 90 degrees and used welding to make the basic frame of the flat bed trailer.
Final Project from Weekly Assignments:
| Week | Task Achieved | Design File |
|---|---|---|
| Week no: Input/Output Devices | Auto Programming USB enabled Quadra PCB | Link |
| Week no: Computer Aided Design | 3d Files | Link |
| Week no: Computer Controlled cutting | Laser Cutting various parts of the model | Link |
| Week no: Computer Controlled cutting | Vinyl Cutting the logo to be embedded beneath the acrylic as skylight | Link |
| Week no: Electronic Production | The Fab ISP was used to program all my boards and to power the devices used too. | Link |
| Week no: 3D Printing | Printed press fit parts that snap with mdf panels holding them in sliding or static positions | Link |
| Week no: Molding and Casting | Embedded switch in silicon castbutton | Link |
| Week no: Composites | Made central mushroom column embedding my quad-pcb design | Link |
Bill of Materials:
| Material | Cost /Unit (USD) | No.of Units | Total Cost (USD | INR) |
|---|---|---|---|
| 1. MDF | 10 $ | 2 | 20 $ | 1280 ₹ |
| 2. Acrylic | 24 $ | 2 | 48 $ | 3072 ₹ |
| 3. Vinyl | 1 $ | 1 | 1 $ |64 ₹ |
| 4. Nuts & Bolts | 5 $ | 1 | 5 $ | 320 ₹ |
| 5. Door Closure | 5 $ | 1 | 5 $ | 320 ₹ |
| 6. Silicon Solution | 1 $ | 1 | 1 $ | 64 ₹ |
| 7. 3D priniting Filament | 6 $ | 1 | 6 $ | 384 ₹ |
| 8. IR Sensor | 2.5 $ | 1 | 2.5 $ | 160 ₹ |
| 9. Power LED | 0.1 $ | 1 | 0.1 $ | 6.4 ₹ |
| 10. Crystal 16 MhZ | 0.15 $ | 1 | 0.15 $ | 9.6 ₹ |
| 11. Resistors | 0.016 $ | 4 | 0.064 $ | 1.024 ₹ |
| 12. Capacitors | 0.060 $ | 5 | 0.3 $ | 19.2 ₹ |
| 13. LED SMDs | 0.032 $ | 2 | 0.064 $ | 2.048 ₹ |
| 14. PCB Boards | 0.5 $ | 6 | 3 $ | 32 ₹ |
| 14. Atmega 328P | 4 $ | 1 | 4 $ | 256 ₹ |
| 14. Pin headers | 0.155 $ | 1 | 0.155 $ | 9.92 ₹ |
| 15. Jumper wires | 0.07 $ | 30 | 2.1 $ | 4.48 ₹ |
| 15. Buzzer | 0.07 $ | 1 | 0.07 $ | 4.48 ₹ |
| 15. Buttons | 0.1 $ | 4 | 0.4 $ | 25.4 ₹ |
| 16. FAB ISP | 1.3 $ | 1 | 1.3 $ | 83.2 ₹ |
| TOTAL | $ 100.567 | ₹ 6,516 |


Acknowledgement:
Not just these last six months, but my entire life is a compilation of inspiring memories given to me by my
family. Therefore, whatever has been achieved or will be achieved with God's Grace, is dedicated to my
Family.


The year 2016, ended with the demise of JIJI my paternal Grandmother who I share my birthday with. My very
first week in the ashram had our combined birthday - which I went through without her presence for the first
time and also in the absence of my family. It was tough. All my achievements have been only due to the
blessings of my elders. Other three grandparents preceded Jiji and my work is dedicated to all four who are
watching over me even today from their Heavenly abode. May God Bless their souls.

My mother, Dr. Jagjiwan Kaur and father Dr. Shivaji Singh, brother Captain Kabir Singh, Sister-in-law
Jasneep Kaur and my best friend Nishtha Kaushik too have played a big role. But for them, I would have been
able to even take my first step on this path in the first place. Their encouragement on phone, through texts
and emails kept pushing me throughout. I look forward to being with them again. Staying away has made me
value my family more than ever now.

I express my sincerest gratitude to Dr. Yogesh Kulkarni for guiding me so well into this path ofMaking with
a Cause. There is a world of difference in the way Urban maker-spaces run as compared to Vigyan Ashram under
his inspirational leadership. This facility has exposed all of us students here , to many life defining
moments - whether big or small and rich or poor.

Surviving a rugged environment for 6 months continuously was made easier - in the companyof my good friends
and instructors - Suhaas, Suyog, Supriya, Vishwas and Pawan. It was great to interact with them on a daily
basis. Now I am looking forward to be involved with them in our own Zios Makerspace in the coming days.

Sincere thanks to all the young and energetic students of Vigyan Ashram for assisting and giving me a
helping hand whenever I needed it. Thanks Aditya (loved interacting with this guy) and Riyaz.

Last and most importantly, I thank Dr. Neil Gershenfeld. It is one thing to be knowledgable and another to
enthusiastically share it with "lesser mortals" like us. I thank him for guiding us, and inspiring us to
learn so many advanced skills in a way that introduced us to our own unknown attention span at levels which
surprised us. Its a great skill, and I am convinced that his stature and respect in our eyes now is way way
higher than earlier. I sincerely thank him for introducing us all to The World of FABlabs.