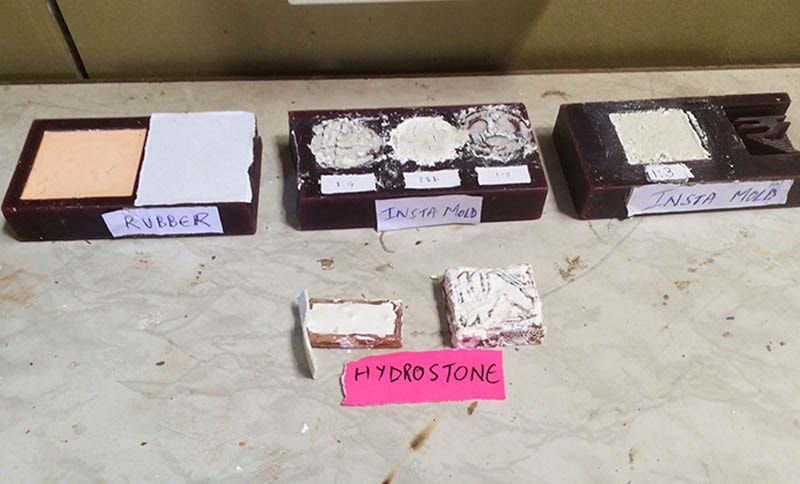
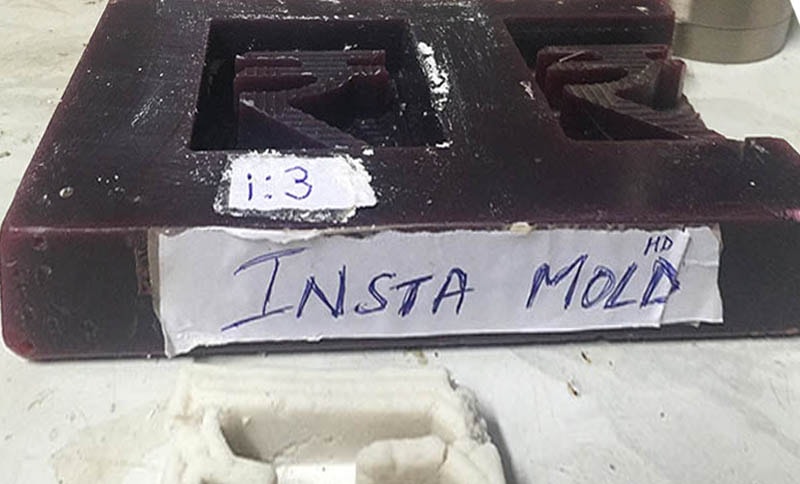
So in results, Hydrostone was hard, dry and fragile- Rubber solution was full of air bubbles probably be cause the material was very old. Lastly, Insta Mold was good if put in 1:3.
1. Different ways of casting were used all trying to see the effect on bubbles while casting.
2. Studies casting materials as a group
Insights:
INSTAMOLD-for moulding
1:1 ratio-brittle -2 mins set
1:2 ratio-half brittle-5 mins
1:3 ratio-flexible (3 being water)-10 mins set time
safe with skin
MACHINABLE WAX
for moulding
it shrinks-not clean edges
mould to be cleaned before puring
reusable
solidification time is less
180 F melting point
can be used investment casting
LOW TEMP WAX
-yellow color
for casting
RUBBER silicon
carbon, hydrogen, oxygen, silicon
flexible but not too flexible
30 mins to pot life (can move within this tie but not after), 6 hours to cure
duribng pouring-it expands so cast a little less
Setting the cast to free air bubbles:
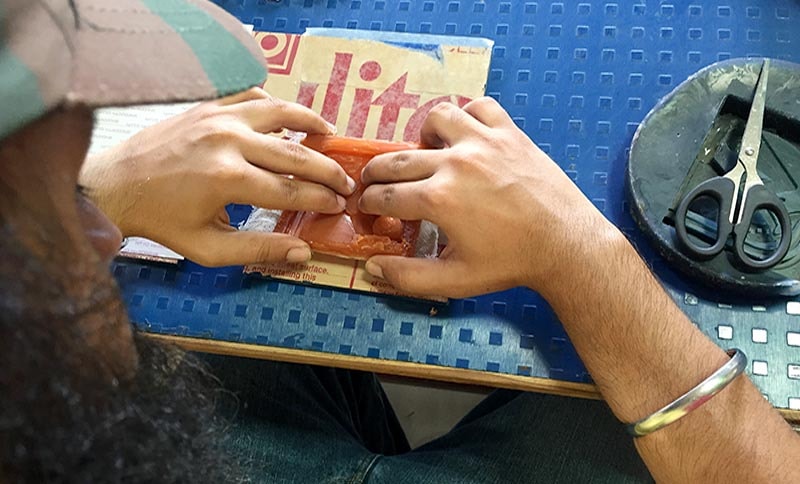
In above video, we are putting pressure from above and below the injection and releasing the material so that it takes all the bubbles out. It worked really well.
In the above video, i am showing another way of removing air bubbles and that is vibration, with the help of drill and later
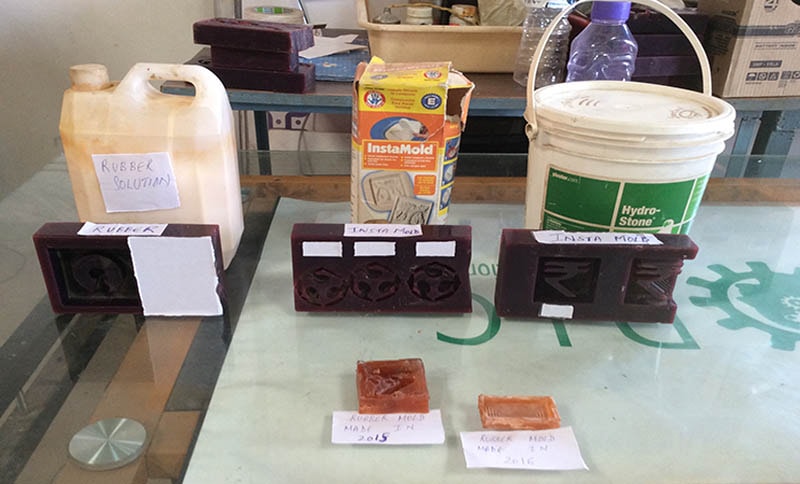
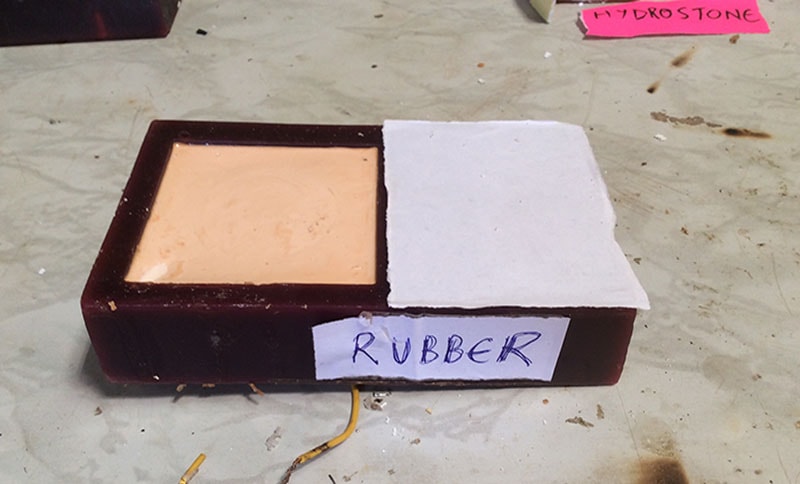
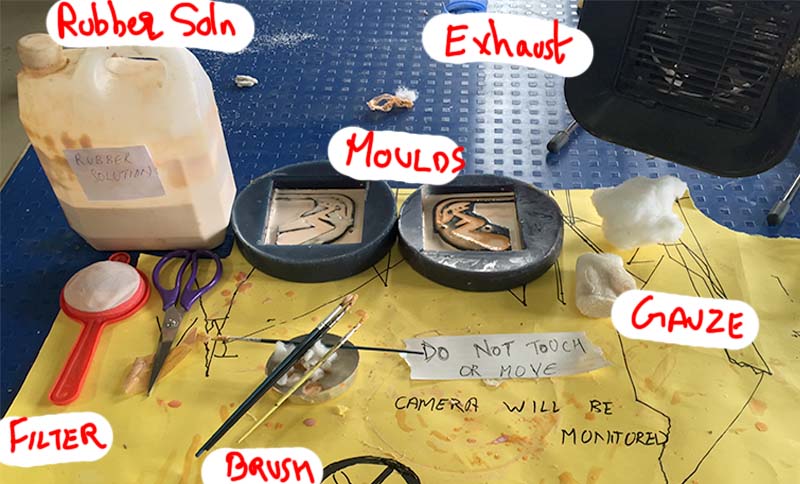
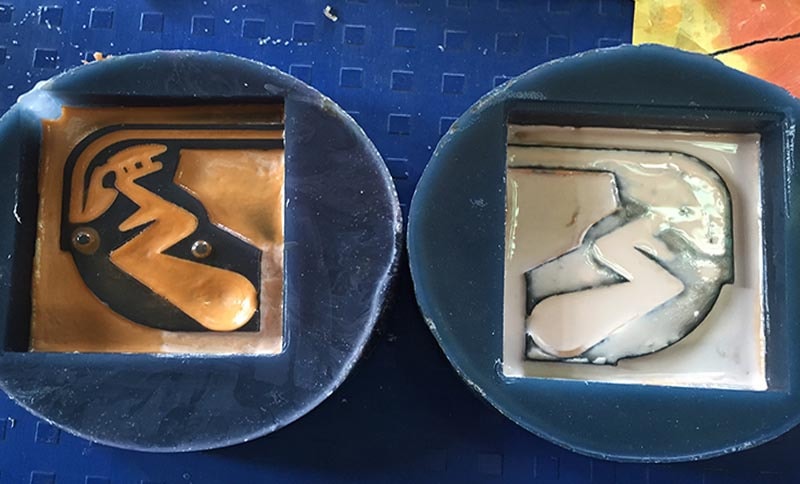
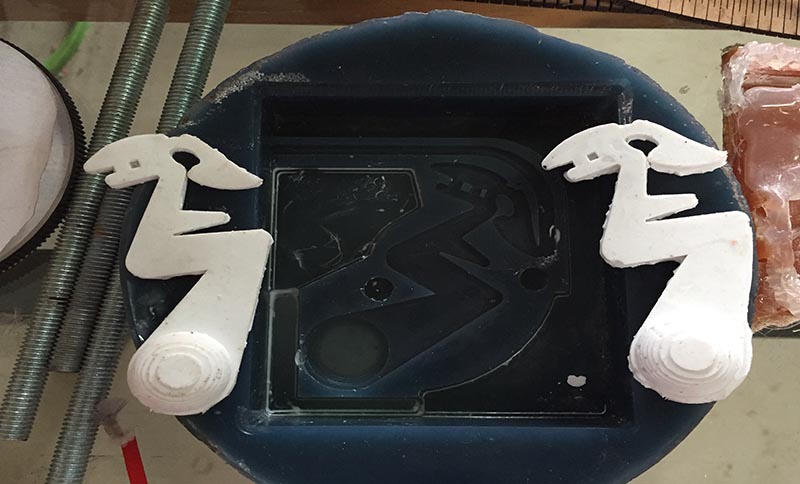
The above picture shows how we used different Materials to do castings and make molds.
Rubber Solution in first is an orange colour liquid which dries overnight and we did injection procedure for good results.
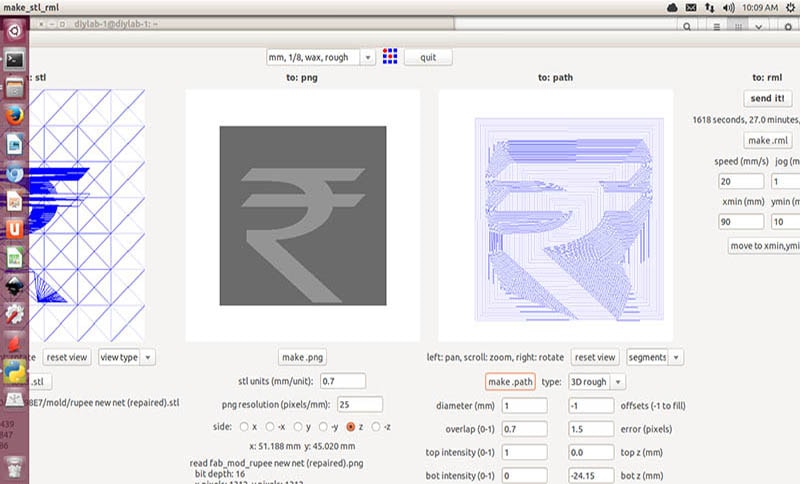
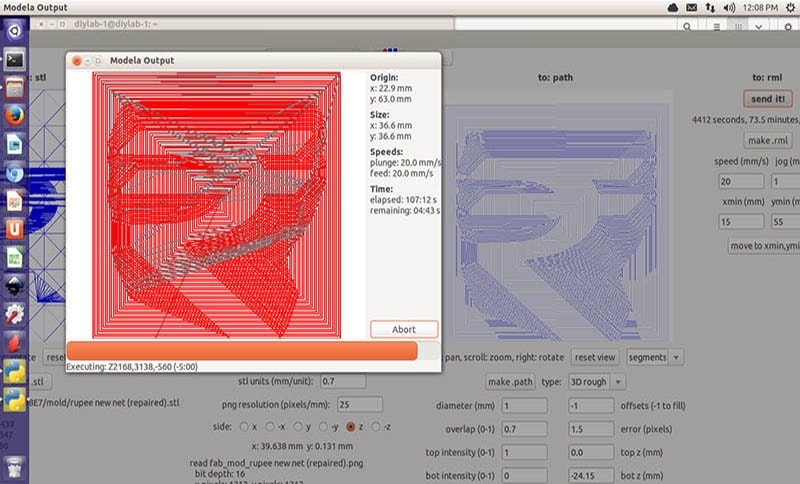
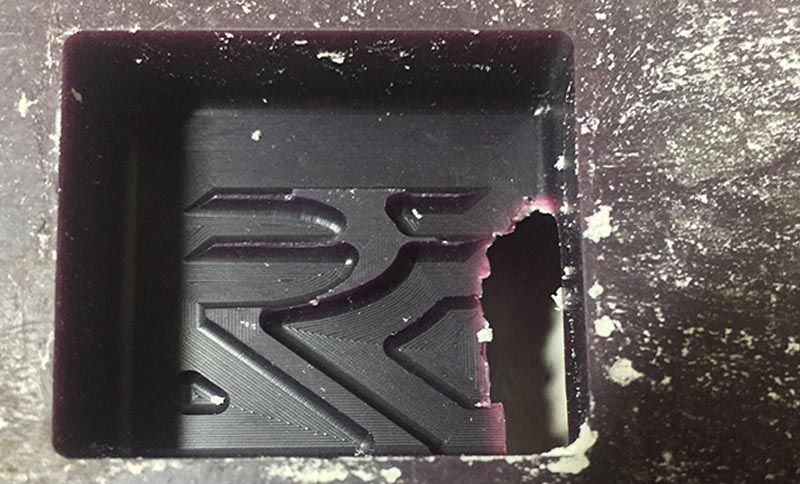
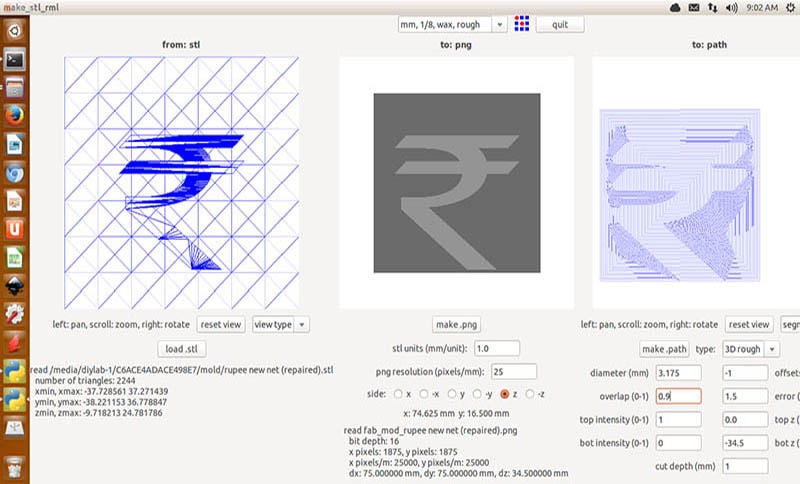
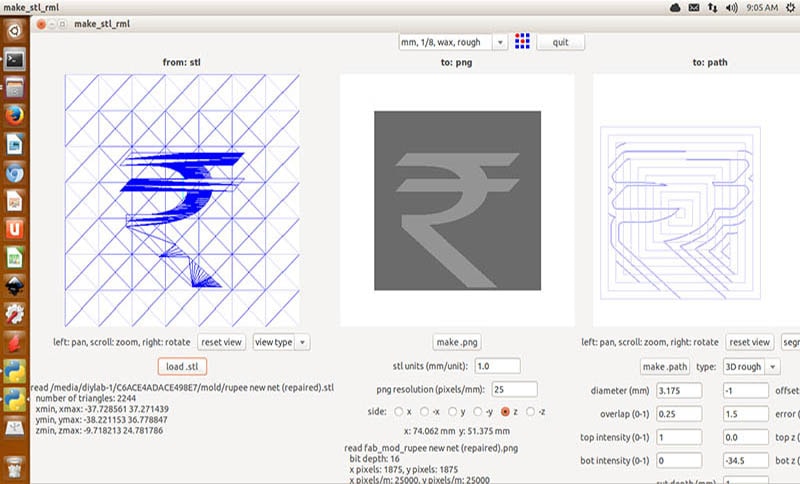
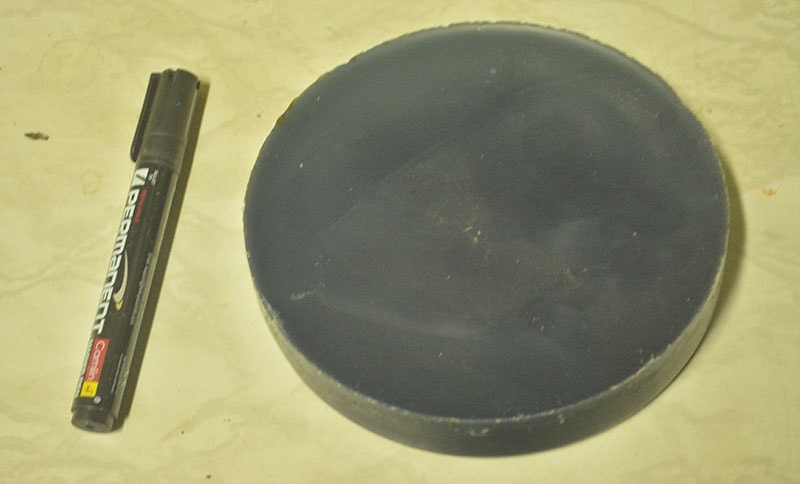
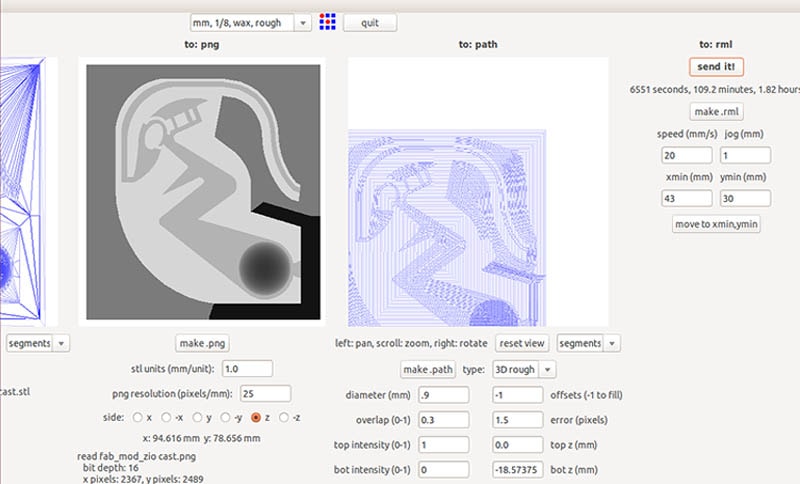
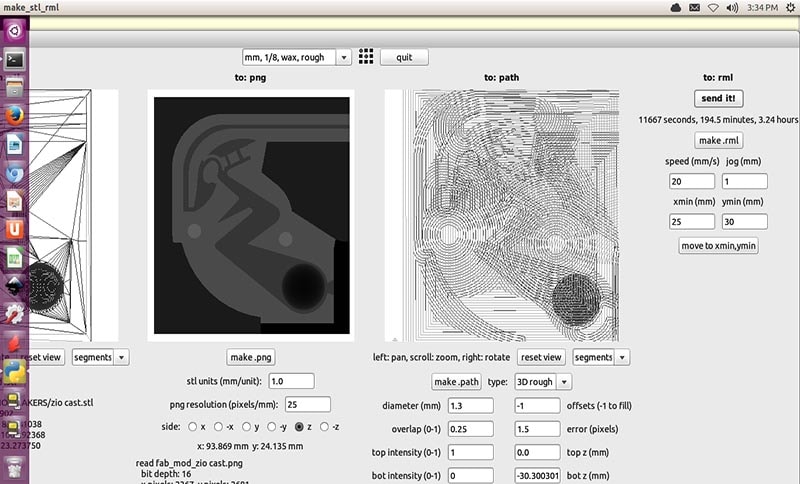
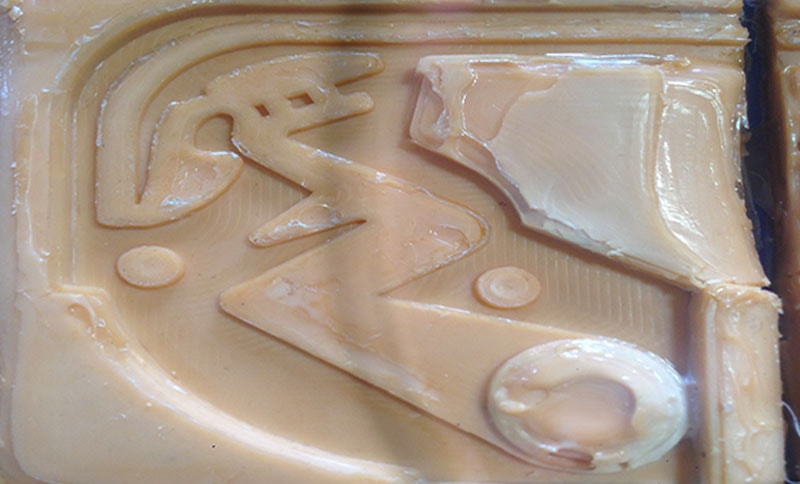
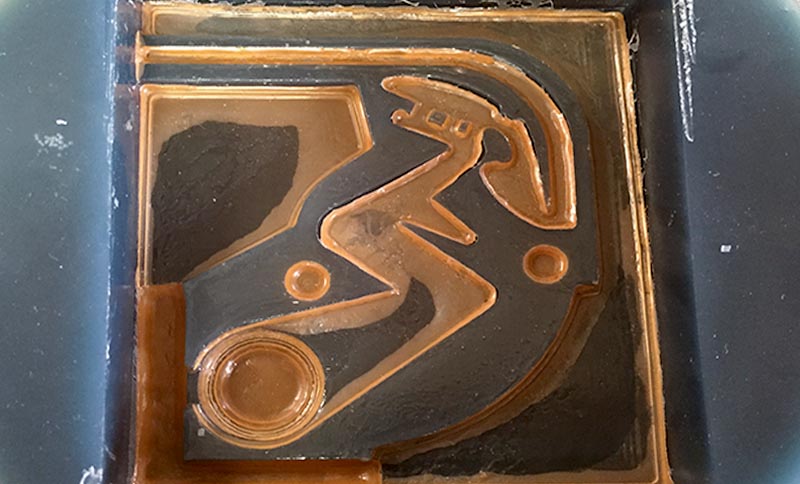
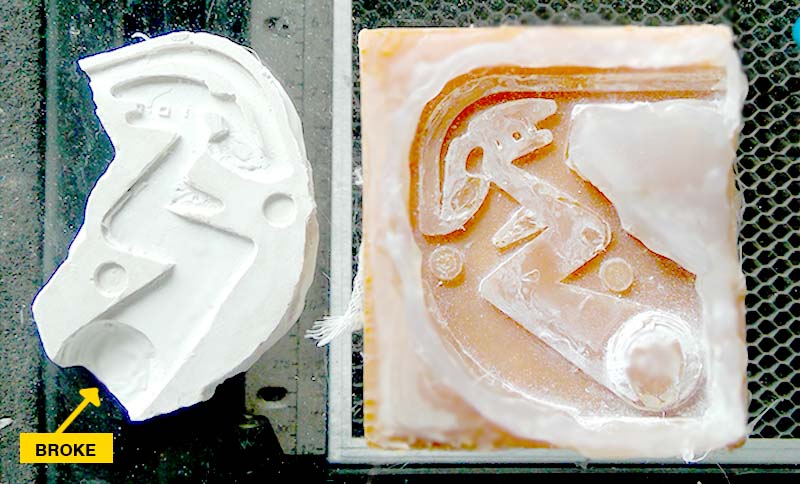
Then I milled same design which suhasji milled and showed us, i tried it to learn settings an try different settings like increasing the overlap and decreasing the diameter, it gives very clean milling. Like of the rupee sign above.
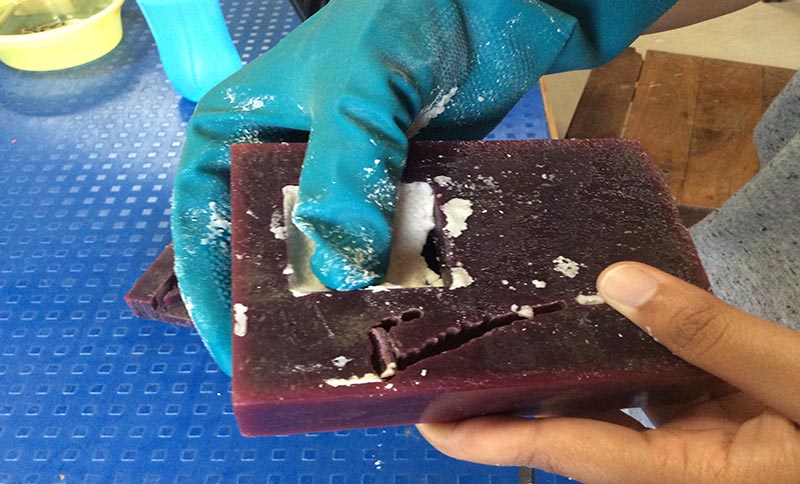
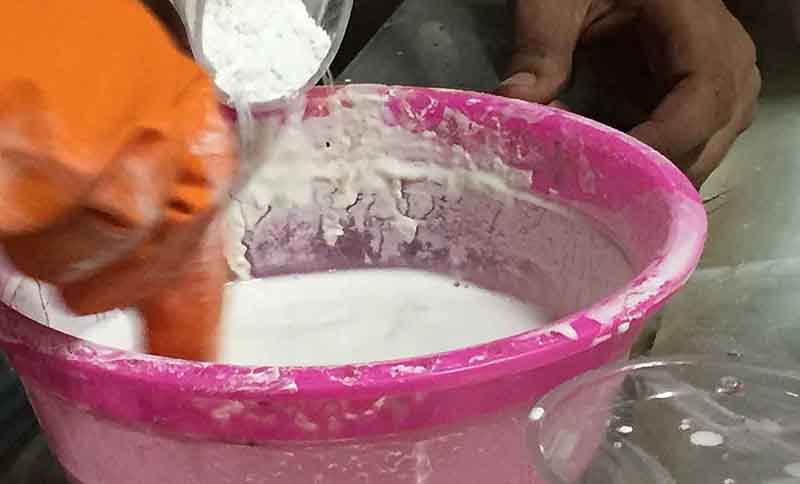
Then I went ahead trying hydrostone, so we tried different ratios with hydrostone, but with ratio it was very important how do we mix it, i poured hydrostone in water, mixed it with speed and kept mixing it but at first the temperature of the material rised up and it was hot to hold and it ried up into stones. Then later, i used a plastic bag, poured in it and gently took it out to put in mold through a hole in the bag.
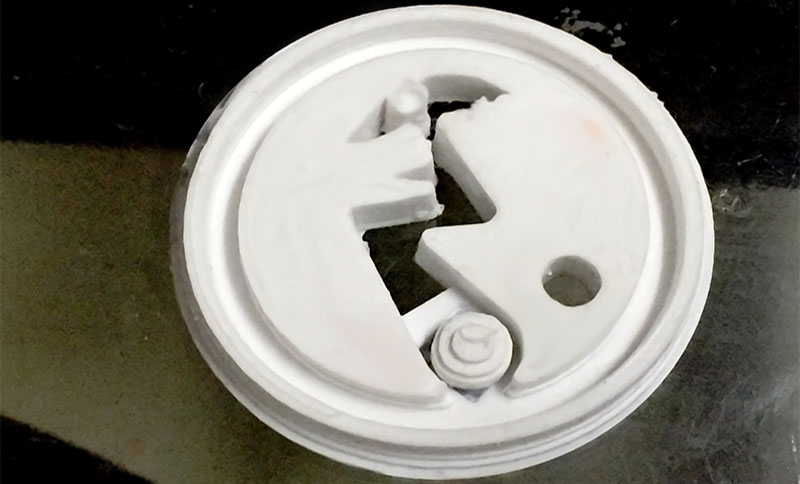
Similarly, in insta mold, it was expired , long expired but we still tried it and it came out broken.
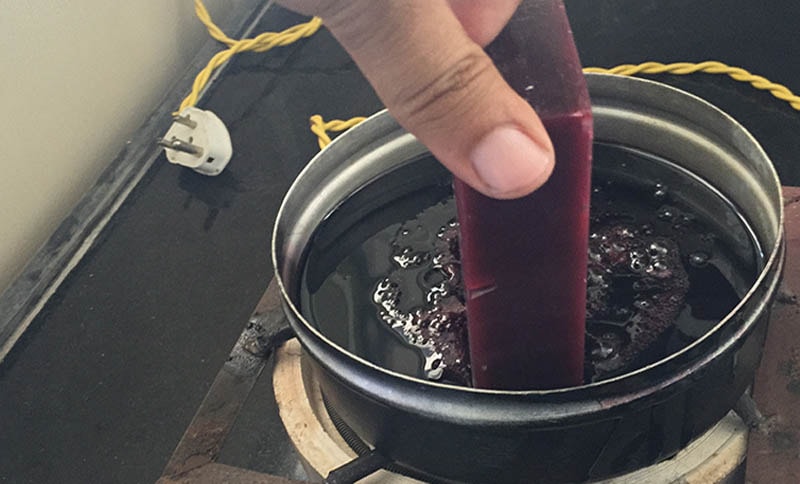
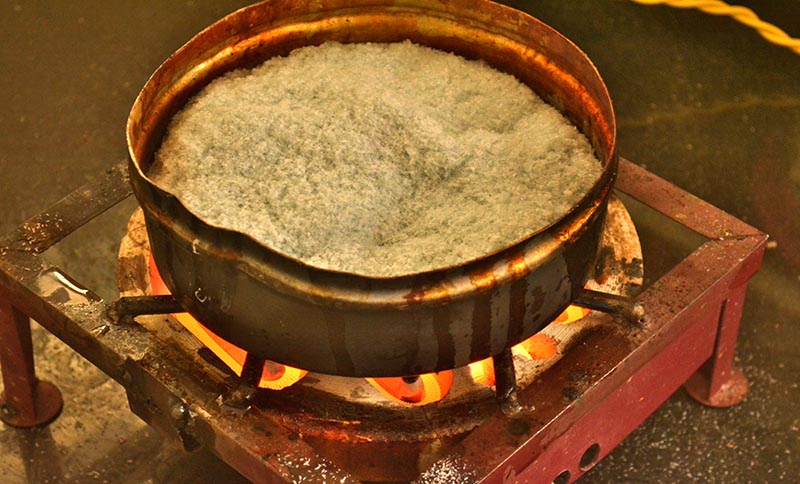
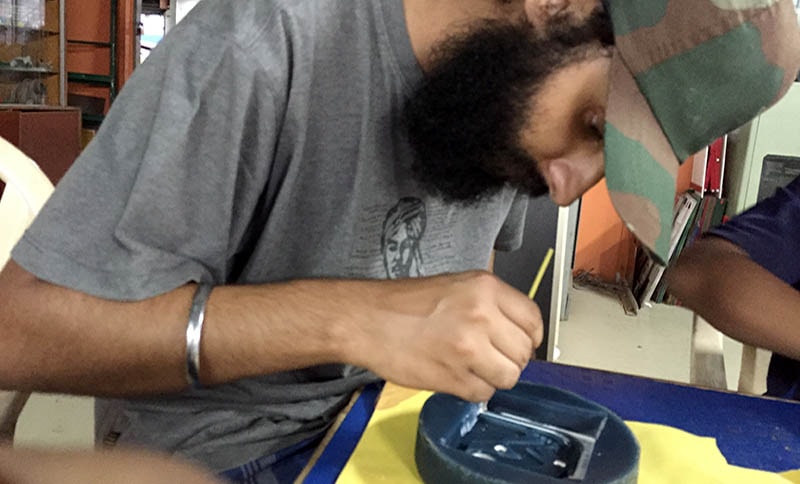
After trying different materials, i moved onto trying melting wax, so I am using brutane to melt wax shaves and recycle it.
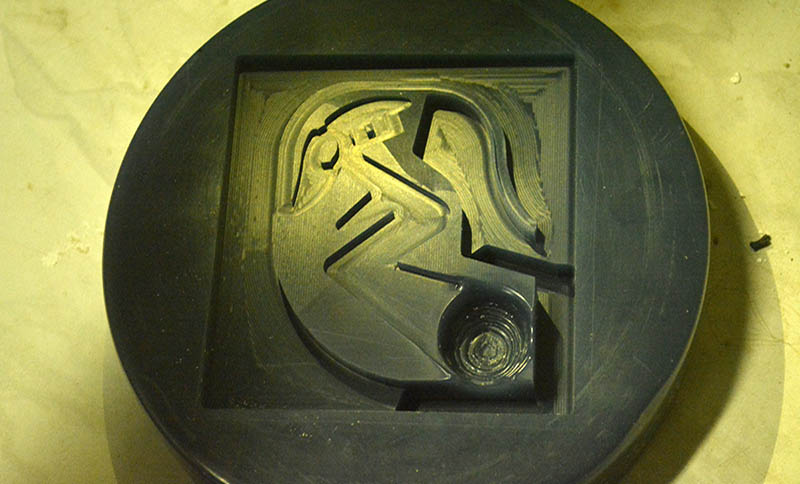
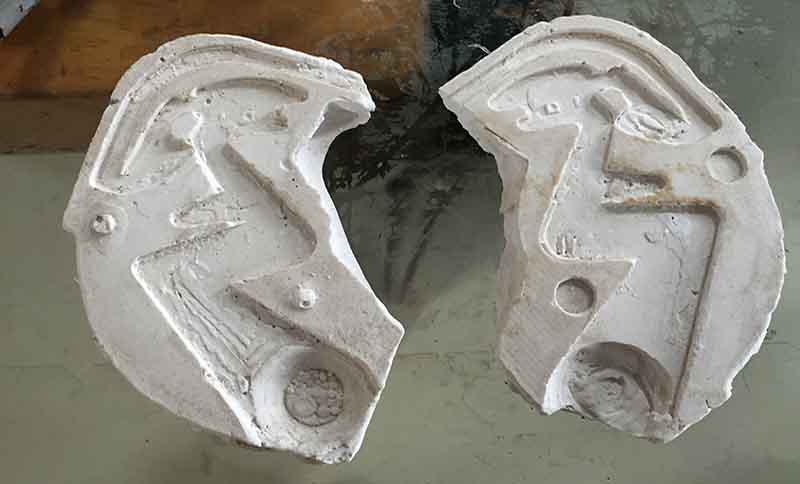
When i was able to achieve this, i recycled wax shaves of all the fab classmates and made these new molds for myself.
I used an aluminium can , poured shaves in it and started the wired gas stove to melt.
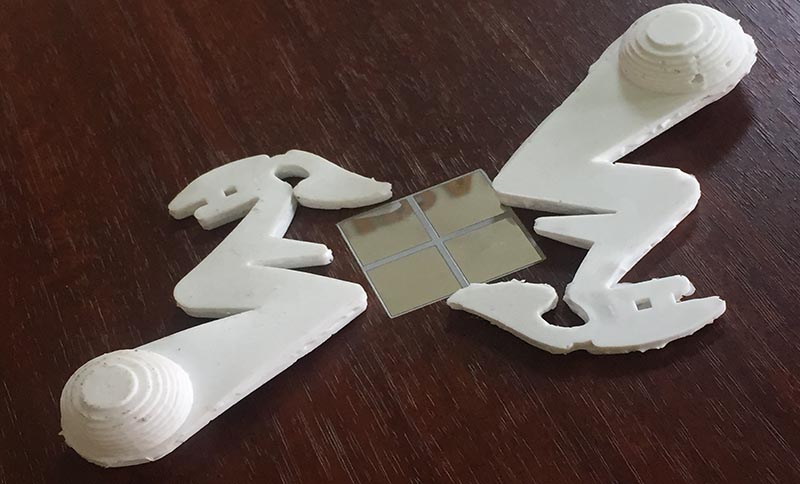
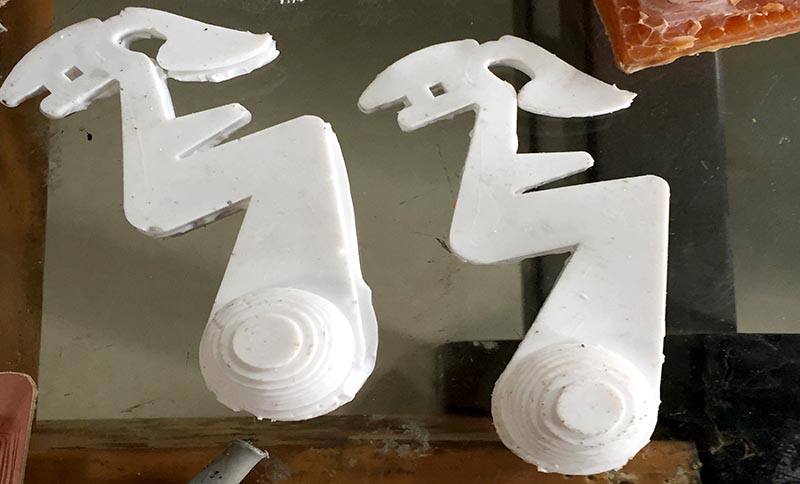
In this Assignment, After milling my mold, I poured Silicon rubber in it and formed my logos.
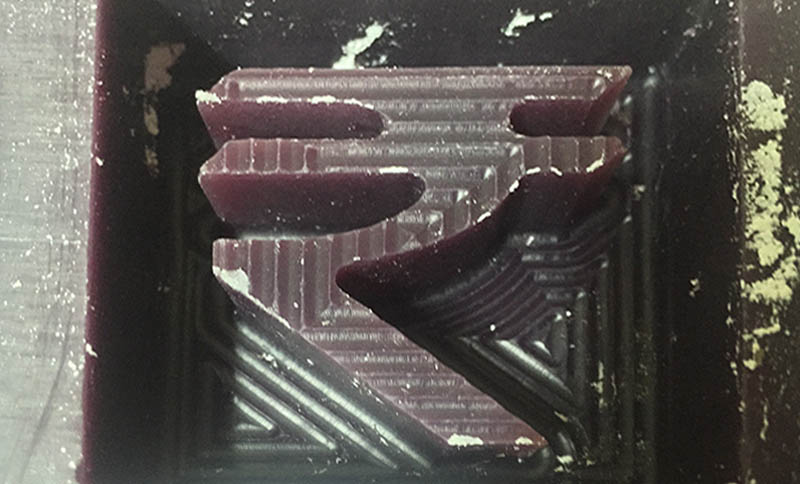
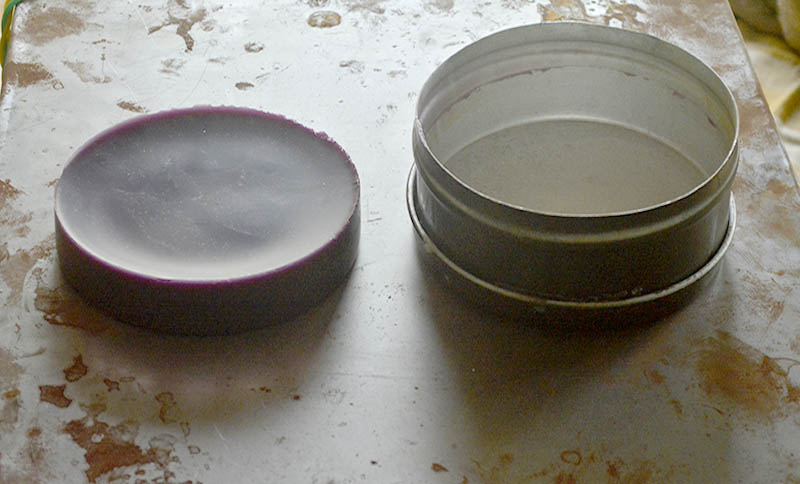
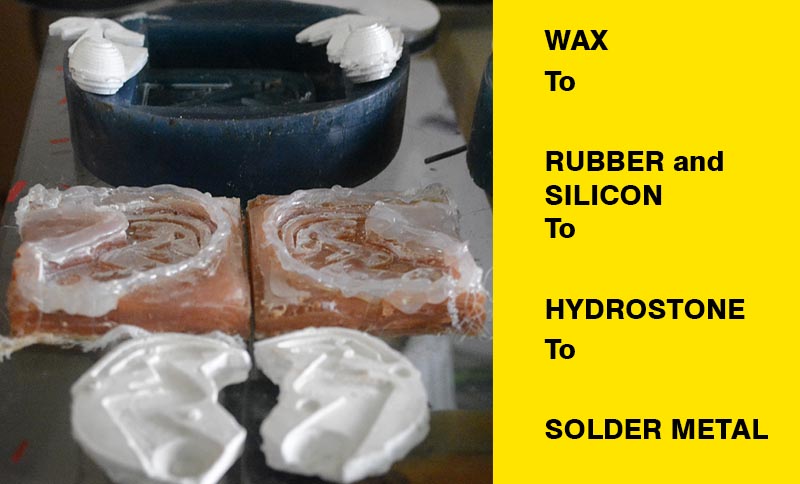
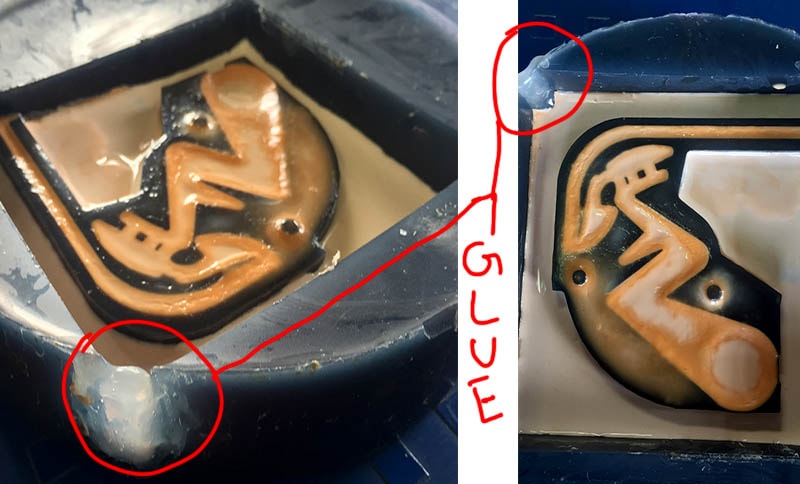
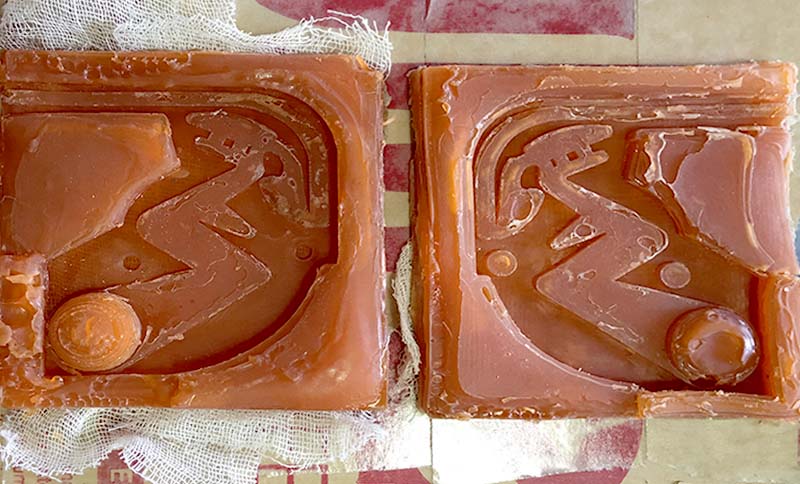
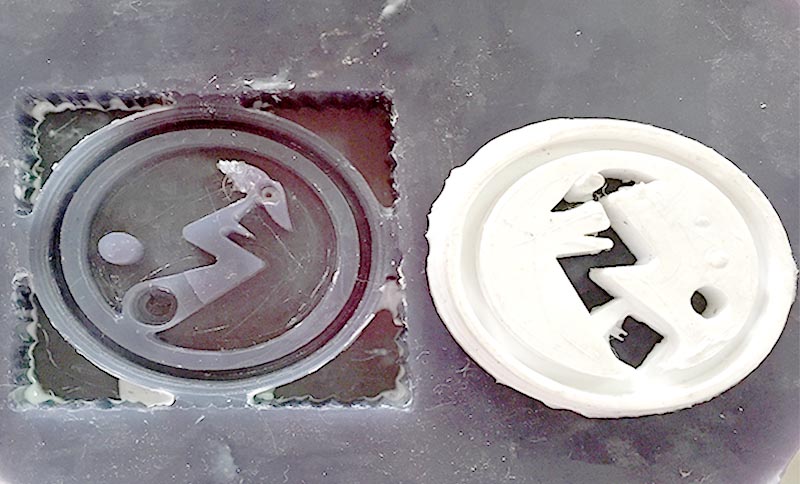
Plus when i poured rubber solution which is yellow in color and becomes brown when dries up, which i further used for hydrostone.So in the above picture you will see, first one as direct cast, second one as mold and hydrostone as third cast and solder metal as fourth inside the hydrostone.
I designed my mold on Sketchup. If you notice i have specifically ket a smooth path for my solutions to flow in easily without hampering the shape of the result.
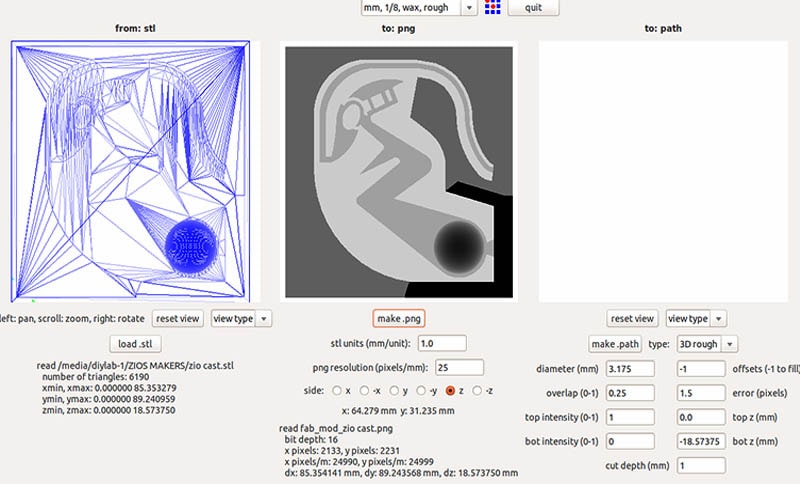
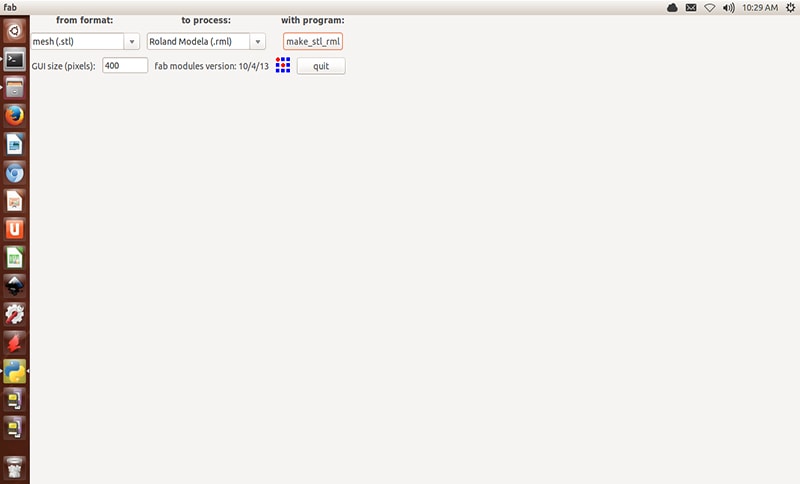
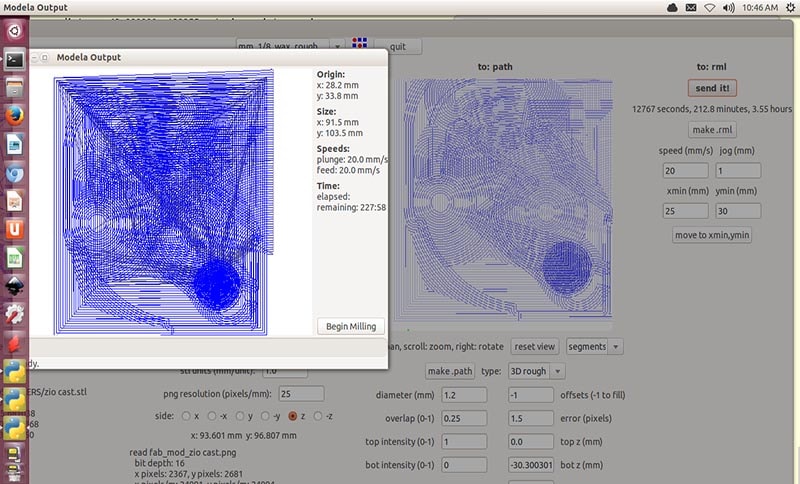
So in the above images I have basically shown how i Melted the wax shaves into a mold cake and further made my design and uploaded my file on Rolland Modella as STl file which converted it into PNG and then generated its path. I kept more overlap and less diameter for better mold.
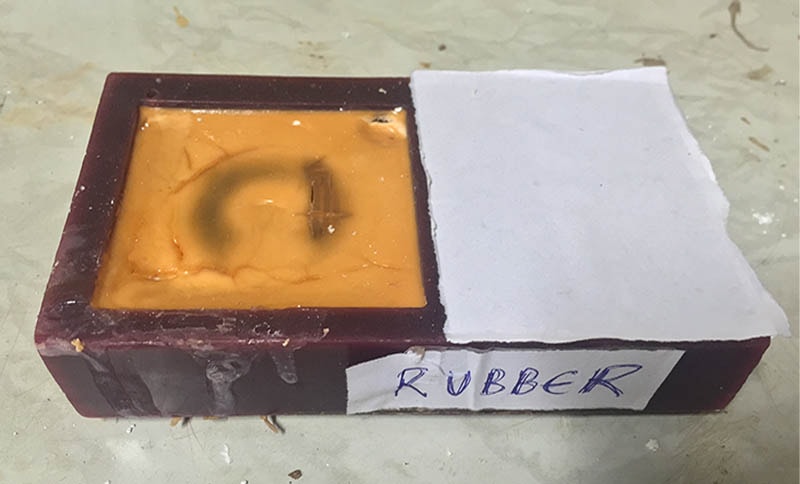
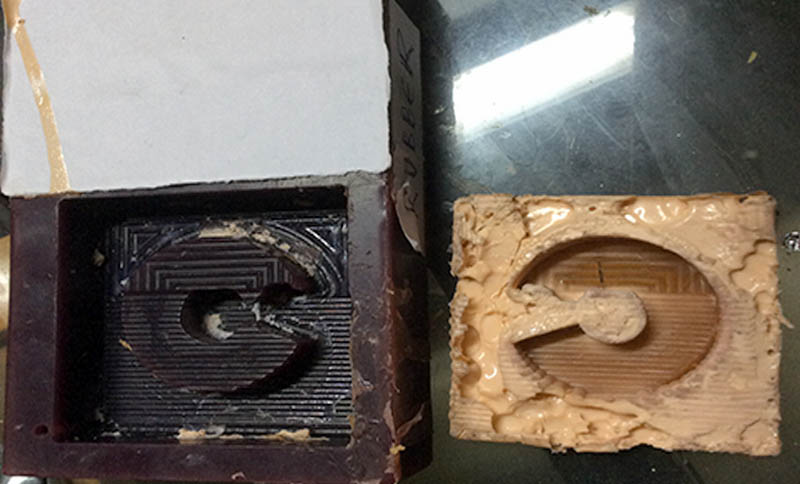
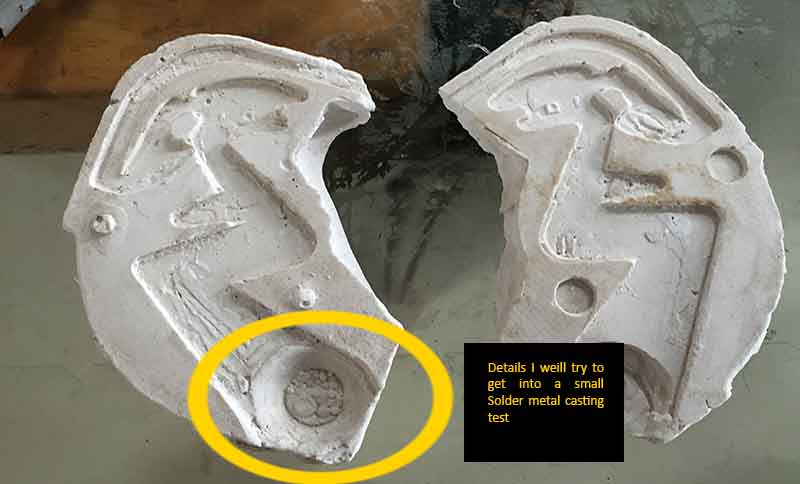
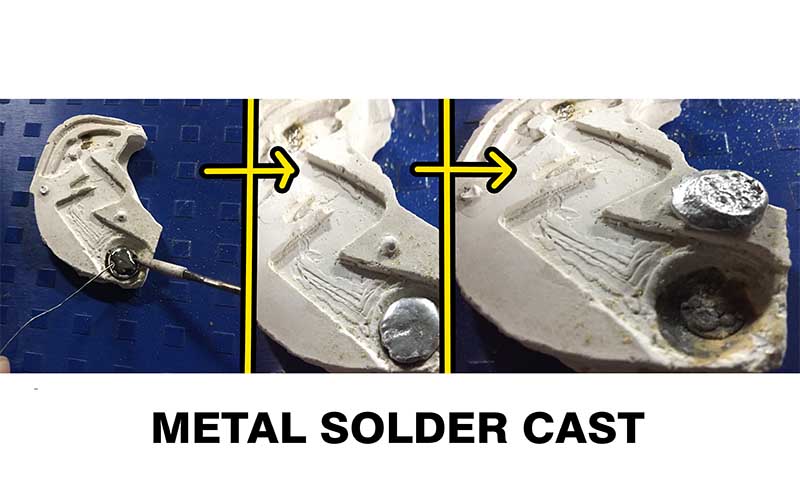
After milling I started by Pouring Orange color rubber solution which made the positive of my mold and then in rubber mold which has been shown below , i poured hydrostone and made another mold out of it and used metal for casting my Mold sphere end. I tried to find Metal for metal casting but couldnt find anything here so i used a bit of soldering iron to try how it turns out to be.
The best material was the silicon rubber which is imported in Pune.
So one i milled the first time, the mold was unstable because we melted the wax shaves and recycled it. So after pouring rubber solution , I was trying to hold it through tape but bad idea. SO i remilled it making a stable mold cake.
TRY 1
Our first trial came with slopy base, giving us problem with the solution flowing out so we gave second try.
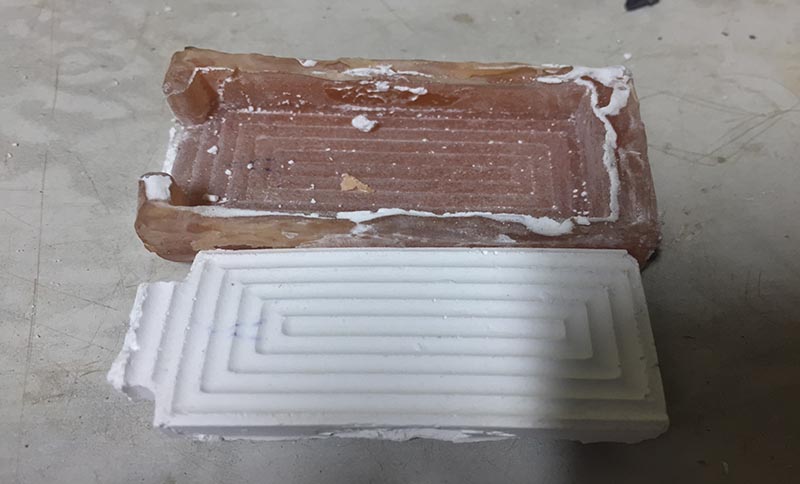
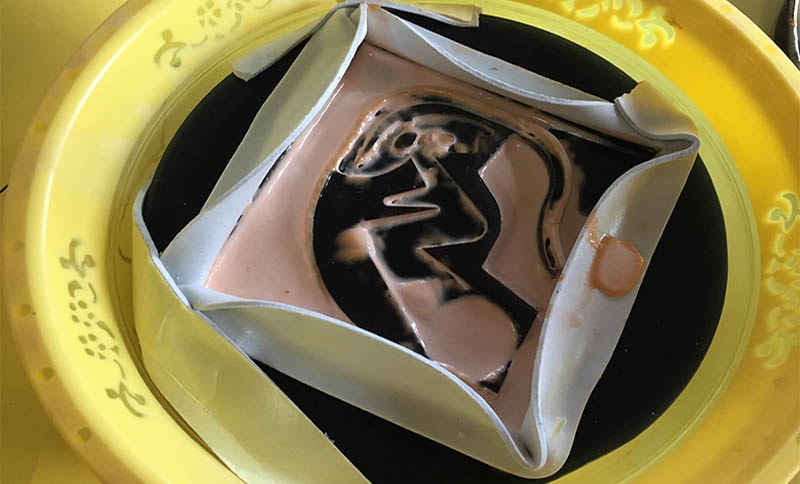
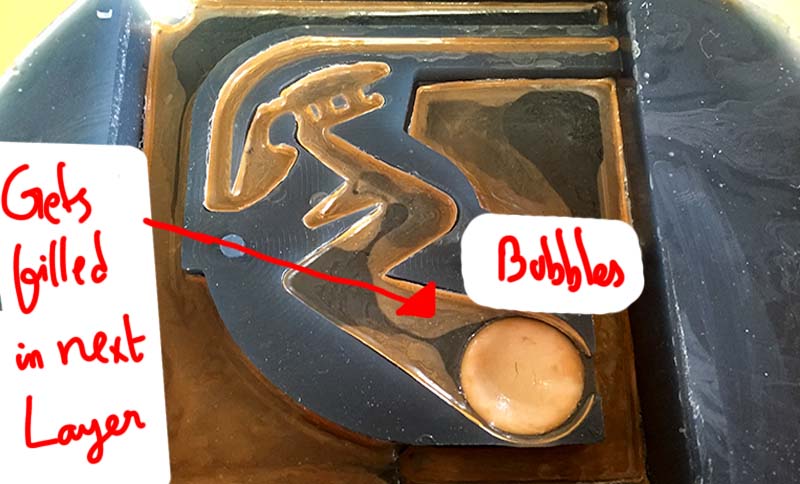
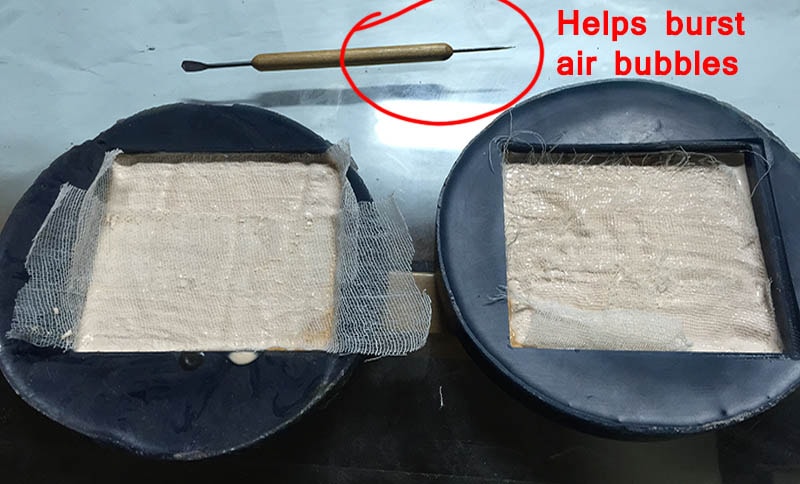
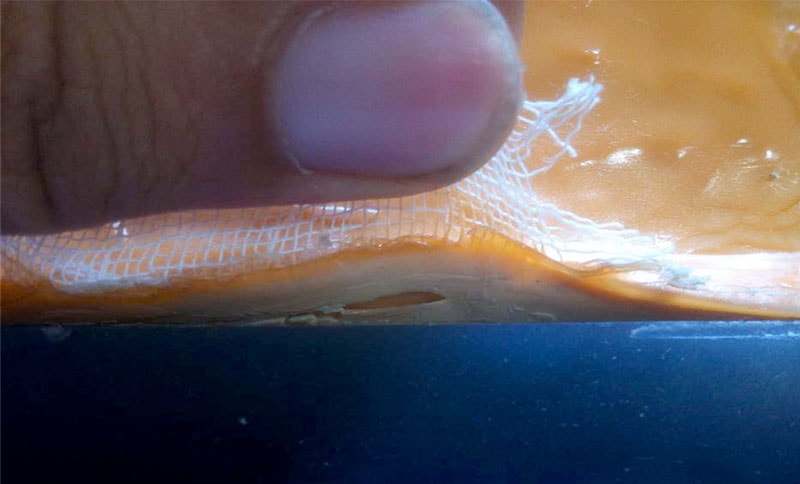
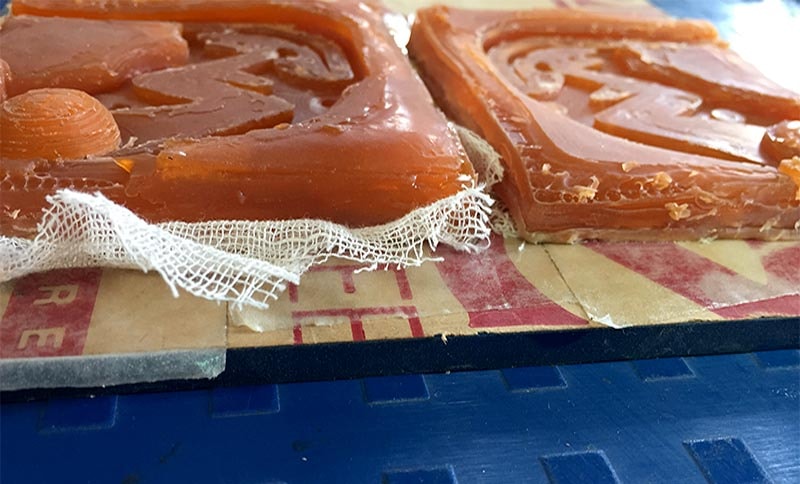
This is something different i tried, usually everyone was pouring Rubber solution but i thought what if i try layer wise, I brushed a layer of rubber solution, let it totally dry, went for another layer, like this with patience i did 15-20 layers and then i put a gauze patch just so that its easier to pull it out without spoiling the mold.
And when we felt that it has stopped drying up and liquid is flowing to the lower layers , we stopped and kept it overnight.
And looked like this.
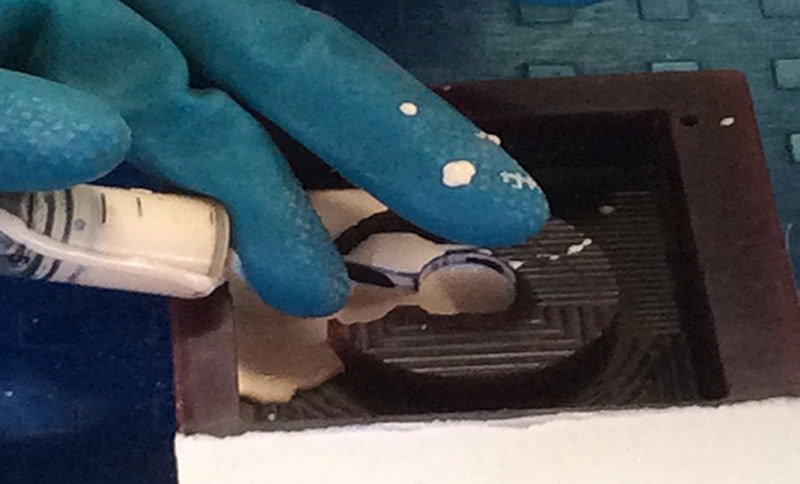
I used the above tool to fix air bubbles, its amazing how this tool has been helpful in cleaning PCB's, fiving wires and now fixing air bubbles.
In above pictures i am just fixing them on a board with double sided tape so that i could pour hydrostone in it.
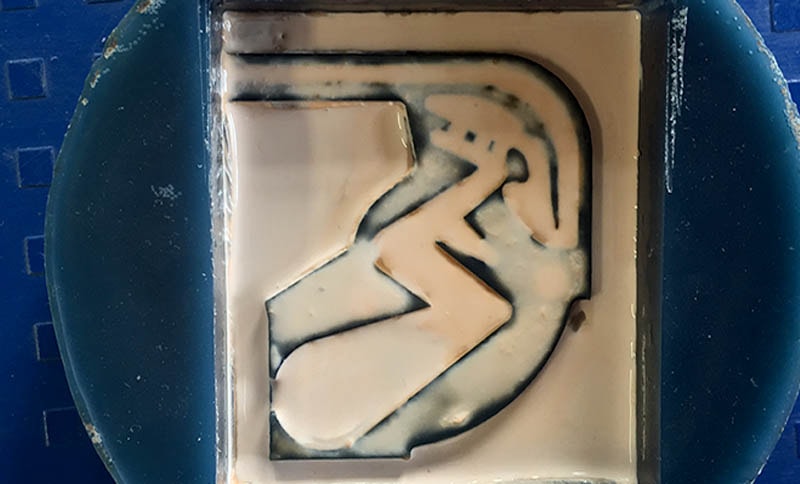
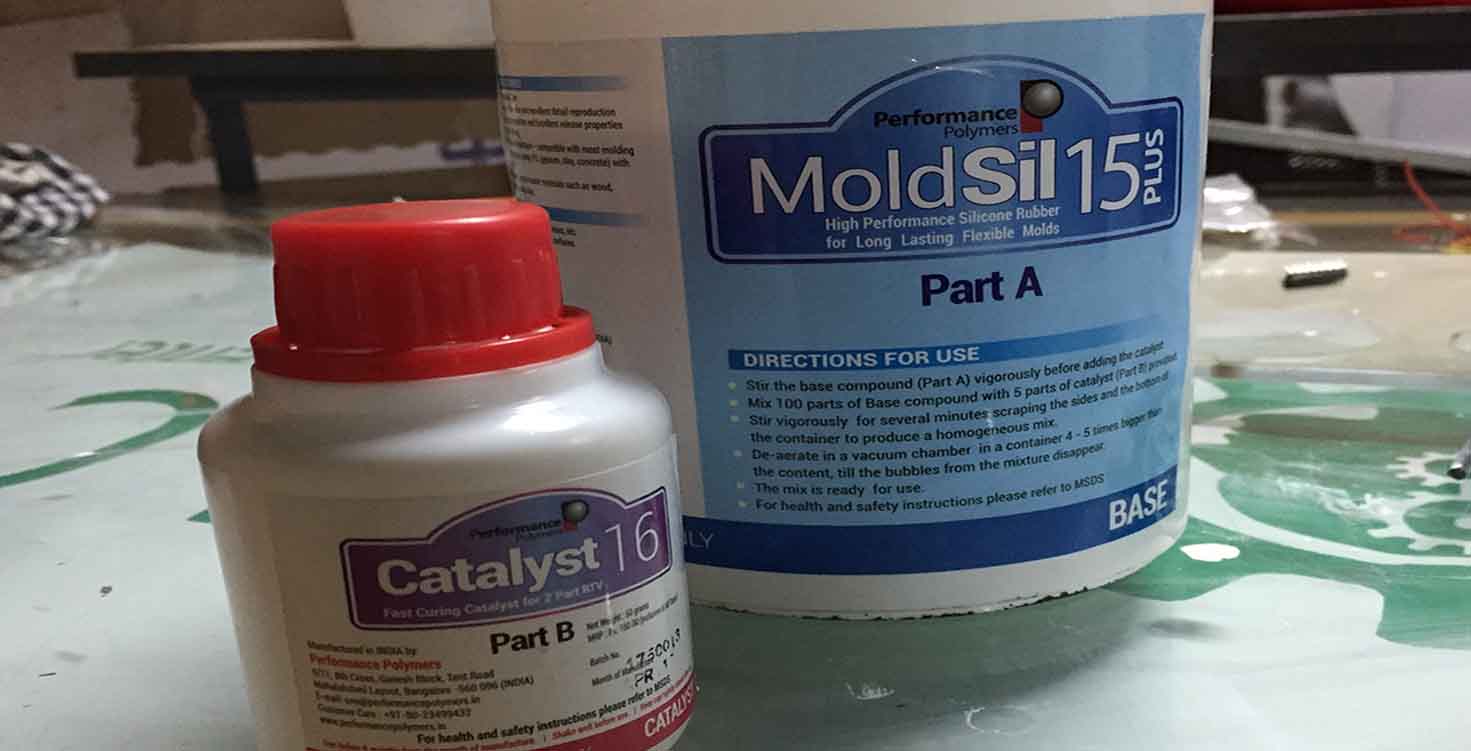
So this material I got from Pune , its imported from abroad, its an amazing silicon rubber.
5 parts of the Hardener for 100 parts of the Silicon solution.
In above Images, you will see image of the material i have used and in right ratios, Ratios are very important, and if they are right 5:100 then you will get the perfect result like shown above, i really liked how my spheere came out so well.
Silicon embedded button:
Designed on SKetchup
I also Designed a product for y Final project in which i designed a door knob cover which has an embedded button so when ever someone presses the button on the knob, the light behind will light up. So my ideas was this, it did work but till the time i could fit it in final project it broke a little plus i used a push button so further i had to keep it pressed to make it work. but it was nice to explore embedding elecetronics in everything we make or use
Again , for this i Designed and milled my mold on Rolland Modella wherewe upload stl file and it converts it to png and then create the path for the same
Silicon embedded button casting result: [video]
In above video, you will be using my embedded button knob, its pretty soft and smooth.
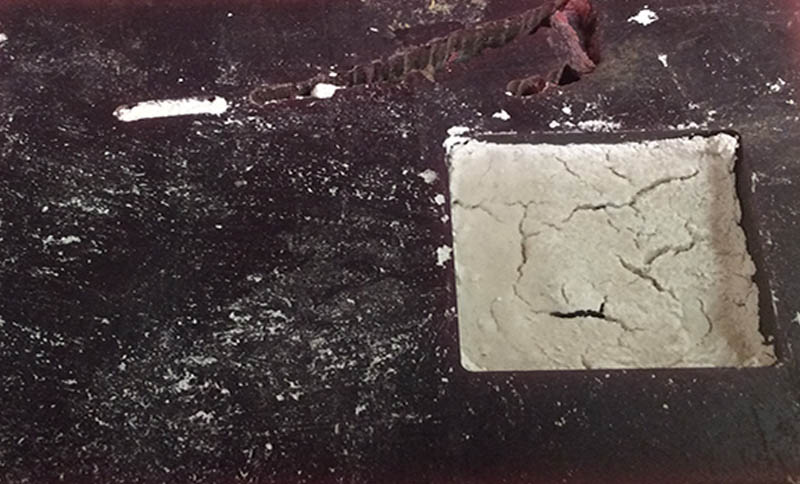
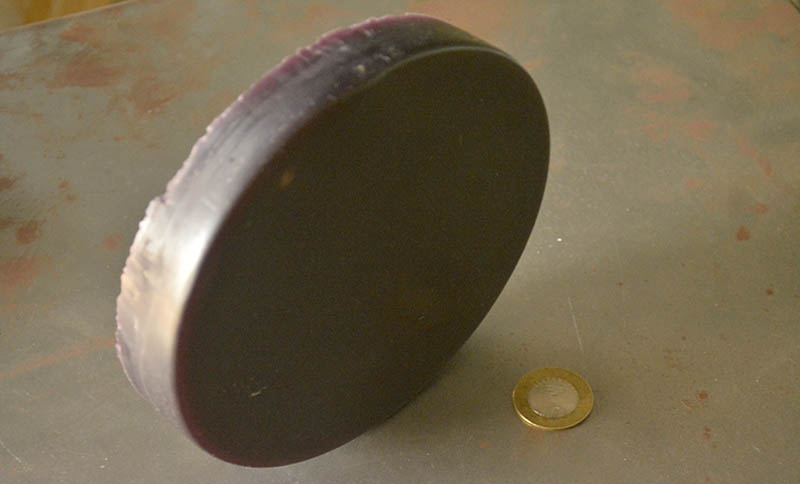
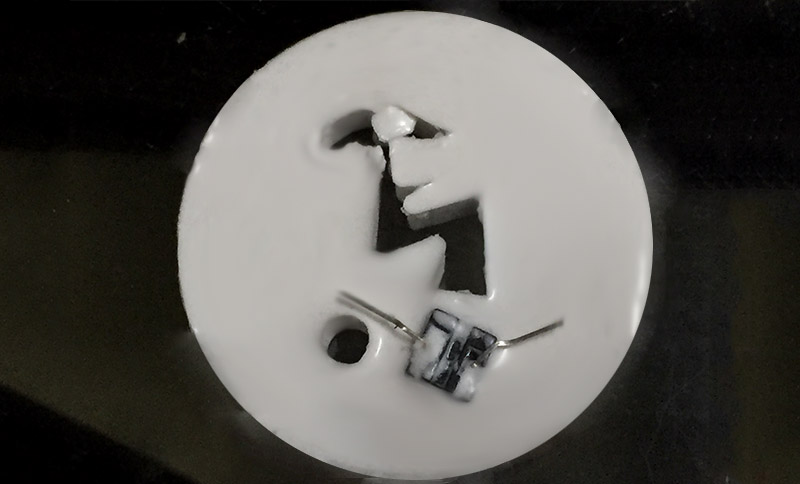
In above image you will me using hydrostone wherein I have poured Hydrostone solution which is the mixture between Hydrostone and Water. and it came out very well except its very fragile so it started breaing when took it out.
In above image you will i tried metal casting, i could not find the material for the same, we even tried cucibles available in the lab thinking its for this so we even tried melting them in high temperature but it didnt melt. So we came to a conclusion that its aluminium with mixture of something. So to try it out i used Soldering wire to experiement.
I really liked it so i would like to arrange for this in my lab so that others can do something more innovative with this.