<-- Week 13
WEEK 14
[ COMPOSITES ]
Week 15 -->
WEEK'S GOALS:
IDEAS THIS WEEK:
ACHIEVEMENTS THIS WEEK:
TESTEDi. Living MDF(Tension-matrix)+ Rubber solution (Compression) + wax shaving(melted later)(Matrix) + Rubber solution (Compression)+ Living MDF (Tension-matrix) + Vinyl(if needed)
ii. Composite Chair with EPOXY RESIN (Araldite)
IDEAS NOT EXECUTED
ii. Vinyl sheet + sand plus vinyl sheet + sand-> fireproof fabric-sand paper
iii. Copper vinyk cutting with FR1 material-3d circuit
iv. Turban (Pagri) cast
v. Fevicol plus sawdust-pencil sharpener design
Materials I wanted to work with but couldnt:
(i) Natural
1. JUTE- Would be intereseting fabric to use
- by far the easiest to work with
- with adhesive backing behind vinyl..hmmmmm !!!!!
- Locally abundant. Very tensile
(i) Artificial
1. VINYL SHEETS- Flexible. Cna be digitally fabricated. Thats one thing to use !
- Can use, but does it serve my purpose with anything?
- An interesting and cheap material to bond my layers. Will think over it as my final layer.
- Used to use it in my preschool days. Can think about it if need glossy finish.
TASKS AT HAND:
- Documentation of composite after curing in terms of material properties.

This week I did two Composites, First one is an experiment to achieve a flexible material which is strong but flexible and mixture of different materials available here. That is, MDF living hinge - rubber solution- Wax- rubber solution which ill explain below. Other one is a tried and tested material that is medical gauze and araldite layers together which is again a very nice composite which i did one a designed seat.
Above video explains very well the process i have done for achieving my first composite experiment. In this, Basically I started by designing my composite in sketchup and furter milled it on Shopbot. Then used materials like Rubber solution- wax shavings which has been explained below.
Flexible Composite Process Used:

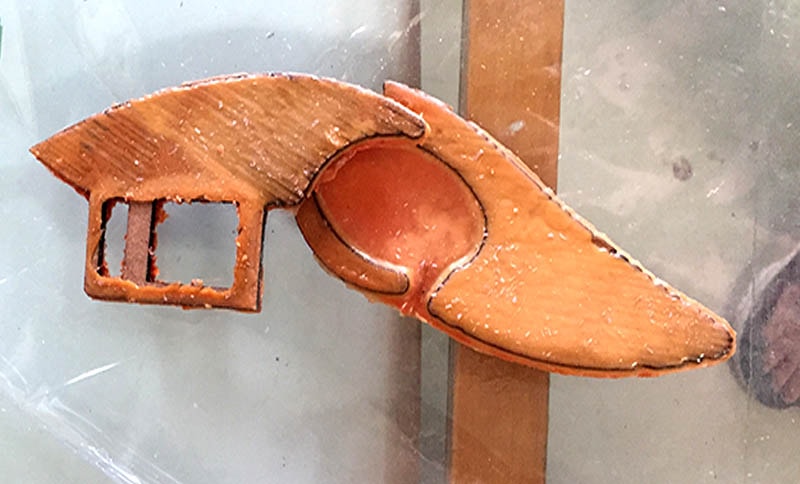
I had to cut my pressfit of ZIOS on MDF but trying it on cardboard to confirm the dimensions. You can see below that im fitting my cardboard in the shopbot board. Laser cutting the MDF. In this we open RD works software for this laser cutter, upload the file, select the parts we want to cut and choose red colour. Uploading image to to the machine with USB cable attached to machine, setting up origin with the help of arrows button, checking frame, print.
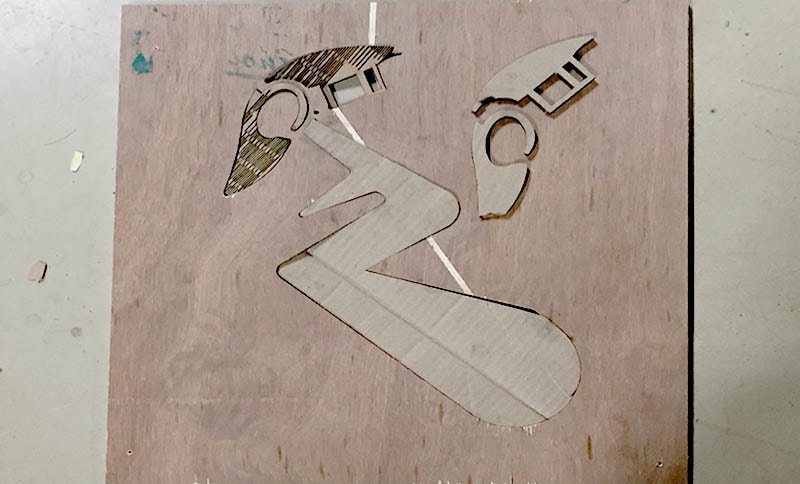

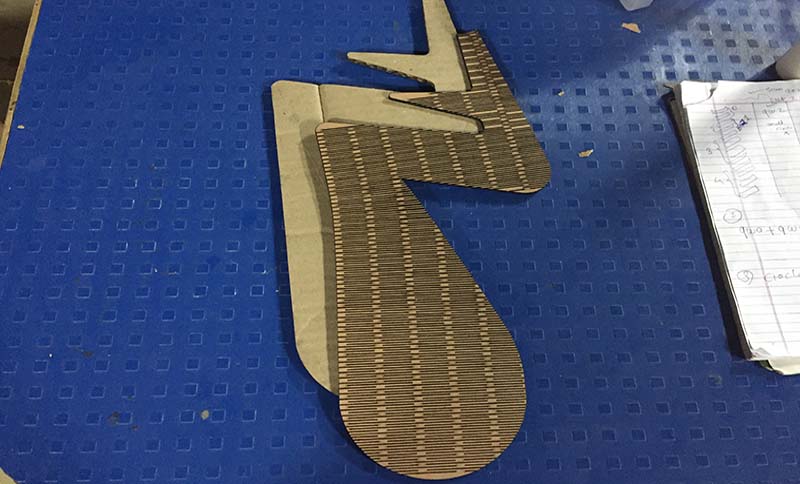
Above you will see my shopbot board, cardboard zios, MDF ZIOS with living hinges, perfectly fitting.
Rubber Layer:
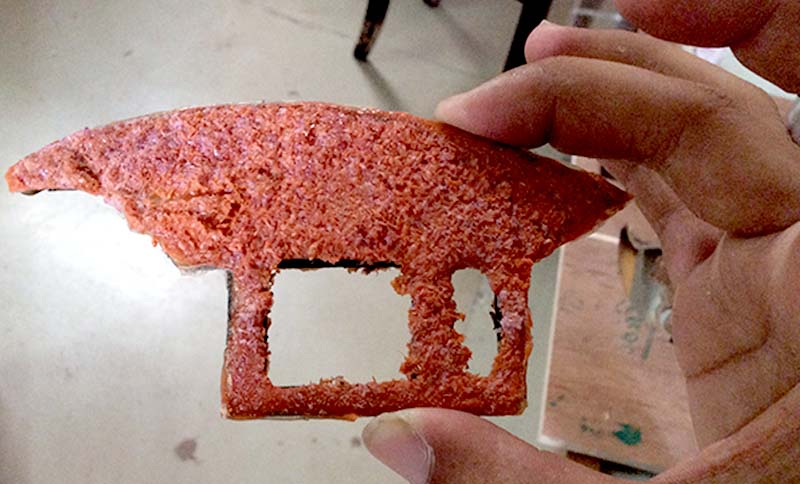
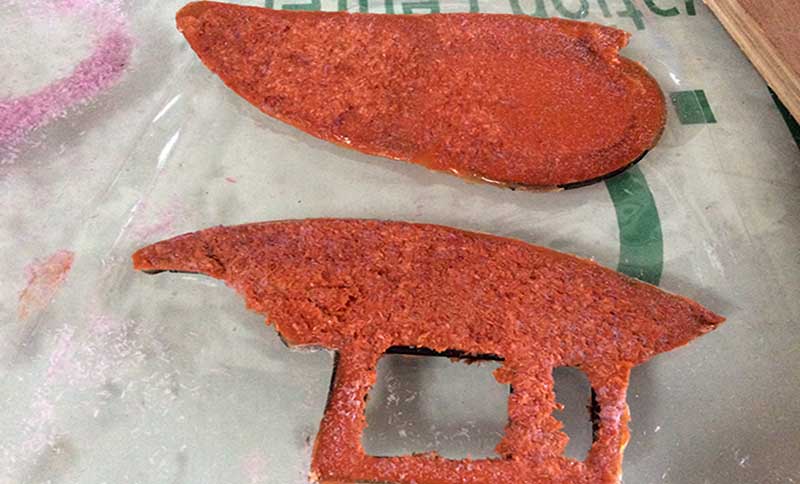
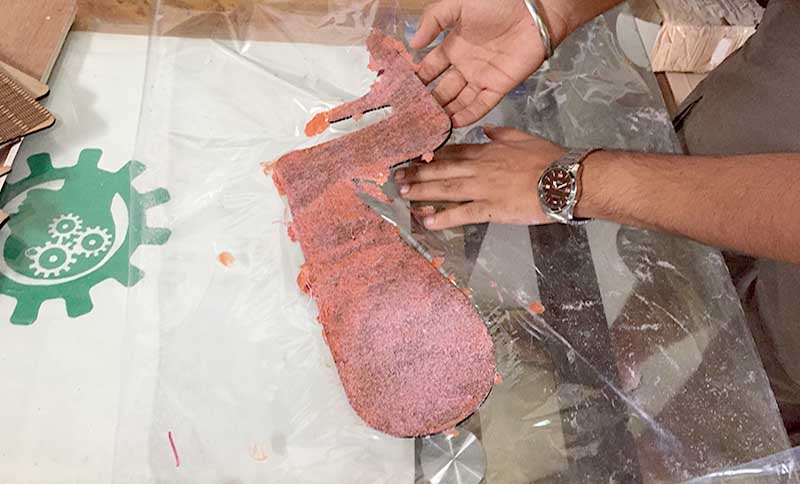
Below you will see images in which im pouring rubber solution and letting it fow into the gaps, purpose of doing this was that whenever i used to fold my MDF living hinges to more than 90 degree, they used to break, so i tried pouring rubber solution on it as a layer which will give its gaps and backside and front a flexible material so that even if MDF breaks, rubber solution will hold it together.


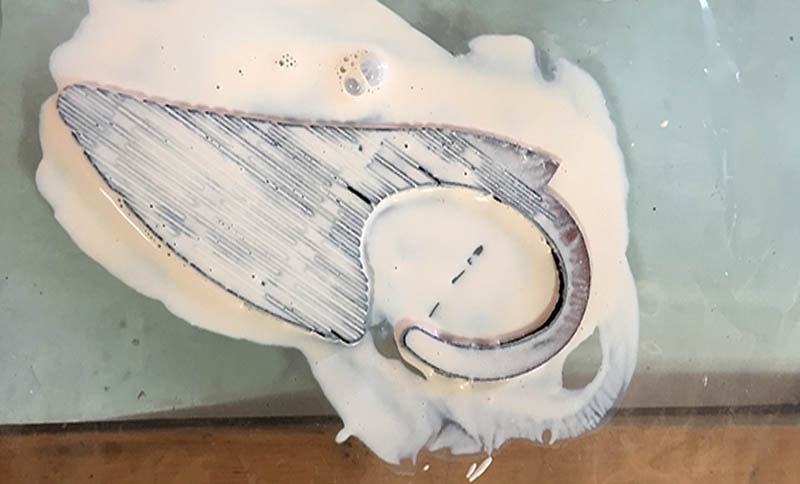
In above images first image is where i poured a layer of rubber solution on front and second image is of the back. Third image is the result of 4-5 hours of drying.
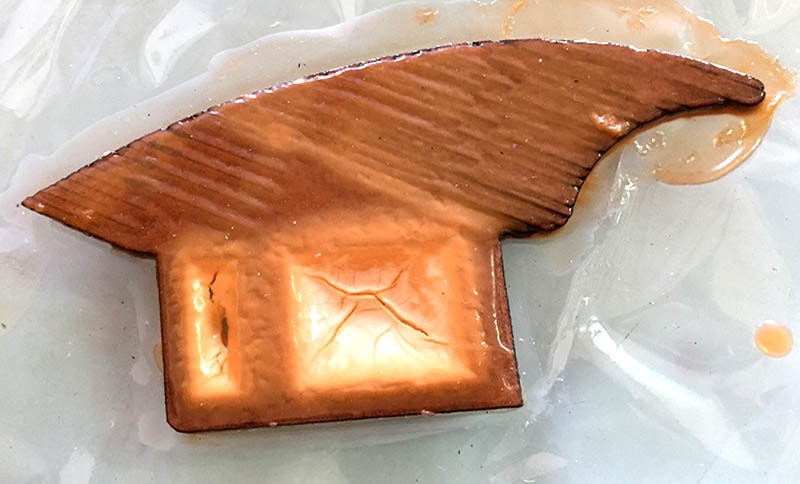
Wax Layer:
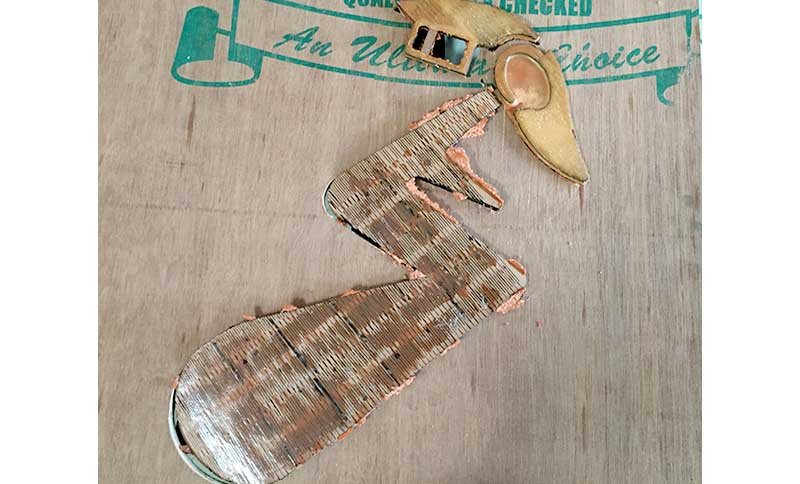
Next layer is of wax shavings, after trying melting wax in molding and casting, i felt its soft and it can support rubber solution to strenghen up, just trying. So i took Hot airgun to melt it.

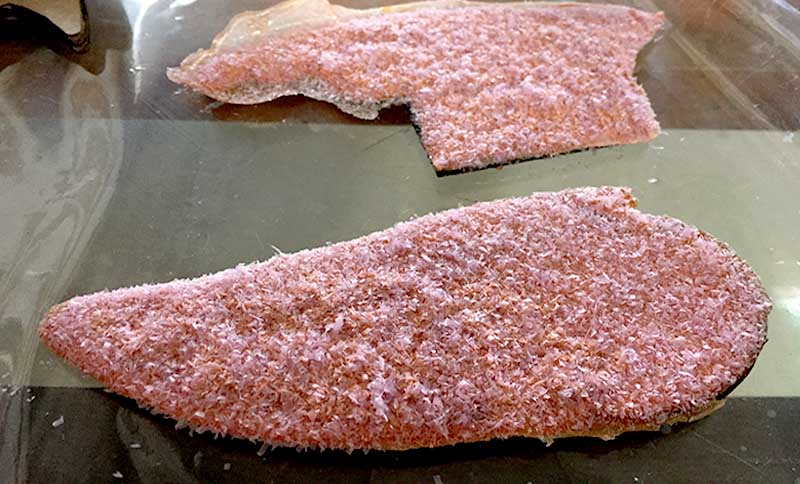
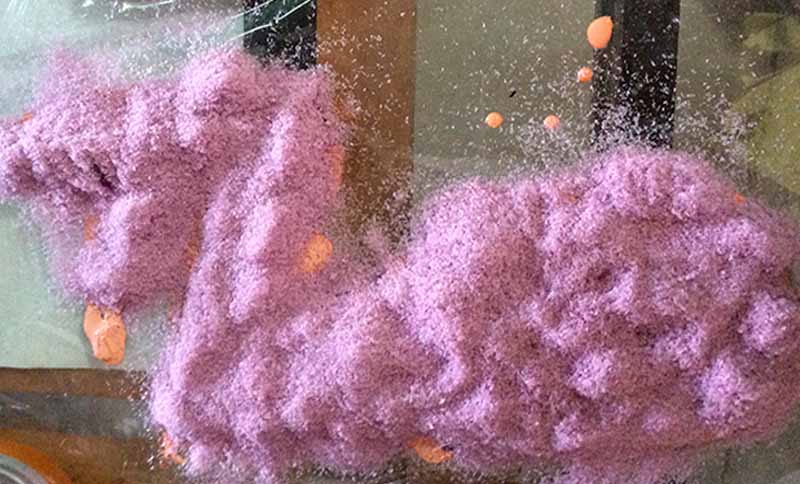
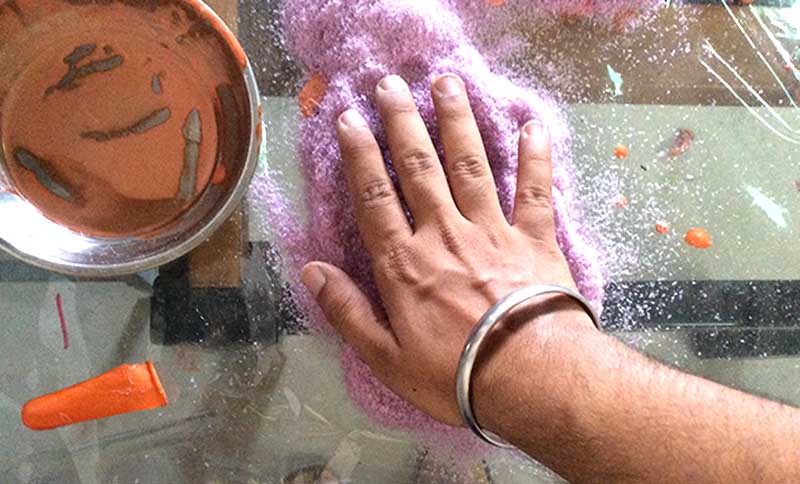
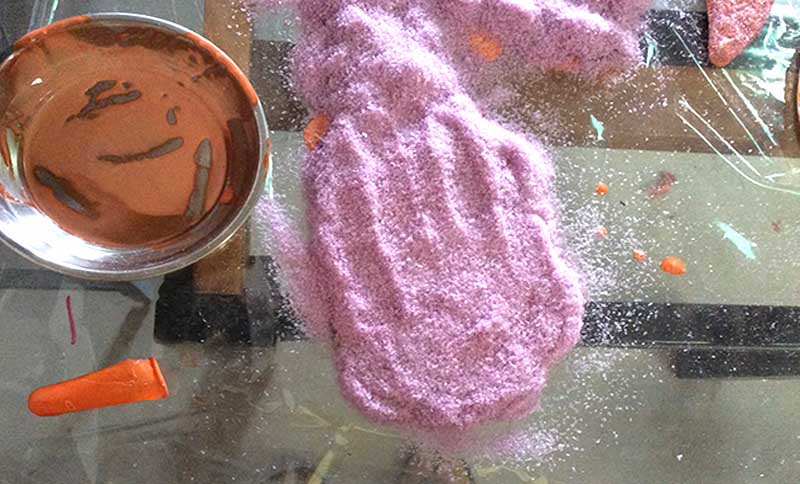
The above Images shows how i poured whole wax shave, compressed it with hand, and removed extra shavings. it was so soft to touch but after melting it with hot air gun it got coarse to touch but it was amazing to see rubber and wax layers coming together and supporting MDF to let it break but strengthen with flexibility.
MDF Layer:
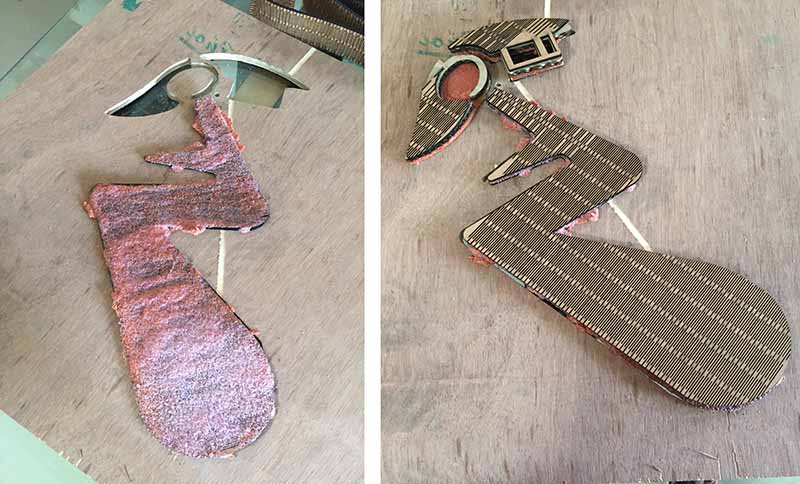
In the images below you will see me cleaning off the extra materials, ouring anothe rlayer of rubber solution.

Did vinyl cuttng for Zios head on the vinyl cutter.

There were a few doubts on whether this qualifies as a composite or not due to my composite being flexible than being hard. In the above composite i deliberately used solutions that would give it varying degrees of movement and flexibility. However, to avoid any confusion i did redo this assignment again later on and this time i used Solidworks to go beyond my usual usage of Rhino or Sketchup. I designed a 2 mould chair to which i used 2 different types of medical gauzes along with araldite (Epoxy Resin Brand).
Epoxy resin comes in two part, one of which is hardener and other one is resin itself. Both individually can't do anything, when they are mixed the curation process starts and then after curing period it becomes rock solid. Curing time depends upon the environmental parameters which are:
There was this unknown brand of epoxy resin present in the lab which finished before i could use it.

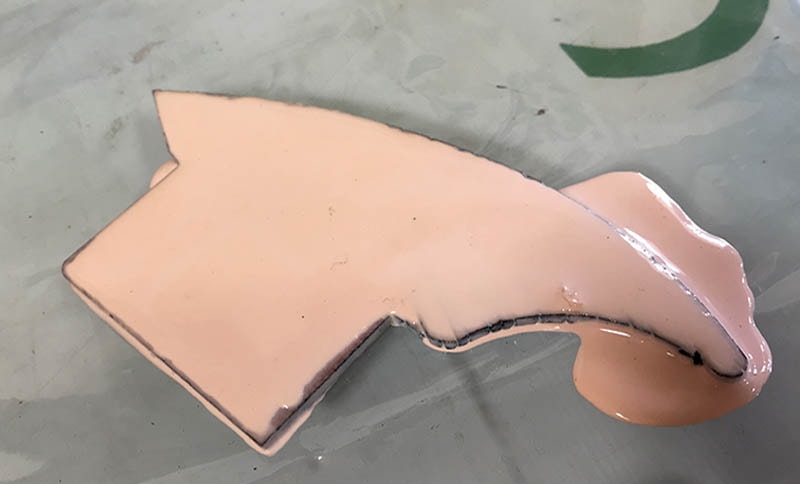
Therefore I've used the Araldite epoxy resin which is available commerically in shops. I mixed them in a cup using stirrer. Well mix it using the mixing stick, as the replacement of professional mixing stick I've used a piece of wood to mix it. Mixing the parts for about 1 minutes ensures the proper homogeneous mixture which is what is required. Look out for the color of the mixture, there should not be any element remained mixed. Color of the mixture which I made was like the tile attached. And it was not transparent and thick in consistency.

Mixing Ratio:
Composite Chair:
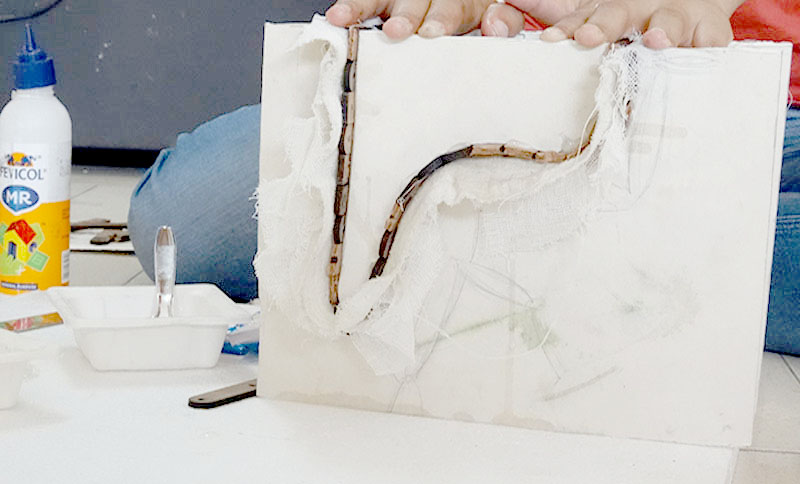
I basically designed this composite of seat wherein i made two panels for support and brown sticks to stack and give shape.

I brushed a layer of grease to keep it non sticky in the end

Mixing Hardener and resin equal in amount. Hardener is yellow in colour and Resin is white in colour.It should turn to light yellow after mixing it

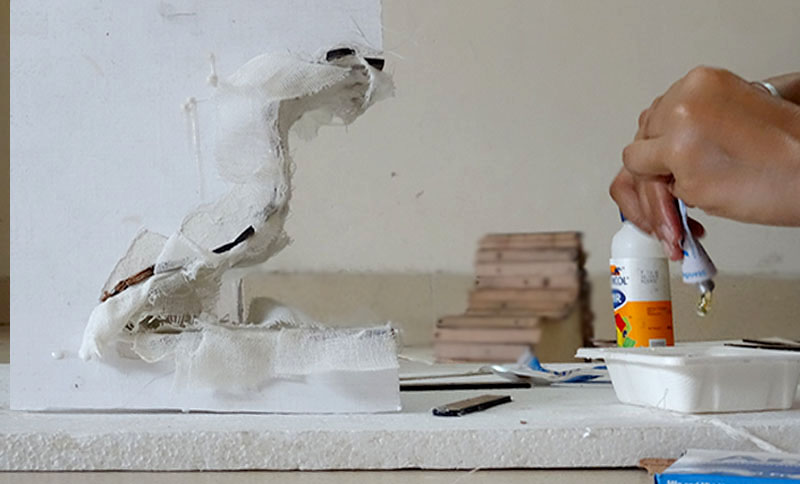
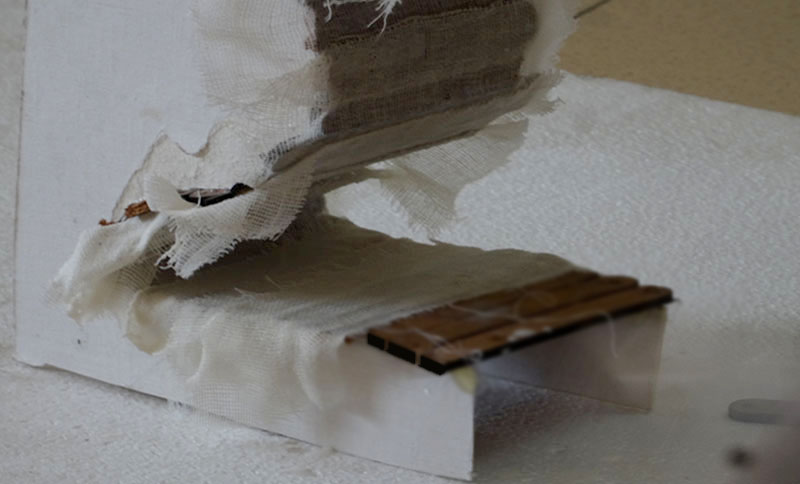
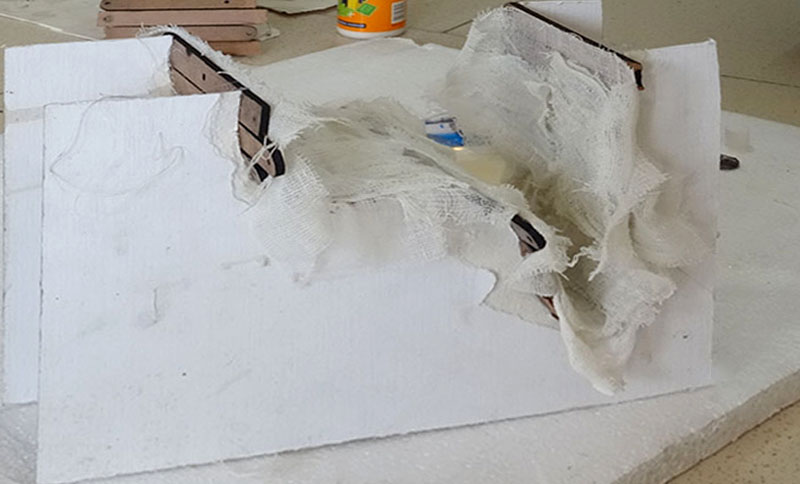
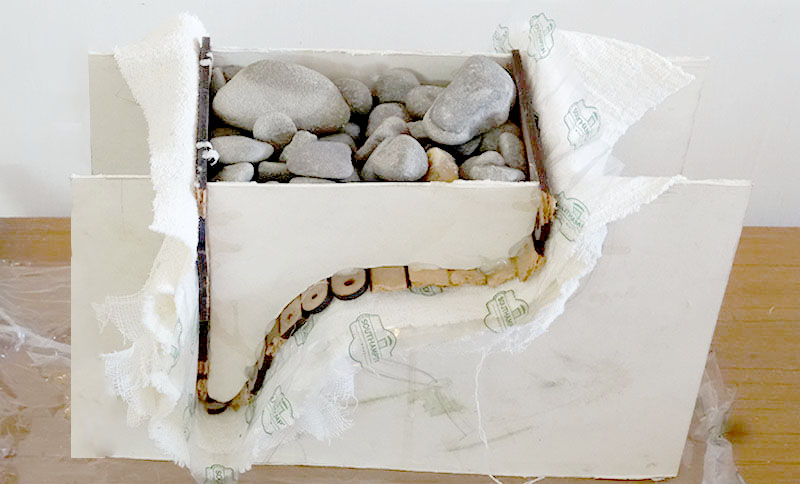
So the process was that i put a layer of grease on mold so that i am able to take out the mold easily in the end when i have to detach composite from the mdf. Then i put a layer of gauze , then layer of araldite mixture, then gauze, araldite, then gauze and then araldite, So i did four layers of gauze and three layers of araldite. Things to remember: Wear gloves while using Araldite. My hands were dirty so could not click. Next i made sure to keep the curve intact while making composite because that is something defines the seat.
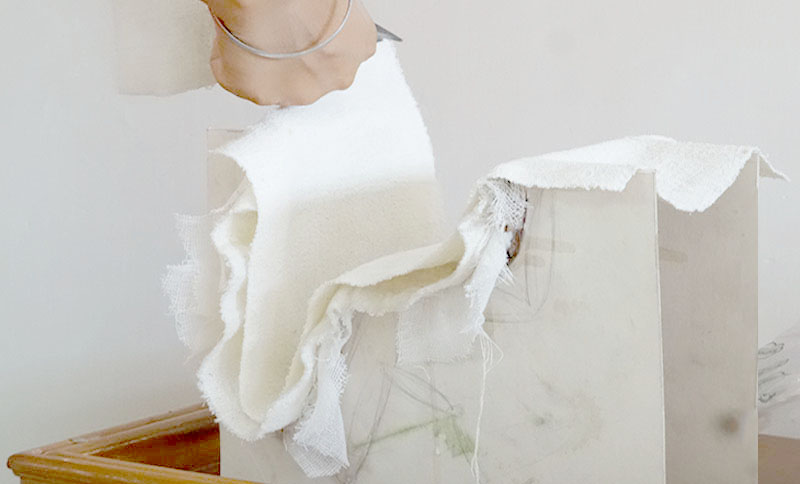
On opening the mould's on the second day-"Its hard and it hurts"


