<-- Week 4
WEEK 5
[3D SCANNING AND PRINTING]
Week 6 -->
WEEK'S GOALS:
ACHIEVEMENTS THIS WEEK:
1. 3d Printing- 1. Introduced to FDM, SLS and SLA technologies
- 2. Printed with an FDM printer.
2. 3D Scanning
1. 3D Scanned and 3d printed the scanned object
- 2. GEOPhotographic 3d Scanning Technique
- 3. Milk Scanning Slicing Technique
- 4. Displaced Image Scanning Technique
TASKS AT HAND:
<-- Week 4
3D Printing
[ Group Assignment ]
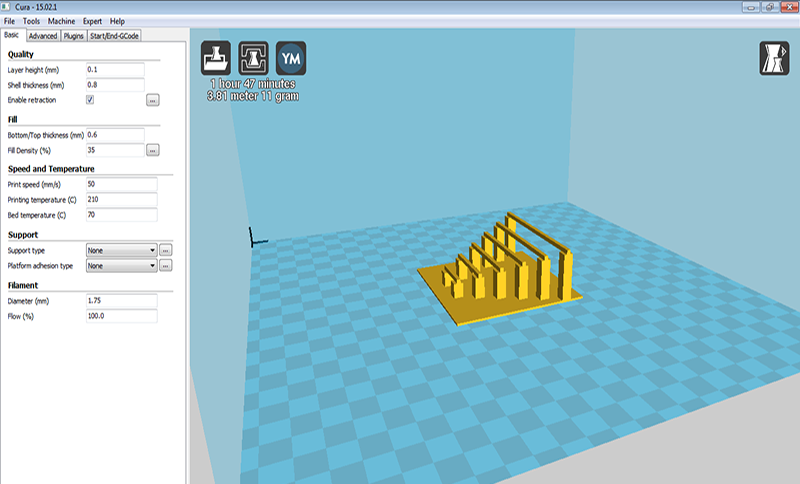
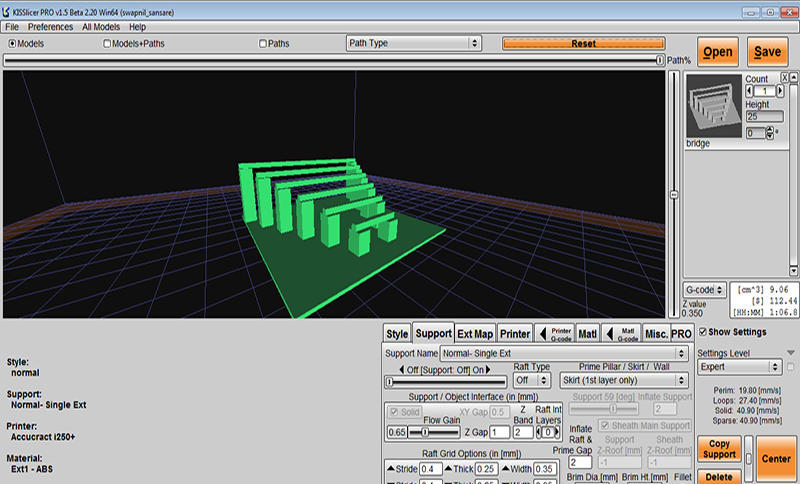
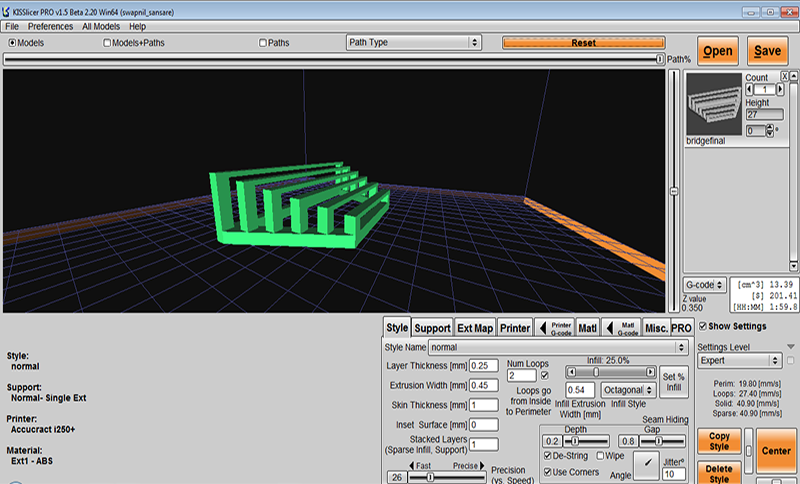
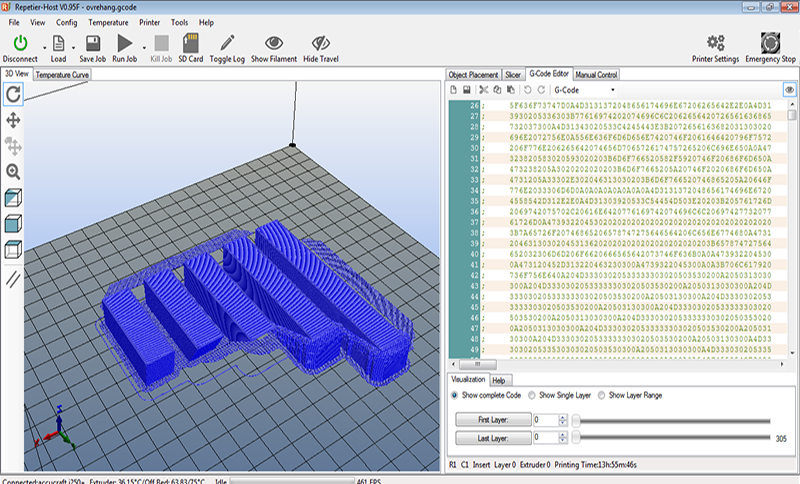
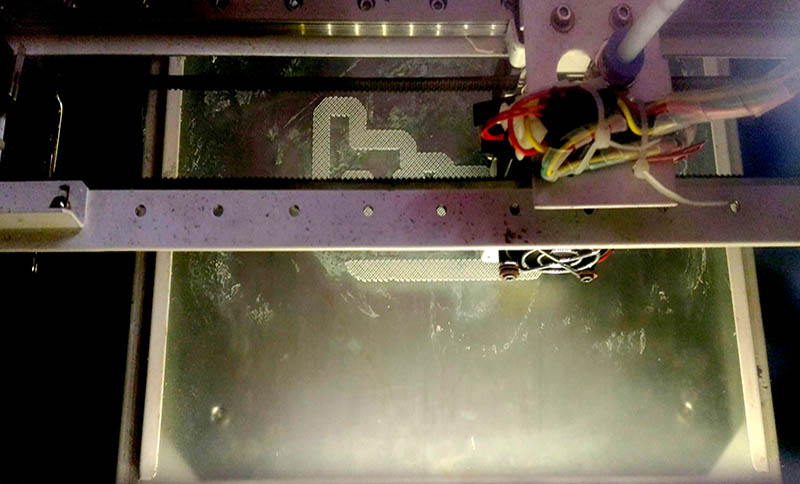
Bridge Test:


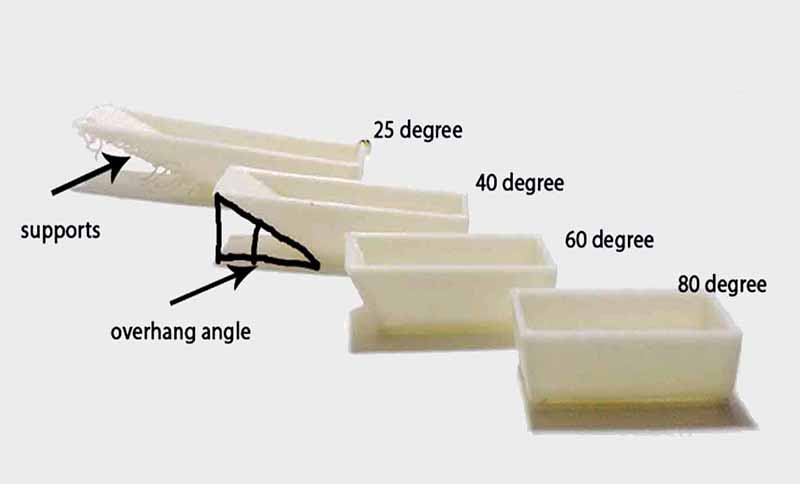
Overhang Test:
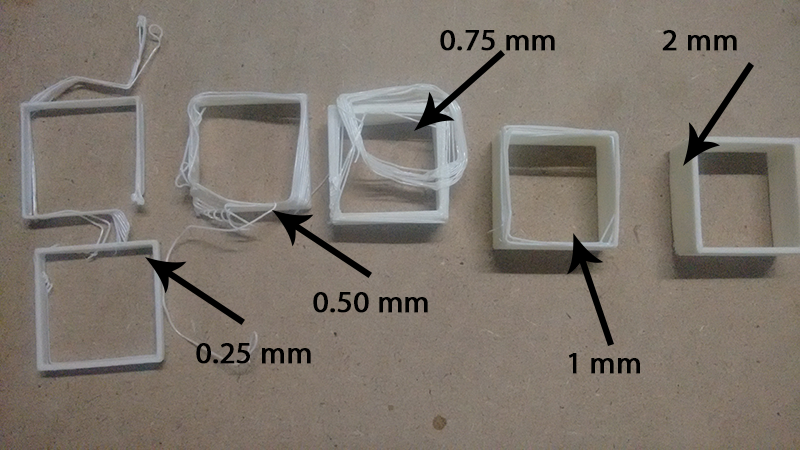
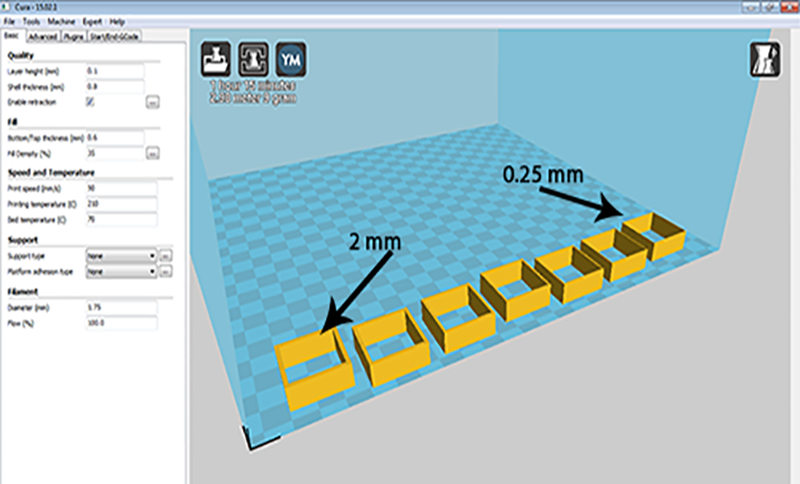
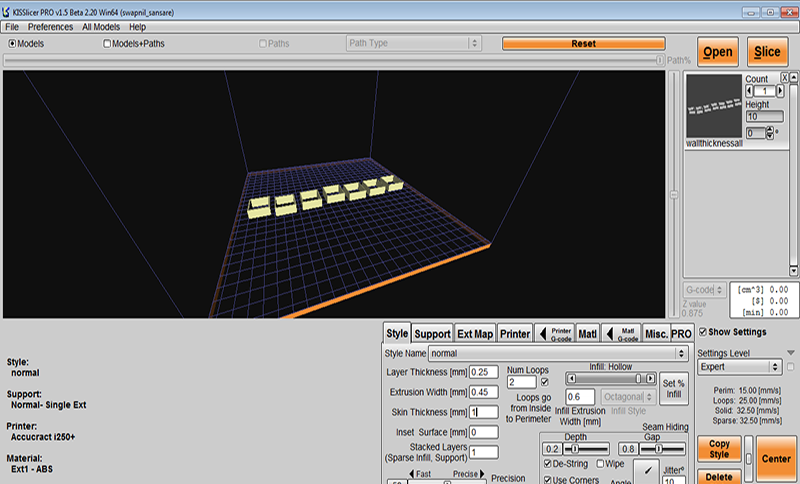
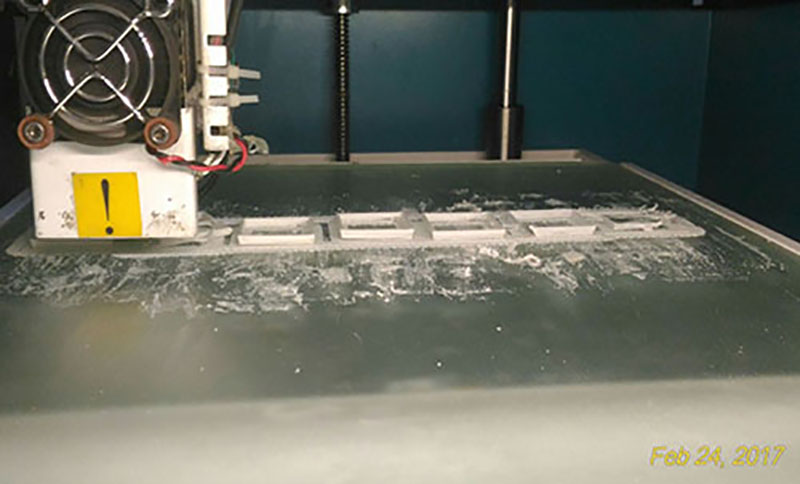
Wall Thickness Test:
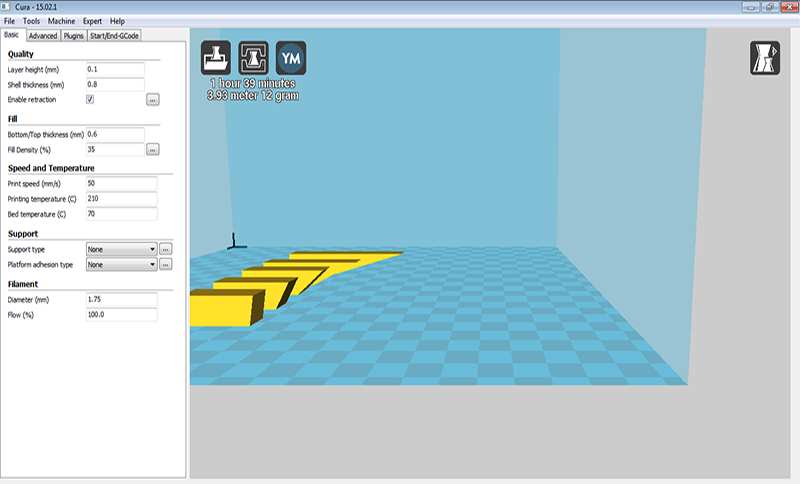
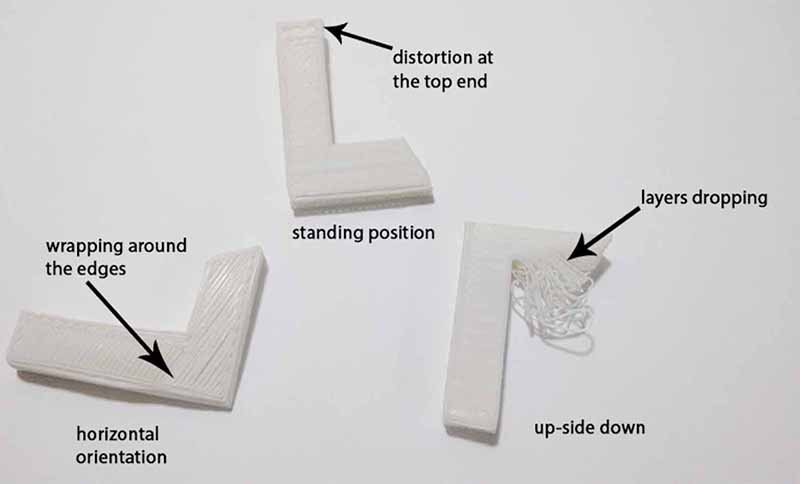
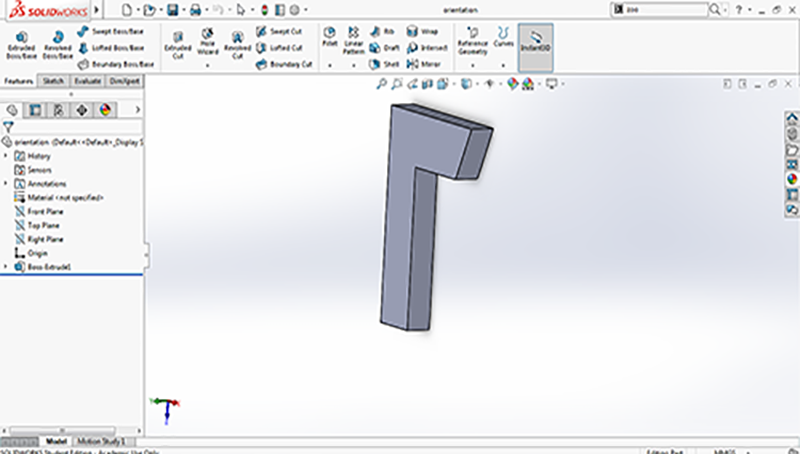
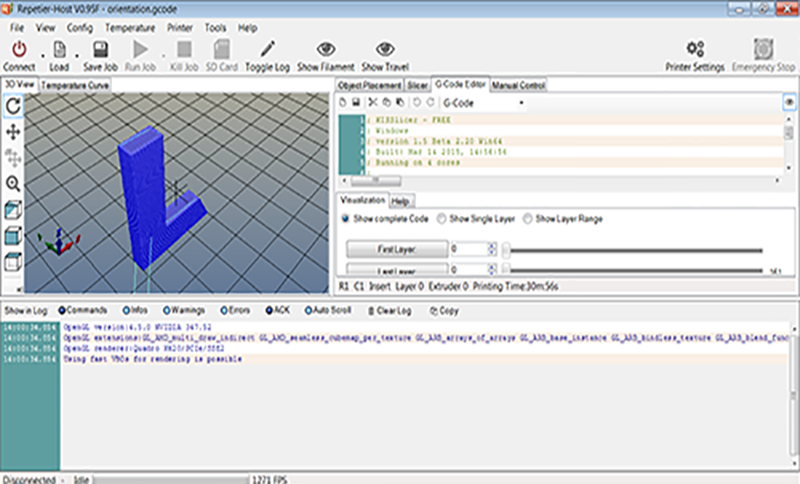
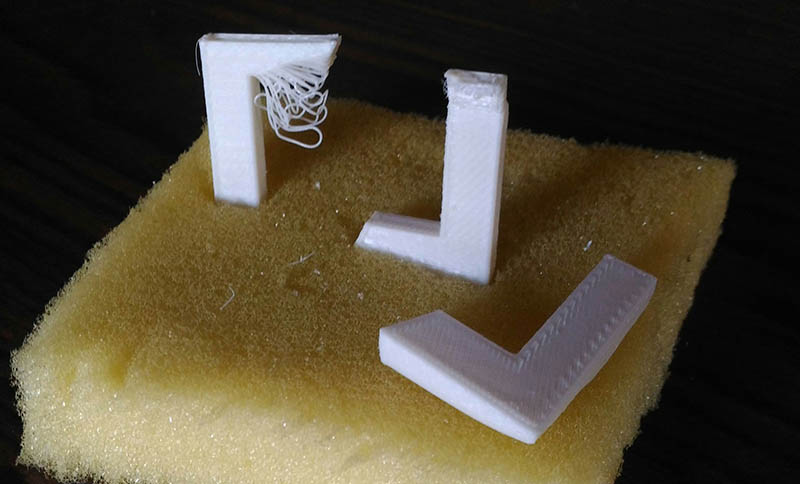
Orientation Test:

Infill Test:
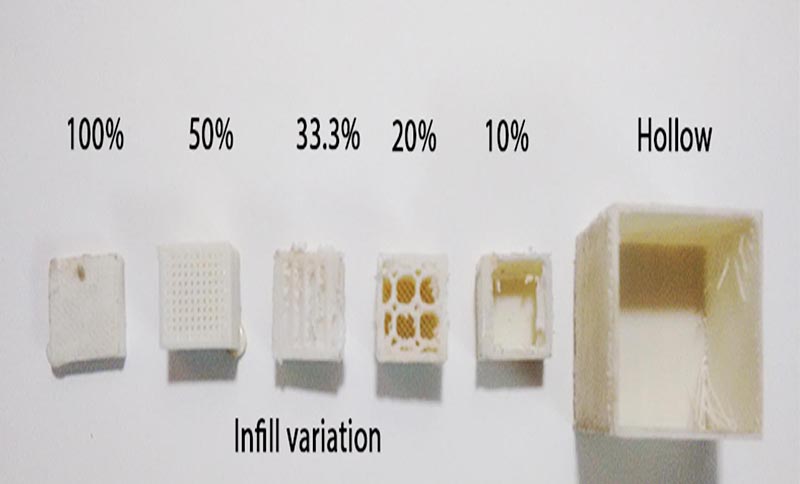
We can see the variation in size can be adjusted. Anything beyond 50% is more or less similar as the print gets closer to the printer's x-y resolution
Holes Test:
We can see the variation in hole size can be adjusted. This test was done to determine uptill what size a cylinderical hollow space can be printed within any print.
<-- Week 4
3D Printing
[ Form follows Function ]
Day 30 -->
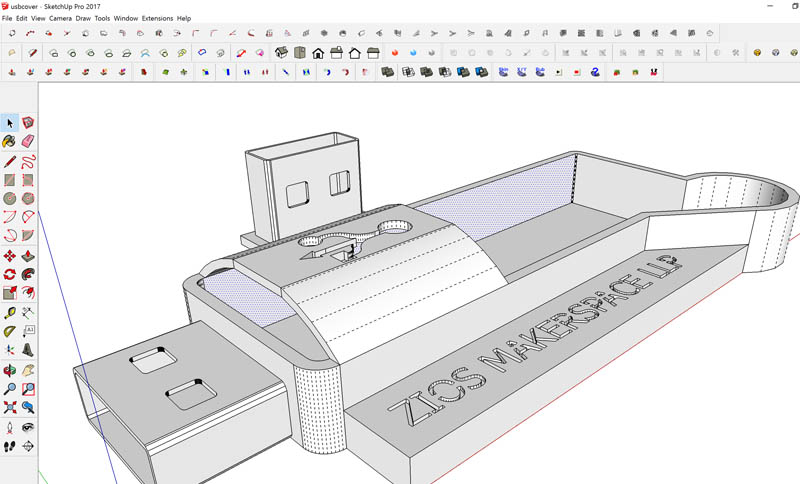
From my days as a student of architecture, a lot of emphasis was laid on onto a simple quote-"form follows function v/s function follows form" -In simple terms- Do you design for function and then add aesthetics or do you first design aesthetics and then force function onto it.
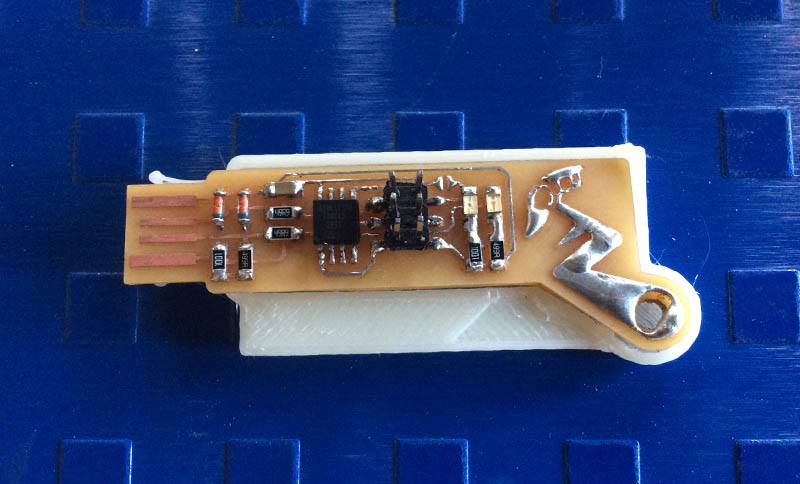
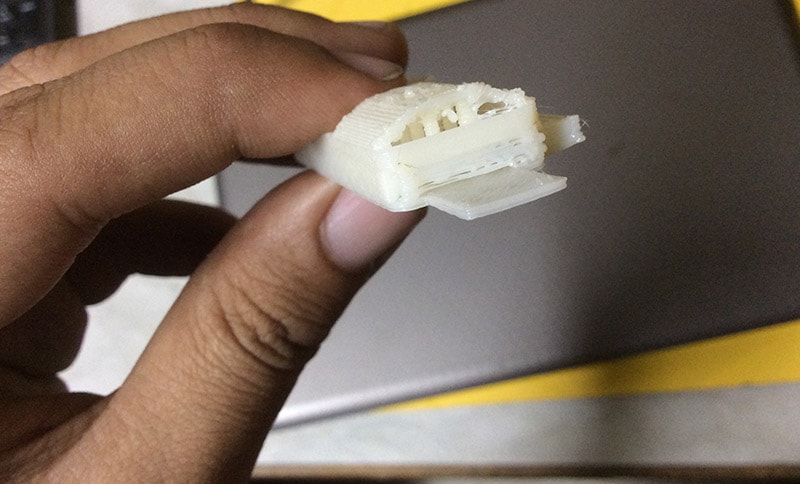
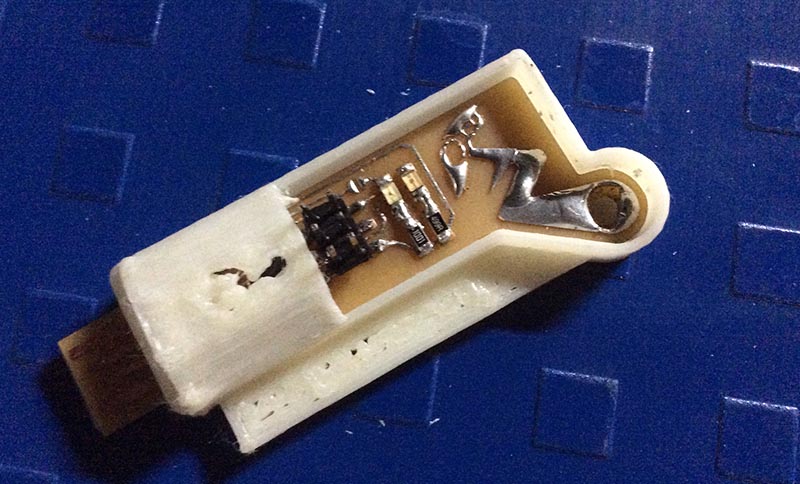
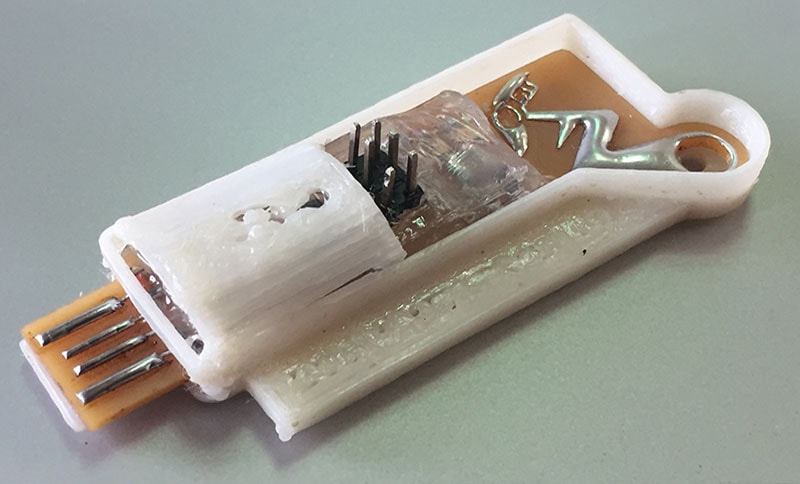
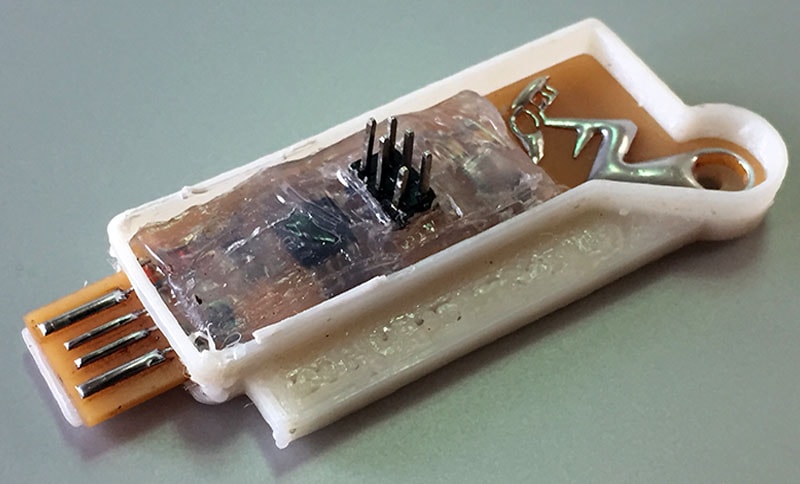
For this week's 3d printing assignment-i just made a small roof covering of my ISP's case. It can't be done with a 3 axis subtractive milling. Maybe a 5 axis mill might be able to to the job but only after careful amount of calculations and introducing quite a few spacers in between to compensate for the mill's path clashing with existing walls. This was more than enough to demonstrate how to introduce an element in a simple design to make it not possible through subtractive means of 3 axis milling (5 axis might just be able to do this but not as well as say what a DLP printer would get you). I used a fdm printer in the ashram

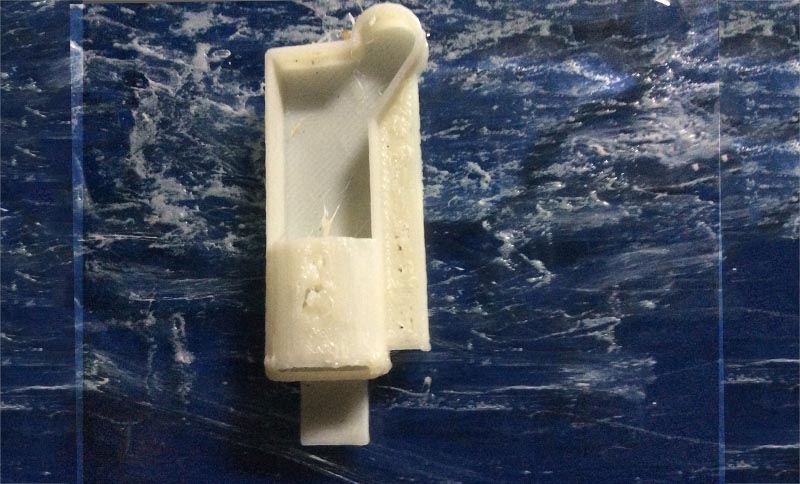
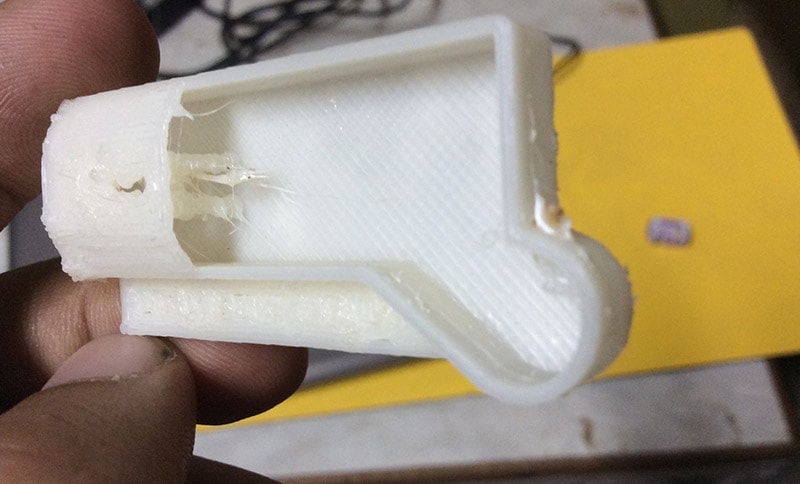
With Cap pressfit: Not possible subtractively in 3 axis milling
Without Cap pressfit: Possible subtractively in 3 axis milling
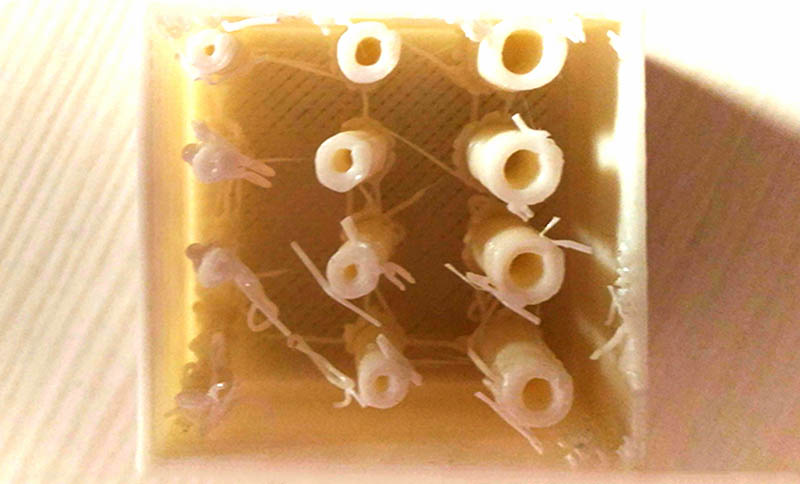
The interesting thing about this is even this design is actually not possible in 3axis milling due to the part where the vcc gnd and t1,t2 of the usb go under a suspended part-> not possible to mill under 3 xis milling
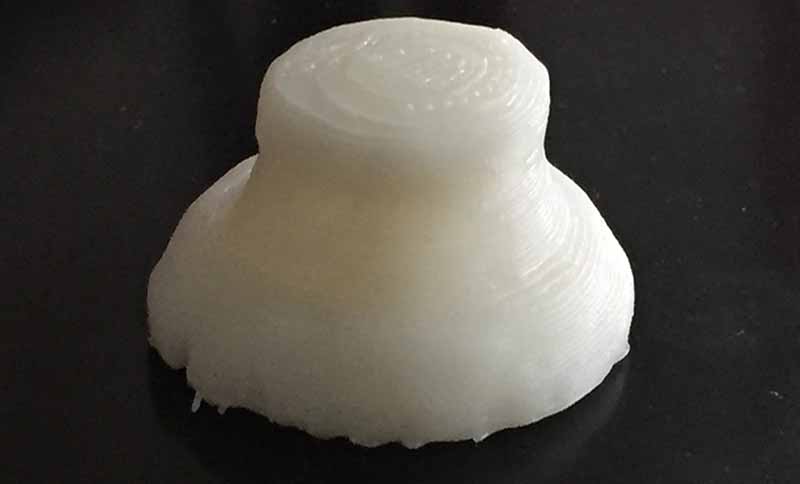
Final project's sliding door after 3d printing:
Was done for a sliding door fit withing the 1:50 model of the 20 foot container design
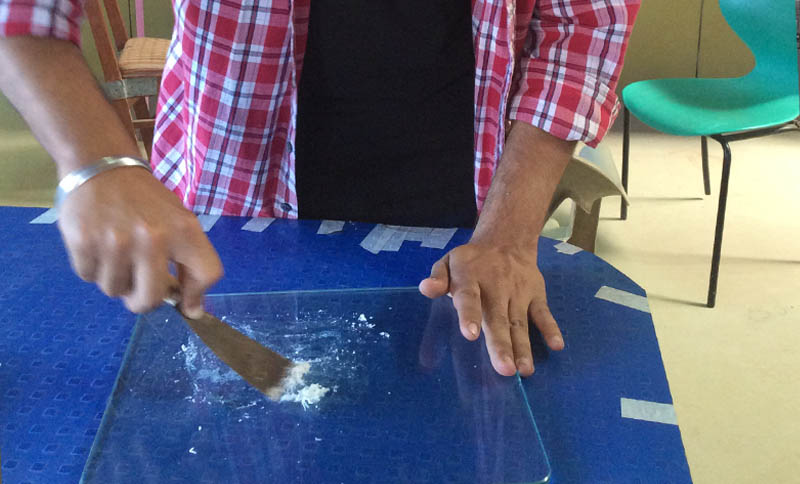
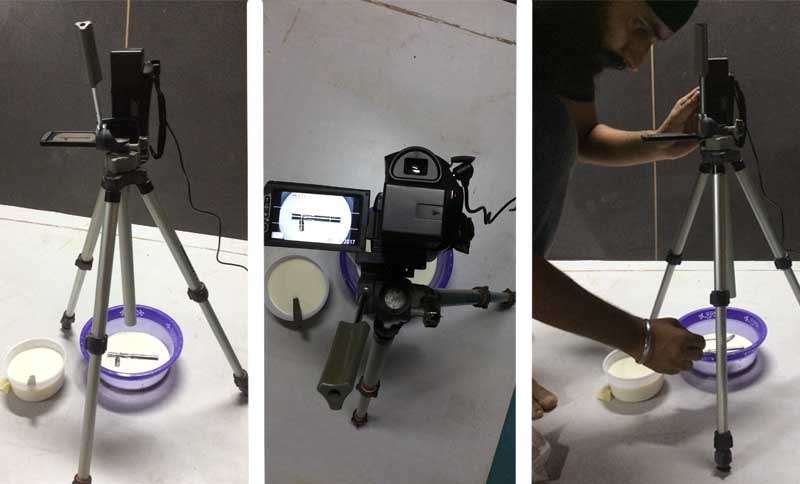
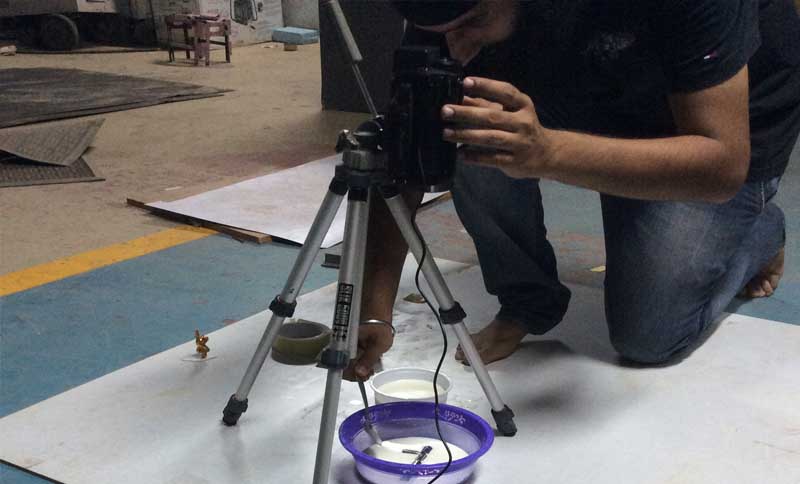
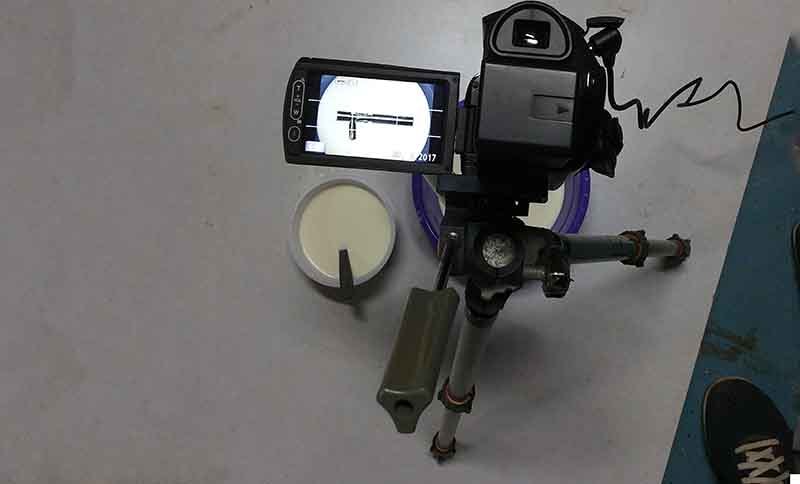
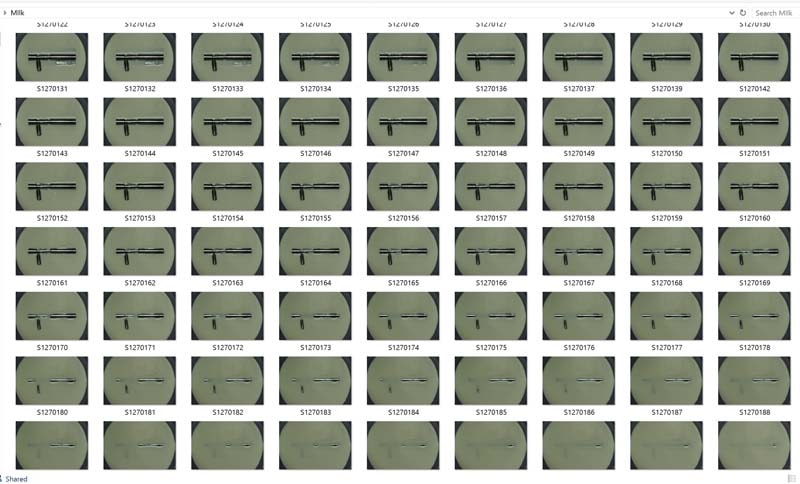
3D Milk Scanning
[Back to Basics]
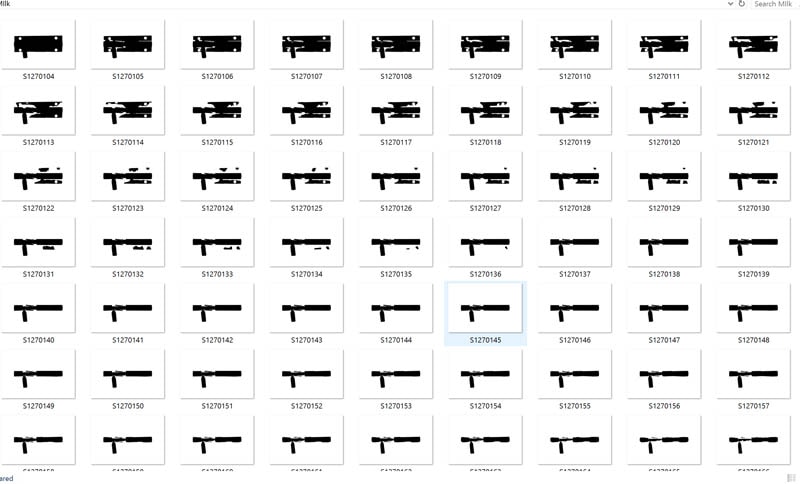
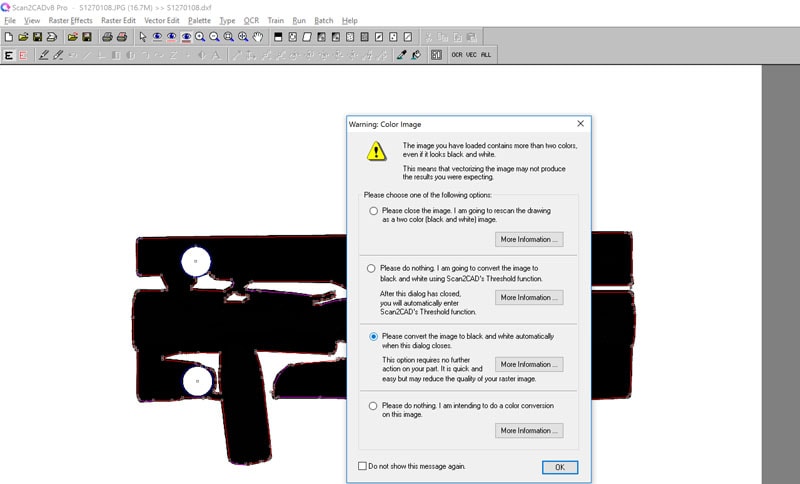
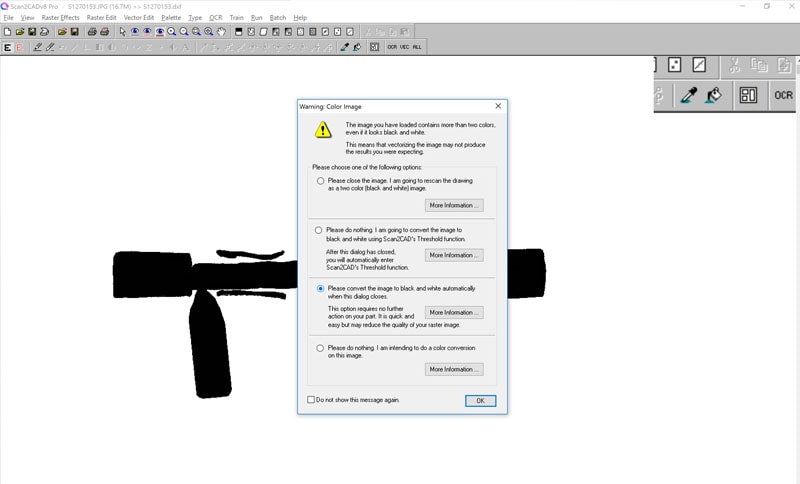
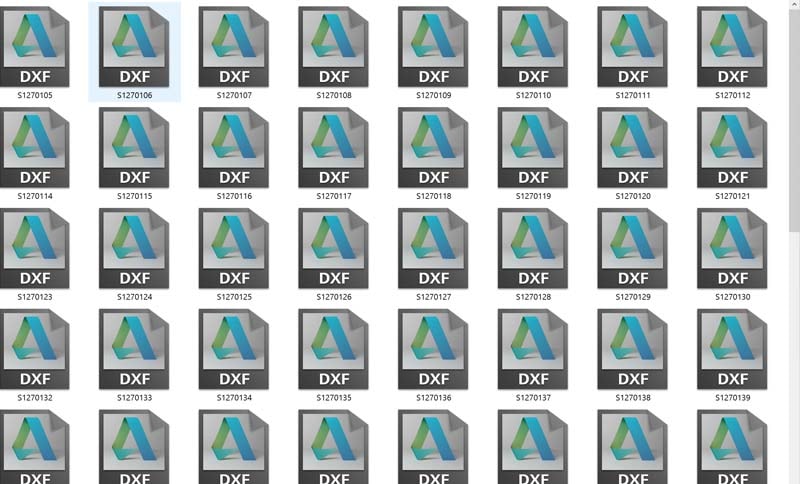
By far, my most relaxing and knowledgable assignment of this week was milk scanning. Its a physical process of slicing where we click images of the object we want scanned after pouring an equal quanity of milk to the container after each clicking an image of it each time. THe resolution of the scan soleley depends on the quantity of milk you pour after every image. If quanityt is less-> resolution is more. A lot of automation exists in milk scanning but i preferred choosing the harder way simply because as i worked through each image individually editing it in photoshop -> converting those images to vectors and manually placing them one by one on sketchup, i learnt how the whole slicing process workIts gotten very clear in my mind even how a DLPor SLA printer work.
This also was the idea behind mys suggestion to use a laser as the end effector in our group machine making assignment which has potential to be used for SLA processes and integrates light mapping machines.
VIDEO showing how milk pouring works as a slicing mechanism after cleaning and assembling all images in an order.

VIDEO showing image cleaning manually on photoshop.
VIDEO showing layer selective masked editing in photoshop
VIDEO showing how the vectors arrived from the images are placed on top of each other in relation to an anchor point
FINAL SCAN
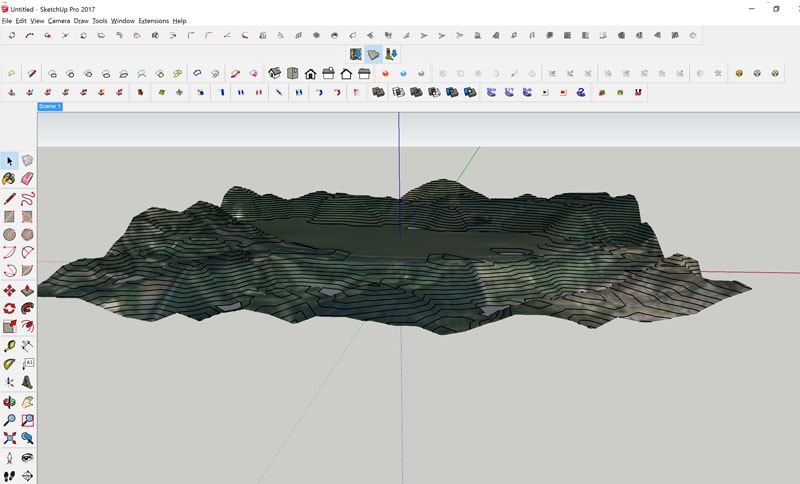
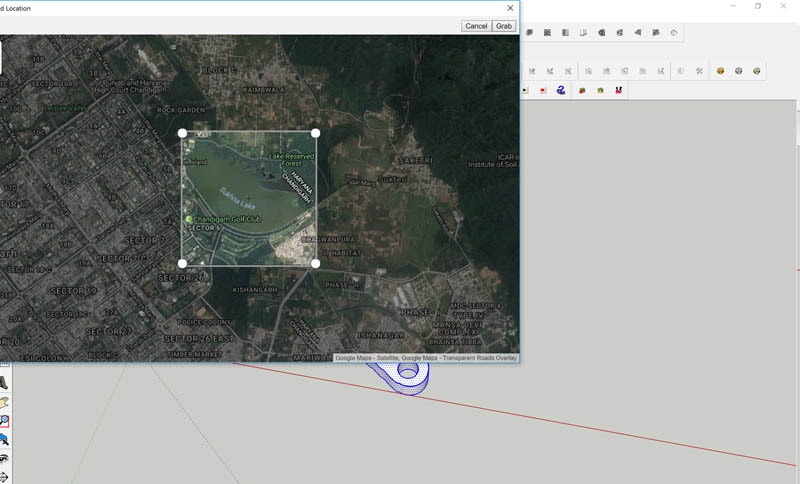
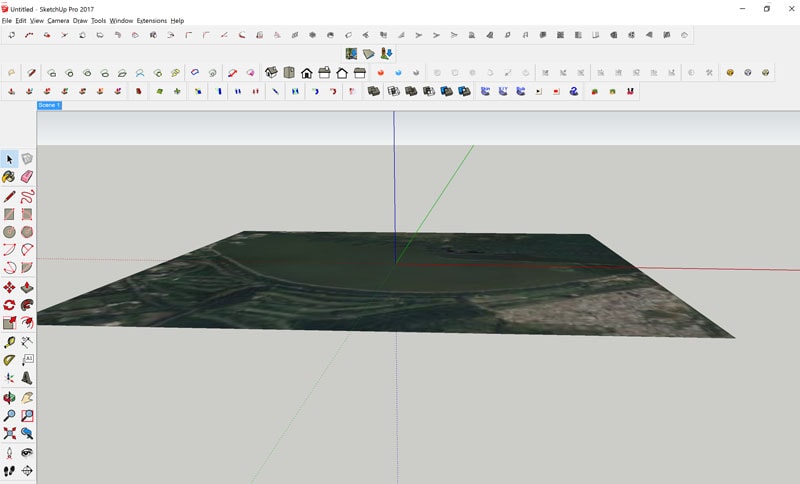
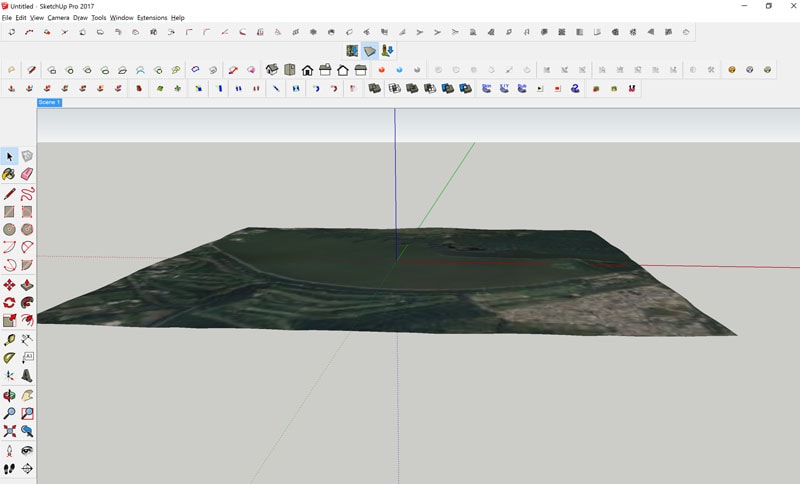
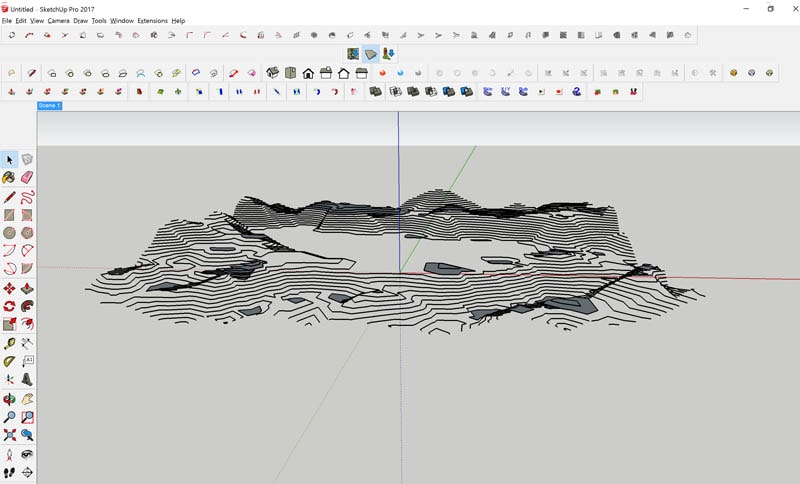
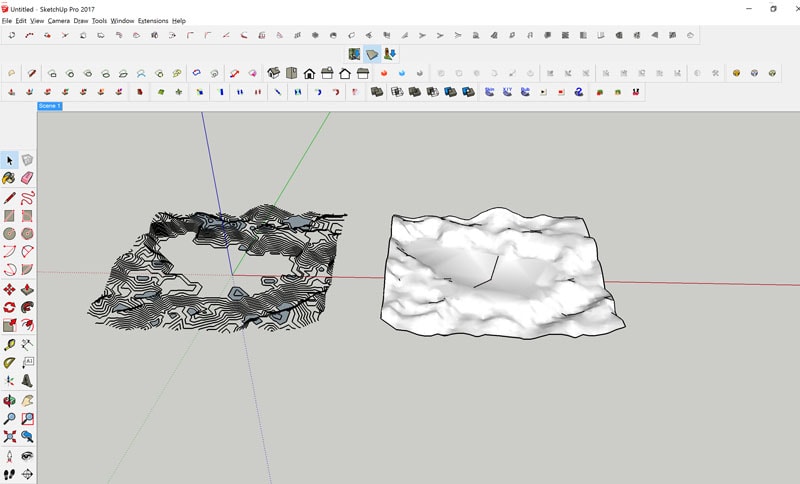
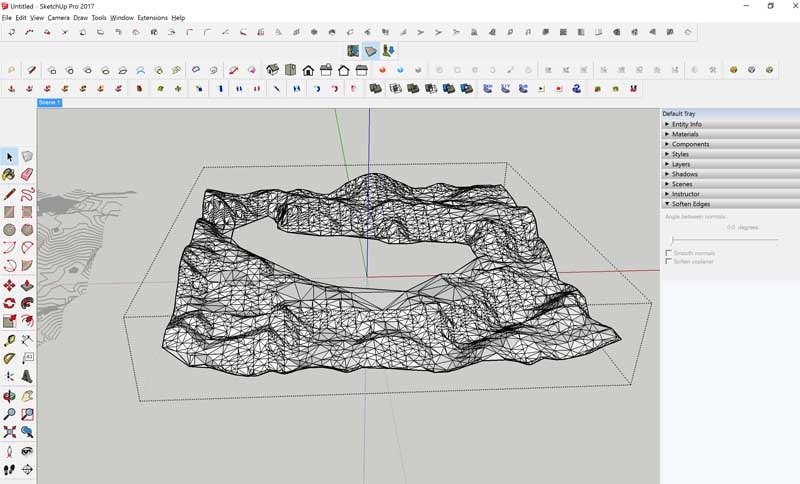
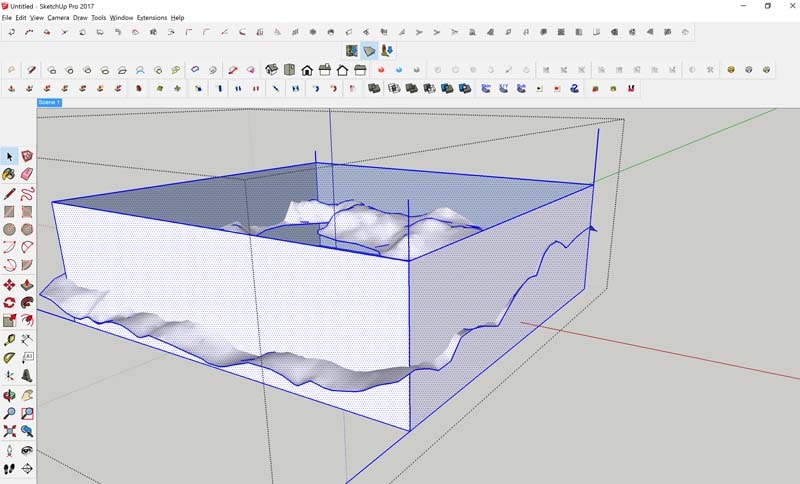
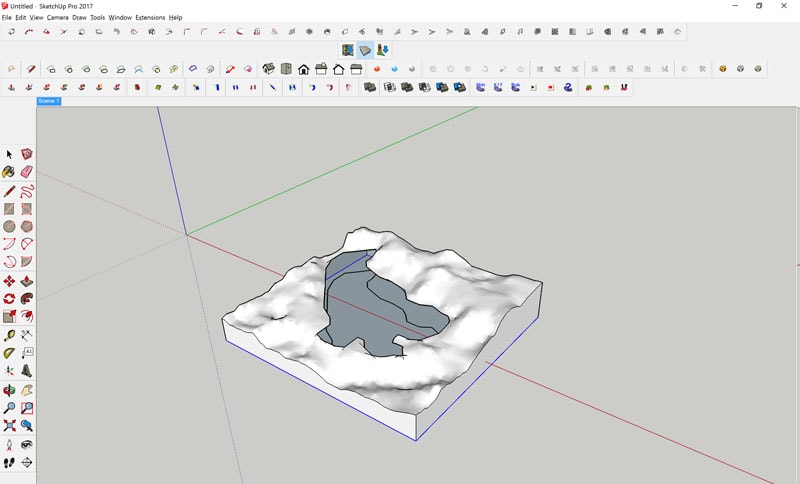
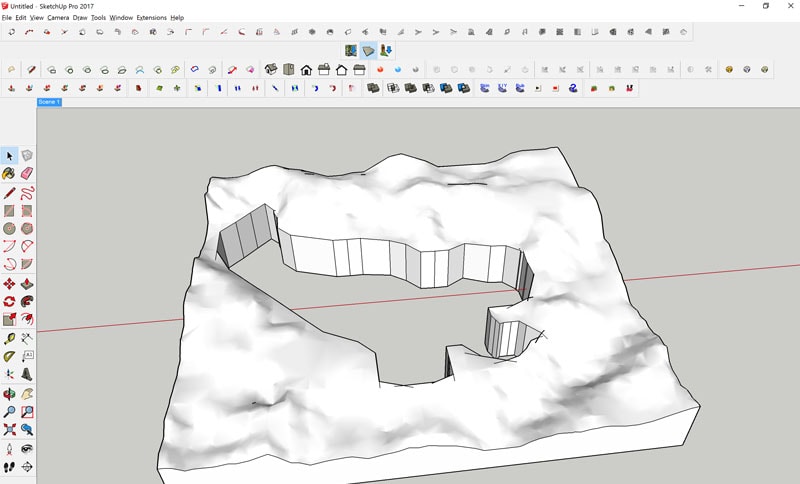
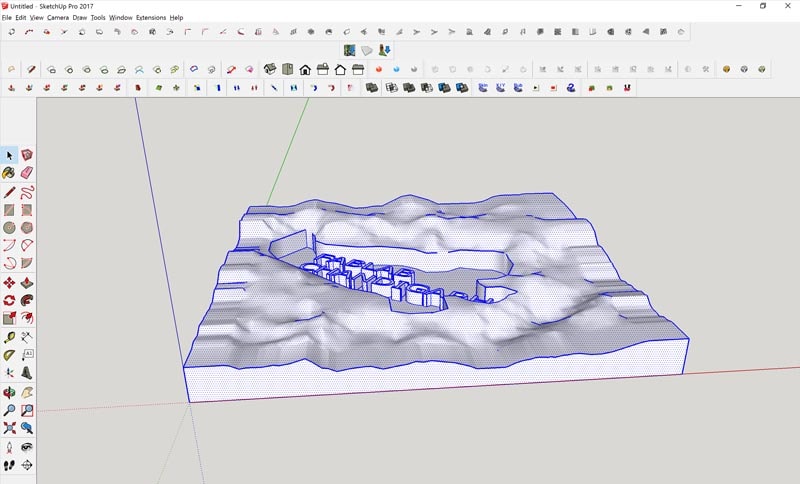
Terrain Scanning
[Contouring]
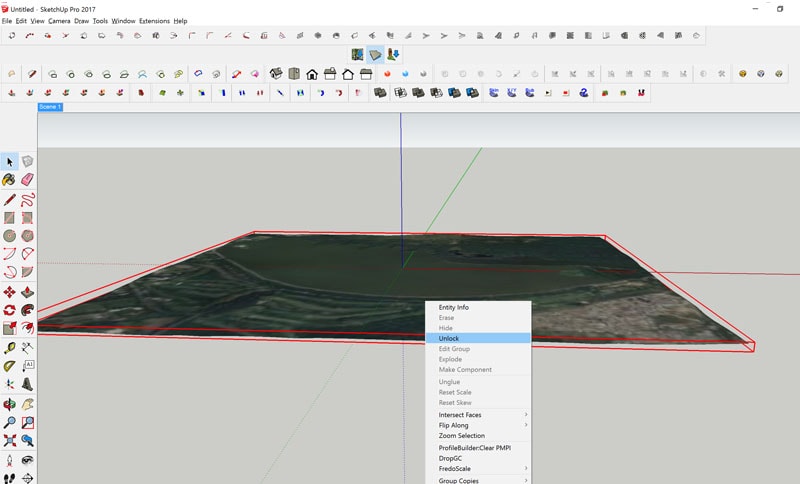
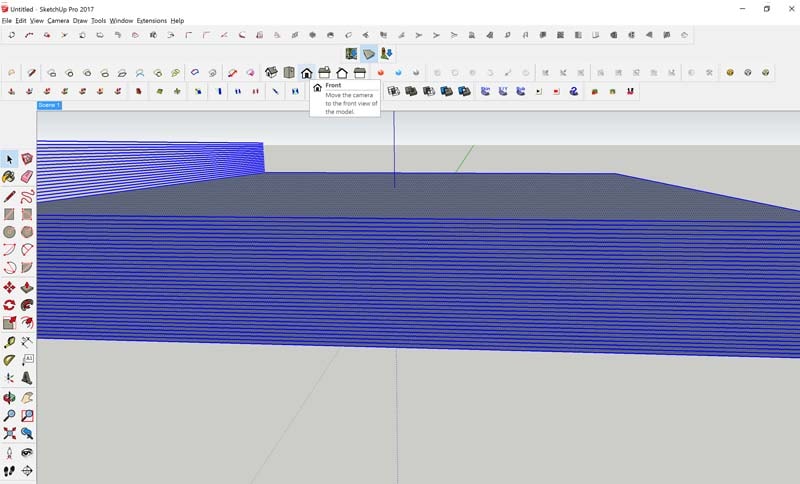
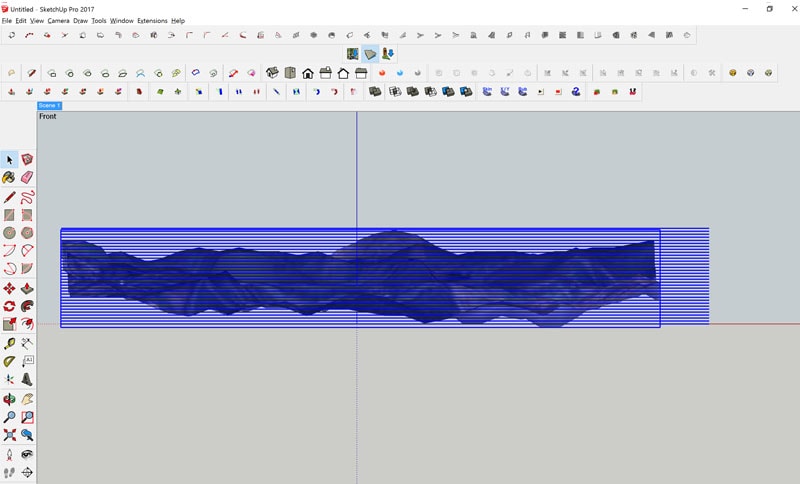
The next part of scanning isnt at a micro level but at a macro geographical level. It also gets classified under the GIS scanning systems and is the most open way of scanning a given terrain. In this process i take the advantage of google's map integration with trimble sketchup.
1. I import a geographical area i want to scan,
2. Switch on its meta data which means i get a height map on it,
3. I exxagerate the terrain by scaling it along the z axis and then slice it by placing an array of planes at the height resolution i want. In this case -5 metres.
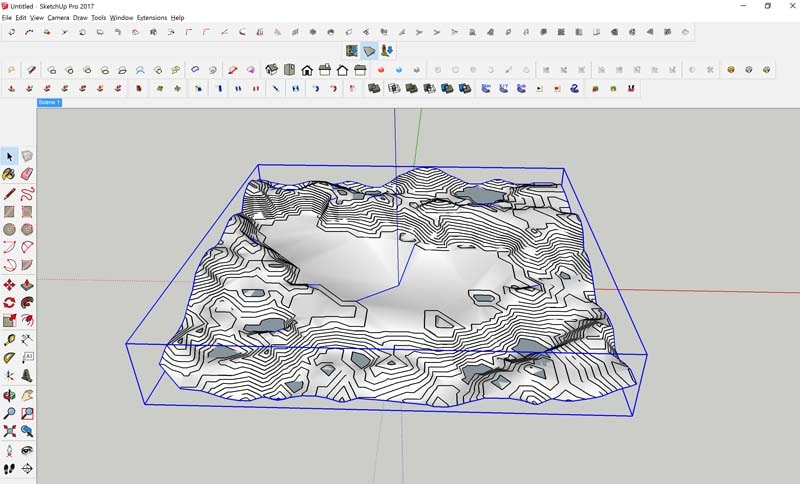
6. I then intersect these planes with the terrain and then you get this contour lines.
From there on its upto us how we use that terrain information. With little bit of modelling on the terrain i prepared it for 3d printing. Unfortunately during the lase days due to heavy downpour and light outage, I was unable to print this physically . Neverthelss the scan part is completed and ready to print.

3D Scanning
[3DS Sense]
The only part of the assignment which required the least skills throughout the fab academy i feel is 3ds scanning. Its so easy that all you do is stand and rotate the object to be scanned about its point with a tripod holding the scanner or do it the other way by you pivoting about the object.
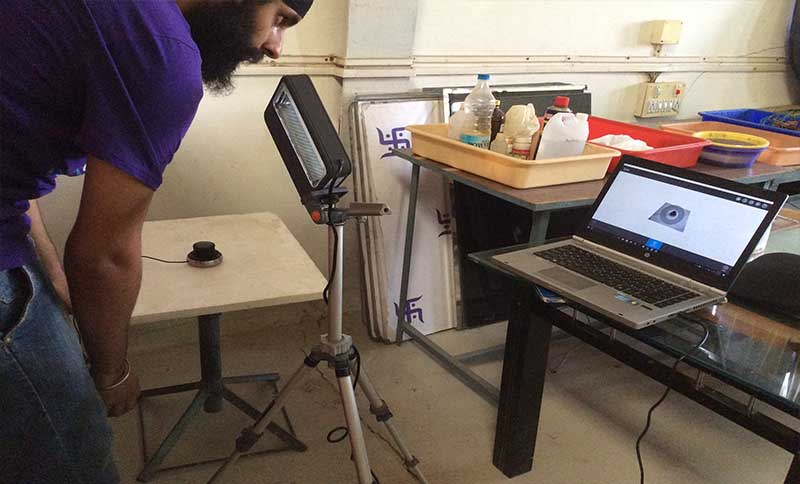
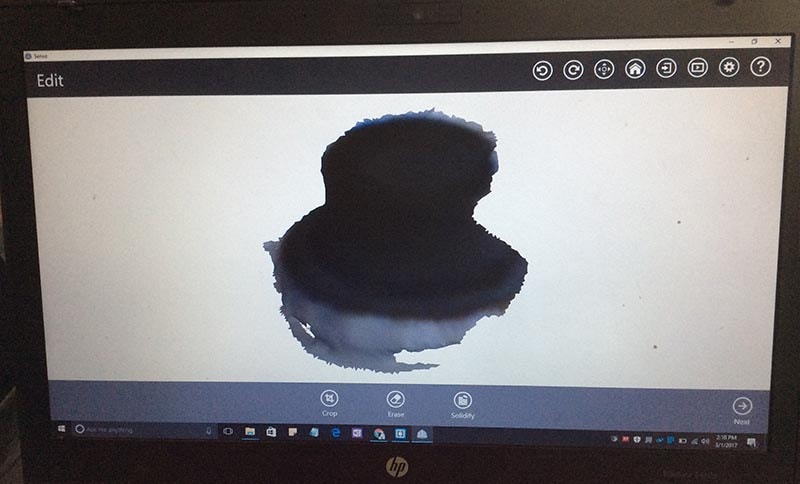
THe image above shows my inital scan not completeing over a symetrically curved object.
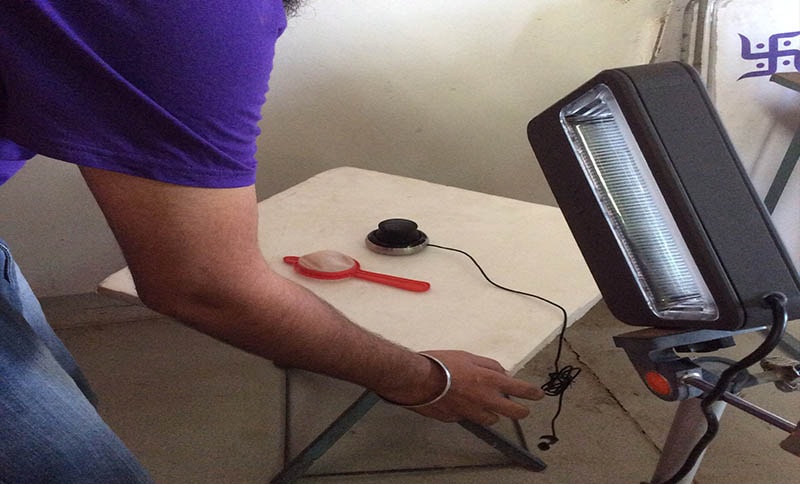
I sort the non scanning problem of symmetry by placing another object next to the object to be scanned. It ensures the scanning software is able to recognise a change in the pointclouds to record.
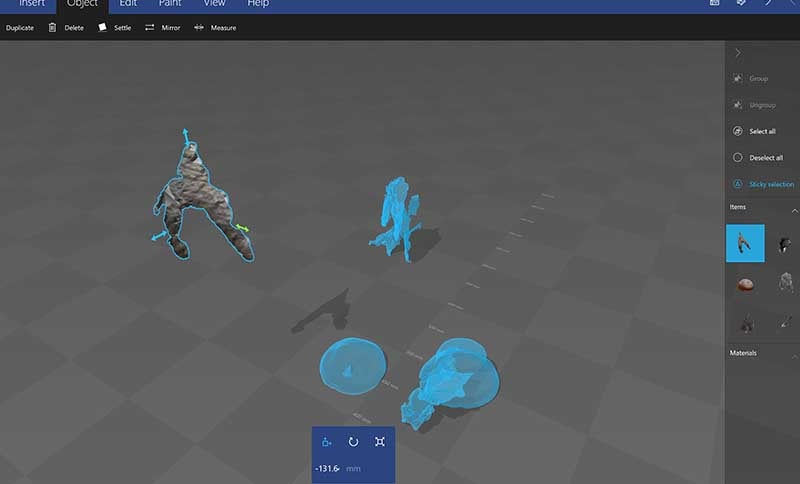
Next step is then to delete these extra objects scanned along too and save it

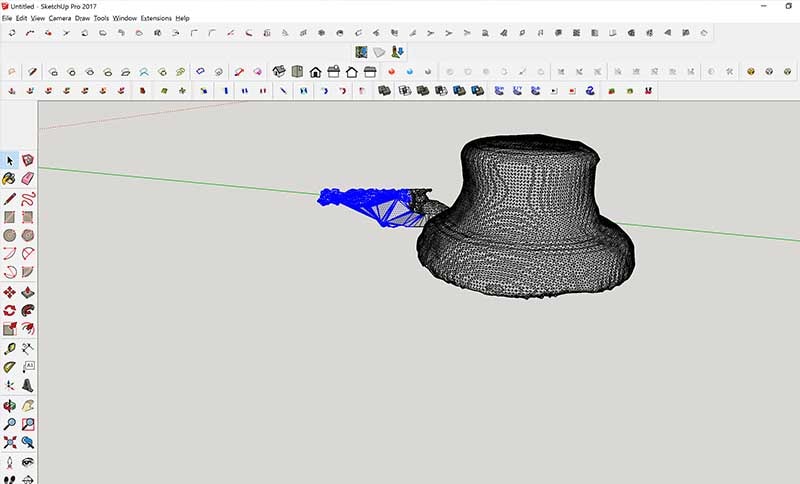
THe object is opened in sketchup and corrected for 3d printing there. Other finer changes according to the printer are then made in 3d Builder(inbuilt Windows 10 app)
SCAN AND PRINT (For extra Credit):
Please let video load below


Final scanned object printed by 3d printer.


