Computer-aided design
Week 2's assignment
This week’s subject is Computer-aided design. The aim is to learn about the various existing tools and softwares that you can use for 2D and 3D designing and learning how to use them. During the lecture, Neil Gershenfeld presented us the most commonly used and efficient ones. Our assignment is to try as many softwares as we can for both 2D and 3D designing, see which ones we are the most comfortable with and then draw, model, render, animate our final project.
As for 2D designing, although I am already quite familiar with Photoshop and Illustrator, I tried some other softs just to see what were the differences. I began with Gimp with which I edited a scan I made of a hand-drawn sketch of my final project. I wanted to add some details on the sketch, make it clearer and more accurate. This is the result.

Being familiar with Photoshop, it took me quite some time to do really simple things, but at least now I know how it basically works. Then I tried Inkscape which I found to be very similar to Illustrator. It is quite easy to use and has similar options.
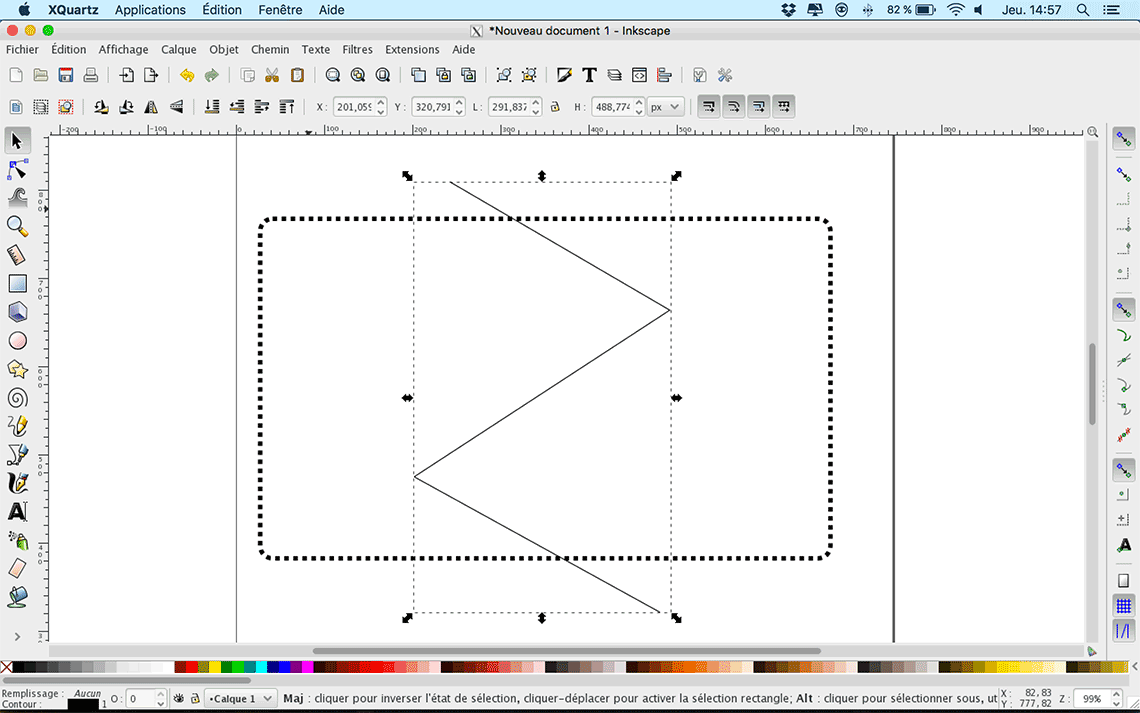
We had and interesting exercise with our instructor Saverio about the portability between Inskcape and Rhino for example : we downloaded a 2D gear design from the internet, then edited in Inkscape, save it as a .pdf file and then import it in Rhino to make a 3D gear, adding more details to it. It showed us how simple it can be to pass from 2D to 3D.

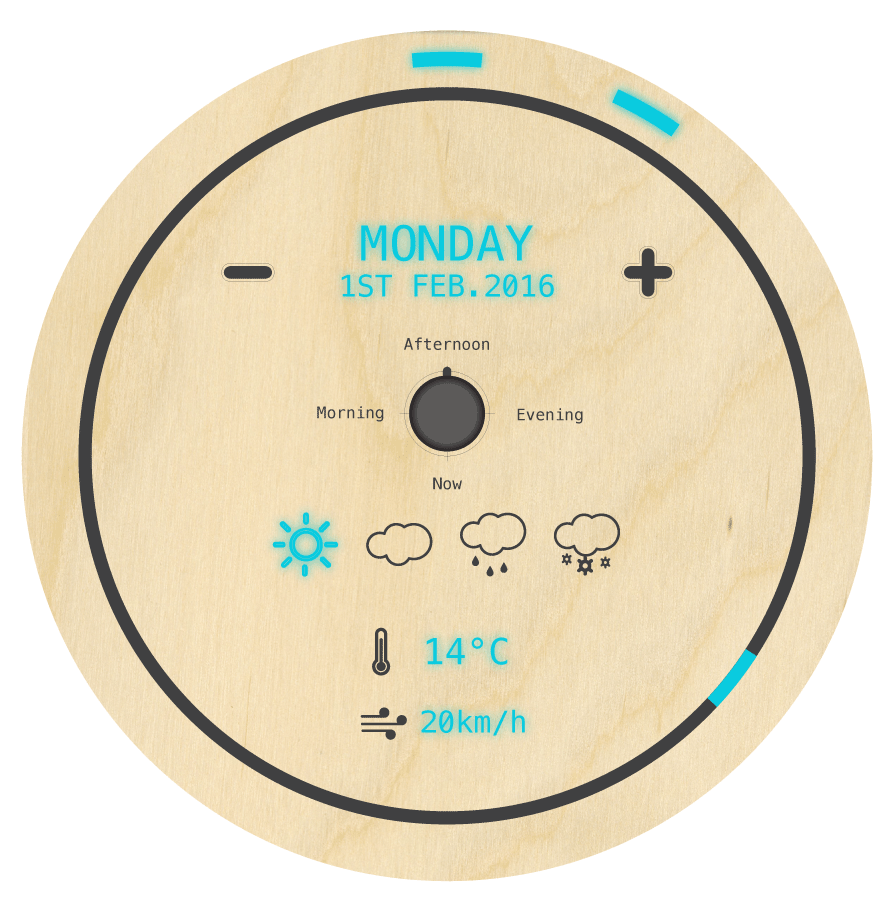
Having a pretty precise idea of how I want my final project to look like, I worked on it with Illustrator and came up with this design :
Then, being already comfortable with 2D designing, and wanted to focus more on 3D.
I already now a bit about Blender so I skipped this one for the moment and focused on testing comparing other softwares.
I started with Sketchup but although it is really simple to use, I was not really at ease with this one so I rapidly switched to Rhino.

I find Rhino really powerful as well as intuitive and we have already had an initiation with our instructor Aldo so I already new the basics.
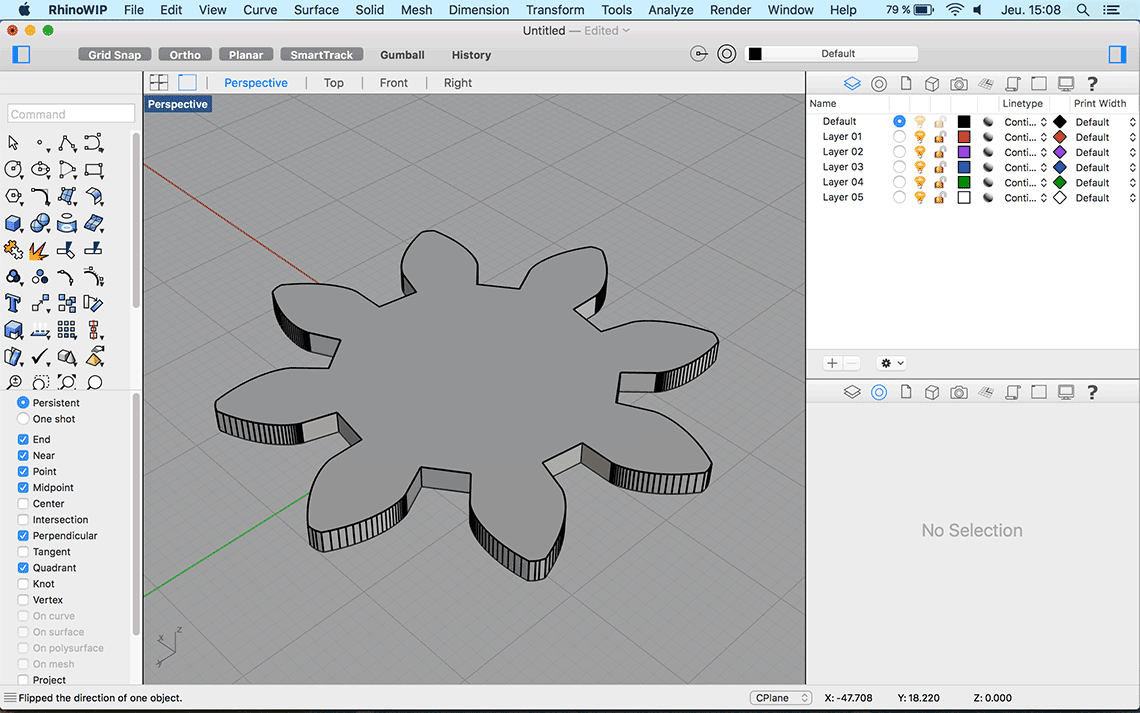
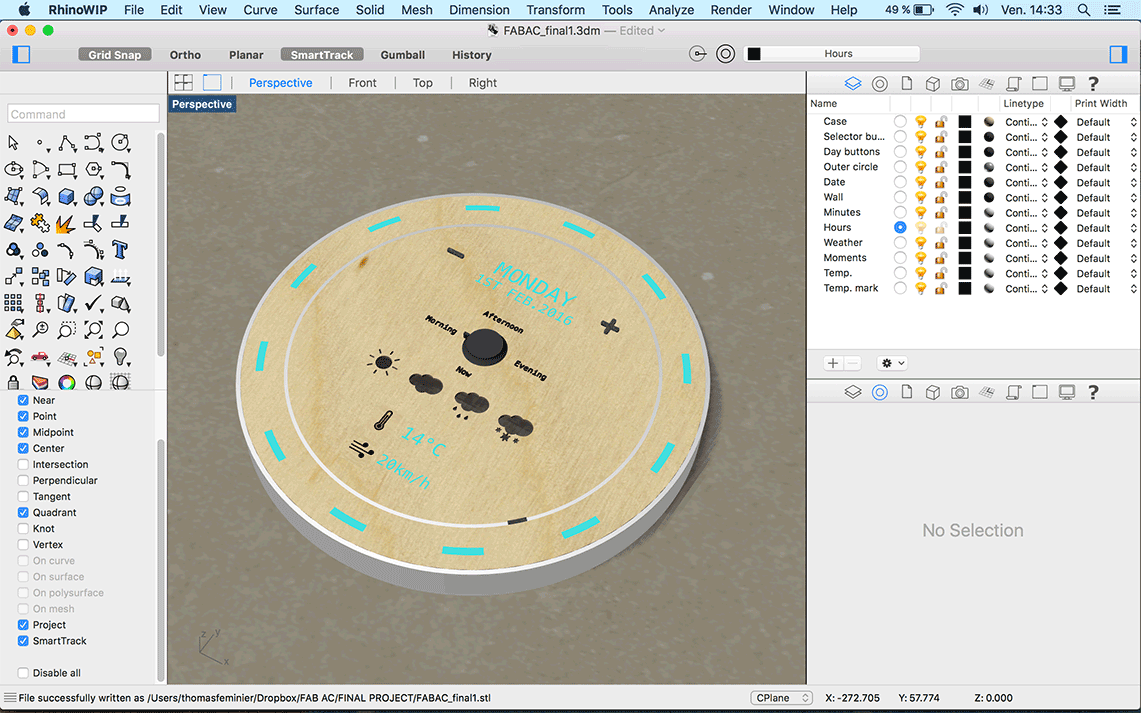
So I tried to reproduce my 2D design from scratch in Rhino and I must say I am quite pleased with the result !
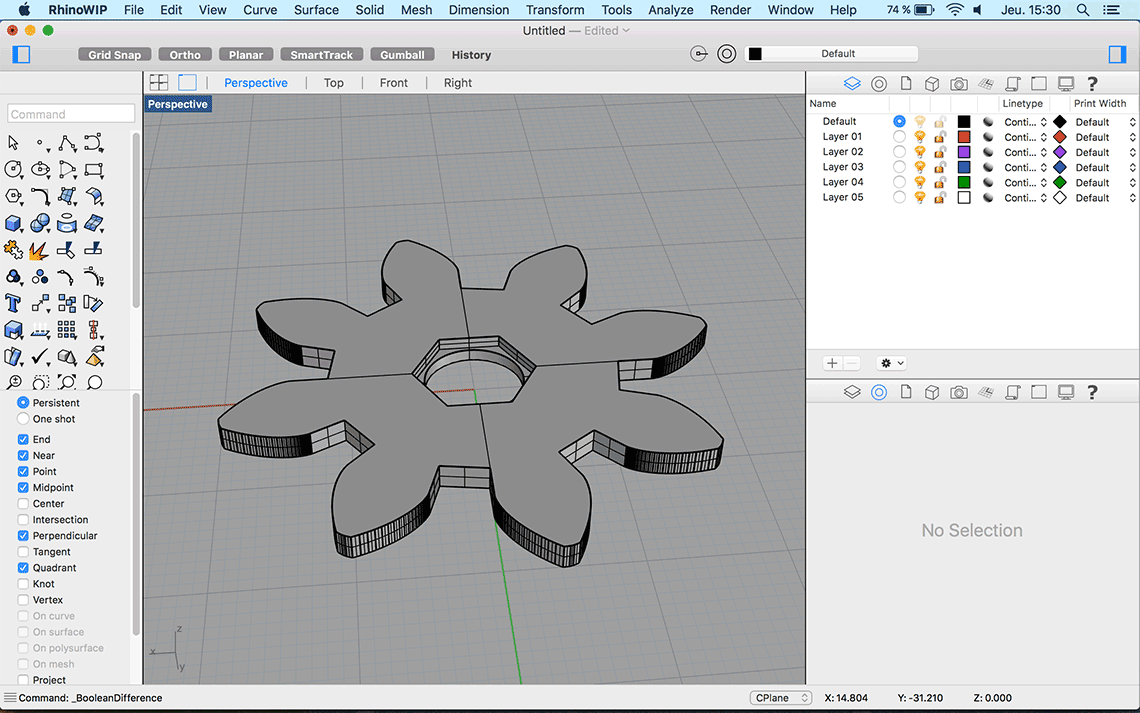
Here’s how it looks once rendered in Rhino :
Next step was to animate it. I know that Blender offers great possibilities for animation so I decided to use it for this last step. What I wanted to do was to animate an exploded view of my clock in order to show how I was planning to build it. Following the explanations of a tutorial I already saw earlier, I used Keys to animate the different parts of the clock.
The tutorial (in french) is very well made and it really helped me back when I first started to use blender. See here.
Once my animation was complete, I wanted to add a nice « turntable » camera effect, so I created a circle and defined it as path on which to constraint my camera.
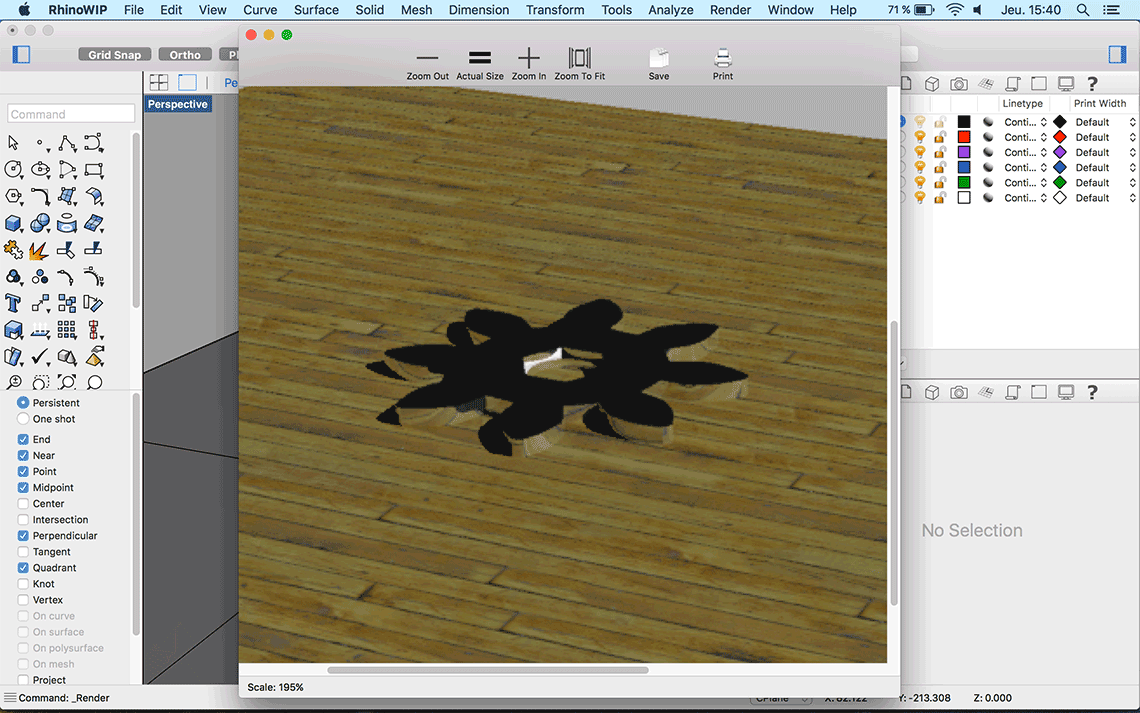
I took me quite some time to adjust all the settings correctly and after a whole afternoon of trying, I finally managed to obtain a satisfying result :
Source files used during this assignment : Illustrator - Rhino - Blender.