
Week 5: 3D-scan and print
In this week we´ve got three task to do:
Let´s start with the printers...
In our lab we´ve got a Orca and a bunch of Ultimaker-2 printers. Due to the fact, that the orca is out-of-order in the moment and the ultimakers are the printers for the "normal"-FabLab-People i decided to make a test of the different settings in Cura for printing.
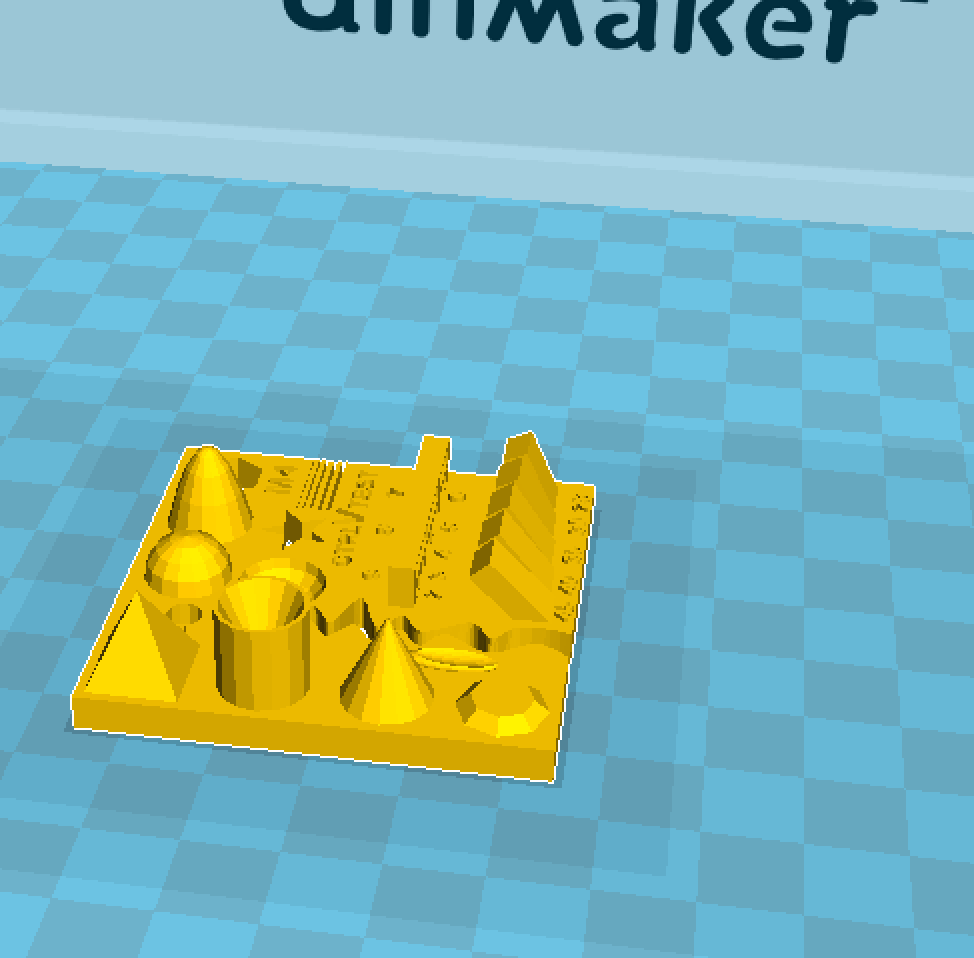


As test file i choosed a file from Thingiverse, you can find it
here.
In cura you´ve got to choose the print-details:
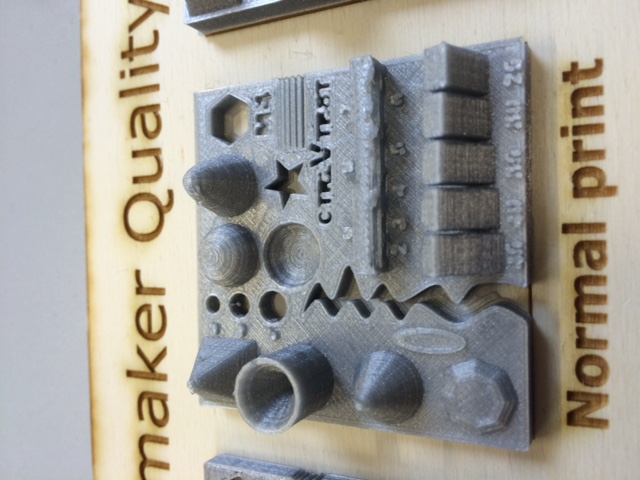
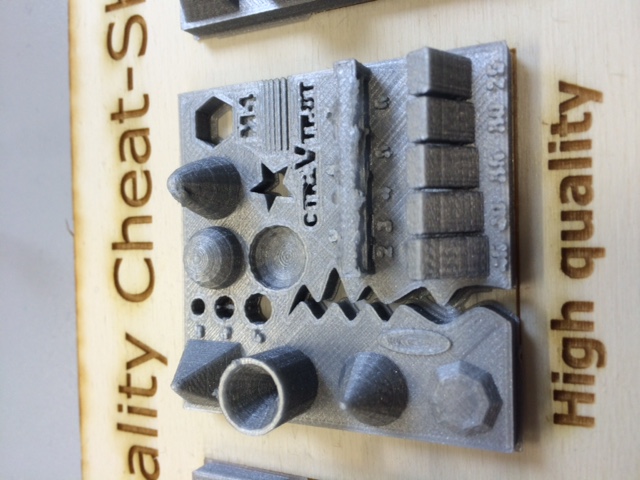
I printed the testfile once in each quality and made a wooden board where everyone in the lab can compare the different settings to choose the needed quality for their project.
On the different prints you can see the difference very good.
The print-times are:
Print something that is imposible to produce by other methods... difficult...
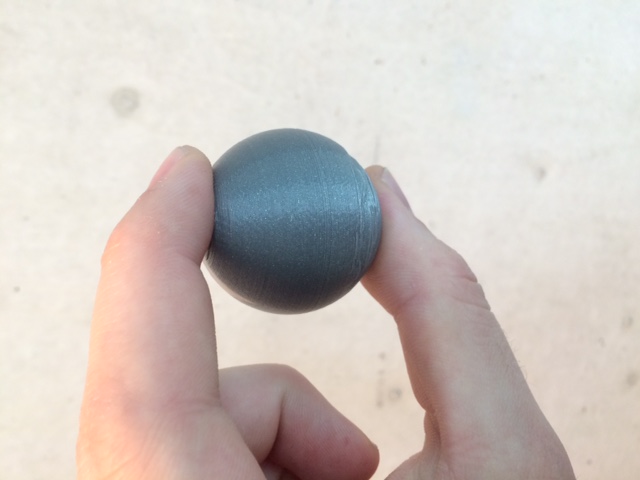
Finaly i printed a sphere inside a sphere. Pretty boring, nothing so see...
But there is no way to produce a closed sphere in a second closed sphere on any other way (as far as i know...)
Second task: scan something
I´ve choosen my letherman as scan-object. As i know now, this object is to small and the details
are to fine for the two scan-softwares i´ve tested:
123D Catch is an app for android and ios. You take a lot of pictures with your mobile, the app pushes them to a server from autodesk. On the server runs some kind of photogrametry-software that builds a model out of the pictures. This takes about one hour...
The object files can then send by Email to your Email-Account, in theory.
In the real-life i tried it 3 times, but no exactable scan was made.
The first scan was just a point-cloud without any structure.
Ok, second try... After 3 hours of calculating the apps said, that the taken images are to bad...
last try: well... it says "Finalizing" since 56 hours...
The iSense is a device that connects to your ipad/iphone. Inside the device is a depth-cam and an IR-sending-unit. The App takes autmatic a lot of pictures while you go around the scan-object. While the software is scanning you can see a realtime-model of your object-file. This way you can see were you have to scan more or less, and if you are to near or to far to/from the obejct.
After the scan the software renders the object-file direct on the device and you can transfer it by email to your account.
If you want to print the Object-File you have to convert it by Meshlab
iSense STL:
For the last task a colleague - Marcel - has scanned my head with the iSense. After
converting the obj-file with "Meshlab" and repairing two holes in the mesh with "NetFabb" i printed my
head in high-quality:

If you want to download my files, here they are:
So long... have fun!