Week 3: Build a press-fit-construction-kit out of cardboard
The topic is only the half of the task...
First task was to plot something on our vinyl-cutter. Well, our vinyl-cutter is a MH721 from Refine,
and it´s never been used due to a terrible Software. Nobody needed the cutter till now, so i decided
to bring this thing to life.
After some googleing around i found an Inkscape-Extension named
InkCut.
It´s only availabe for Linux, but i´m working on a mac...
Ok, start a VM with Ubuntu 14.04, get some USB-Serial-FTDI-Ebay-Adaptor, install Inkscape on Ubuntu,
install InkCut and give it a try.
Yeah, it works! And it works like a charme... Ok, the interface isn´t the best, but i want to plot vinyl and
not use the software for hours.
After this success i tried to get InkCut to run on my mac native without the VM.
I did it, but only on Yosemity, not on El Capitan. Still don´t know what the failure is, and I need to write
a tutorial for this, but here is the short version of what to do:
Of course InkCut isn´t just for the refine plotter, it can handle almost every plotter that is connected by serial-port!
Hope this helps you, i will try to write a better tutorial in the next week.

So, the second - and the main - task was to create a construction-kit our of cardboard with the lasercutter.
Thinking about this i realize that there is just one real construction-kit for me: Lego-Technic.
For those of you that don´t know this stuff:
Click here.
So, on the path of my youth i tried to build my own Lego cutted out of cardboard.
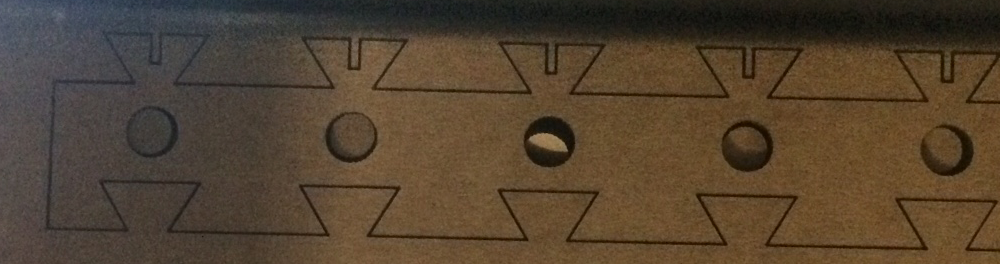
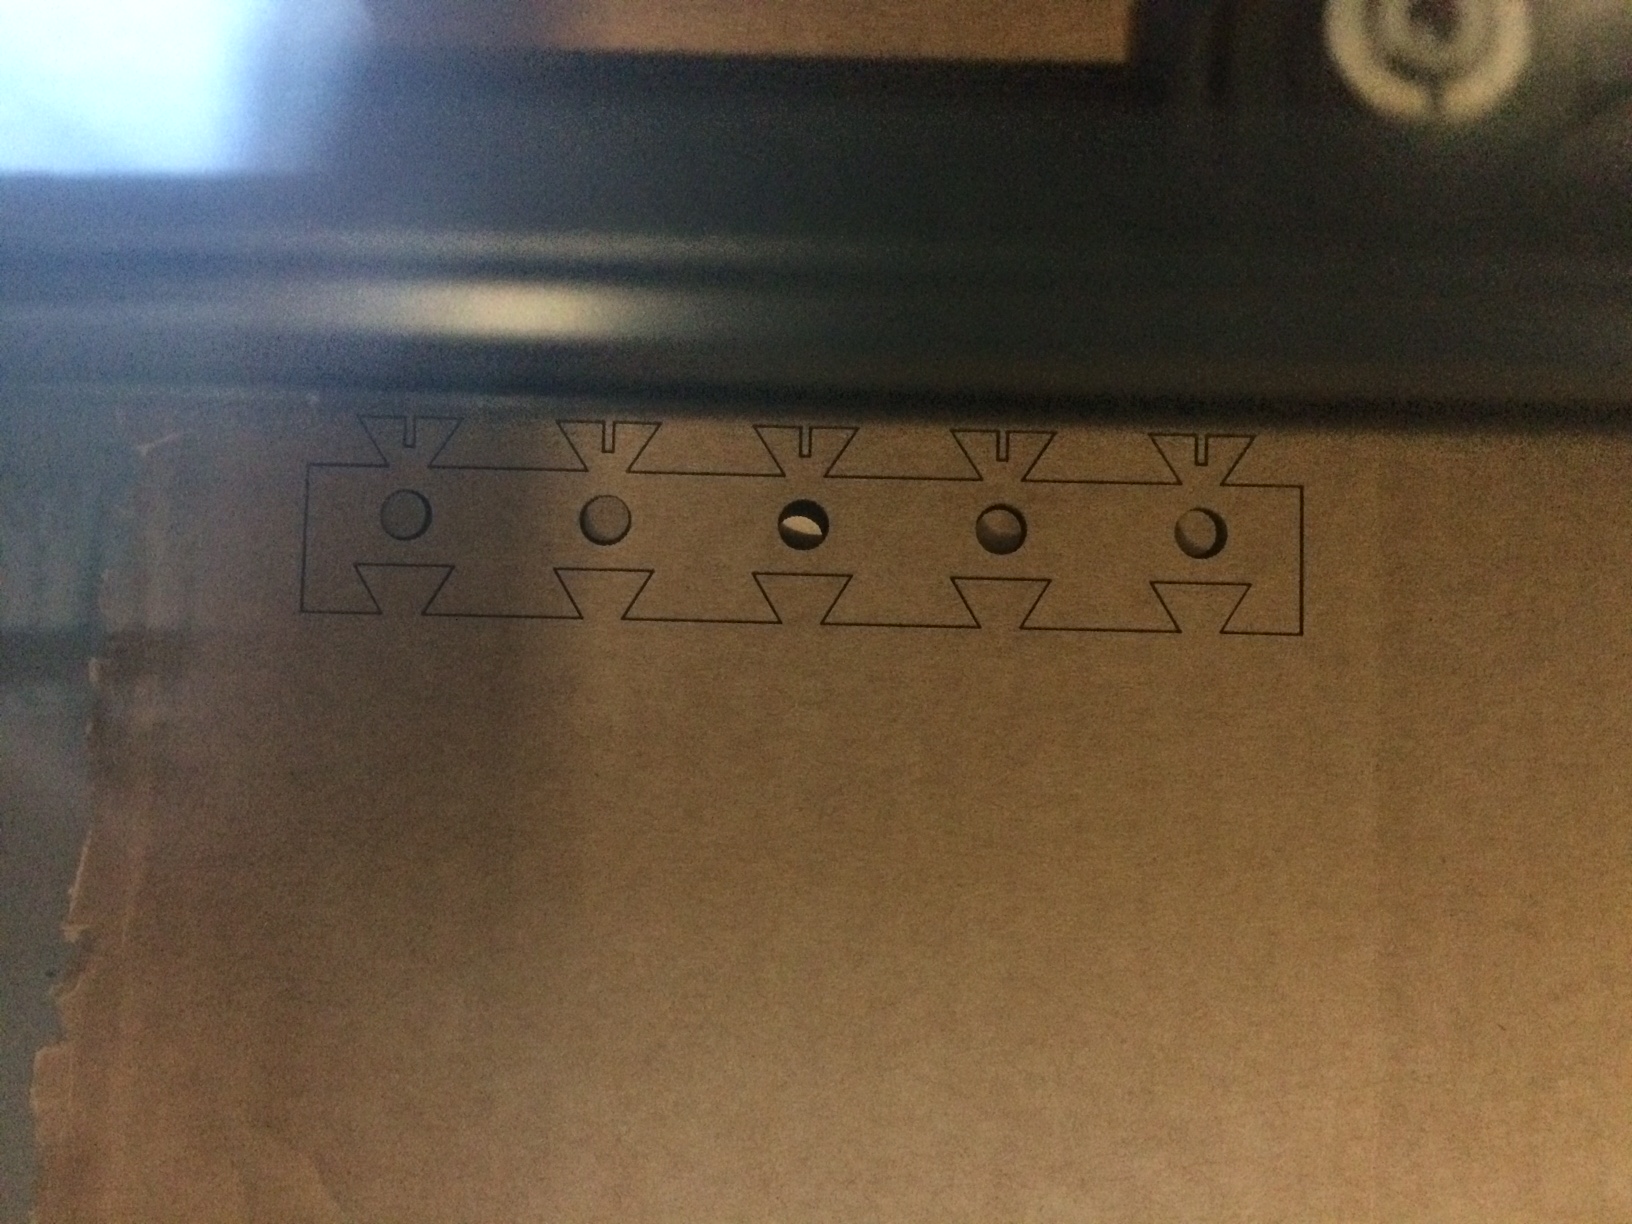
I started with the biggest parts, some type of bar. You can see it cutted out on the right-side...
It is designed that you can stack the parts togehter upper and lower. The holes are for connectors or axles.
To generate the paths for the cutter, make a new file in Inkscape, and clone the paths of left_end, middle and right_end into it.
You can clone the middle as often as you like to realize different lenghts of the bar.

Second part is a "L-Type-Connector". It is used to connect two bars in a 90°-Angle.
If you stack some bars together, connect them with the L-Types you get a strong and reliable Construction!
After i´ve designed the first parts it was getting much easier.
I´ve planed to build a model of a car, so i cutted a lot of parts in a single step:
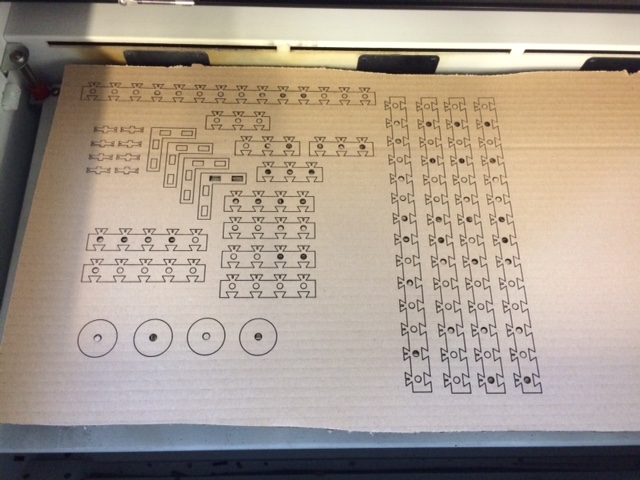
Then i assembled it:
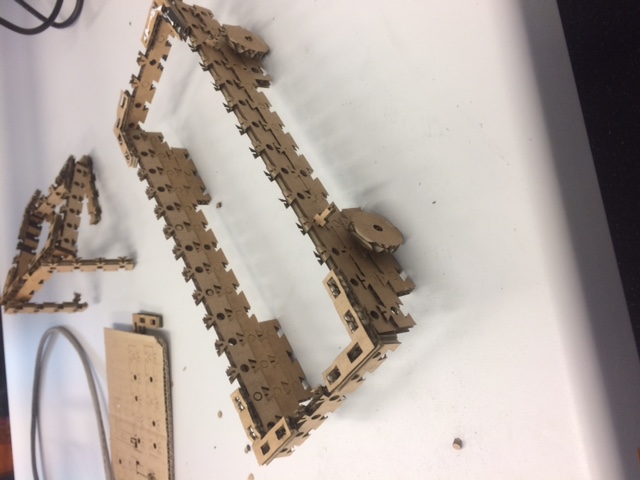
I hope you find this piece of work also interessting, i will build some more models in the next time
with my "Self-cutted-cardbord-construction-Kit" :)
One last word on this: I don´t would give this stuff to kids... Today 10 days ago i cutted the cardboard and it is still
smelling burned. If you touch it your fingertips are black. So this is definitive not a good toy for children...
If you want to cut it yourself,
here
are the files for InkScape.
Have fun!