Week 12: Mold and cast...
In week 12 we had the task to cast something. If you want to cast something you first need some kind of mold.
Problem...
Our lab has a tiny CNC-Mill, but it is out of order due to a problem with the motor.
So for me the second task this week was to finish the Poor-Mans-Mill of the MTM-Weeks.
I still have to write the docu, but in short words: i made the trapeziodal screws on the lathe, assembled all screws and
stepper motors, installed the endswitches, connected everything to the Smoothieboard and did the software setup.
Then i spend one day for testing everything and do some fine-tuning. Now the mill works as it should, but the
mechanics aren´t as nice as i hoped. Main problem are the 10mm rods, they are to small and bend 2mm in the middle.
Three days gone, three more for molding and casting...
Due to the time-limit i decided to make a roundabout like Neil showed us in the video-conference. As material for
mold i choosed XPS-Foam, for the cast i used plaster.
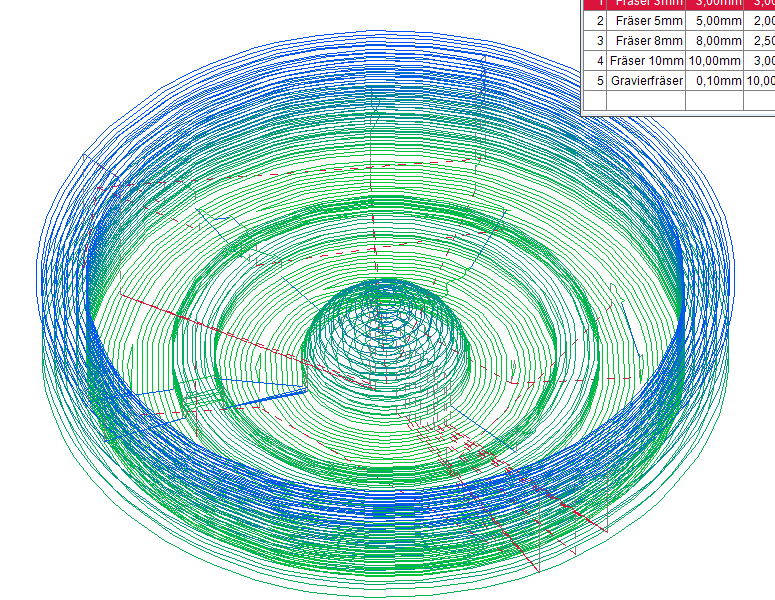
As you know i am familiar with solidworks, so i sketched the two molds with it. Here are the STLs:
As you can see i made a fillet on the lower part of the pin in the middle to minimize the stress on the plaster.
In theory...
Next problem: how to get the NC-Code for the mill out of SolidWorks?
First i tried "Freemill". This is a free software to export NC-Code out of SW for a bunch of CNC-Mills.
After some hours of try-and-error in the software and on the mill, i found out that Freemill doesn´t make more than one
Step on the Z-Axis. This way the tool goes all the way down till the deepest point and drives then in X- and Y- Coordinates.
Thanks to the XPS-Foam my tool survived this torture...
Ferdi from Barcelona gave me the hint to use the fabmodules for this task. AND, the fabmodules can give an output for Smoothieboard directly.
Hey, exactly what i need!
Again, in theory...
Together with Ferdi a uploaded the STL, made all the settings, and the Fabmodule sayd "Calculating path". In fact it is still
calculating, after 28 hours. For one mold. Hmm....
I searched further in the web and found a nice piece of software called "ESTLCam". The software is free to use,
but without buying a licence (around 40$), a wait time is included while calculating the path.
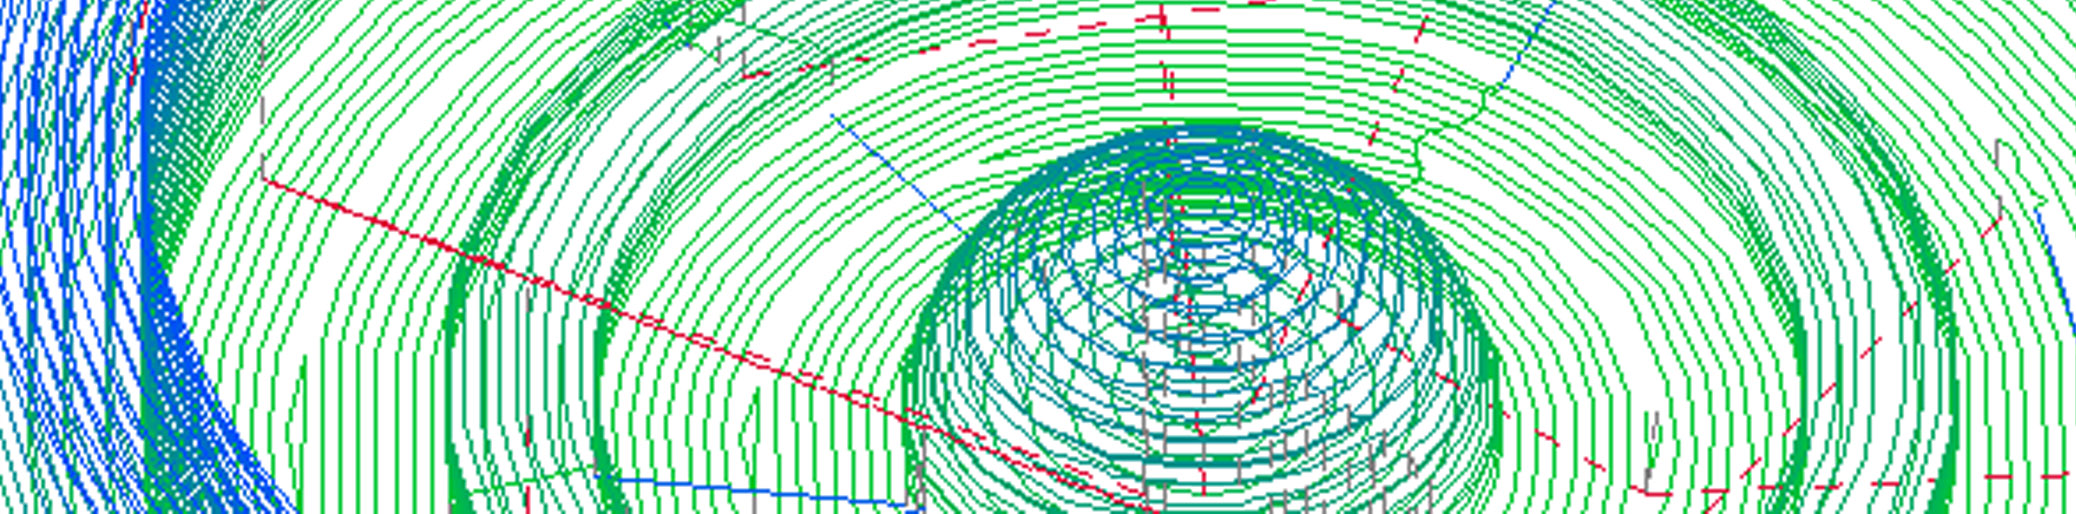
I imported the STL and made some settings (very easy if you know what to setup ;)) and saved the NC-File on the
SD-Card from my smoothieboard.
After 10 tries or so, i found the right settings (20000rpm on 600mm/min, 3mm depth with a 6mm flute), and after two hours
i had two moldings. Okay, the quality isn´t as good as i hoped, but it is my first mill on my first-own-build-mill, so sympathize with it ;)
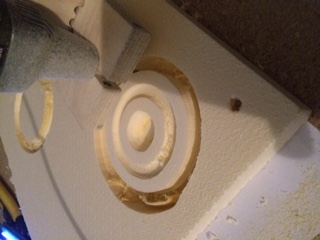


The upper mold has two 3mm holes. The one in the middle for putting the plaster in, the one outside for let the air out.
I mixed the plaster and filled it into the mold with a syringe. Worked very well...
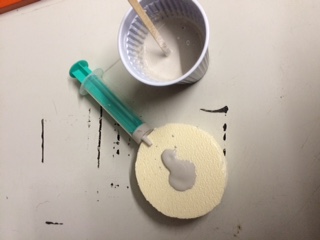
After 5 hours of waiting i opend the mold. Perhaps it was to short, and i think the 3mm hole for the middlepin was a little
bit small, so at first the middlepin broked away. Shit.

The rest came easyly out of the mold. As soon as the plaster is dry i will sand it a little bit to give it a nice finish,
but this will be after wednesday i think.
If you also want to have such a great roundabout, here are the NC-Files for the two molds:
ZIP-File
After a while i planed my final project, the PastEdruder. I mainly want to build it because i want to print in chocolate...
For a first test i tried to make a foodsave-silicon mold and fill it with hot chocolate.
Therefore i let my own head from week 5 dive :)
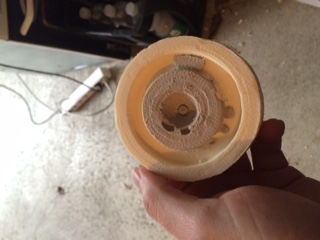
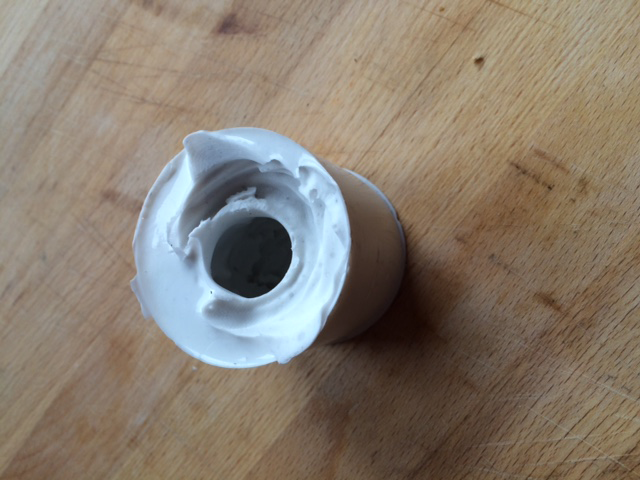
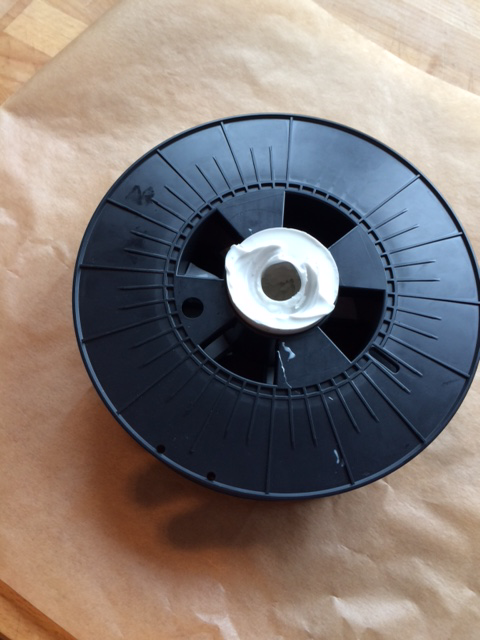
For molding the mold i used an old filament-coil:

On the top i fixed my printed head upside down, than i mixed the silicon with the curing-agent:
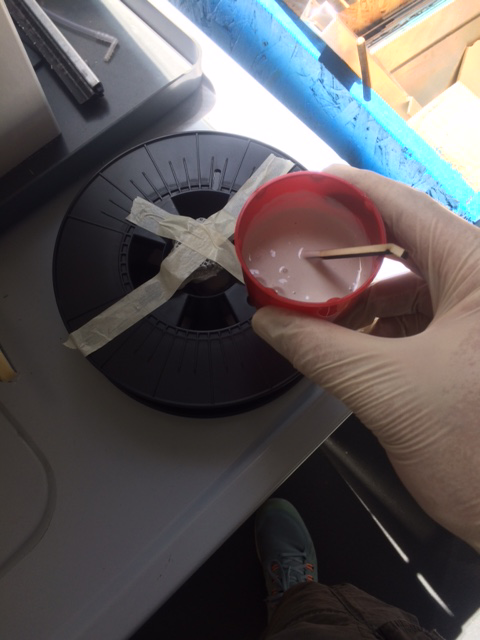
Filled to the top:

And then wait 12 hours for the silicon to cure...
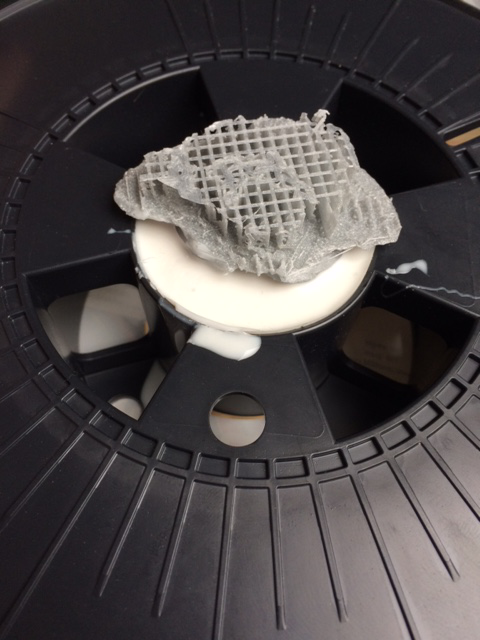
Getting the silicon out of the coil wasn´t that easy, but with some olive-oil it was okay:
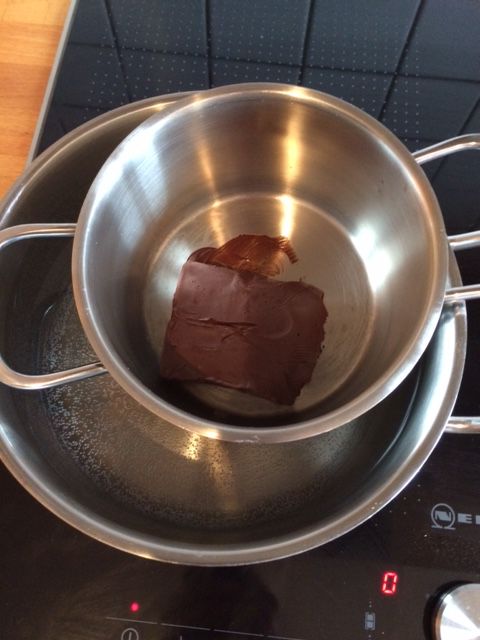
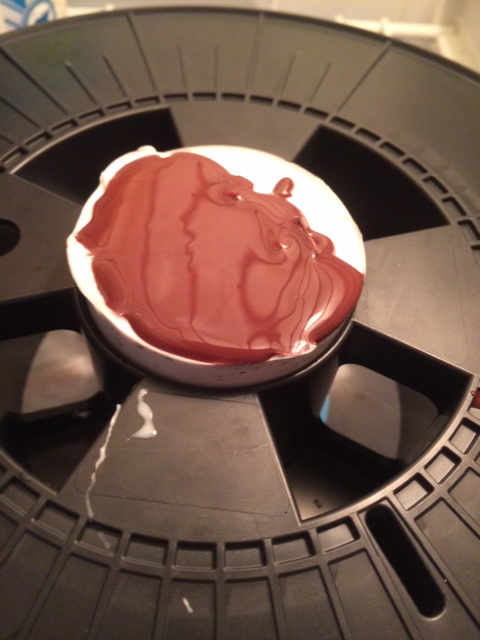
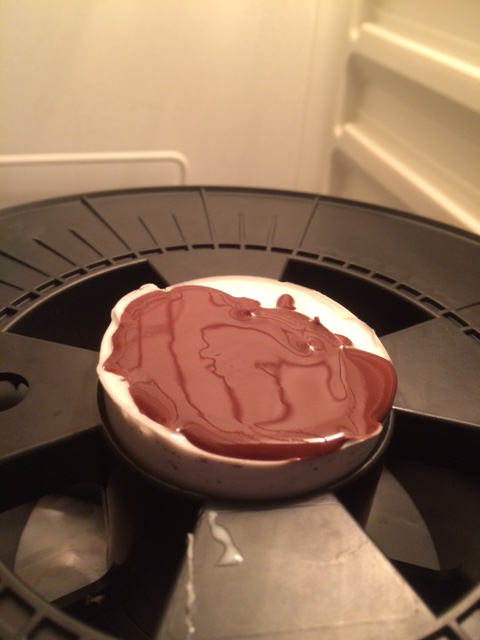
Put it back in the coil to preserve a big mess in my kitchen, then heat up the chocolate:
After filling to the top the mold had to go in to the fridge:
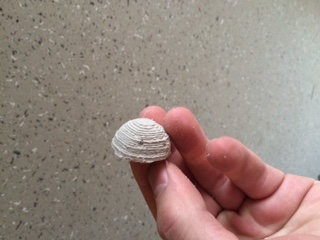
And after 4 more hours, this it what came out:

Say hello to my choco-mini-me ;)
And the best: The silicon-mold is not destroyed and i can build now my own choco-mini-me army to grab the world domination!! HARR HARR HARR ;)
So long, have fun!