
Written during week17 as part of the final project documentation.
PCB-Gcode adds CNC milling path generation functionality to Eagle via a plugin. The standard flavours of G-code it can output included Mach3 which is what we use in the lab. Adding custom post processors is possible, here is a guide.
This is a preview of a typical 4 passes insulation milling with a 0.4mm diamter milling bit and 50% stepover.
This tutorial assumes you have already made a PCB in Eagle (My first steps in Eagle) and that you have checked that it is compatible with milling Checking milling desing rules in Eagle.
I based this tutorial on my own experiences and on the PCB-Gcode manual.
Download the plugin from the PCB Gcode forum page, here you should find a link that takes you to the latest version. If it doesnt't work, here is a backup of the version I used.
You install it by unpacking the zip file and then telling Eagle where to find it. For simplicities sake I suggest you unpack it into the eagle "ulp" folder. (User Language Programs).
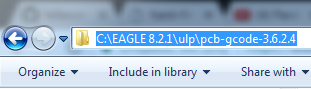
Then tell Eagle where to find it like this:
Eagle control panel -> Directories -> Add the folder path under User Language Programs

PCB-Gcode is started via Board Mode menu: File -> Run ULP -> pcb-gcode-setup.ulp


If this happens:
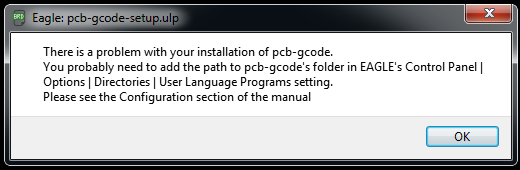
Then you need to double check that you added the correct path in the Installing PCB-gcode step above
The setting for PCB-Gcode are like most other CAM (Computer Aided Manufacturing) progams. You need to know which size milling bit you will use, how many rotations per minute (RPM) your spindle can spin and how fast you can feed the bit through the material. These are the settings I use. It's for a 0.4 mm diameter milling bit, as high RPM as the mill can run (24000) and a 300 mm/min feed rate for all milling, I use 50% of my feed rate for plunging.
TIP: Switch to mm on page 2 the first thing you do.

I use "Generate milling" for cutting out the board. Here is a Short guide on cutout milling in EAGLE
TIP! The Isolation settings are tricky to understand because the labling make no sense.
"Minimum" = 0. Milling bit clearance to your traces, this makes the traces wider, don't use it.
"Maximum" = 0.6 Extra width to mill after the first pass. Maximum / Step Size + 1 = Total number of passes.
When you are done, press "Accept and make my board"
If this happens:
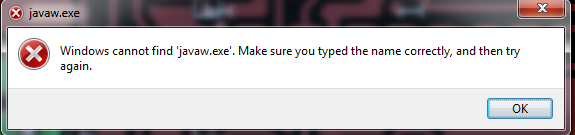
Install java, RESTART your computer and try again.
Sometimes it bugs when trying to generate multiple isolation milling passes, single pass always works.
If you get a bug, try this: