Principles and Practices, Project Management
Assignment
- Build a personal site describing you and your final project.
- Plan and sketch a potential semester project and add it to your website.
- Upload it to the class archive. Work through a git tutorial.
Learning outcomes
- Explore and use website development tools.
- Formulate a final project proposal.
- Identify version control protocols.
Have you
- Made a website and described how you did it.
- Introduced yourself.
- Described and made a sketch of your final project.
- Documented steps for uploading files to archive.
- Pushed to the class archive.
Hardware

Computer
Mobile

HTML coding
-
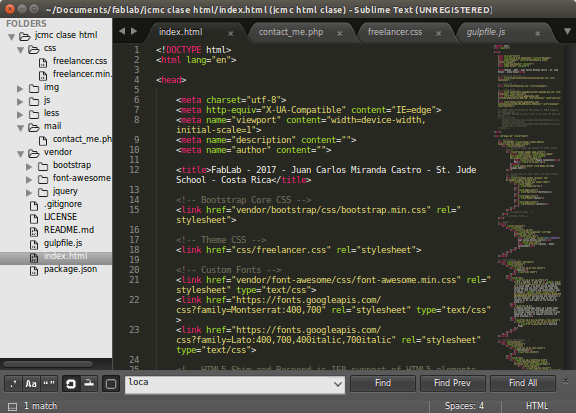
We had an introduction to HTML5 programing at FabLab Veritas with Professor Juan Pablo Navarro. For this, we downloaded the Bootstrap template and the Sublime text editor. This template is well fit for the personal site needed for FabAcademy, wich requires "about me", "portfolio" and "contact" sections.
I later changed the text editor to Geany, and the html template to Kitchen Sink/W3.CSS Demo Template (an html5 template with a css developed by w3schools).
Basically, after professor's exposition, we began hacking the code of the template. Using the developer tools in the browser, we found and changed blocks of code, in a process of trial and error, until the desired outcome was achieved.
-
These are the main steps to create this web page:
1. Open the template (usually the index.html file) with an internet browser.
2. Open the file index.html from the template folder with the text editor.
3. Activate developer tools in the browser.
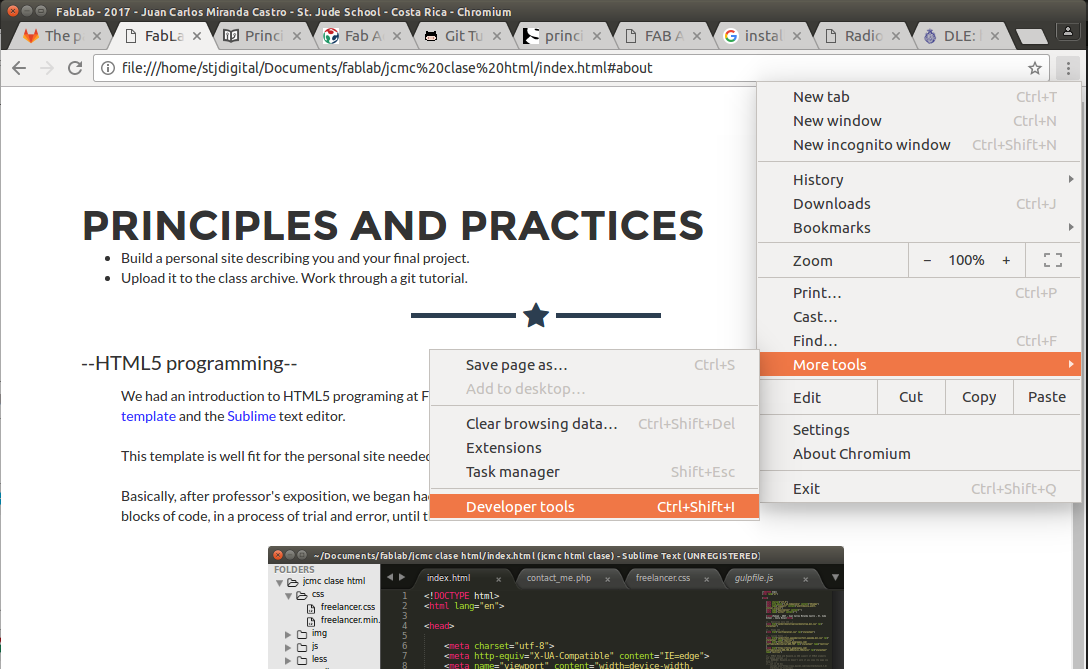
4. Point an click on the object you want to find in the code (and change).
5. After clicking the object, you'll see that object's atributes and location on the html code and files.

6. After that, you can go to the code and make the changes you need.
7. In order to see and/or evaluate any change, go to the browser with the html file and refresh the page (F5 or Ctrl + R).
8. This process must be repeated until you get the structure and content needed, and each week for updating the site with information from lessons, assignments and practices.
9. When some material is ready to be uploaded to an internet host (in our case gitlab) a process is needed, wich includes installing git, generating a key for permissions and uploading the content.
Git installation and setup (ubuntu OS)
-
Git is a version control software. It keeps track of changes made to files in a directory, and synchronizes those changes between user's computer and the online repository.
Before installing git, sign up to www.fablabs.io and then log in to git.fabacademy.org. These are the common repository sites for all FabAcademy students. Be sure to remember the e-mail, username and passwords entered to these sites, for they must be used later for the git setup.
-
Install git on the computer
Getting started - first-time git setup
Open a terminal window (Ctrl+Alt+T)
sudo apt-get install gitConfigure git with gitlab account (replace user and email with the ones from the previous step)
git config --global user.name"your-git-user"git config --global user.email "your git email" -
Generate ssh key
An ssh key is an identifier for the computer, to grant permissions to connect to a server, for uploading files to the git account. This key must be generated in the user's system (GitHub help).
Generate ssh key (Filename: default | passphrase: empty)
ssh-keygen -t rsa -b 4096 -C "your git email"Start ssh agent
eval "$(ssh-agent -s)"Add ssh key
ssh-add ~/.ssh/id_rsaDisplay ssh key
cat~/.ssh/id_rsa.pubSelect and copy (CTRL+SHIFT+C to copy)
Sign in to Fab academy archive.
Go to SSH keys option on the left and paste the key on the text area (CTRL+V to paste the key)

Upload to GitLab
-
Create an empty folder to clone the git repository to (let's suppose you created it inside the Documents folder).
Open a terminal window (Ctrl+Alt+T)
Navigate to that folder (on ubuntu terminal) (use cd command [change directory])
cd Documents/"folder you just created"Note: This folder must be empty.
Clone git repository to that new empty folder (when finished, this folder will contain a copy of the git repository).
git clone git@git.fabacademy.org:fabacademy"your_year"/"your_fablab".gitNavigate to your folder (identified by a number) inside the cloned repository
cd "your fablab folder"/students/"your number"/Use a file manager to empty your folder (the folder with your number), and then copy all your site files to this folder.
Go back to the terminal.
git add .git commit -m "< message >"git push origin master - After this, go to a browser and check your webpage.
-
For the next commits, the commands are:
Use "cd" command to go to the repository folder on your computer, and to the folder with your number.
Update the files in your folder with the latest files of your site.
git add .git commit -m "< message >"git fetch origingit rebase origin/mastergit push origin master
Back