3D Scanning and Printing
For group
assignment,
we learned how to 3d scan and print.
3D scanning
I used FabScan PI in our lab.
It seemed very handy and stable than using any other scanning methods using our own hand.
(I have tried 123D Catch before. But it didn't work
that nicely.)
Photo is taken from fixed place and in fixed rate.
And in PI version, scanning is done inside the dark screen(inside the box) so light cannot
interfere the outcome.


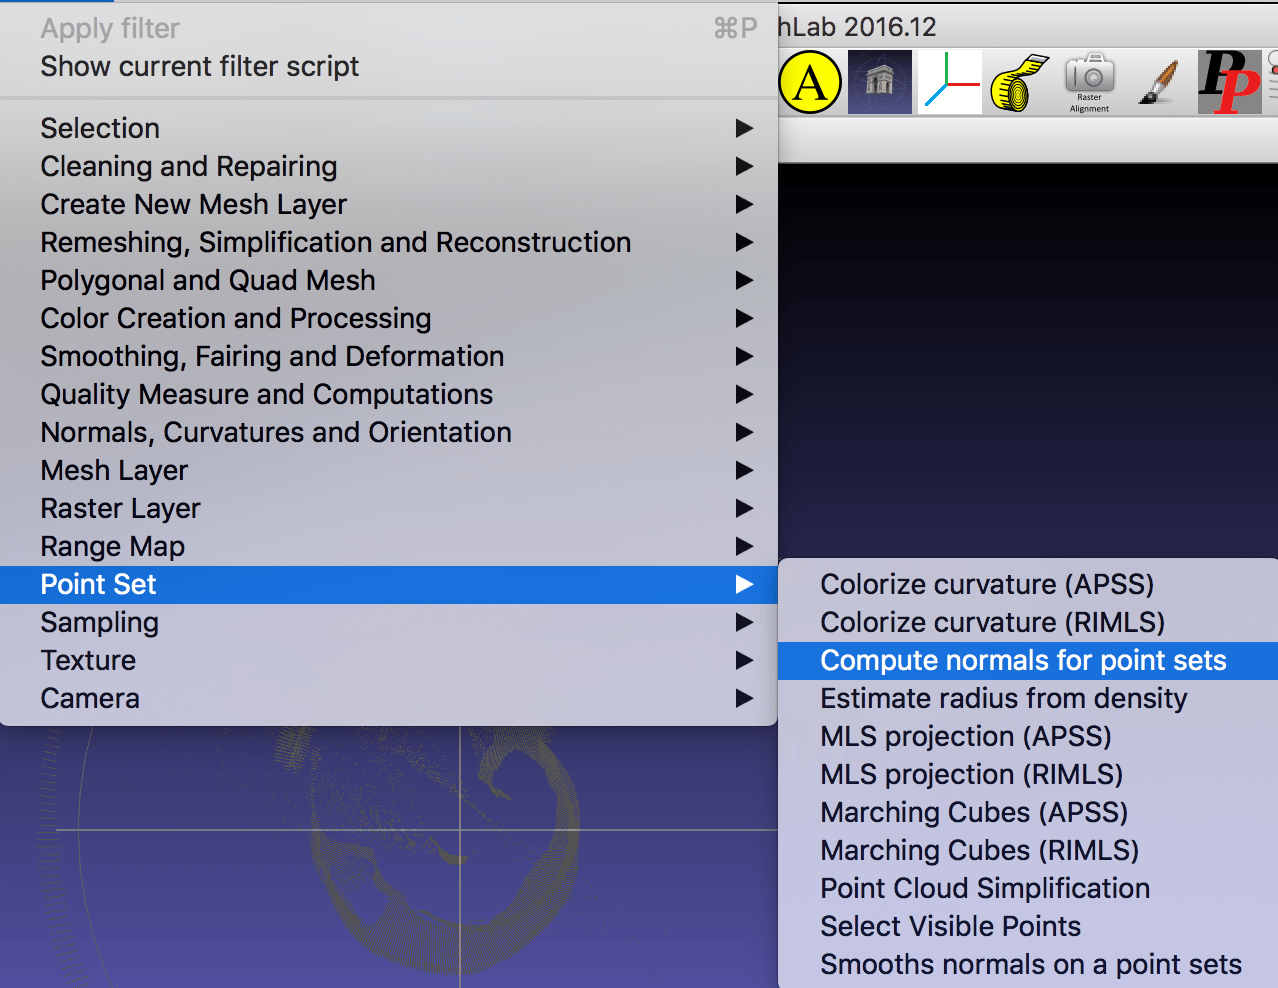
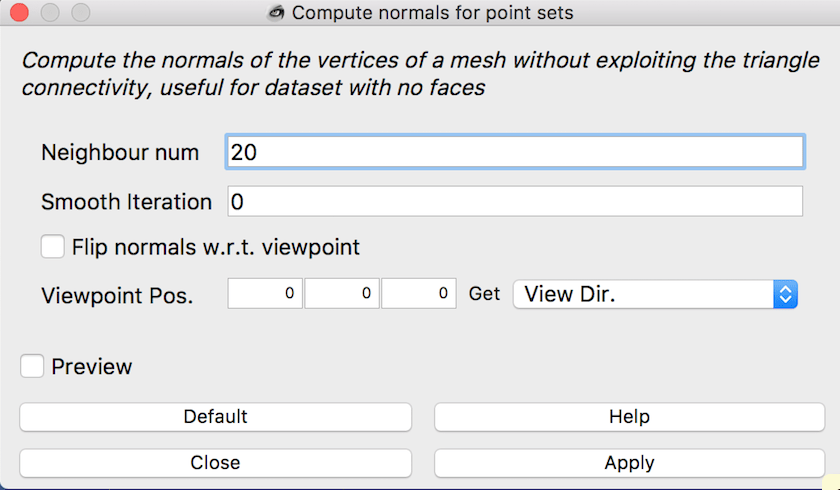
Scanned result from FabScan is stored in the form of 'Point cloud'. So you need to change it with 3d Model in Meshlab. Following is the way to do that.
- Download '.fly' files after scanning
- Open it from 'MeshLab' (you can download the program from following link: MeschLab)
- Compute normals for point sets (20/0)
- Filters> Remeshing, Simplification and Reconstruction> Screened Poisson Surface Reconstruction > Run in default setting
At the end, I got the files but it was not satisfying, I'll say there might be some misalignment in scanned plate.


3D printing
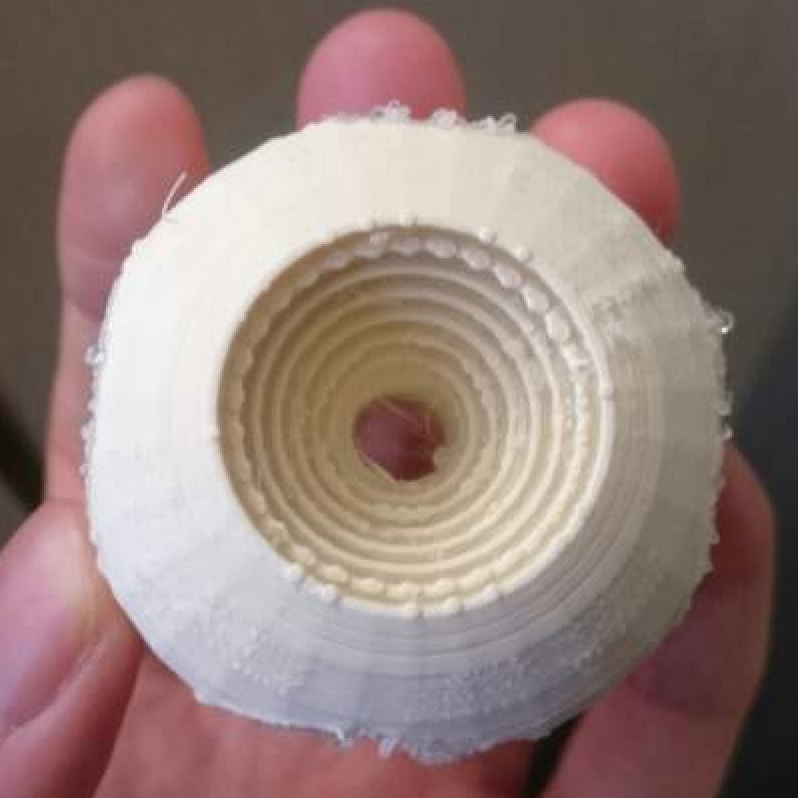
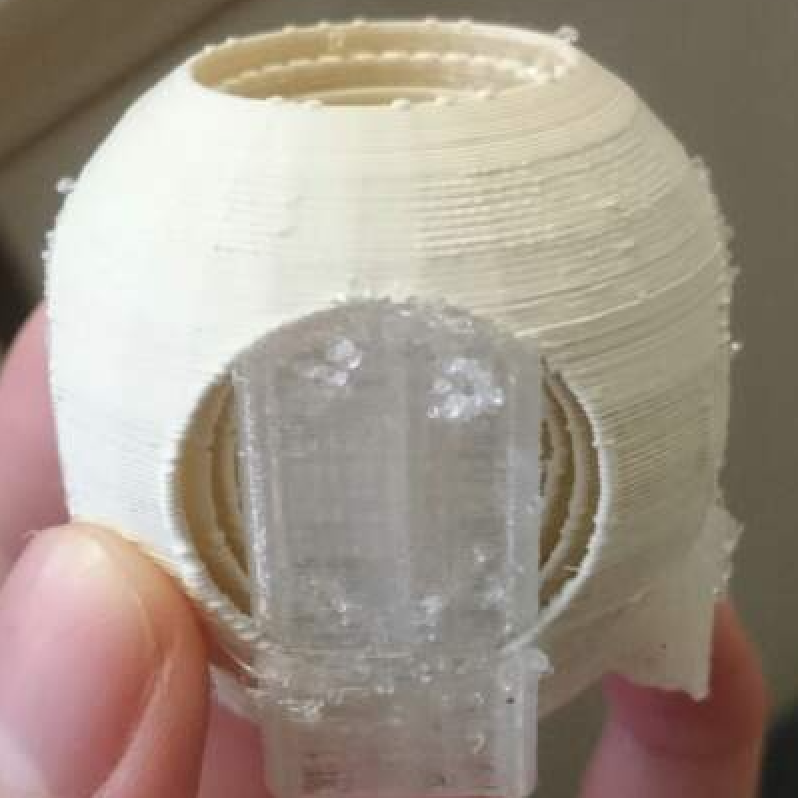
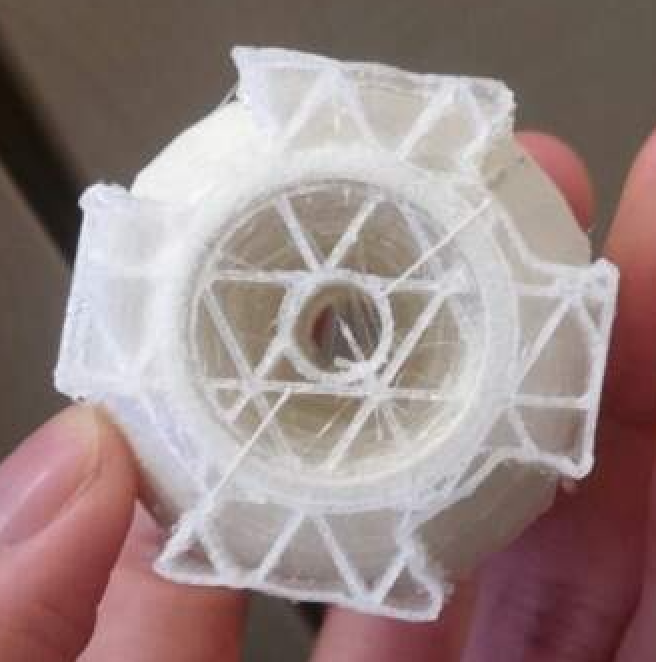
I decided to print out the nested model that I drawn using openSCAD with the help of Marcel.
The design itself was inspired by gyro
cube in youtube.
Making such a nested object is hard to do with subtractive tools susch as a mill since the drill would
need to only remove the material between the layers. This would not work out in a substractive
method.
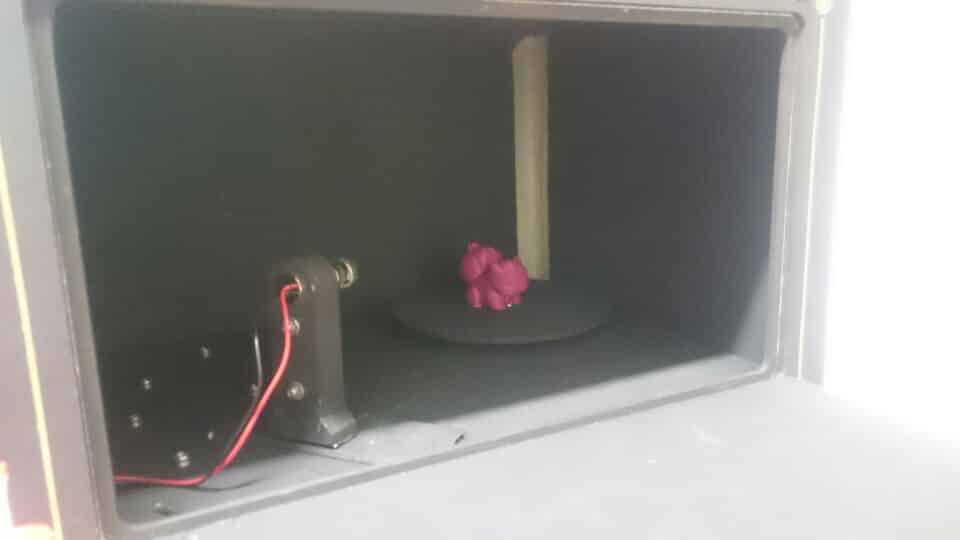
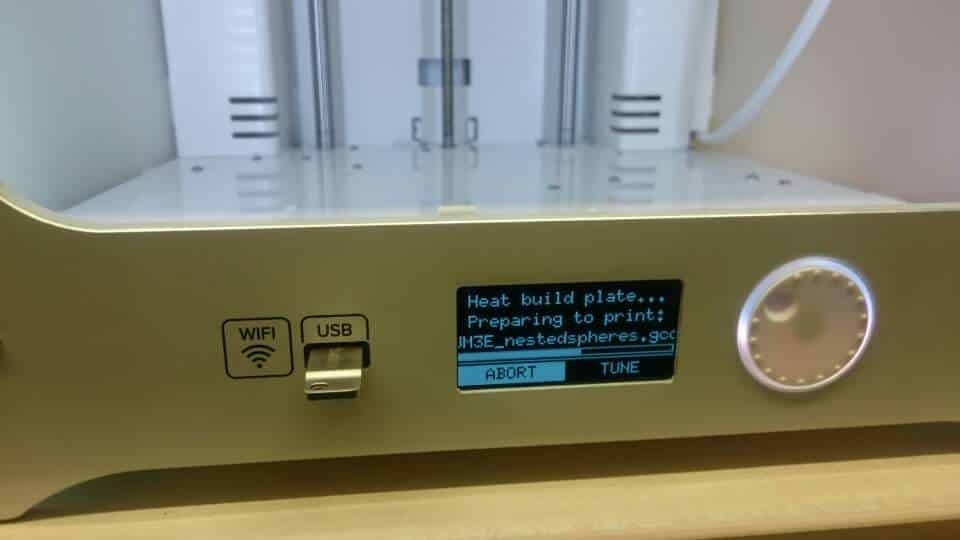
There are several 3d printers in our lab, I used 'Ultimaker 3+ Extended' for my personal
printing.
It was very lucky, since 3d printers are busy machine. and Ultimaker 3+ Extended seemed
really good to me:)
Compared to its older sibling (2
Extended+), It has two printing core for support.
So we don't really need to worry about it being collapsed during the printing or include support
in your own design.
And it also has some network functionality so that we could send the file or watch the printing
process over the network.
Anyway, using this machine is pretty simple.
I imported the model to the software Cura, adjusted some printing setting inside the software.
(Things like 'materials of printing', 'Quality and speed of the printing',
'whether would you like your models to be hollow or filled in different level of densities',
'enabling support materials' and 'building plate adhesion' were adjustable).
I used 'white PLA' for main materials and 'Natural PVA' for support material. Support material
can be dissolved in the water later.
Since I didn't have much time so I choose 'fast print'.
But as my model is mainly hollowed shape with relatively thin layers, I choose 'dense infill',
and 'enabled support'.
After all setting, I can just simply send my file through the network, or use usb files to print
it out.

After sending the file to the printer, what you need to is adding filament of your favorite color! and wait for some moments if they are being printed well. When we were working together with model printing last week, it failed several times in first two or three lines up. We tried several times to fix the problem (such as dabbing the plate with sticky glues or hairspray to make it more sticky..) but it took a lot of time to finally get it done well. The problem at that time seemed to be a flatness of the printing plate. After our instructor adjusted 4 screws on each edges of the plate very finely and problem get fixed. Anyway, (it is said that) it is better to keep an eye on your printing at a early phase than letting it do its work for 24hours and ending up with messed up printing outcome.


After 3 hours, I got my 3d printed model! Yay!