Molding and Casting
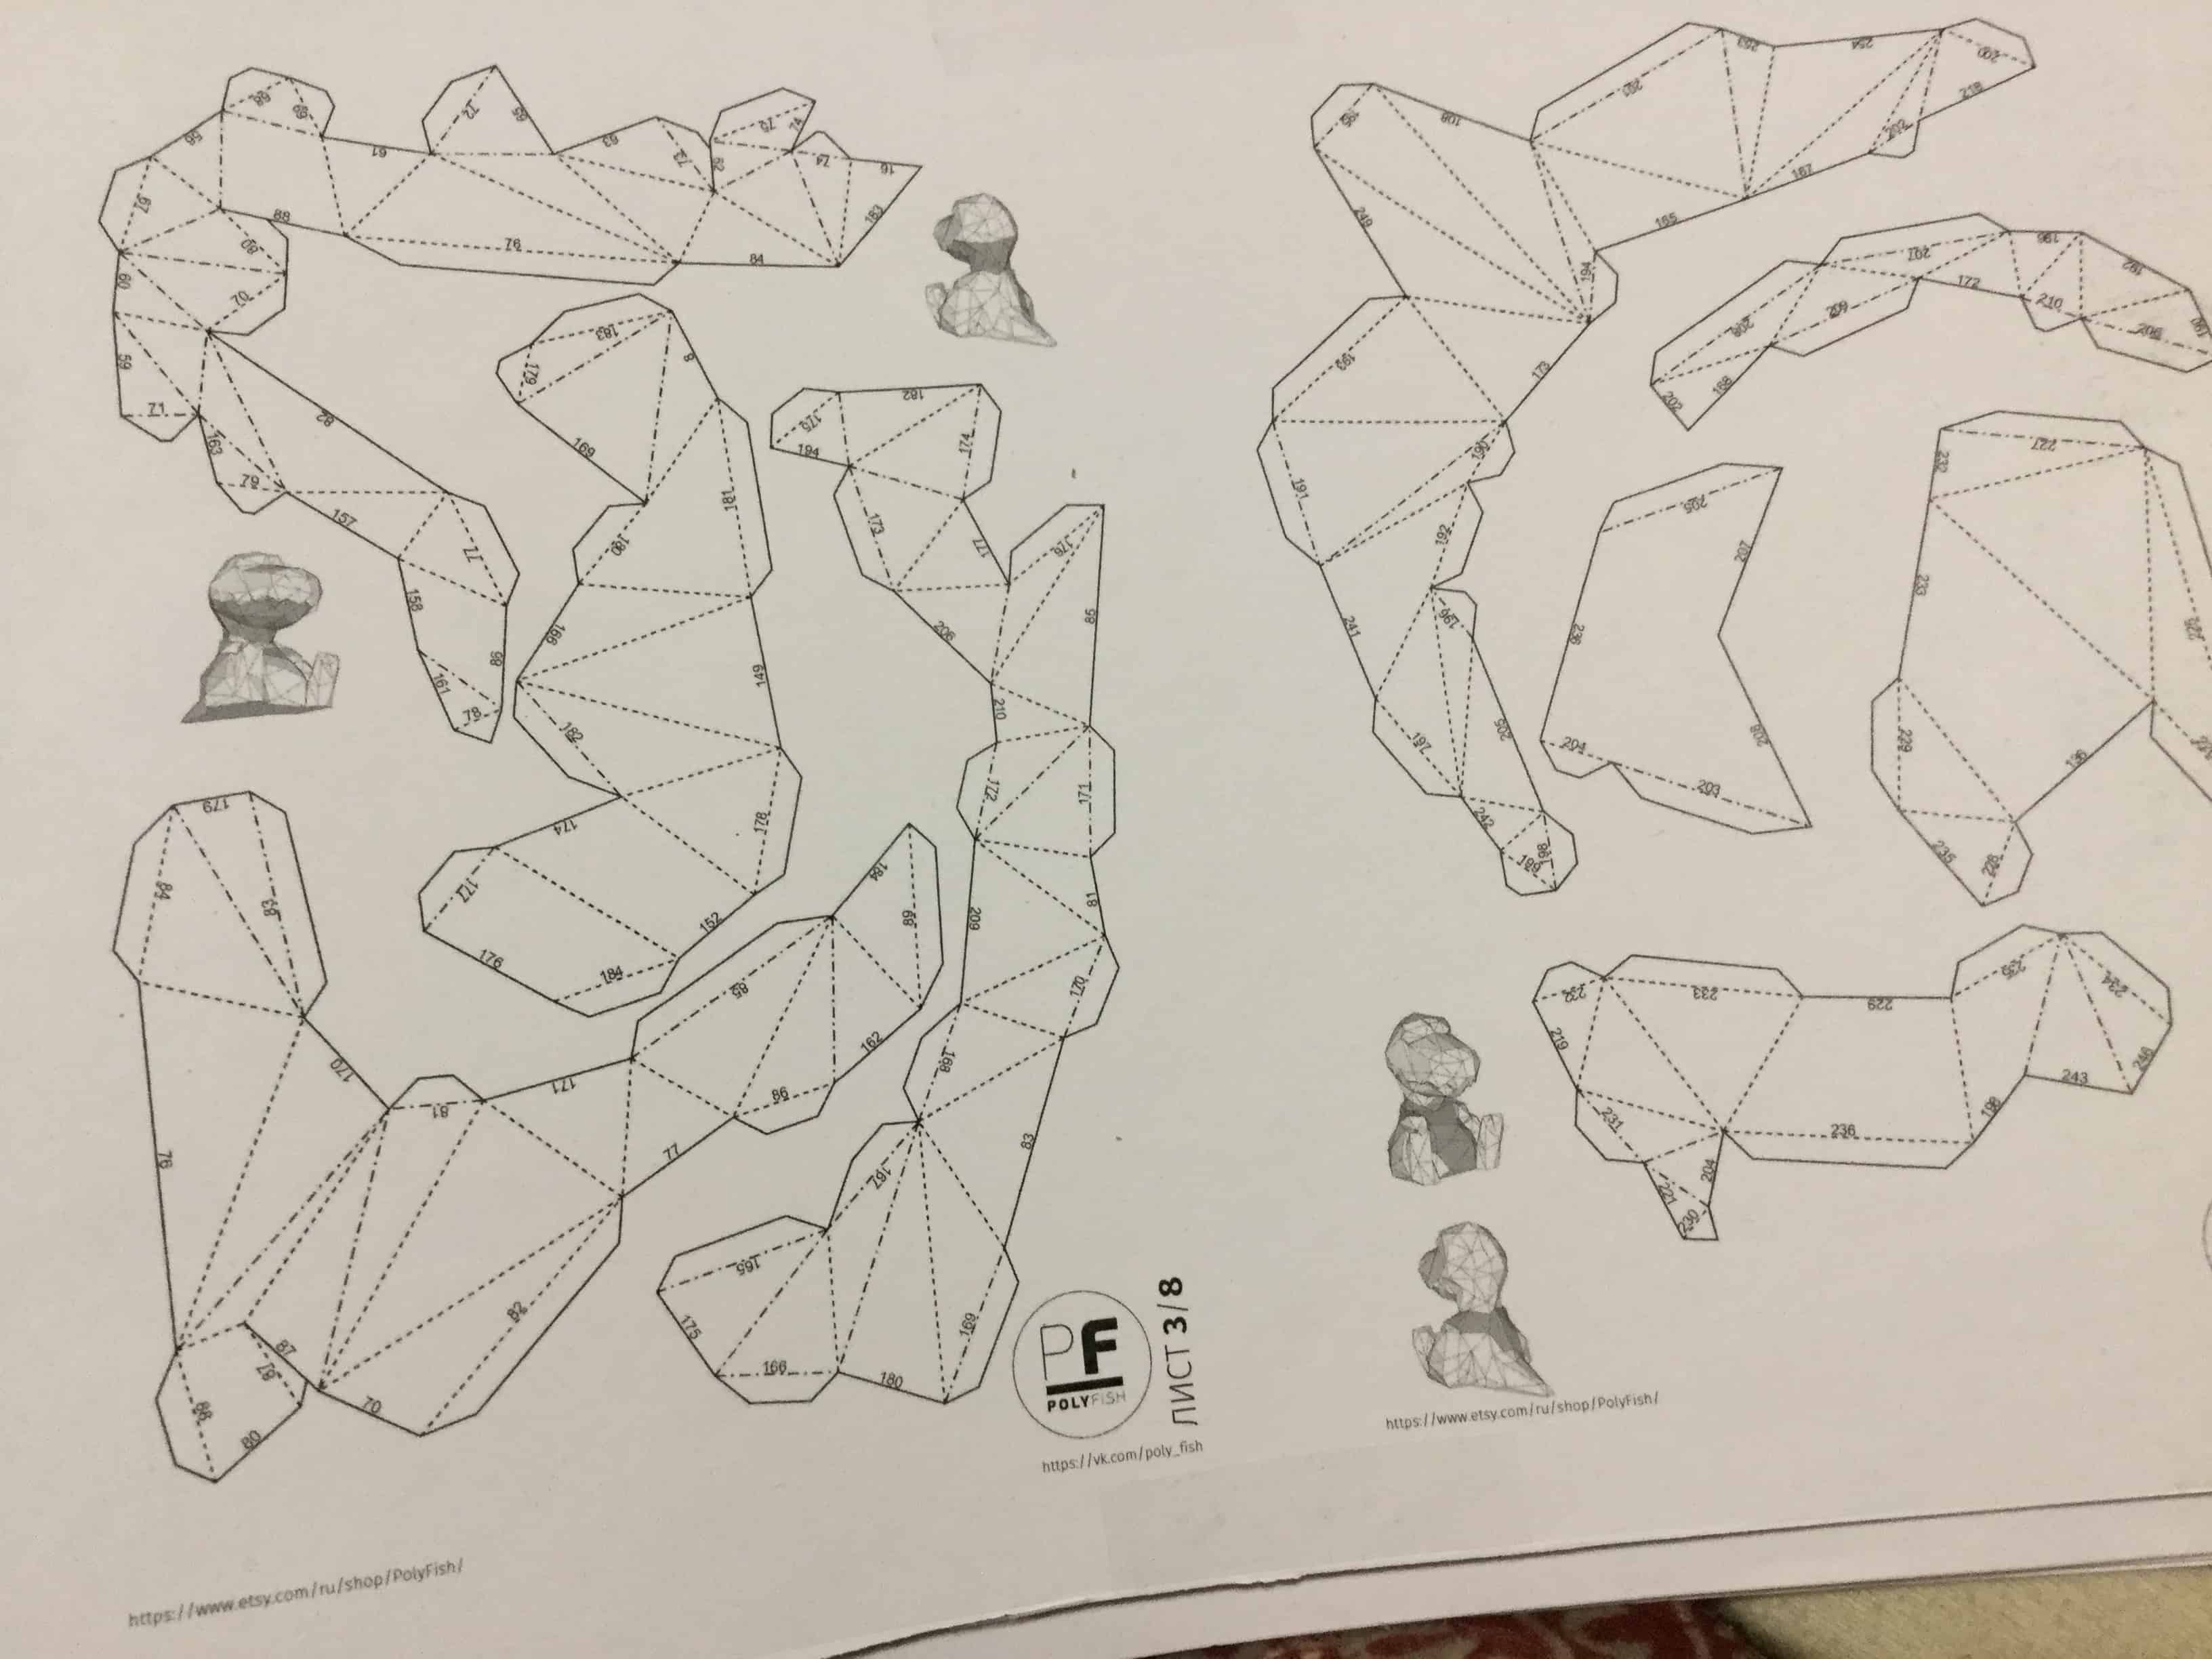
We have searched for different ideas of making molds. We found several ideas for making a mold- such as stamping silicone or paper clay to different objects that I want to copy and harden them. We also thought of stacking the laser cut images and make things like a stamp. In the end, I decided to try first with papercraft mold! With that, casts would be easily taken apart from the mold!
First TRY: Paper Mold with Papercraft Art
Papercraft, when you are aiming high and have just a limited time it would make your life more
miserable. Well, it could be different from the complexity of models, But I would say it will take
longer than you though. To make paper mold, I had to cut them. First I used Vinyl cutter in our lab,
but then the vectorized outcome from the jpeg file was not precise enough and I could not cut
differently between cutting lines and folding line. Finding a right material for cutting- which does
not slide the needle from Vinyl cutter was also a problem.
(I wonder why didn't they make a way to select some line to make a different way to cut the paper in
their software, such as laser cutter having different options for cutting(cutting, engraving,..)
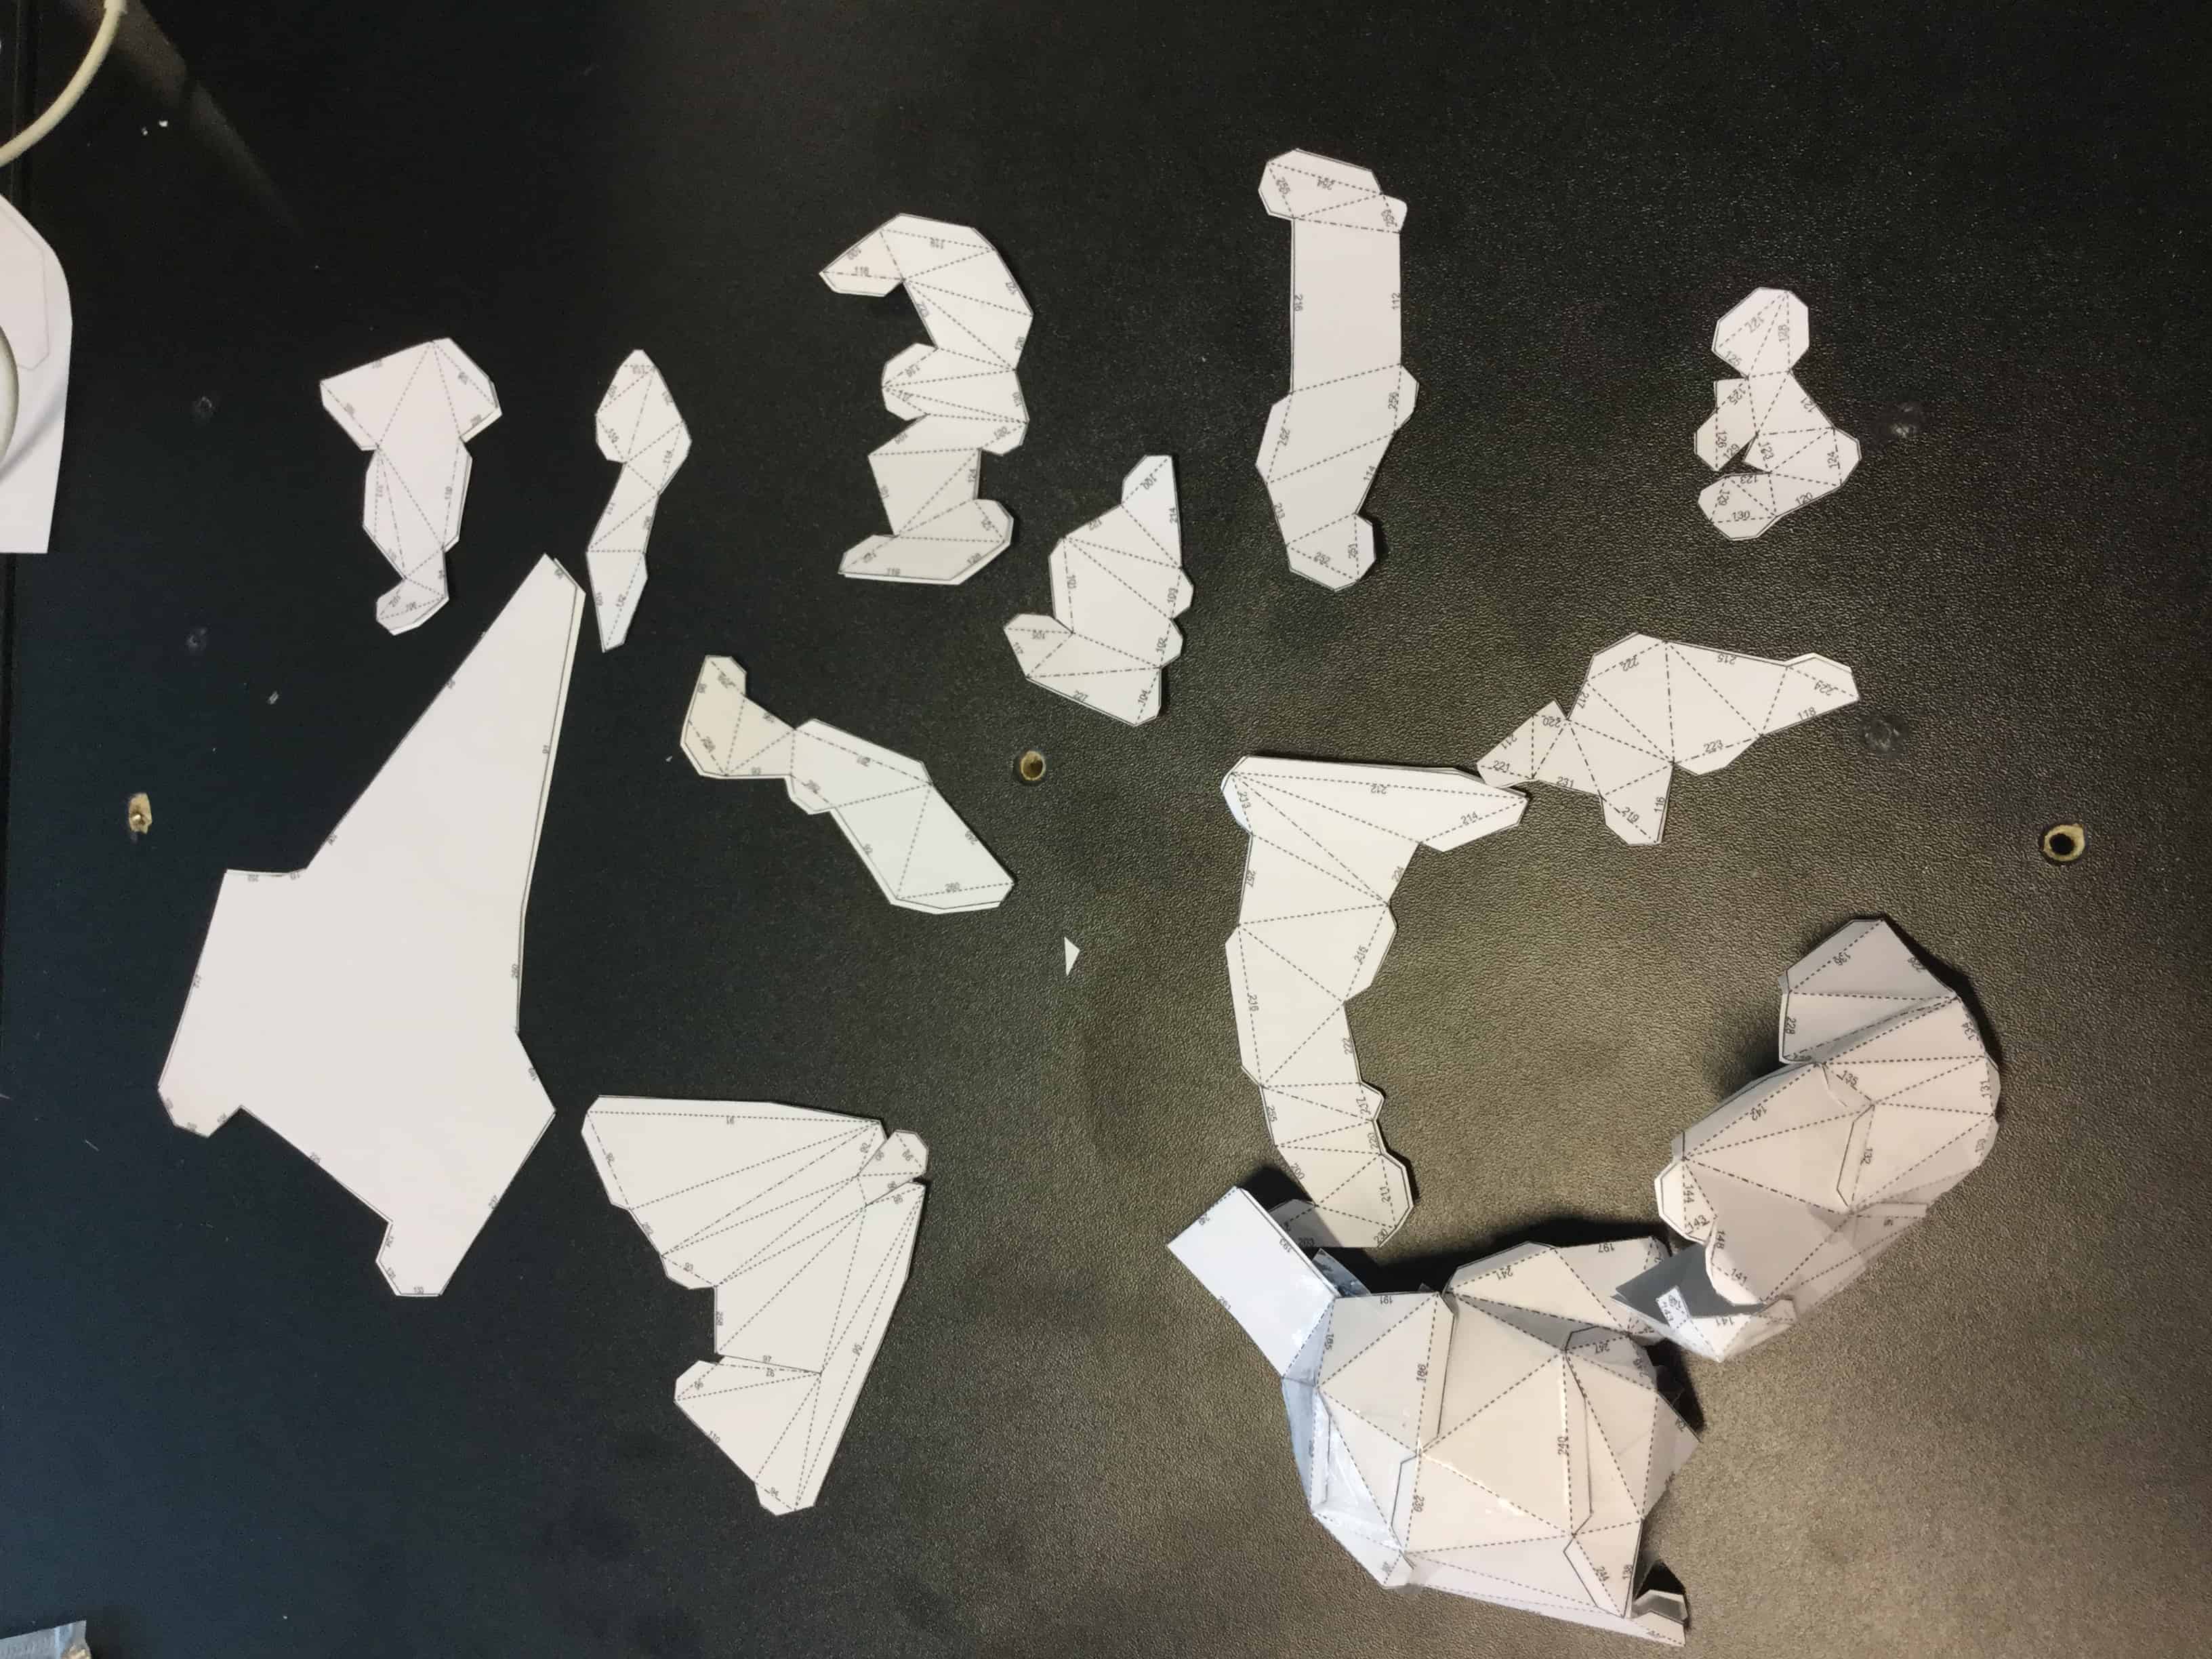
Finally, I could get glossy paper for trying printing, but the outcome was not really satisfying and
again took time, so I would rather decide to print them out and and cut&hold using my hand.
It was just slow day for me.
HardshipsSo I brought my scissors, which seemed an easier way to do at that point, but it is not
quite in a range of a digital fabrication. I could get glossy paper for trying printing, but the
outcome was not really satisfying and again took time, so I would rather decide to print them out
and cut&hold using my hand. After cutting them all with such a big effort, I had to put pieces
together, which turned out to be a disaster as well. Well, there were too many parts without a
matching set(as I was using glossy paper which things get not printed out), and parts were really
tiny. At the end... yes, I completely gave up. I didn't feel like finishing the paper mold nor
destroying it by pouring casting material. It was a just slow day for me.
Second TRY: Modeling a 3D Printed Mold
So I brought my scissors, which seemed an easier way to do at that point, but it is not quite in a range of a digital fabrication. I could get glossy paper for trying printing, but the outcome was not really satisfying and again took time, so I would rather decide to print them out and cut&hold using my hand. After cutting them all with such a big effort, I had to put pieces together, which turned out to be a disaster as well. Well, there were too many parts without a matching set(as I was using glossy paper which things get not printed out), and parts were really tiny. At the end... yes, I completely gave up. I didn't feel like finishing the paper mold nor destroying it by pouring casting material. It was a just slow day for me.
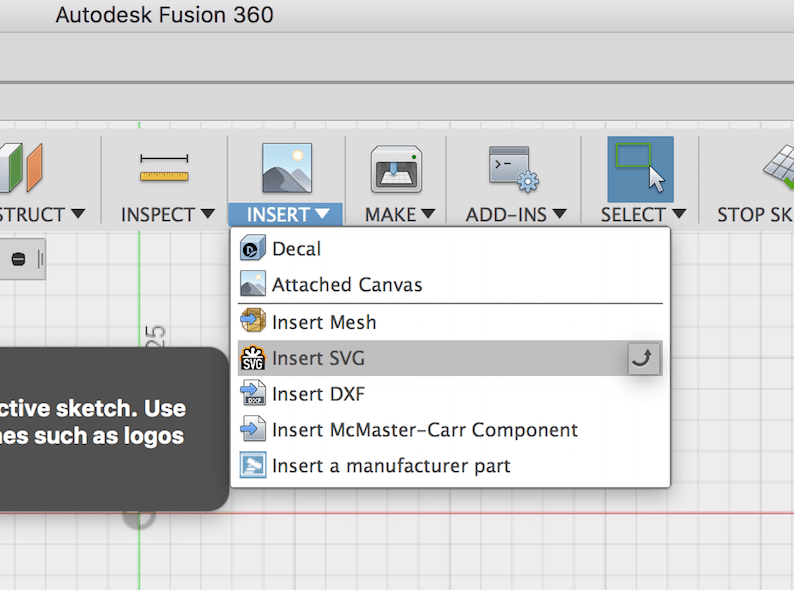
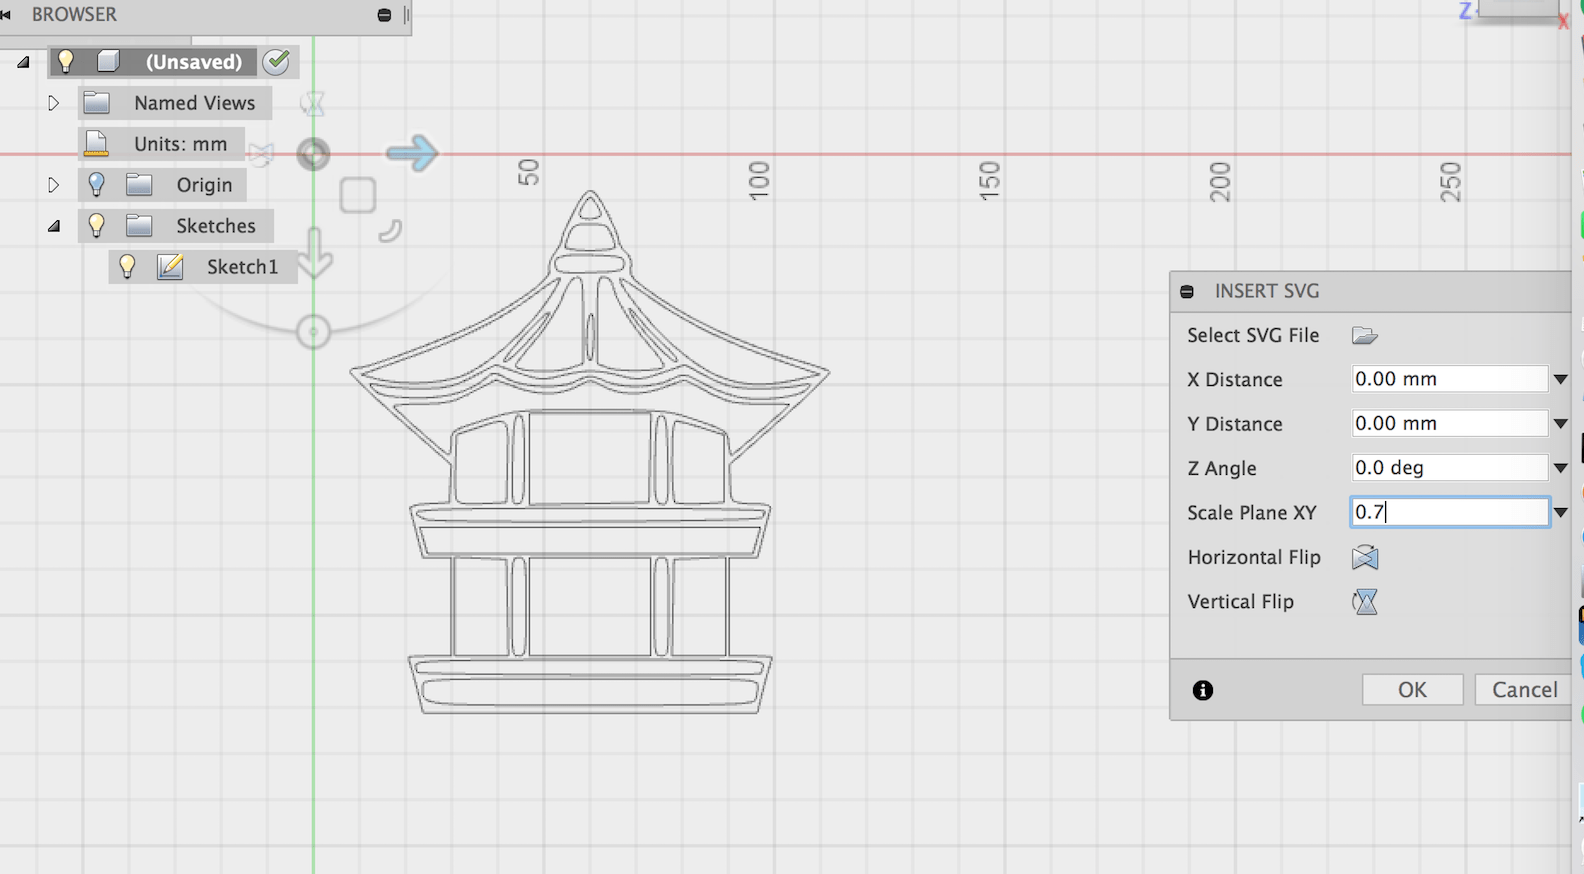
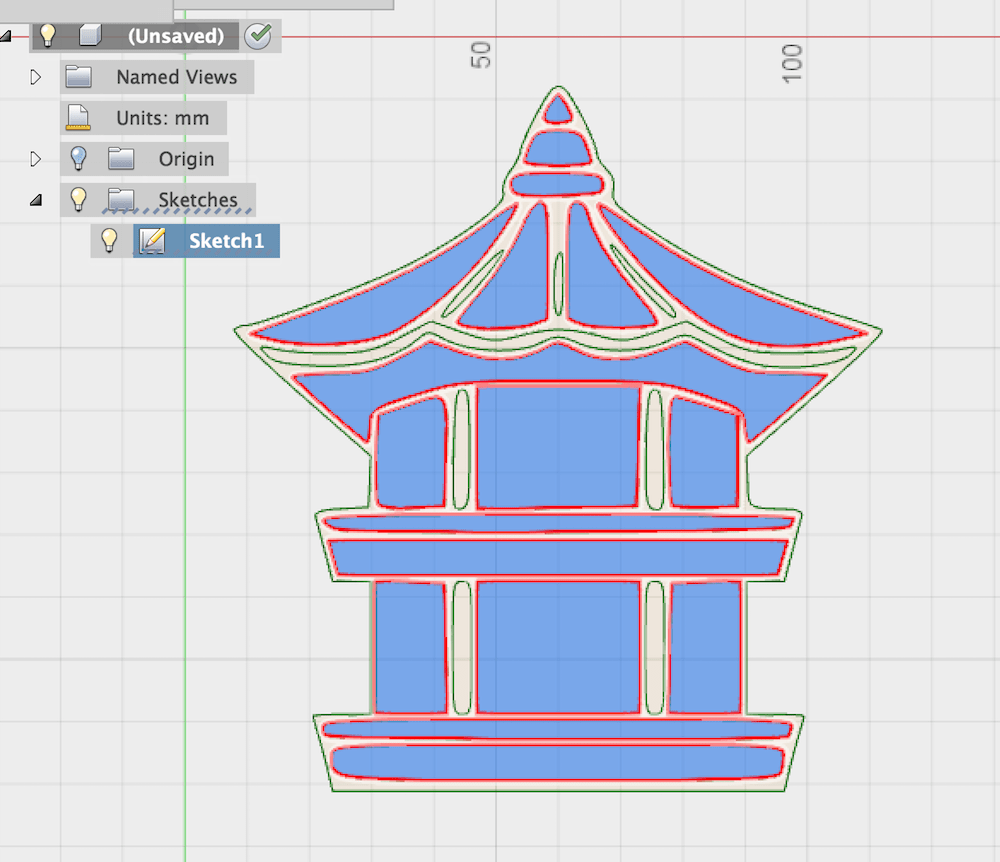
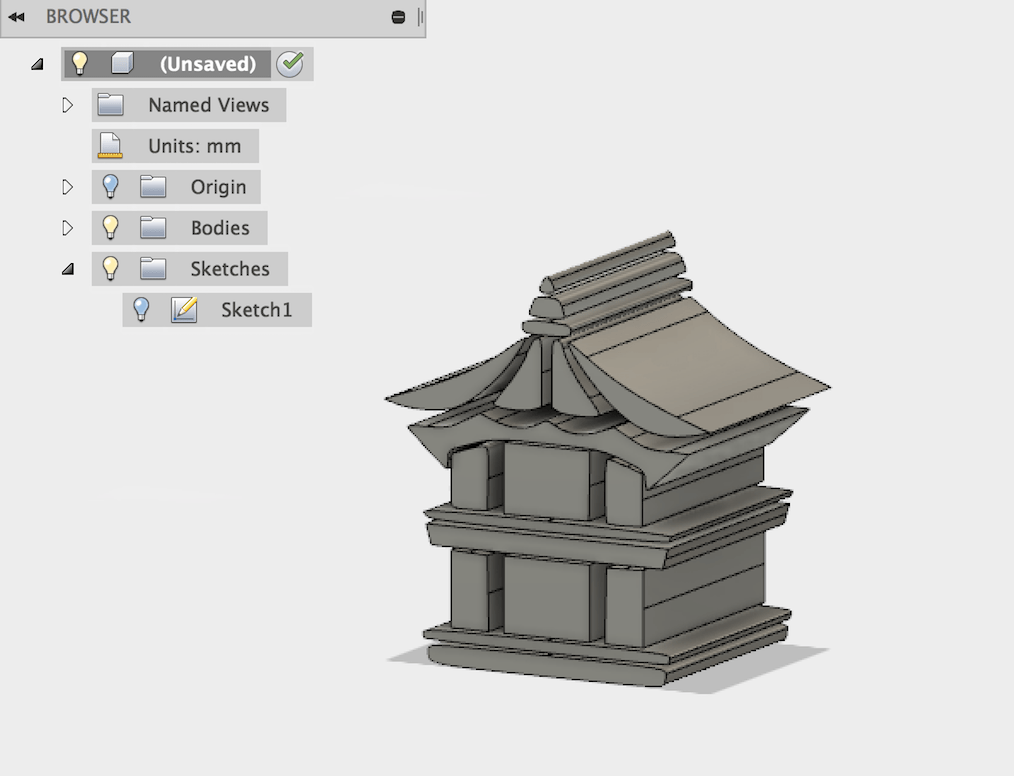
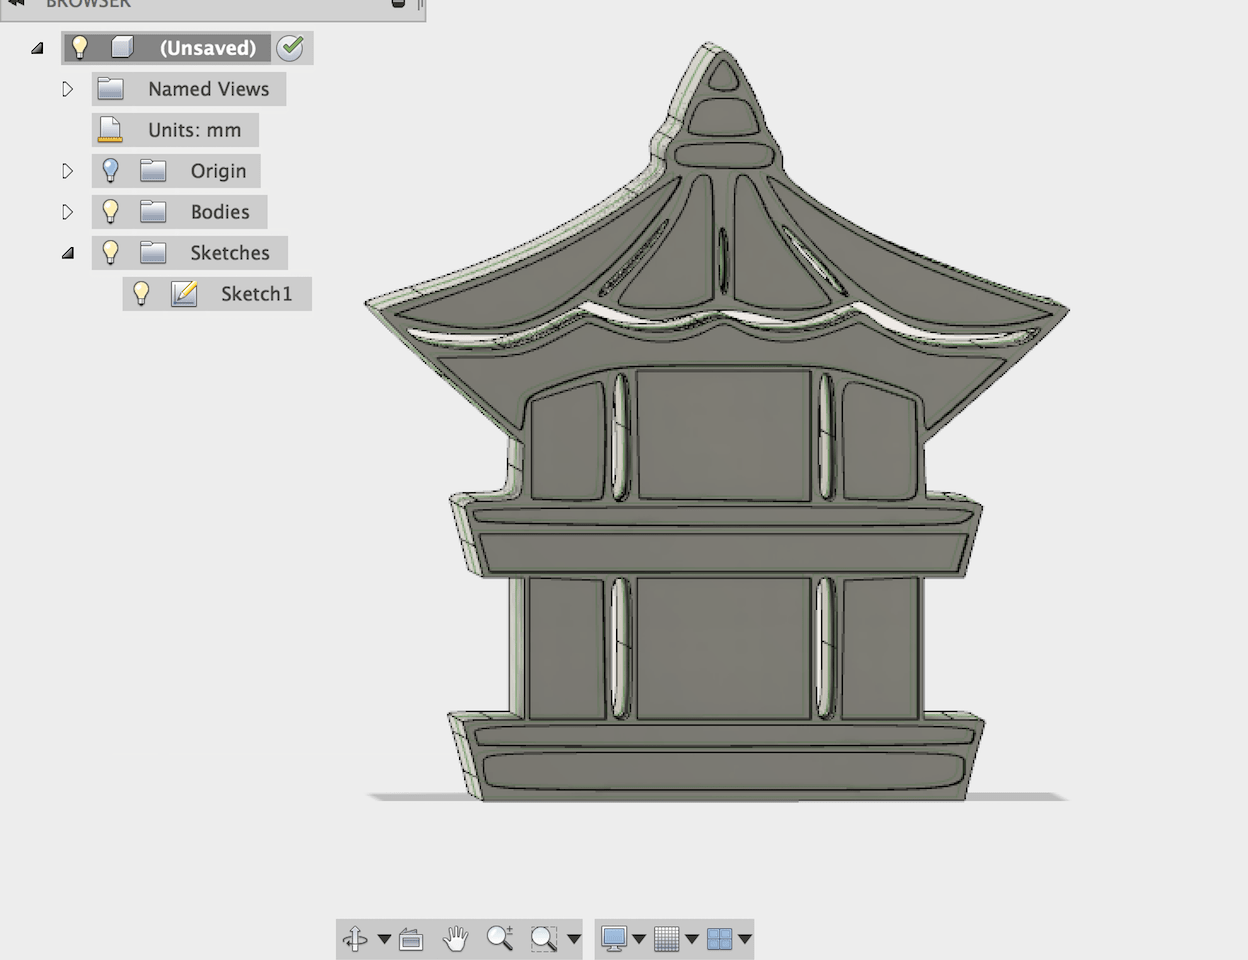
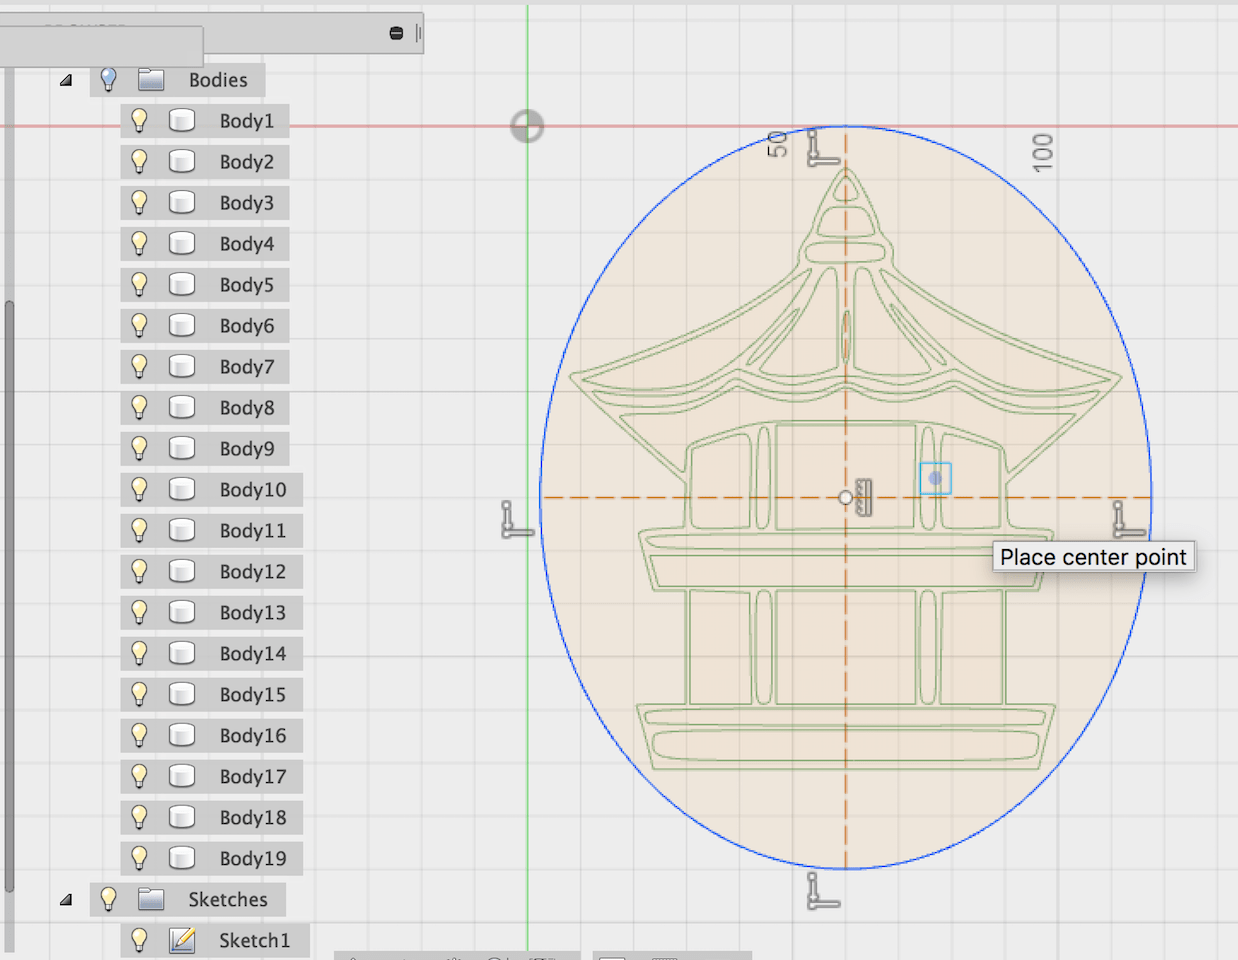
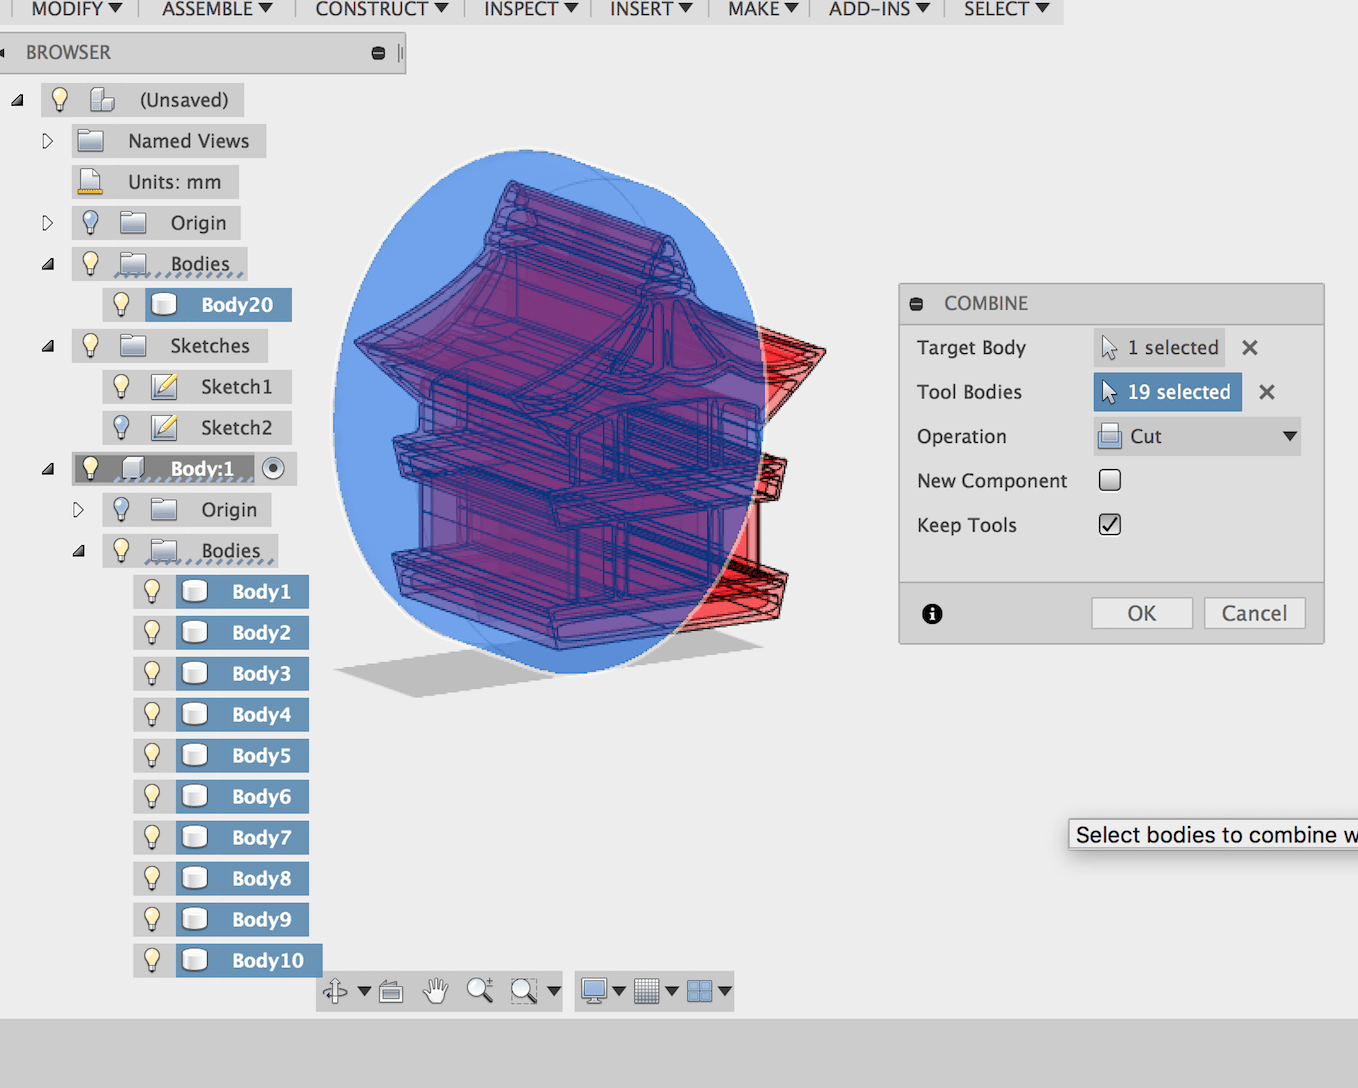
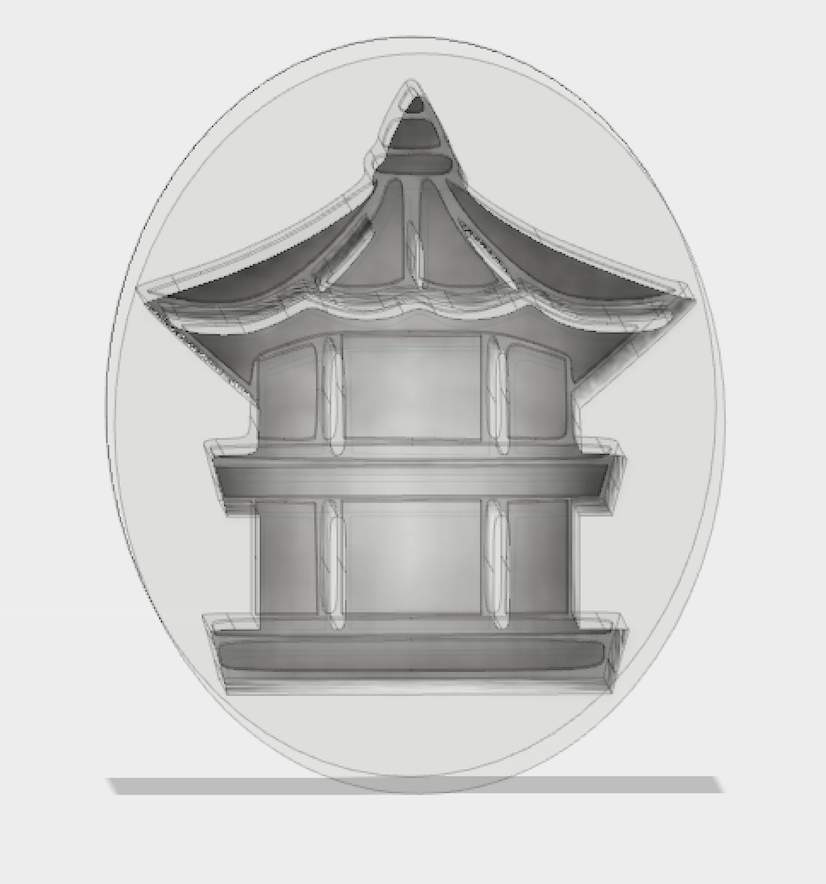
- Import vector image, I checked importing both file formats(SVG, DXF) work, SVG file works better for me.
- Extrude, I could easily grab outlines and extrude them and got positive models.
- Make a frame, than I drew the oval shape frame which is slightly larger than the image, and again, extruded.
- Cut, you can find the option for cutting in 'modify'>'combine' menu. you can select target body and tool body, and hit 'okay.' now negative model will be there.
- Split, finally you could split the mold for 2 part molding. (In my case, as I expect my cast to be same in both sides, so I just extruded half from step3.
From step 2 to 5 I used Fusion360 again. Initially, I wanted to make it with OpenSCAD, but importing dxf file in OpenSCAD did not work with my file.
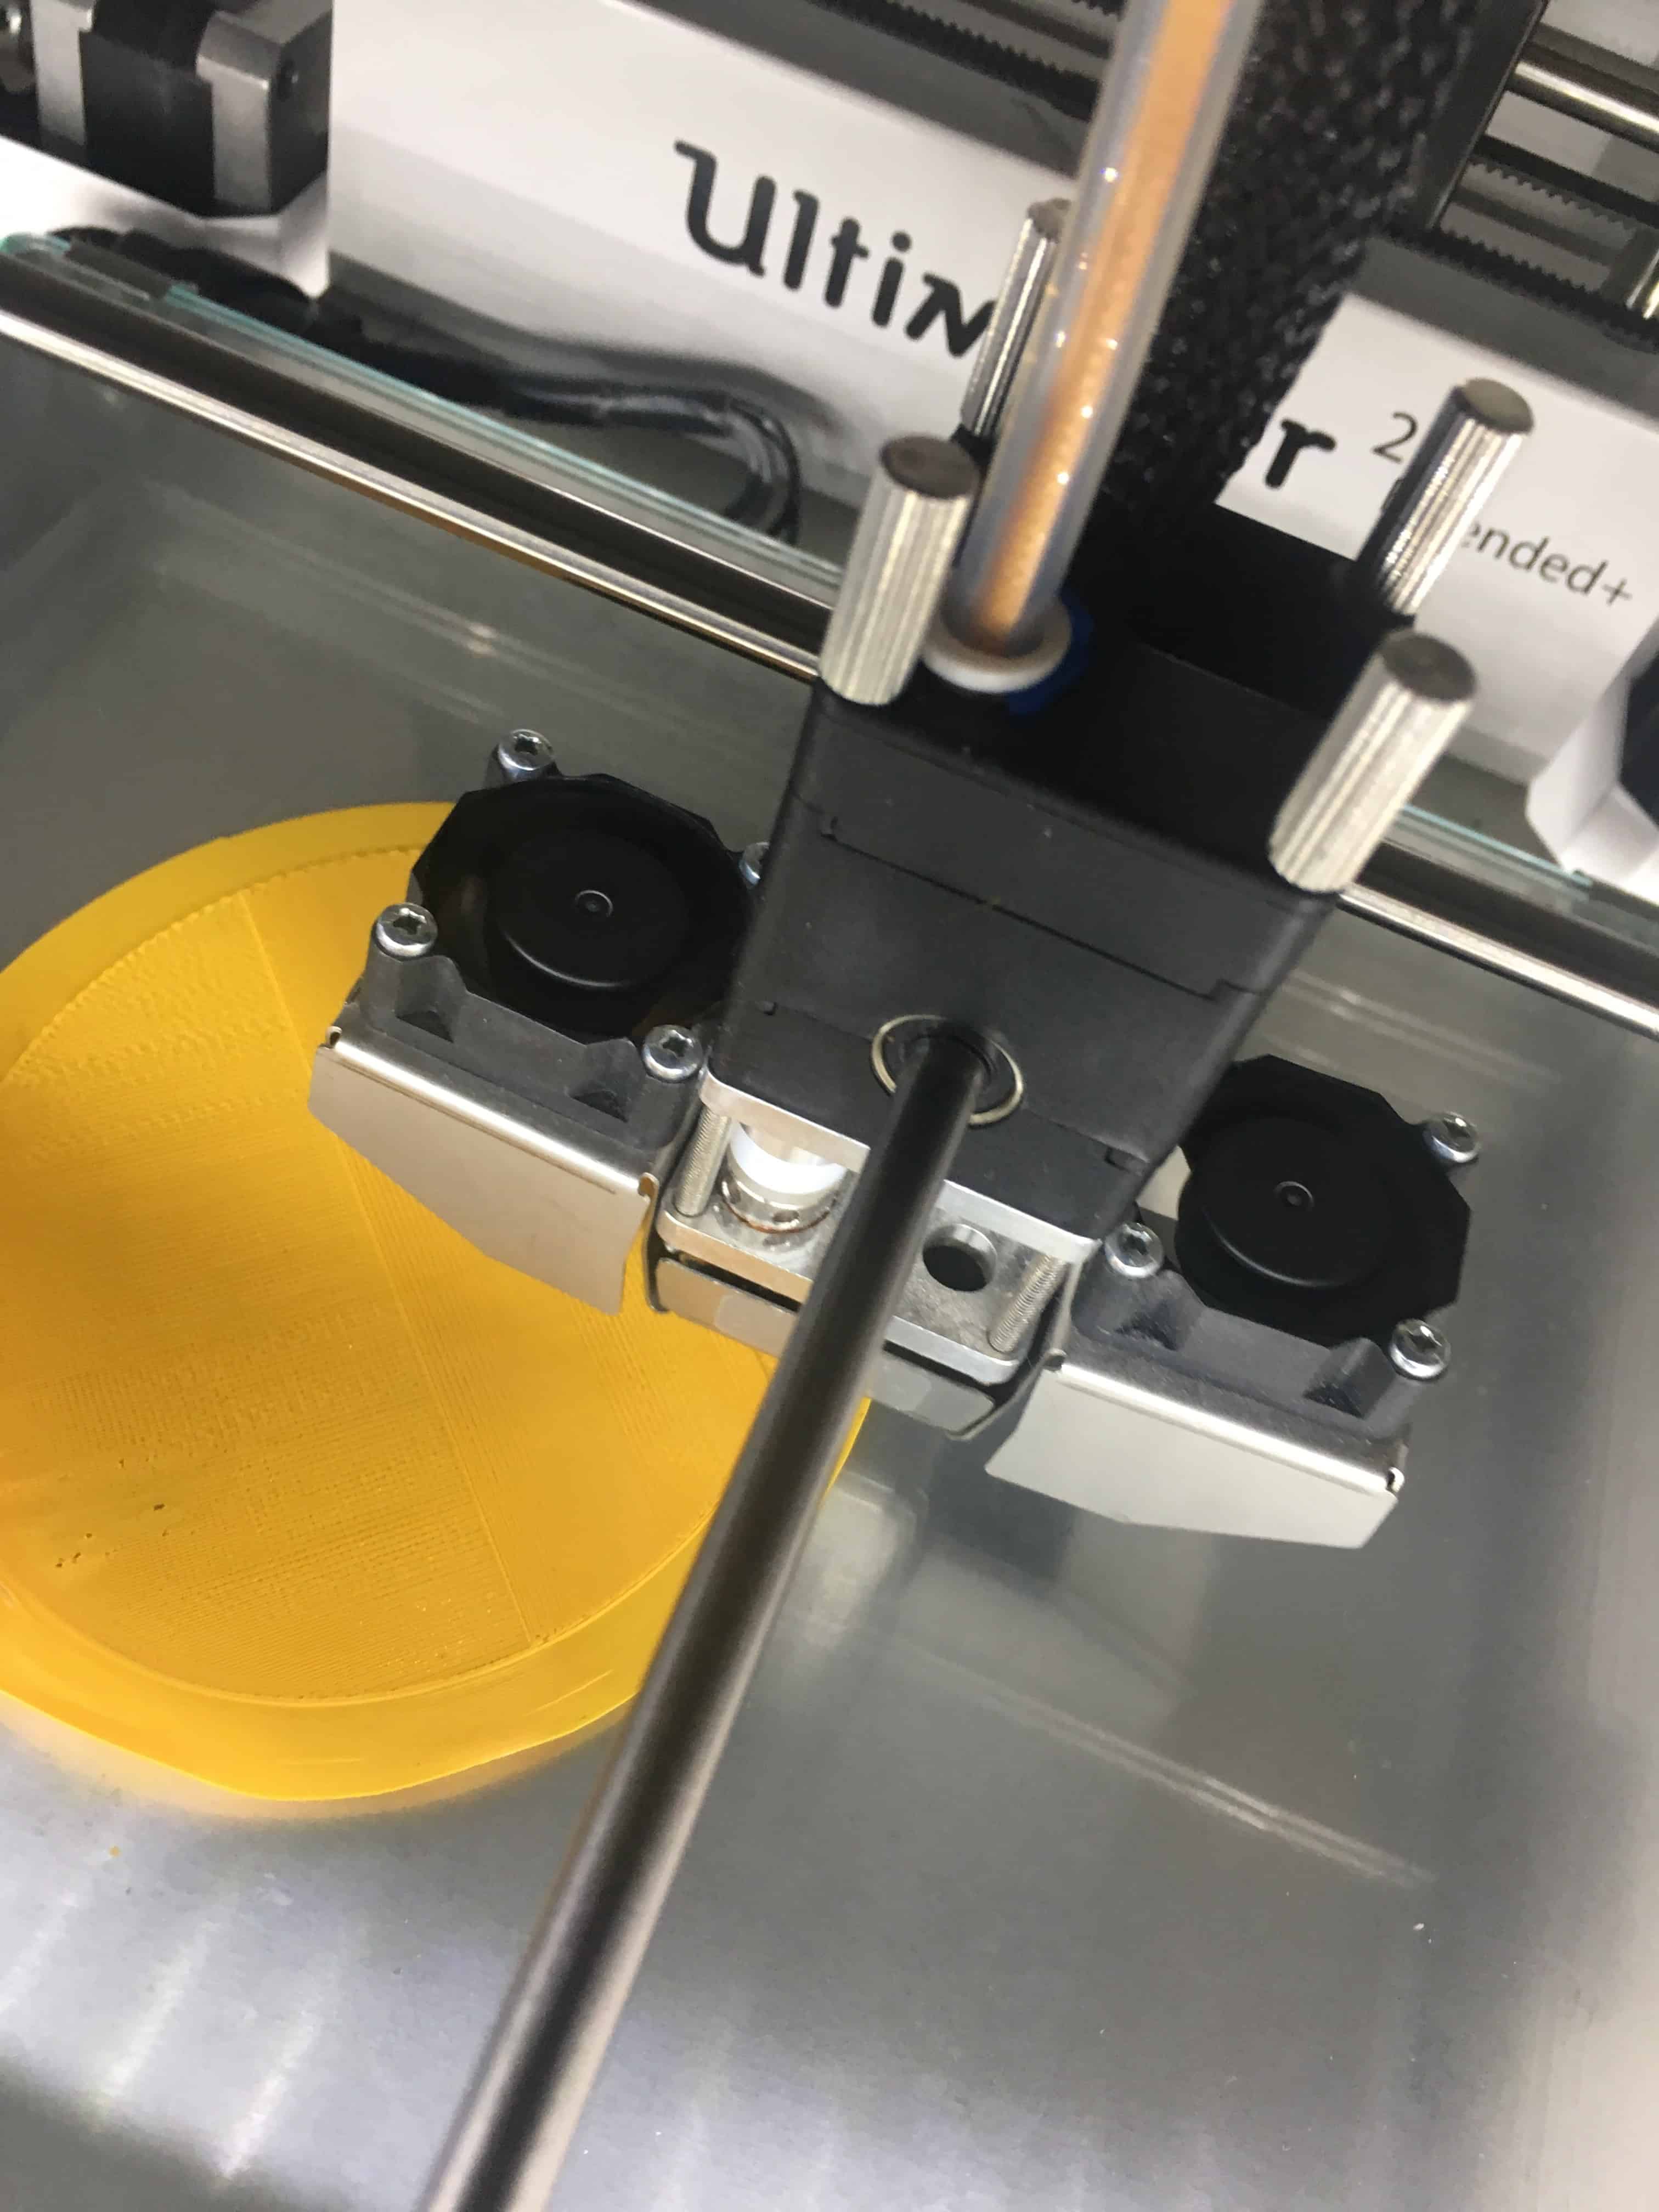
Printing
Since I just left all job to a 3d printer, I relied on it. but it failed to do its job complete.
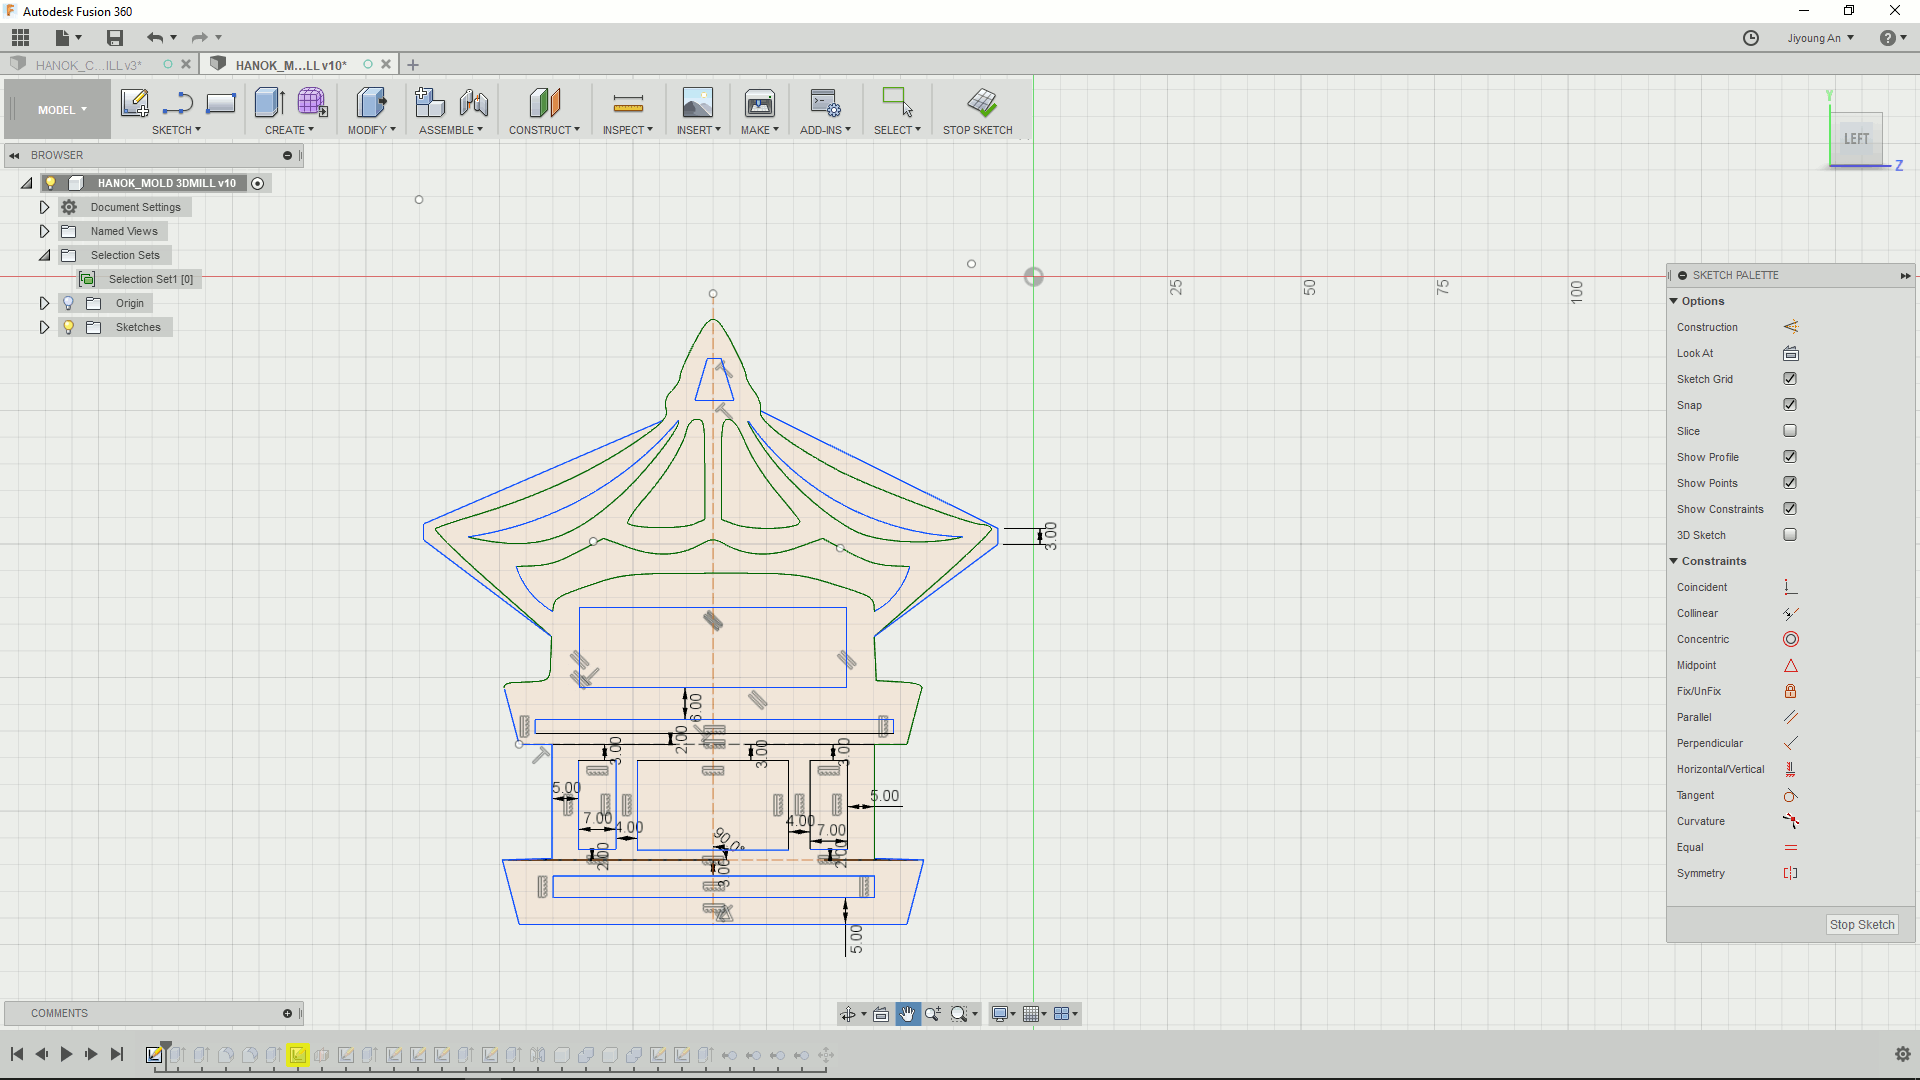
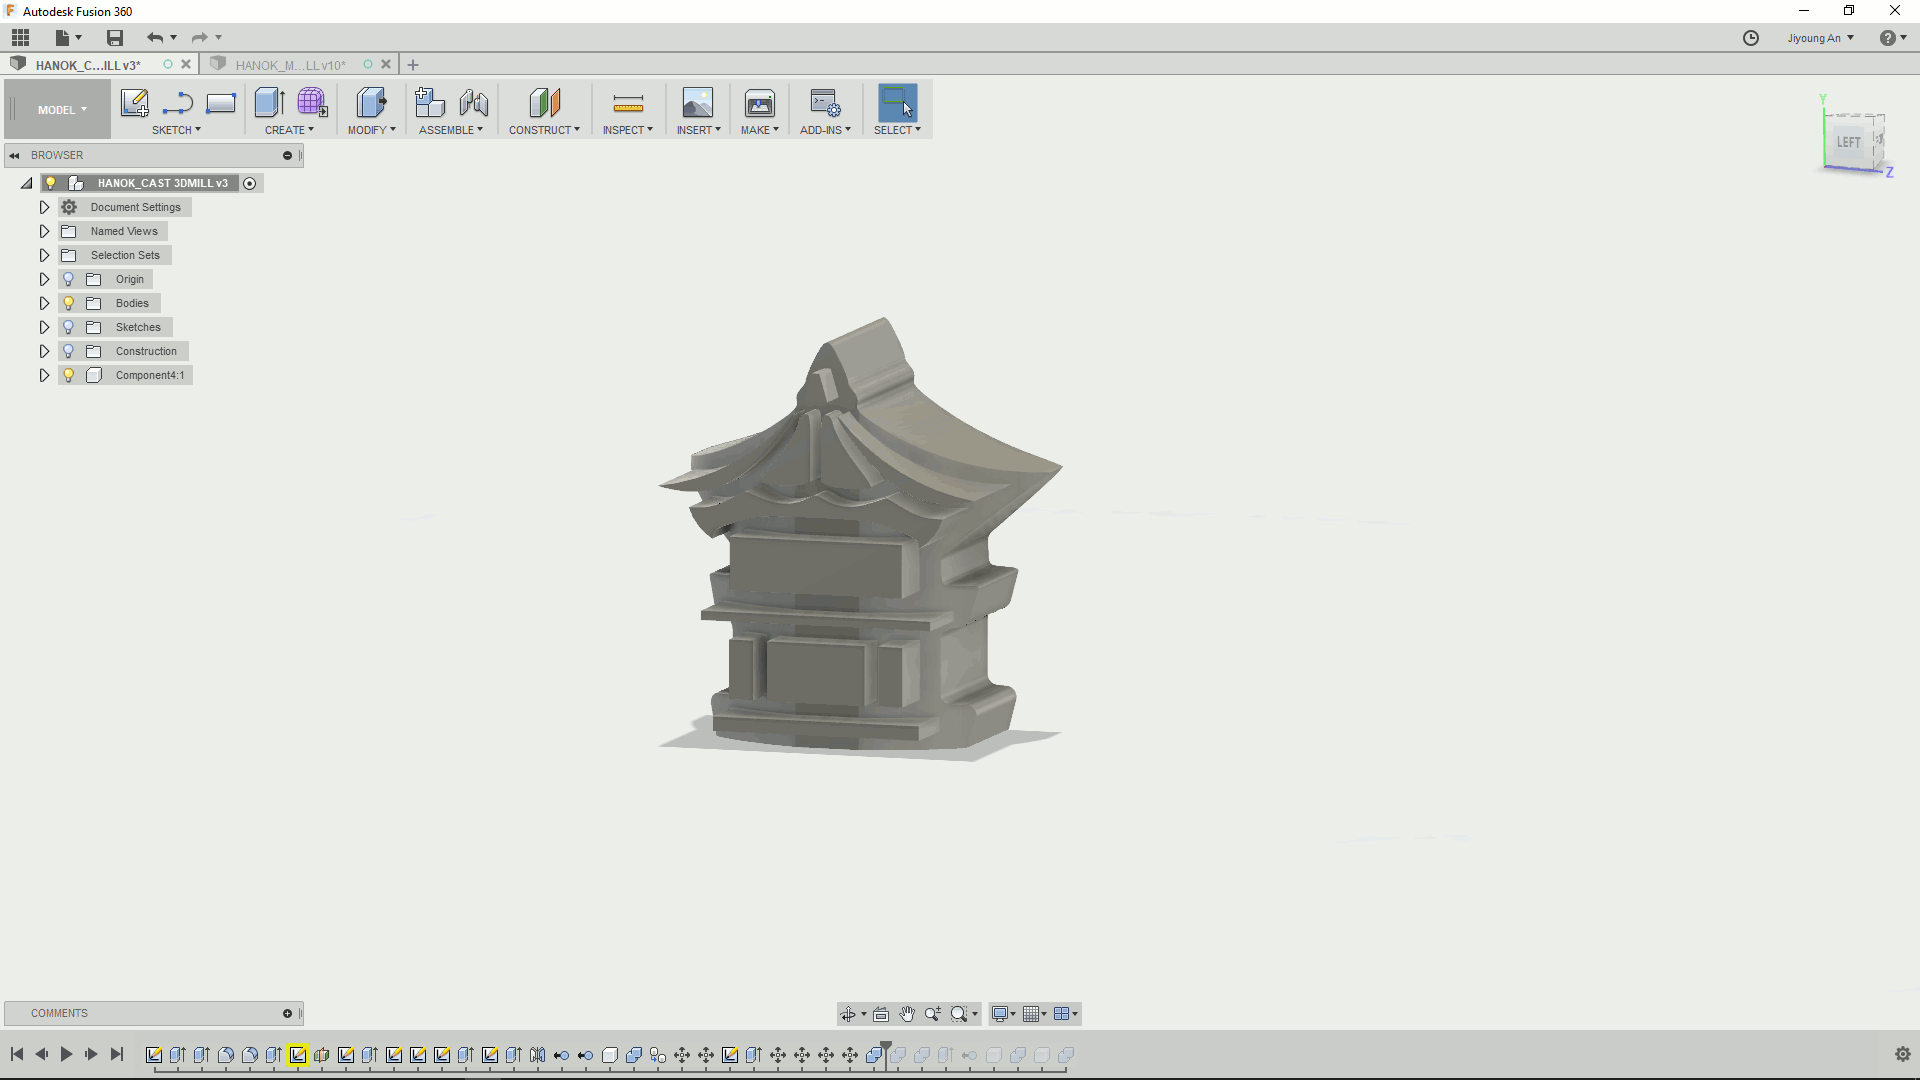
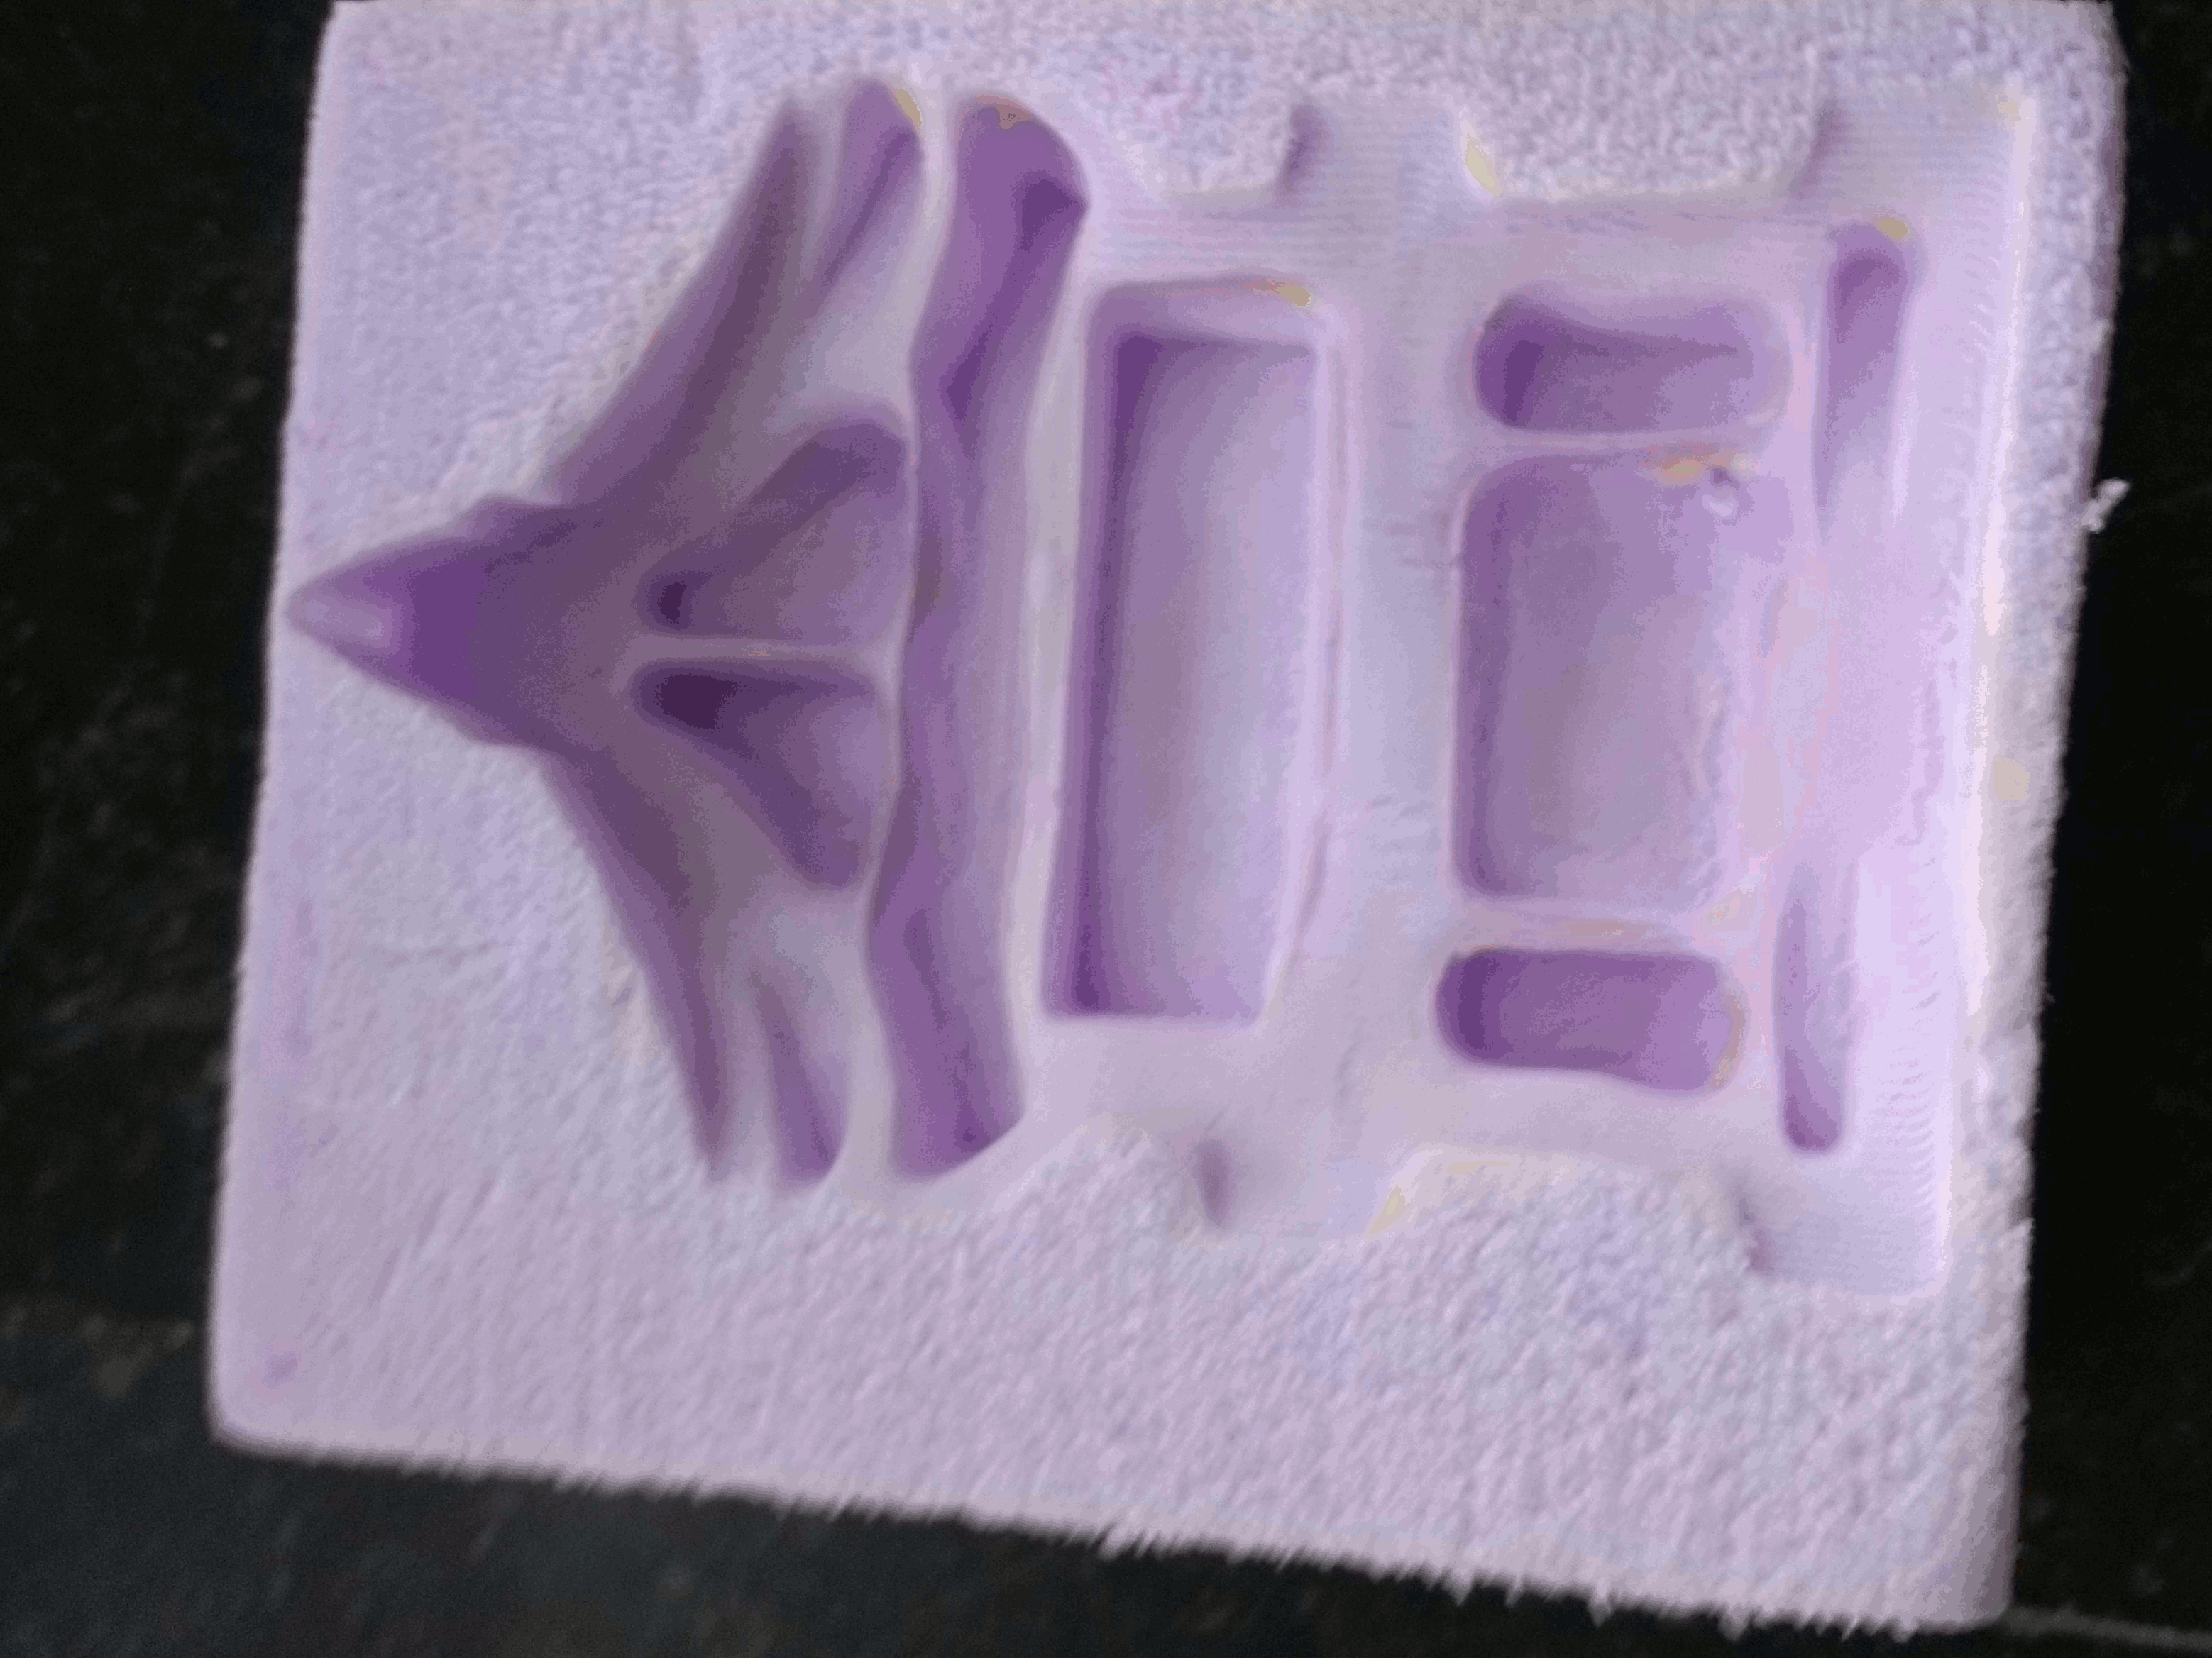
Third TRY: 3D milling a mold
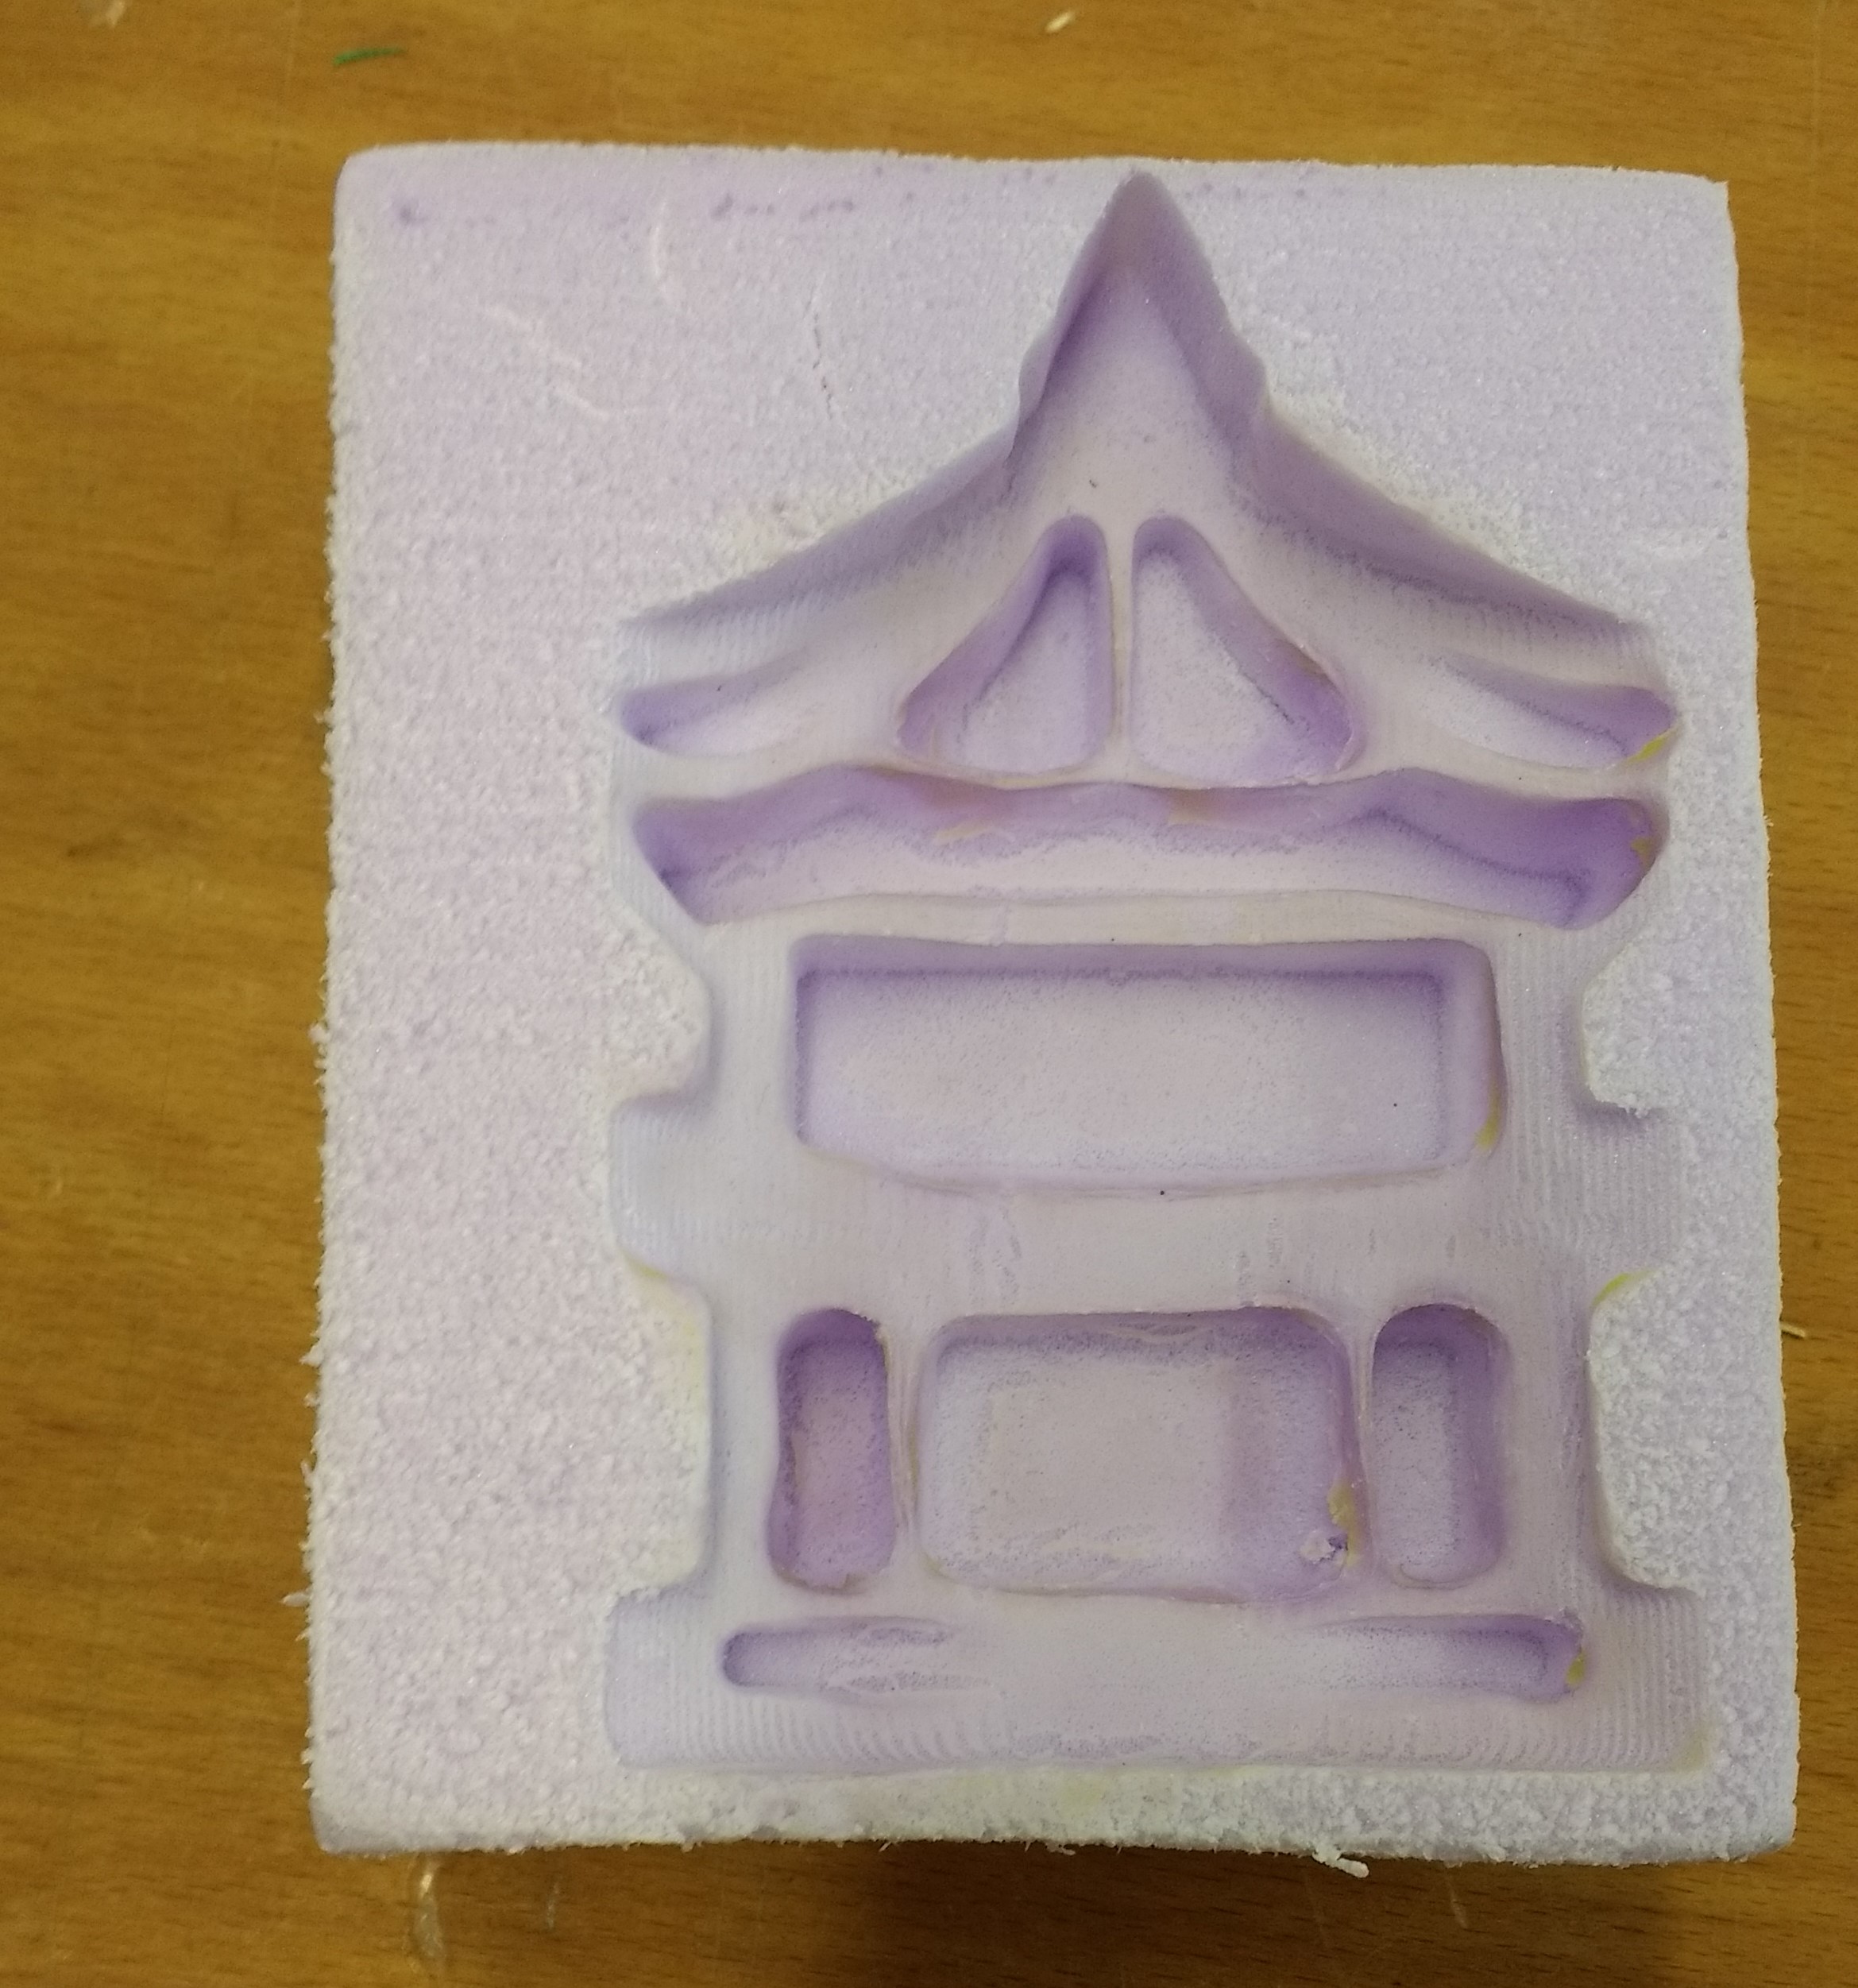
So far I had tried to make several molds using different materials from paper to 3d
printing, yet I
had a chance to mill a mold.
I had an experience with 2d milling machine when I made a chair(something big) in week 7. CNC milling machine that I used for that week
could only cut
in
two axises(x and y). Although this time, machine is more powerful in that it can also
cut in z-axis,
which means machine is cutting several times. Like the previous case, design had to be
adjusted
according to a cutting tool.
I trimmed the design because it needs to reflect the restrictions that we have by using
cutting
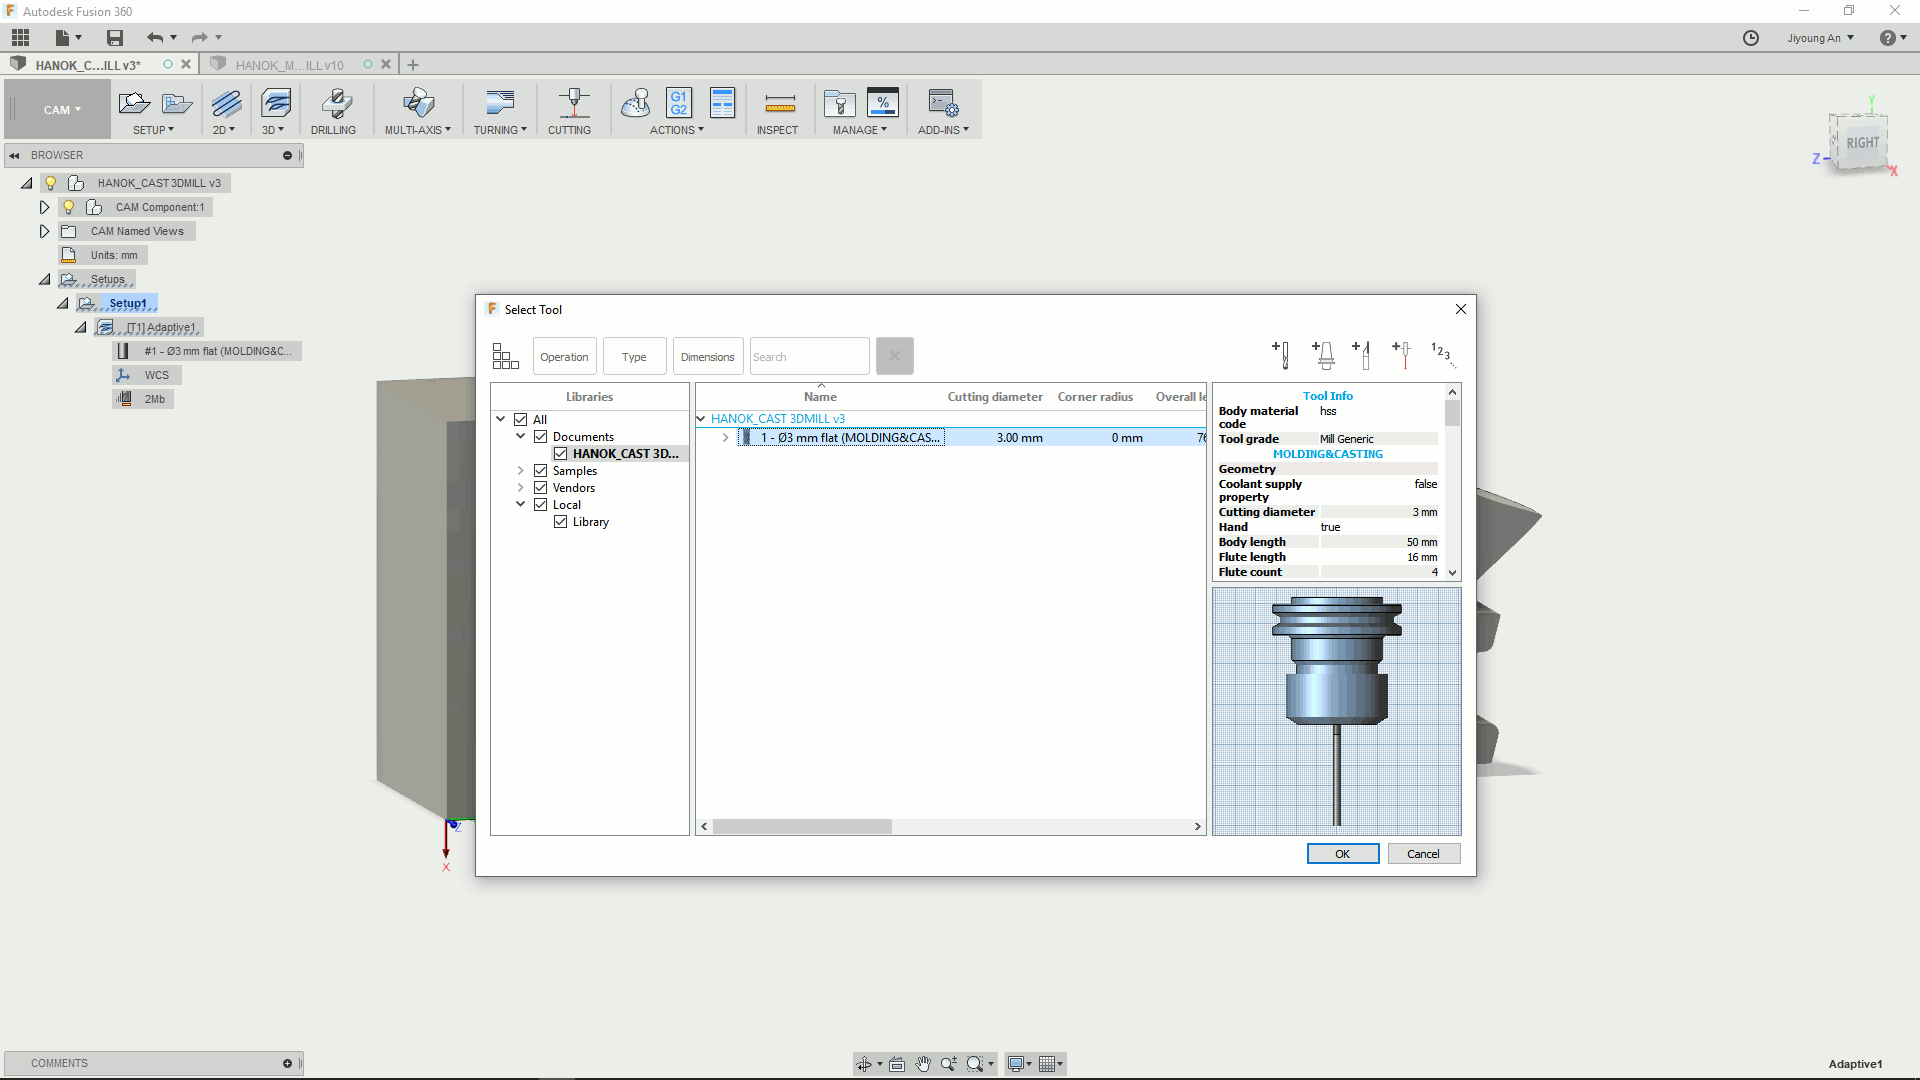
tool. The cutting tool that we are using has 3mm of diameter, so areas between the line
should be at
least more than 3mm, otherwise, there will be nothing left.
In the 3 axis machining, I also had to consider the sidecut. It should be shaped in a
curve as it
reflects the side of the cutting tools.
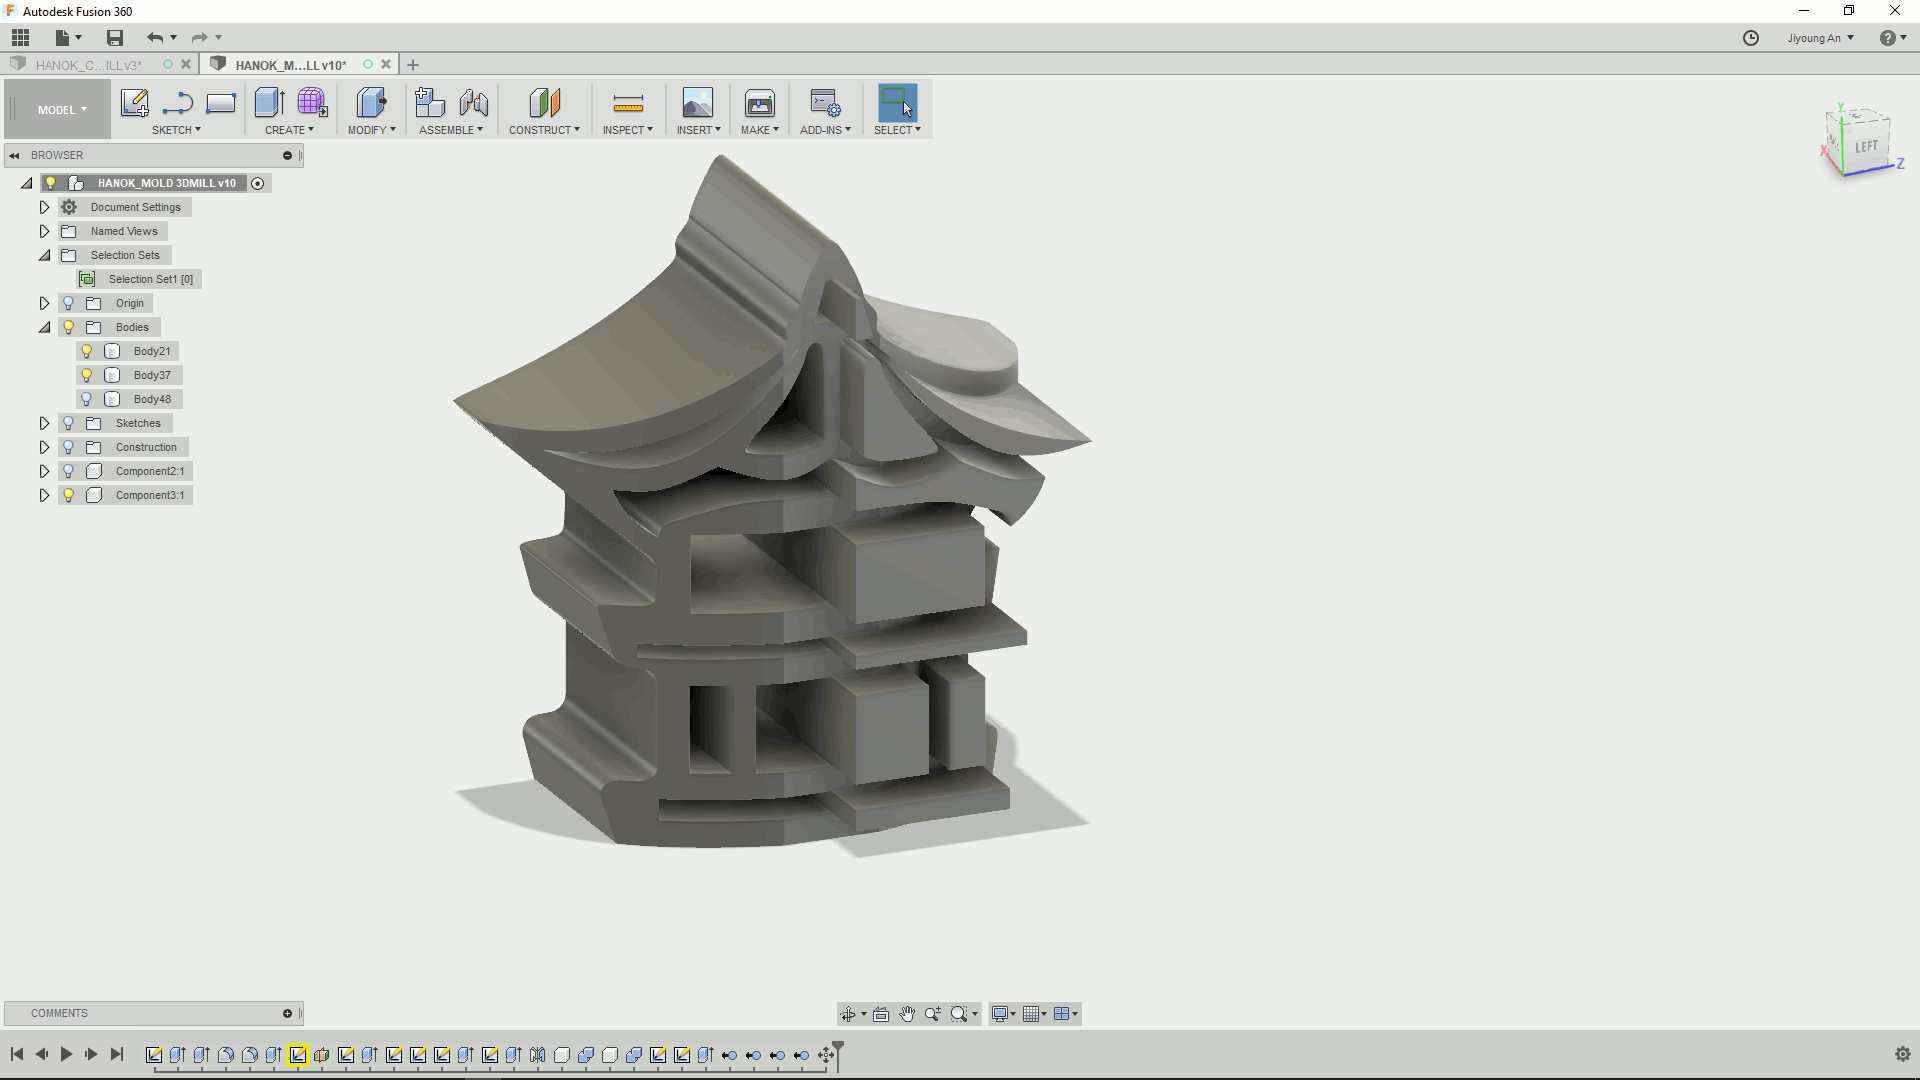
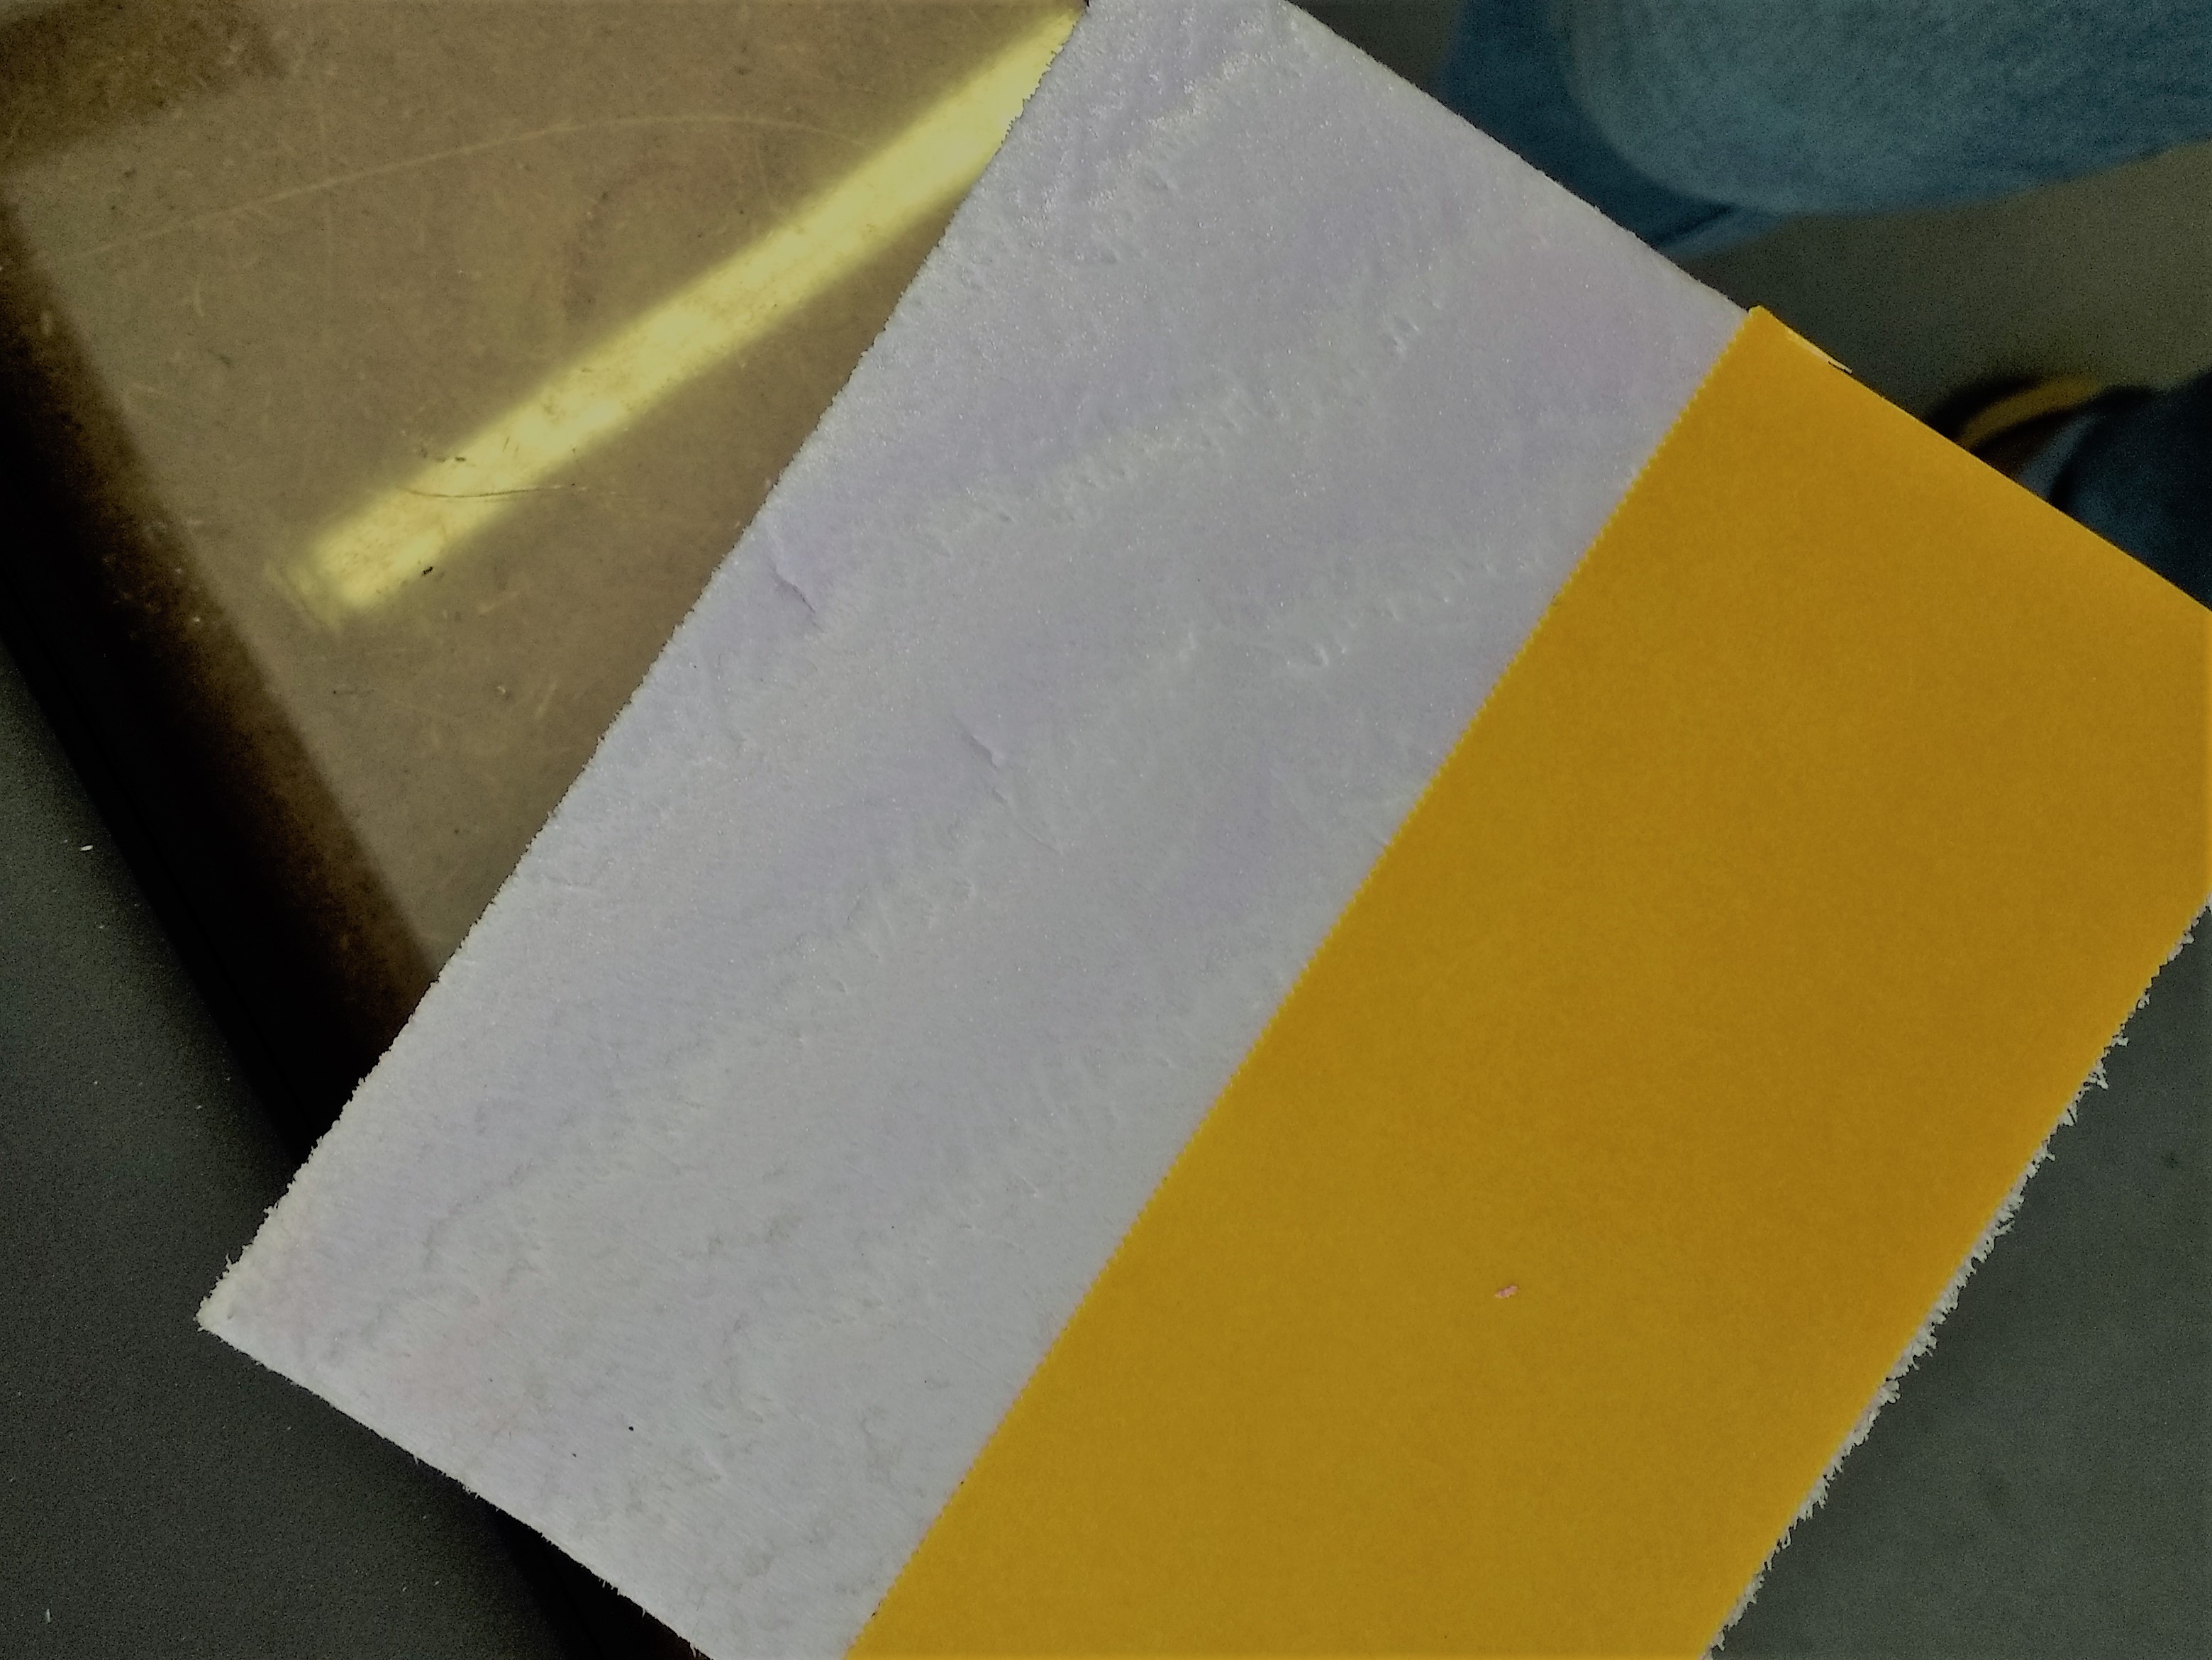
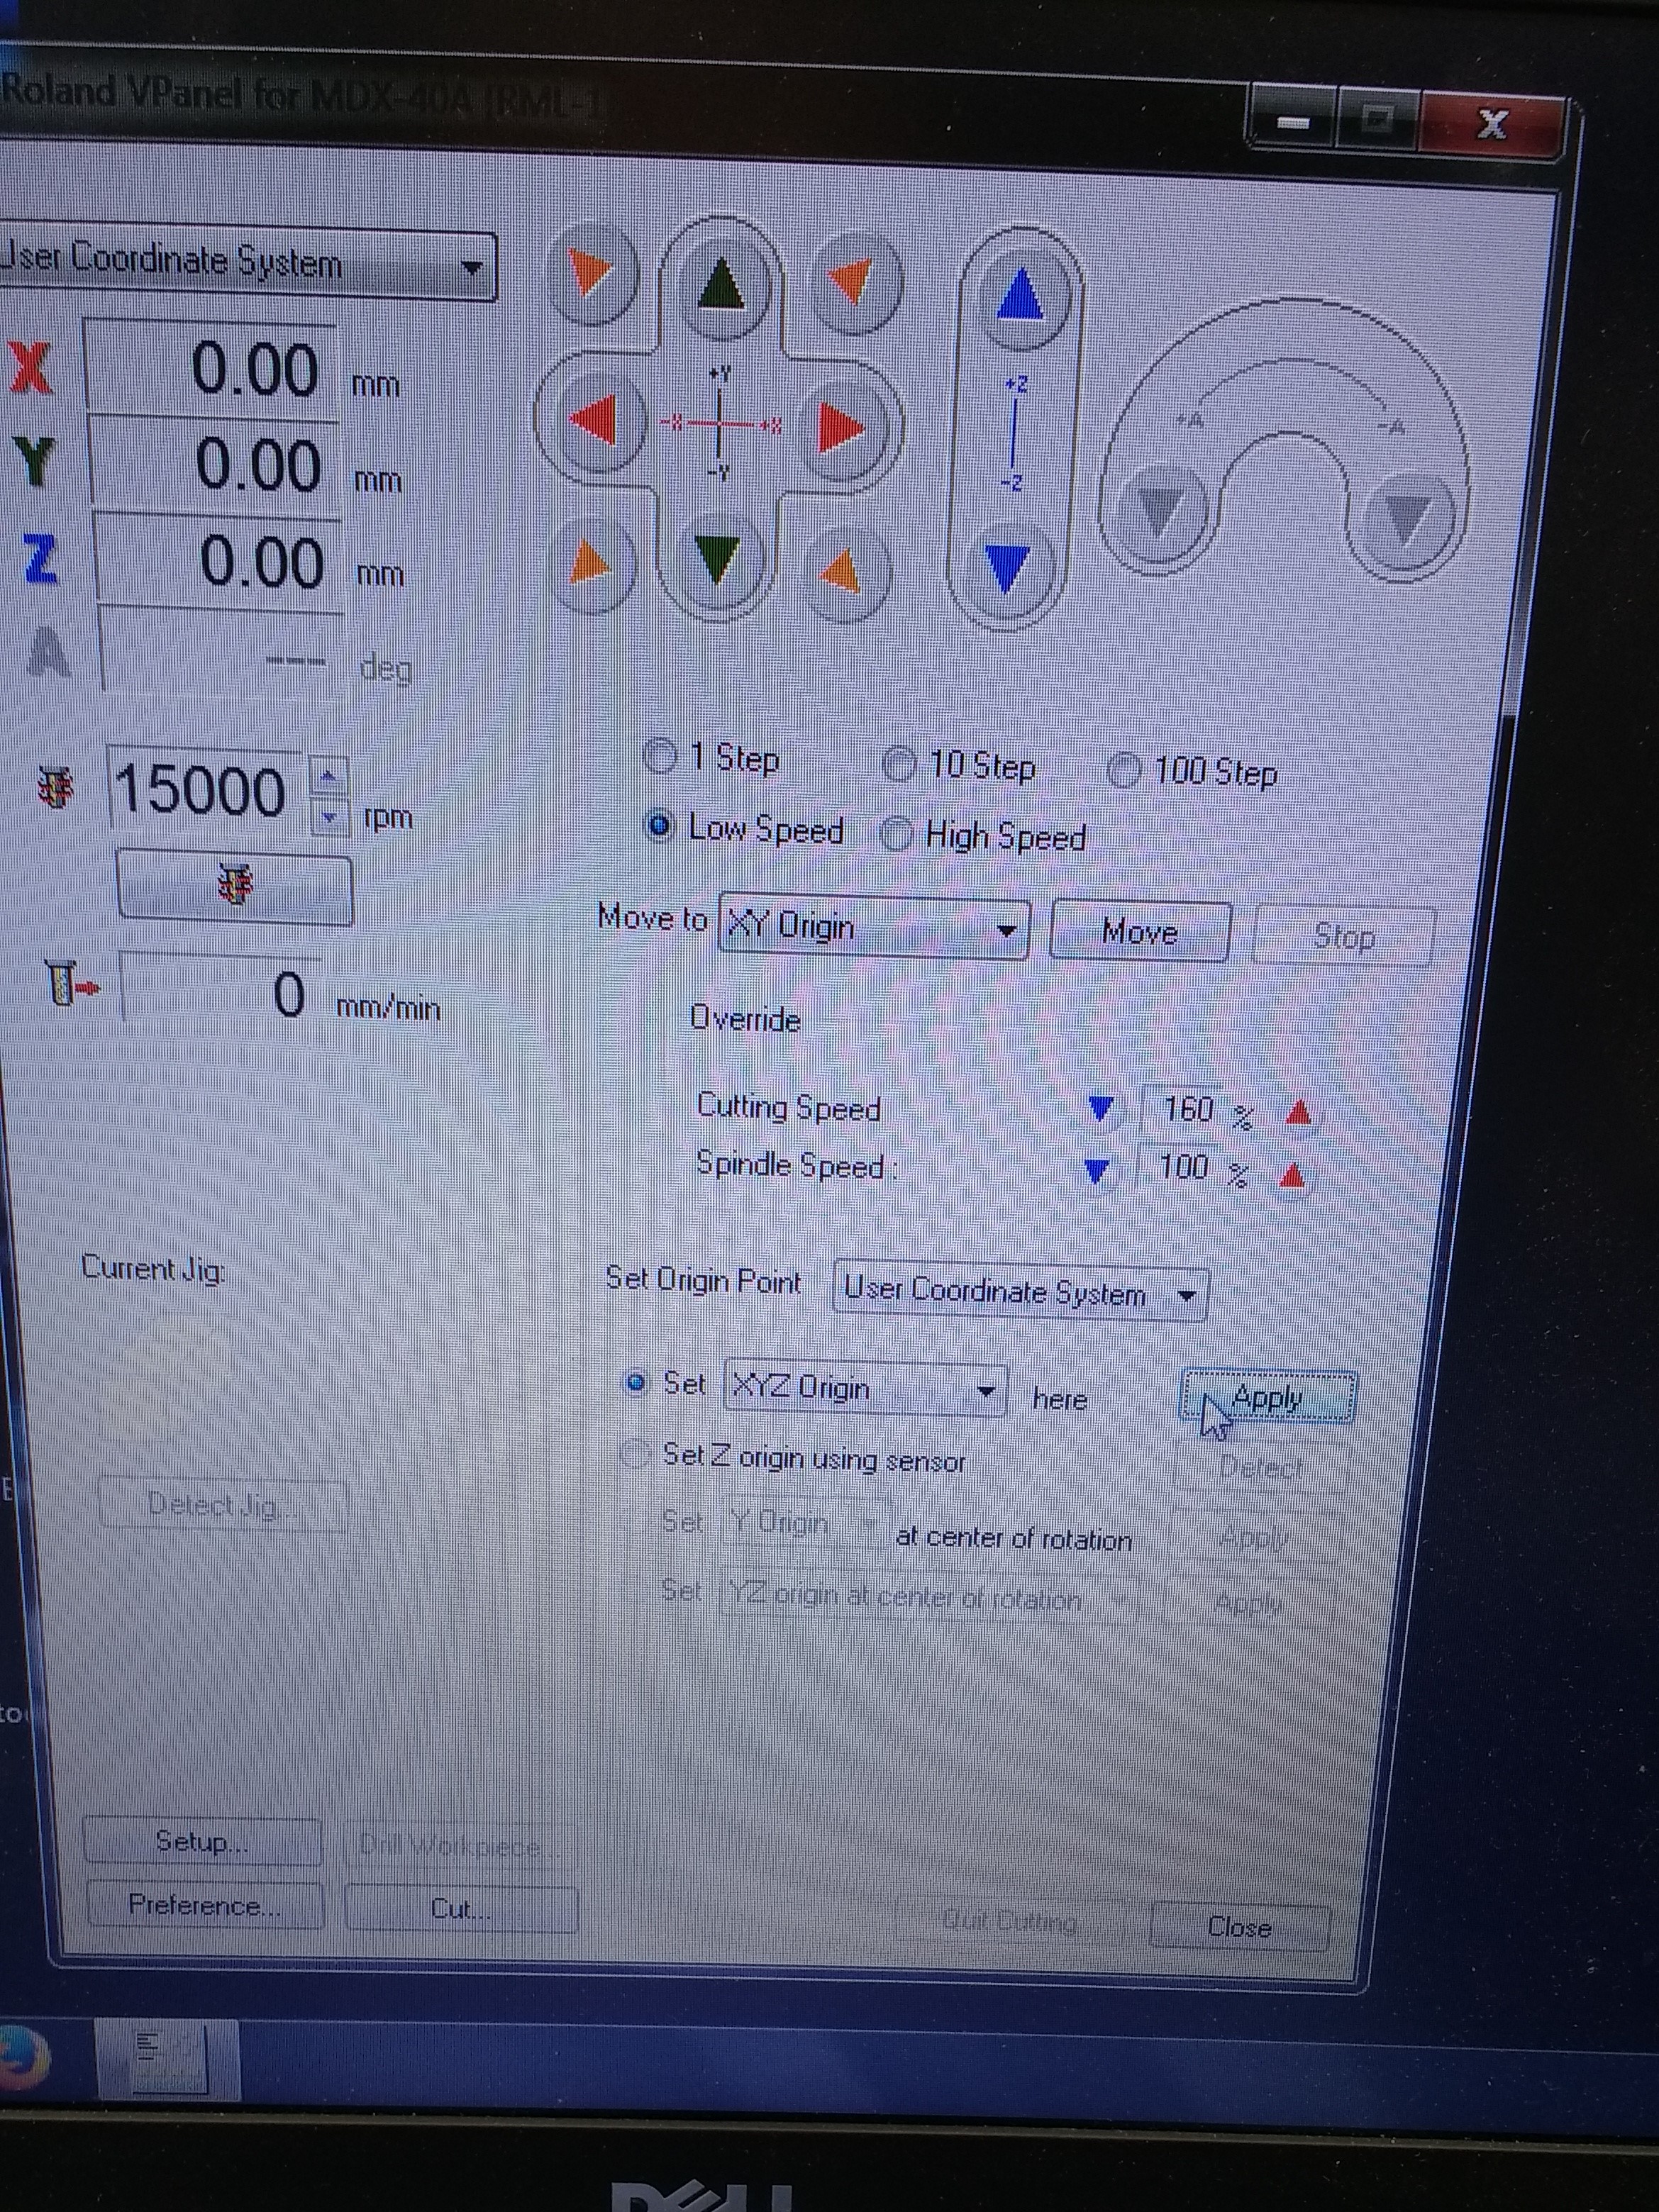
Lastly, I sent a data to the machine using Fusion360 itself. The materials that I used also has to be thick enough, I used this form. Using a two-sided tape, I placed and fixed the materials into a milling machine, and set the origin. And at the end milling machine started to work!
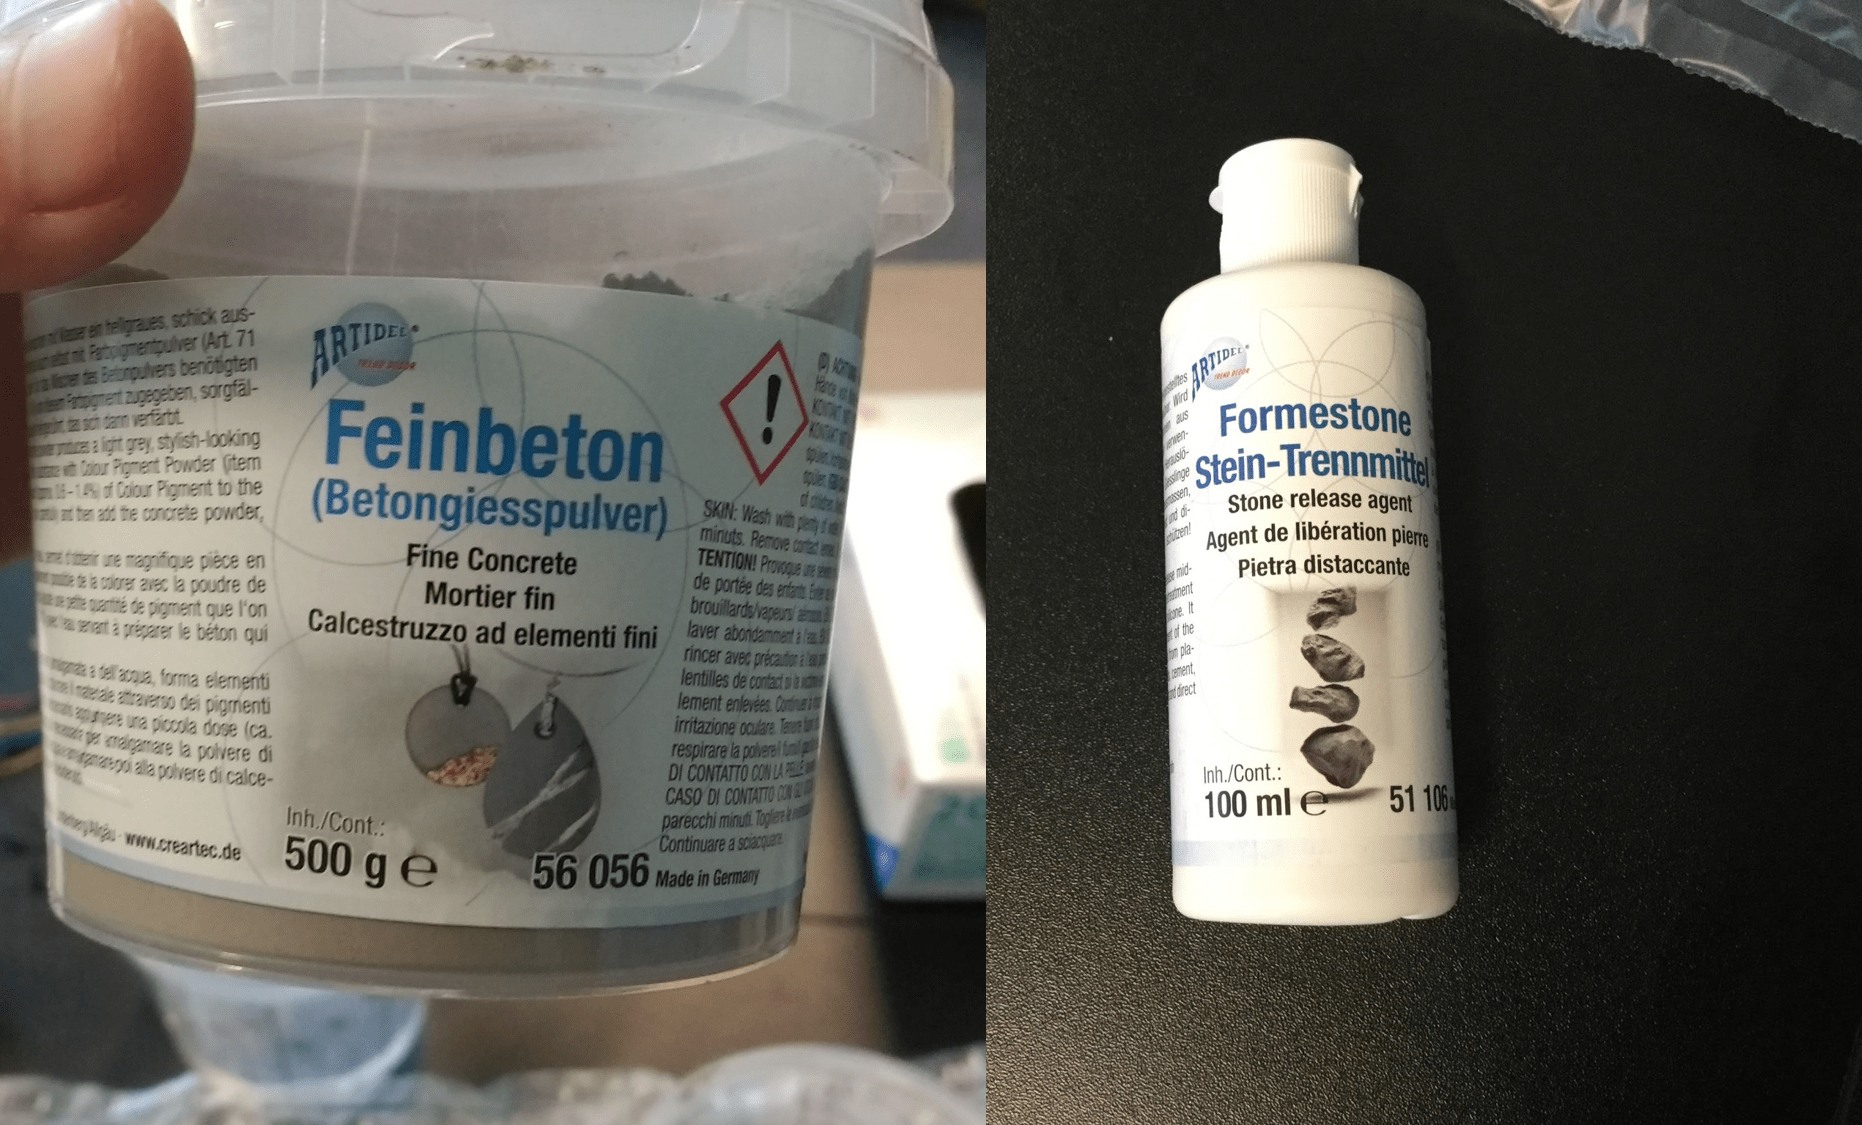
Casting with the Concrete
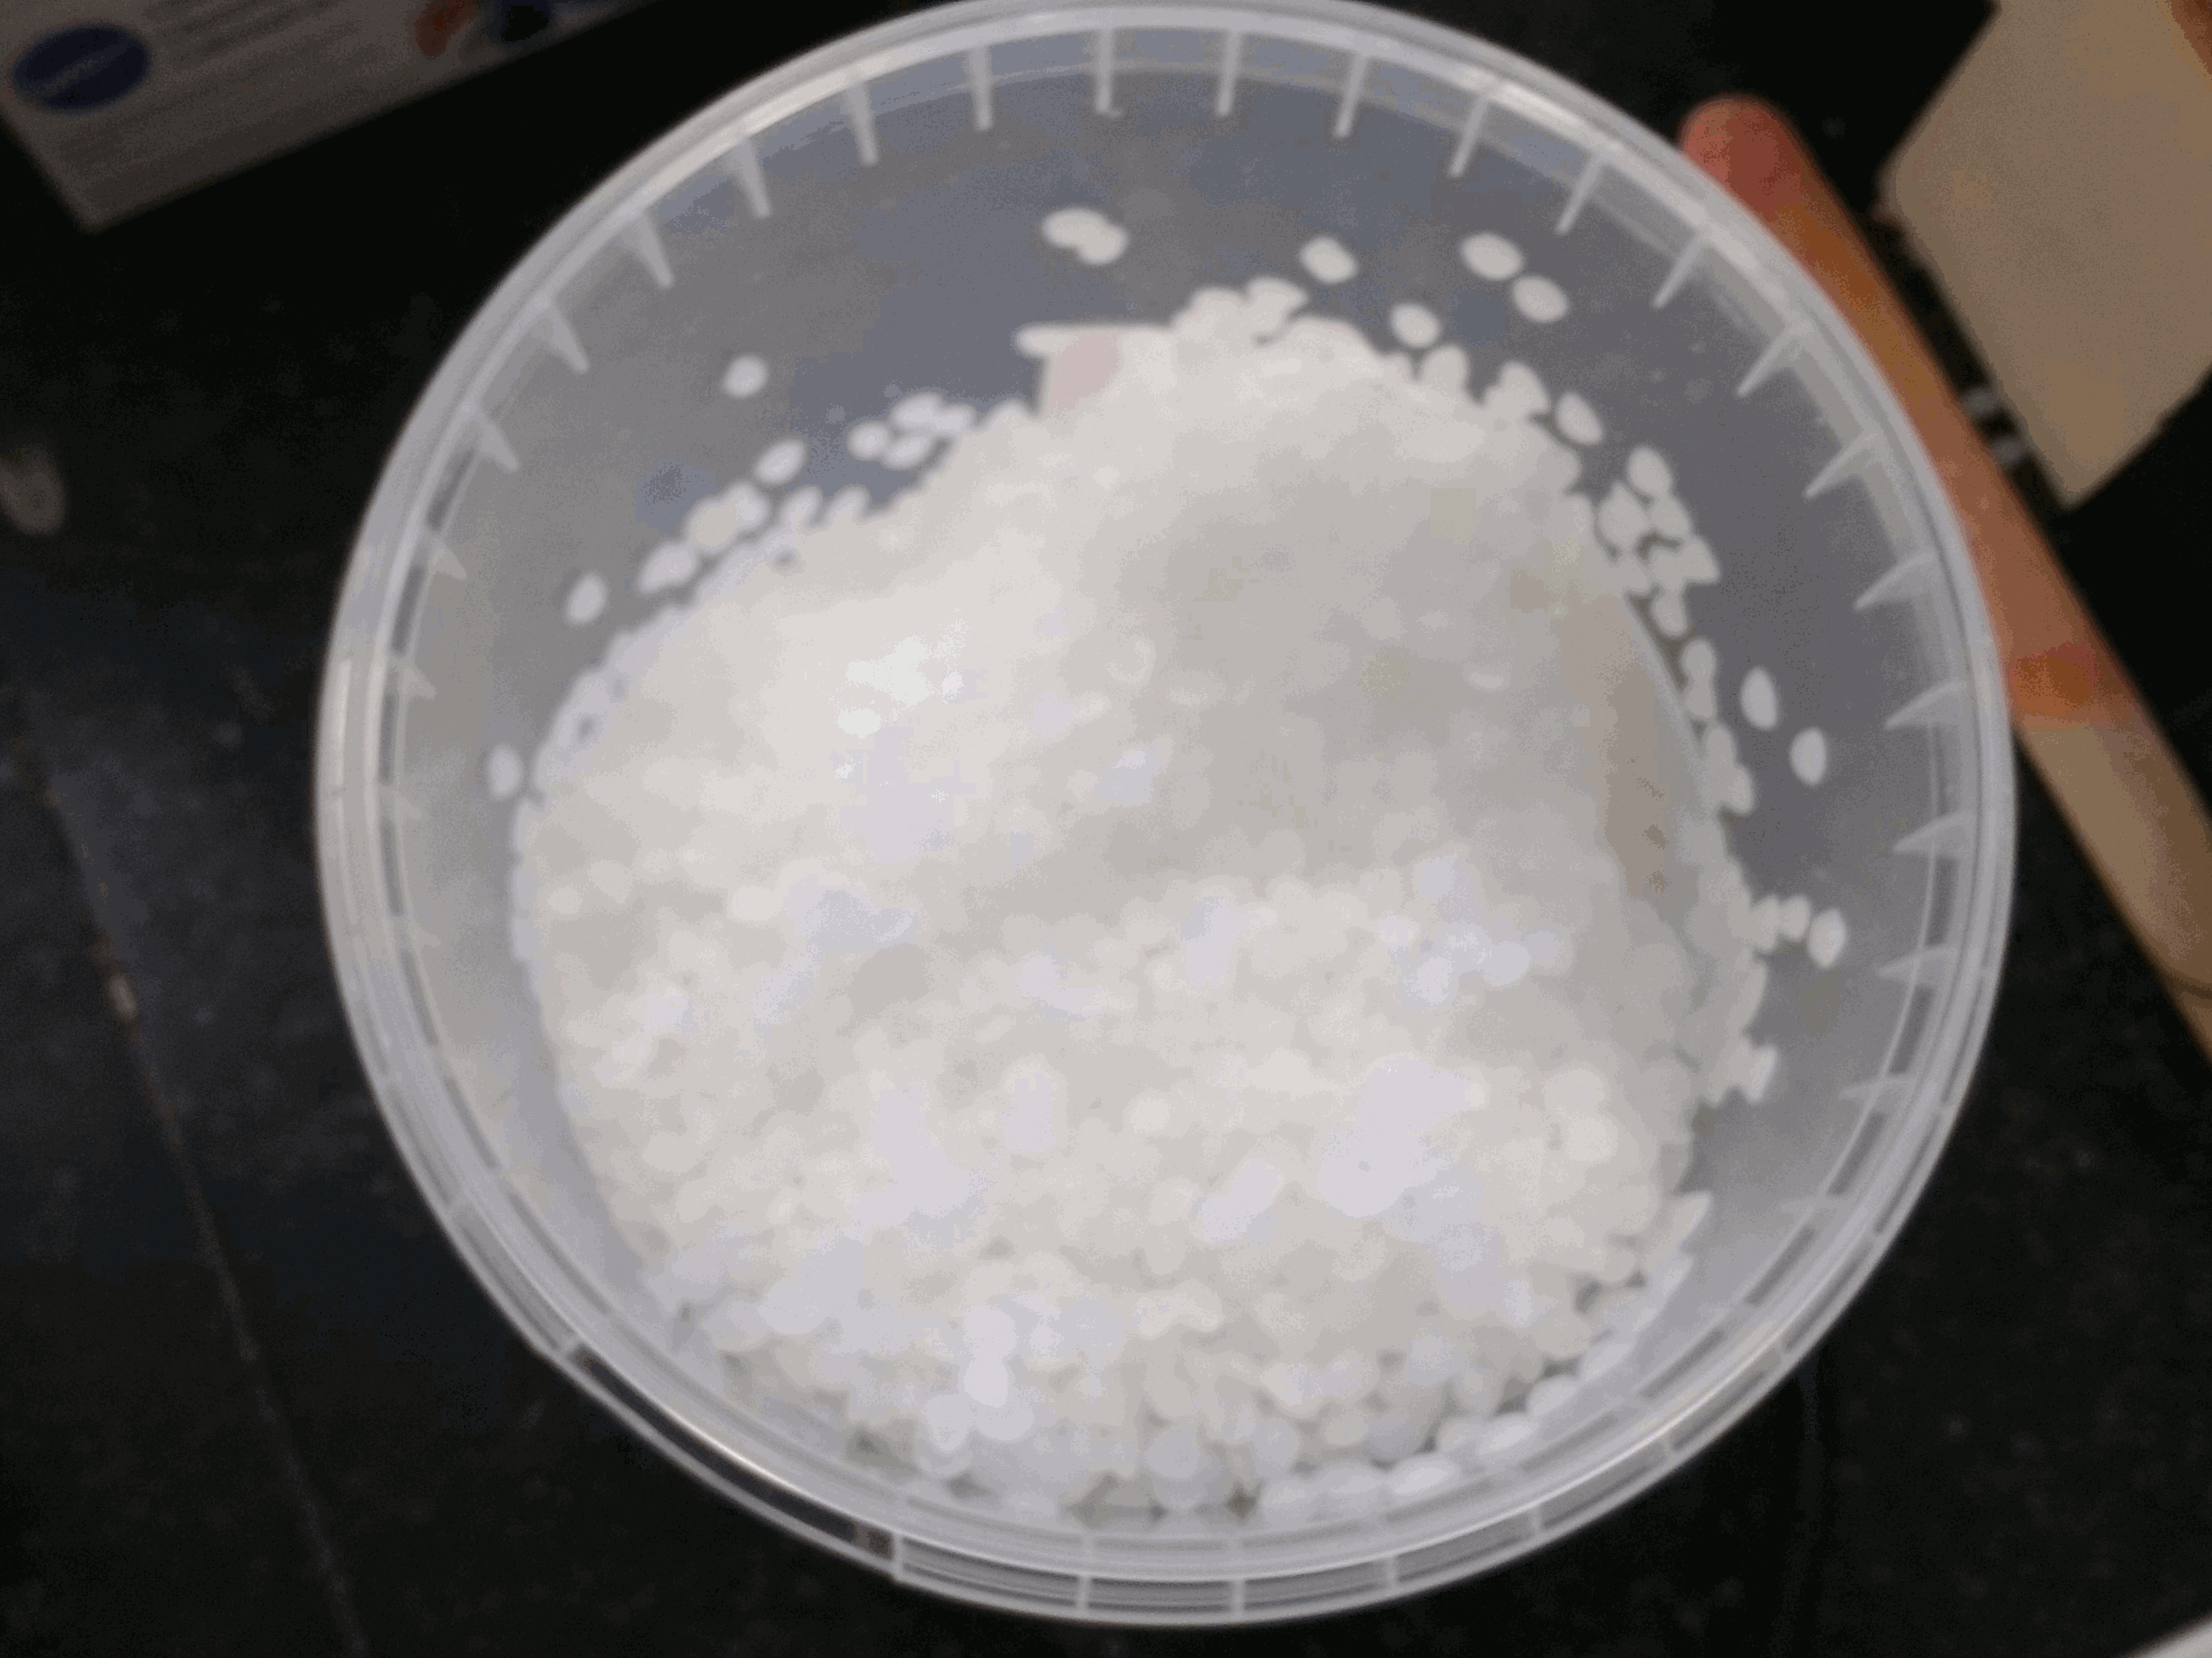
So my initial aim was to try different casting materials. I first tried with concrete of two types -
they were different in terms of fineness of the particles.
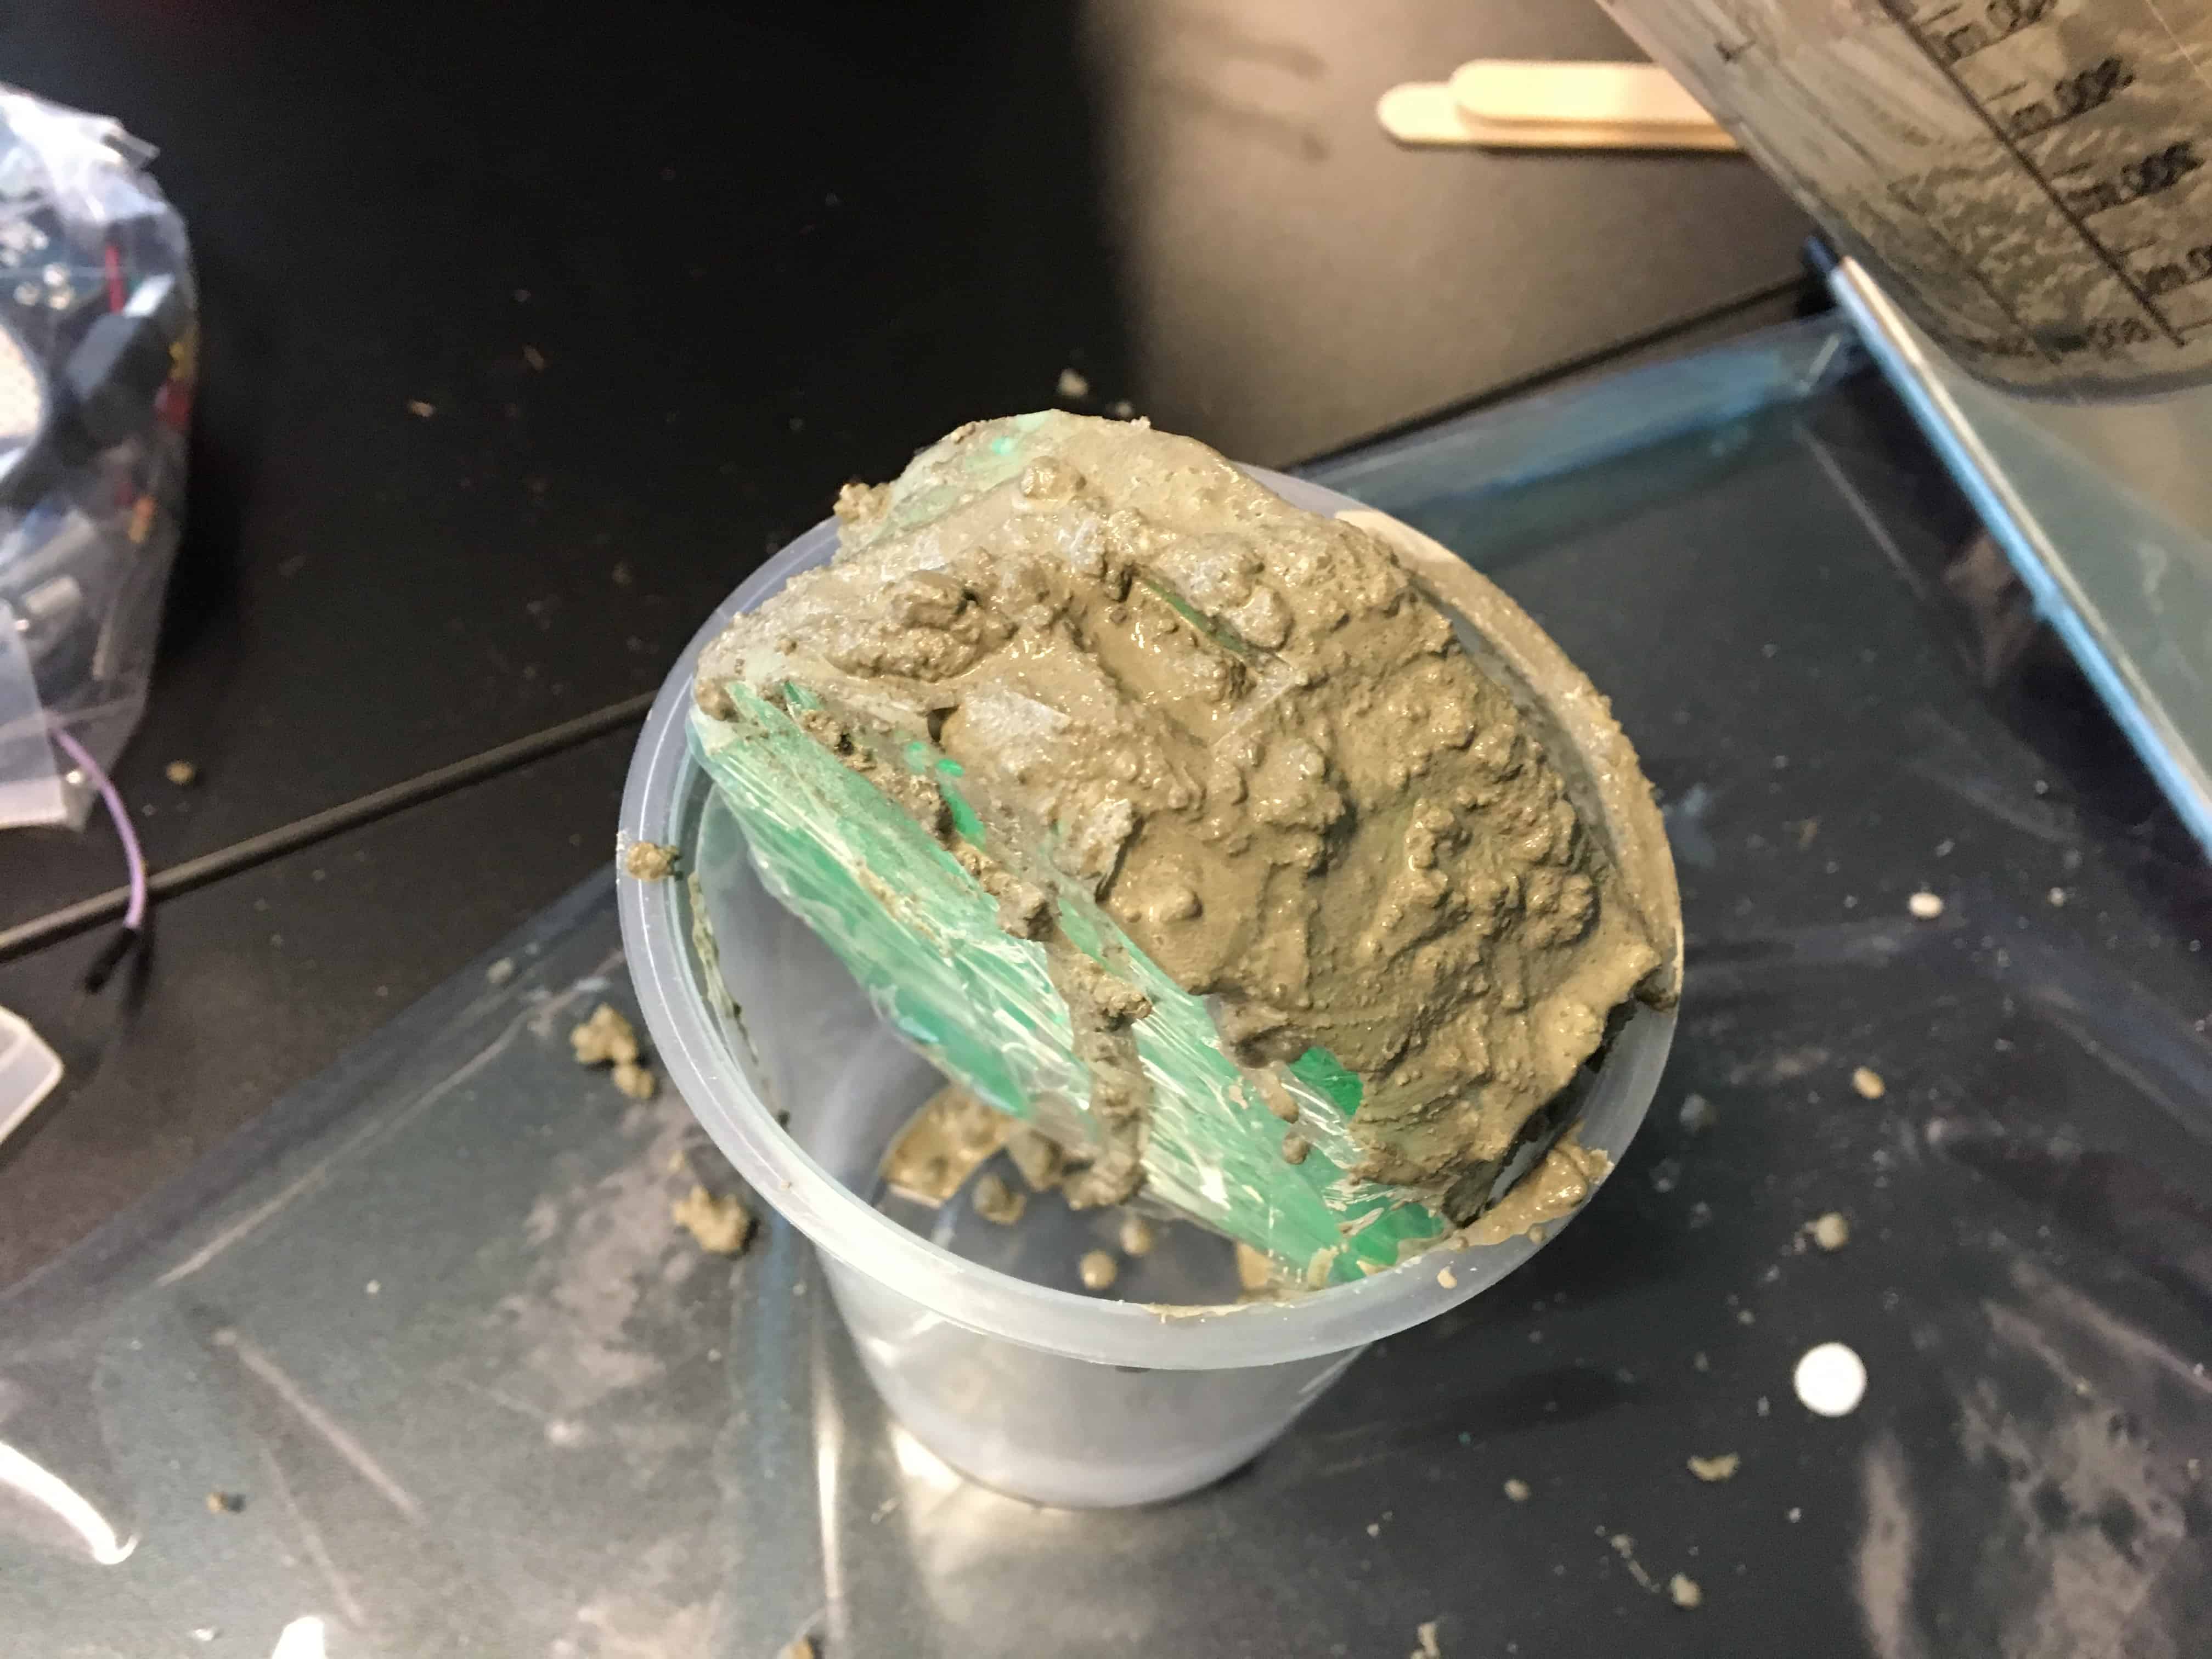
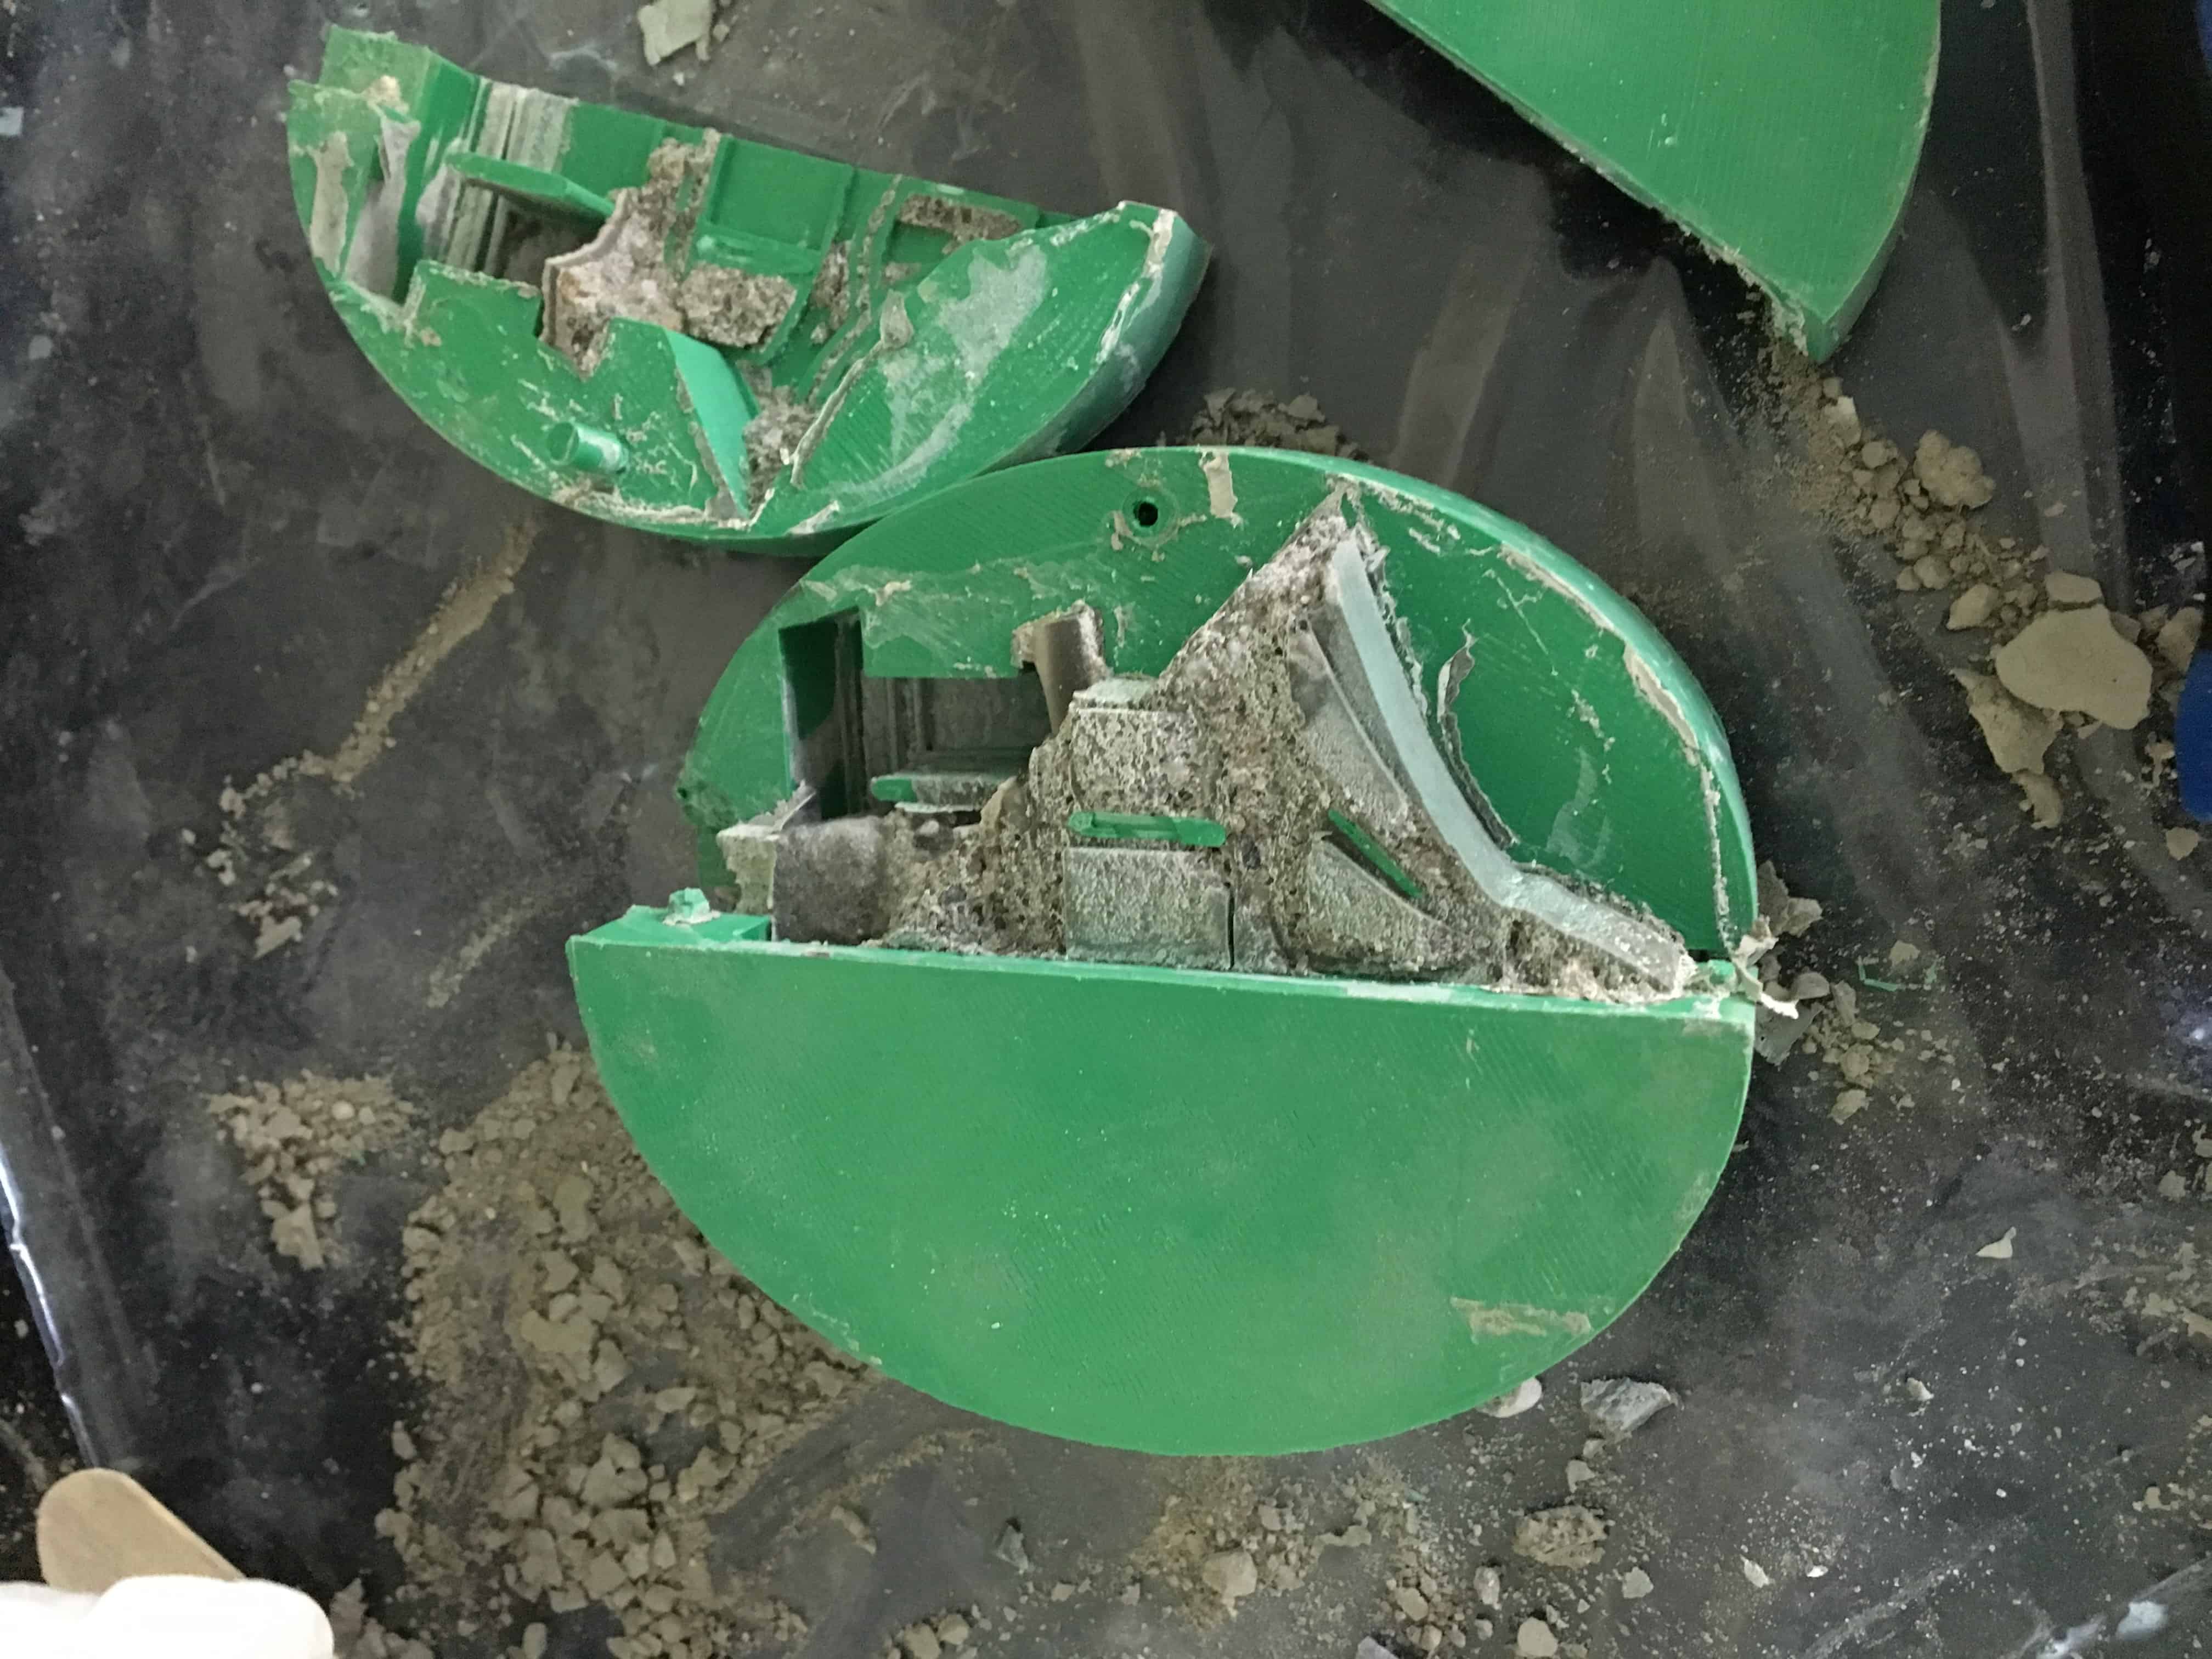
First, when I tried with the rough one with 3d printed mold, I found out it didn't even pour enough
into the small opening of the mold. Also, I noticed it sticks to the 3d printed mold.
So I tried the combination of fine concrete with again 3d printed mold with the larger opening. I
also put some chemicals before pouring concrete into the 3d printed mold so that I could easily
separate them when it gets hardened.
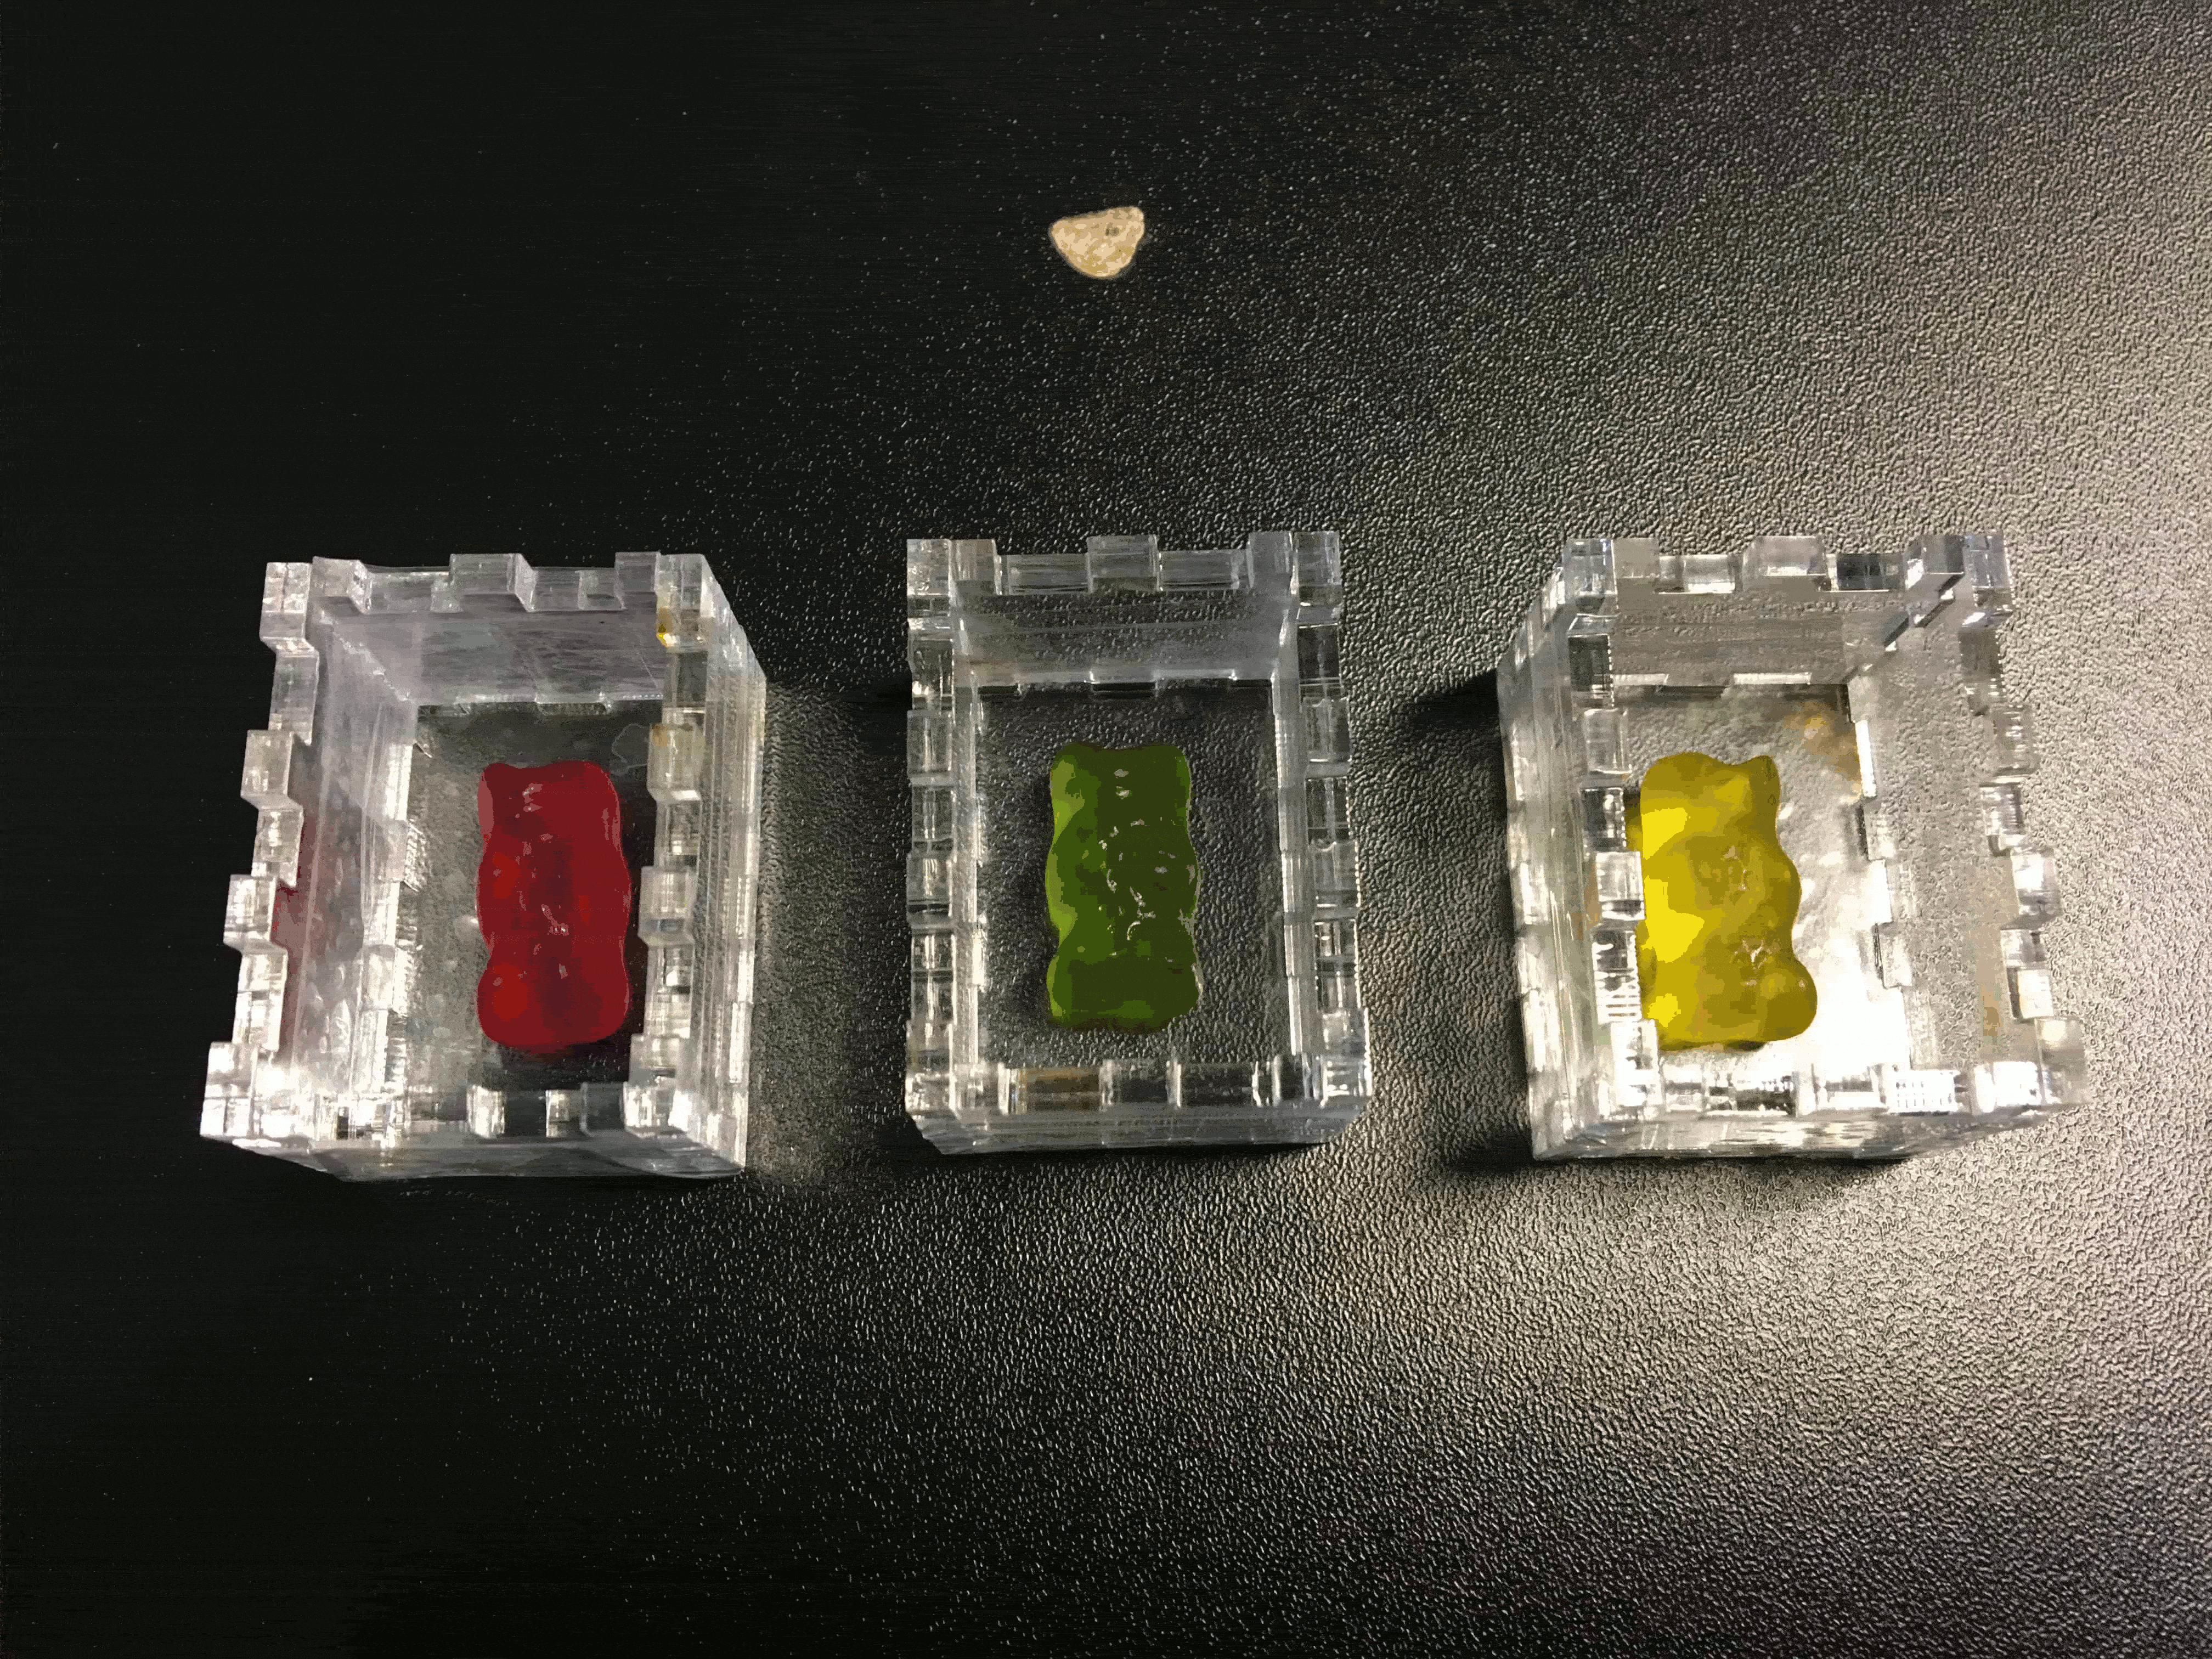
Also, I tried with Haribo silicone mold, which we made early as a group (as a testing for 3 step
casting; starting from the object you make a mold and get the cast from the mold).
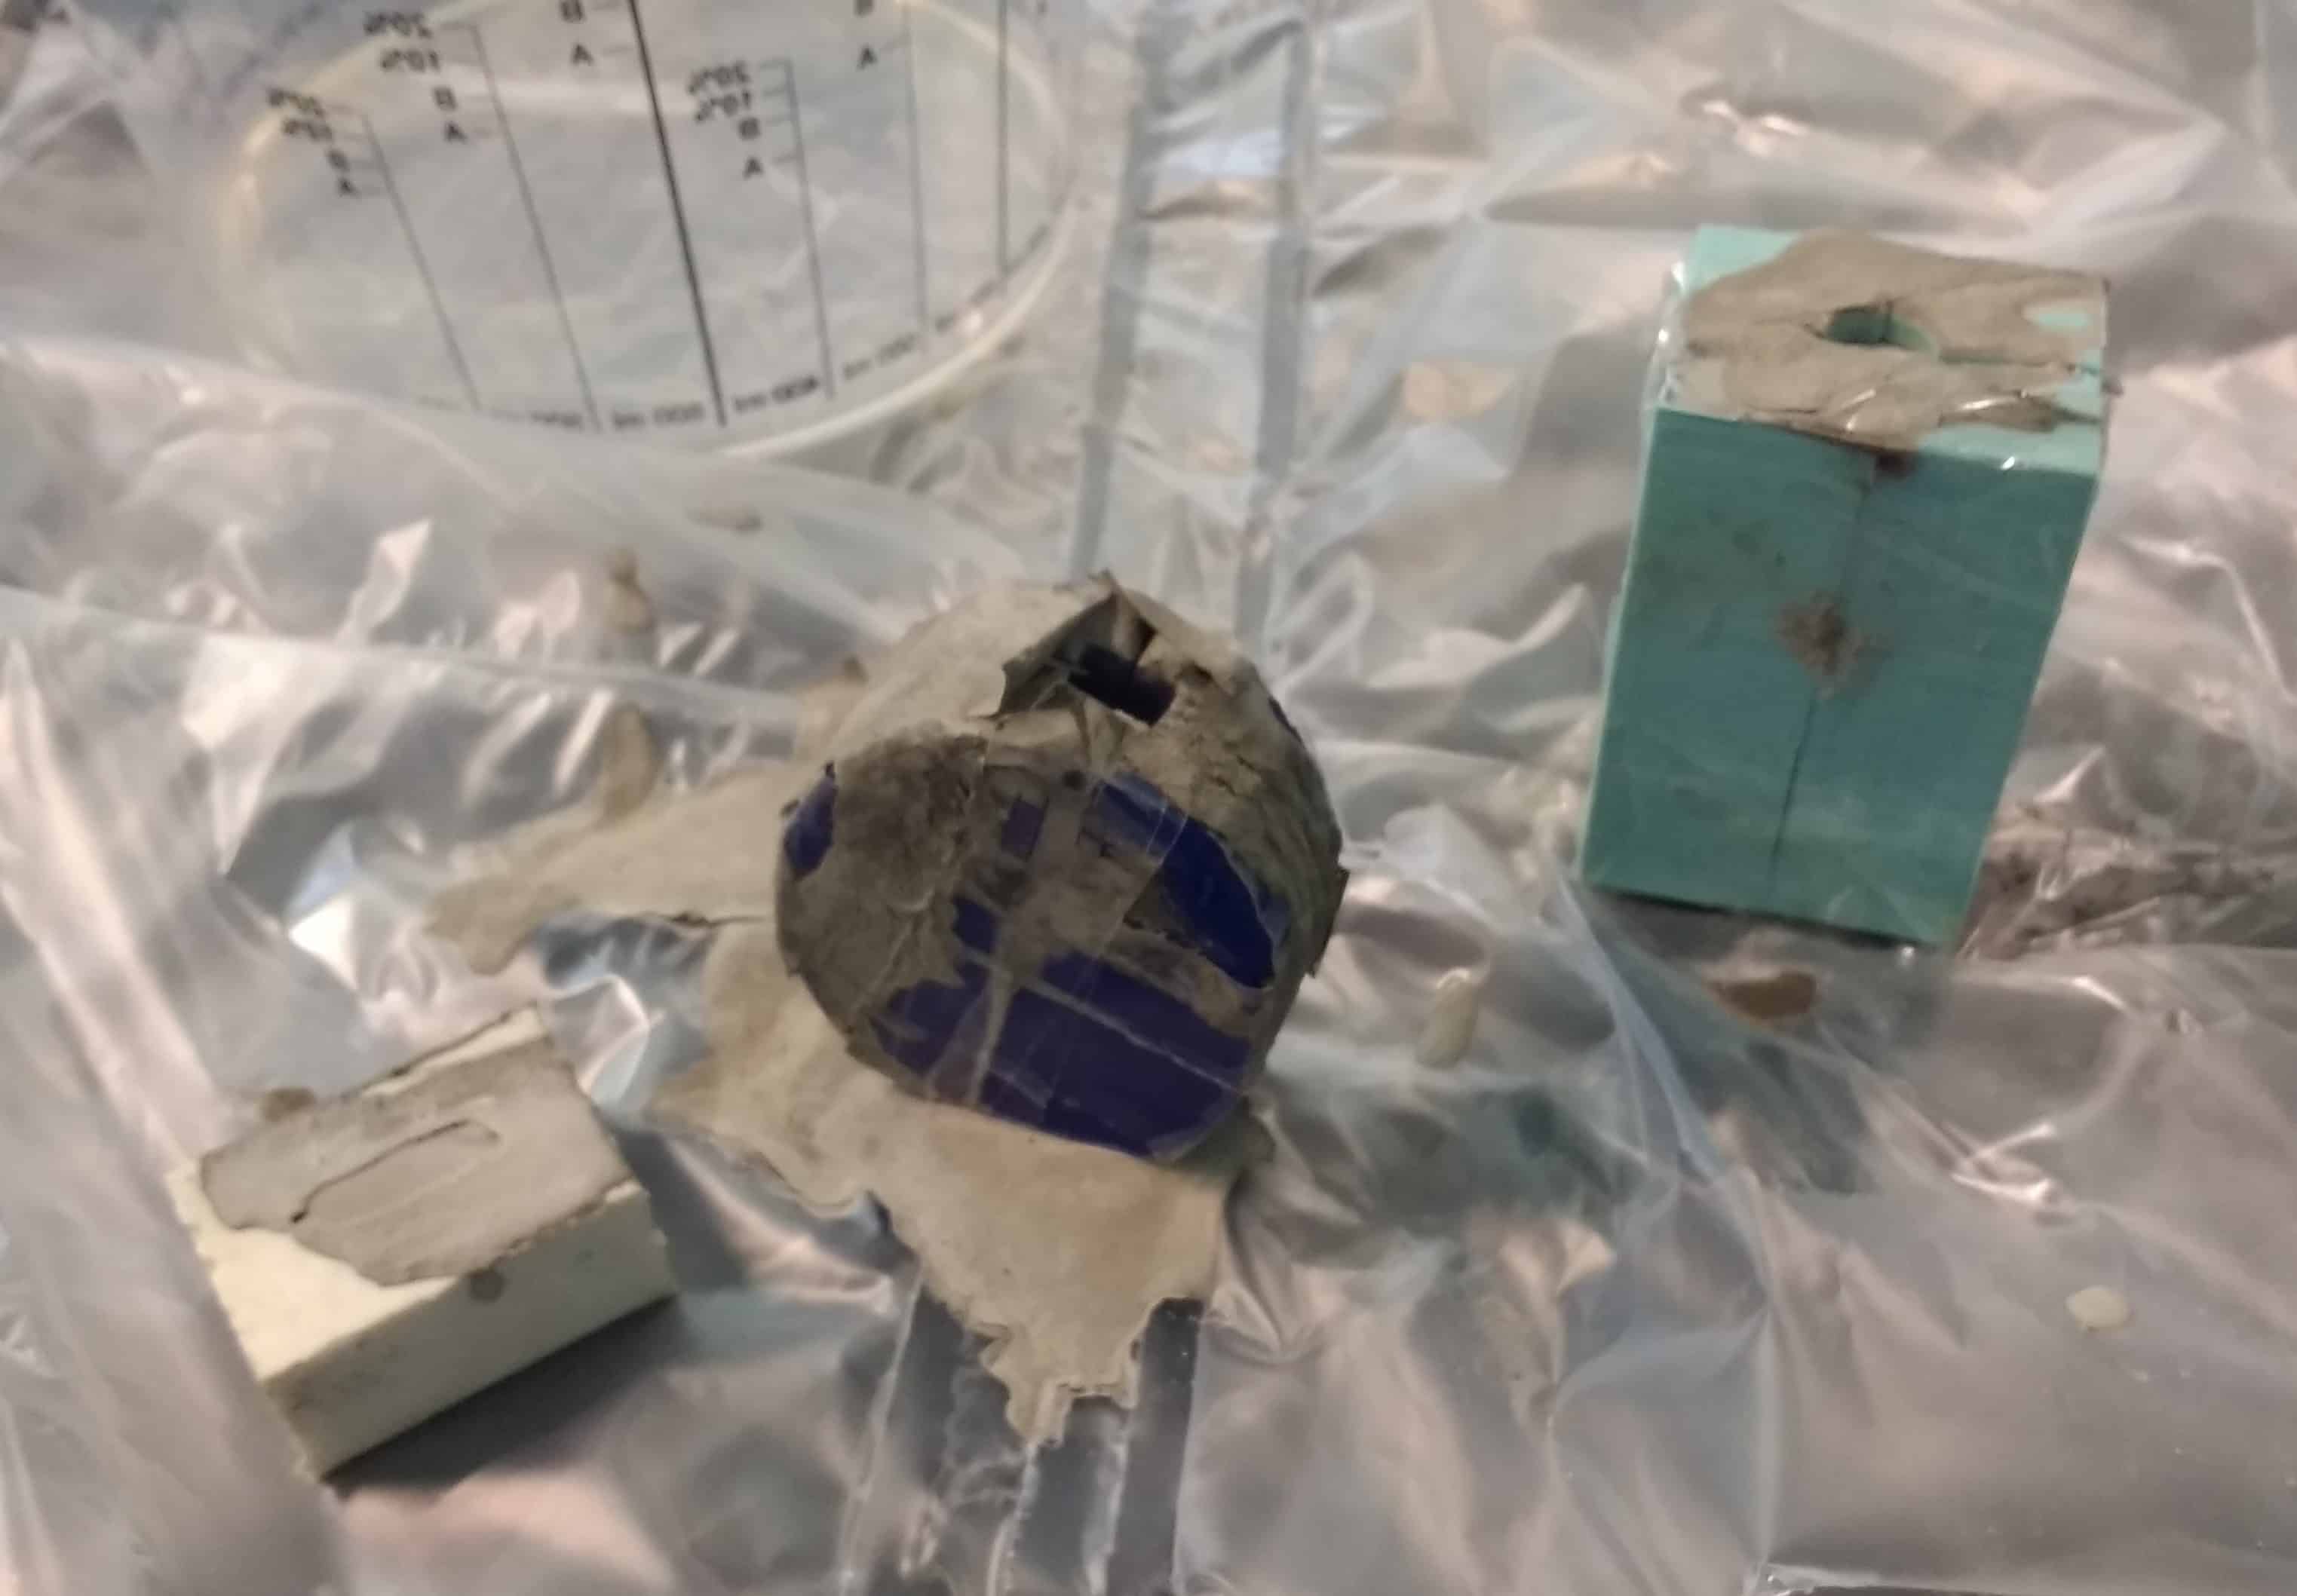
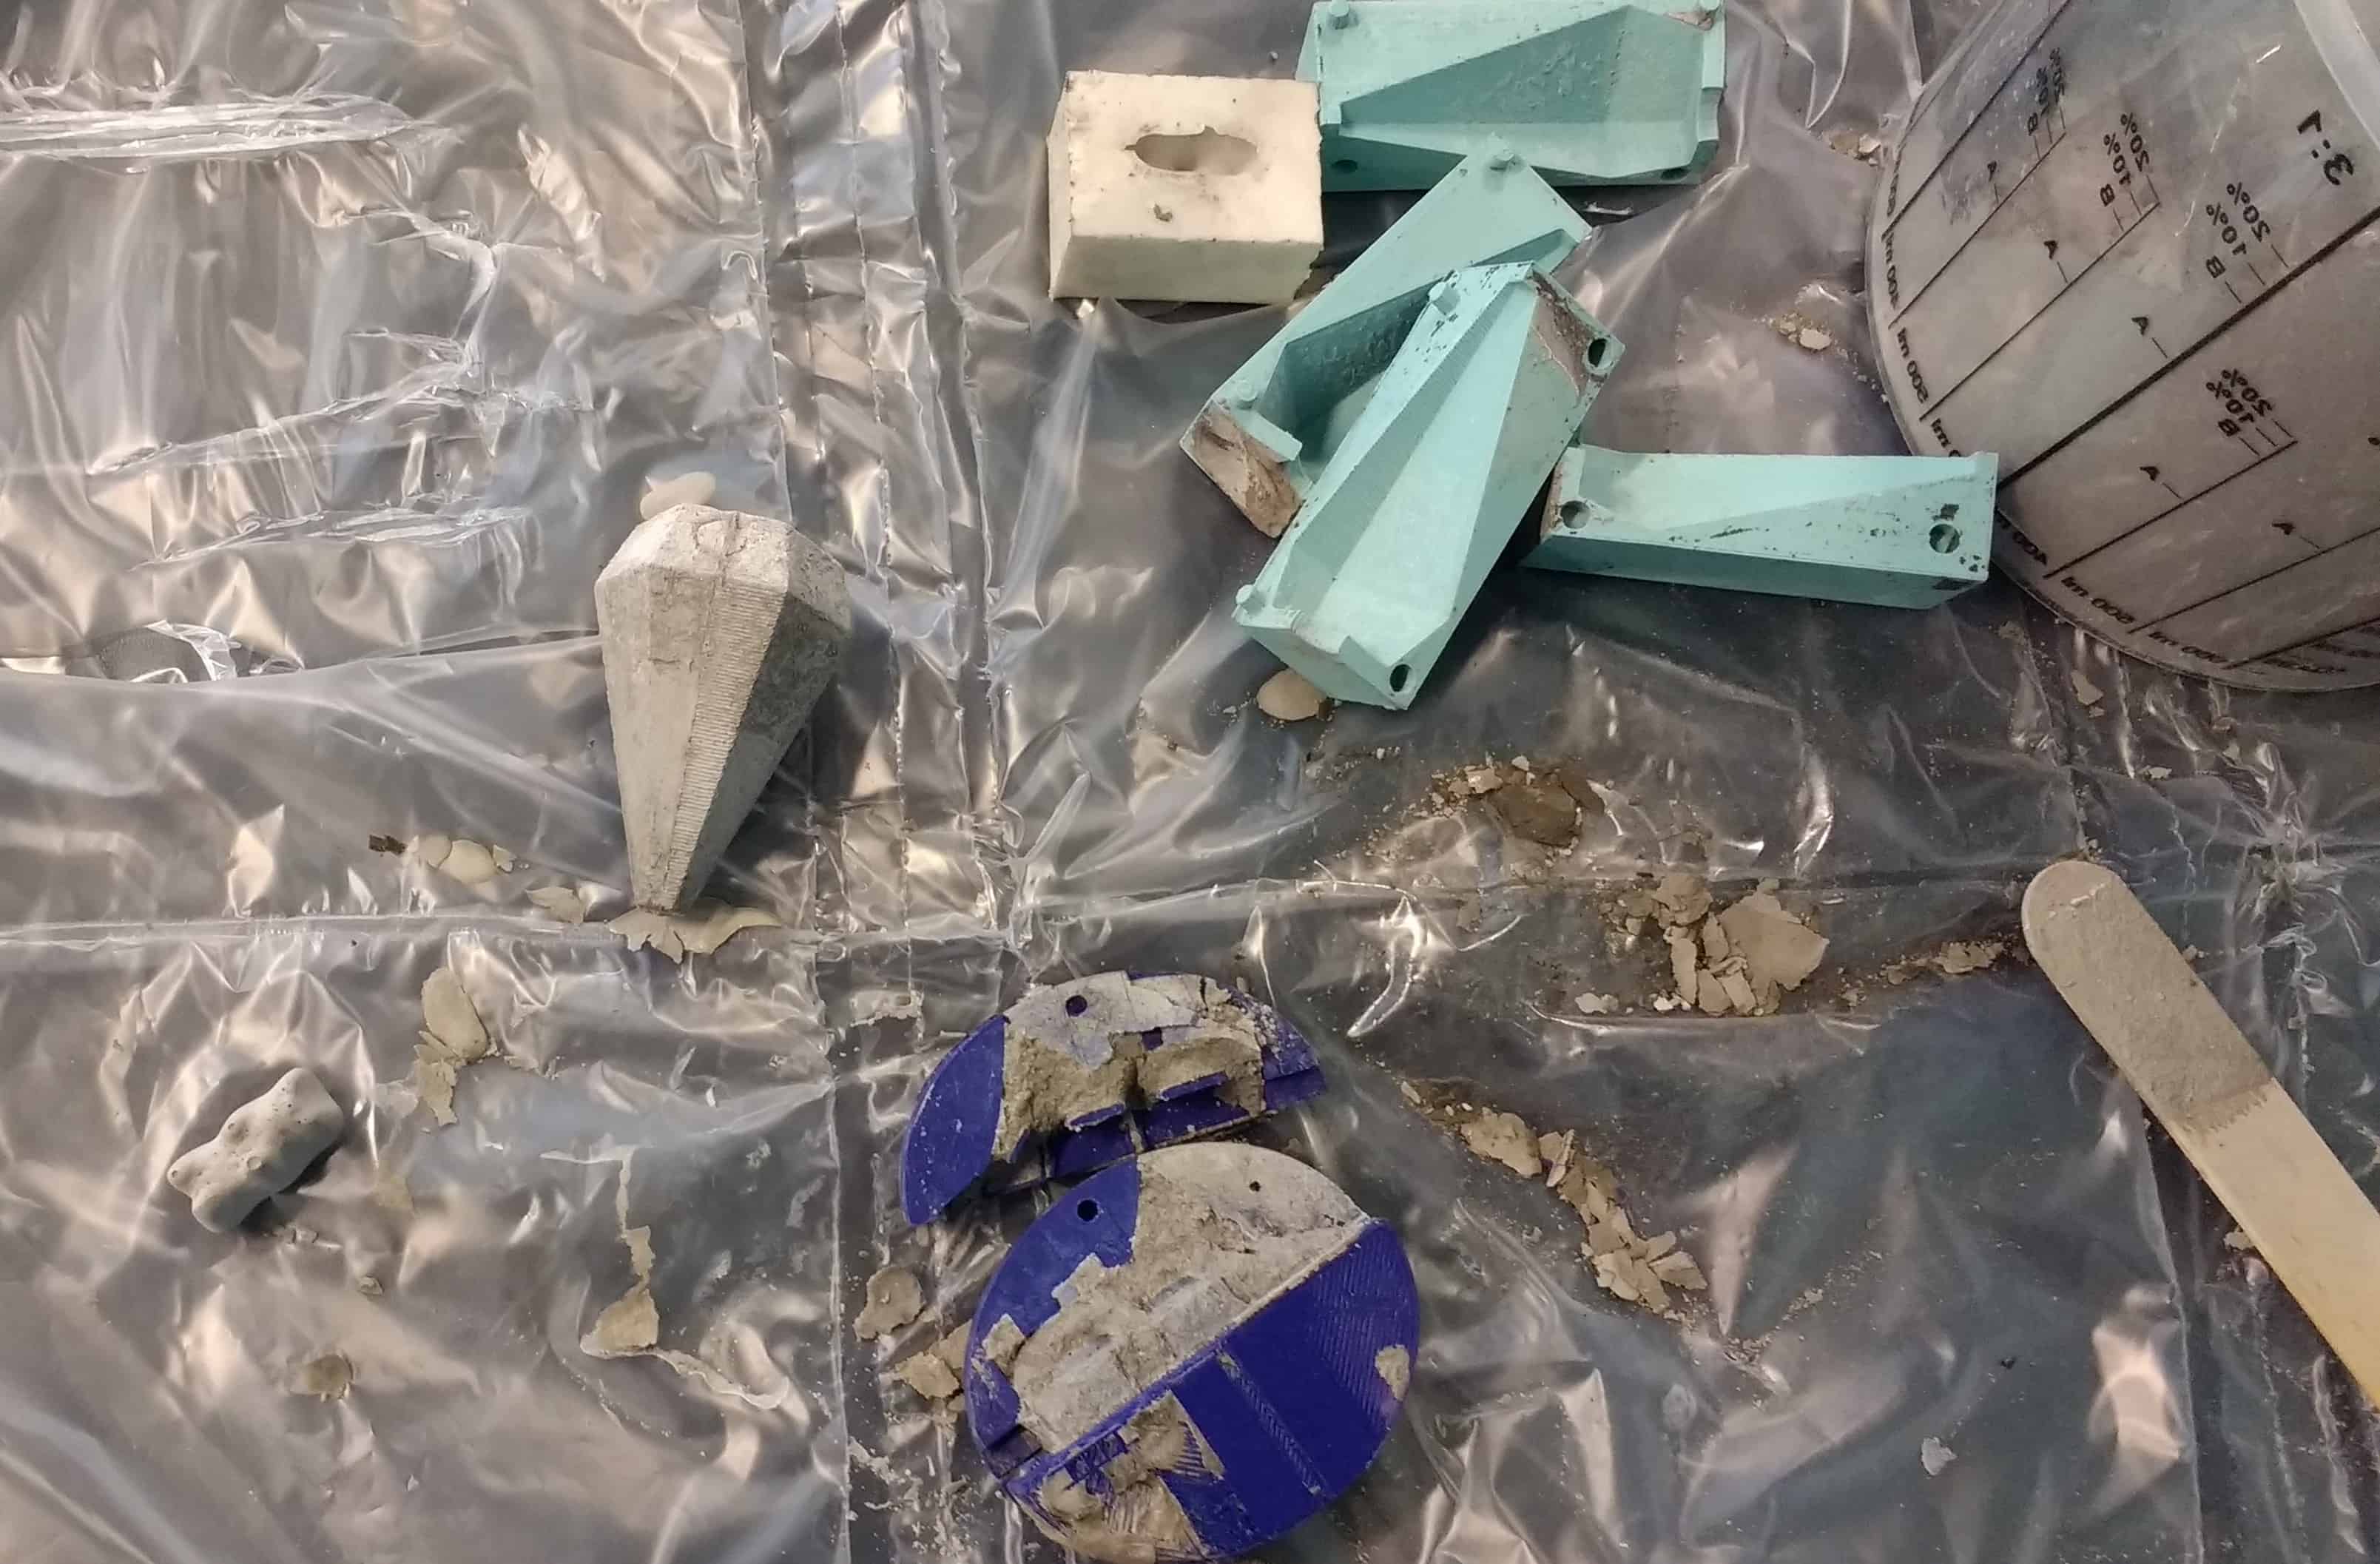
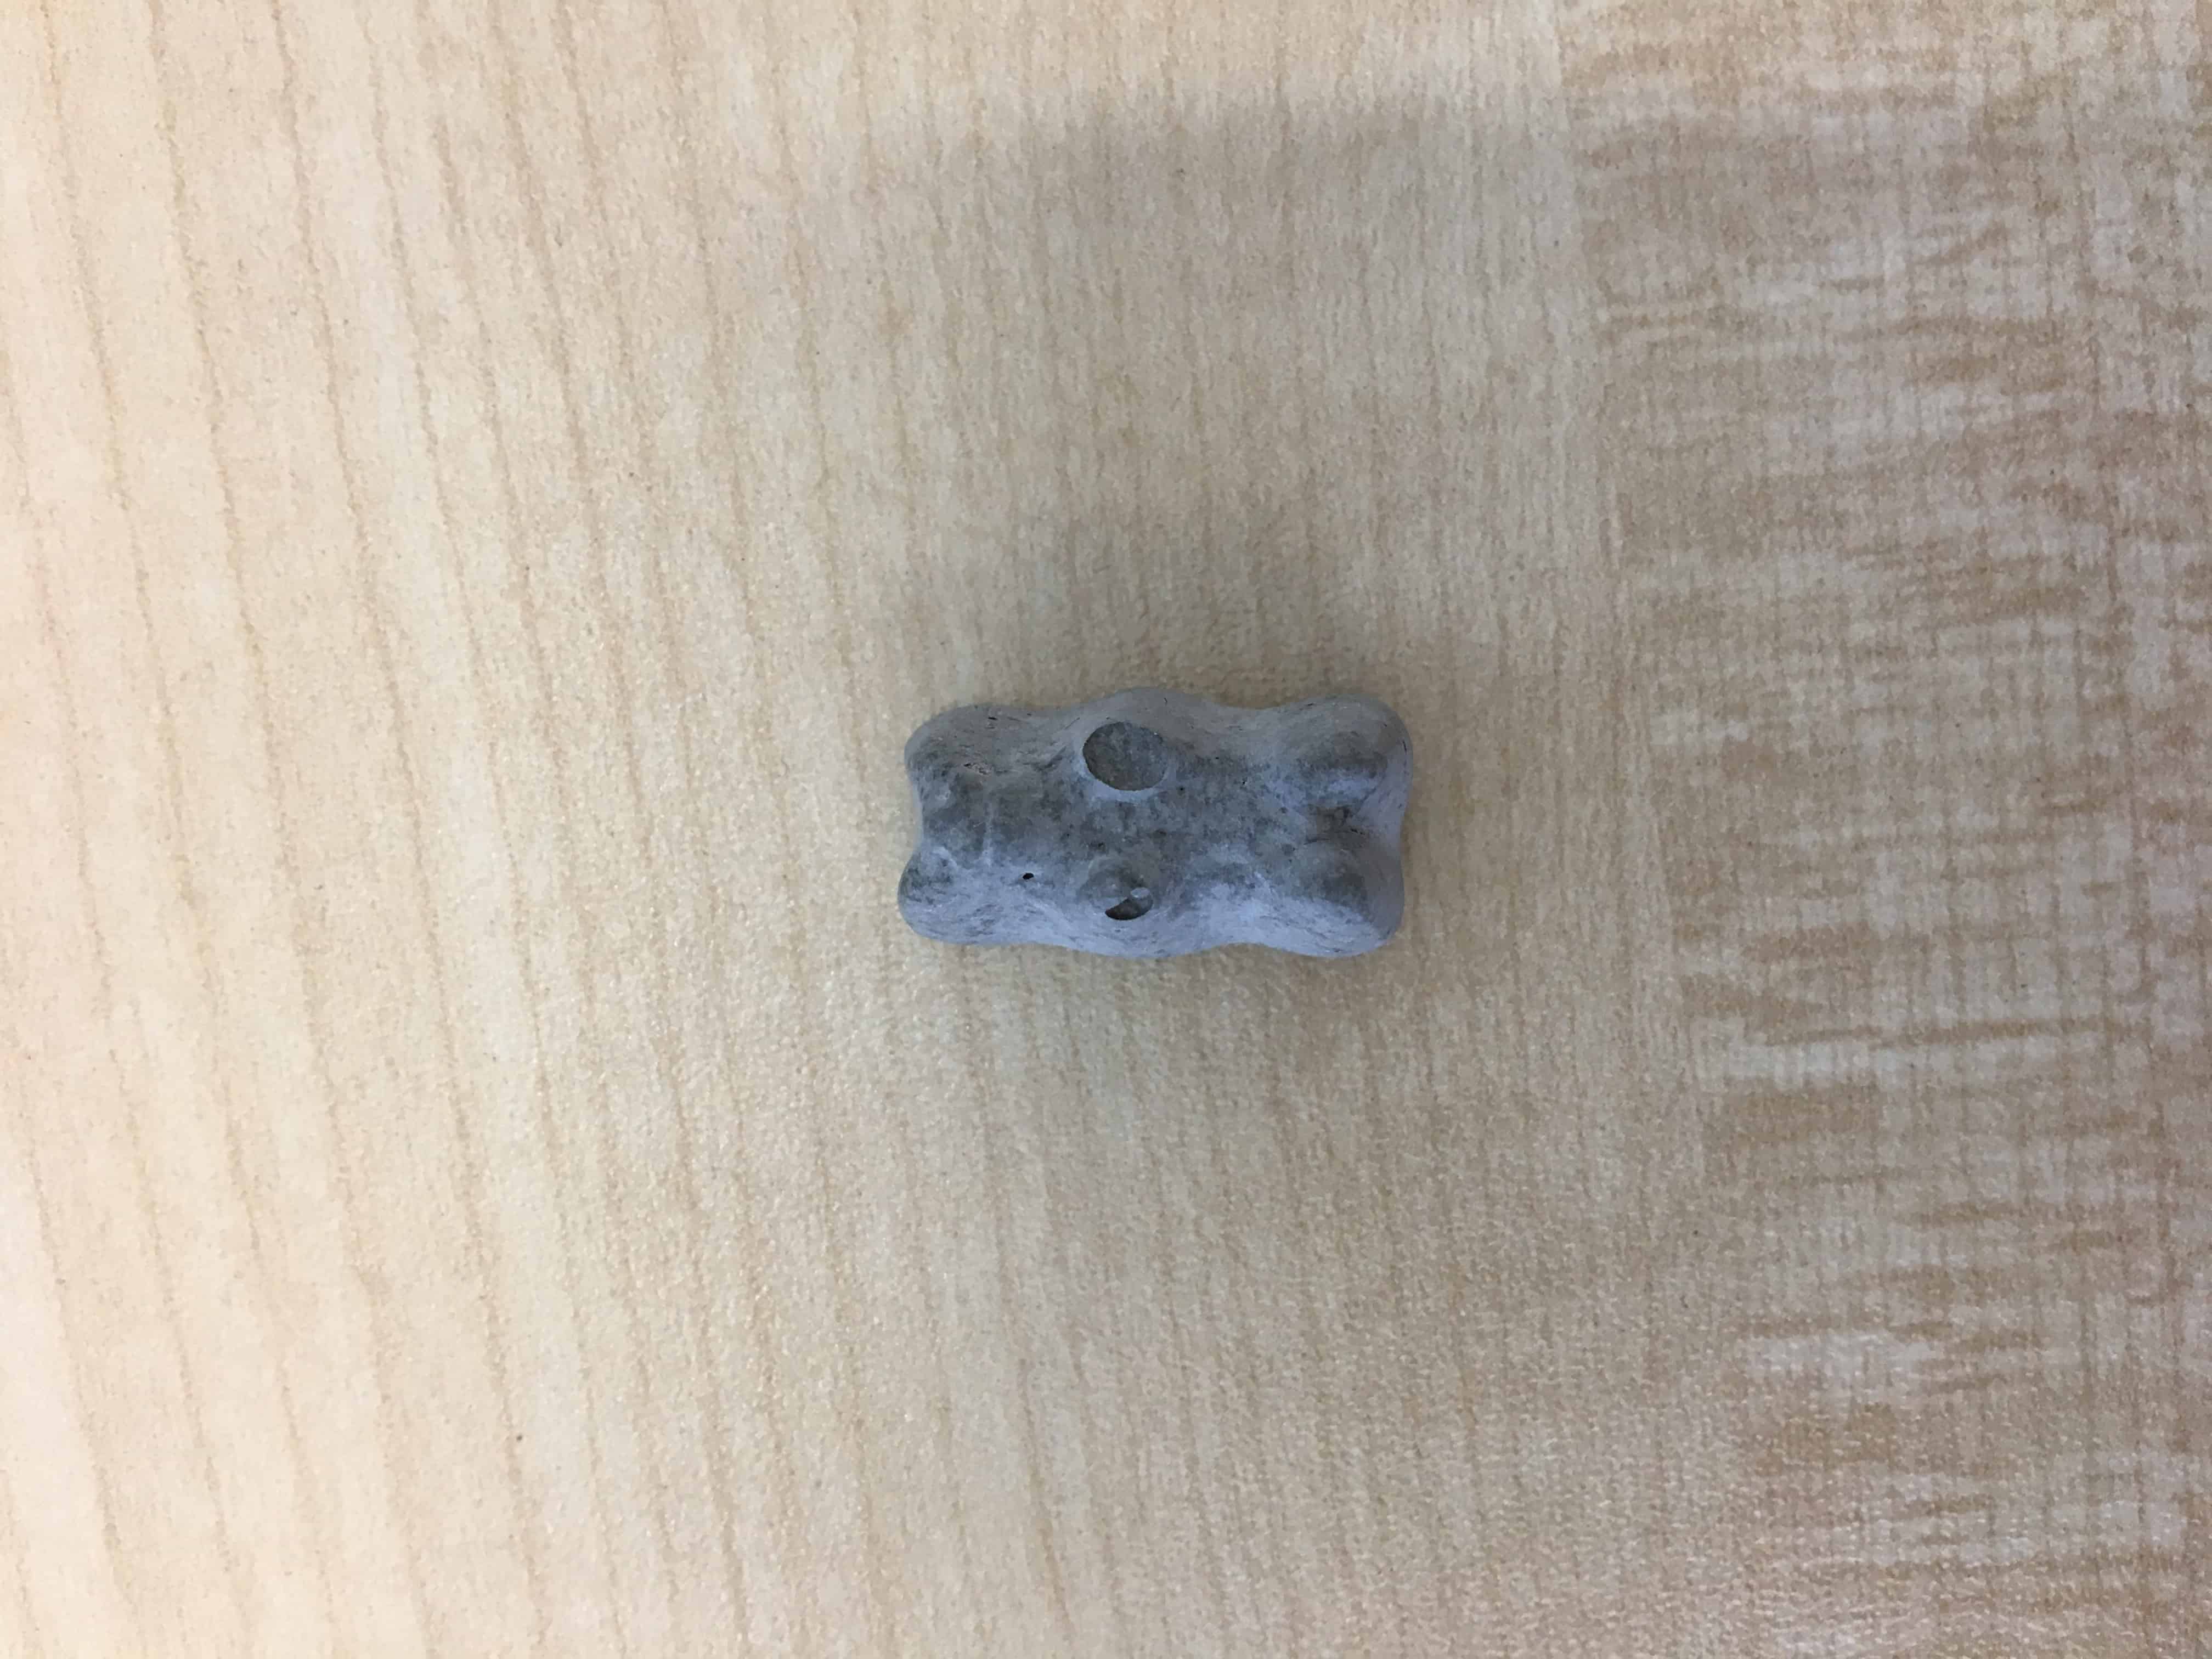
The result was, as you can see from pictures below, only Haribo got survived! I was unable to
separate mold and solidified concrete. Presumably, the match between 3dprinting materials and
concrete are not well suited despite the use of an antifriction agent.
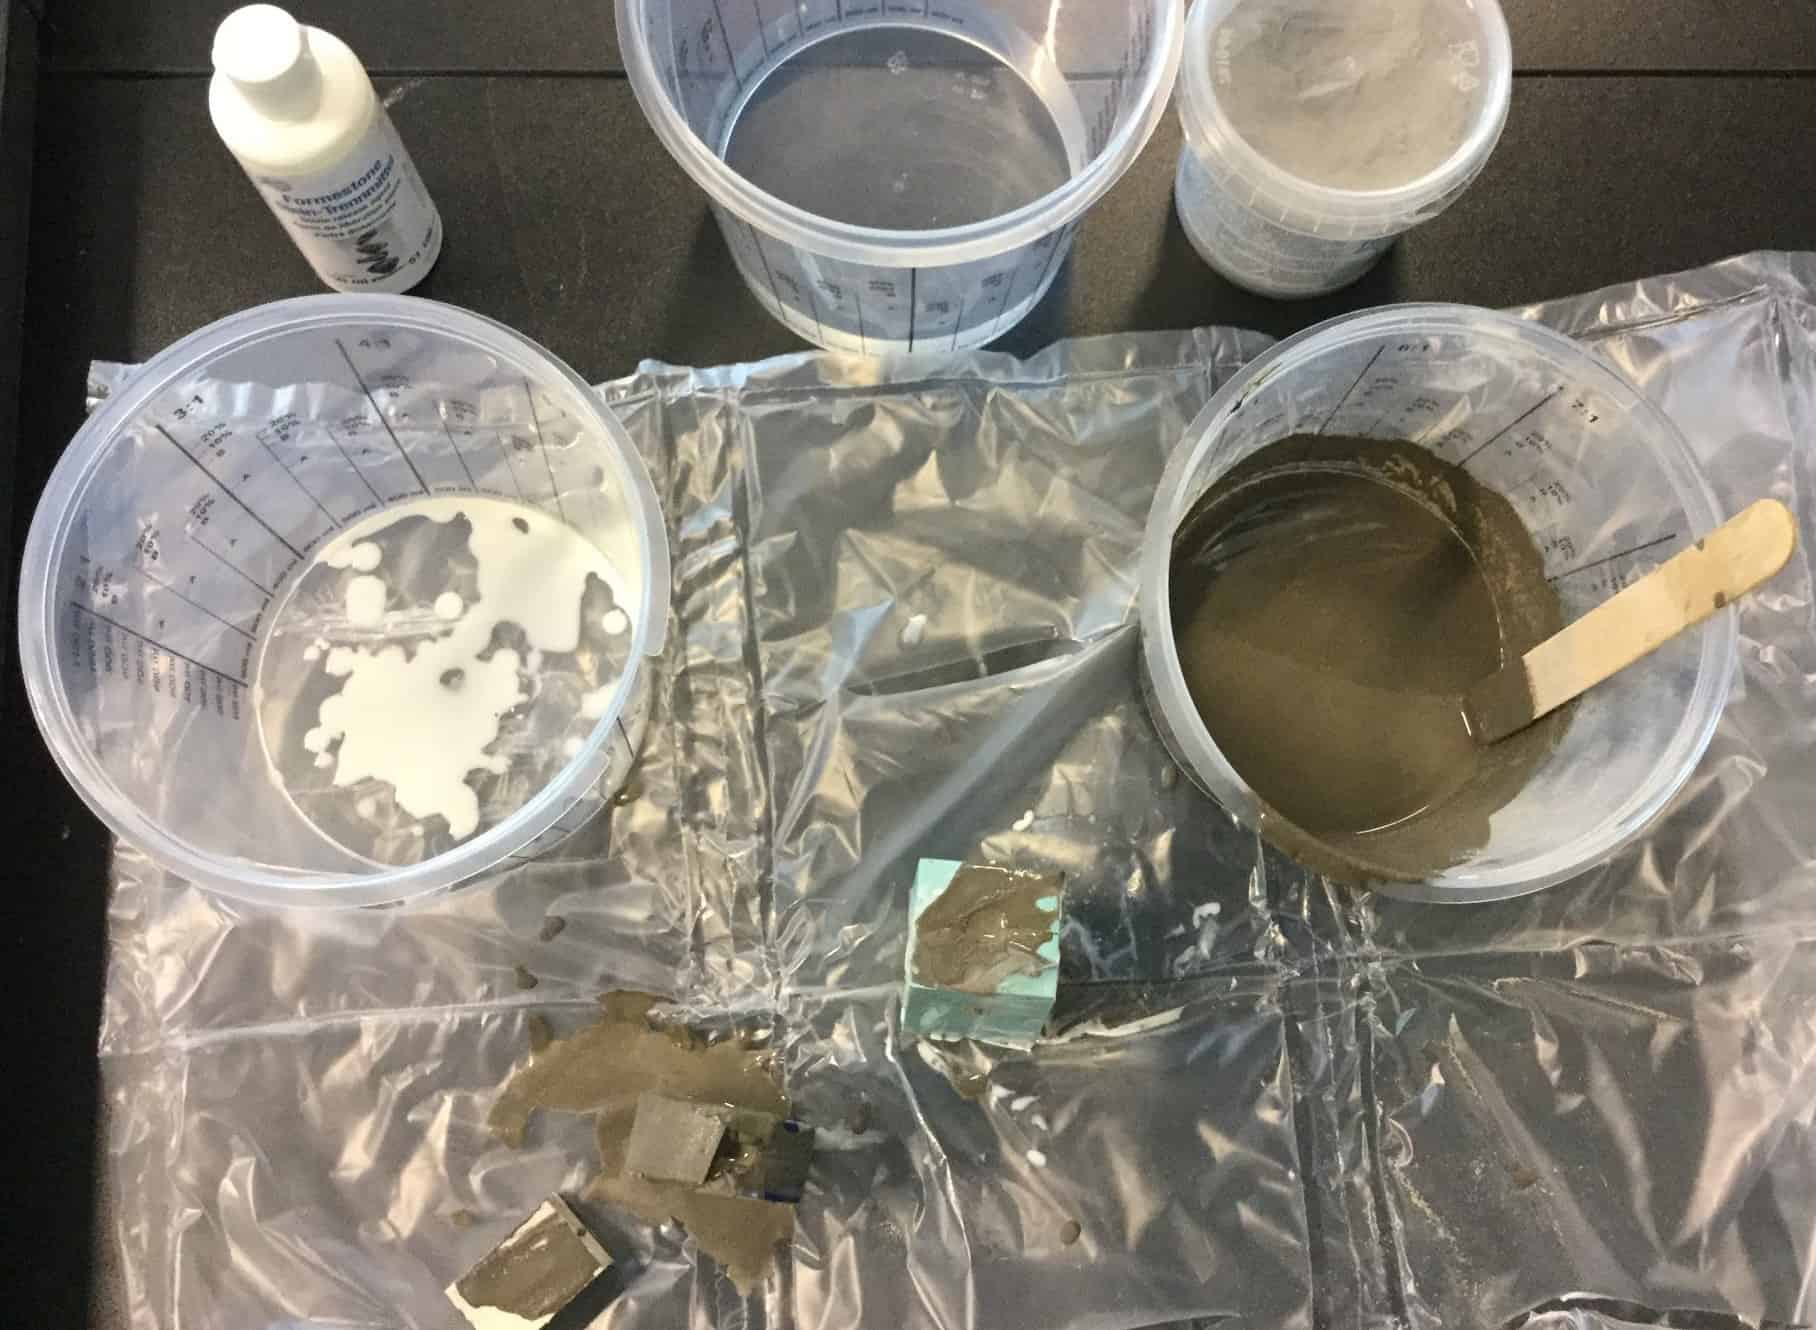
- Assemble the mold and tape it well.
- Be prepared with safety measures.- use appropriate gloves and wear mask, fine powder might harm your lungs.
- Pour water with Concrete with right proportion; In my case it was 80:20(powder: water).
- Mix them well.
- Pour adhesive to the mold. and shake it so that it could spread inside the mold.
- Pour casting materials into mold.
- Place them in flat place and take enough time to harden up.(can be different from materials.)
- When disassembling it, prepared with same safety measures.
So I can call this week's assignment as half success and failure. I think these are takeaway from what I learnt from the process. (It took several weeks to get to this.)
- It is easier to make pouring hole for the casting larger. - and when pouring particle is large you can make even larger.
- Try adhesive before pouring the mold.
- When designing mold with complicated shape, make mold with several parts.
- When making mold with several parts, you also need to consider right fit to each other(like joints).
- Maybe I need to consider the fits for mold and cast? - paper or silicon mold might work better in concrete casting, and 3d printed mold might work better with less stiff things(such as candles and bathbombs).
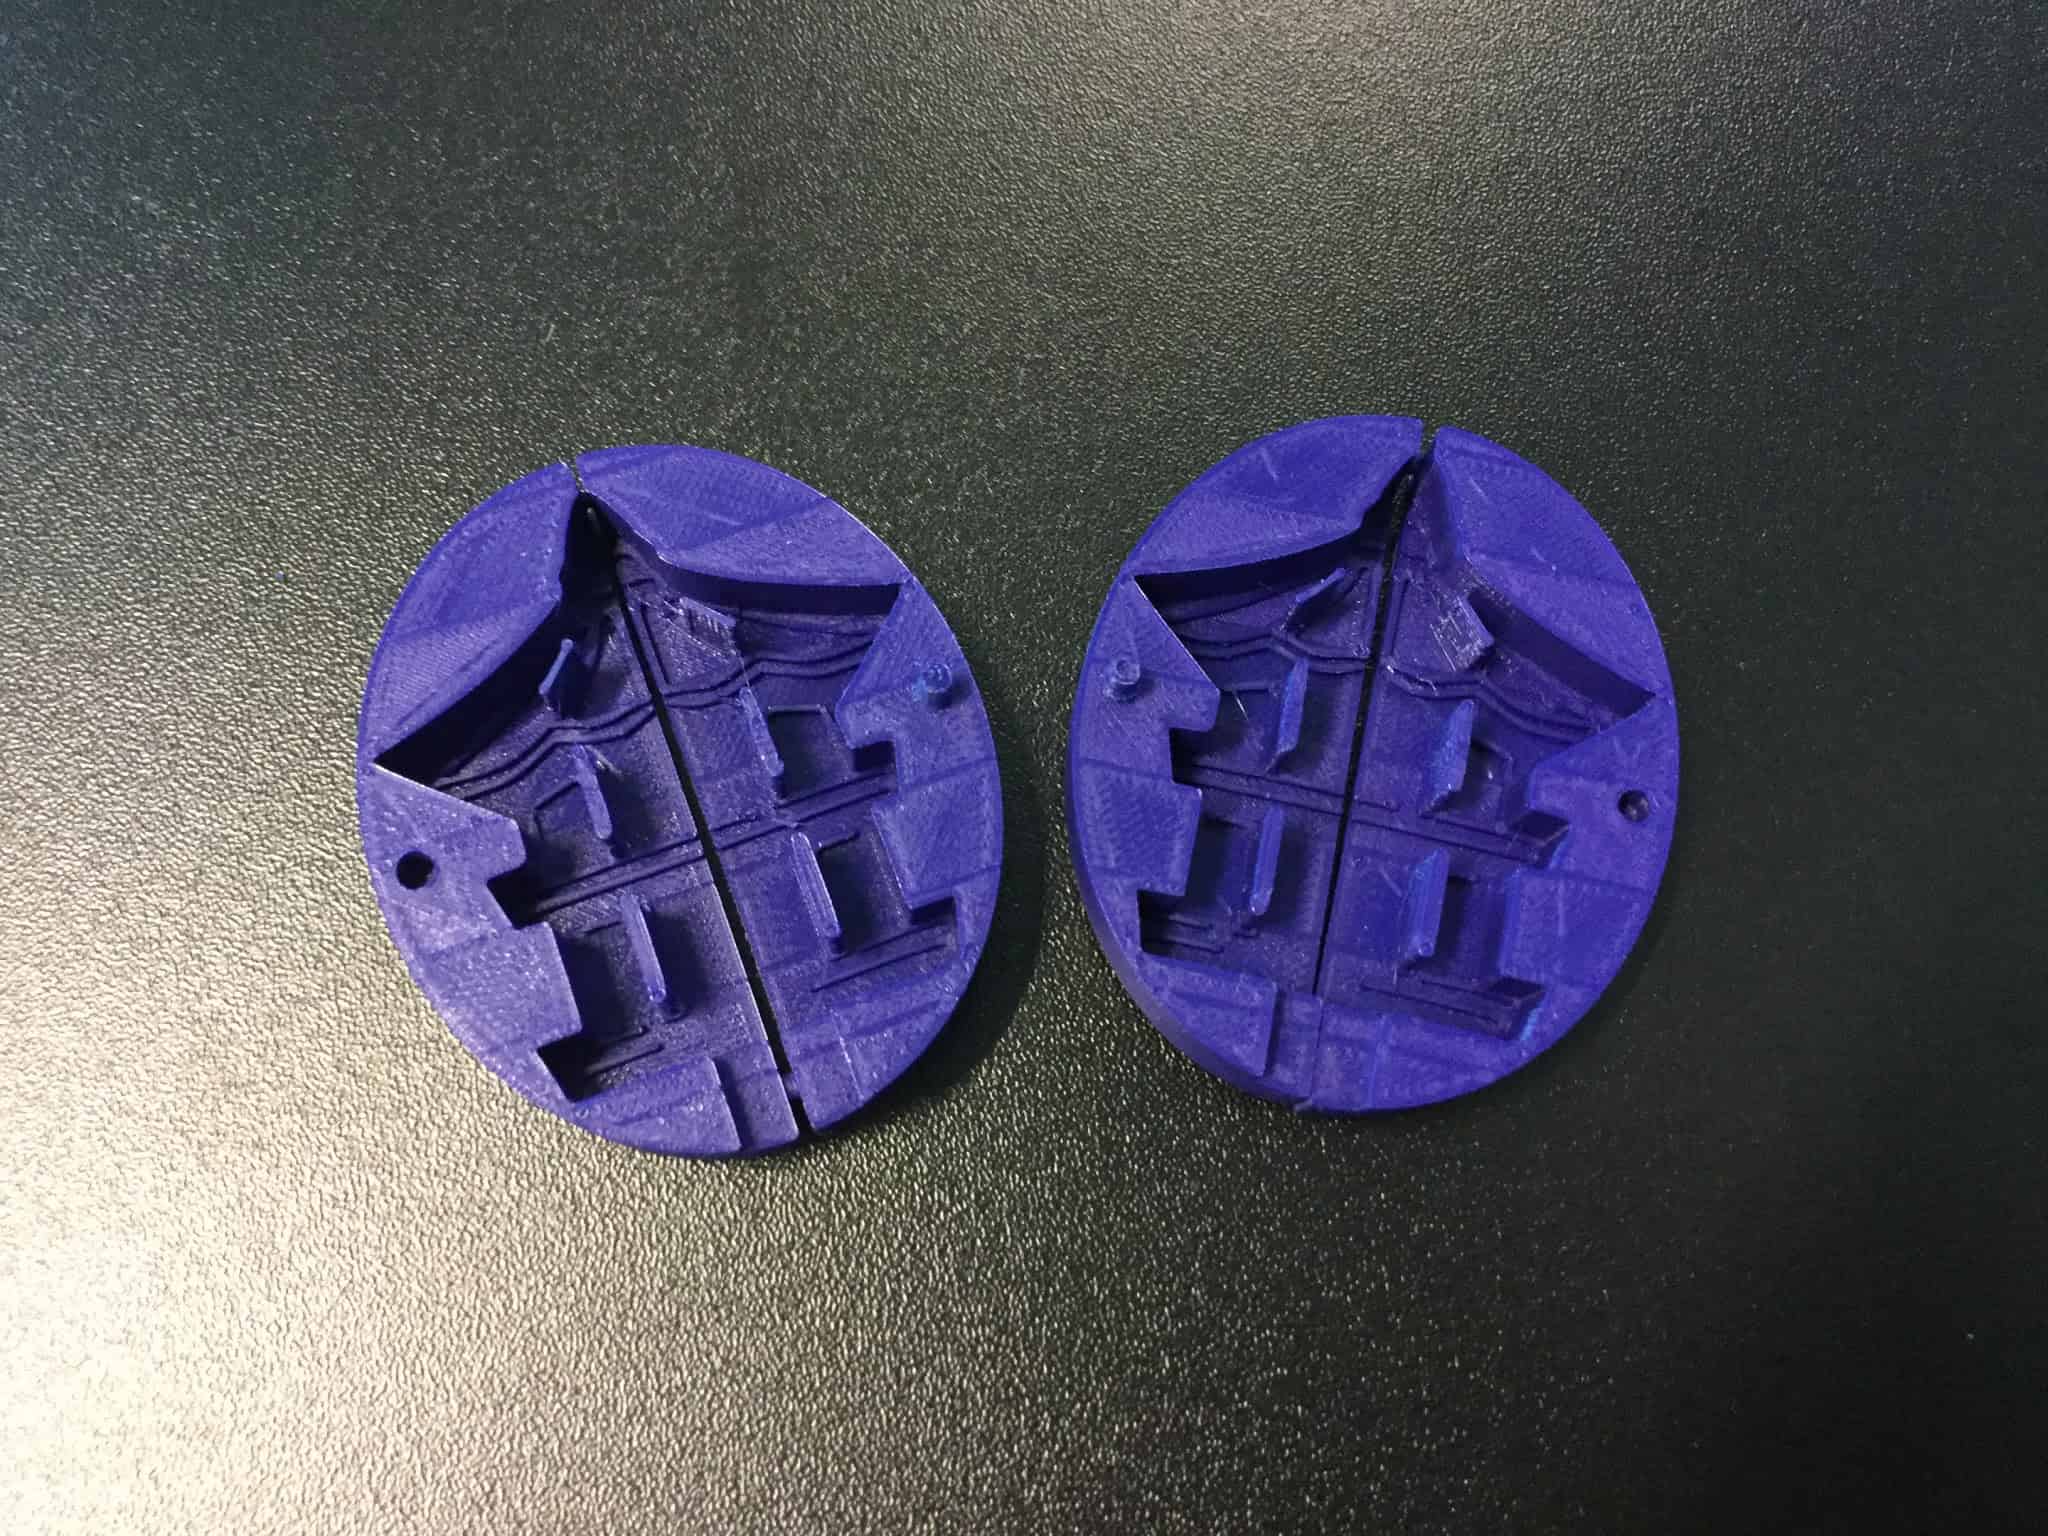
Casting with other material: Wax, Silicon
For casting with 3d milled mold, I tried two materials. Wax was total failure, as hot wax melt the
mold itself.
After fixing the mold, I tried with the Silicone. Silicon needs to be mixed with
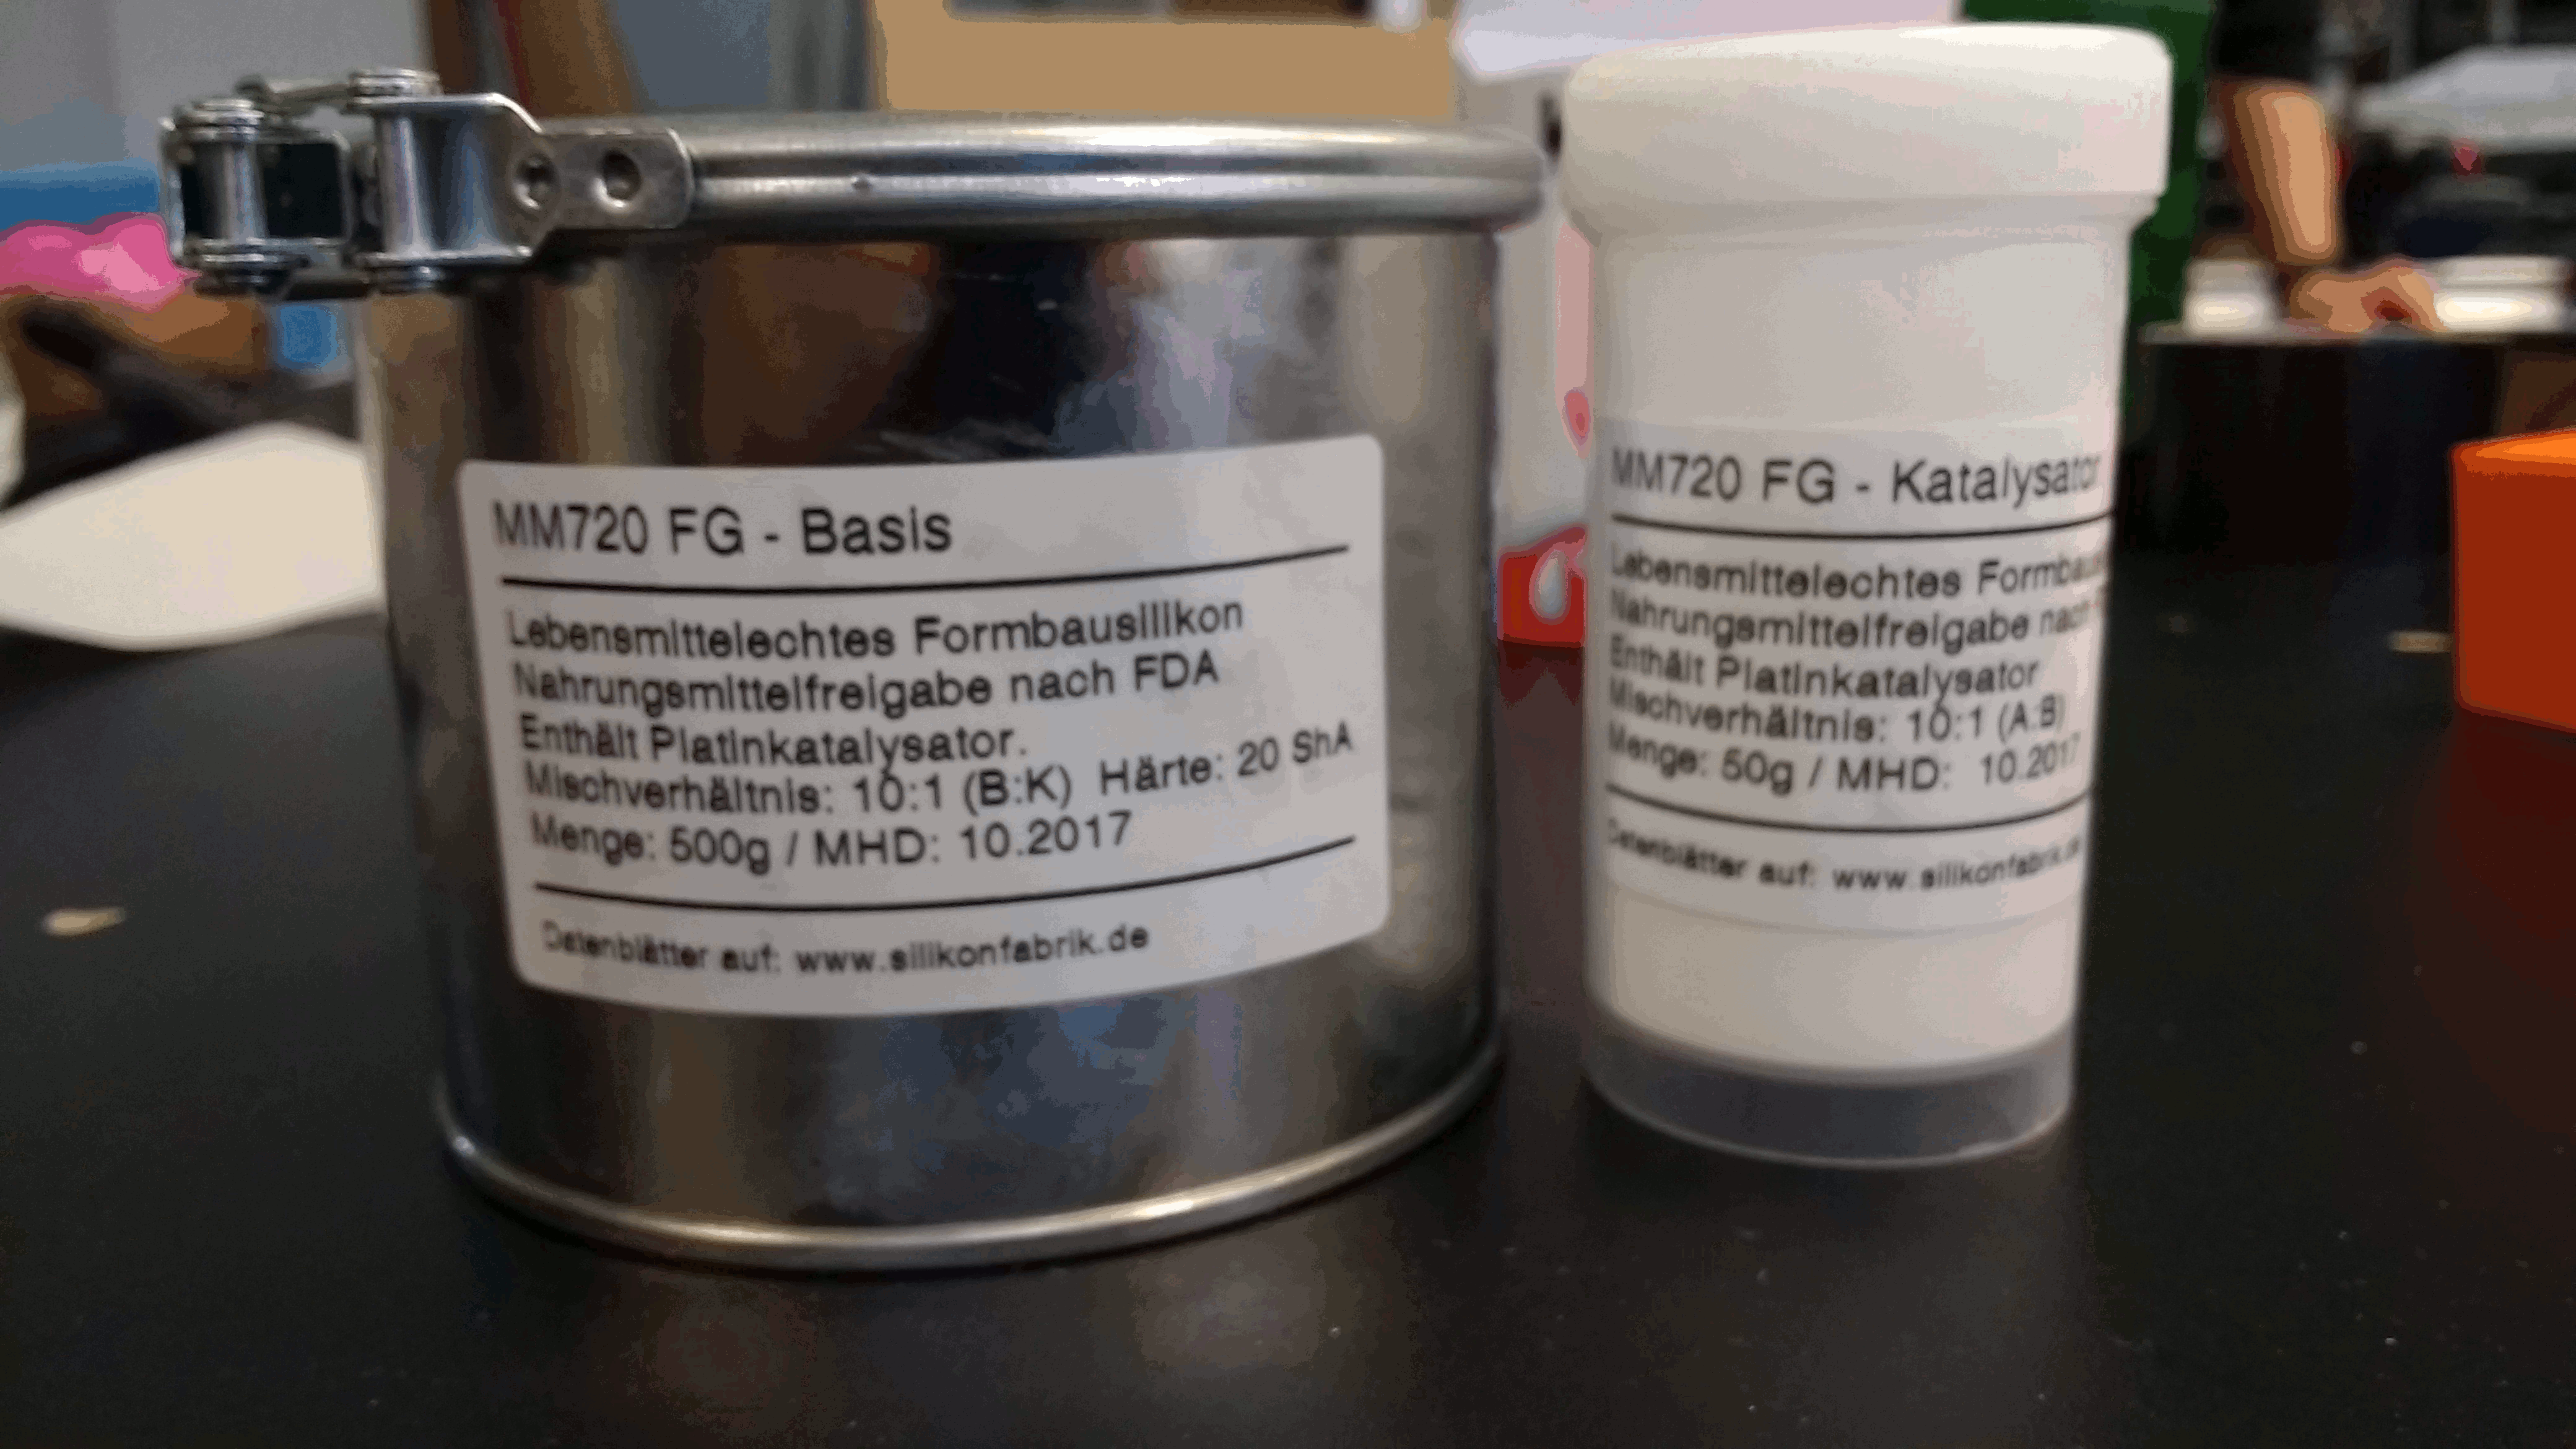

Below are results from the assignment.
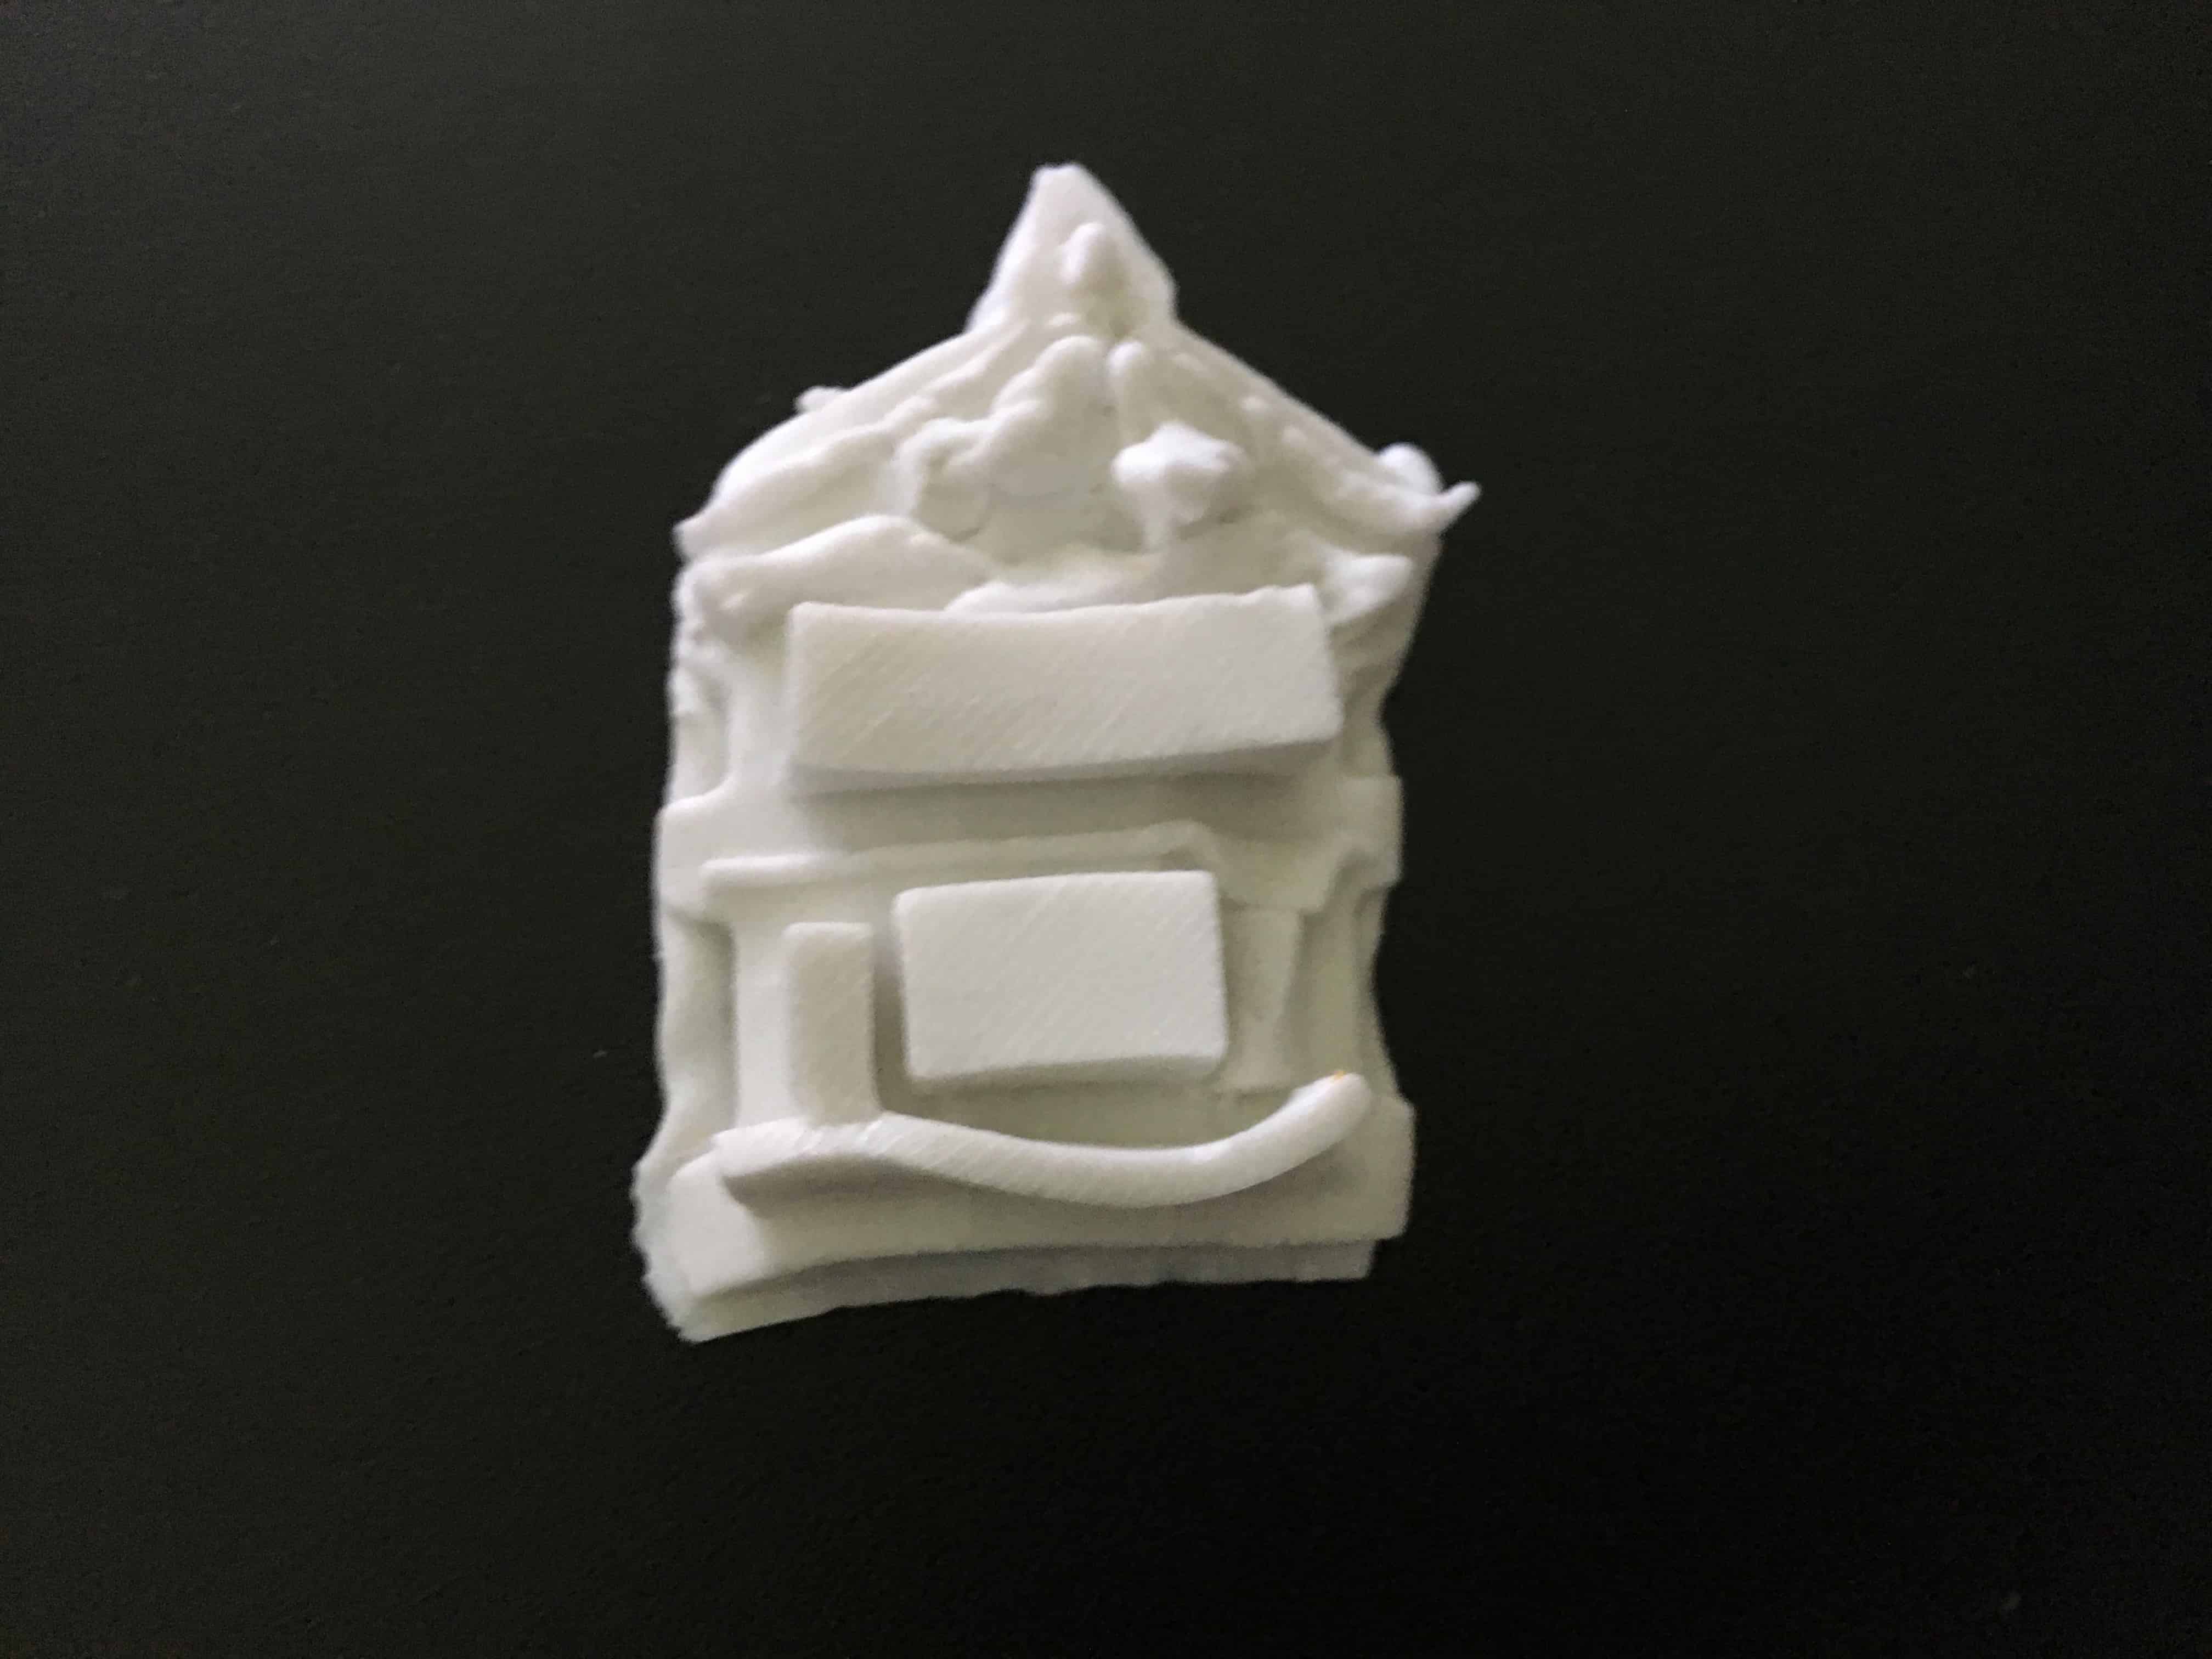
It turned out the final cast is well shaped and I could take it out as it is, but the texture was a bit jelly like.. This happened due to amount of catalyst put was less(Although I followed the instruction..) to make material to get stiff enough.