Week Seven
This weeks assignments
- Learn the tricks with CNC milling.
- Make something big.
Milling in 2,5D
CNC mills seem to come in various sizes. They all have the same concept in common, they use spindles to remove material from a solid block. Wood, metal and fibres can all be milled, but for this week the most practical part is milling out in wood. My makerspace has a relatively small chinese CNC mill, about 30cm x 50cm - so still bigger than the modela. It operates using linux CNC on a ubuntu machine. Until now it has mostly been used for 2D milling, but we've had some problems learning how to properly use it in the past, even just setting it up using linux CNC was a complex process. To start the week I wanted to use my machine to mill out in 2,5D and advance to the "big" part later. If this is being read, I have yet to complete the big milling part, but it is going to be the frame for my final project. Lets get started, something milled - first:
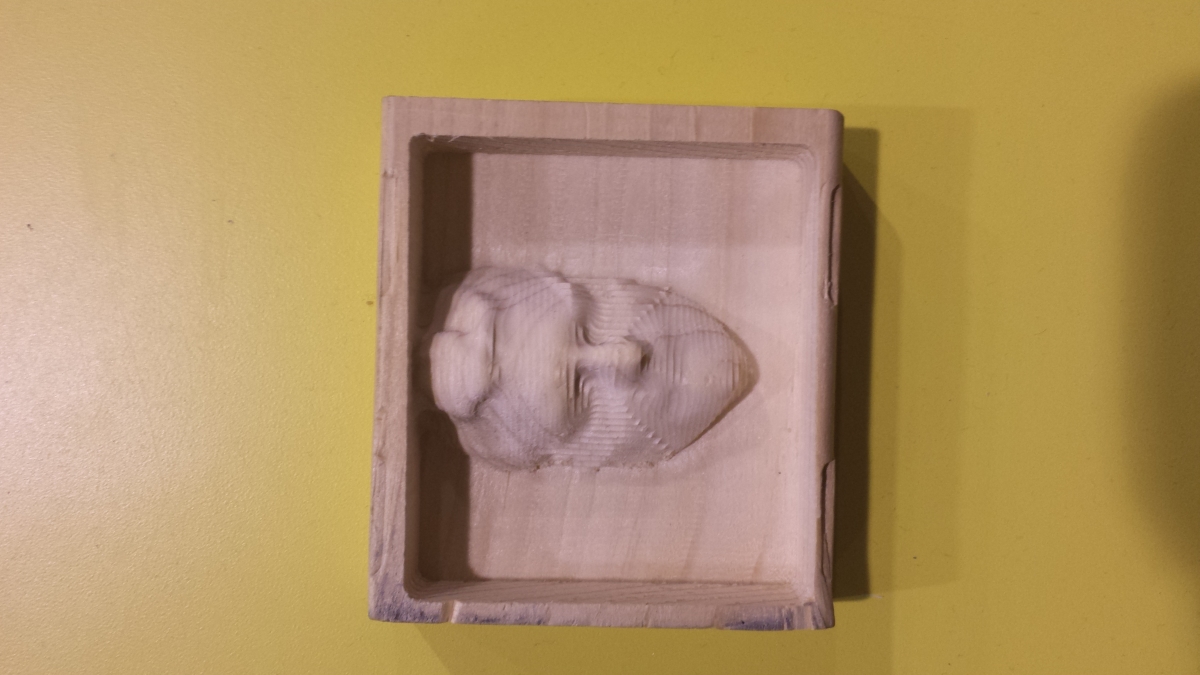
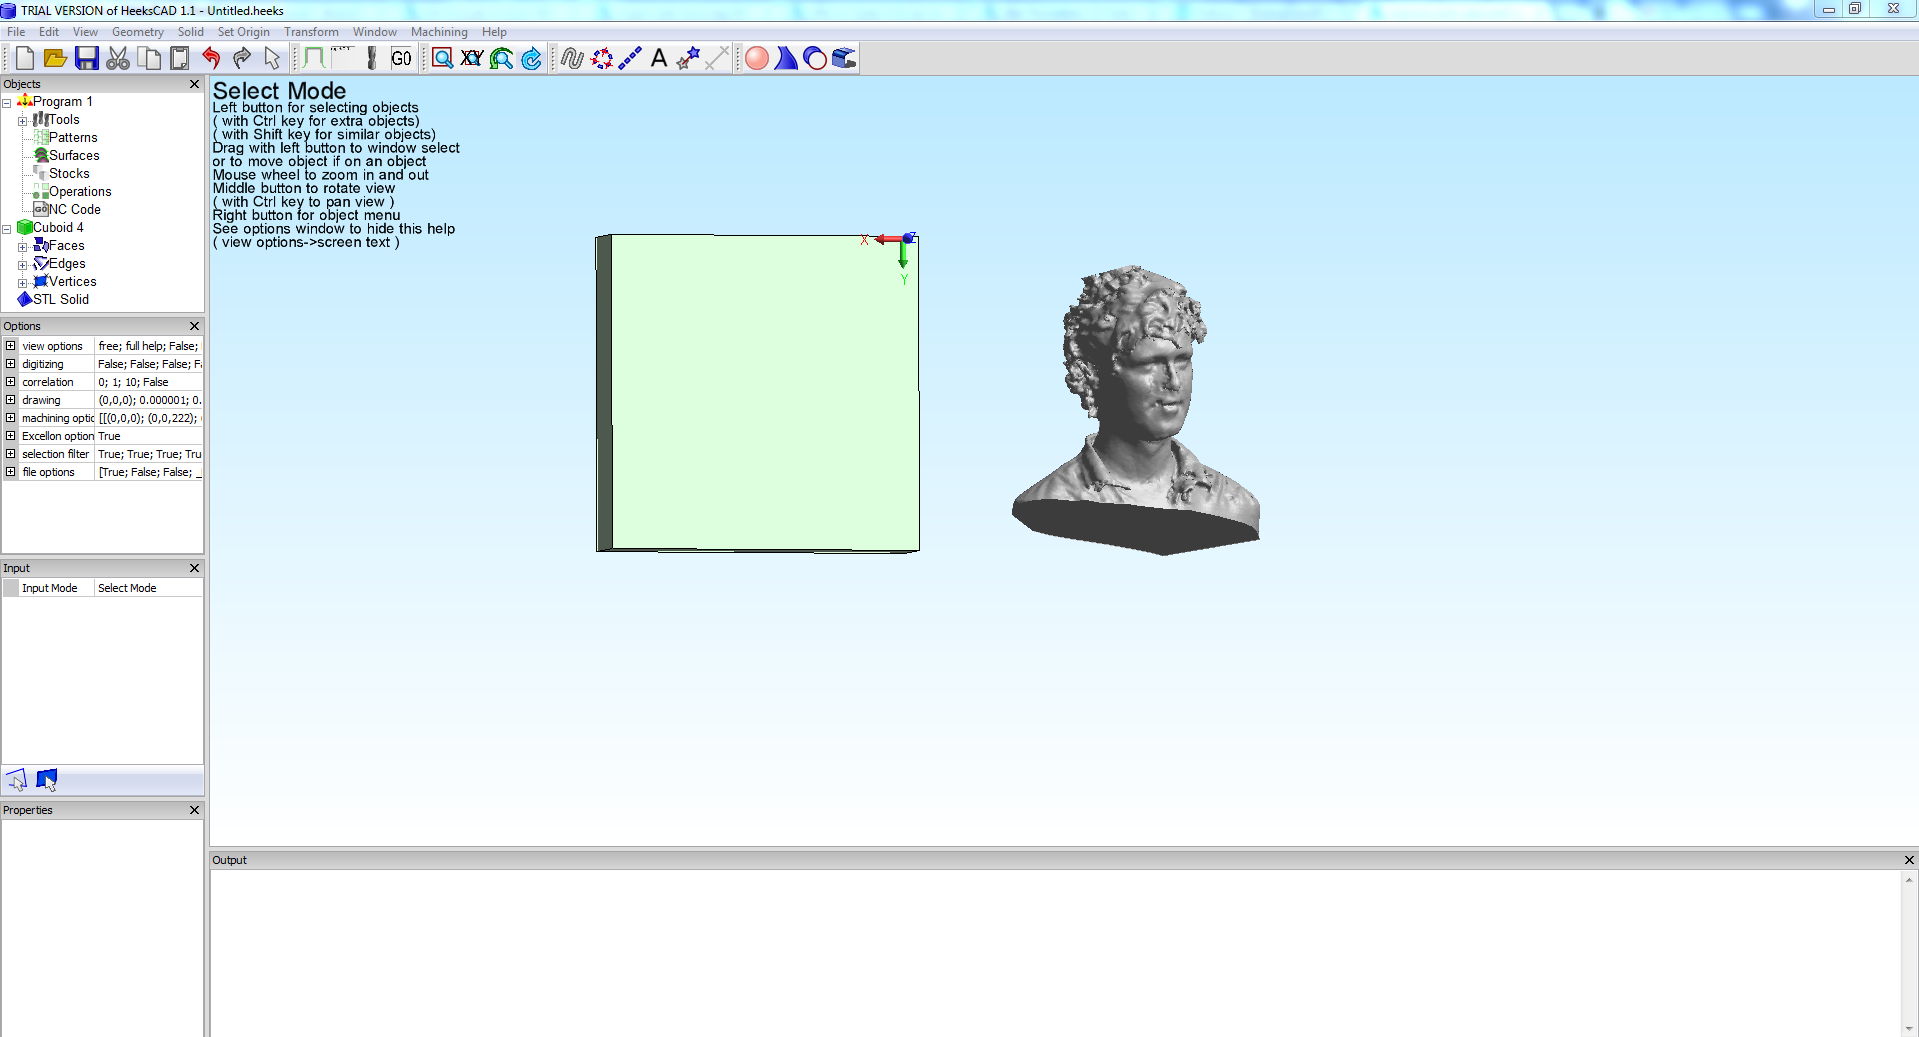
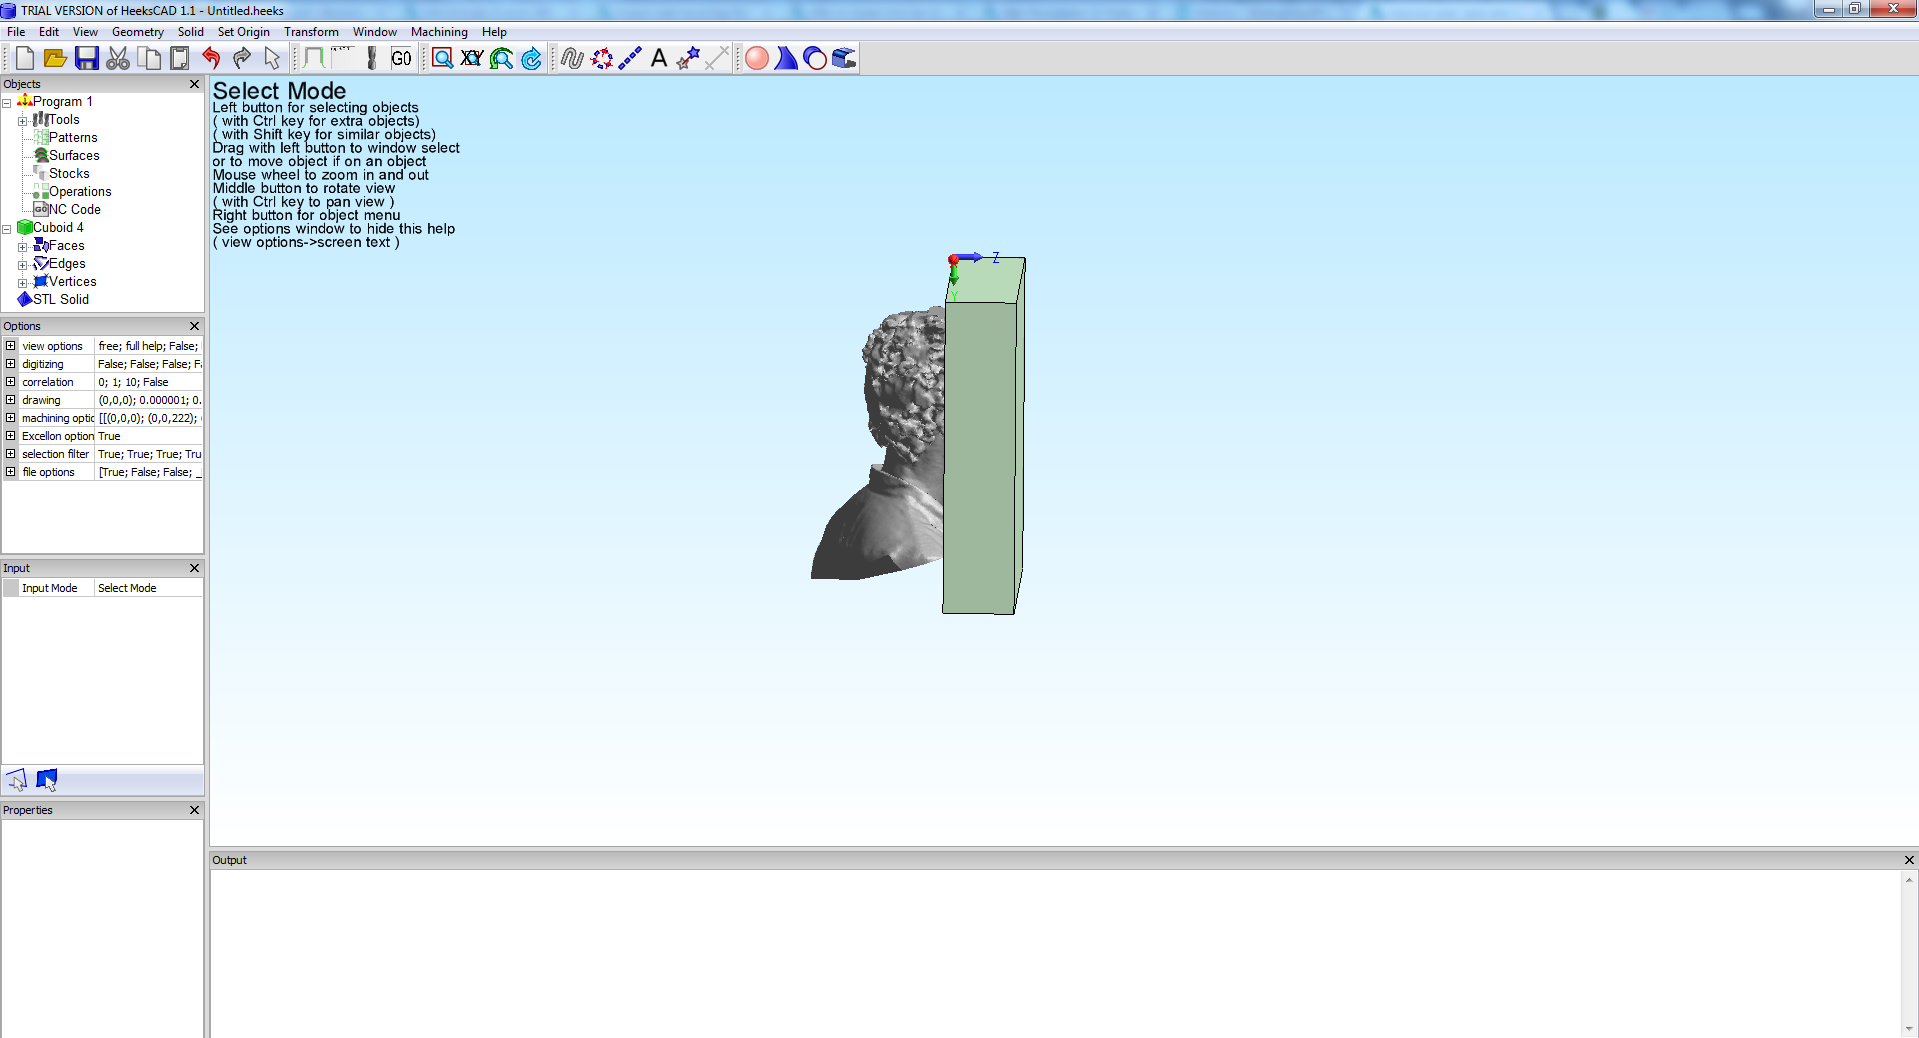
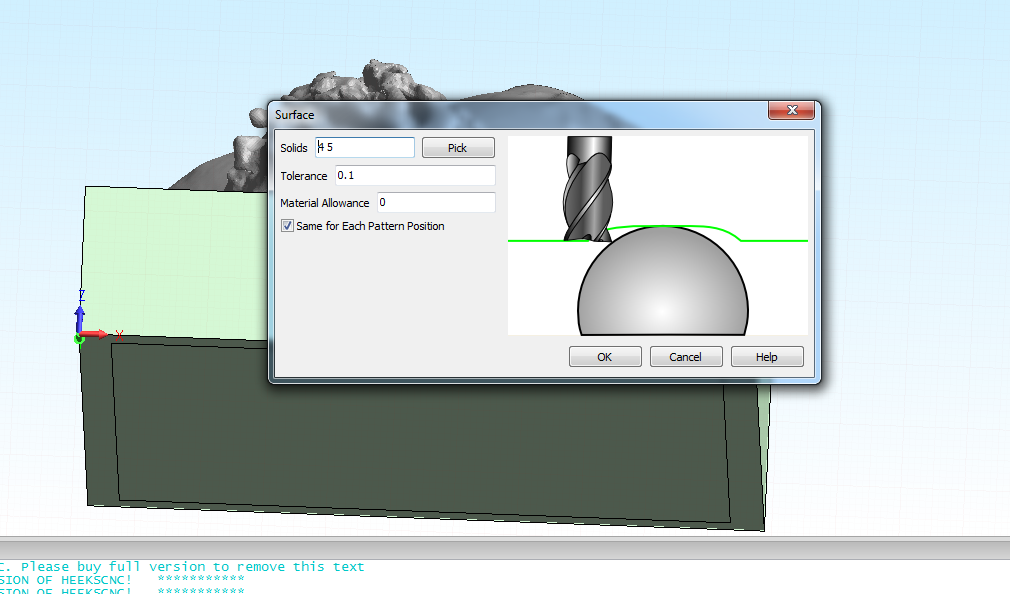
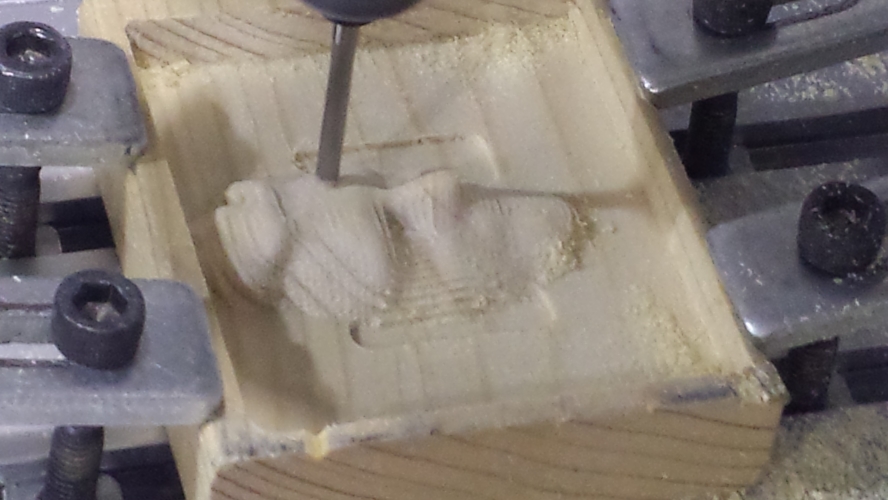
So - out of principal/out of cheepness my lab has decited to try to its limits to use freeware/semi-freeware. For the toolpaths we've been learning how to use the semi-friendly HeeksCNC. It looks pretty powerfull, able to import STL models and such. The most readily available STL model that was decited to use we a 3D scan of a friends face. In the beginning the block from which is being milled out needs to be modeled in heeks:
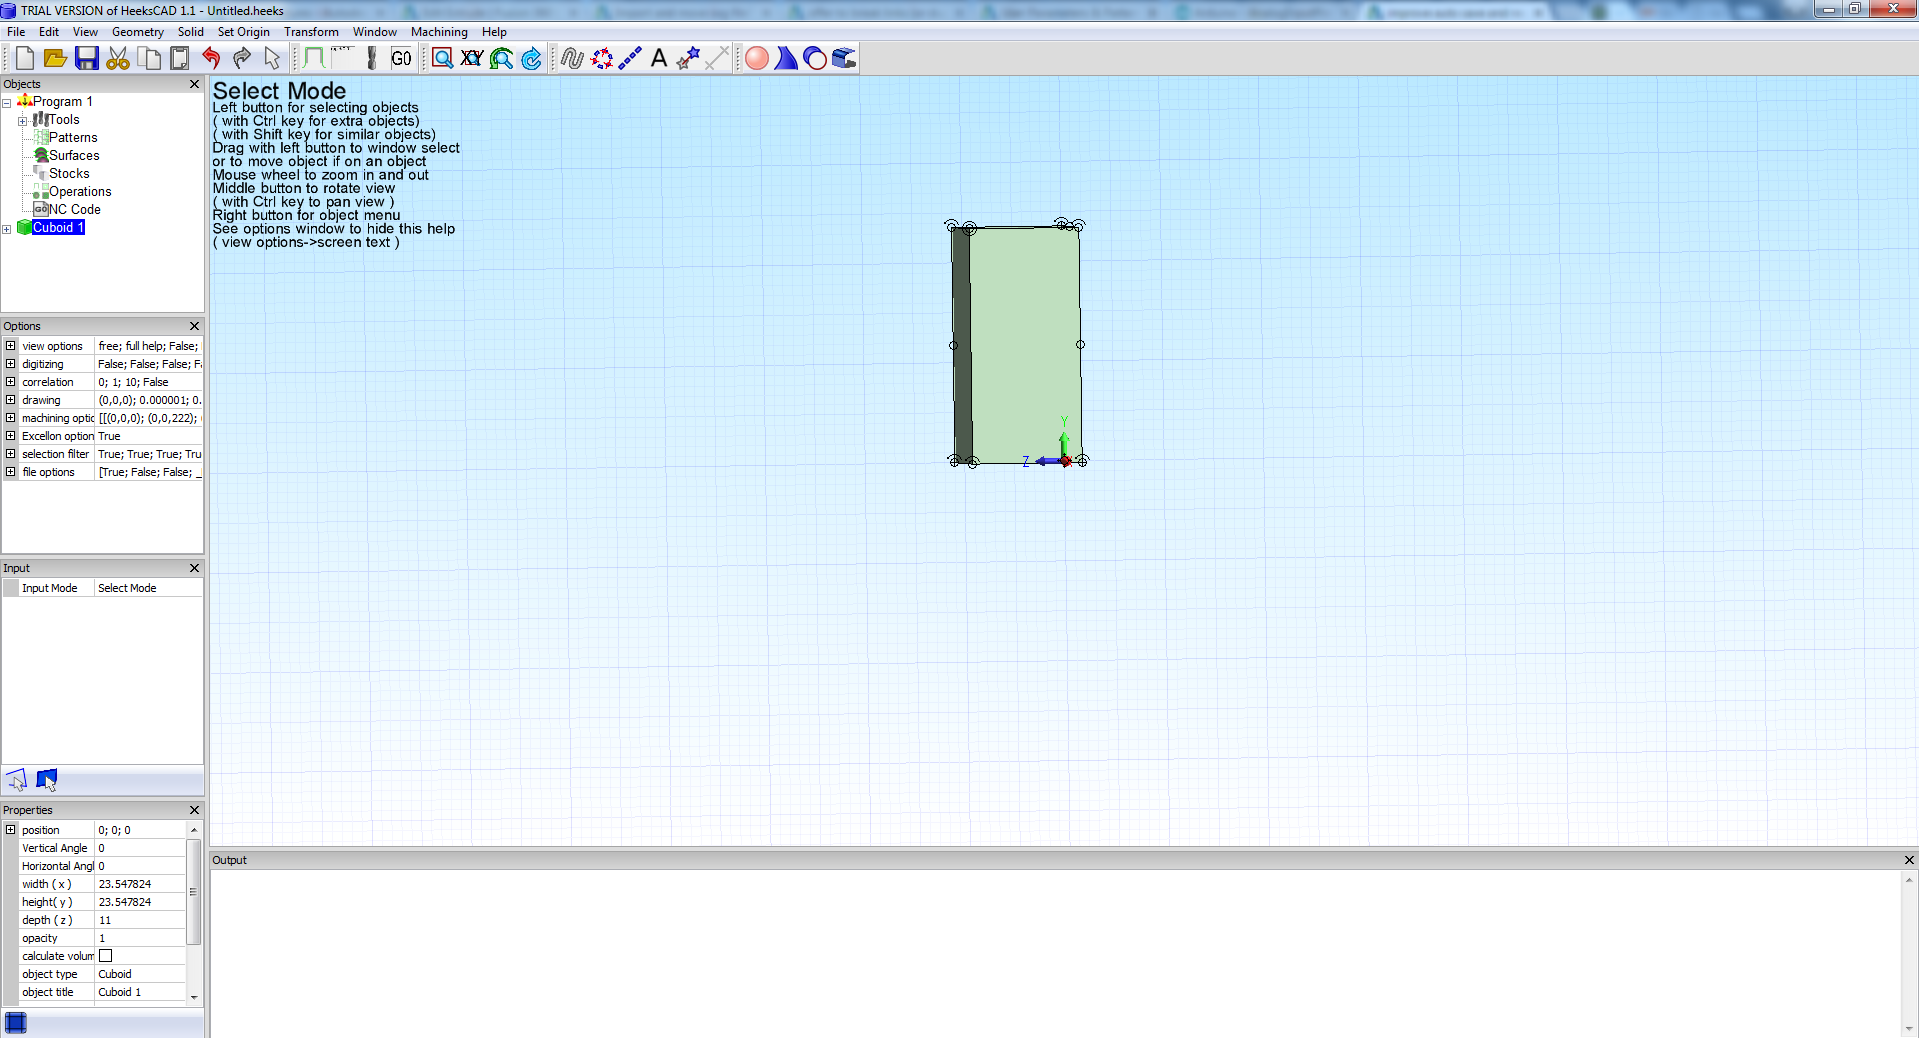
Since a frame around the face is needed, a simple box is drawn on the block to reference where the material is supposed to be removed (not shown), and then the "stocks" are indicated. Then the STL model imported and made into a "surface". The STL model is then placed until in the end its "squashed" within the block that is supposed to be milled.

Now, to generate the toolpaths we need to do a pocket operation, define the tool we are using and define the surface finish.


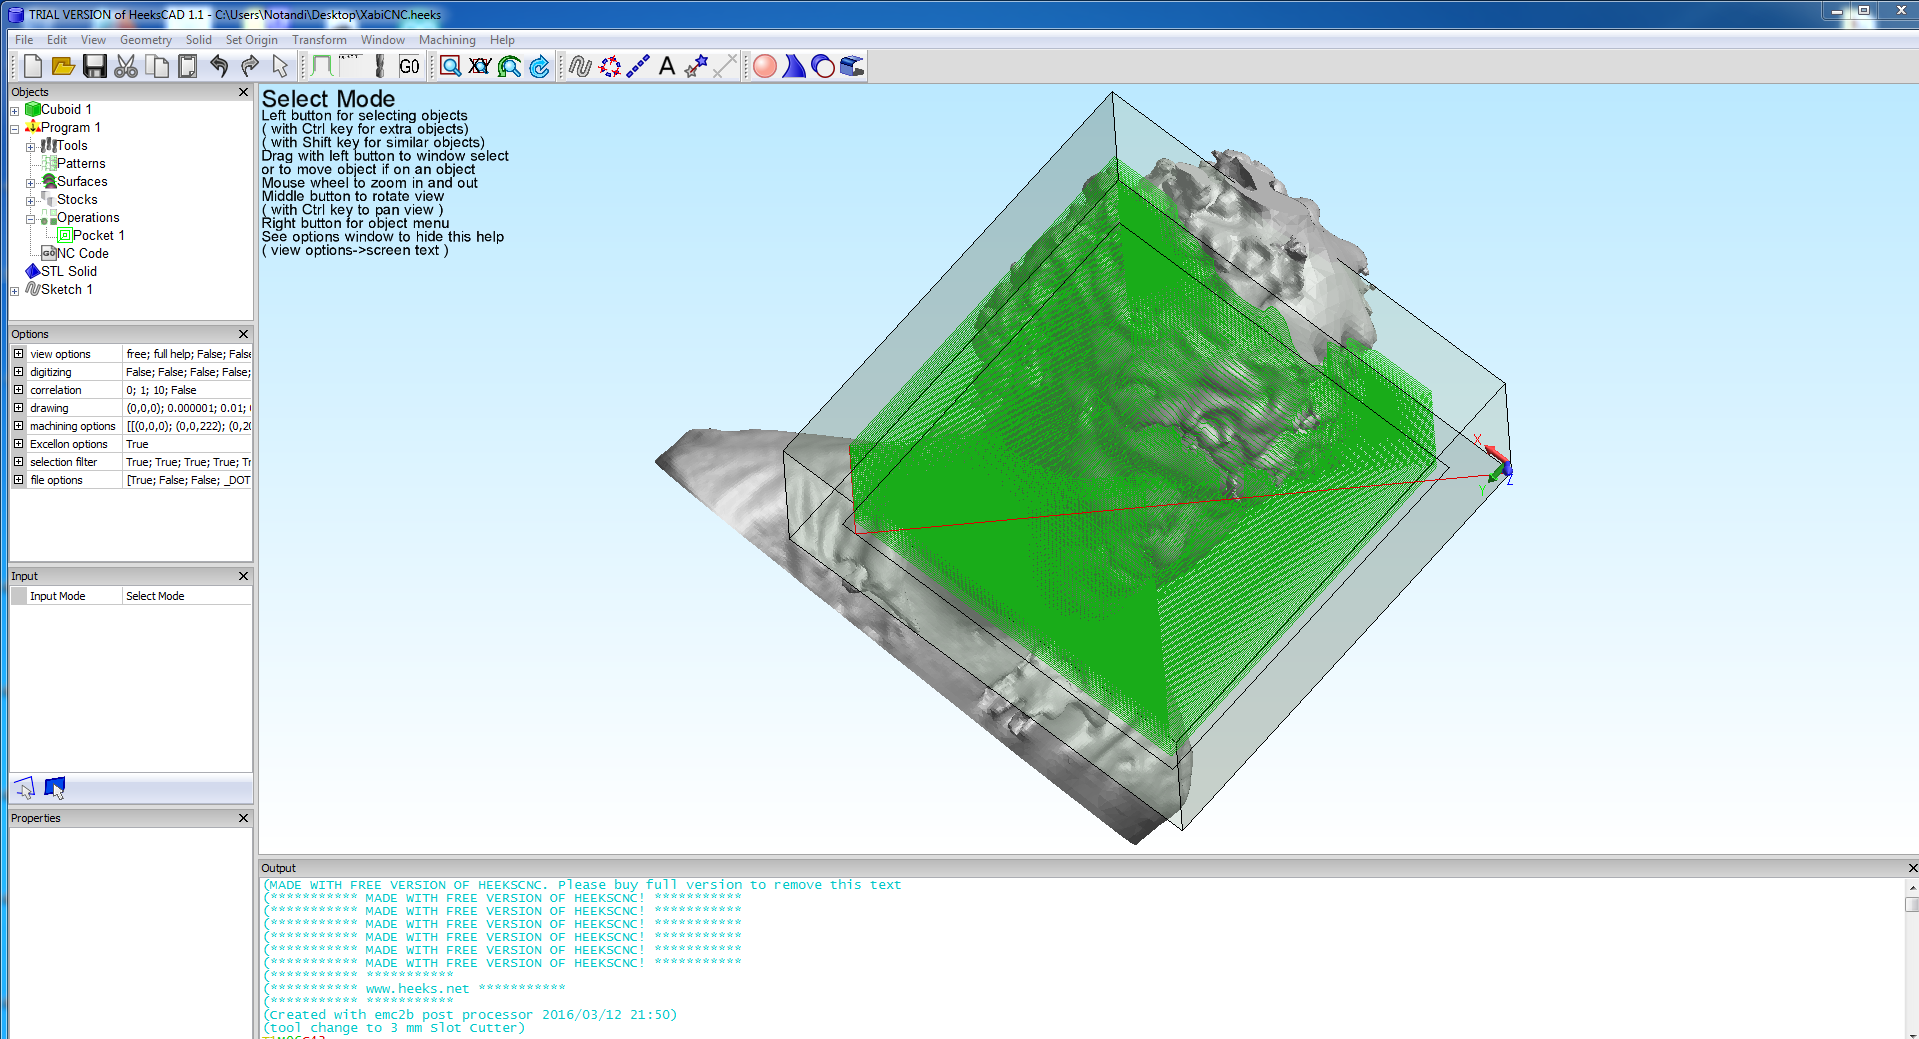
Finally we can compile the model and when its done compiling we can simulate it and watch a nice video on how it's eventually going to look!

Now we can save the .nc code. The code needs to be modified in something like notepad++, because we are using the unpaid version. Now we transport the code via USB to the computer running the CNC mill.
V-Carve pro - Shopbot
Update 3.6.2016
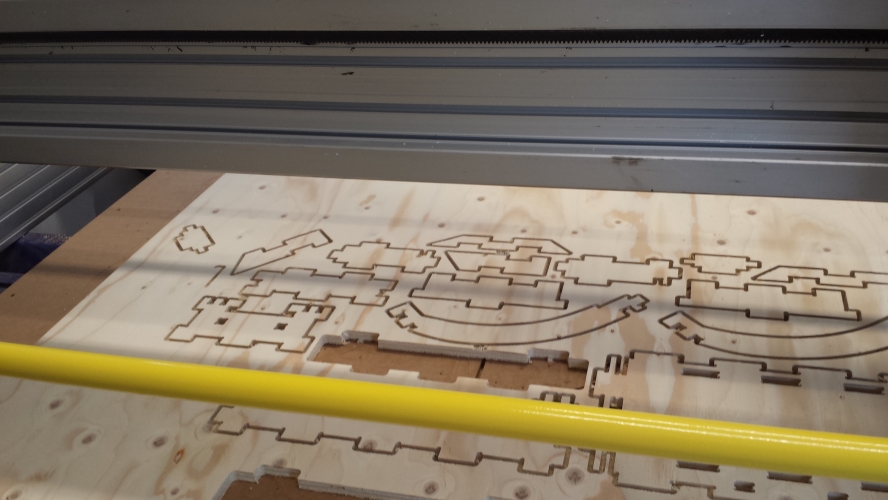
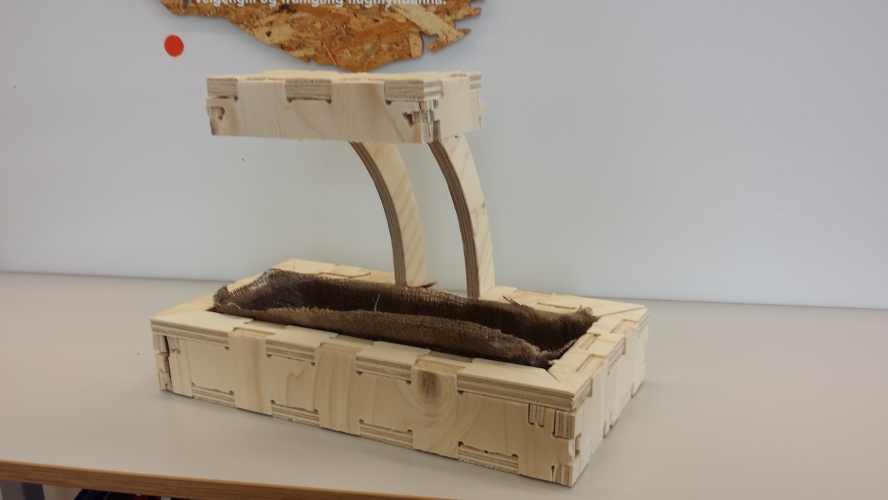
So I finally got around to finish milling out my incubator. Using V-carve is very easy, but its a pay to play program so it might not suit the everyday hobbyist, like heeks does. I imported my files into V-carve.


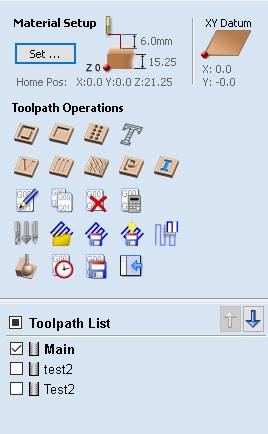

First the plane is specified. I was using a ~15mm thick plywood for my model. First we need to specify the tool diameter that we were going to use, and then we round the corners with fillets. After the fillets have been made and everything arranged nicely, we go towards the toolpath operations. We want pocket operation with two to three passes. I chose a 1/4" upcut with a feedrate of 3in/sec. Everything was done in 3 passes, the first pass only going a couple of mm down to try and not mess up the plywood much. The seccond two passes were 7 mm each.
The program is smart so if after we have specified outside milling operation it kind of knows that if we are milling out holes, they should be on the inside. When everything is said and done, all operations are in order, its g-code time.
Milling in 2D
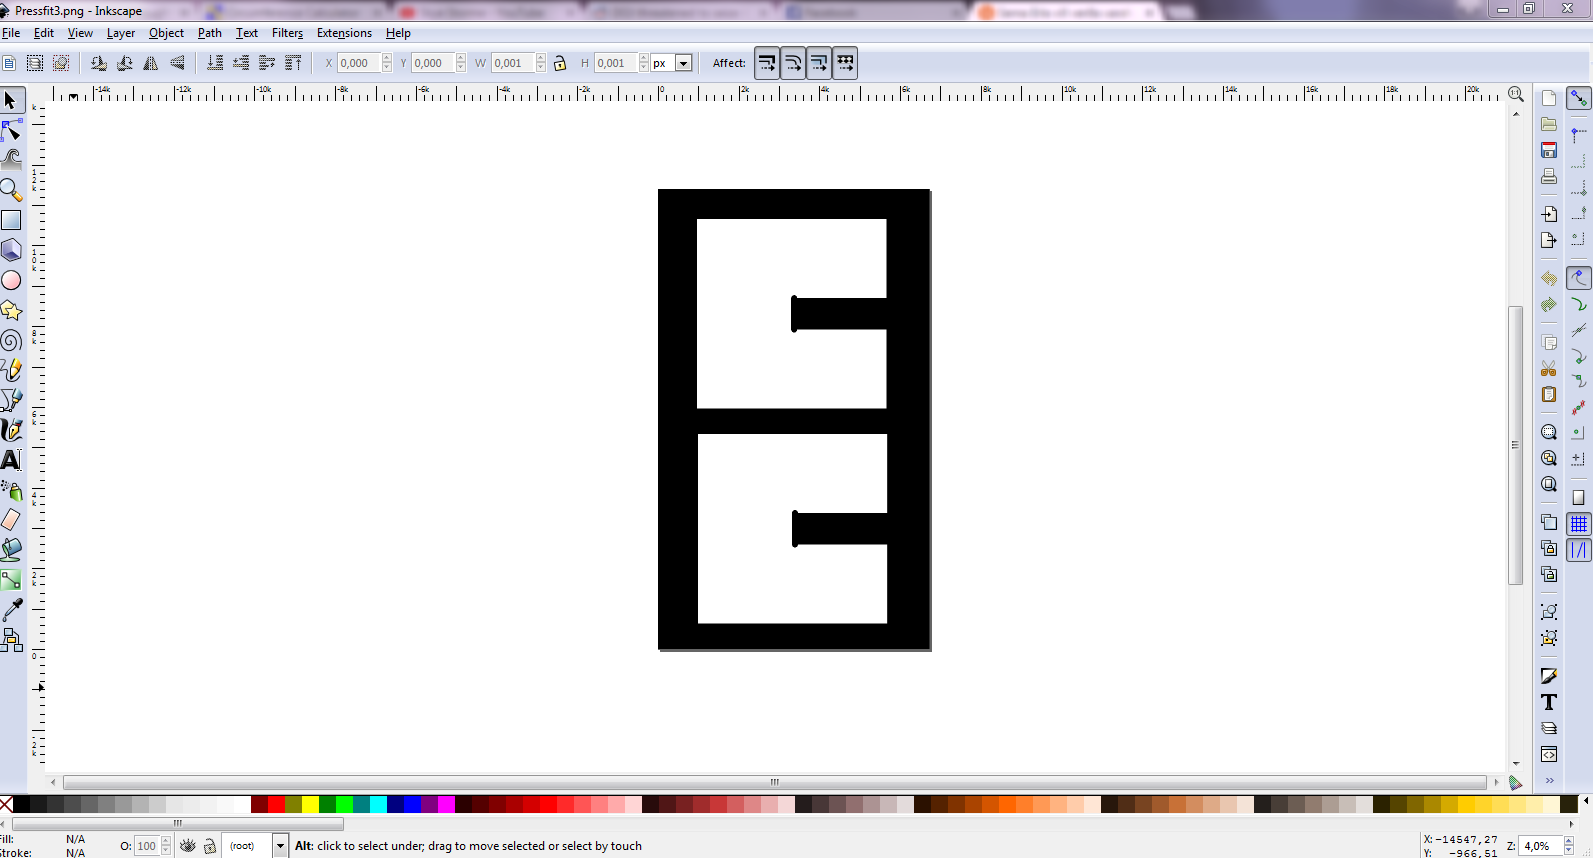
I wanted to make some pressfit design in inkscape and eventually mill it. I knew it could be easily done using fabmodules and exported as .nc file. As far as I know, inkscape is a pretty good tool for precise design. I exported everything as PNG. My biggest problem initially was that after I imported the PNG into Fabmodules that fabmodules kept crashing. I realized after tinkering around for a bit that my PNG file was way way way too big.
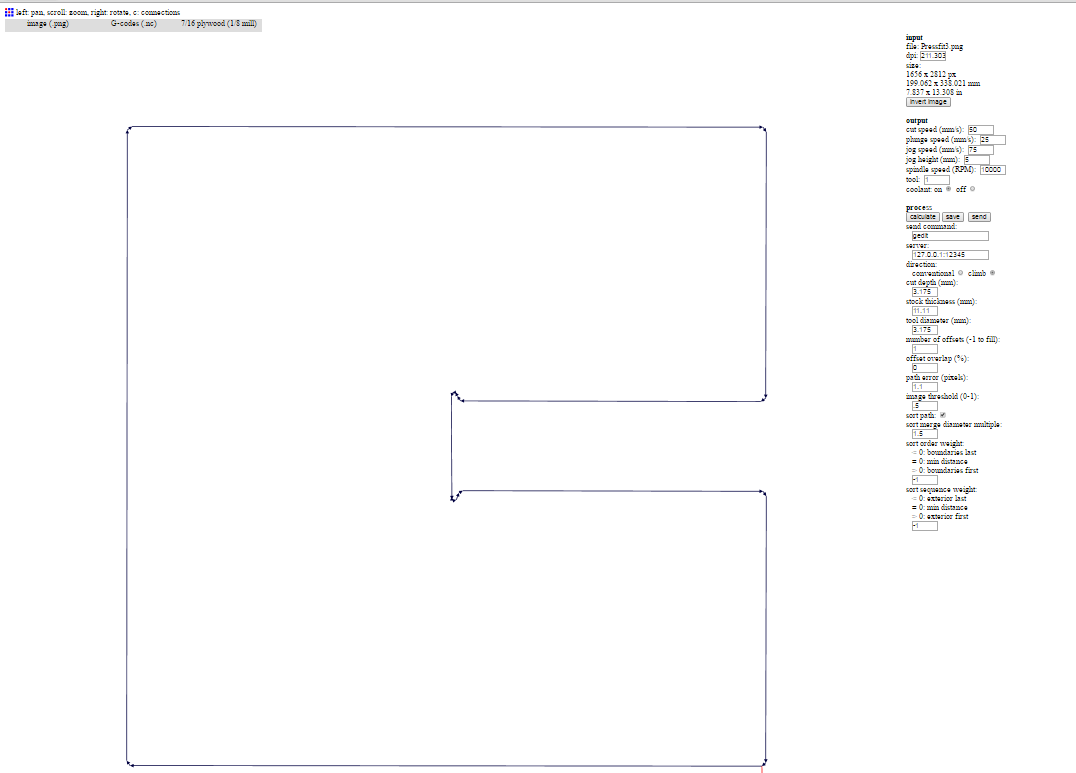
Linux CNC
Linux CNC is a freeware and runs only on Linux (obviously).

We need to adjust the Z-gap manually, and fasten the block on the CNC bed with washers. The g-code is imported and when every axis has been placed correctly, its basically just play.
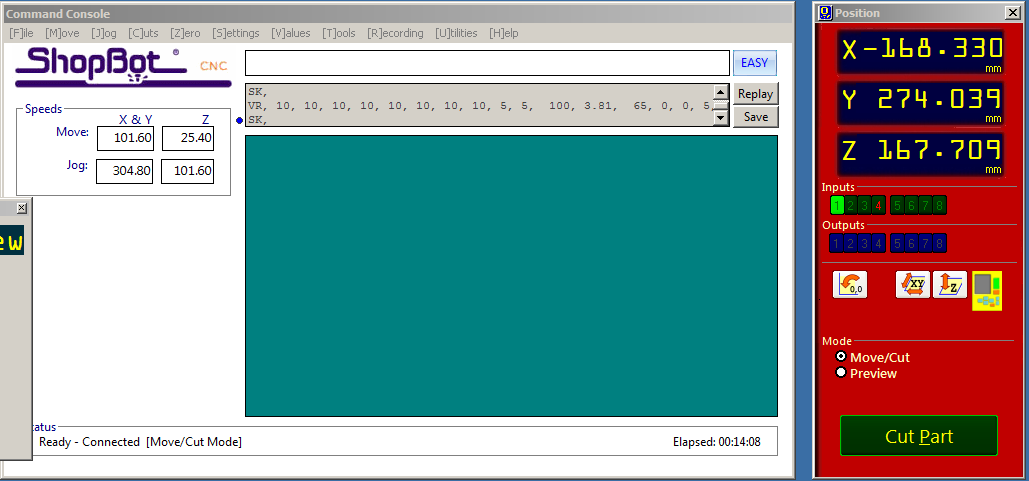
Shopbot CNC
The v-carve g-code files were imported into the shopbot command center. The shopbot needs to heat up its spindle before it does anything, so there is a routine script to do that. When the spindle has been fastened, z gap zeroed (another routine that the shopbot can do by it self), the stock fastened, eyeware on, and a buddy to make sure I wasnt doing anything stupid, its milling time.

Heroshots!

 V-Carve files
Inkscape files
PDF files
V-Carve files
Inkscape files
PDF files