Week Three
This weeks assignments
- 2D design pressfit (kit)
- Laser cut pressfit design
- Vinyl cut something
Finally practicals!
2D design - Inkscape
I've never really apreciated inkscape until this session. I've been experimenting and playing around with it for a while, but I think I finally got to understand it this session. Inkscape is a freeware that has been gaining attention for quite some while, and it's actually quite powerful (in my opinion). Regarding this weeks assignment, I started thinking about the vinyl cutter. My makerspace has the same vinyl cutter as can be found in Fablab Reykjavik, but its not been used to its full potential since it arrived, about 1,5 years ago. For quite some time I've been looking at nice living room designs made with vinyl, and finally decited upon making a tree for my living room. Final results first!

The first thing I did was looking up tree silohuettes on google. Some might find that cheating, but why draw something from scratch when you can continues someone else's ground work?

One problem with the drawing, if I'm going to use the vinyl efficiently, I need to be able to cut the branches off and arrange them in the document so I'm not spending tonnes of vinyl on nothing.
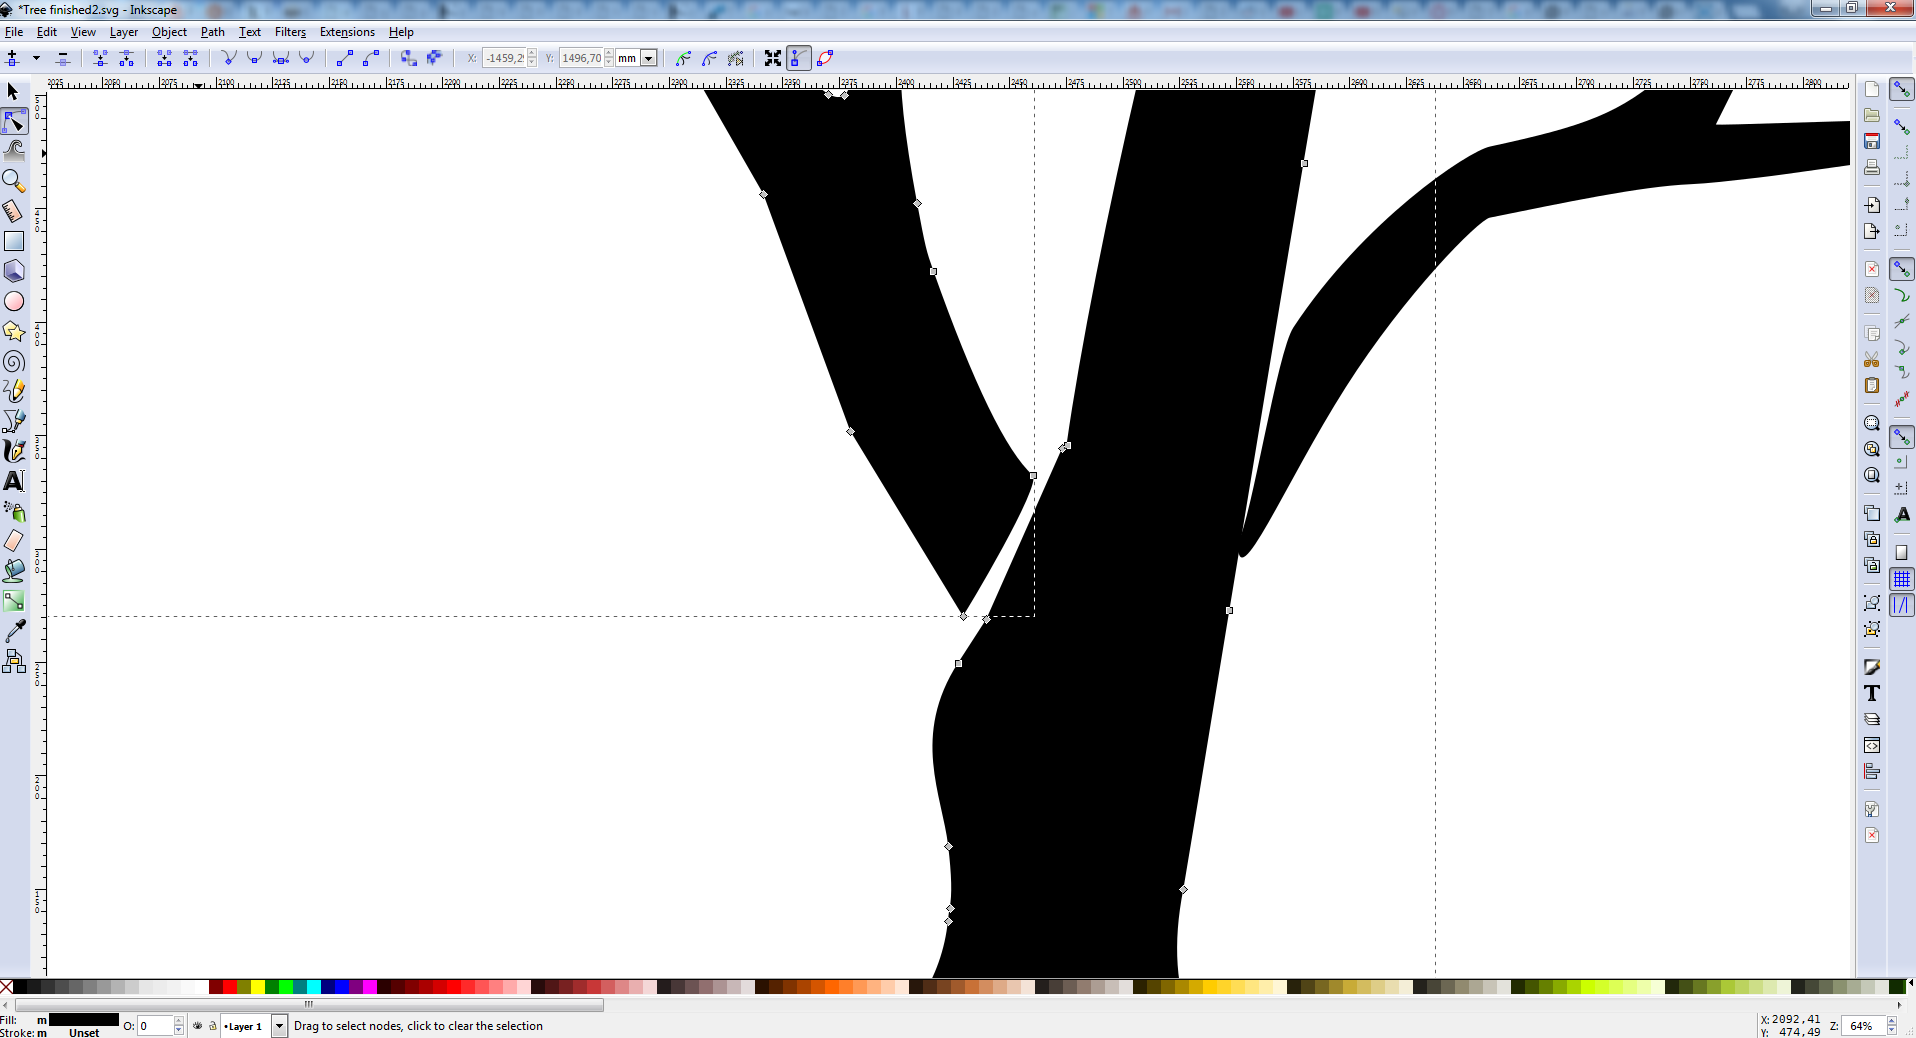
For that we use the break path at selected nodes. I had problems because the branch on the silouette was connected at two points. To solve that I needed to use the join endnodes function aswell in order to break the branch away from the tree and eventually make more branches for the tree.

Alright, add some birds, visualize the tree on my livingroom wall, etc. Now to maximize efficient vinyl usage I fitted the page to the vinyl width and fitted the branches and the birdies on that page

Now, since I'm working with quite the length of roll I had some problems because the vinyl cutter only cutted the top part of my tree. I had never had that problem before because I hadn't done anything this big before. Yeah, maybe I should have known already, but it was only a problem with adjusting the size of the document within adobe. Next time.
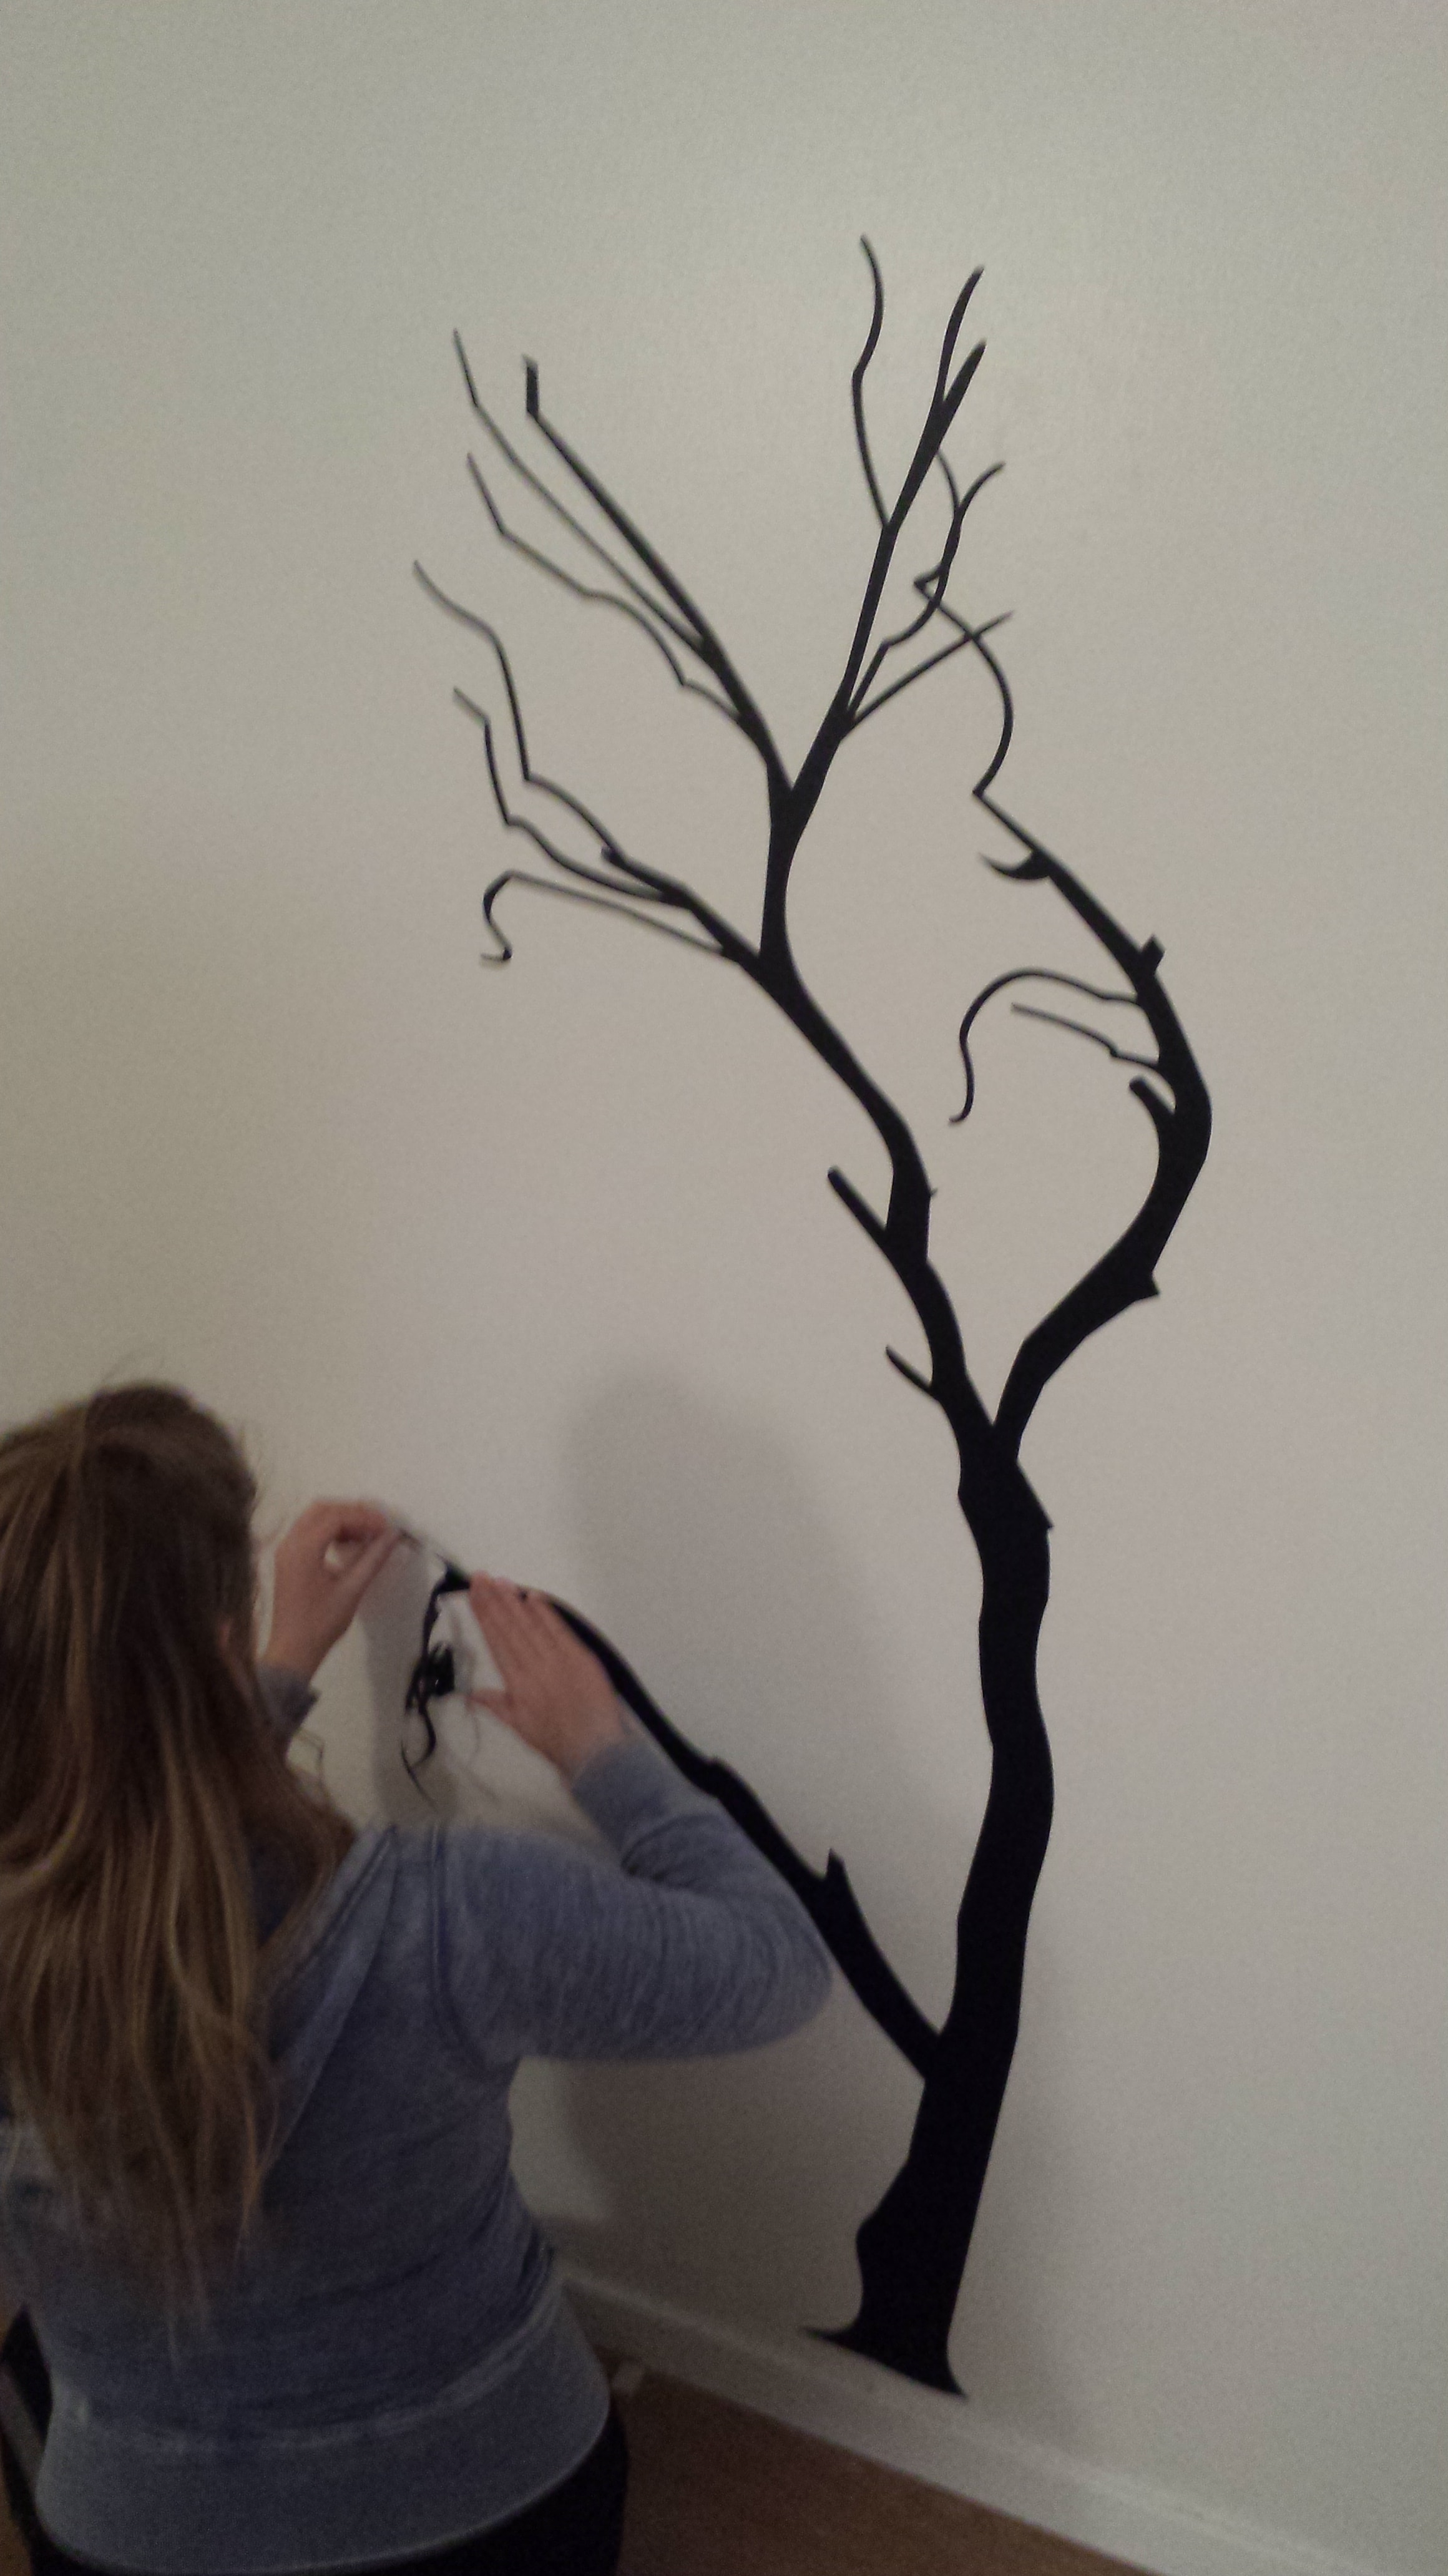
My SO insisted that she do all the task of setting the tree on the wall. In my defence, that wasn't really a part of the assignemnt. Here are both the PDF file for cutting and the SVG file for inkscape:
PressFit design - Laser cutter
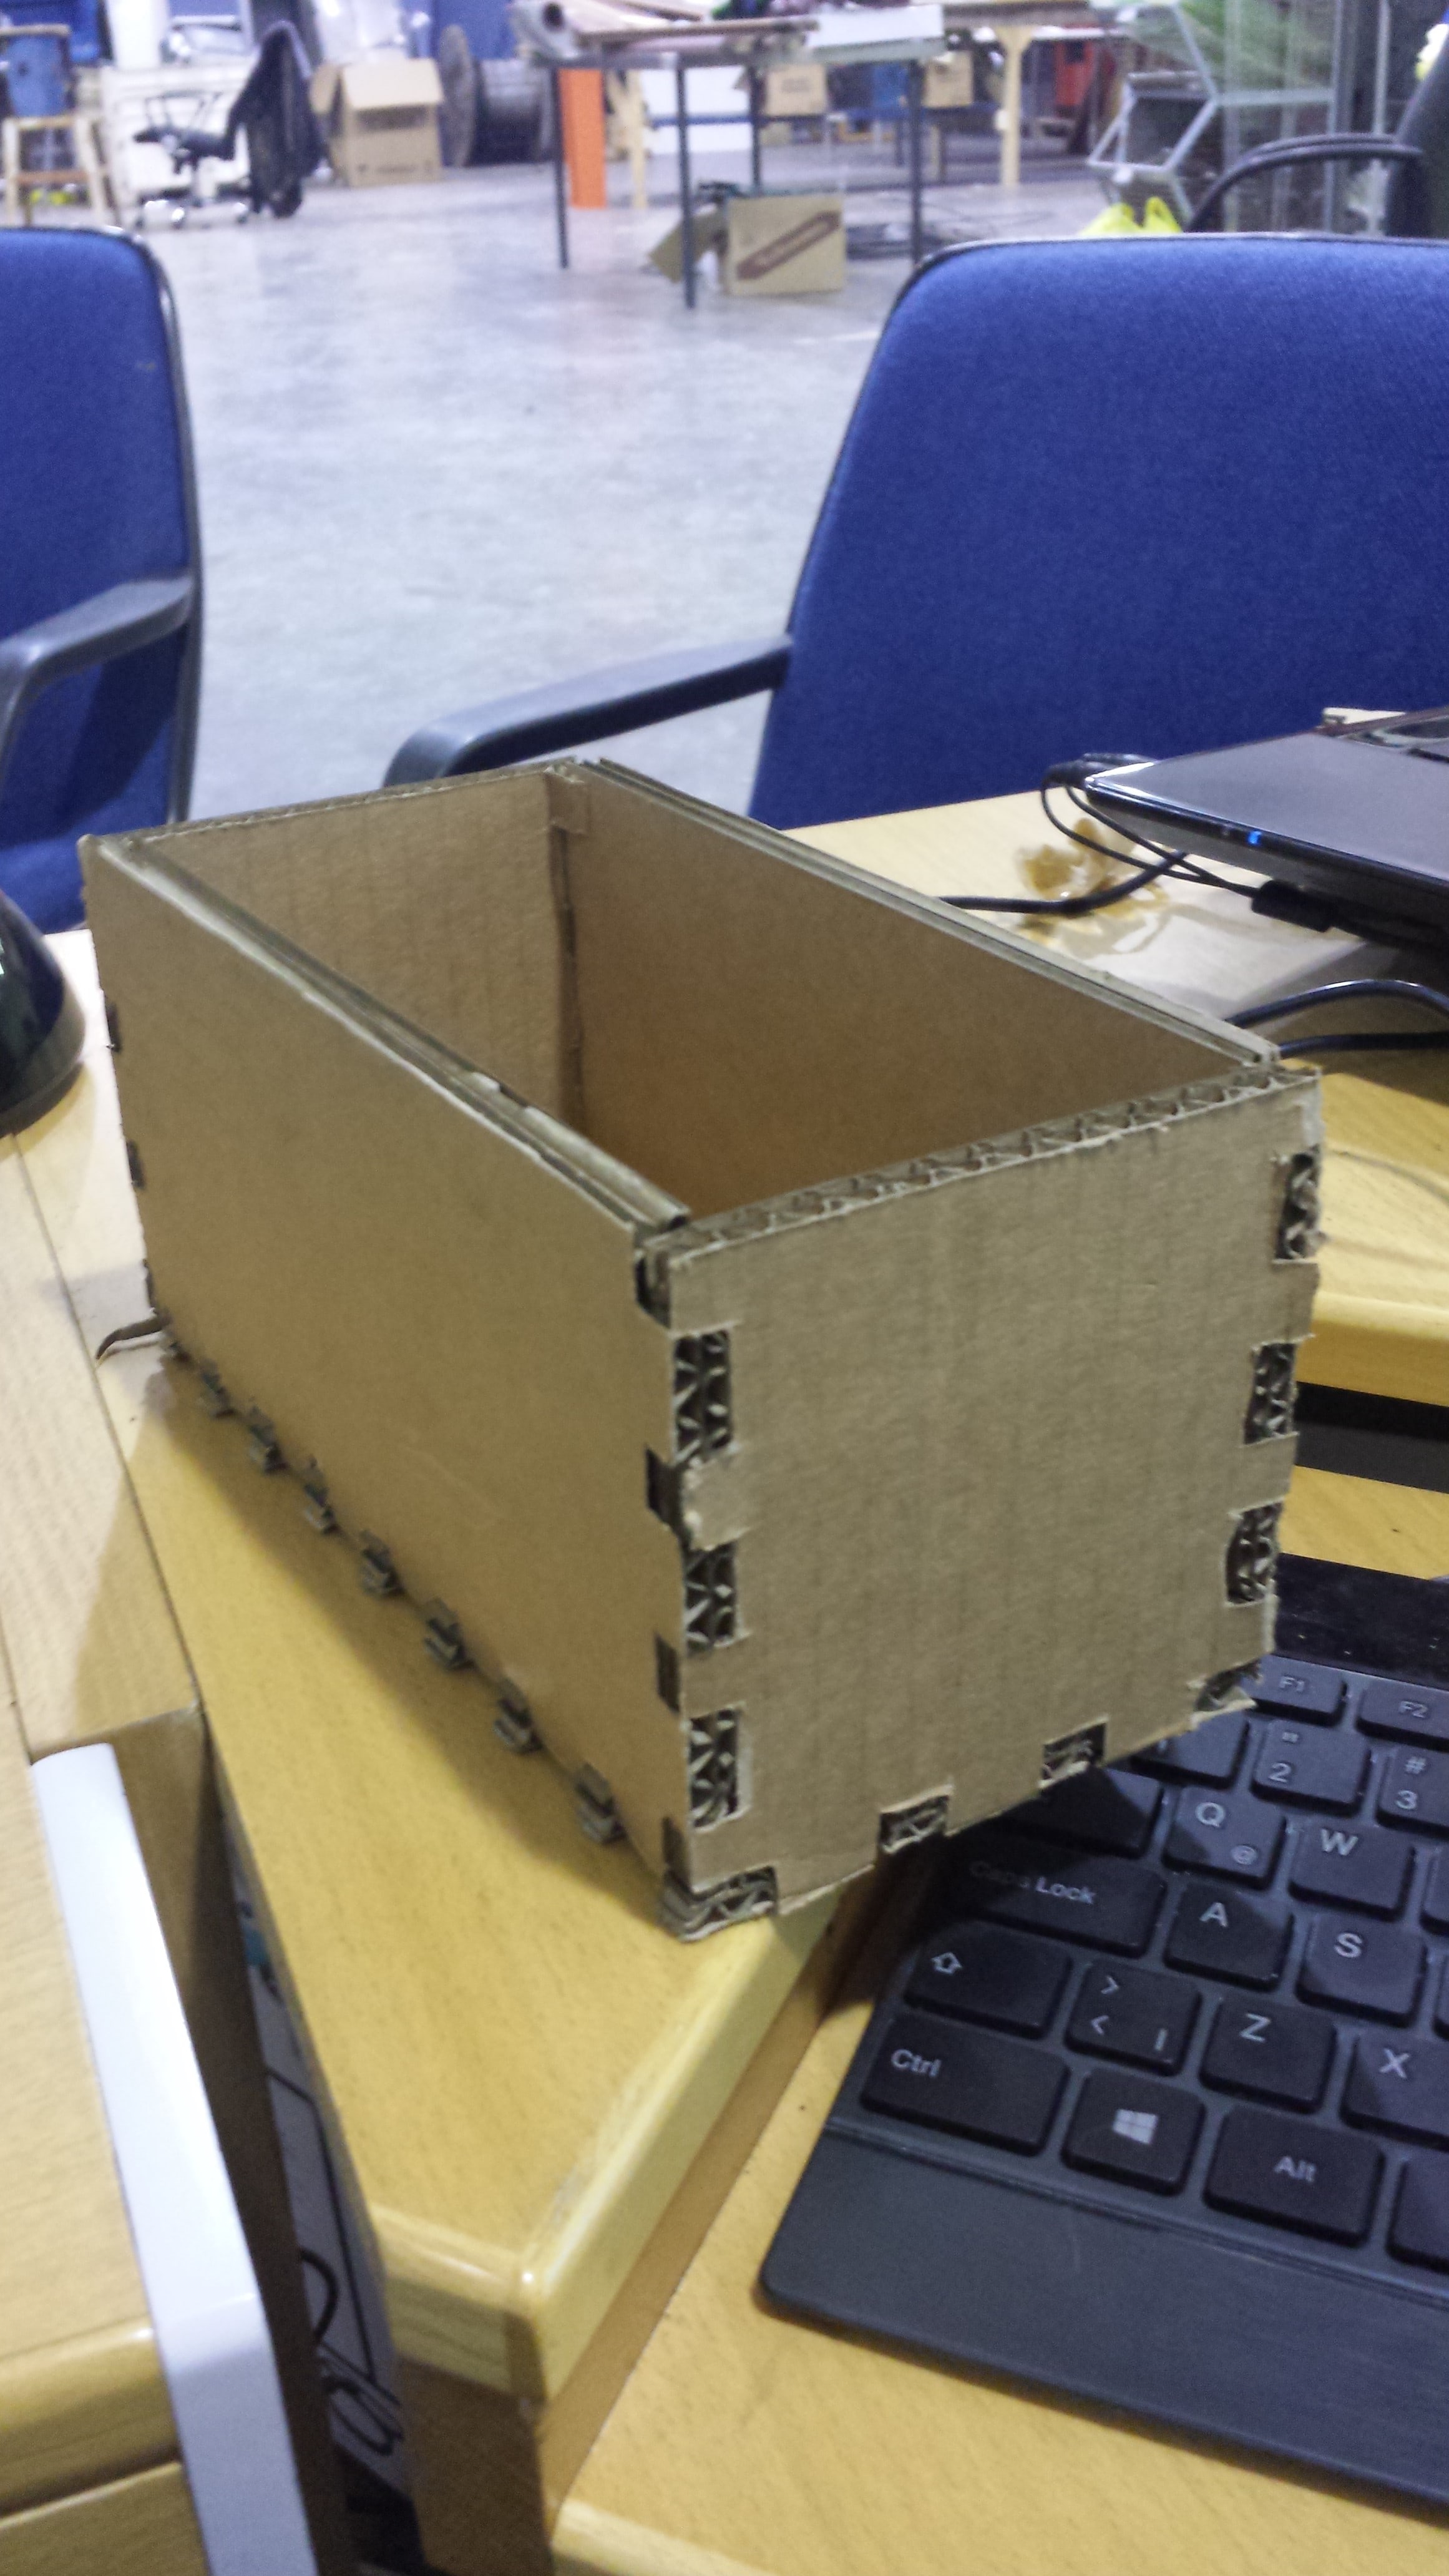
I wanted to mostly practice with the concept of press fit and also work with material in abundance. I chose to use used cardbord that our 3D printer arrived in almost 2 years ago. Who says these things don't come in handy? I started out using inkscape but soon found out that sketchup was much easyer to design my box, even thought I had never used it before. I tried to figure out a way to try parametric functions in sketchup, and was somewhat successful, but it was much cruder so I had to wing it a bit more. Lets get into the process.
I made a little trial in Inkscape first to see how much the pressfit needed to intersect in order to get good pressfit features. I found out that I needed good 2mm of intersection on each side for it to pressfit nicely togeather. I used clones to get the pieces parametric so all of them had the same size and would riple though the design if I needed them to be changed.
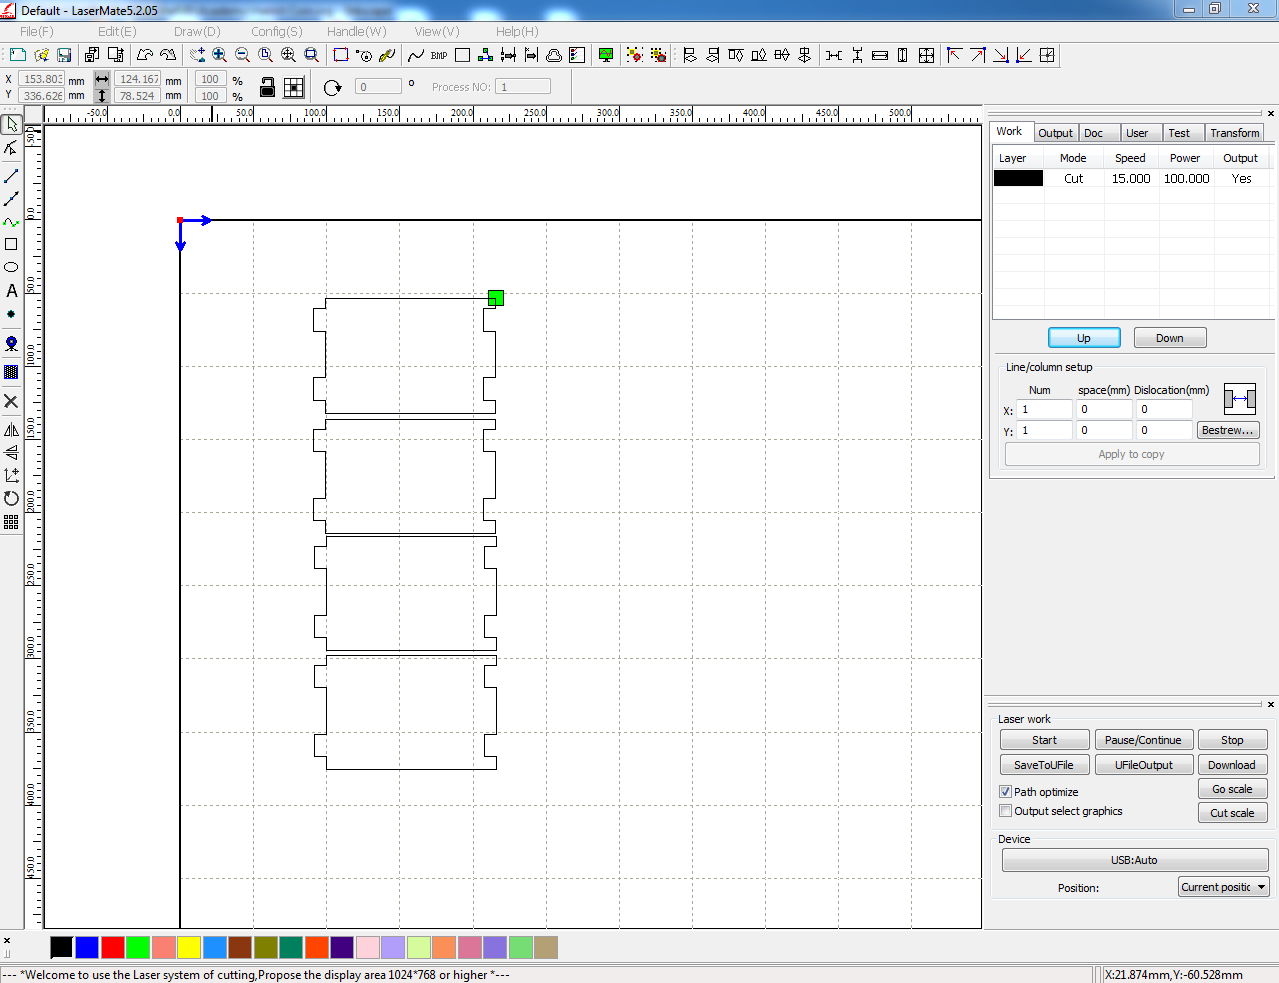
Our laser is called Redsail and is a chinese model. The software is kind of rough, but functional. The laser it self is a 60W CO2 fixed frequency laser. After playing around a little bit with the settings I wasnt getting the same results as I would've with the 40w epilogs that Fablab Reykjavik has. After consulting with the guru in Reykjavik, Bas, and listening to the lectures, I figured that there was something wrong.

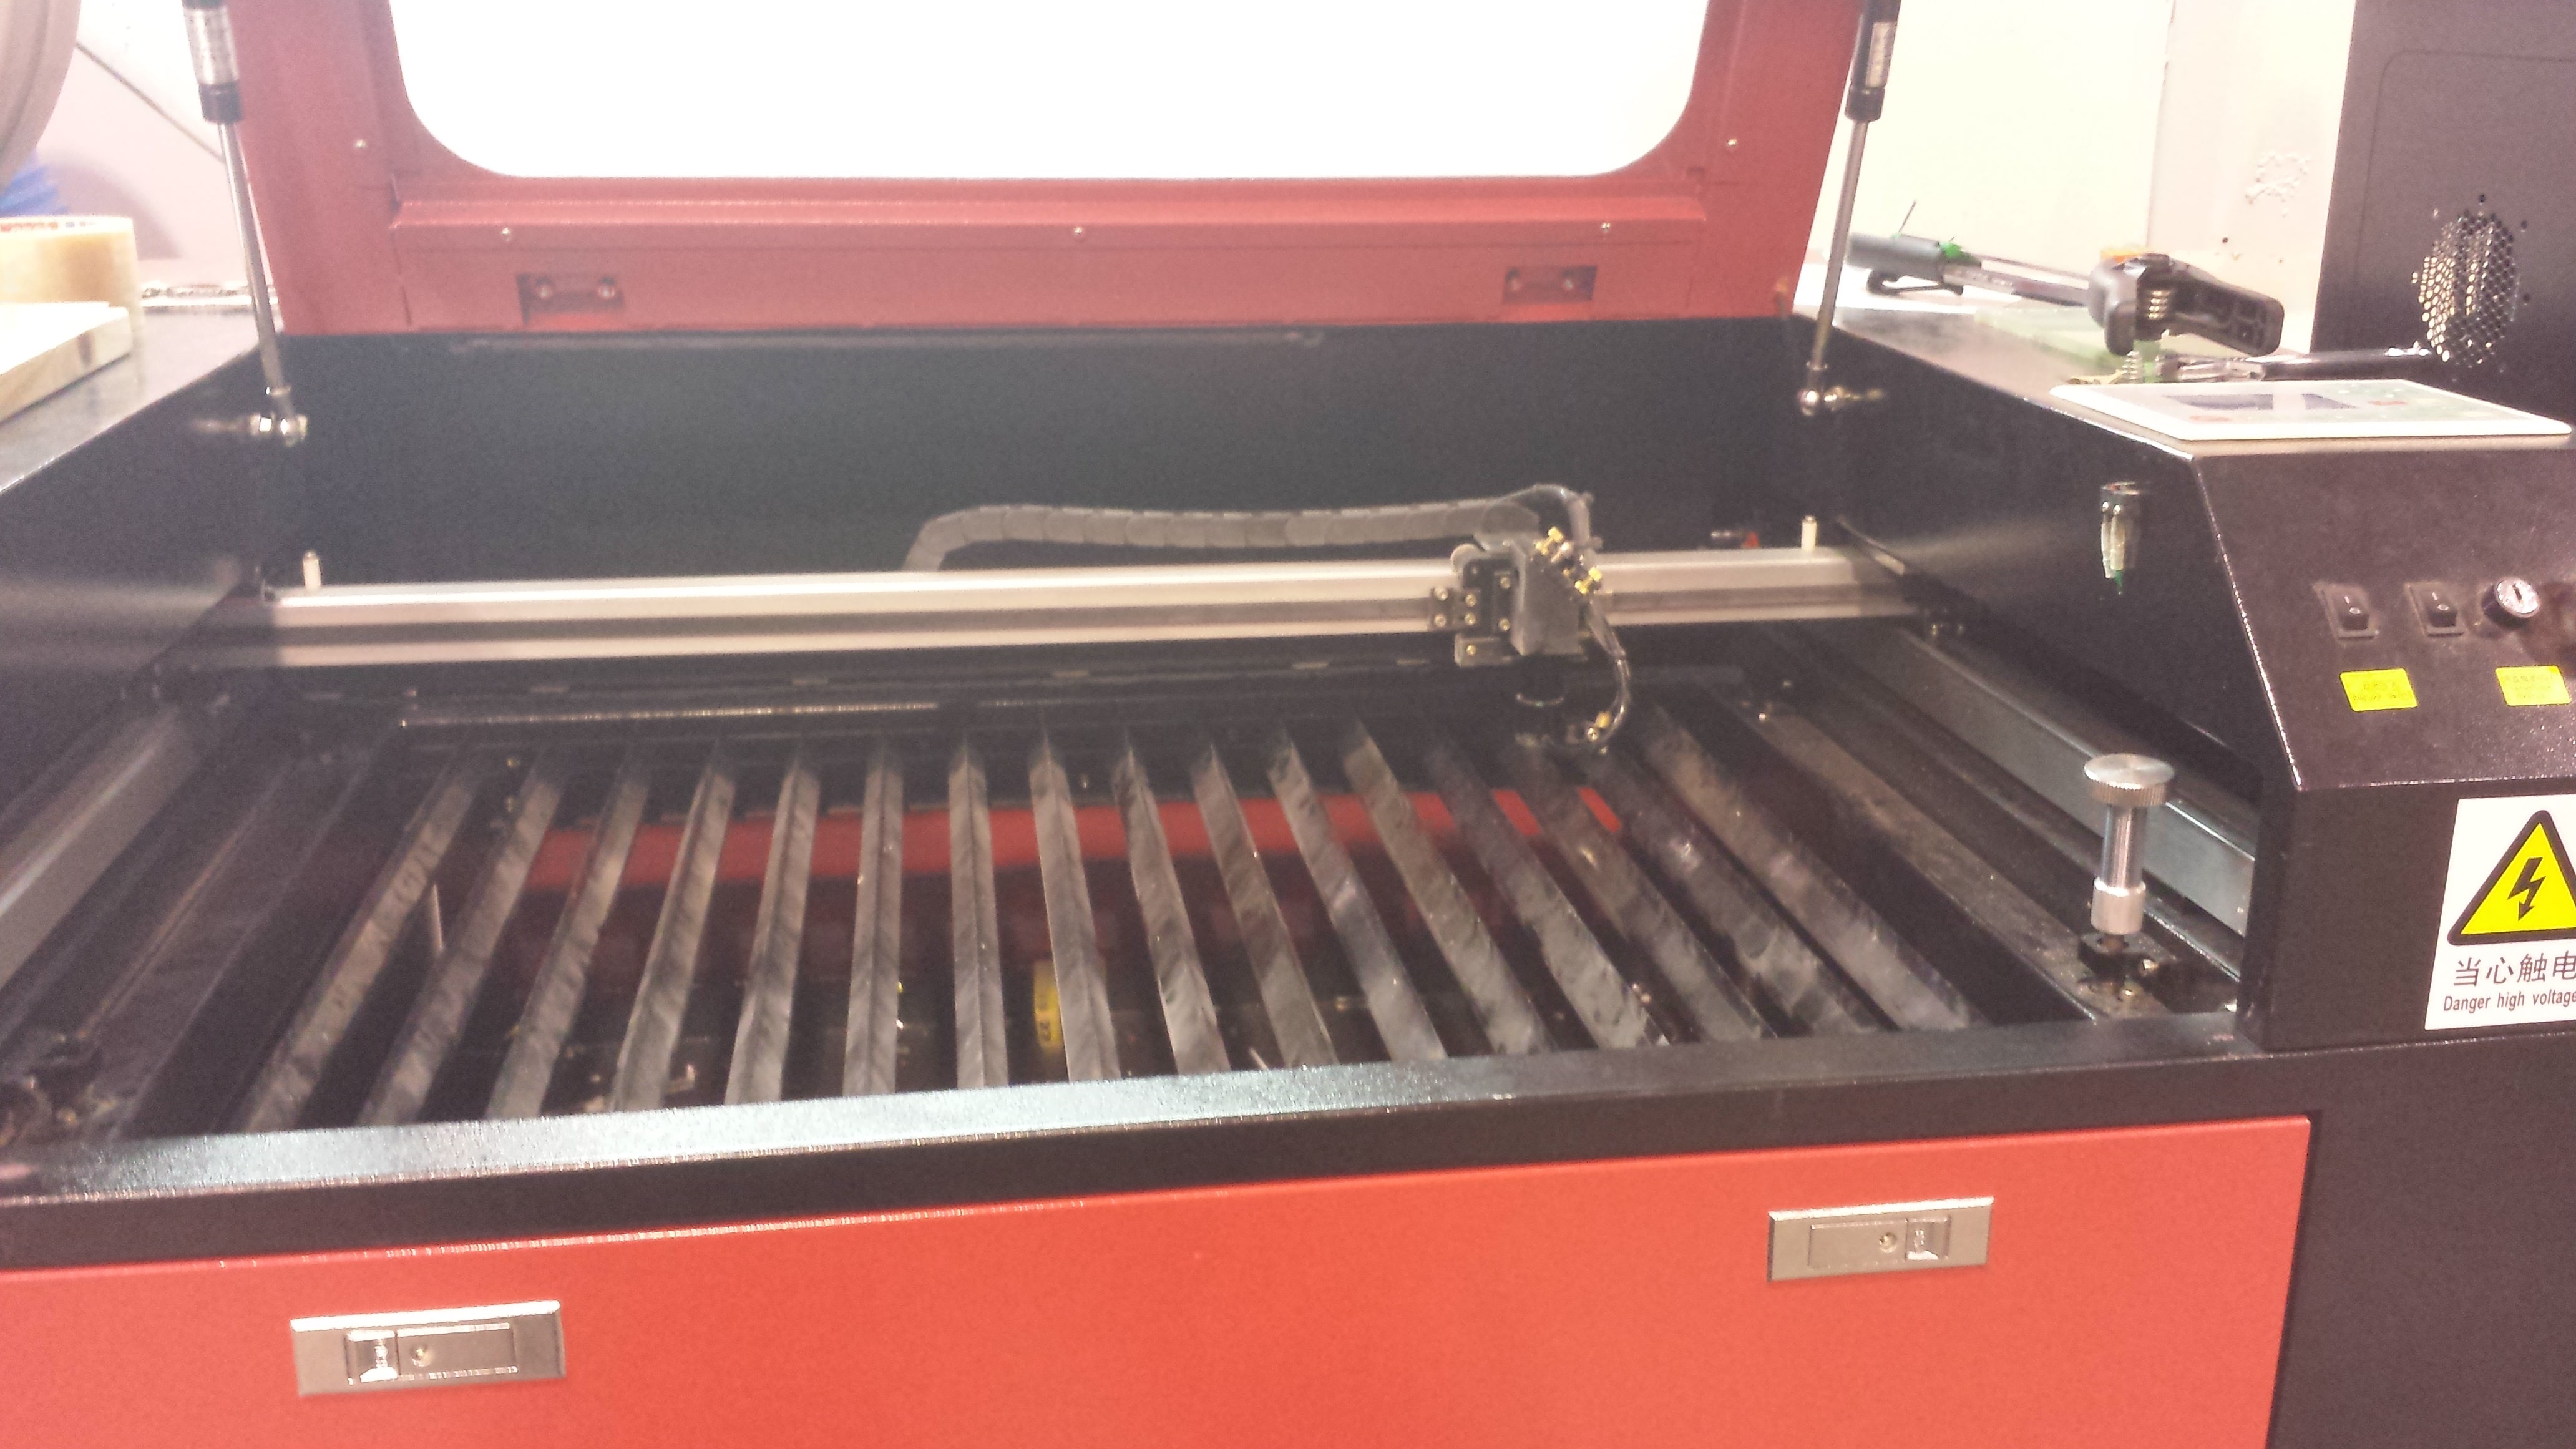
From the images you can see how the lens "fogs" up after being used on and off for about a year. The simptons are a great lack of cuttin power, the machine poorly cutting thick material and a "triangular" cut when the material is being observed carefully. To explain, even though the laser has an air pump that blows in the same direction as the laser beam, dirt - the carbon residues amongst others from the material being cut, sets on the lens itself. Over time, when the laser is trying to break through the lense but cant, energy that would otherwise be focused on the material is dispersed within the lens it self leading to eventual deteriorization. To avoid this, use products such as methanol, alcohol, isopropanol in collaboration with very fine fibers such as cotton or microfiber cloths to clean the lense. Don't use paper, because paper mash can scratch the lense aswell. And clean it regularly - not sure how often, but deffinetly not just yearly.
Anyway, after switching out the lense and trying again I found that 15mm/s and 80% power output was sufficient to cut the cardboard in one turn. I was using 7mm carboard that I found at the lab.
So after having used inkscape to do some trials, I decided to try out Sketchup for the same purpouse.

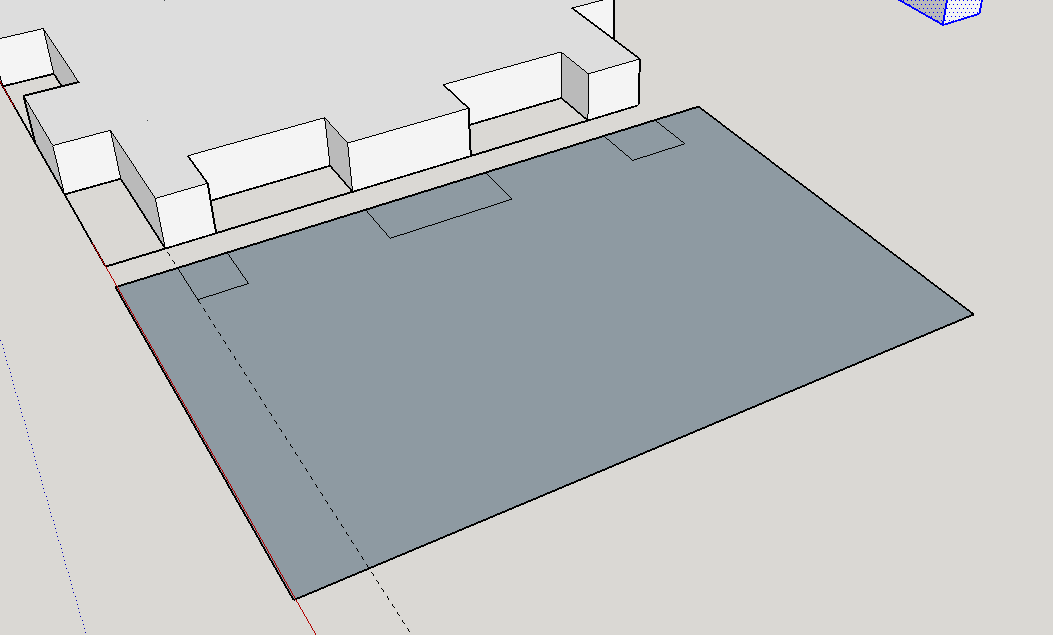
Sketchup is really nice and allows for some parametric design, but since I was a bit rough in using it I only managed to use some features of it.
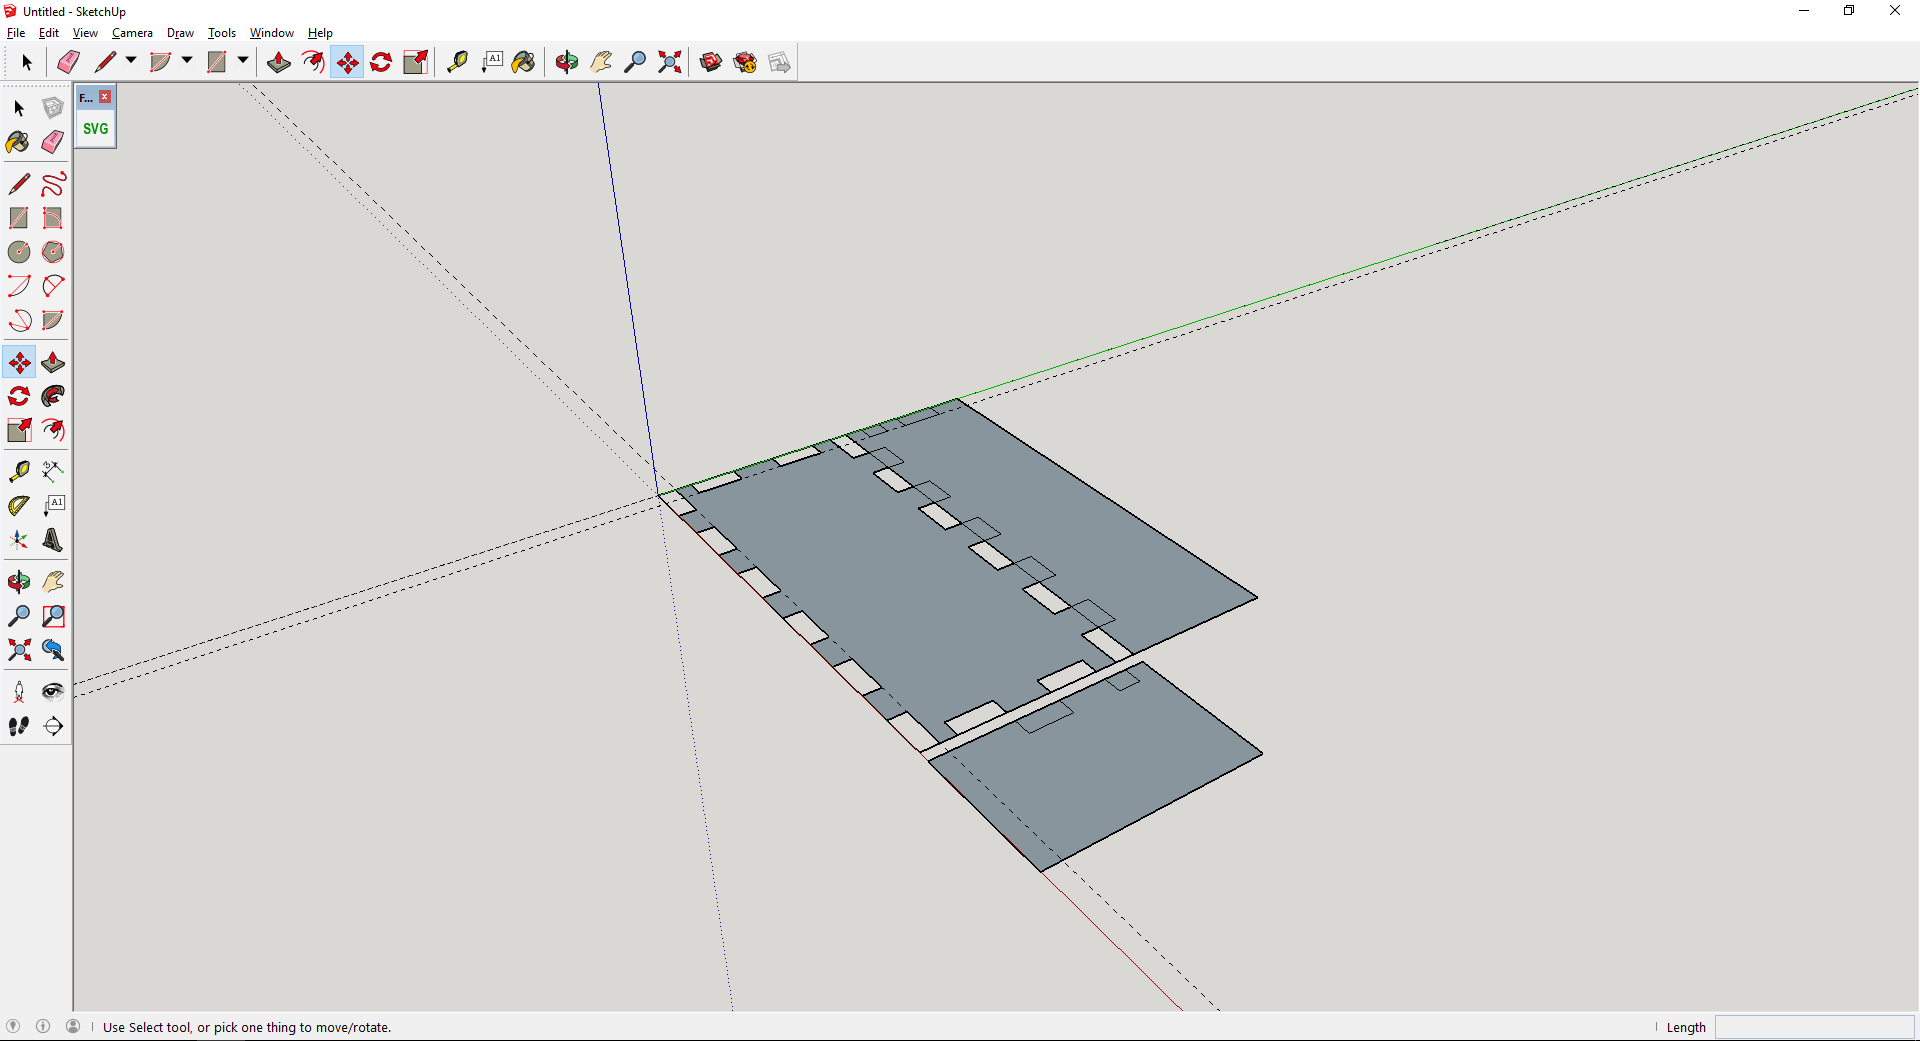
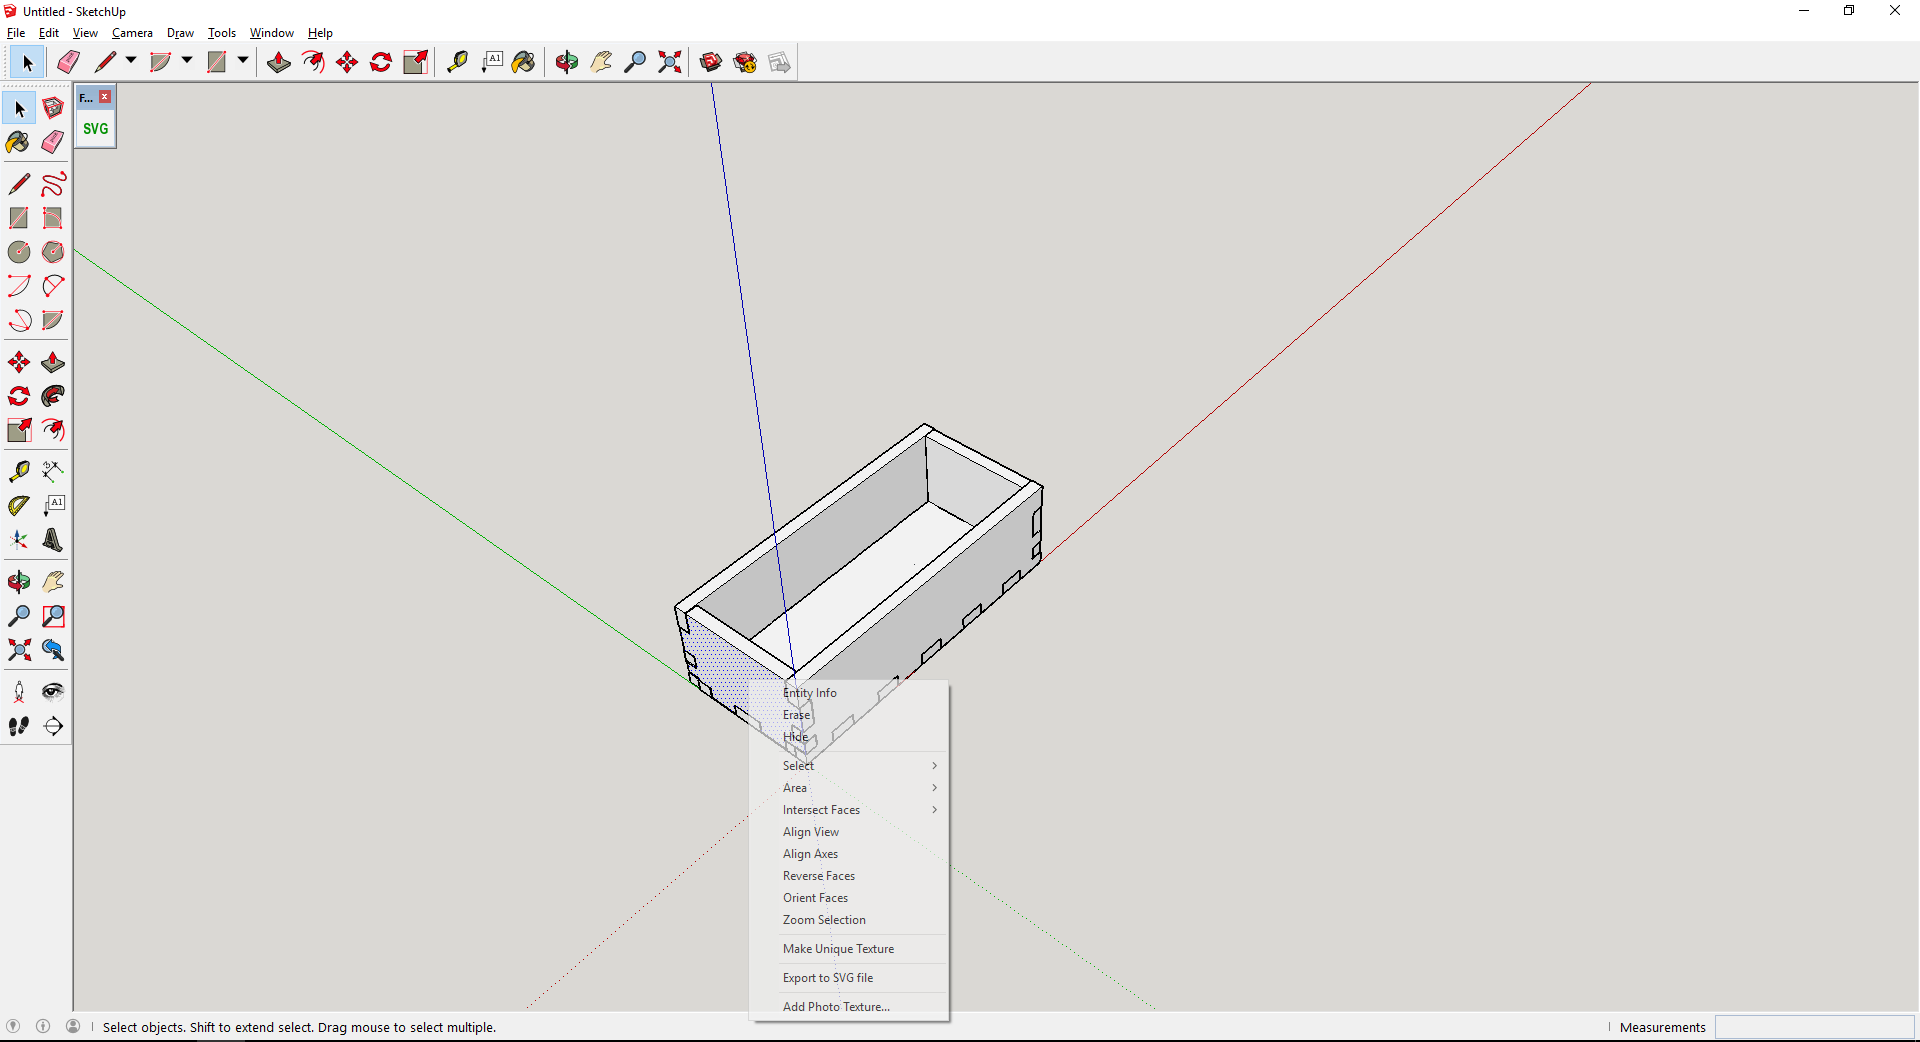
Anyway, after I had my box ready I could visualize how it would look like after completion. Sketchup allows for an exportation of each individual face in 2D. So by selecting a face, right clicking you can ask it to export to SVG file. I exported all of the relevant faces and imported them into inkscape afterwards.
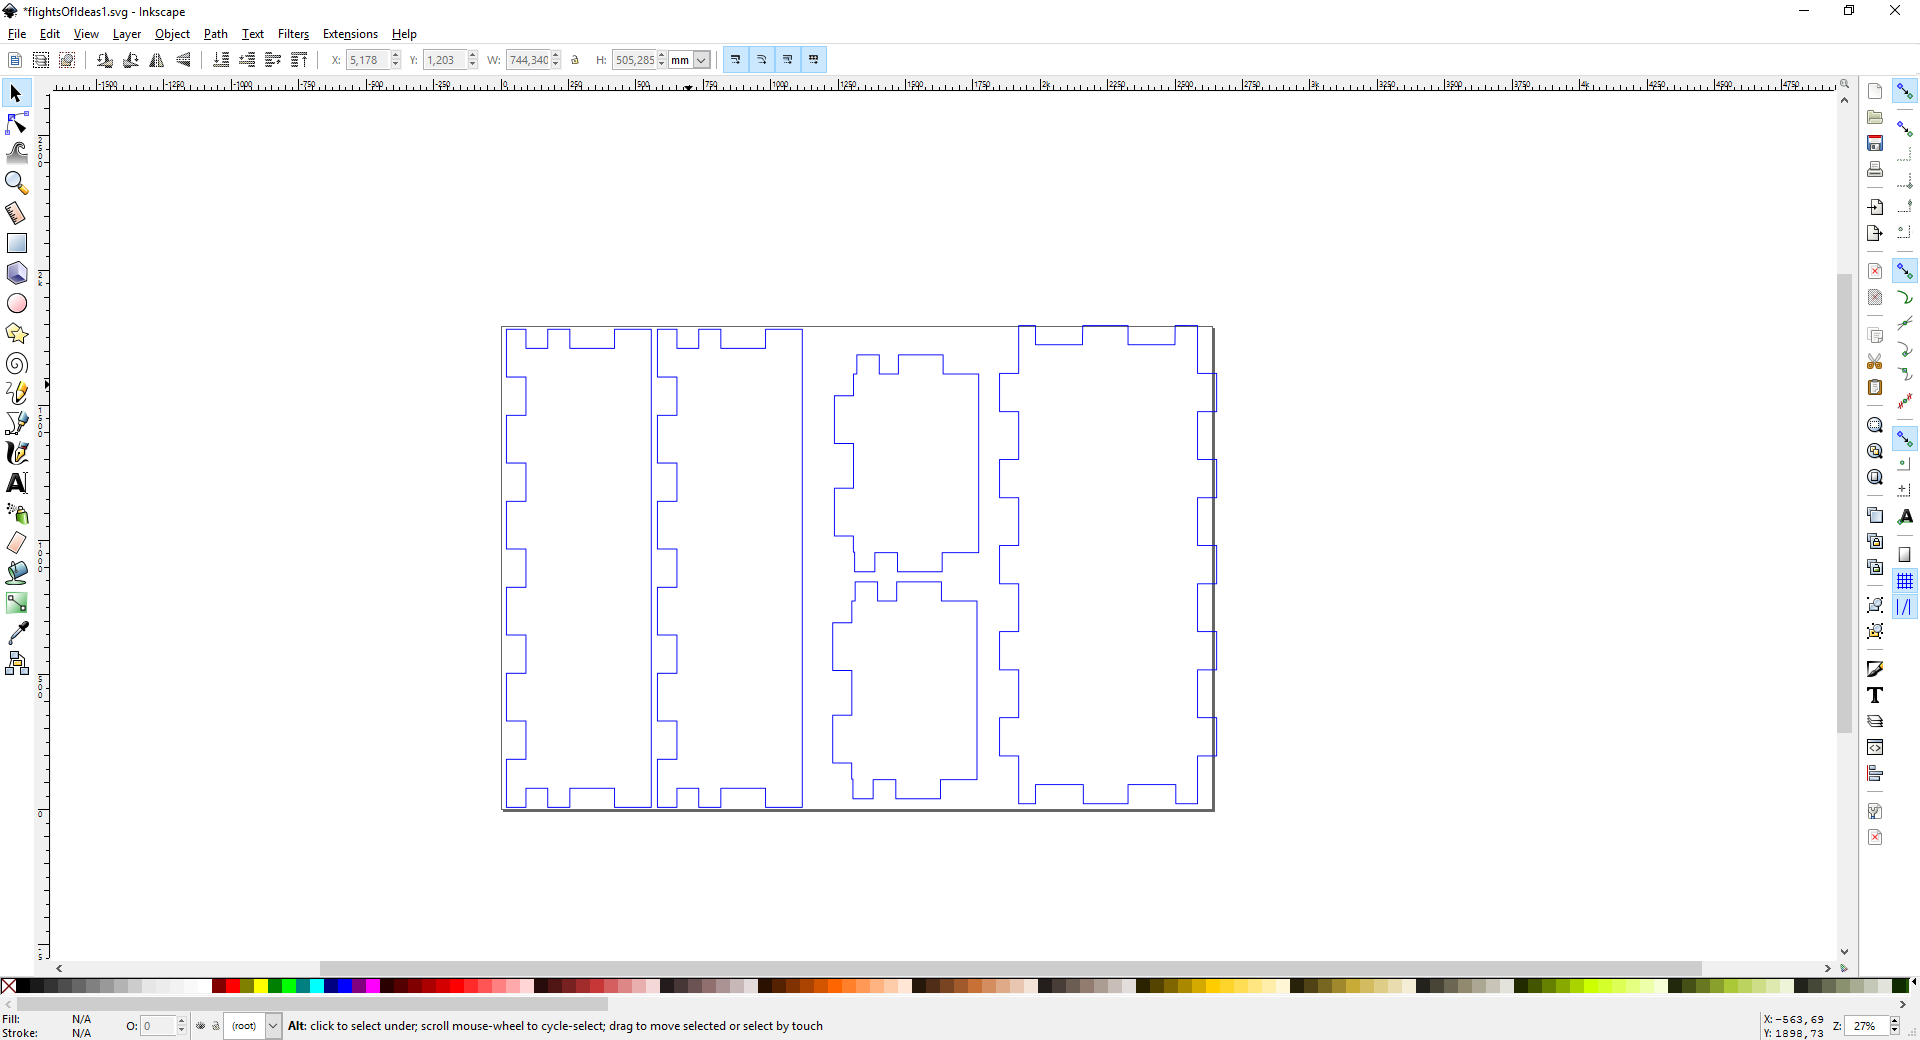
So in order to appropriately use the files for laser cutting I simply needed to fill the models and remove the outlines.

So here is the simple box after assembly!
 Inkscape, sketchup and PDF versions
Design a prototype of the final project frame
UPDATE 31 mai.
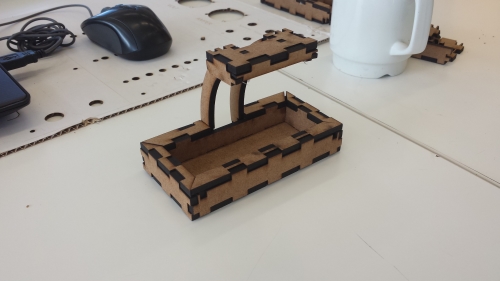
Lasercut model to test the 2d file from week 2.