Week Four
This weeks assignments
- Download design PNG
- Mill out design
- Solder parts to design
- Program controller with another controller
Practicals, again!!
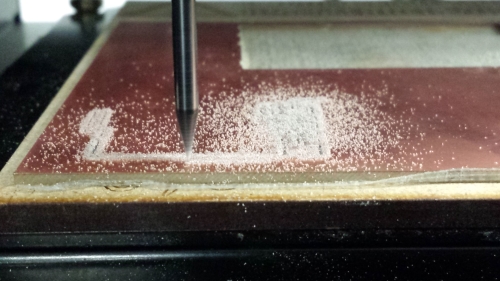
Mill out PCB
Milling out PCB's is awesome. No question about it. Its so much cleaner, faster and just overall a much more plesant journey. With this method, there are no holes made in the PCB and the modules are soldered straight ontop of the copper parths. But first, how to get the file and how to use fabmodules! Navigate to the student resource page and close to the bottom there should be this bit of clickable text:
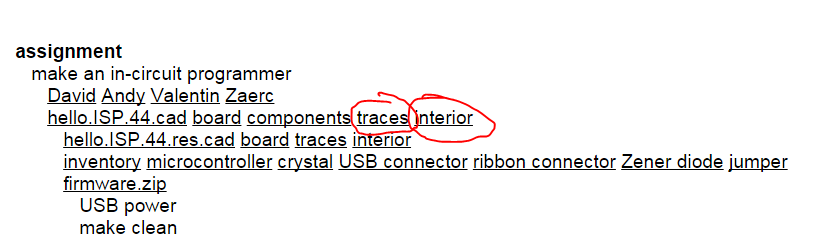
Save the PNG's, the ones seen below.


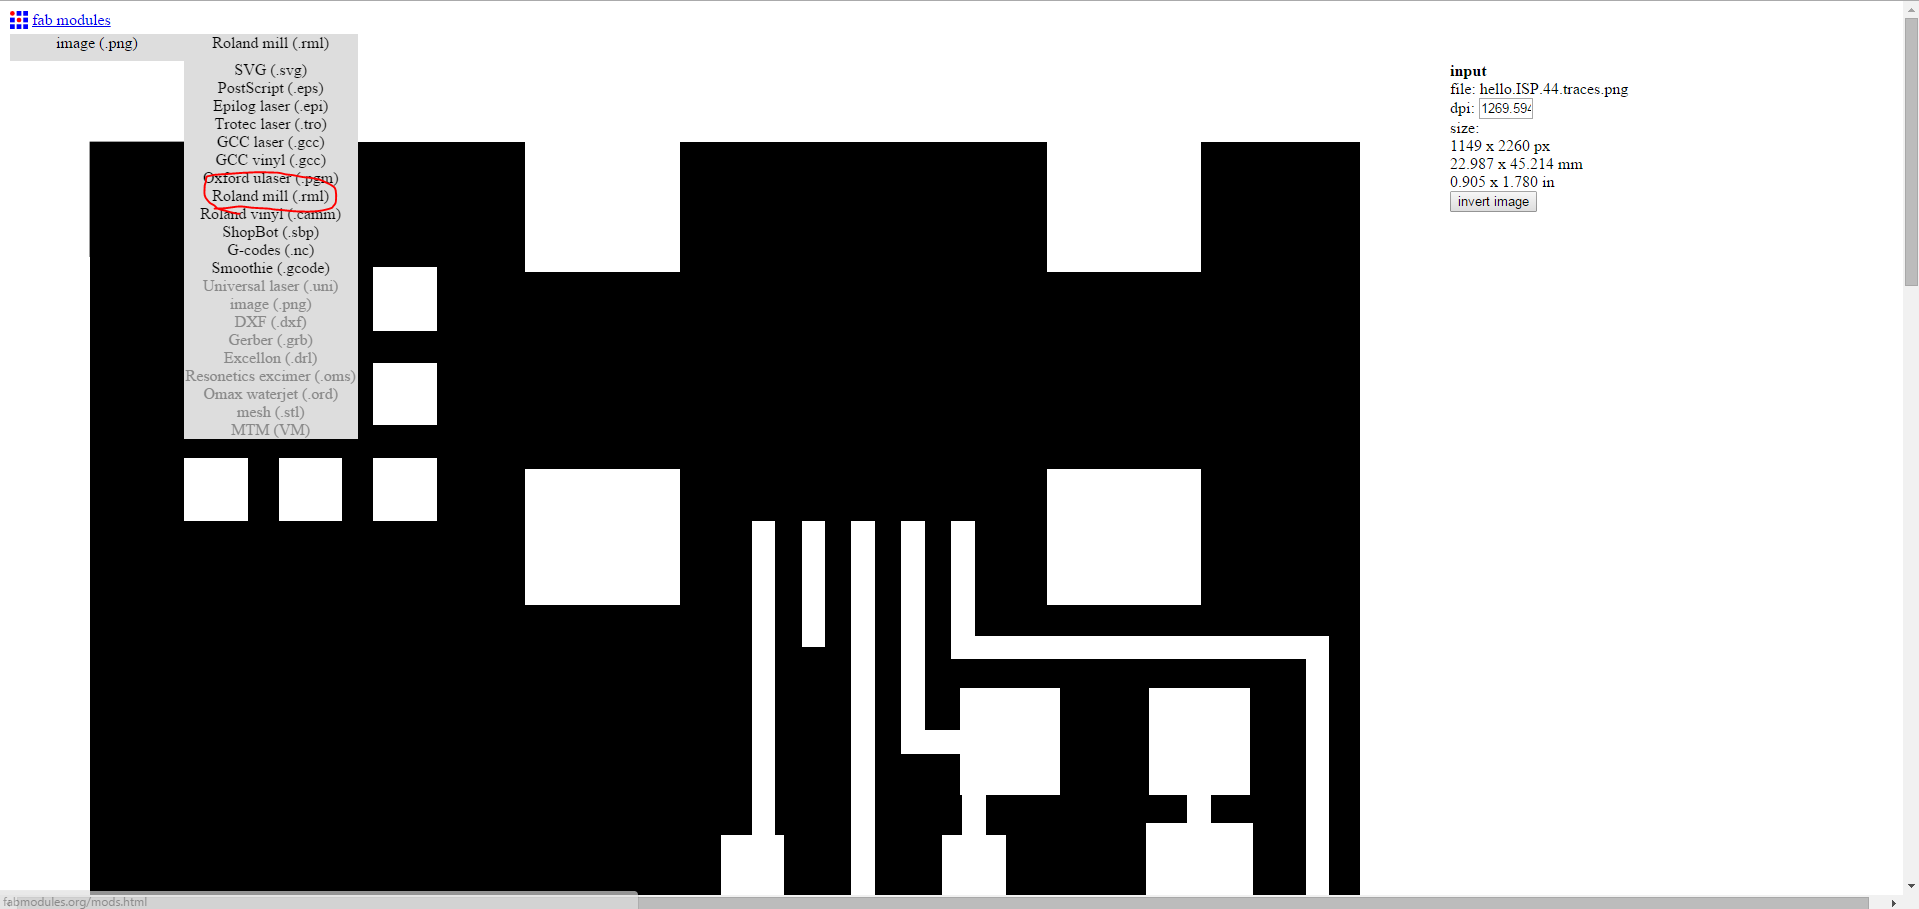
One of the PNG's is for the paths of the PCB and the other one is to mill the board out of a solid PCB plate. Next navigate to FabModules.org. You should be promted to this screen:

Choose PNG and navigate first to the traces image. Next we choose the output: Roland Mill
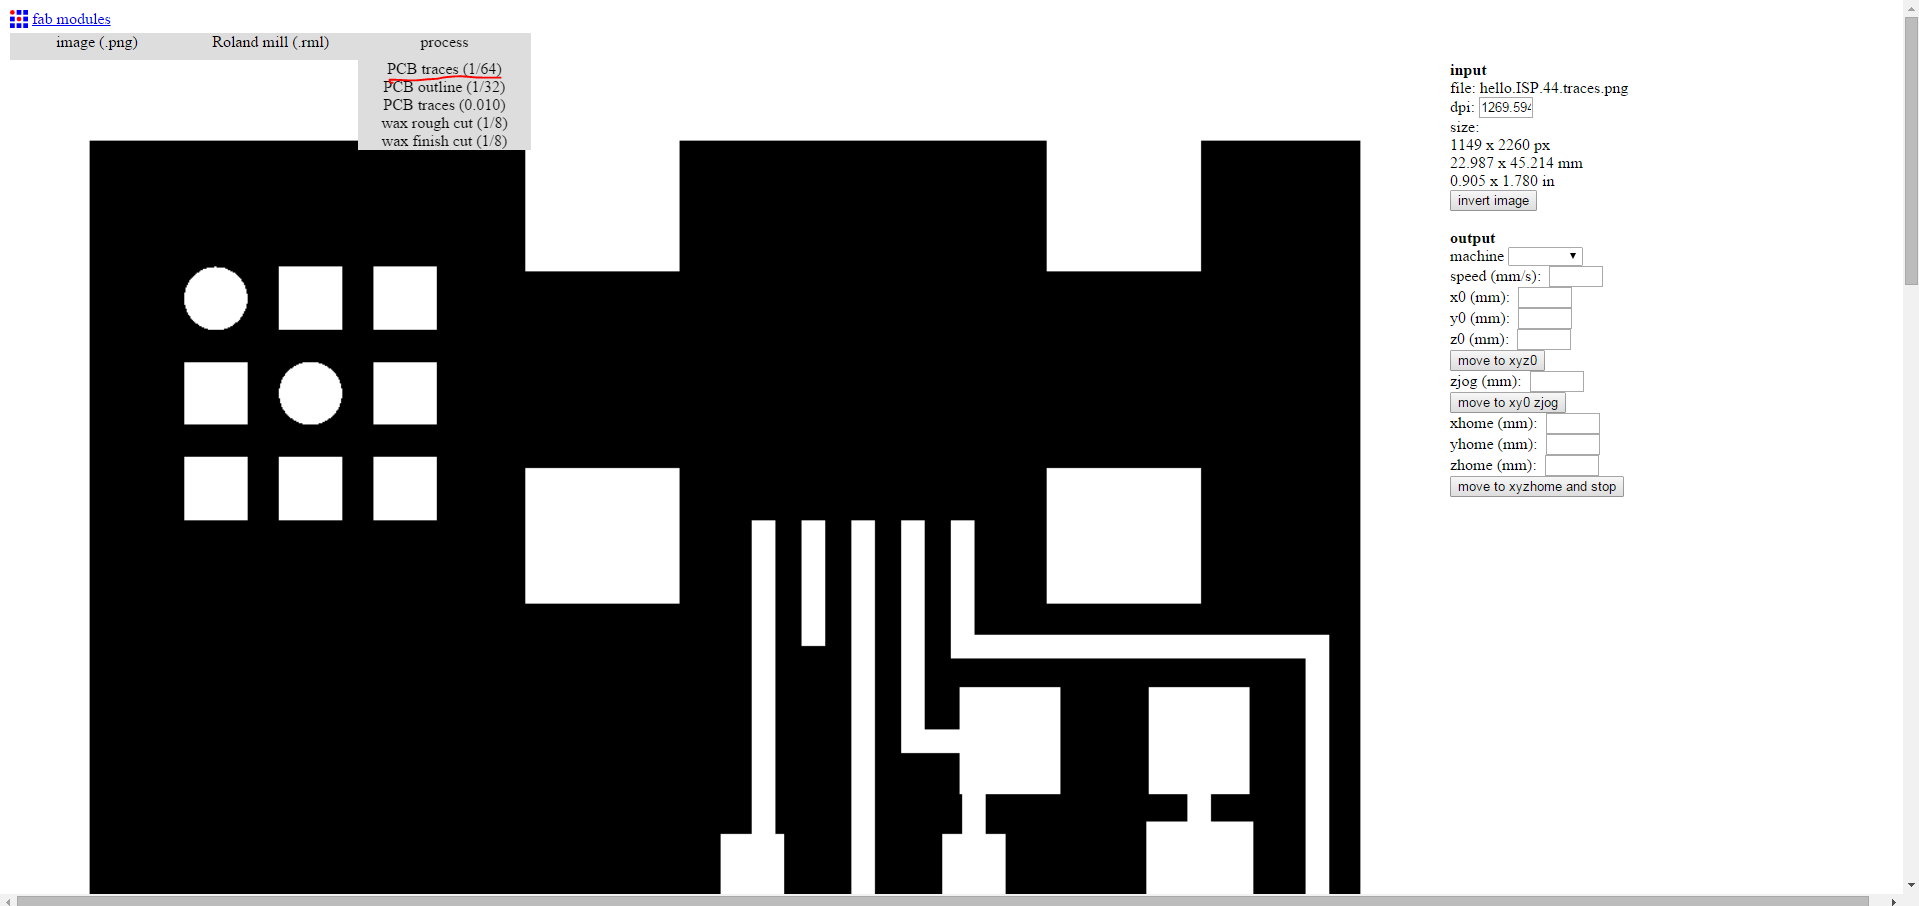
And then the process
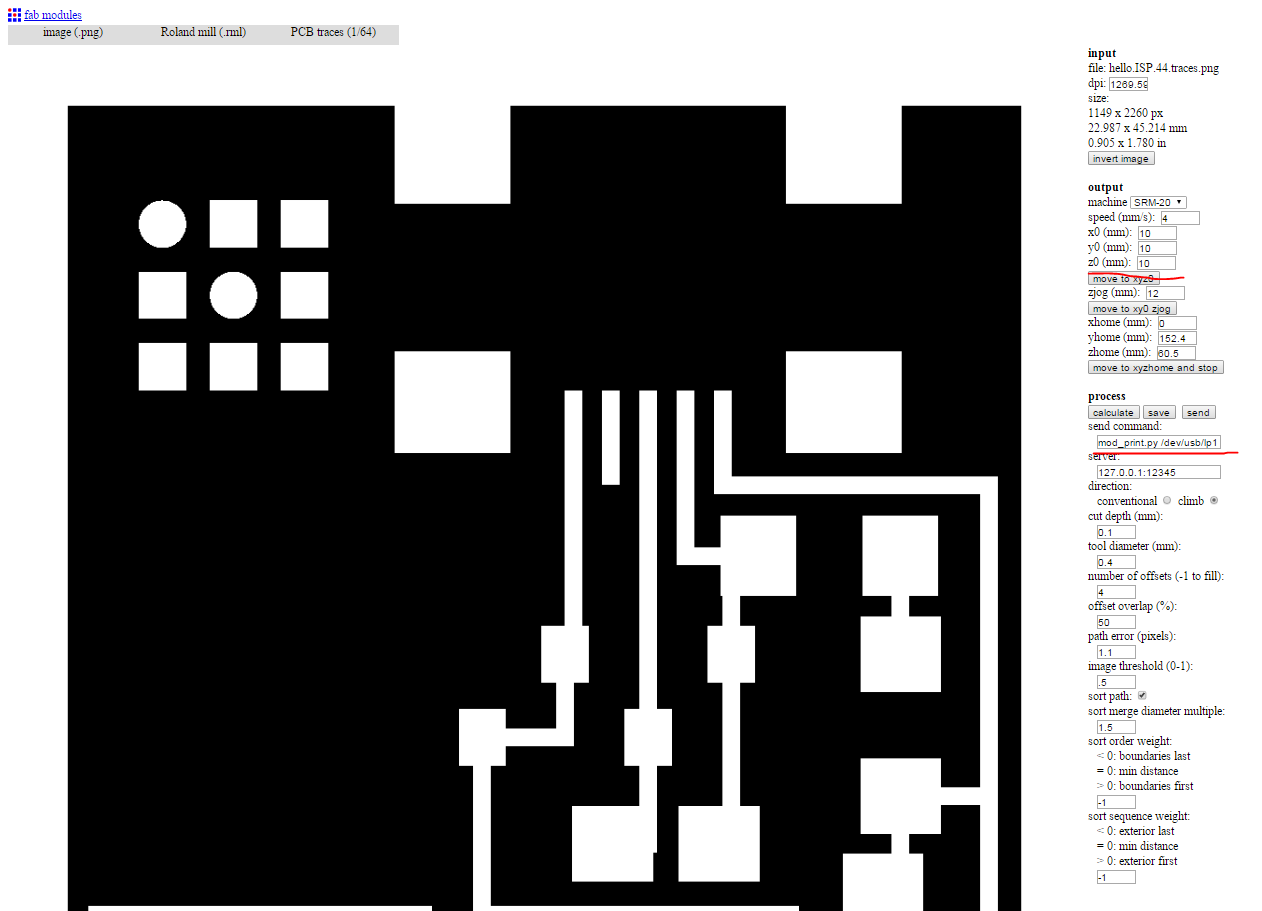
And then we need to make some modifications so that we can actually mill out the board. In our lab we need to add a "./" infront of the mod_print and sometimes specify a USB output. The z-gap is adjusted manually by untightening a screw on the milling bit.
Milling out the PCB...
And soldering...

Programming
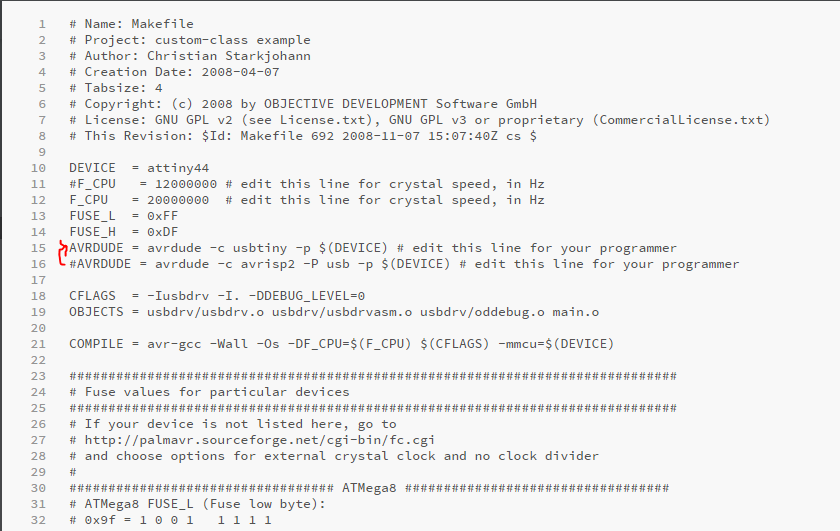
After the soldering part was finished, it was on to program the ISP. This tutorial goes in details on how to program the board. First AVRdude was downloaded from here. I, a windows 7 user, needed to download my drivers for the ISP from here. I navigated to the makefile, where I needed to change one line of code. Basically the hashtag needed to be erased from one line and added to another, basically changing it from usbtiny to avrisp2.
Now we shift+rightclick on the folder that contains the makefile and "run command window from here", and then in the command window we write:
- AVRdude Make clean
- AVRdude Make hex
- AVRdude make fuse
- AVRdude Make program
This should program the ISP the way we want it. After this is done we need to remove the jumpers on the ISP.

And here is a similar piece that I found around the lab that is for comercial usage.
