
The aim for this week’s assignment was to create a press-fit construction kit, cutting it with the laser cutter machine. I thought of using a new program for me which is a parametric program from Autodesk: 123d make but first I decided to use the parametric options in Autocad because I normally use this program but I’ve never design anything with the parametric options in order to design something parametric with this program.
As I was going to use white cardboard to do the assignment and I had to do some pieces to test the tolerances between them, I thought of doing these pieces with Autocad. The shape of the pieces are very simple, it consist on a press-fit circles that allow adding more pieces.
I started drawing the circle and all its parts giving each one its properties. The Autocad parametric options are very simple you have to choose which elements are equivalent with the same measures and you establish some rules between these elements so if you change a length all the model changes at the same time.
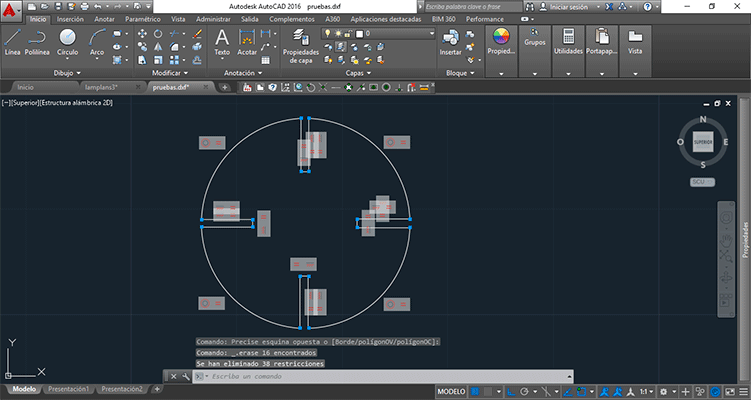
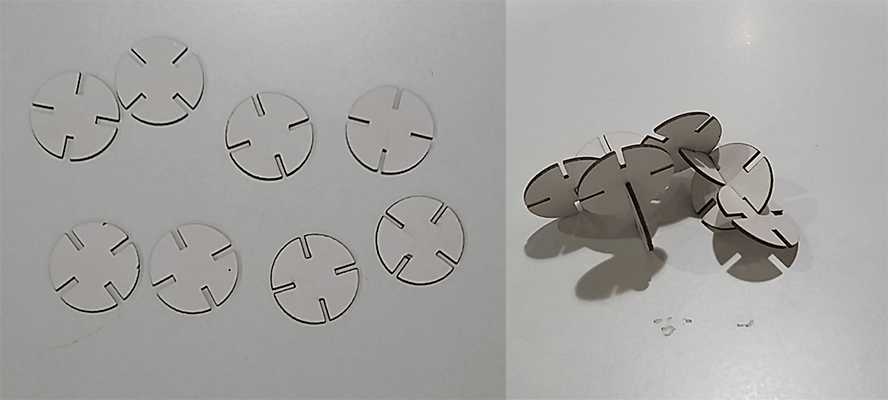
I was going to use 1mm white cardboard so I printed 8 pieces of these with different measures: 0.8 and 0.7. I saw which type of union worked better and I reached the conclusion that the one that fitted better was the one that measured 0.8. So the plans had to be like this.
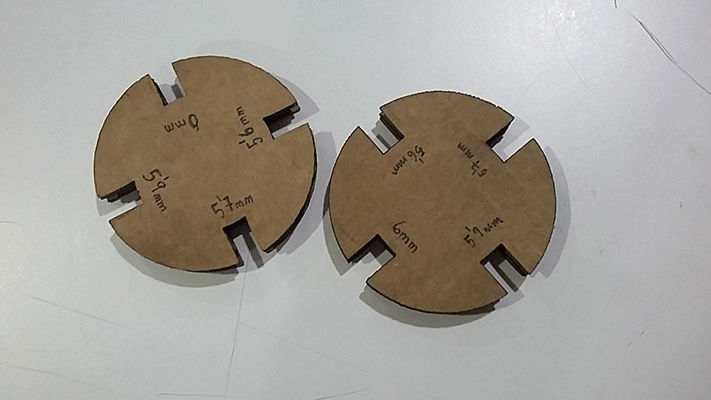
I also did the press-fit construction kit with corrugated cardboard of 6mm. I did the same things as with the white one but as it was another type of cardboard I had to do other tests. I gave different meassures and then I selected the one that fited better.
I constructed a posible model for the pieces.
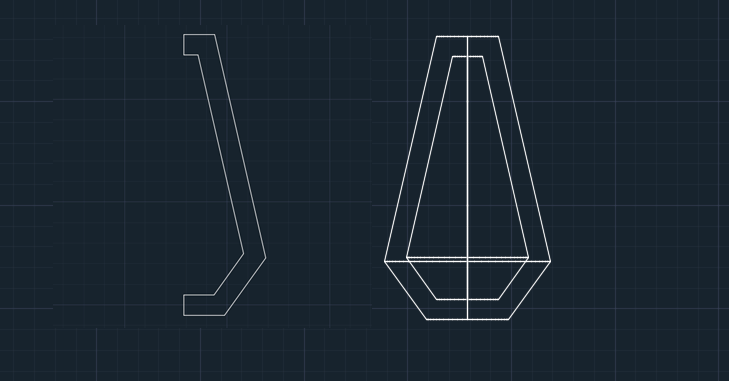
I designed my model with Autocad, is a very simple shape that in the future could be a lamp. I create its profile and then I revolved it 360º. I exported the model to (.stl) format in order to manipulate it on 123D make.
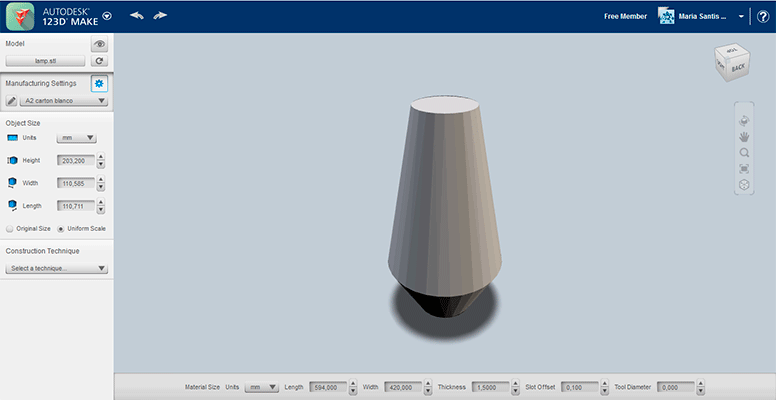
I imported the file to 123D make. The interface is very similar to 123d design and meshmixer. The first thing I did was editing the model properties selecting the correct units: I work in mm so at the left properties I selected (mm). I introduced the size I wanted the model to have because the program gives you the option of editing the height, width and length.
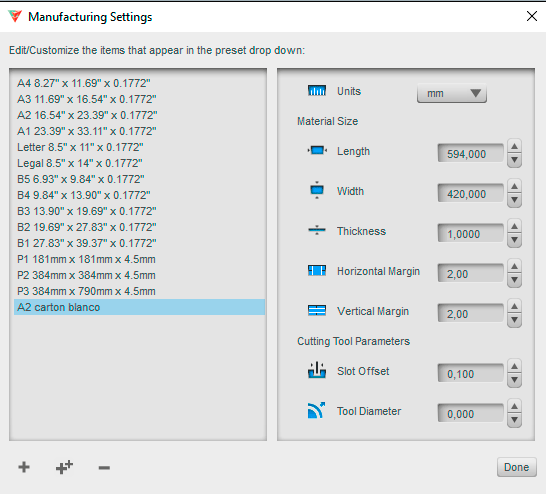
Next step was selecting the material properties. I created a new material with the one that I was going to use: a A2 of white cupboard I introduced the measures of the cupboard sheet: its length, width and thickness. I also had to introduce the cutting tool parameters selecting the slot offset: as the correct union of the pieces was 0.8 and the cardboard thickness is 1mm I put 0.1 of slot offset.
Then I introduced the manufacturing properties with the construction technique in my case radial slices. You can chose in which direction you want the slices, how many ...etc I selected 11 elements on the x axe and 3 elements on the Y axe.
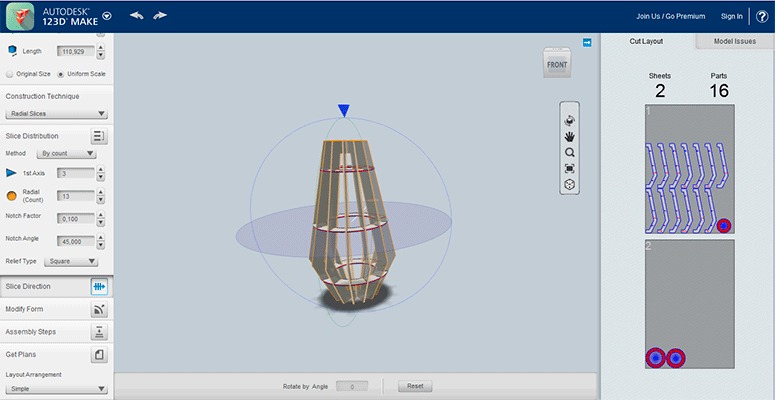
In the following video you can appreciate how I edit the manufacturing properties according to the final result I wanted.
laser cutting 1 from msantisteban on Vimeo.
I printed the plans in dxf but I had to edit it in Autocad because I wanted to use the less material as possible so placed the different pieces in a different directions.
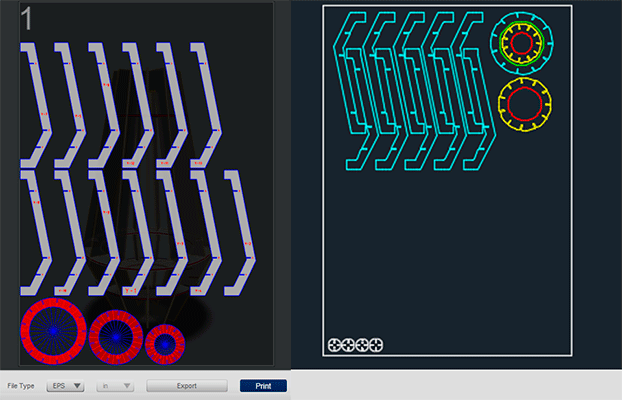
I opened the lasercut program and imported my file. I did different layers depending on the order I wanted them to be printed being the inner paths the first ones to be cut. Each layer had a different colour and you establish the cutting order.
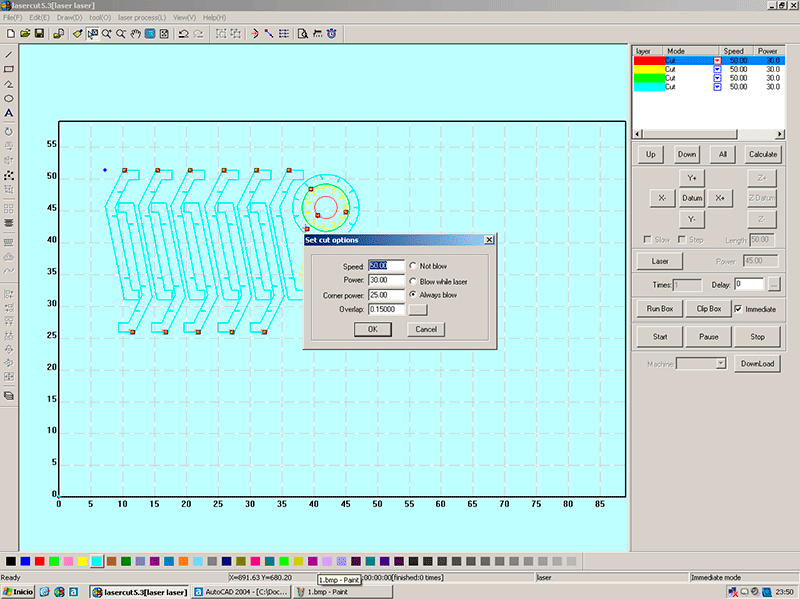
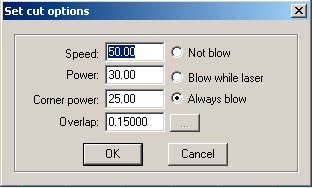
For the 1mm cardboard I used as parameters: 50 of speed, 30 of power and 25 of corner power. As all the layers were cutting paths I gave the same parameters to all the layers.
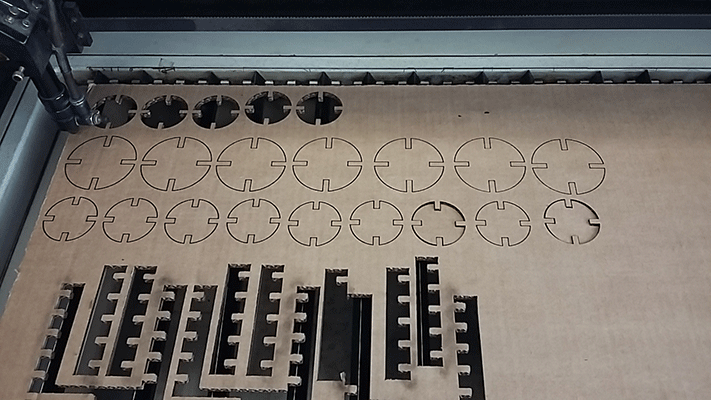
In the following video you can see how he laser cutter machine printed the file.
laser from msantisteban on Vimeo.
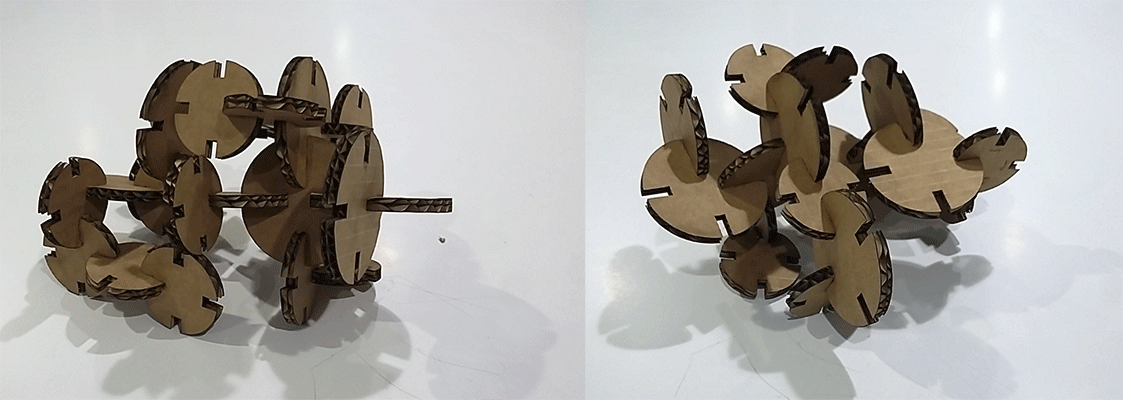
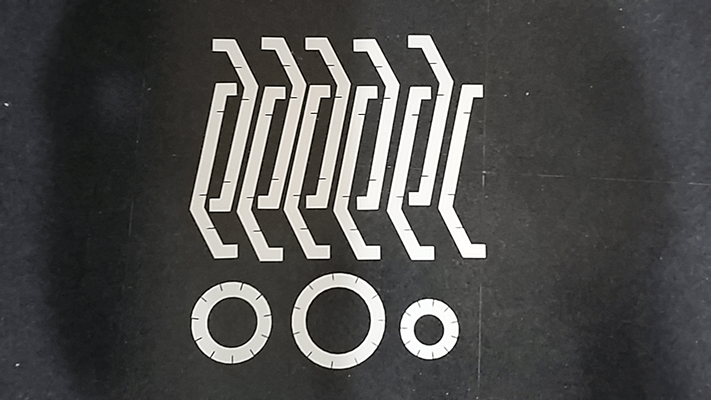
These are all the elements:
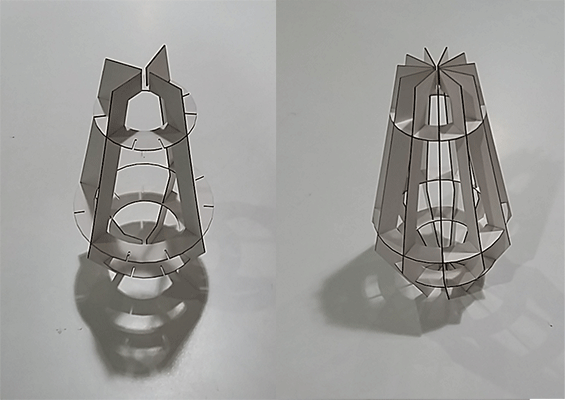
It was very easy to assembly all the elements. The picture on the right is the final result of the model.
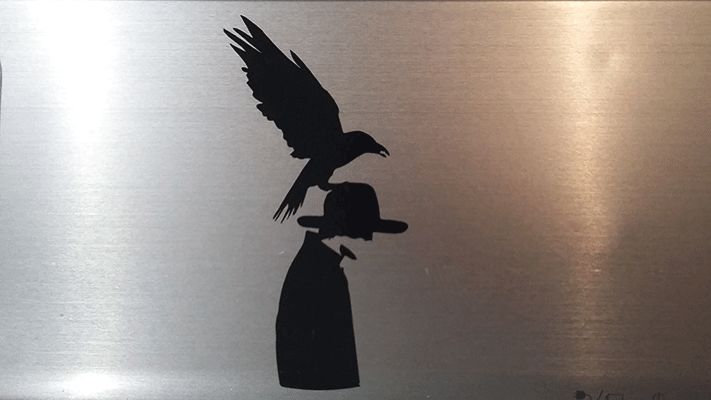
I didn’t know what to do in the vinyl cutting assignment so I thought to create a sticker for my computer. I looked for some images on the internet and I found one that I liked. I save it and then I started editing it in illustrator. I used the vectorize option in order to have its silhouette because for cutting the image in the vinyl cutter you must have closed silhouettes because it’s what the machine will cut.
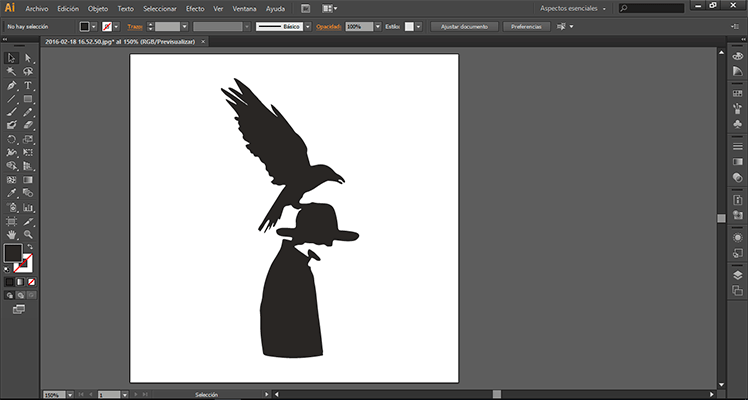
I expanded the silhouette and then I exported the file to illustrator format (.ai) version 8 that is a old version of this format but it’s the one that the machine program understands.
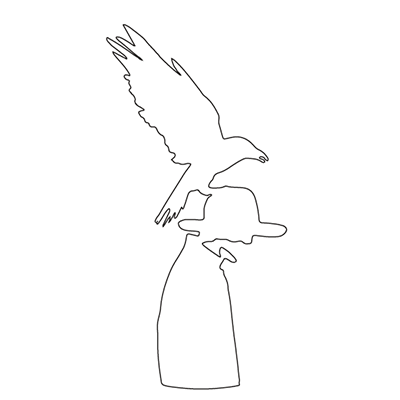
I opened the program Ronald Cut Studio and then I imported the file I did in illustrator. It was only the trace of the image.
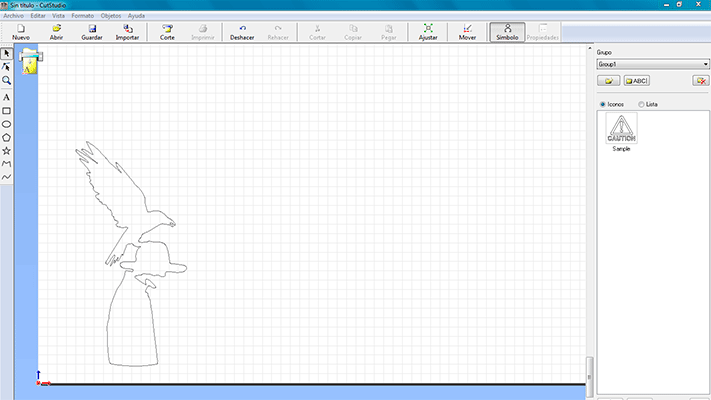
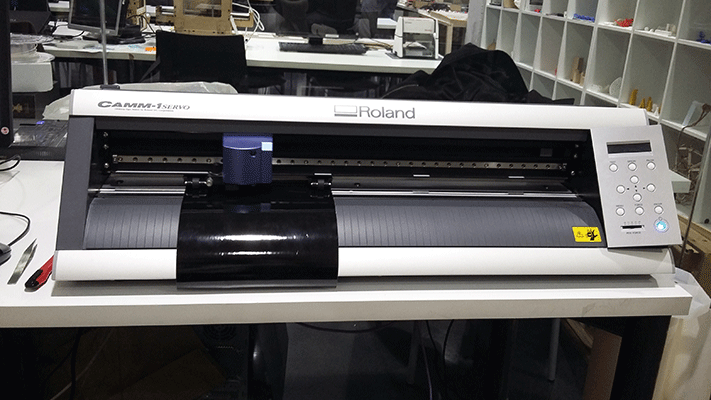
The vinyl cutter machine is a Roland GX 24 and is very easy to use. First of all what I did was getting the size of the sheet of vinyl in order to know exactly if the design fits or not in the sheet. The machine has two different options: if it’s a roll or if it’s a piece. The difference between them is that if you select roll the machine gets me width measure with a sensor and it gives a defined large of 1600mm. If you select edge it means that you want to cut a piece of vinyl so the machine gets its measures width and large.
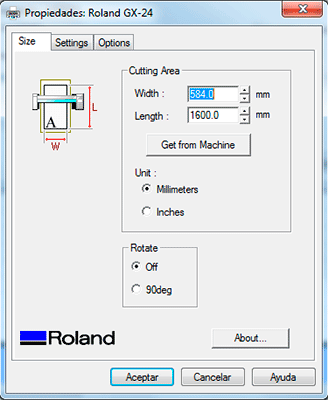
As I wanted to cut a piece in a roll I selected “roll” and I got the measures from the machine. So the next step was drawing a circle to limit the sticker. The Roland Cut Studio has different drawing options, they are very basic but it is clear that the file that you want to cut must be imported from another program with better tools for drawing such as illustrator... etc
illustrator... etc The machine has some properties that are very important in order to cut different types of vinyl because each one has different thickness and not all are the same. For this you have to select the force and the speed. After doing some tests for my type of vinyl I reached the conclusion that the correct parameters were: force: 120gf and speed 5cm/s.
In the video you can apreciate how the Roland GX 24 is cutting the sticker.
vinyl cut from msantisteban on Vimeo.
After cutting the piece with tweezers I git rid of the parts I didn’t want and I put a transfer paper on It and then I stuck it in the computer.

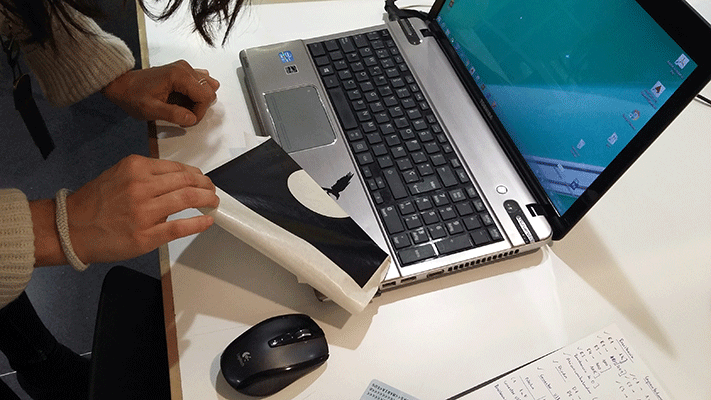
I had to be very careful and selecting the correct speed because my sticker had some parts with very tiny details and also getting rid of the vinyl that I didn’t want.
FILES:
Laser cutting
Vinyl cutting