week7 : Computer-Controlled Machining
The assignment of this week :
Make something big (on a CNC machine).
It seems a easy assignment this week. But I still need to unterstand the workflow of making things bu using CNC. So I will demonstrate the workflow I did this week.
● Make sure the CNC machine and meterial I used.
In our lab, the CNC machine we used is Modela MDX-540 and it's working area is 500x400 mm. The cutter's diameter is 6 mm. I chose plywood which thickness is 8.5 mm as my material.
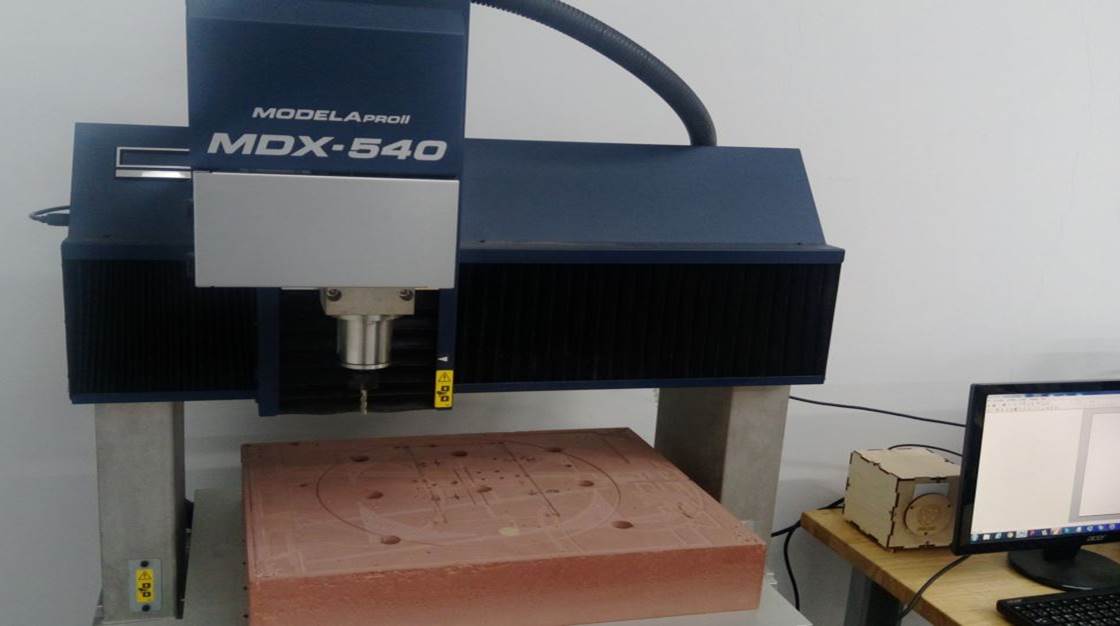
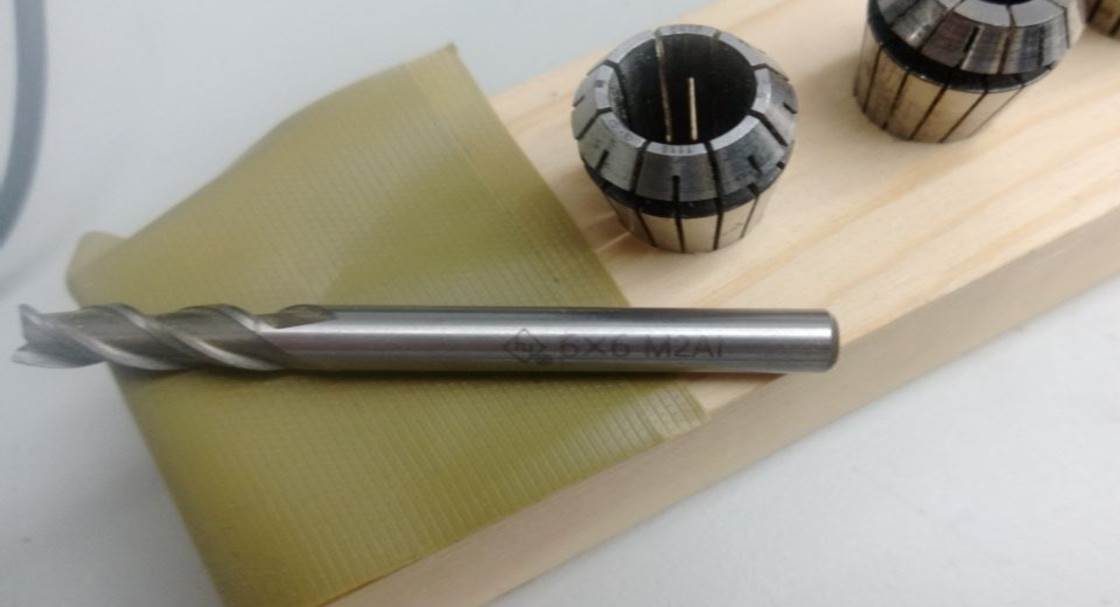
figure 1 : CNC machine and cutter.
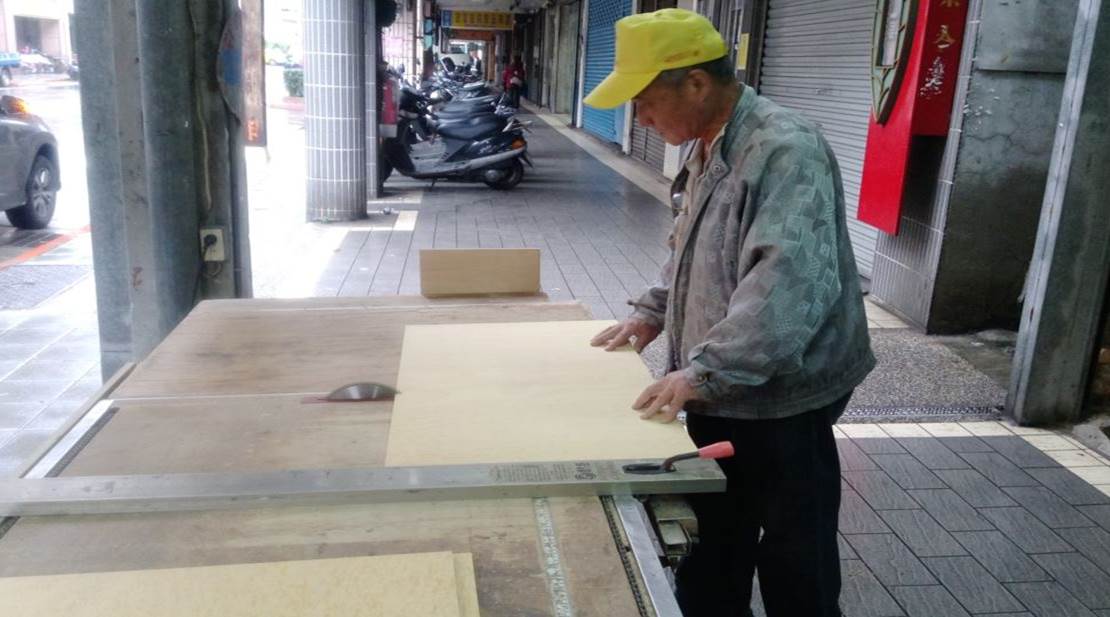
figure 2 : Cut the plywood in proper size.
● Decide what I want to make and draw it out.
It was very cold recently, and I would like to make a brazier for a long time. My instructor suggested that I could try Fusion360 to design samething, so I first time use Fusion360 to design the brazier.
Before designing the brazier in 3D model, there are some rules I need to know. First is CNC can not cut the inside corner perfectly and it would make the kerfs fit not well. So I need to draw a little cut space to let the cutter cut into a little. Second, the cut space must bigger than the cutter's diameter so the cutter can cut it out. Base on this, I draw a half circle which diameter is 6 mm.
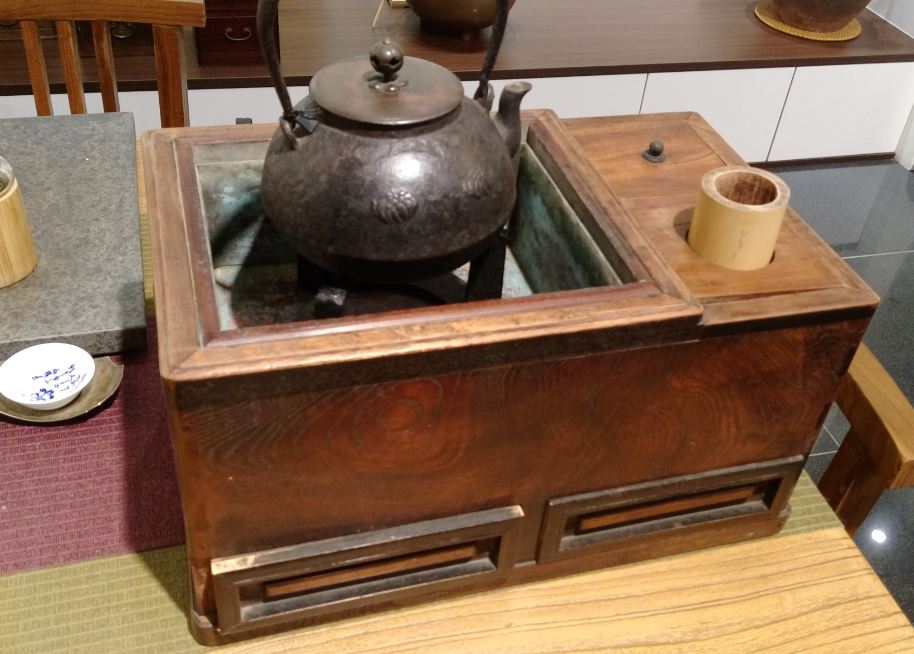
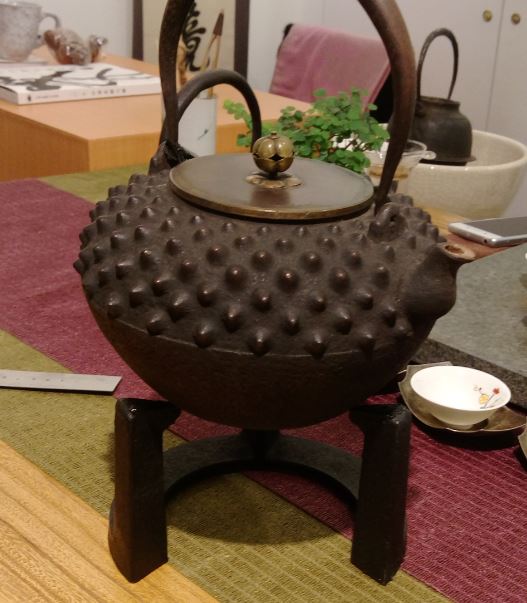
figure 3 : The brazier.
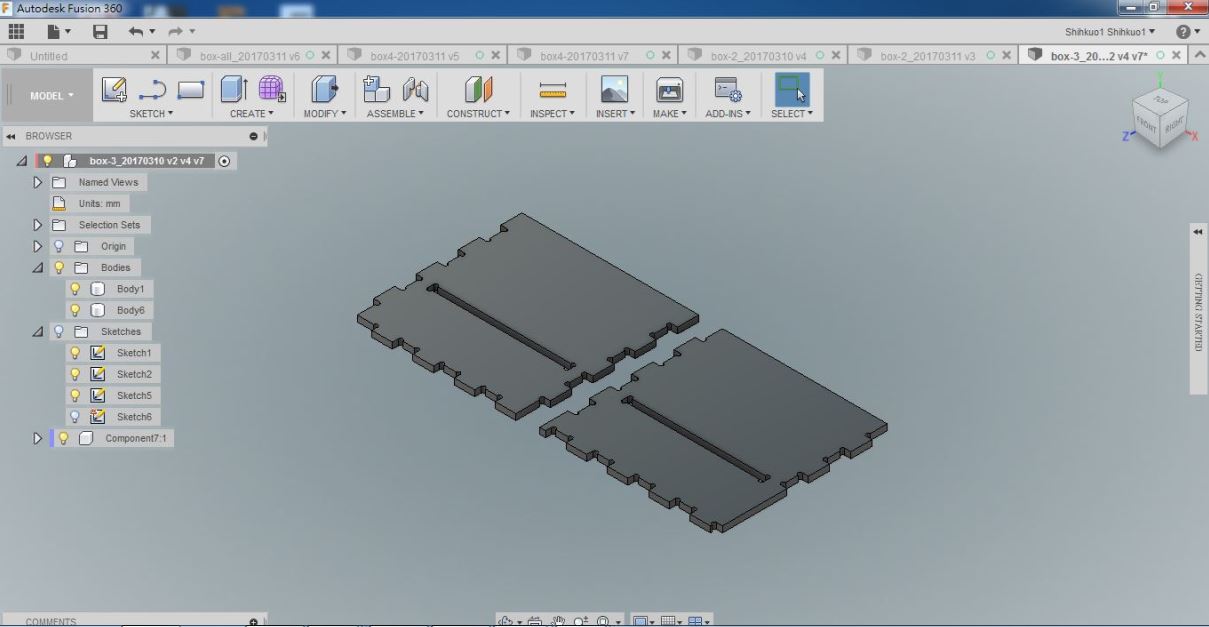
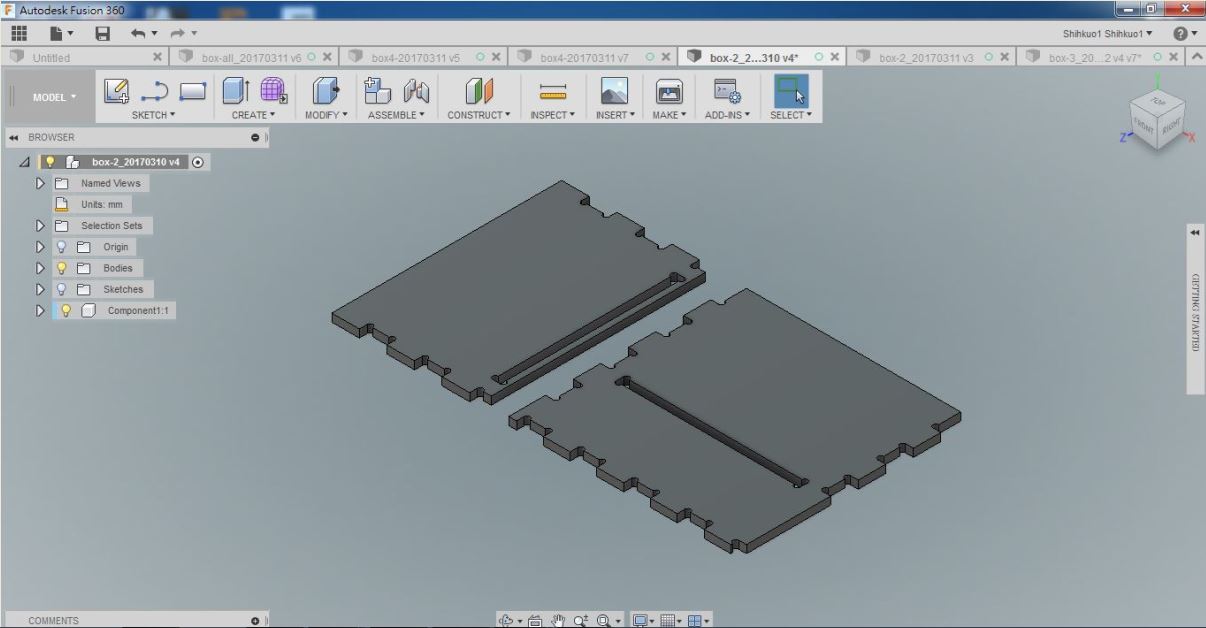
figure 4 : Design the parts of brazier with Fusion360.
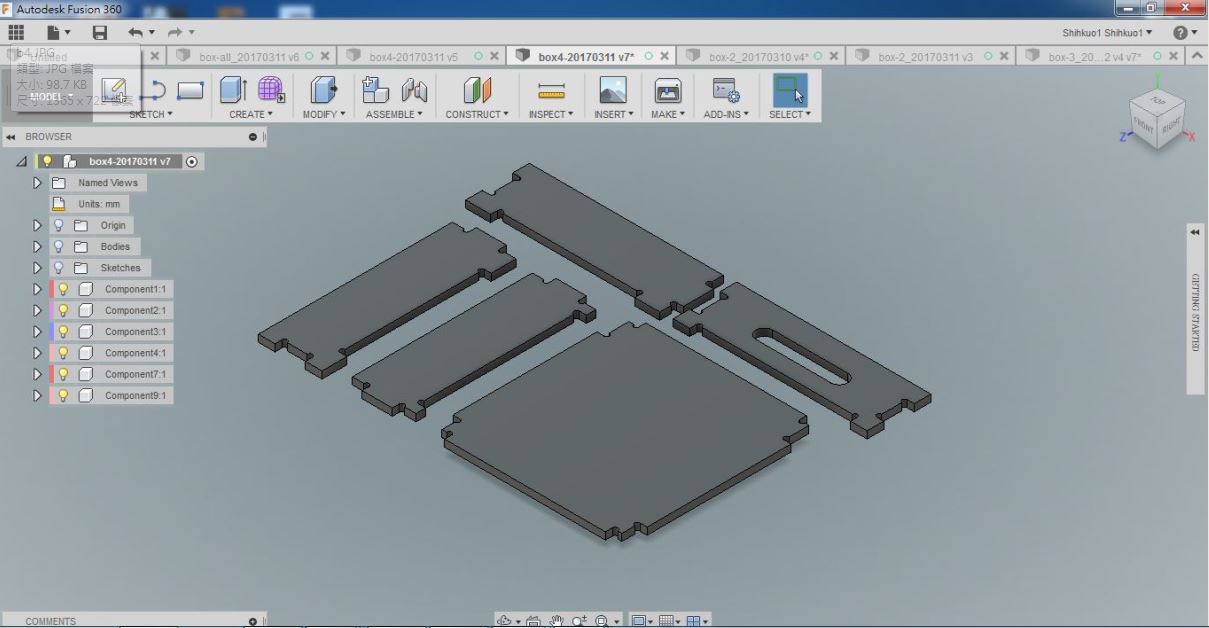
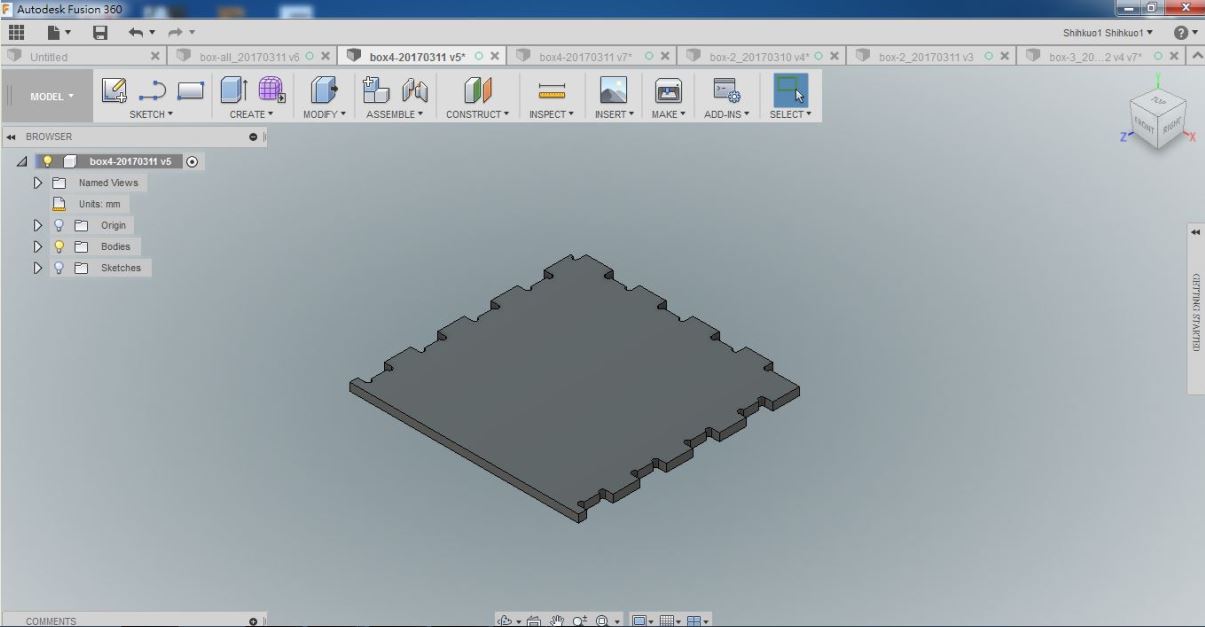
figure 5 : Design the parts of brazier with Fusion360.
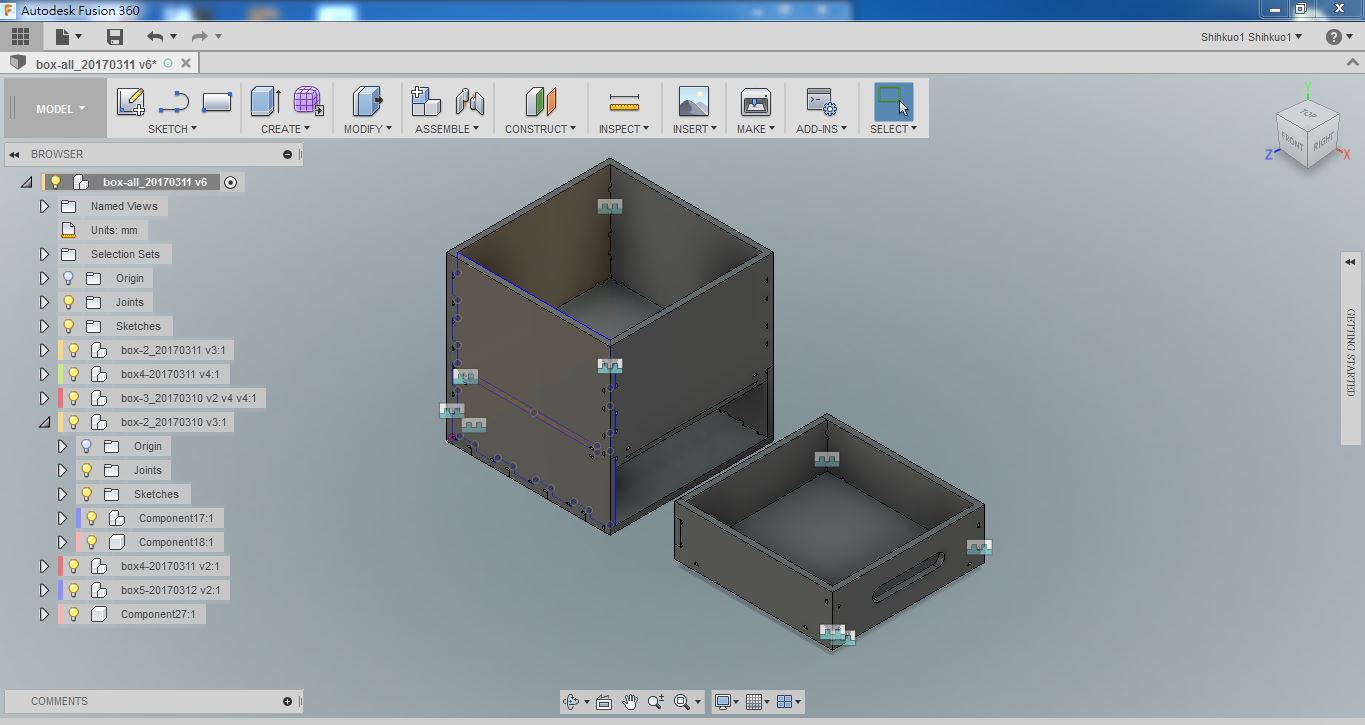
figure 6: Design brazier with Fusion360.
● Cut the parts of brazier with CNC machine.
Before cutting, it is necessary to fix the material on the bottom flat or it will become very dangerous, beacuse the material will be thrown out.
The software I used to communicate with CNC is SRP player. It was a easy and convenient software. I just only followed the step to set all the parameters and the CNC will working properly.
The parameters setting of CNC are as follow :
tooling:
● 6mm square bit
● center-cutting
● down cut
speeds and feeds
● feed speed: 1800 mm/min
● Spindle: 8000 RPM
● cut distance: 0.3 mm
● distance between each cut: 0.3 mm
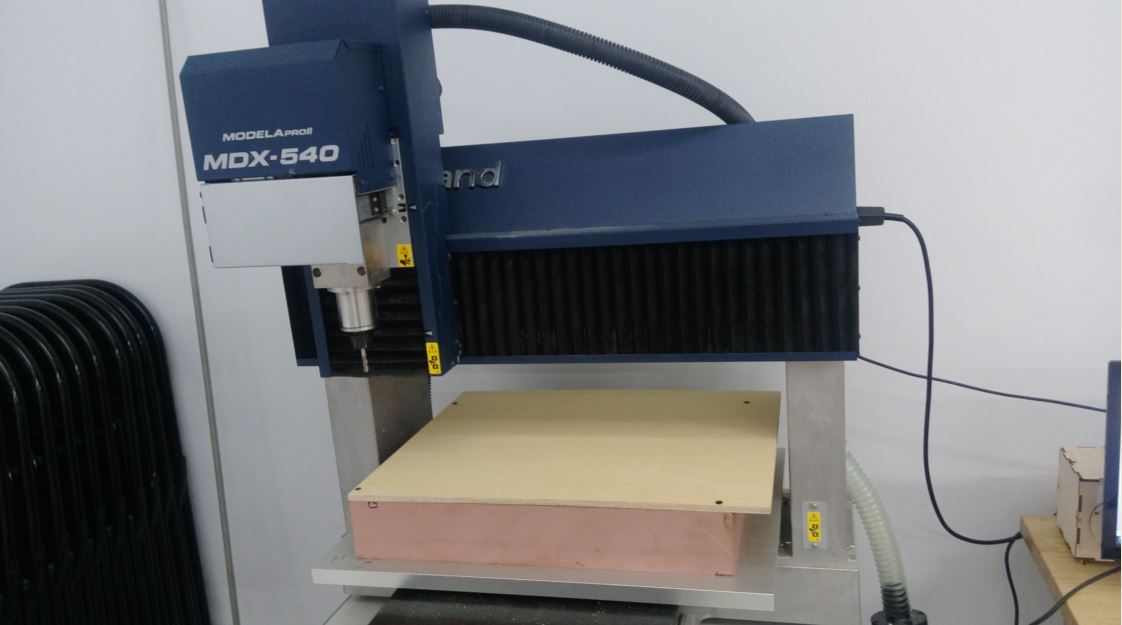
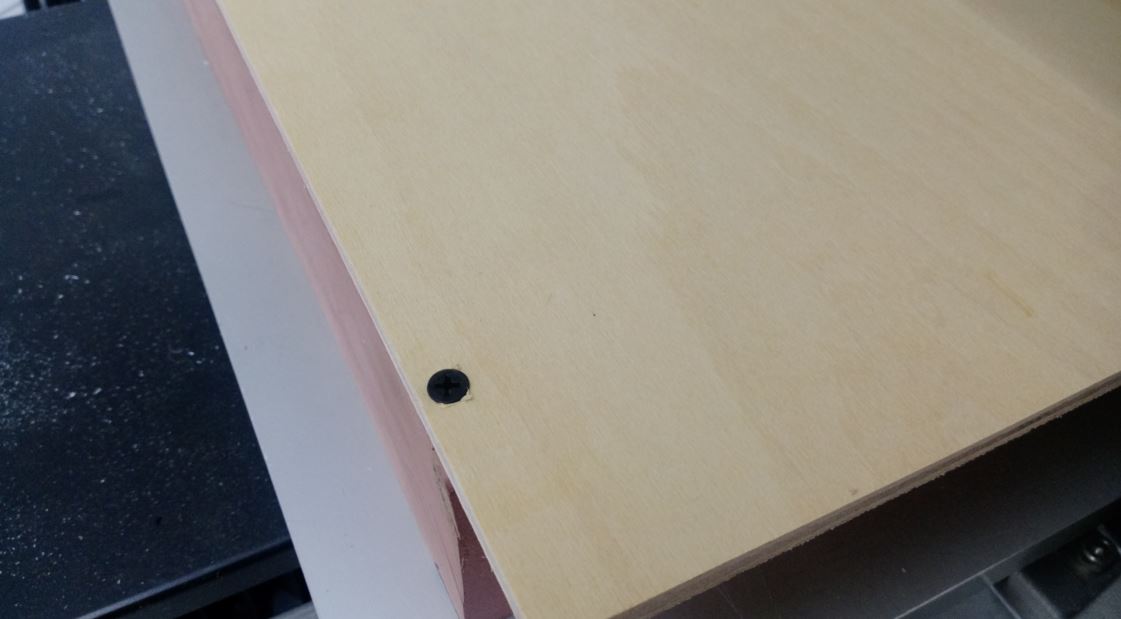
figure 7 : Fix material on the bottom flat.
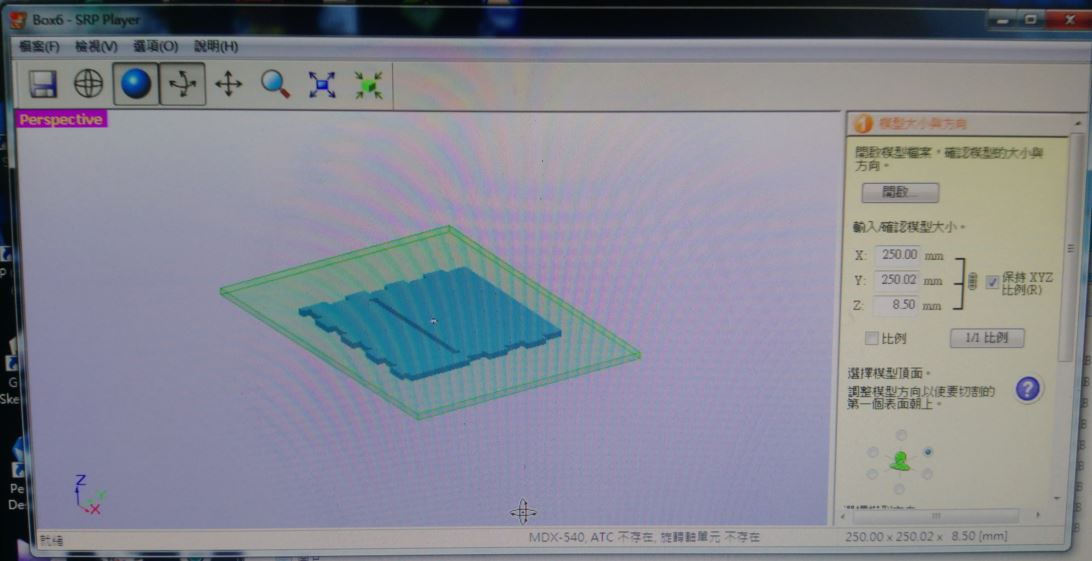
figure 8 :SRP player.
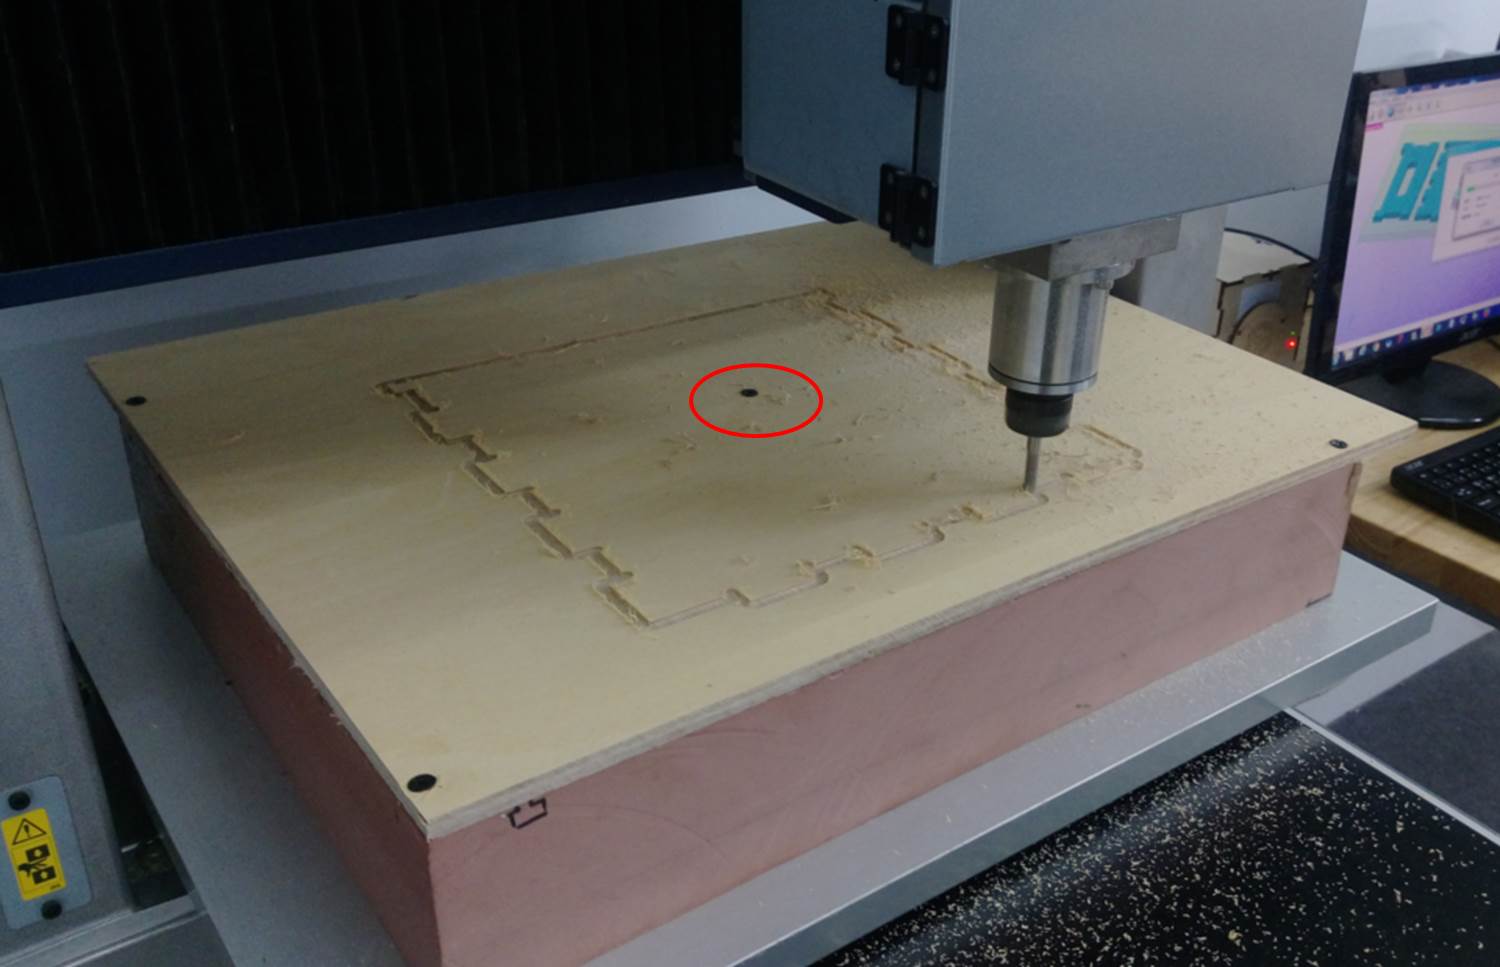
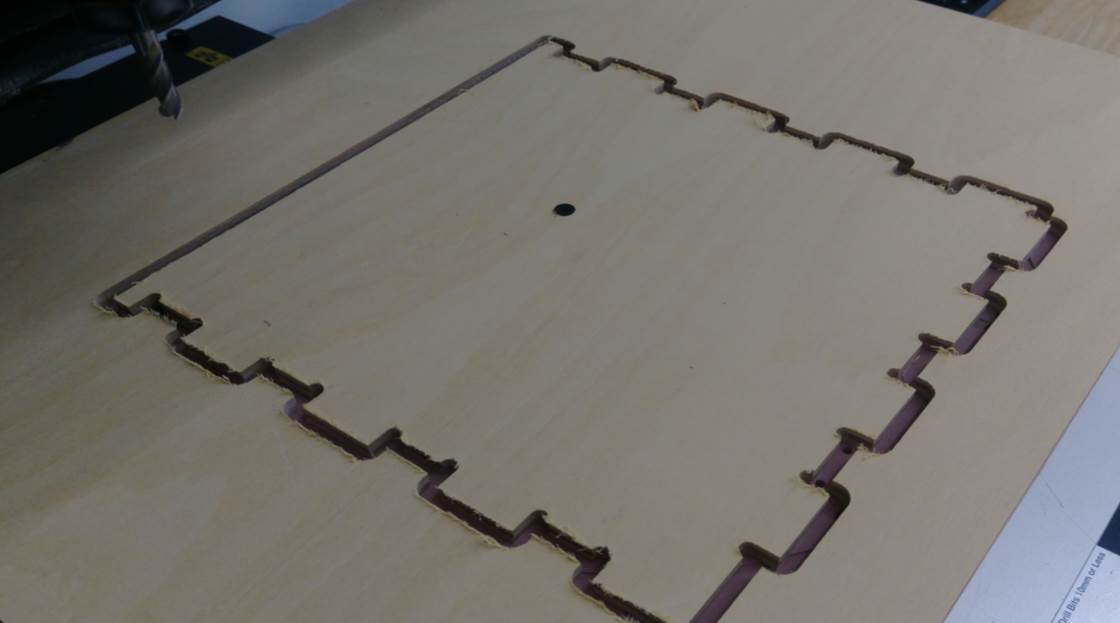
figure 9 : Fix the material which would be cutted is also imporant before cutting.
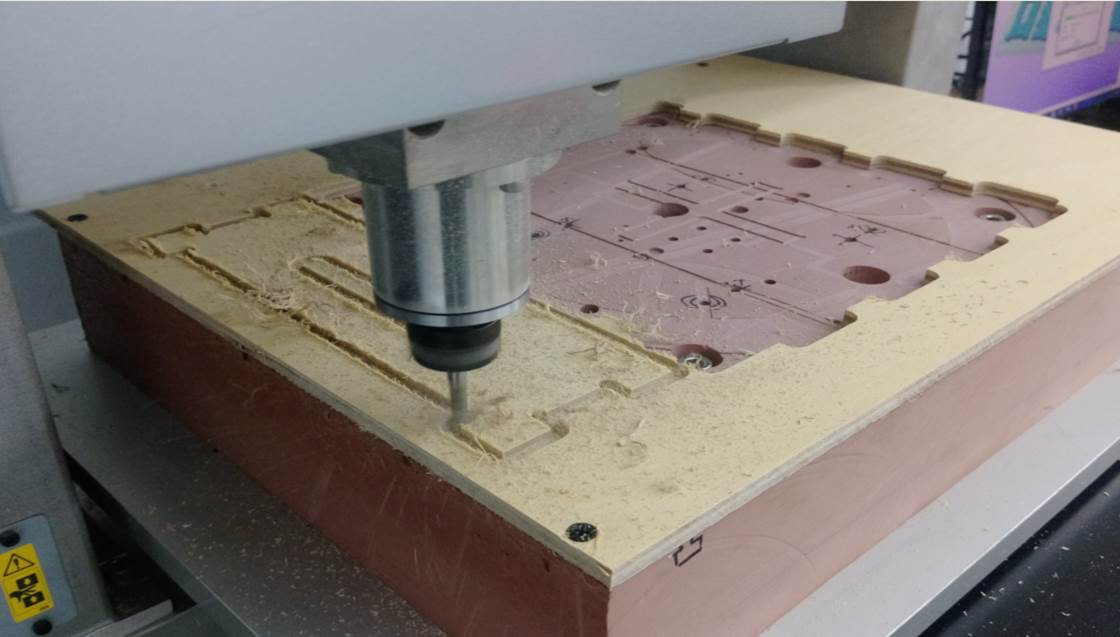
figure 10 : Vacuuming is necessary during cutting or the cutter will be stucked and breaked.
● Assemble the brazier.
After finishing the cutting, I got all the parts of the brazier. I found I have to do two things before assembling. One is that the material I used was plywood, there were lots burrs around the edges after machine cutting. So I used sand paper to smooth the edges. Another thing is one piece of the cutted plywood need to be modified. Because I forgot to draw the cutting space of the inside corners for this piece on Fusion360. So I needed to use rasp to scrap the inside corners. Finally, I assembled all pieces of cutted plywood, and they fitted very well. I got my brazier.
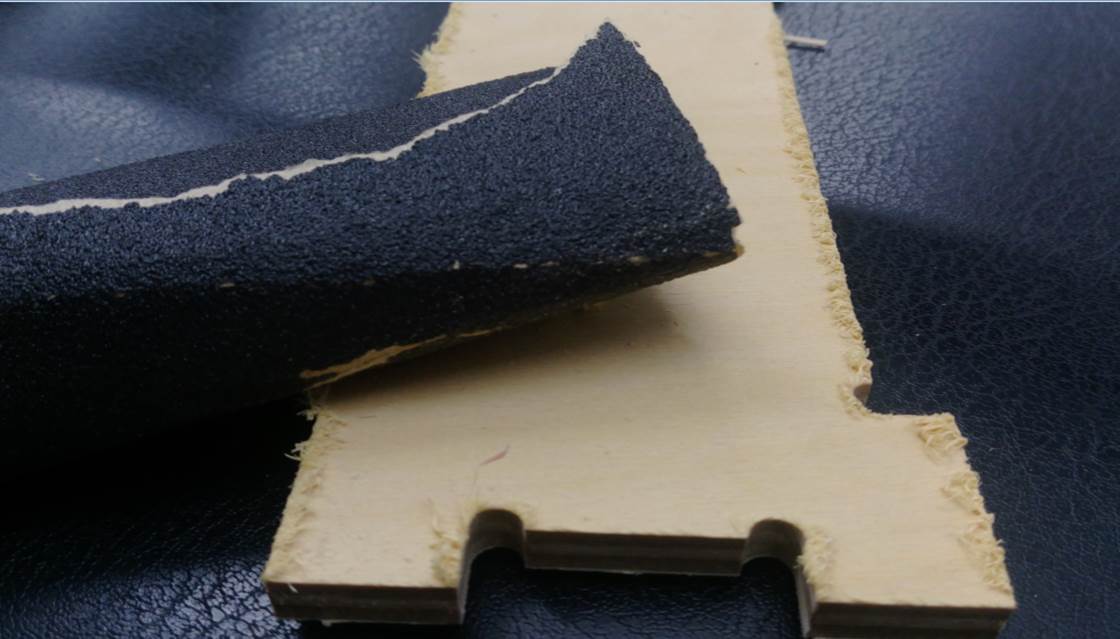
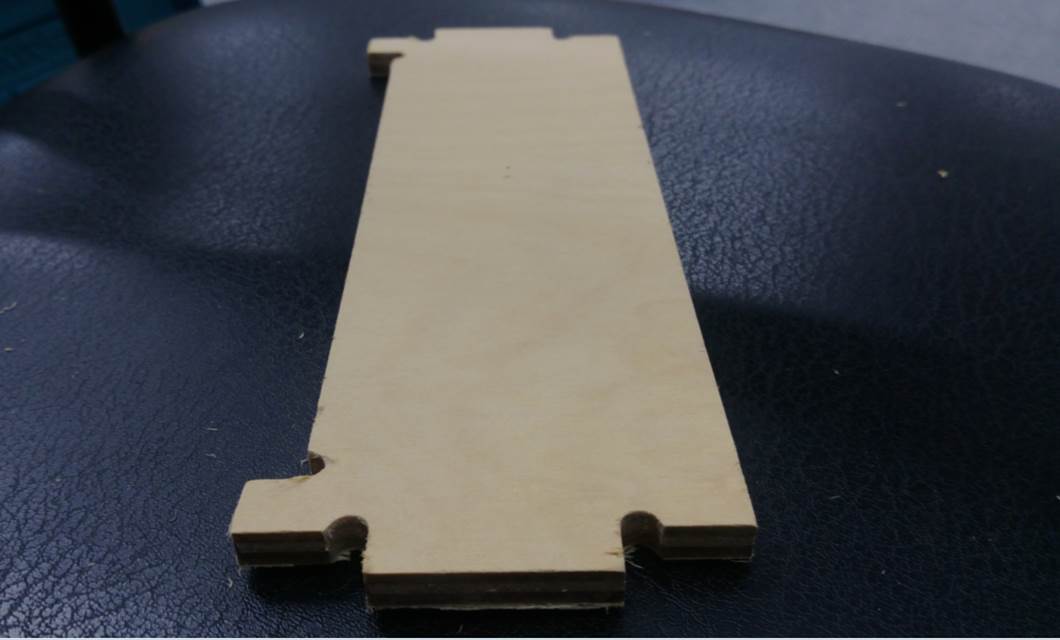
figure 11 : There were lots burrs around the edges after machine cutting and used sand paper to smooth the edges.
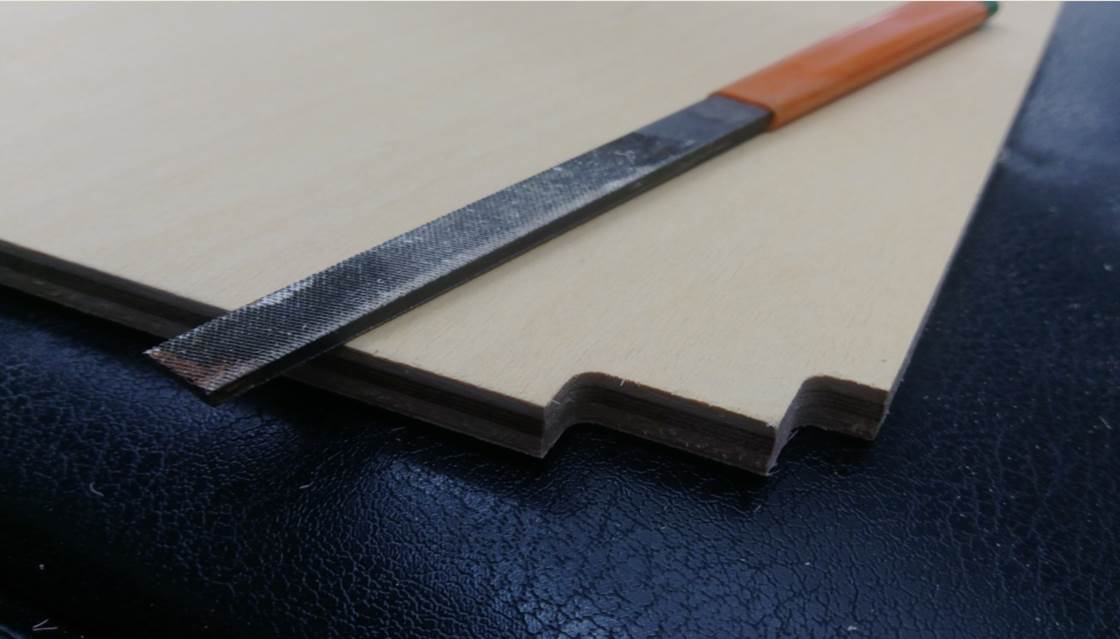
figure 12 : One piece of plywood did not left the cutting space of the inside corners. So I needed to use rasp to scrap the inside corners.
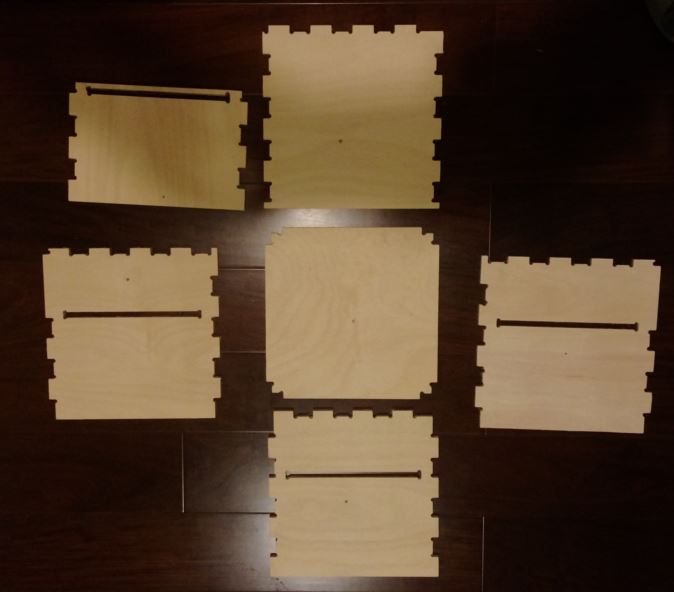
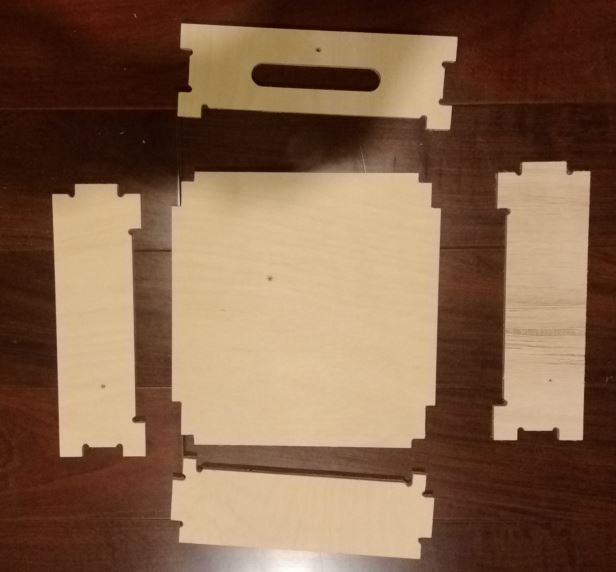
figure 13 : All piece of the brazier.

figure 14 : Tools for assembling, fixtures and hammer.
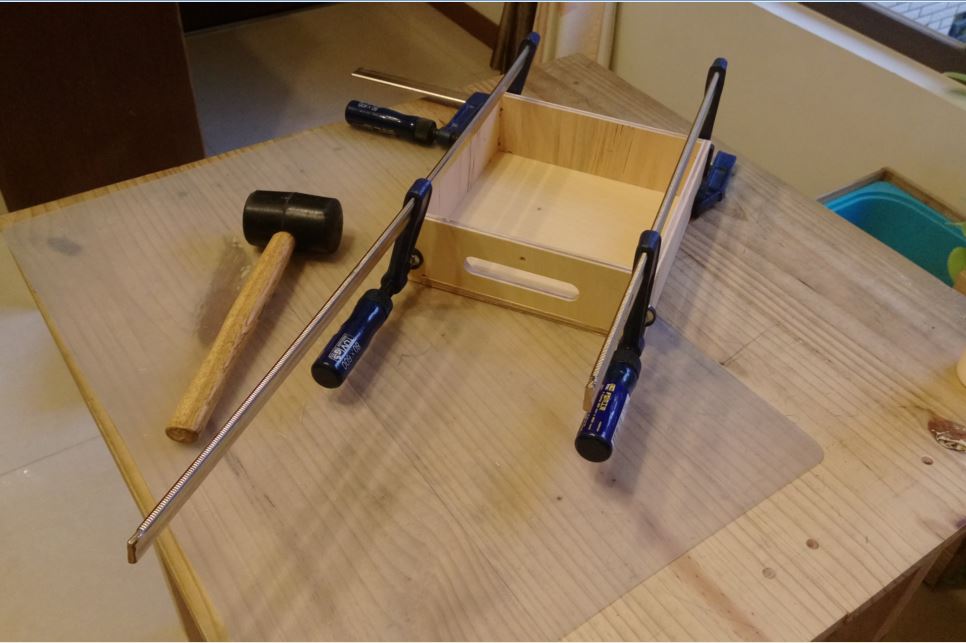
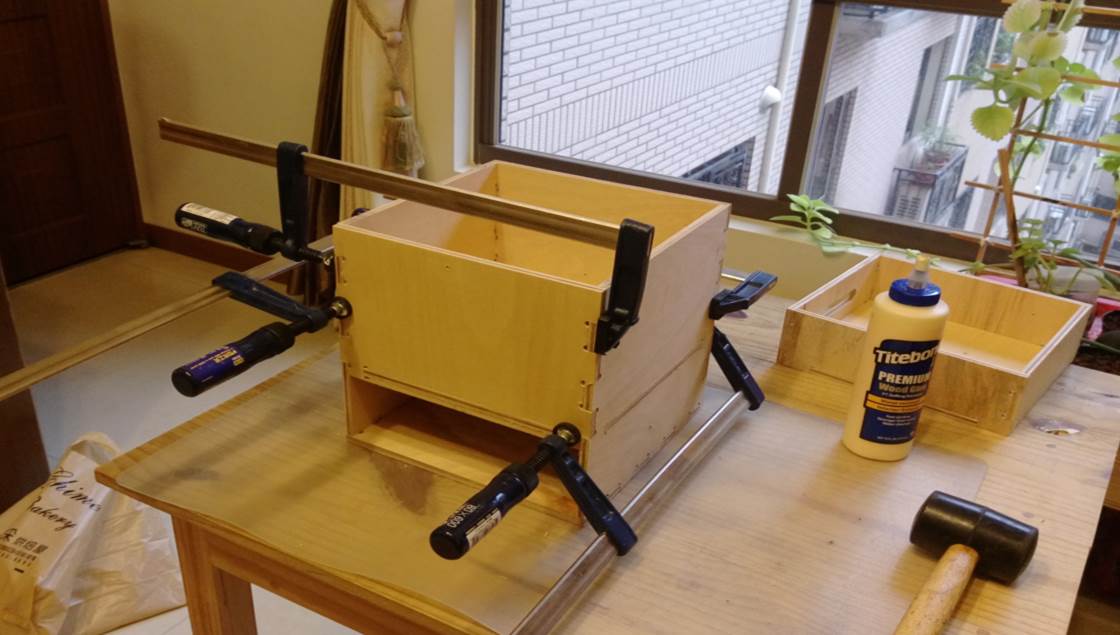
figure 15 : Assembling the brazier.
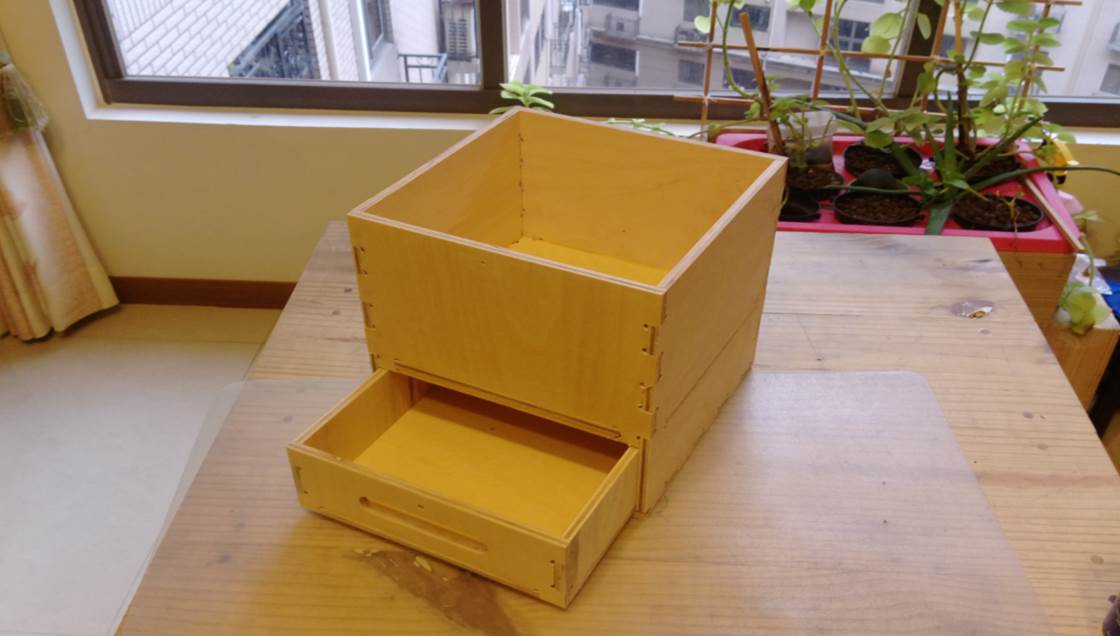
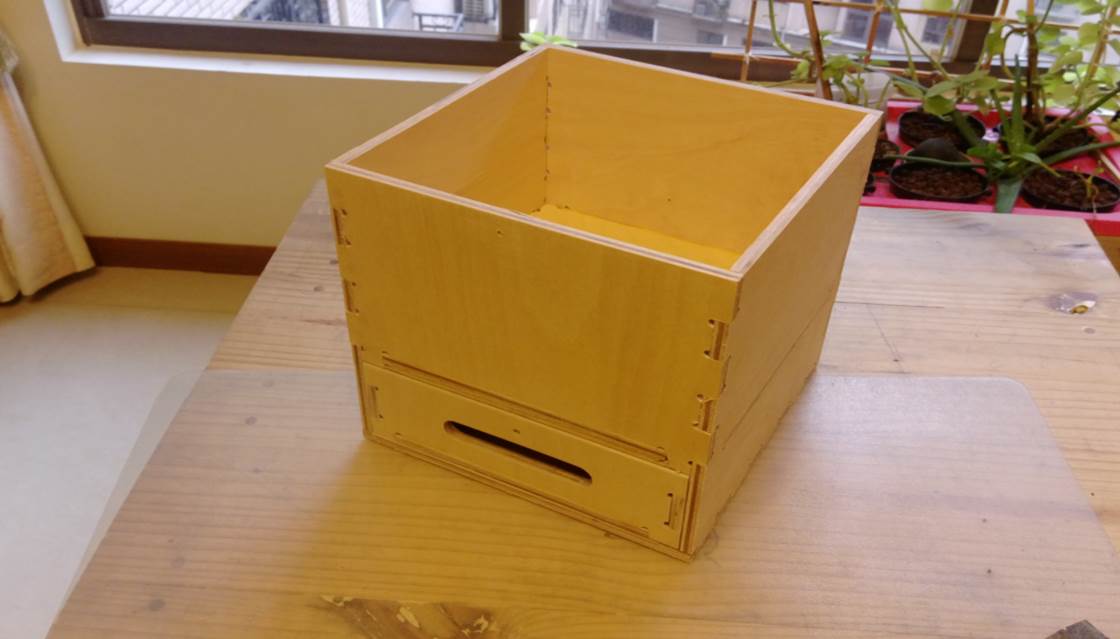
figure 16 : Brazier was finished.
In order to avoid burning the brazier when used, it must be installed the an layer of copper in the inner layer. So I cutted the proper coppers and assembled them. I tried to stick the coppers by soldering with tin and it did not work. But I did not have other soldering equipments, so I used the plastic steel epoxy to stick these coppers. Finially, I put the copper layer int the inner layer and finished.
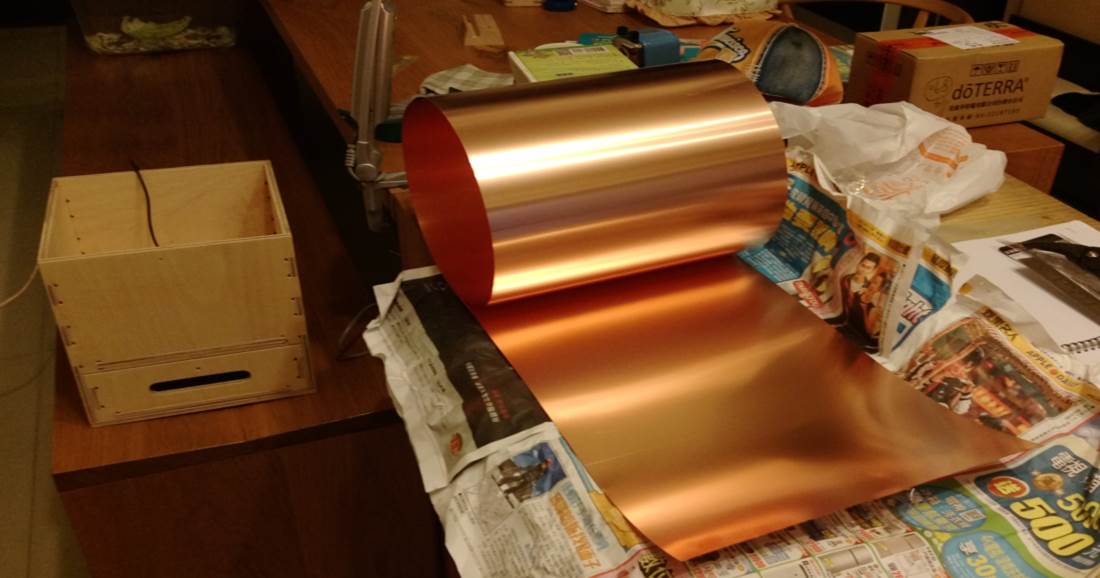
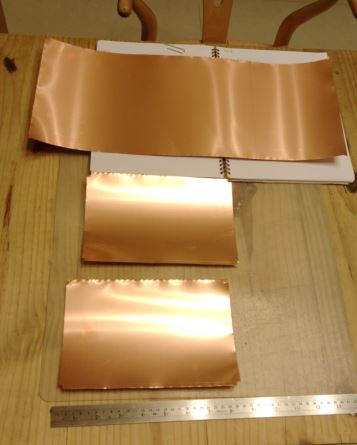
figure 17 : Use copper to avoid overheat.
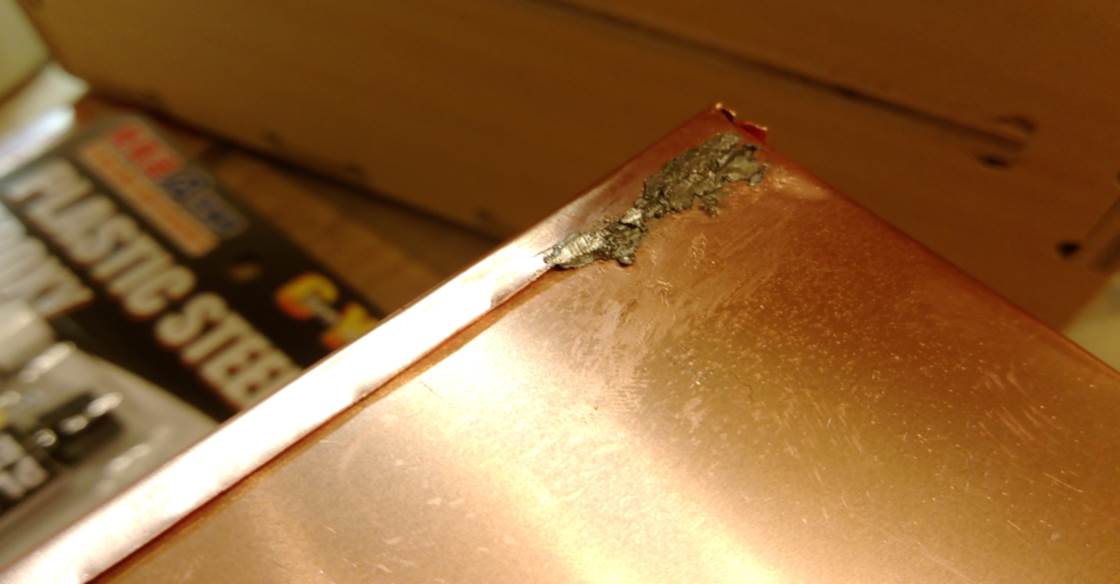
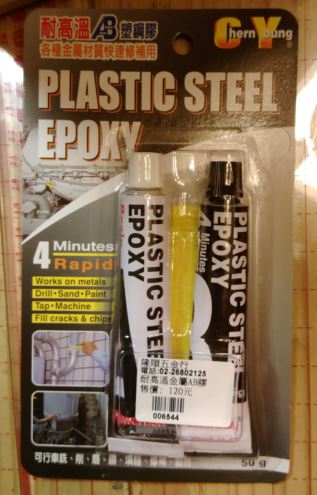
figure 18 : Soldering with tin did not work and used plastic steel epoxy to stick coppers.
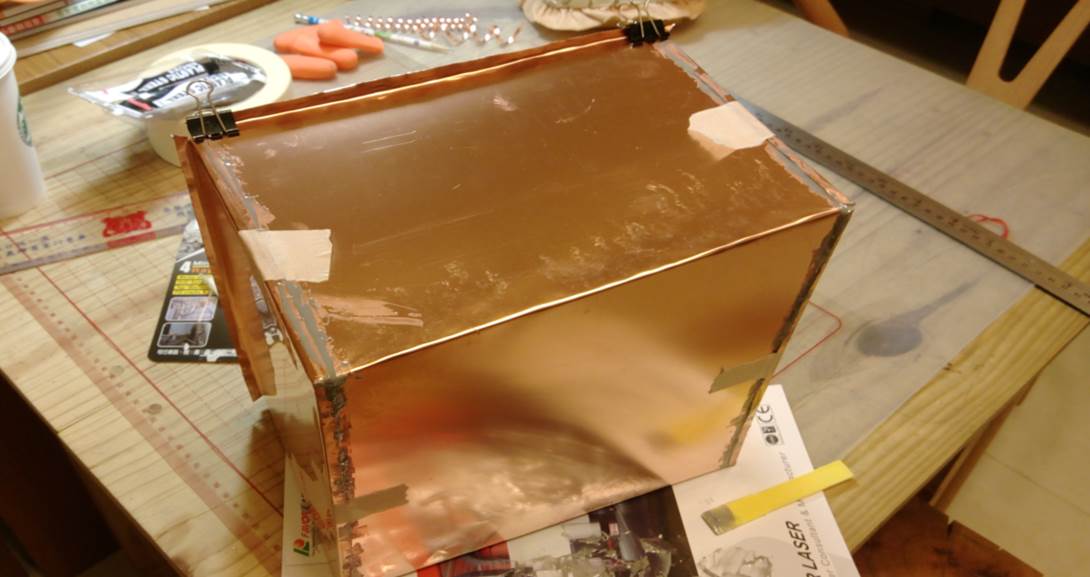
figure 19 : Used plastic steel epoxy to stick coppers.
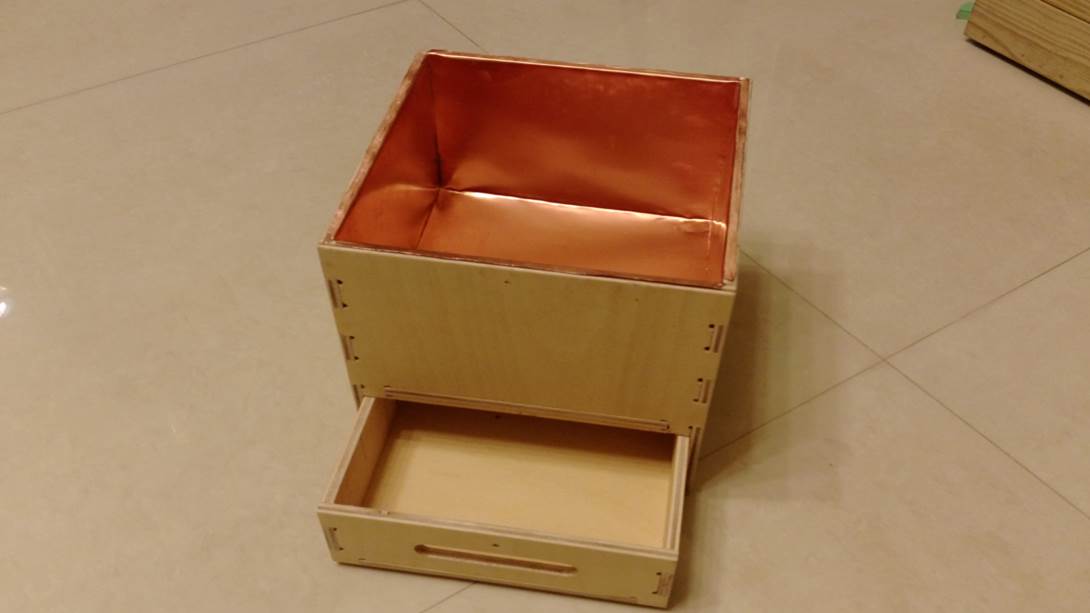
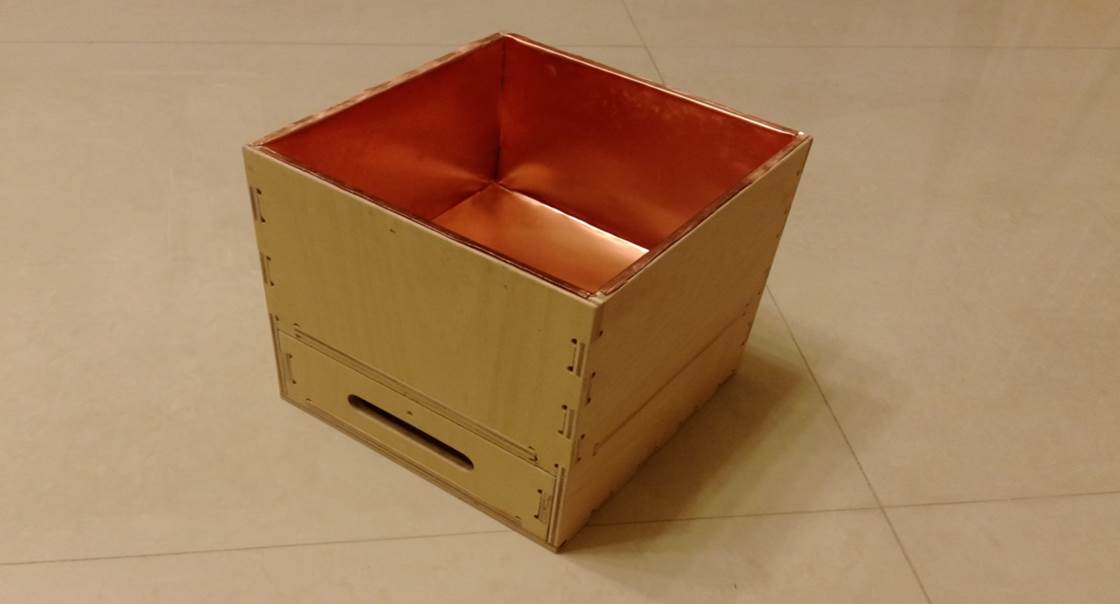
figure 20 : Put the copper layer int the inner layer and finished.
● Source file
1.DXF file of some pieces of brazier.
2.DXF file of some pieces of brazier.
3.DXF file of some pieces of brazier.
4.DXF file of some pieces of brazier.
5.DXF file of some pieces of brazier.
6.DXF file of some pieces of brazier.
7.DXF file of some pieces brazier.
8.DXF file of some pieces brazier.
9.Fusion360 3D file of brazier.