<-- Weeks Overview
Day 43
[ Studying about 3 axis routing ]
Day 44 -->
1. Went through Neil's resources
2. Went through other resources regarding 3 axis milling
.jpg)
I know i write this a lot but seriously after a very informative Recitation with Dr. Neil, I sat for an hour or two to think of ideas regarding my assignment and how i plan to go about it.
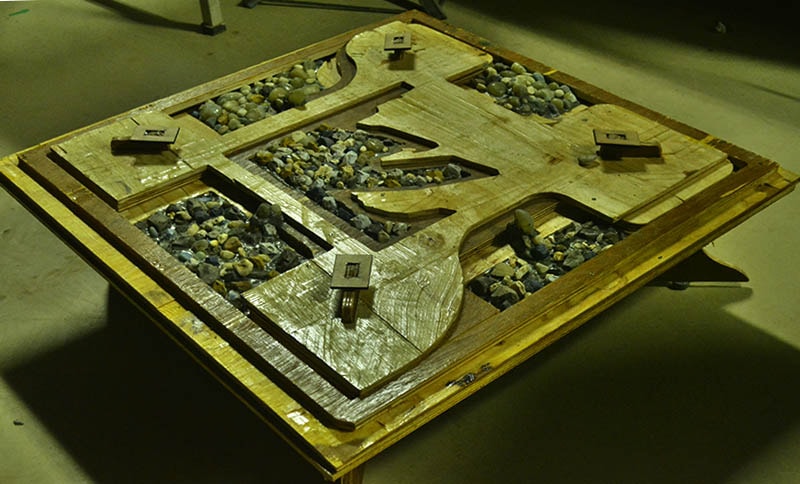
Design Concept
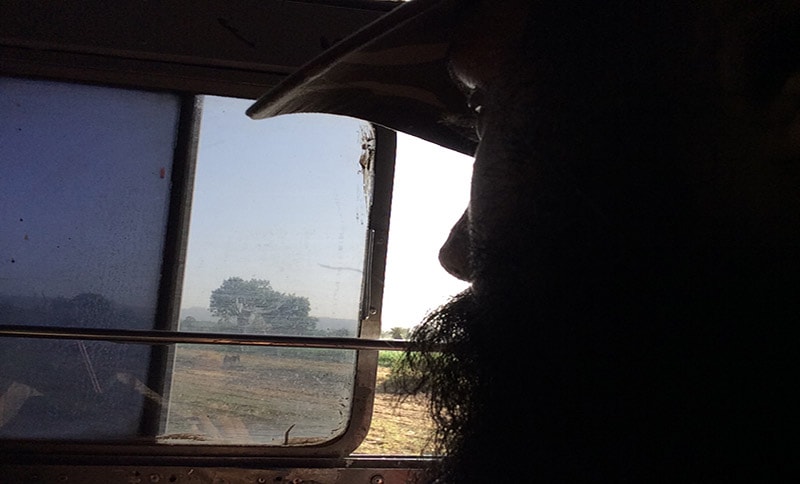
Basically, in Pabal, there is a scarcity of resources and a lot of travel to Pune city is required via buses in order to procure materials. And each day about 20 people visit the ashram to explore it. Therefore as an architect and an artist, it was natural for me to design something that can capture them both philosophically in this shopbot assignment. As a traveller travelling to Pabal , i decided to let the vibrations of the bus over non metallic roads determine the shape of a low lying table with the mouse moving around freely sketching it in Sketchup. I then gave levels to this shape to represent the topography of Pabal . And thats basically the shapes you are seing on the table.
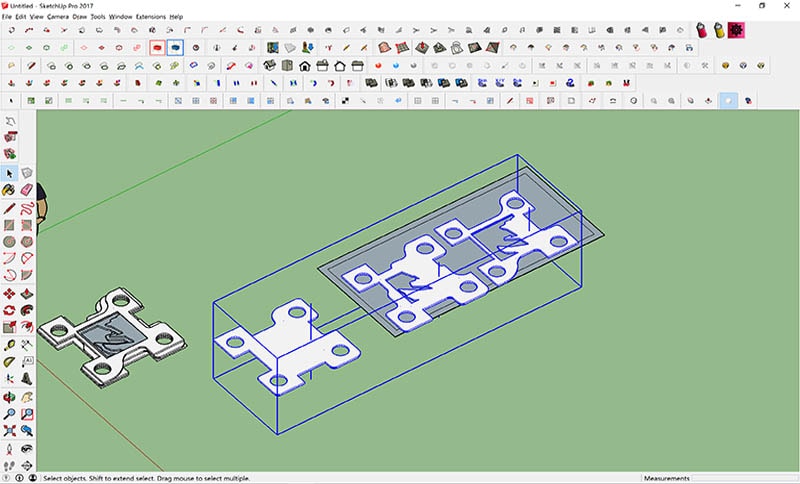
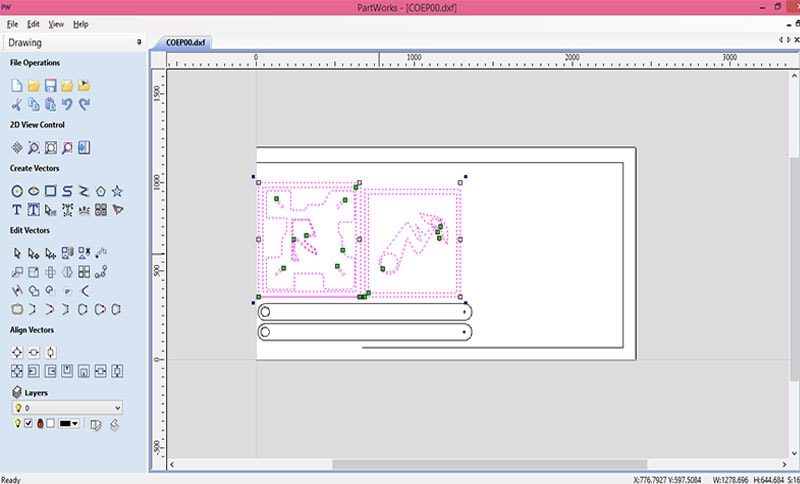
Design Process
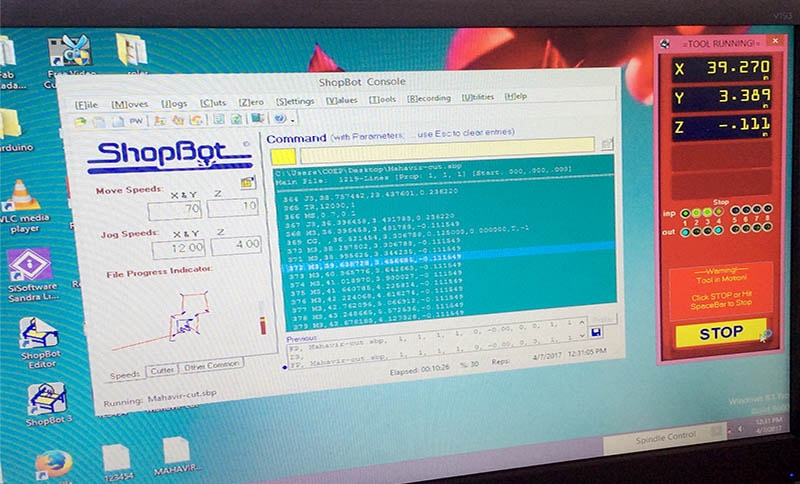
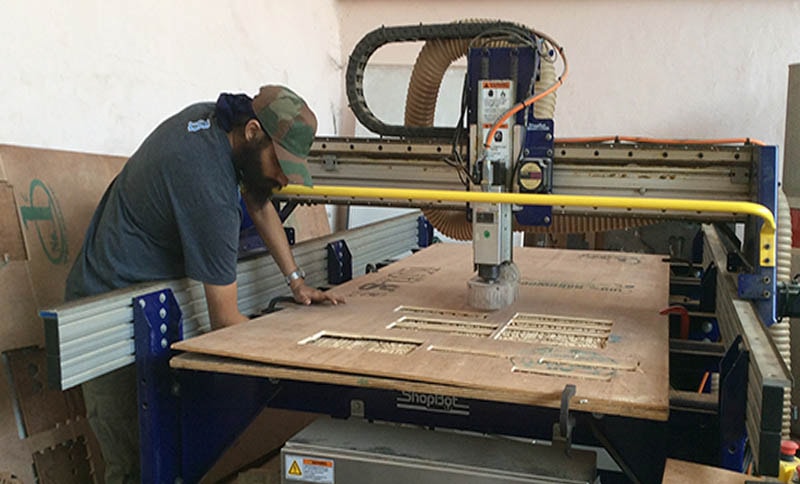
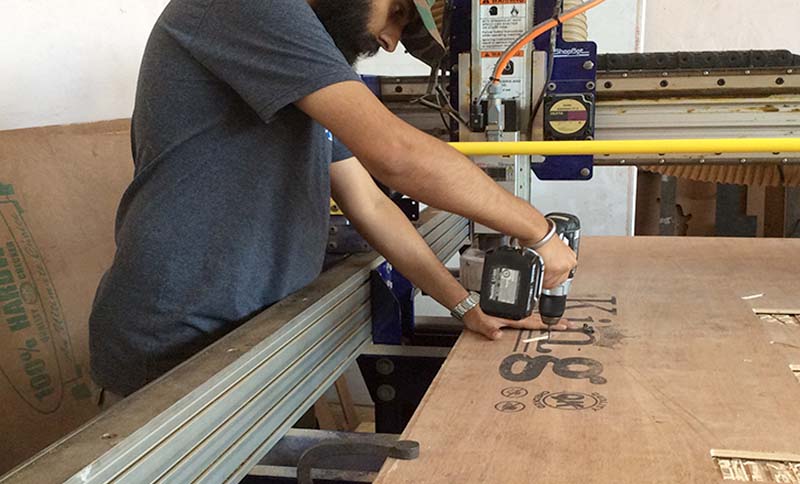
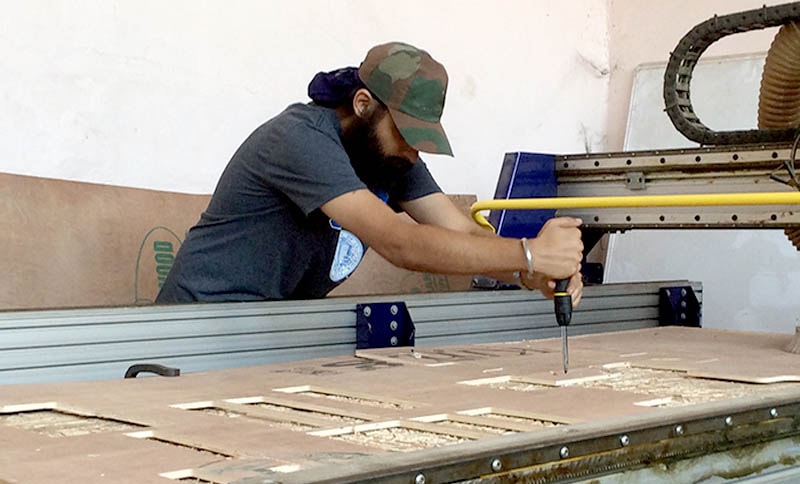
So the design went about starting from a sketch i made (I wanted to use bamboos too as my 4 legs of the table but wasnt available this side). It then translated into a sketchup model from which i made everything pressfit after taking into account the kerf of the routing bit(milled a straight line on the board) of the shopbot with a vernier calliper. Profiles were then made and the most interesting part is:I dint use a single piece of plywood out of the 9 boards ordered by the other students. I made sure i set the origins and used all the waste spaces of the boards used by the other students. So this complete table was in a way done for free from waste plyboards lying around. It meant i lost a lot of time doing this. 3 Days as we had access to the shopbot only 4-5 hours in COEP, pune enough for just about one cut with mounting and unmounting of board (used c-clamps and drilled screws for securing those.)
The fun part was arranging my design in such a way that it would fit perfectly in the waste boards. Was a challenge but helped me implement skills with lot about proportioning (my strength).


<-- Weeks Overview
Day 44
[ Settings ]
Day 45 -->
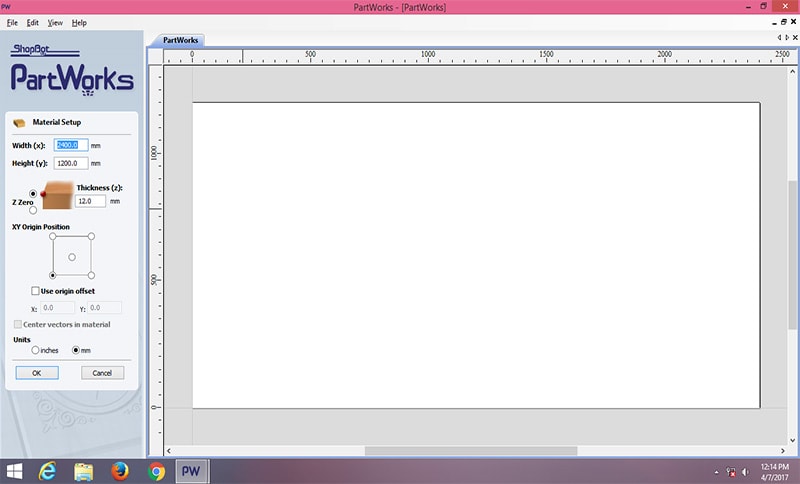
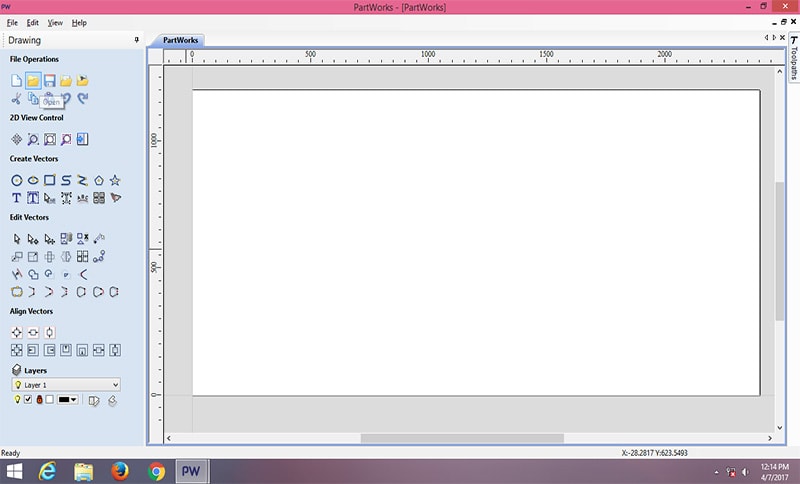
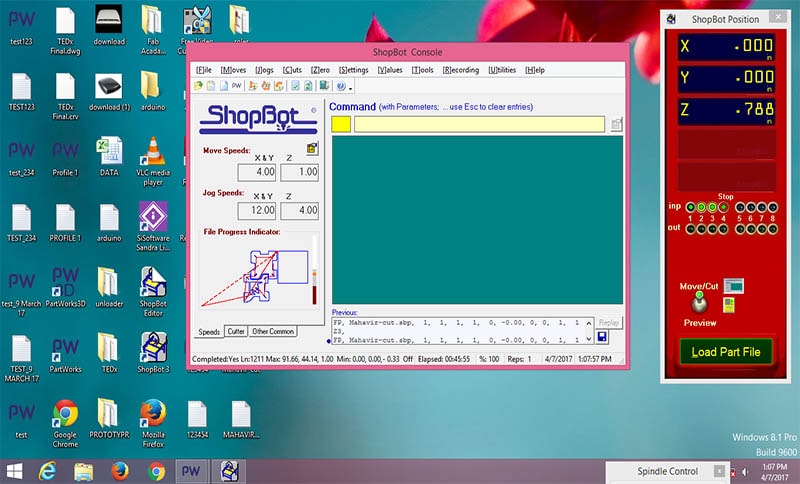
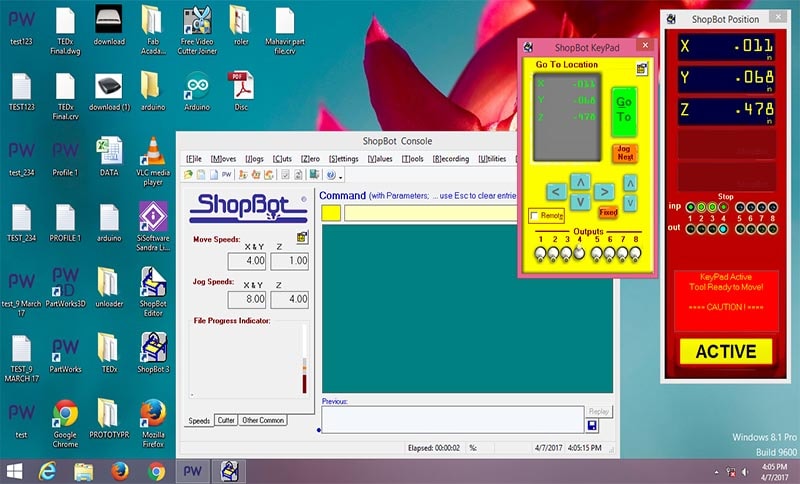
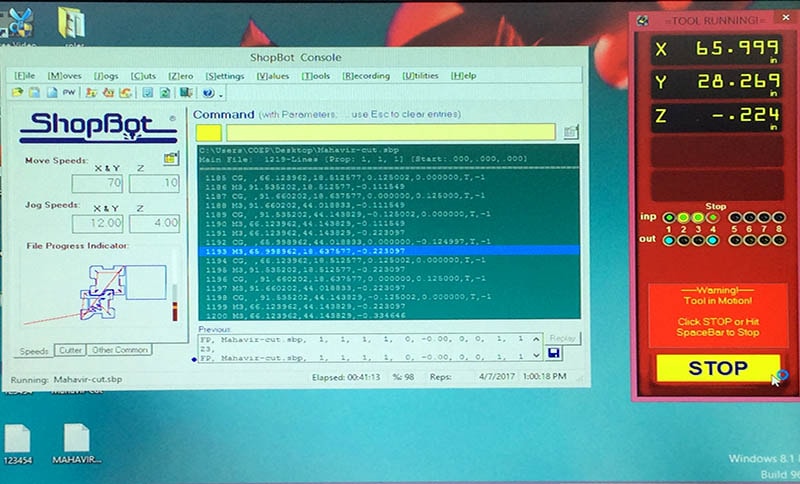
ShopBot Settings:
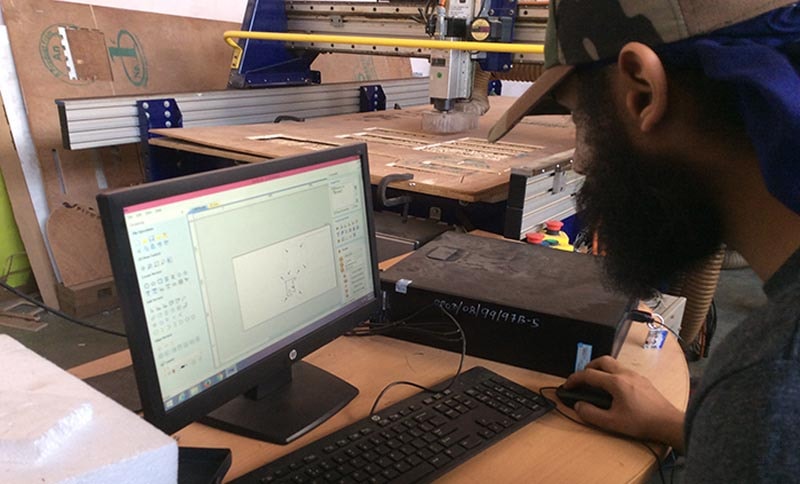
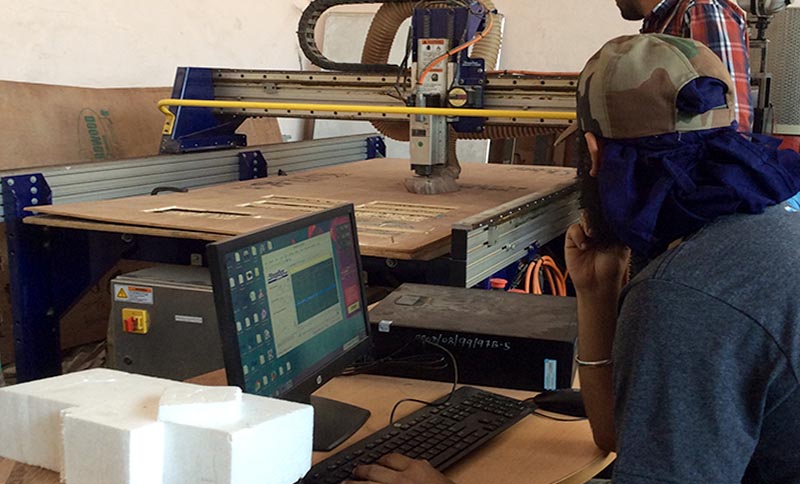
The next part was understanding partworks and the whole process of shopbot
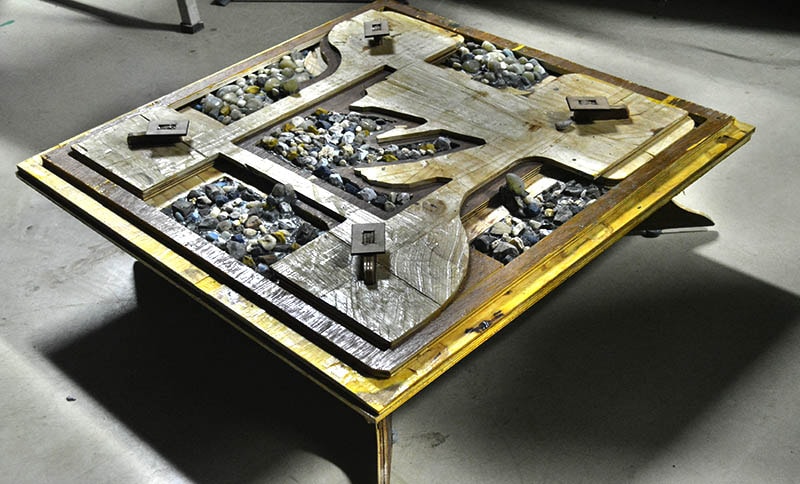
All these files were cut from the discarded and lightly\heavily used plysheets of my co-academy fellows. I tried to reuse their boards to the max. Managed to save an extra tree.:)
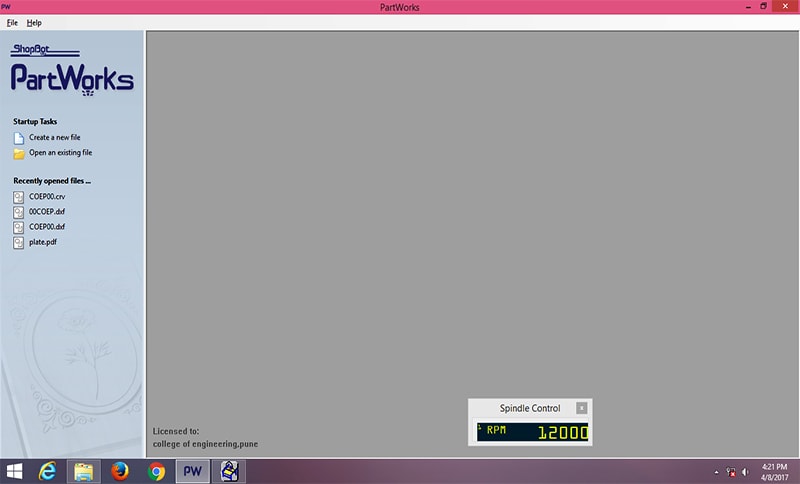
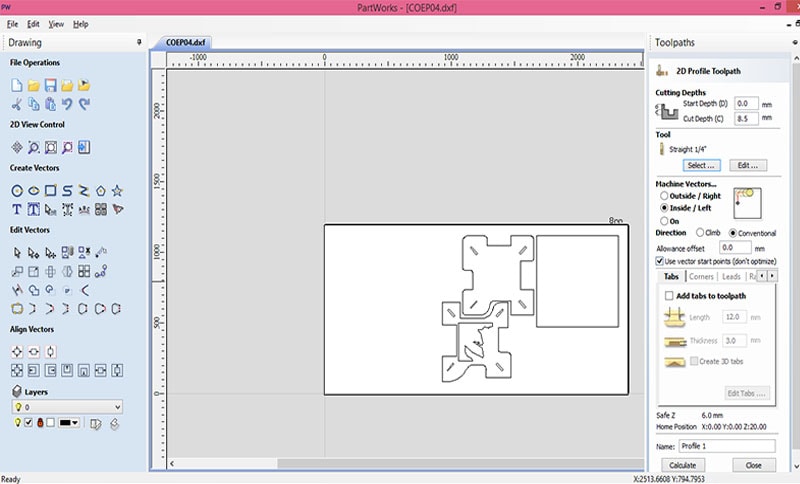
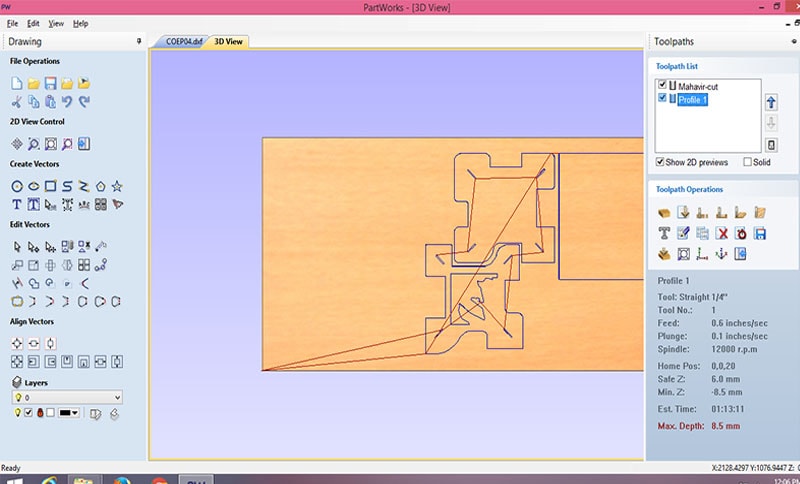
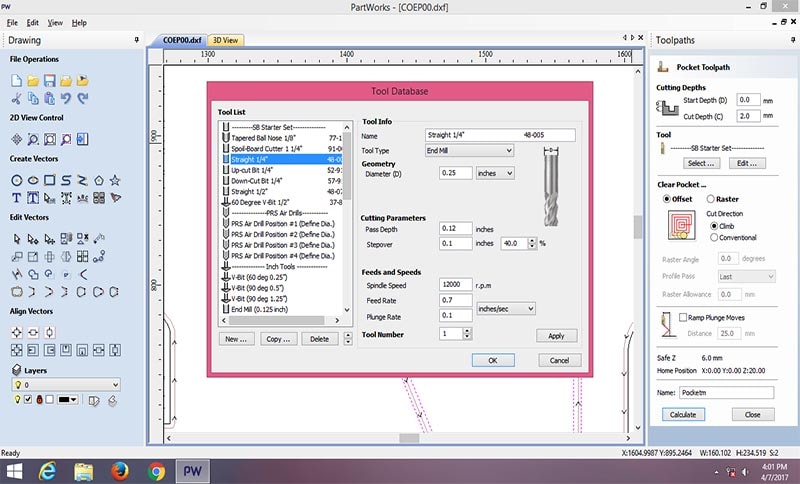
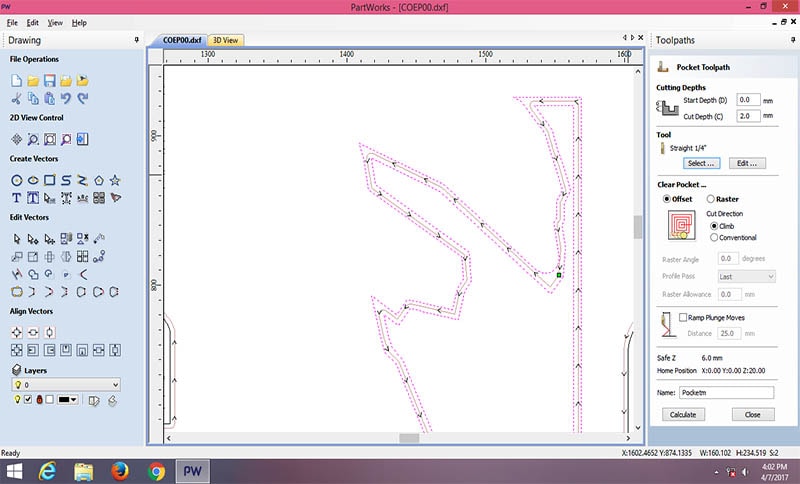
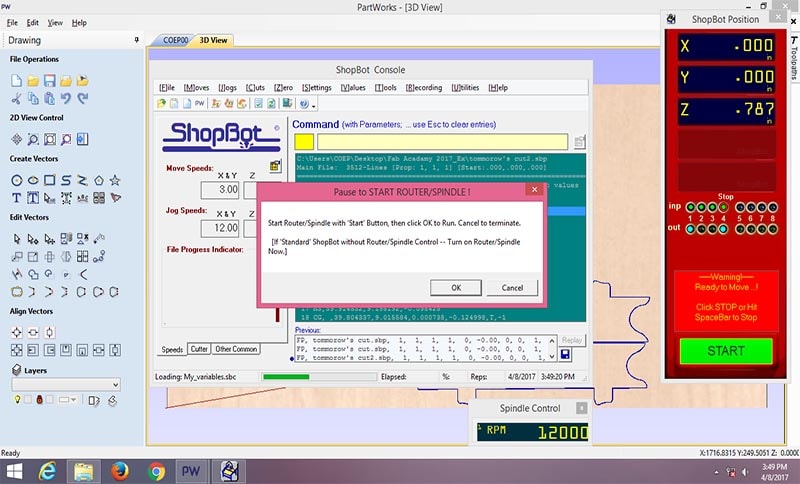
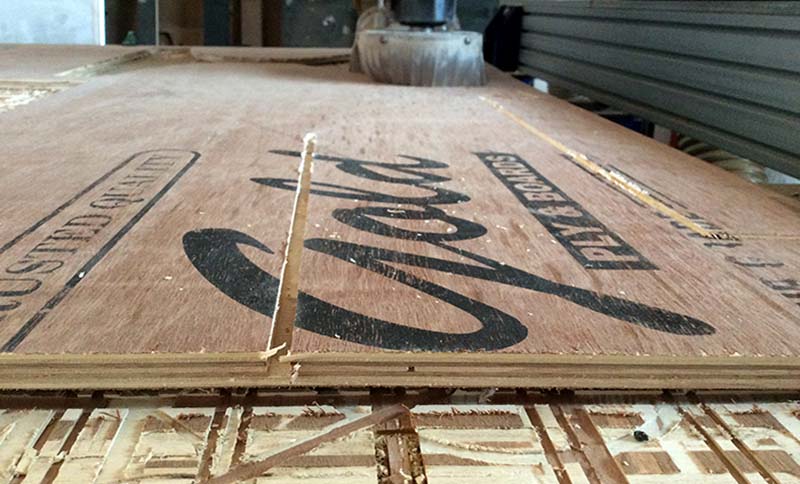
Selecting Straight 1/4" End mill, Pass depth as .12 inches,stepover as .1 inches@40% with feed as 0.7 inches/sec and spindle speed as 12000rpm.
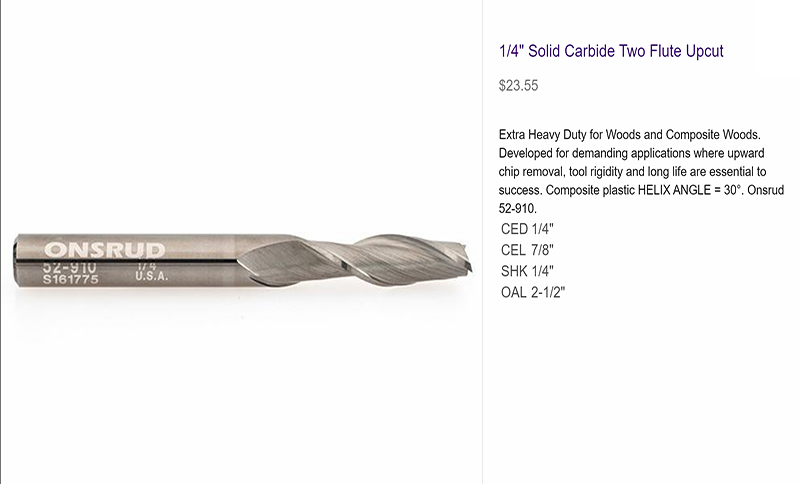
Bit info of End mill used
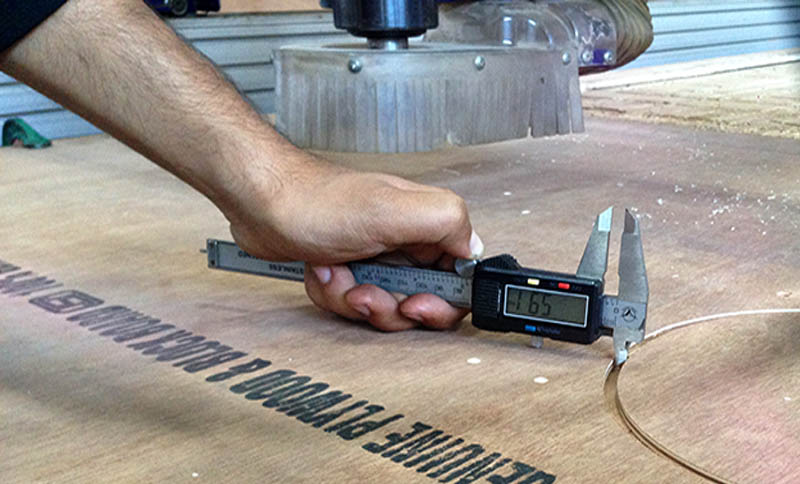
Kerf Calculation.
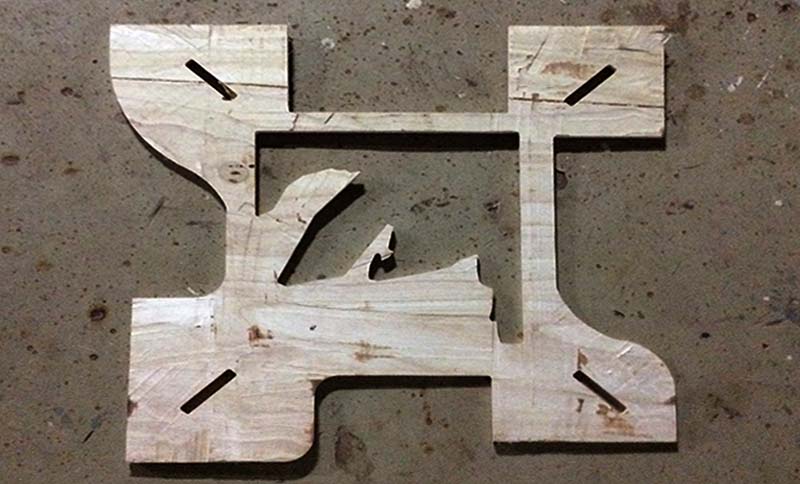
The assembly was completely press fit and no use of nails took place. Alternate layers were shaven to bring a nice light and dark contrast to the floor table.
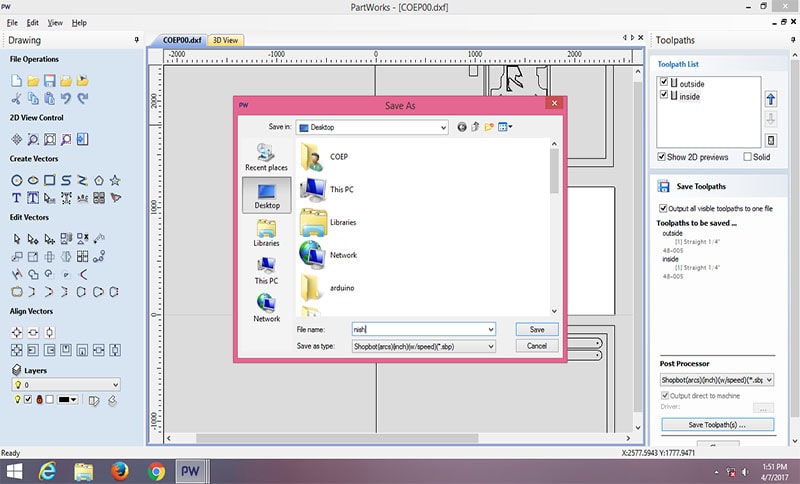
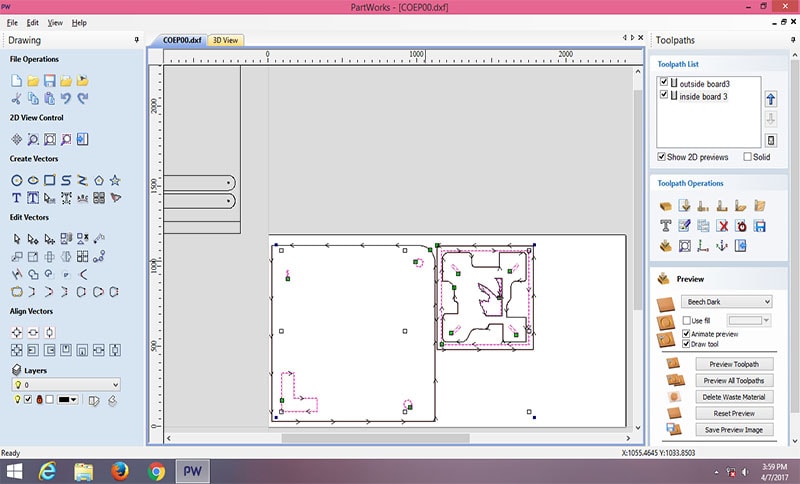


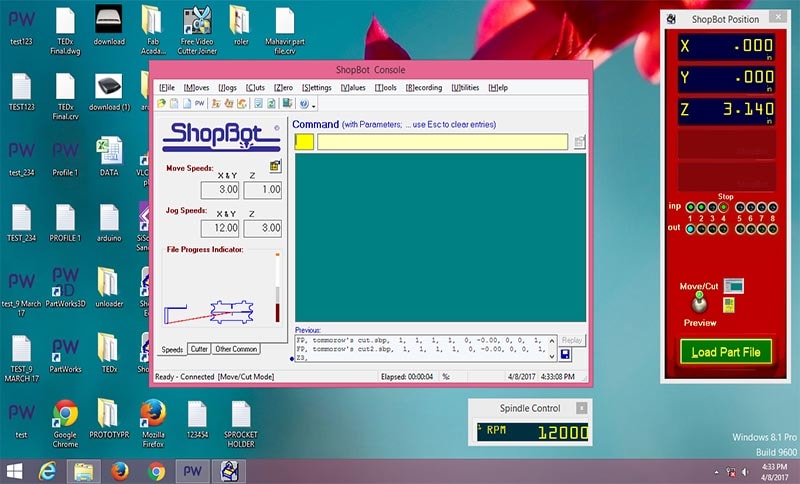
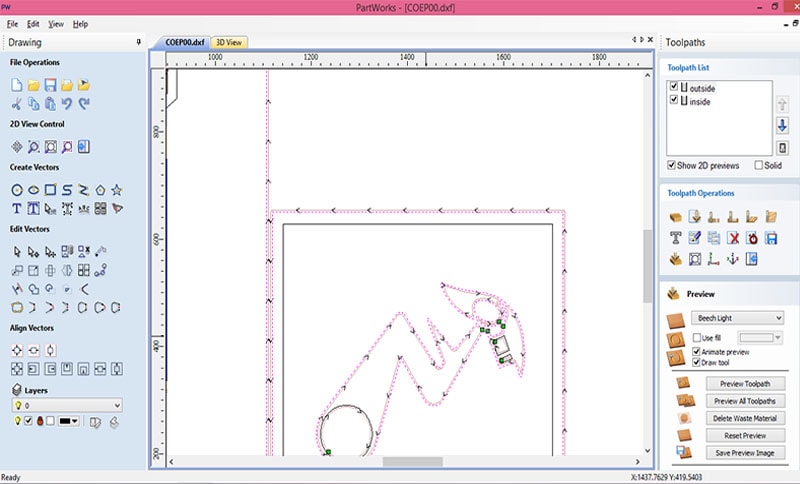
ShopBot File Assembly:

VIDEO showing wood scraping

ADDITIONAL:
1. Researched some pretty cool IRIS | RHINO projects
Initially I drew a cad file of a possible iris window that i wanted to incorporate into the design. Due to lack of time, i reduced the scope of my project. Nevertheless have attached the Cad file of the iris design i worked on.
2. Went through Madison's resources
3. Went through Fajkovic's resources
