Being Prepared for everything
Web Site Building
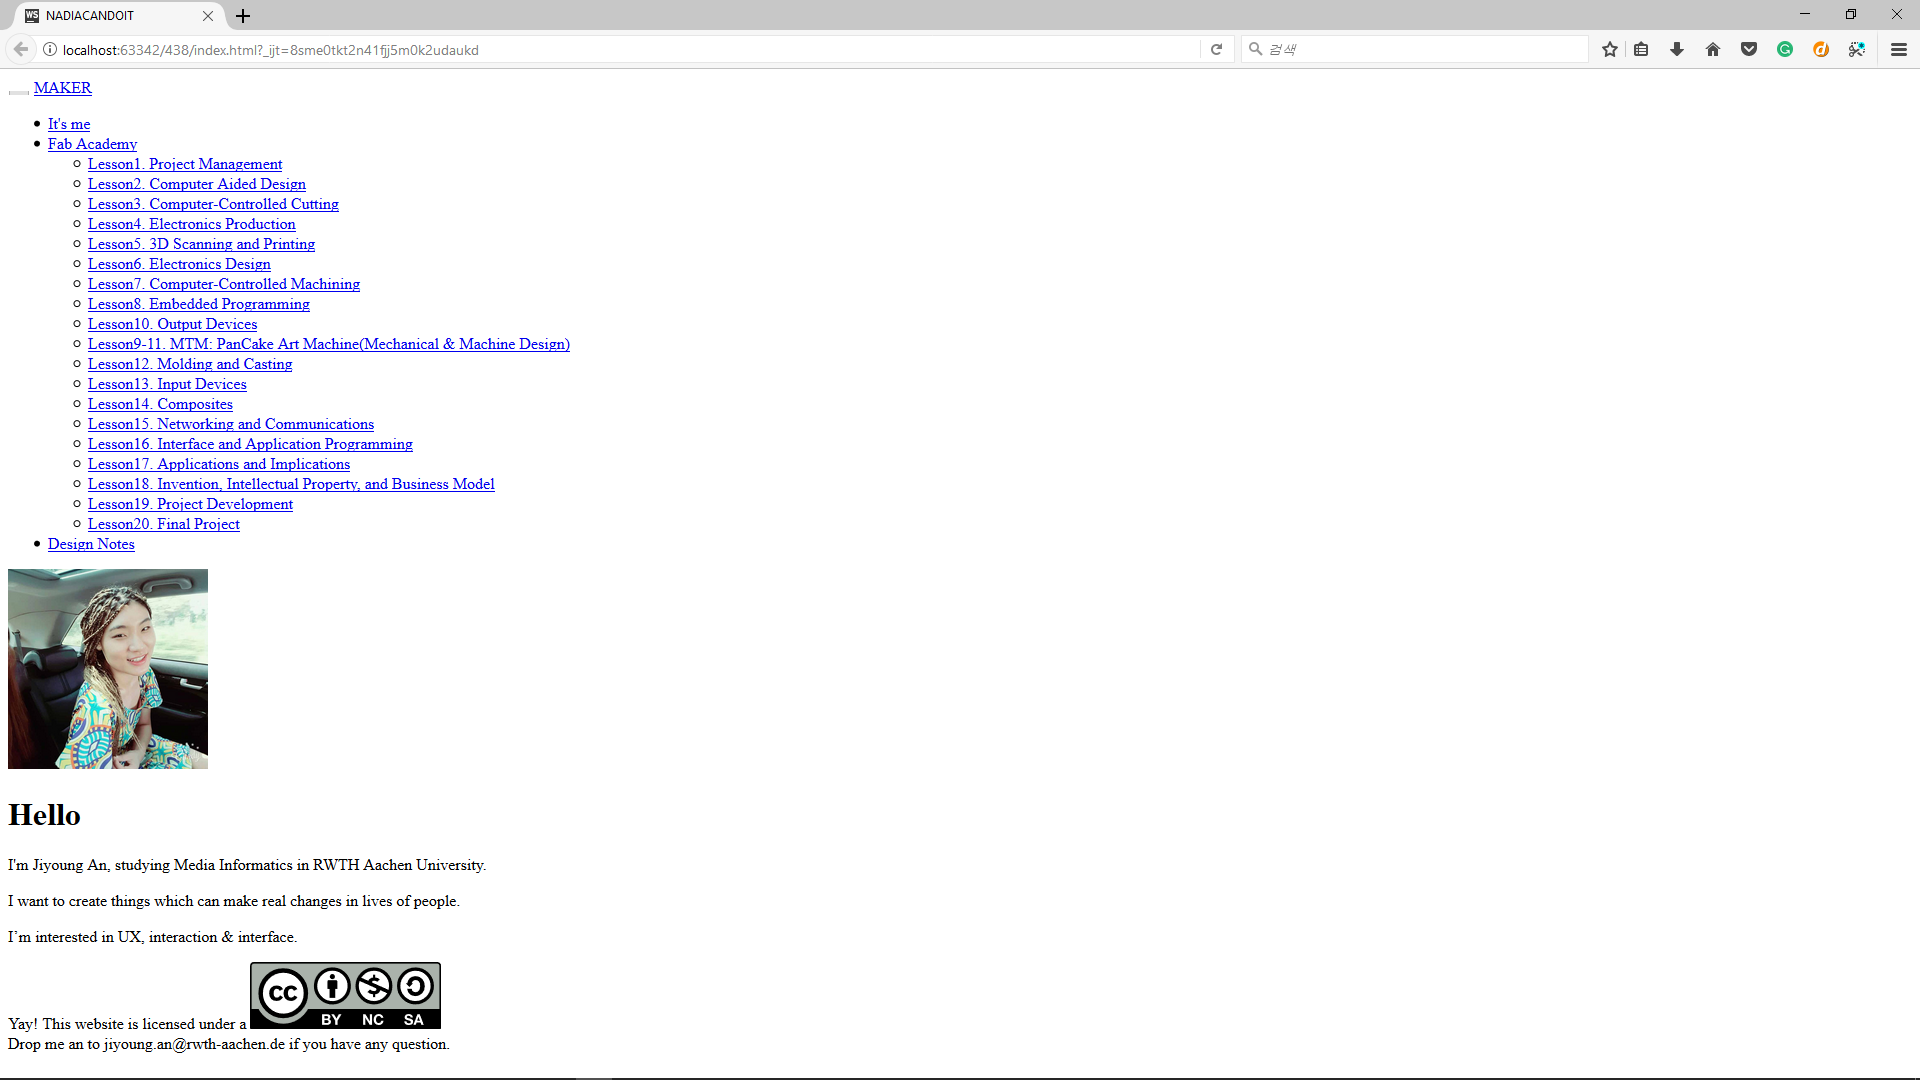
Using WebStorm(luckily, I could get a free student license) as IDE, and free Bootstrap template, I
made my personal page.
Although I experienced a bit of web site building when I was really young,
my knowledge on web-site building is no better than reading html code and
guessing how it would be shown on the page.
Sites such as w3schools and CodeAcademy helped me a lot
in recovering my knowledge on web development quickly and grabbing new concepts:)
- To sum up what I did for this assignment
- Decide upon general structure of the pages
- Design Template for Each Page
- Customize, beautify it.
I thought about 3 different style of pages; index, posts, gallery type.
In Post type page, i will write about processes.
In Gallery type page, my posts on ideas or processes will be gathered.
Finally, Index page will be the starting page of my documentations linking other pages.
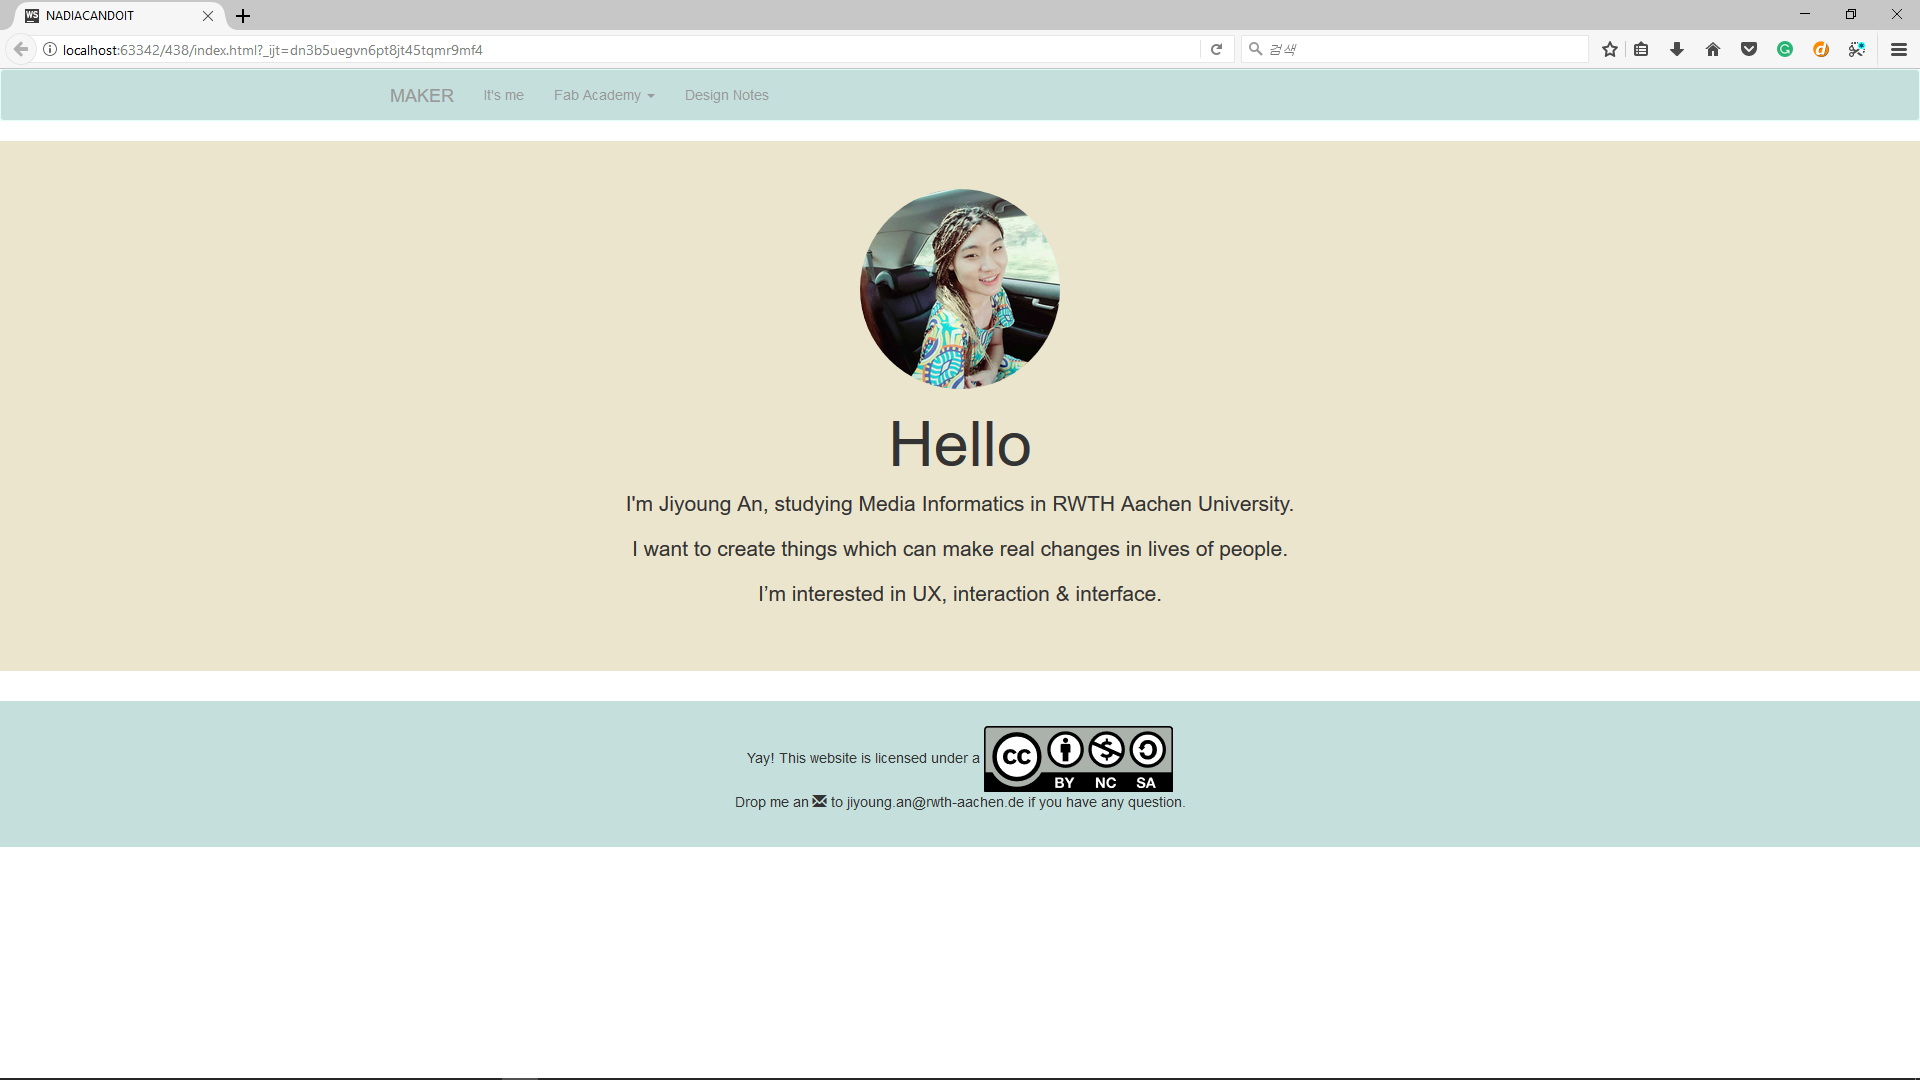
For style and behavior of my webstie, I attached through cdn style from bootstrap (It is actually just one line of code) element to my plain .html file.
I find the components such as Navigation Bar, Jumbotron quite useful.
Also with Bootstrap, it gets easy to manage the layout of the page with grid even in different size of devices.
I changed some setting(things like color) using custom.css file, I also added the code next line
of bootstrap to
overwrite vanilla bootstrap color.
Wth customized stylesheet, it is also possible to change the look of the components(class) group
that you might need to define it later.
Regarding the color
scheme, I got lot of inspiration from COLOURlover
website.
Still, I think I have a long way to go, to make my journaling process easier. I want to learn markup languages an renew my site using them.

Ideas about Final Project
Since I didn't have specific idea about final project yet, I made a specified
page for collecting ideas for my final projects,
and added my first page to here
To work together: using git
Git is version-control system. We are using this because we are working together (in a way that I will be writing branches of branches of branches..).
- To be able to contribute to Fabacademy 2017 git, following steps are required.
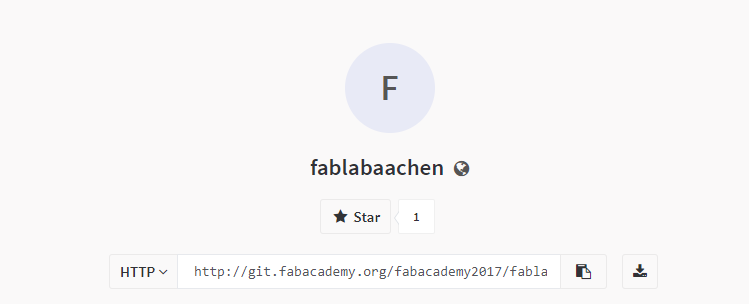
- make an account in the Fab Academy git archives.
- create private/public ssh key pairs.
- register your public key in fabacademy setting (>under 'private') (I had to make it again using Windows after some time, (since my Mac is burnt, teaching me why short circuit is really bad for your device,) and it was not really easy as, unlike Mac, in Windows using Linux command is not possible in native. so you can only make your key pairs, where your 'ssh-keygen.exe' file is stored. 'C:\Program Files\Git\usr\bin' in my case. So I opened the terminal under this folder, or went into this folder using ('cd' command) and created the key).
- install git program - I used 'Sourcetree' and later changed with 'gitKraken'. Those are GUI tools. (I initially used Sourcetree but later it got freezing problem with compatibility in my Windows10 laptop. So I changed it with GitKraken. I sort of think UI is cooler in GitKraken, but it seems more complex than 'Sourcetree'. well yes, maybe it is just a matter of time to get used to some other thing).
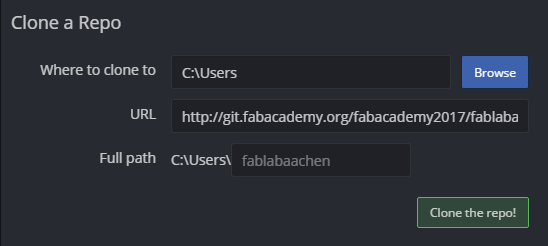
- download the repository in your computer. Pulling directly from using GUI or CLI tool using http.
- Work inside of your repo.
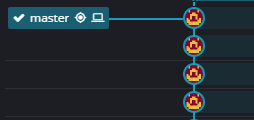
- You 'pull' first to update your repositories according to master change, and 'Stage' your changes, 'Commit' and 'Push' those to the repository.
- It is recommended to check your commit from the log from git.fabacademy.org.
In stage session, you can select files you would really need to merge it to the repository, in this view you can also discard to changes. here I include links how to make a commit using both tools: Gitkraken, Sourcetree).
Note the difference between local and origin master. Check whether you have finally committed your changes to the origin.