Principles and project management
Assignment for this week
- Build a personal site in the class archive describing you and your final project
- Set up the version control system Git
- Plan and sketch a potential semester project
- Link to this week’s home work page
Our first week assignment was to get familiar with a number of popular tools that may be useful in the context of the FabAcademy program. We were asked to install Git that is a free and open distributed version control system and use it to push a push a personal web site on the FabAcademy server.
Git installation on OS X
The git download page. One can download a .dmg binary file and execute it.
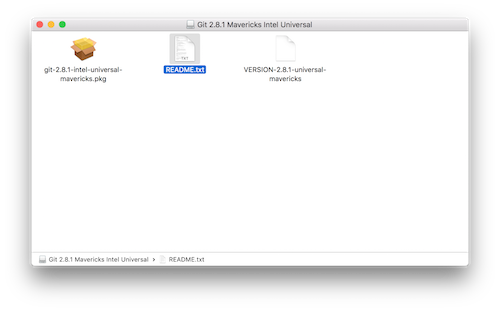
Clicking on the .pkg file should install everything. Actually, I already had git installed on my mac since I use it with github. In a terminal, typing git --version gave me
$ git --version
git version 2.7.4 (Apple Git-66)
And git
usage: git [--version] [--help] [-C ] [-c name=value]
           [--exec-path[=]] [--html-path] [--man-path] [--info-path]
           [-p | --paginate | --no-pager] [--no-replace-objects] [--bare]
           [--git-dir=] [--work-tree=] [--namespace=]
            []

These are common Git commands used in various situations:

start a working area (see also: git help tutorial)
   clone      Clone a repository into a new directory
   init       Create an empty Git repository or reinitialize an existing one

work on the current change (see also: git help everyday)
   add        Add file contents to the index
   mv         Move or rename a file, a directory, or a symlink
   reset      Reset current HEAD to the specified state
   rm         Remove files from the working tree and from the index

examine the history and state (see also: git help revisions)
   bisect     Use binary search to find the commit that introduced a bug
   grep       Print lines matching a pattern
   log        Show commit logs
   show       Show various types of objects
   status     Show the working tree status

grow, mark and tweak your common history
   branch     List, create, or delete branches
   checkout   Switch branches or restore working tree files
   commit     Record changes to the repository
   diff       Show changes between commits, commit and working tree, etc
   merge      Join two or more development histories together
   rebase     Forward-port local commits to the updated upstream head
   tag        Create, list, delete or verify a tag object signed with GPG

collaborate (see also: git help workflows)
   fetch      Download objects and refs from another repository
   pull       Fetch from and integrate with another repository or a local branch
   push       Update remote refs along with associated objects

'git help -a' and 'git help -g' list available subcommands and some
concept guides. See 'git help ' or 'git help '
to read about a specific subcommand or concept.
Editors
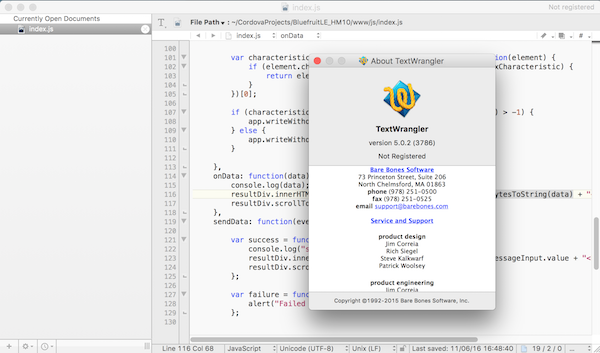
As suggested in class I tried several editors. I generally use nano since it is natively available on many platforms and TextWrangler which is good since it has of course syntax highlighting but also can deal with grep command in Find/Replace.
I discovered Sublime Text and Atom to be quite pleasant for writing html.
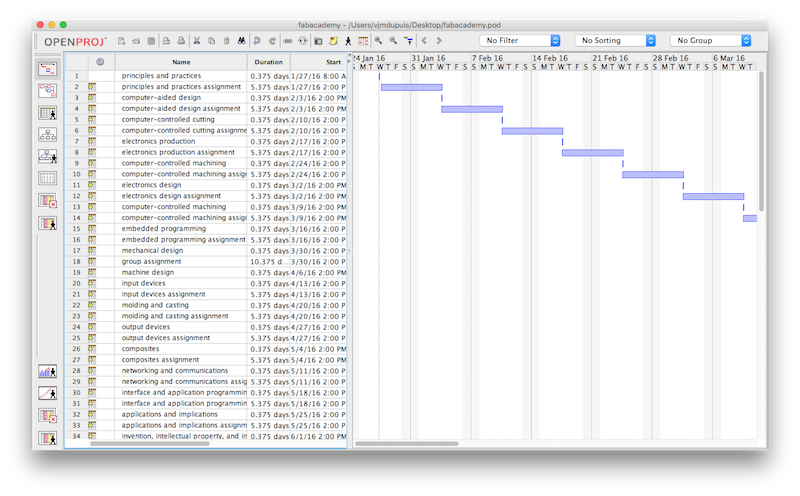
Project management tools
I also installed the project manangement program OpenProj to give it a try before the final project. I created a fabacademy project with the classes and weekly assignments
Creating a website
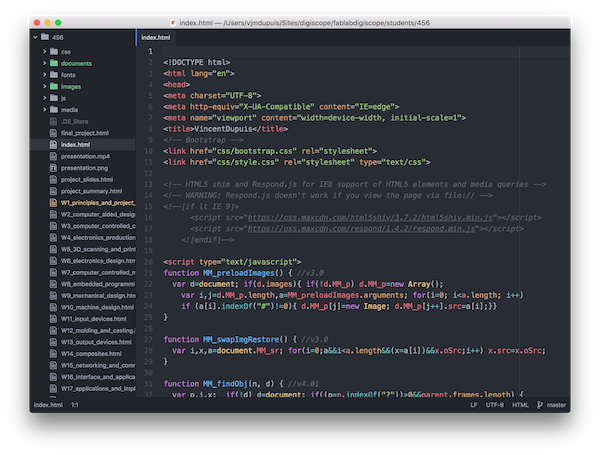
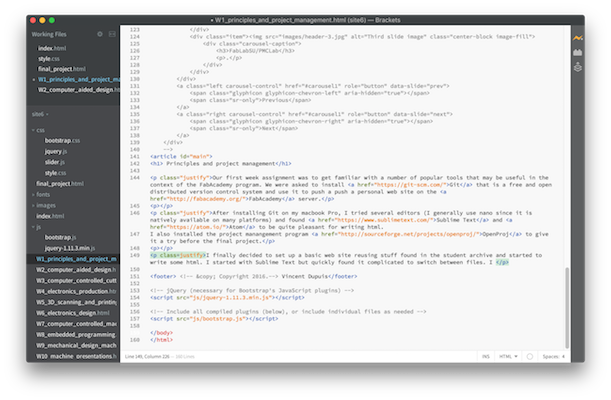
I finally decided to create a basic web site reusing things found in the student archive and started to write some html. I started with Sublime Text but quickly found it complicated to switch between files. I finally chose to use Bracket which is really great because you can see the whole structure of your website, switch easily from html to css et live preview your pages.
Local repo, FabAcademy repo and Git
To upload from my local repo to the FabAcademy repo I had to first create the local repo, init git and clone the FabAcademy repo. In a terminal,
$ mkdir digiscope
$ cd digiscope
$ git clone http://git.fabacademy.org/fabacademy2016/fablabdigiscope.git
I had to enter my gitlab login and password and after a second my local repo became populated with the digiscope branch i.e. the different student repos. Mine was in ./fablabdigiscope/students/456/. I then copied my website files (index.html and the /css, /js and /images folders) into that folder. Then, the procedure to upload the files is the following:
$ git pull origin master
$ git add .
$ git commit -m 'changes made'
$ git push origin master
This worked for me. In case it doesn't work, it is always possible to search for a particular error message on the internet or check the status with:
$ git statusStructure of my website
    --css
    --js
    --images
    --media
    index.html
A few things that may come handy during documentation
For the documentation it is often necessary to include code in web pages. This can be done using <pre><code>...code...</code></pre>. The Prism.js syntax highlighter is very efficient for that. It consists in two files (prism.js and prism.css) that can be added to the /cs and /js folders. To use prims in a html page one needs to add
<!-- Prism for nice code insertion -->
<link rel="stylesheet" href="css/prism.css">
<script src="js/prism.js">
at the beginning of your pages. Then it is possible to use the following syntax to obtain line-numbering and syntax highlighting. Of course it is still necessary to escape the < and > characters.
<pre class="line-numbers”><code class="language-markup">
...
</code></pre>