Code
Launcher
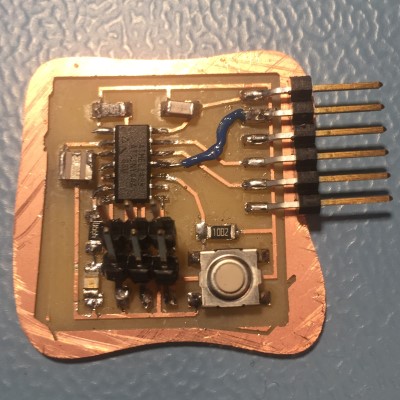
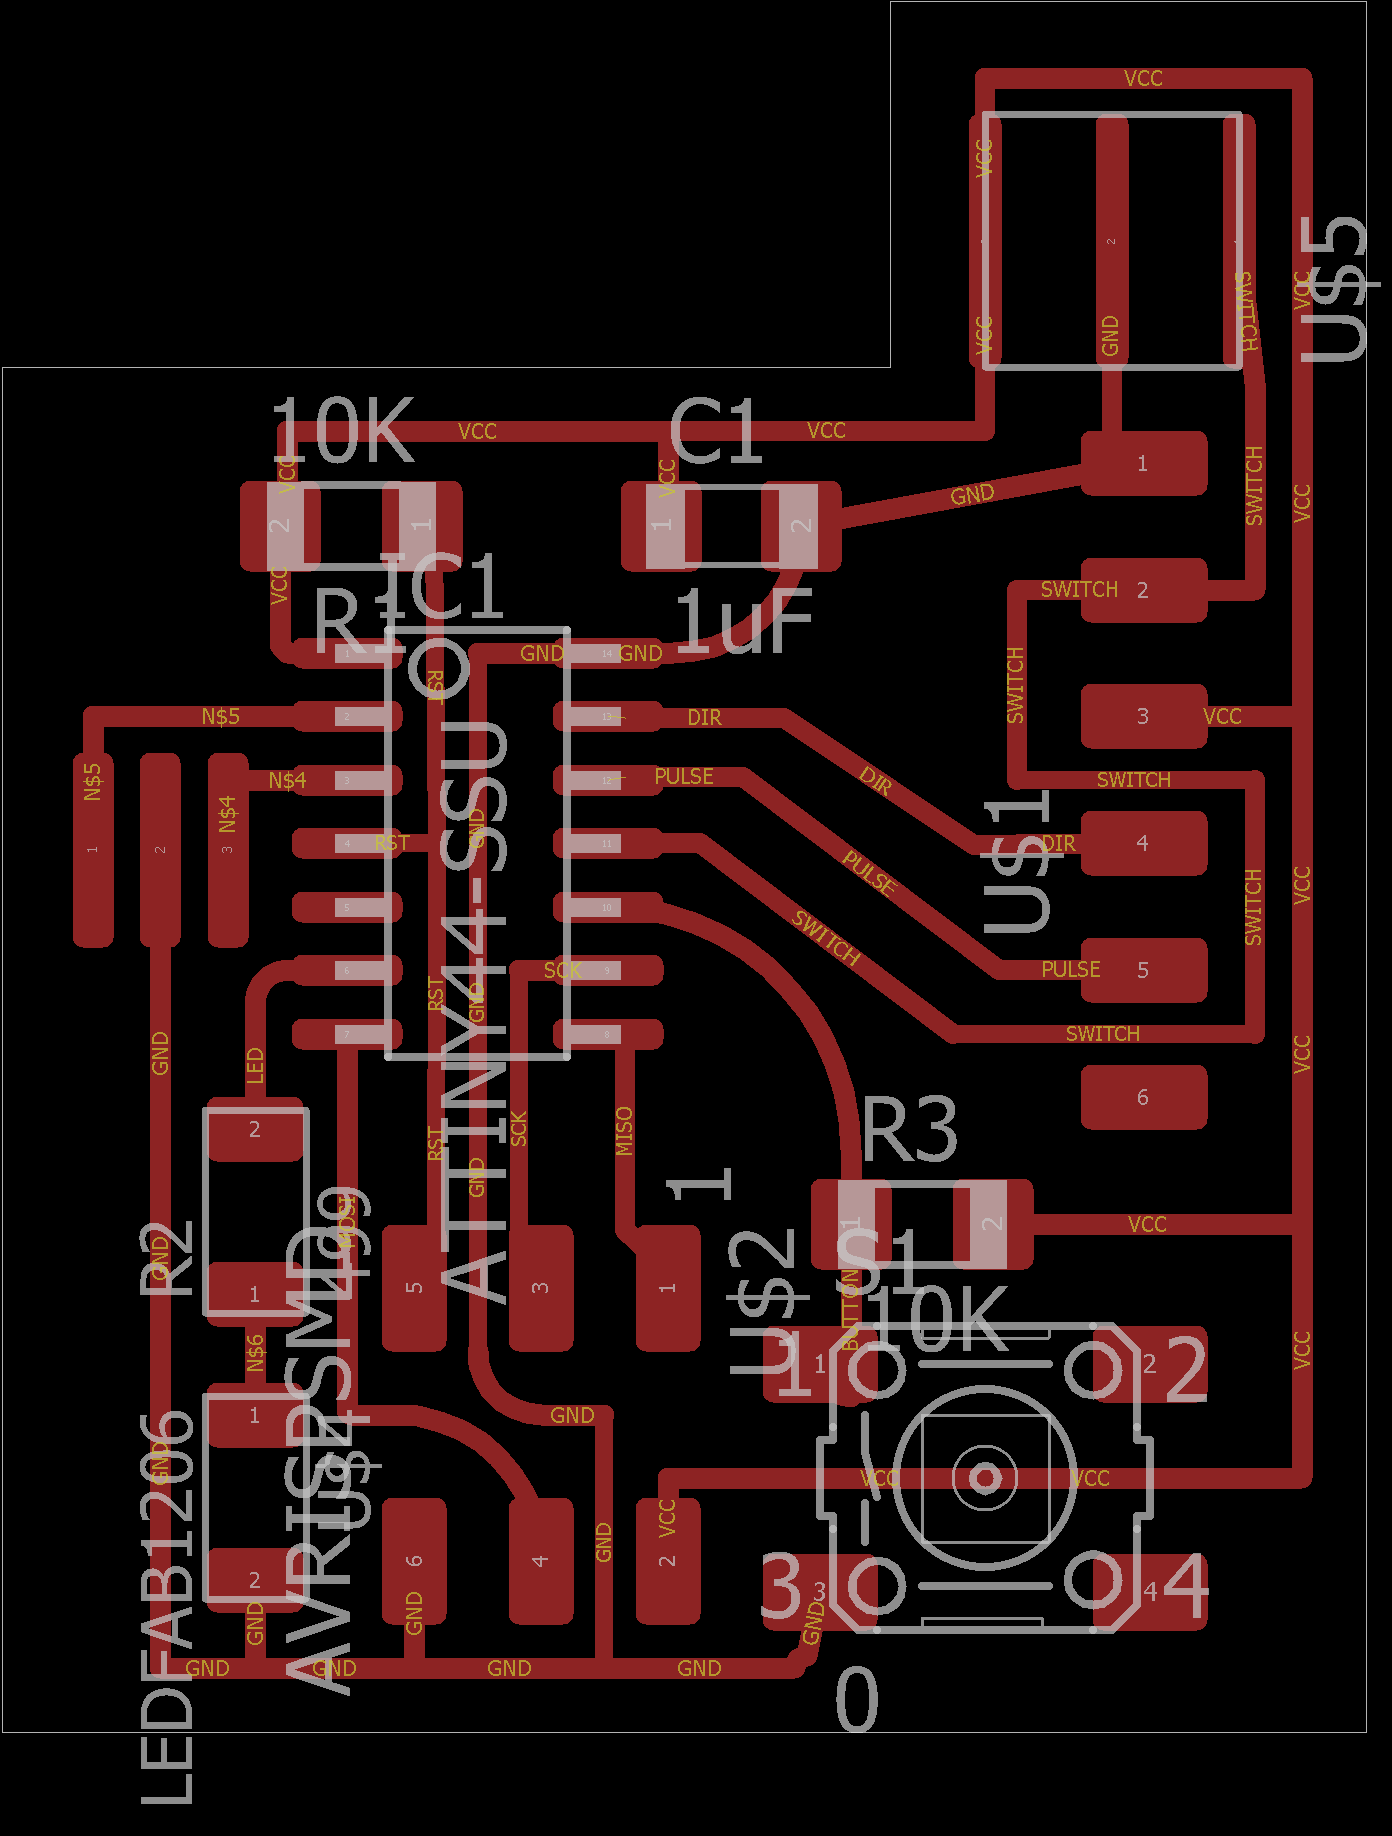
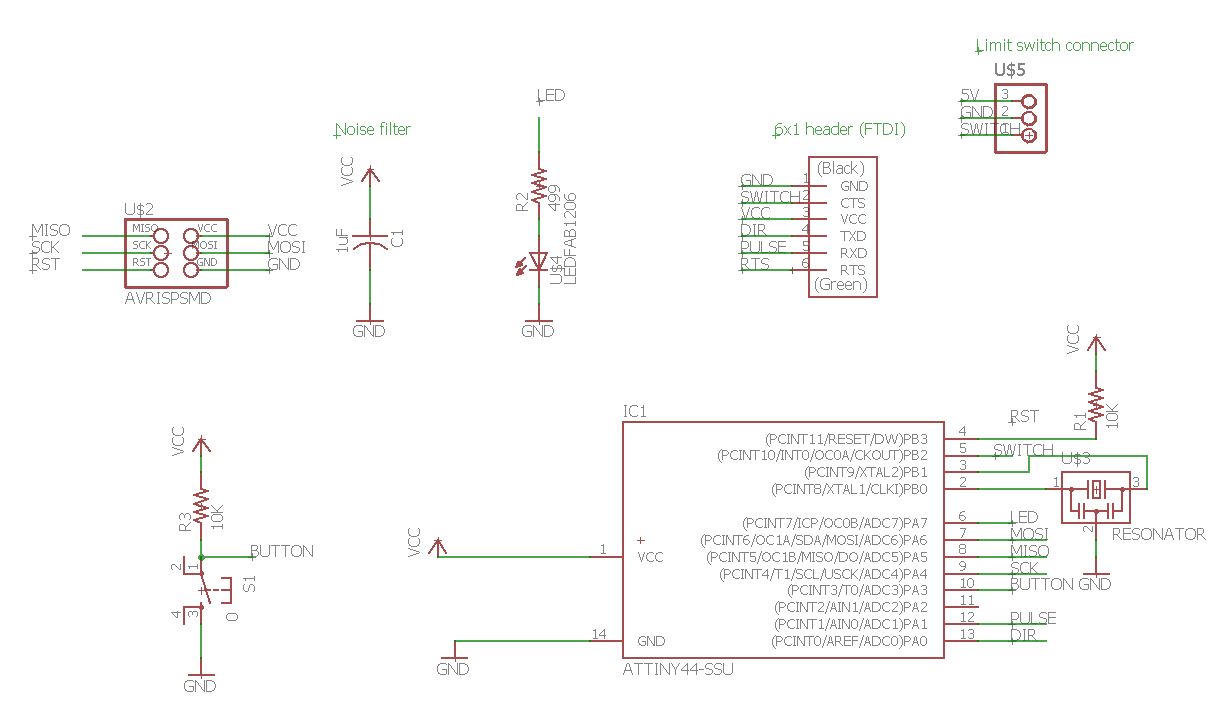
Electronics
Axis
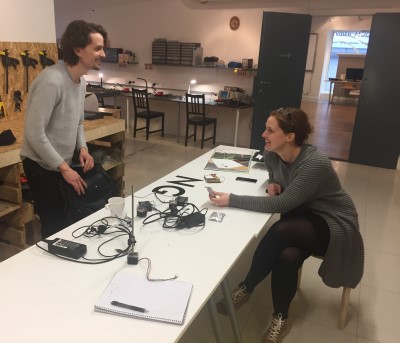
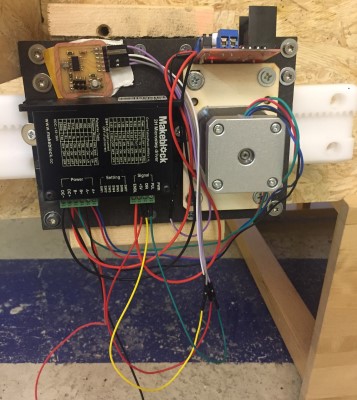
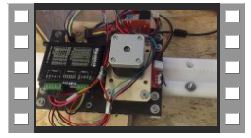
We had a visit from Instructor Jens who lended us two makerblock stepper drivers and Nema17 motors
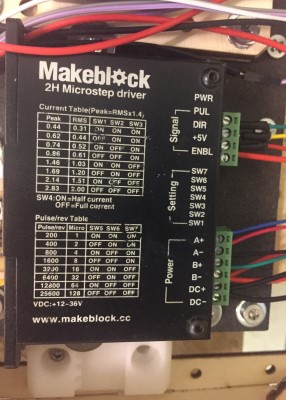
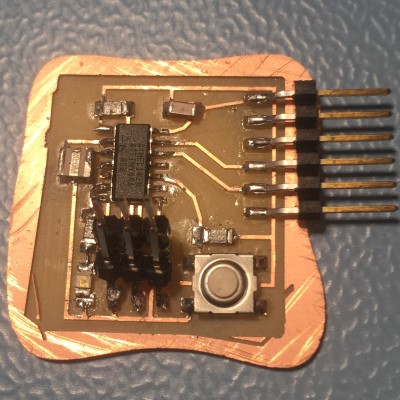
To operate the stepper drivers we used our hello echo boards made in week3 and hooked the FTDI header pins to the input pins on the stepper drivers. I used a separate stepper motor driver to generate 5V for the driver and echo board.
The code running on the hello echo board is a stepper demo file that Jens provided. Uploaded with the same procedure as in week8.
At first I could not get the code to compile for the attiny, even though Hanne could compile the same code with the same settings, mine kept ending up twice the size and too big. It turned out that I had a newer version of the Accelstepper library which was considerably larger. I found this out by comparing out verbose debug messages from the compilation process. To generate this you need activate it in the Arduino IDE under File->Preferences->Show verbose output during: "Compilation"
Arduino fileAfter testing the axis we each had a motor that we could control from our Hello-echo cards so it made sense that we use them to motorise one axis each.
I first did a test where the motor blindly runs the axis back and forth a preset distance. Quite crude but it works as intended. The drawback is that the motor does not know in which position it starts in.
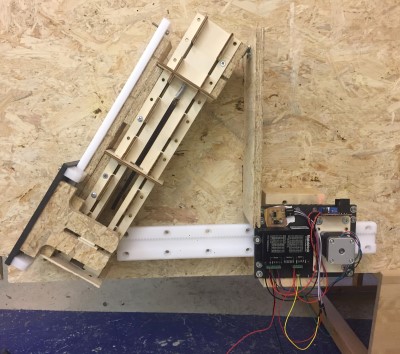
The idea is that when the machine is powered on it shall move towards the limit switches to "home" itself so that it knows where it is. Then each axis can do it's thing relative to the known "home" positon.
The pivot-axis, intended program sequence
We each made a cable connector and soldered a jumper to our hello echo boards so that we could use the last pin on our header to connect a limit switch. (It was left unconnected before.)
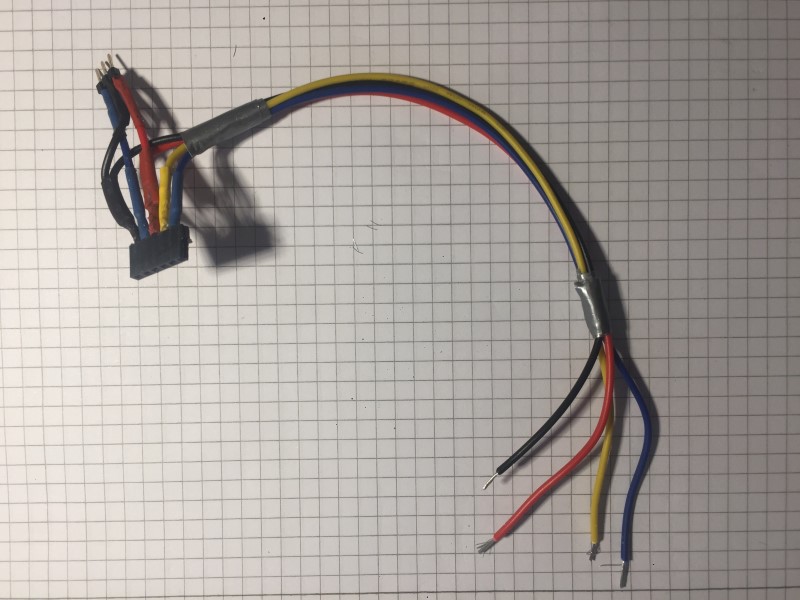
This made it possible to connect and use one limit switch per axis. Here I have mounted a limit switch to the horizontal axis.

I mixed code from the button example file that comes with arduino with the stepper fade program that we used to test and learn the axis and came up with a program that did what I wanted. I also wrote in the math to convert the units from steps to mm so that it will be easier to use and reuse.
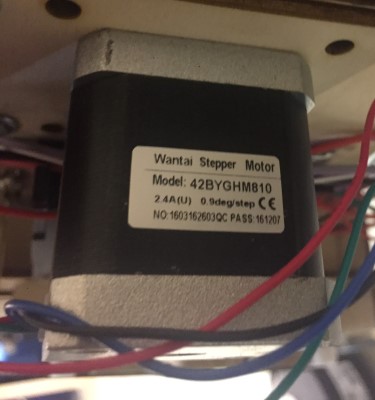
We are using a wantai stepper motor with 0.9 deg / step and using microstepping level 4. This gives us 1600 steps per revolution. Our pinion drives the rack 45 mm/ revolution. So we move it 0.028125 mm/microstep. The pinion has 9 teeth and the spacing on the rack is 5 mm between each tooth.
run_stop arduino code file.
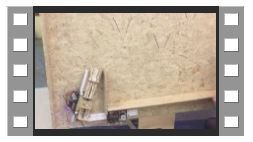
Video of successful program running:
The pivot-axis, intended program sequence
Using different range values we could use the same basic program to control both axis and get it to fire and move infinetly. We had to reduce the max power of the springs so that the motor would be strong enough to pull the trigger past the release point. We also tried taking bigger steps and increasing the settings on the driver to maximum current but we still had to reduce it. It could be that the power supply limits the maximum current as well, we did not investigate that further.
Video of successful repeted motion:
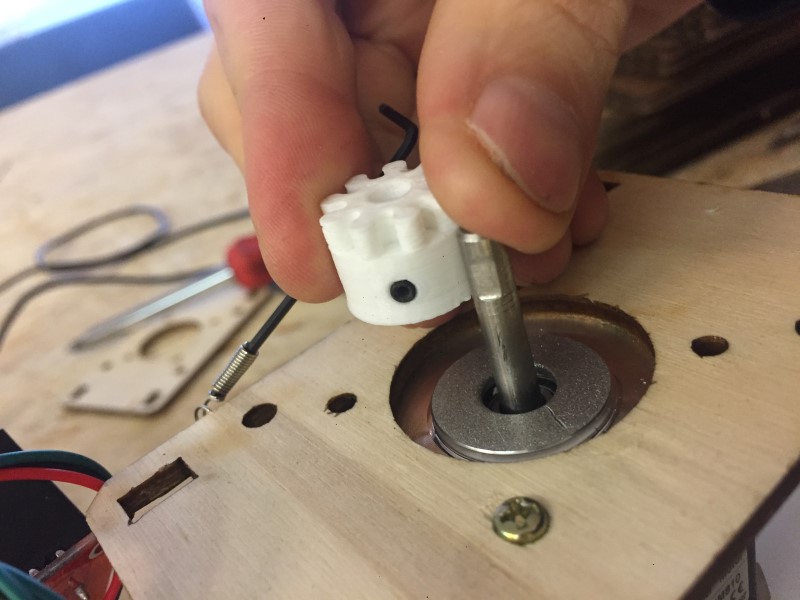
The pinion started sliding on the motor axis, in my attempt to fix it I damaged the pinon and set screw. I printed a new pinion and got a new set screw. I also filed a step into the motor axis to prevent it happening again. We later had to do the same thing to the other motor axis. So far no new problems with slippage! I learned to test for slippage before assembly.
Click to go to group page:

It's been a fun project to work with and I got to (re)learn that getting ideas to work in the real world takes plenty of time. Suddenly you can't find a screw or tool you need or friction or gravity plays a trick on you. I think this was a good soft start to my final project which is likely to use very similar axis as these. A lesson learned is to set aside dedicated time to work focused together to avoid waiting for each other and be able to plan individual work better.