IDEA
I´m a fashion designer, so I wanted to explore the options of what a final Project can be from that perspective.
At first, I wanted to make a knitting machine which is documented on my web, but while on the academy I found how complex that was. I would love to work on that but with more time and a team of people.
So I took a lot of time thinking of what I could do instead, and with that the time passes, so at the end I decided to just try to have fun with it in a way that acomplish everything the final project should.
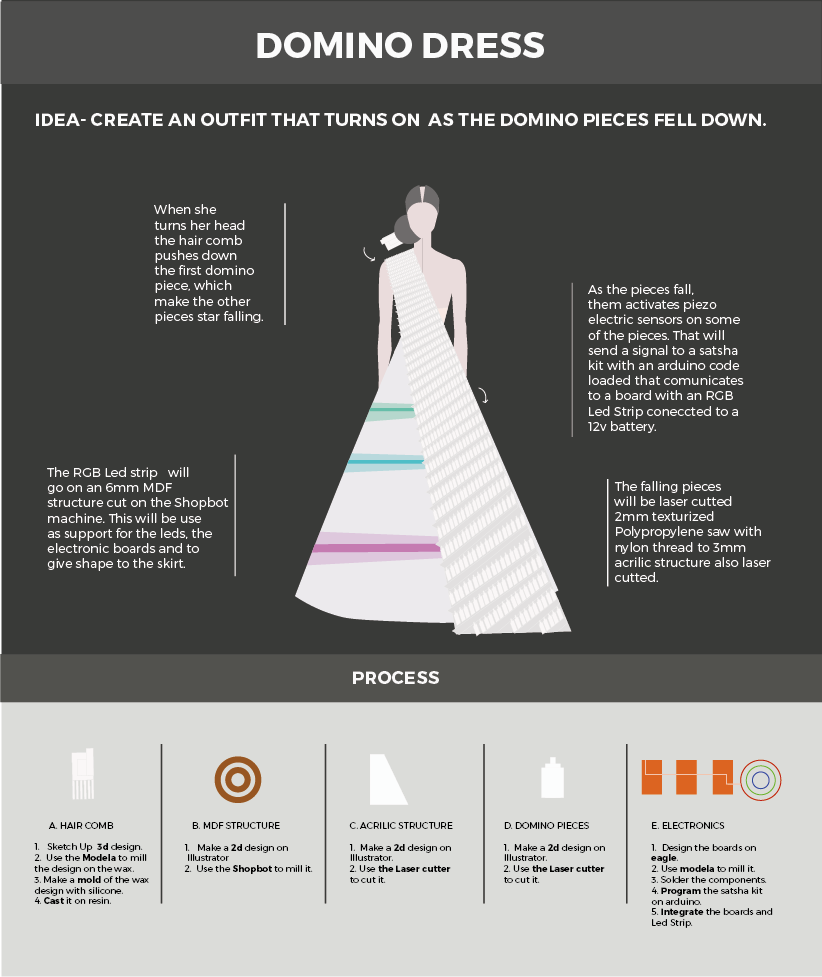
In conclussion, I would do a dress that works like with domino art.
When the pieces fall, piezoelectric pieces would send a signal to a satsha and then to led lights.
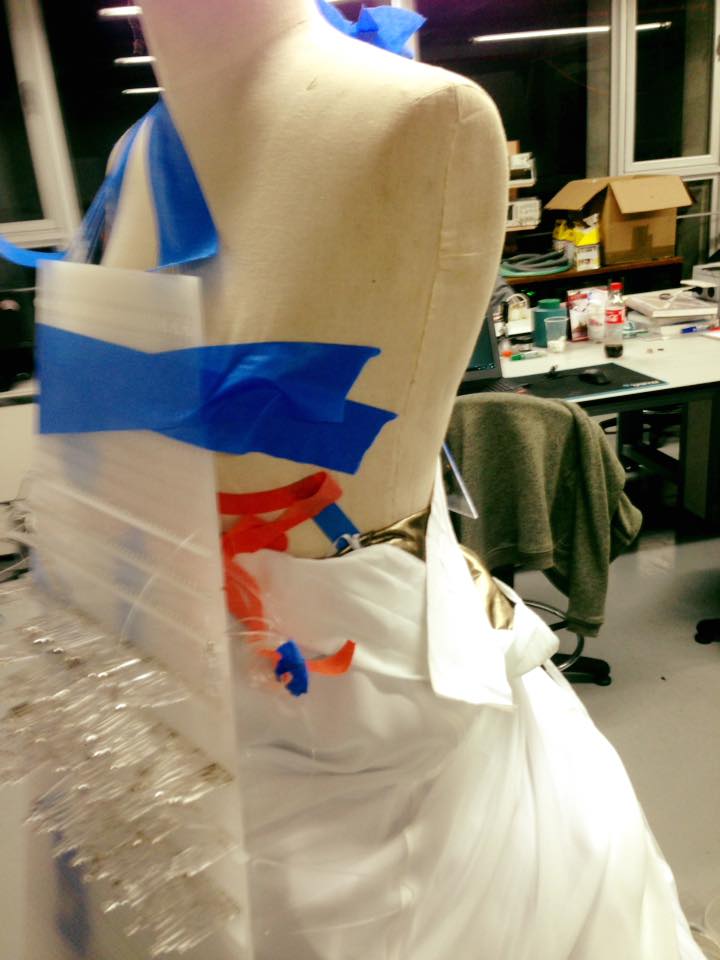
I did some designs and then I used an scaled maniquin to try the idea
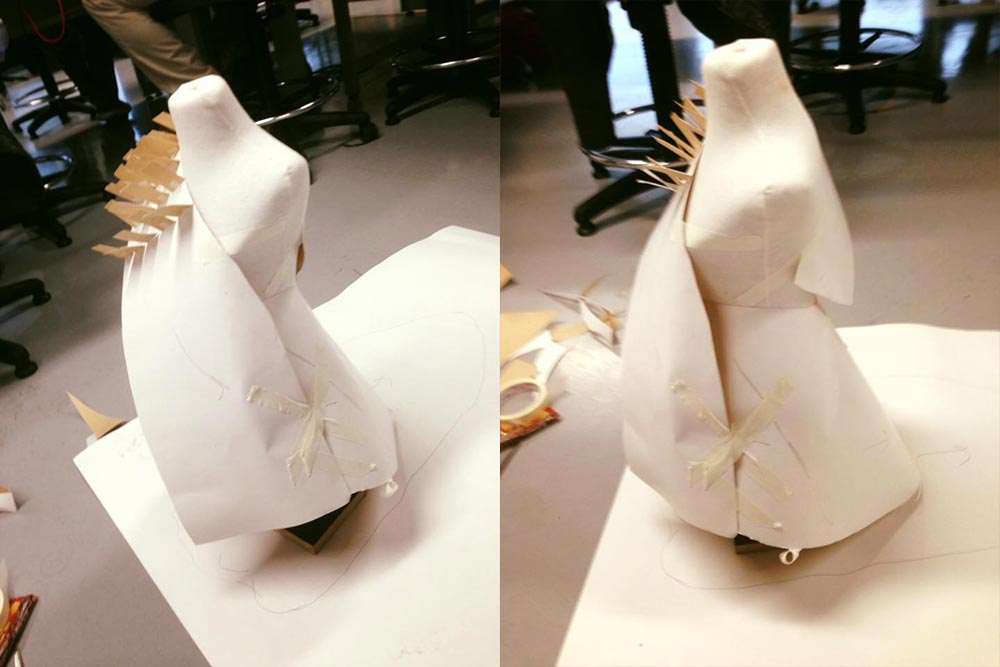
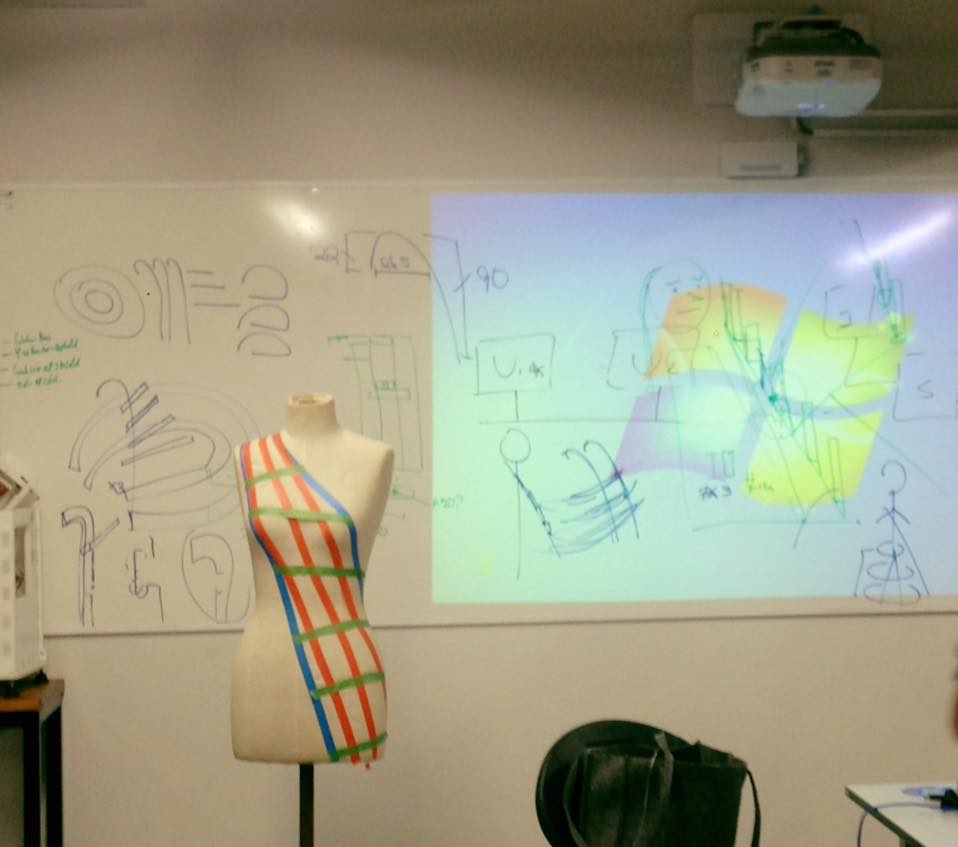
I did some designs and then I used an scaled maniquin to try the idea
The idea is to use 3 boards. (links bellow)
- One with six piezo electrics that react to the touch of the falling domino pieces.
(all details are in week 13, Input)

All the detail of how this boards were maid and program are in the weeks before (links bellow)
Fort he 3d part, I decided to go with Molding and Casting. I designed it on Sketch up (links and files bellow)
Then milled it on the Modela and cast it in epoxic resin.
The idea is that this piece would go in the low part of the head to the side, so when the model turns her head It would activate the falling pieces.
(see week 12 for details of the process, links bellow)
SHOPBOT
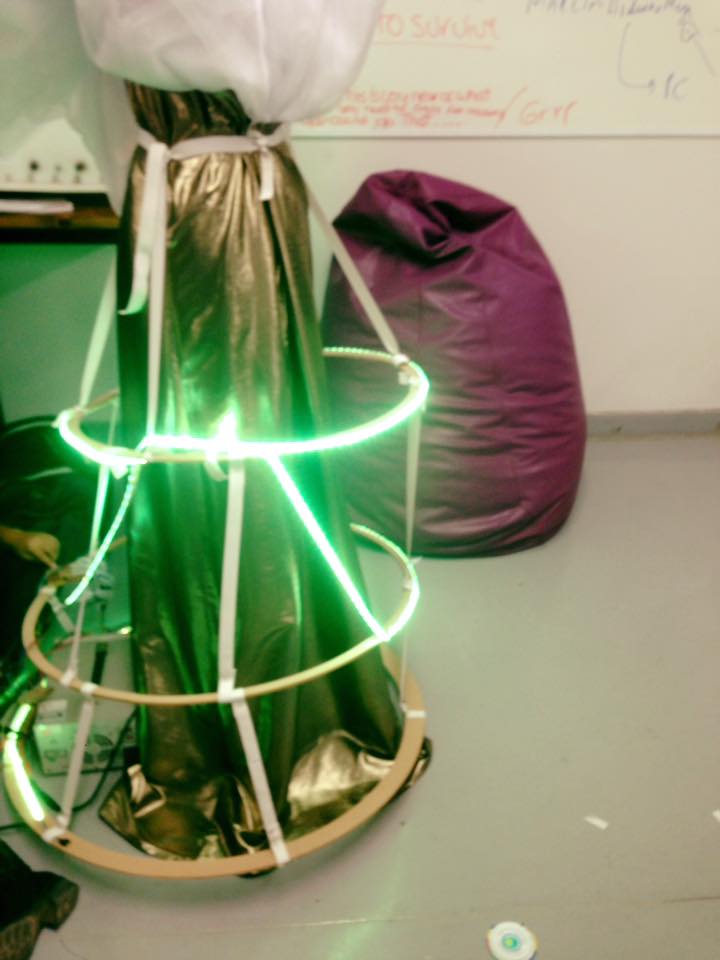
First I did the under structure to carry the led strip and shape the skirt.
As usual, I designed the pieces in illustrator and then used the shopbot
To mill it (files bellow)
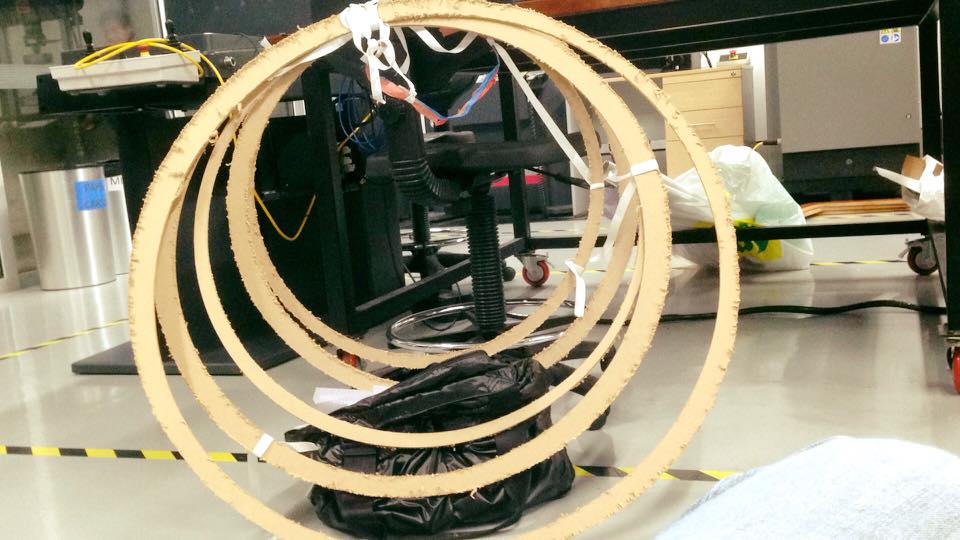
For this I divided the work in two parts:
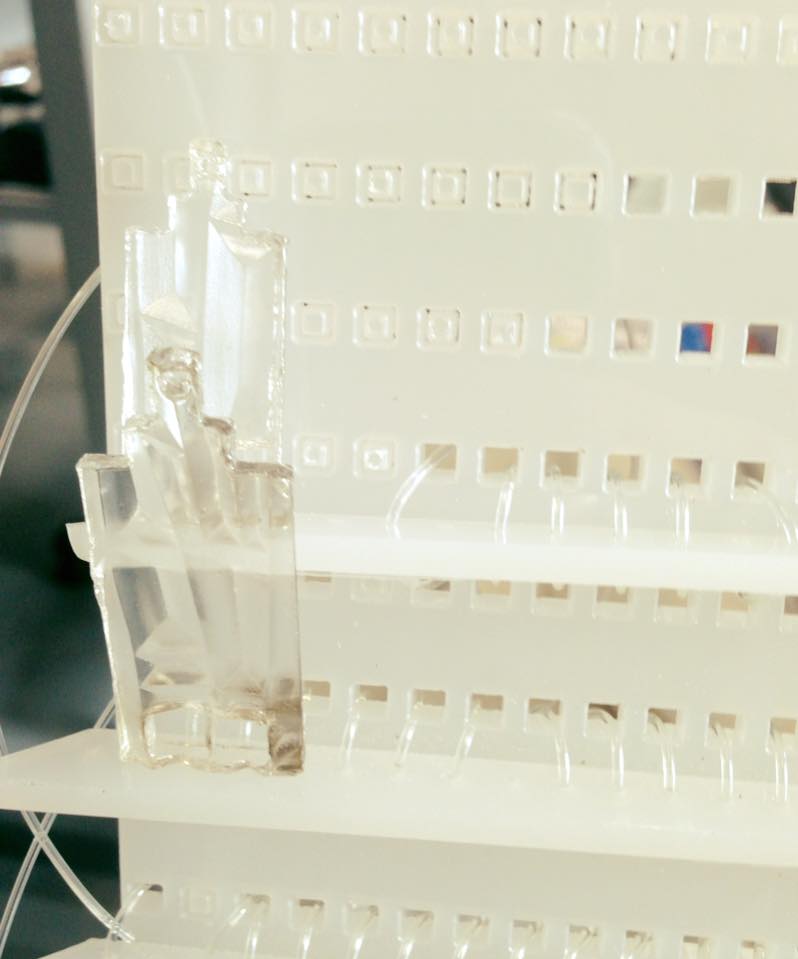
First the structure, done in 3mm acrilic, straight pieces with Little cut off squares to fix the domino pieces there and the angles.
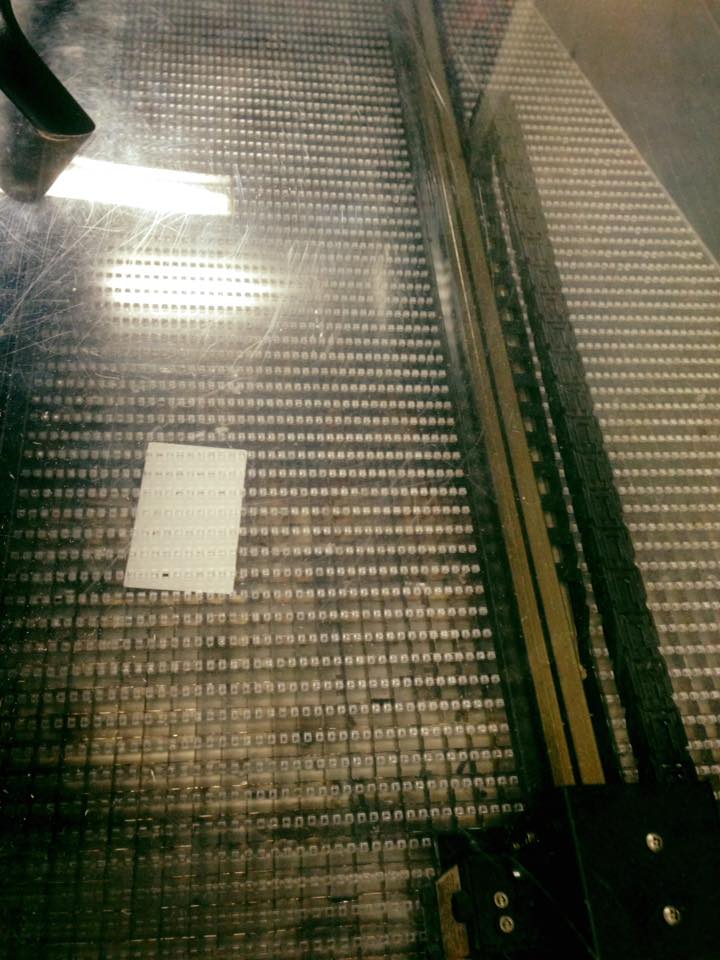
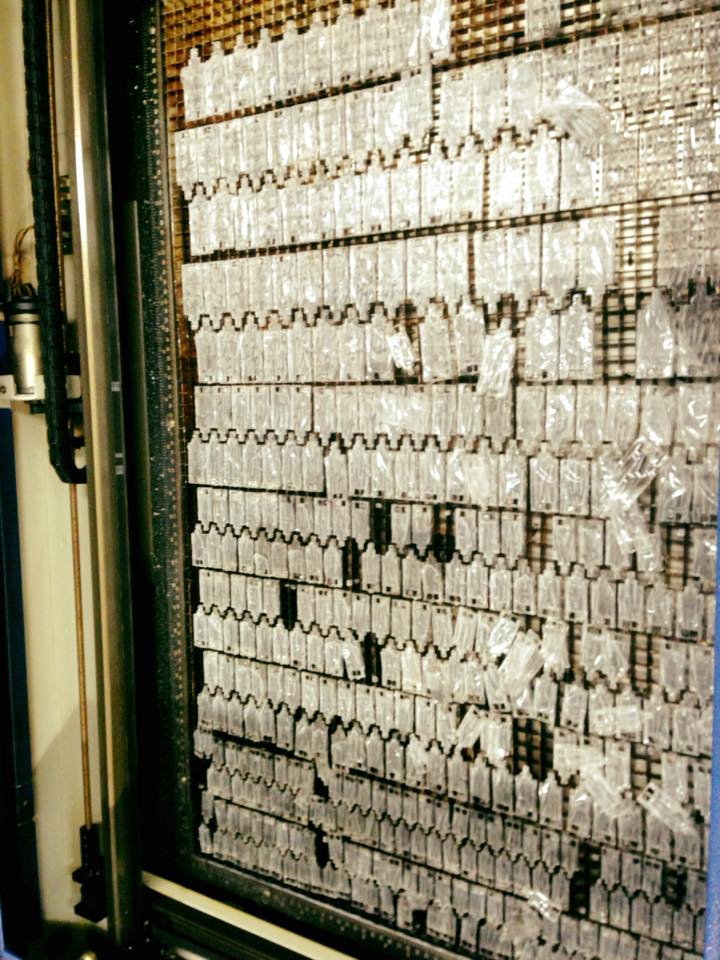
The second part are the texturized polypropylene domino pieces.
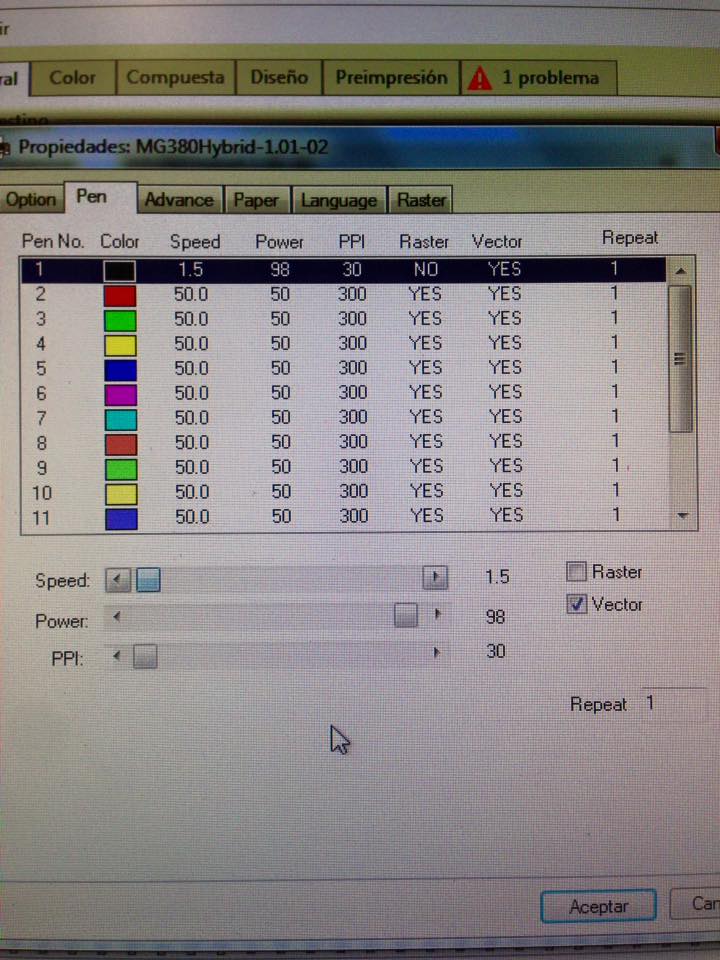
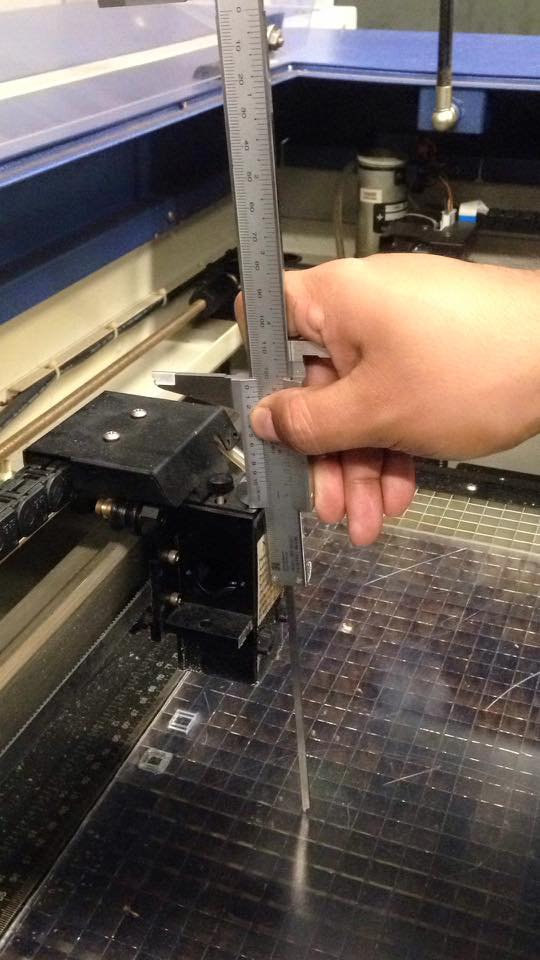
I did them in five different proportional sizes and cut them againg on the laser cutter.
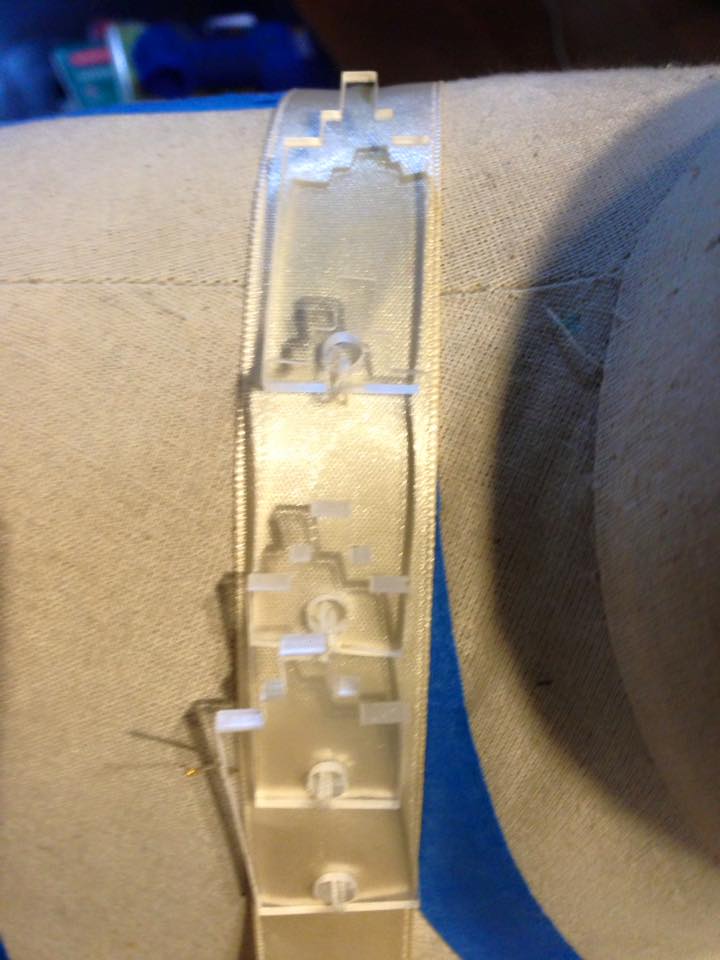
With the domino pieces and the structure, I began to try to fix them.
I tried preassure washers, but they didn´t work as I wanted.
Then I decided to saw the pieces with nylon thread. I had to make several tries but at the end It worked.
The next step is to integrate the electronics to the garment.
For this I putt he boards and leds on the MDF structure. On top of that goes the skirt, made of tulle, chiffon and a reflective lamé under it.
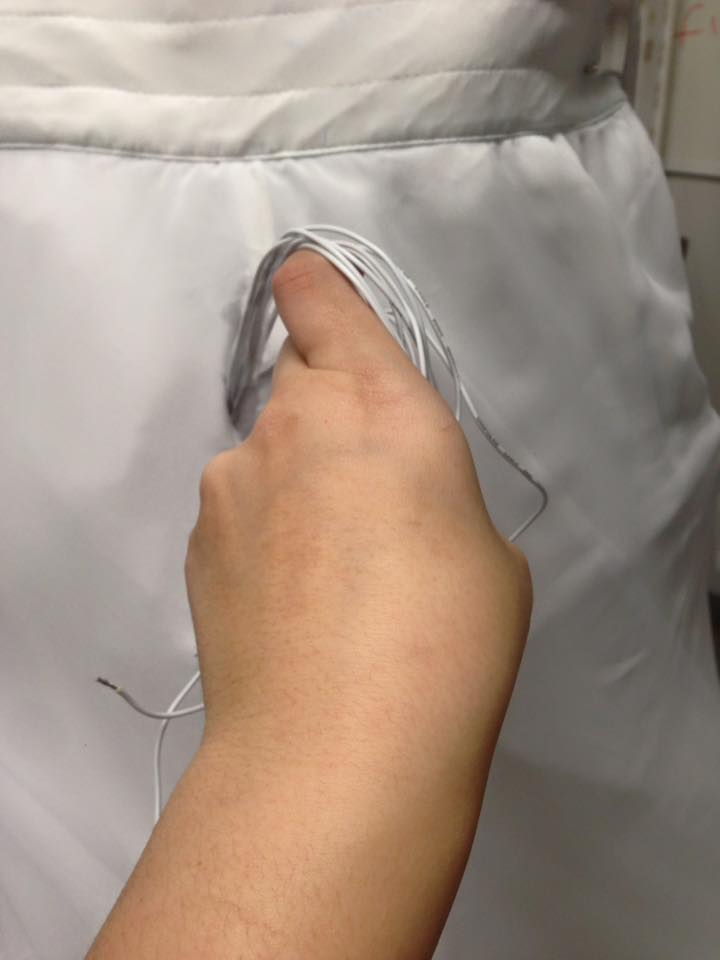
First try:
The cables had to go inside the skirt and then on the front at the waist open the seems a Little to get the cables out.
With that through the cut off squares I soldered the piezo electrics and add them to the domino pieces.

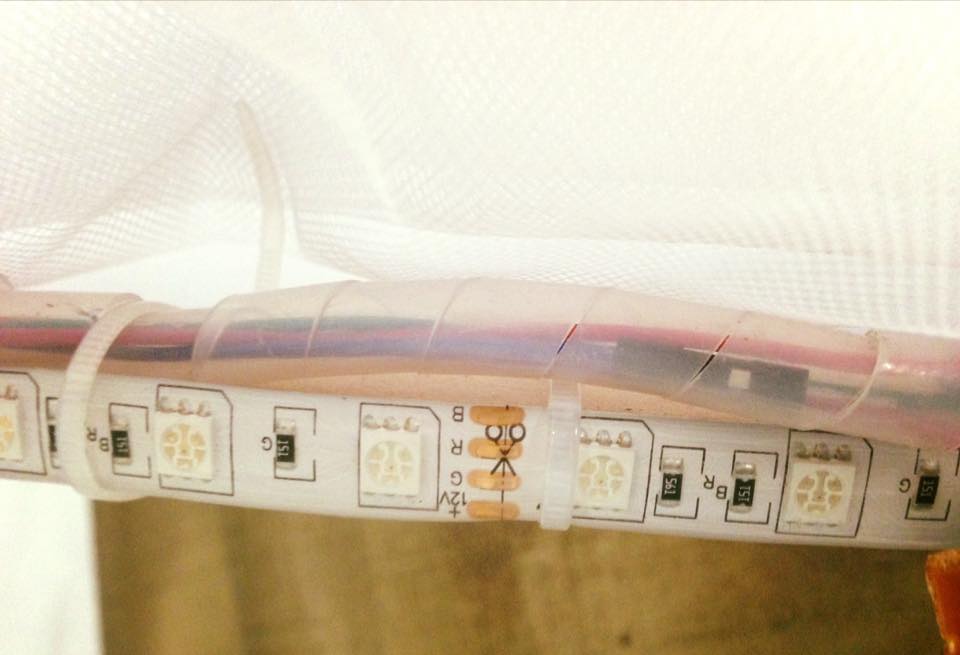
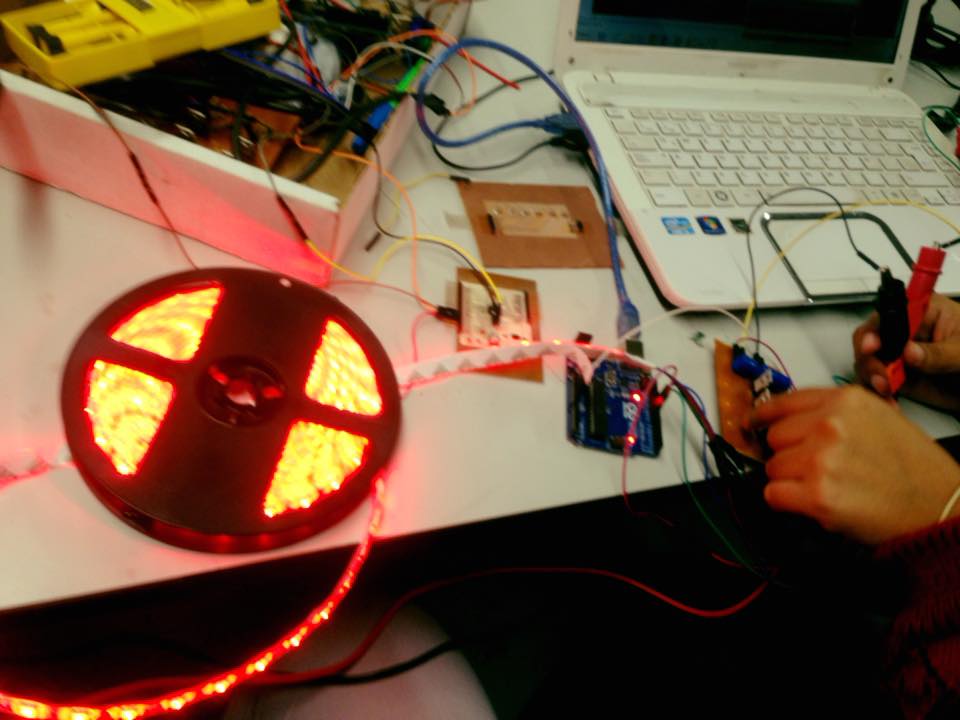
All was attached to a 12v battery.
Here is a video that show how it works:
1. Made your slide: 1280 x 1024 pixels with your name, project name, Fab Lab name, a photo/render/sketch of your project, a brief description of what your project is/does.
Yes, its here: http://archive.fabacademy.org/archives/2017/fablabutec/students/208/w18.html
2. Made a ~1 minute (10MB/1080p/720p) video of you explaining your Project.
Yes, its here: http://archive.fabacademy.org/archives/2017/fablabutec/students/208/w18.html
3. Made a separate Final Project page that briefly summarises your project and included the BOM (Bill of Materials) for your Project.
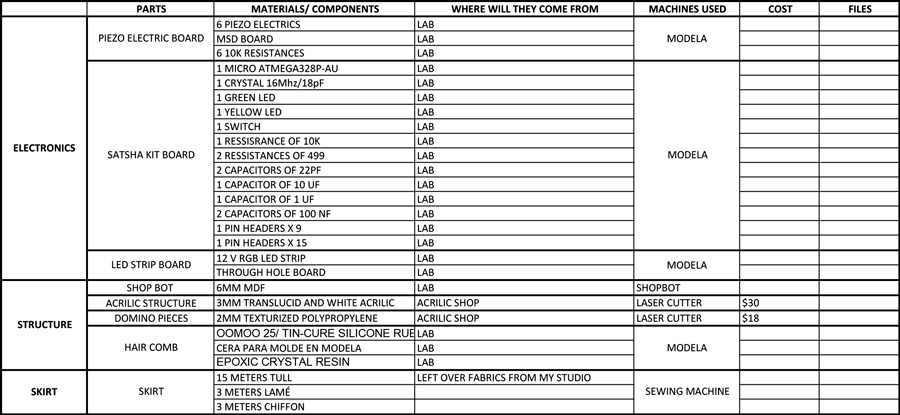
This is the Final Project Page.
Links to weeks:
- 10 Output device
- 12 Molding and castings
- 13 Input devices
- 17 Applications and Implications
- 18 Inventión, Intellectual property and Income
- 19 Project development
5. Linked to your presentation.png and presentation.mp4
Links up.
6. Included all of your original design files in the archive (2D & 3D, board files & code)
- Hair comb
peineta.skp - Laser cut
delantero abajo.ai
laser blanco.ai
laser blanco.dxf
piezas domino.ai
piezas domino.dxf - Codigo de arduino
vestido.ino - Archivo de shopbot
shopbotfinal.ai - Skematic and board de:
hello.brd
hello.sch
input.brd
input.sch
mosfetB.brd
mosfetB.sch
OUTHELLO.brd
OUTHELLO.sch
7.Included the licence you chose.
Creative Commons
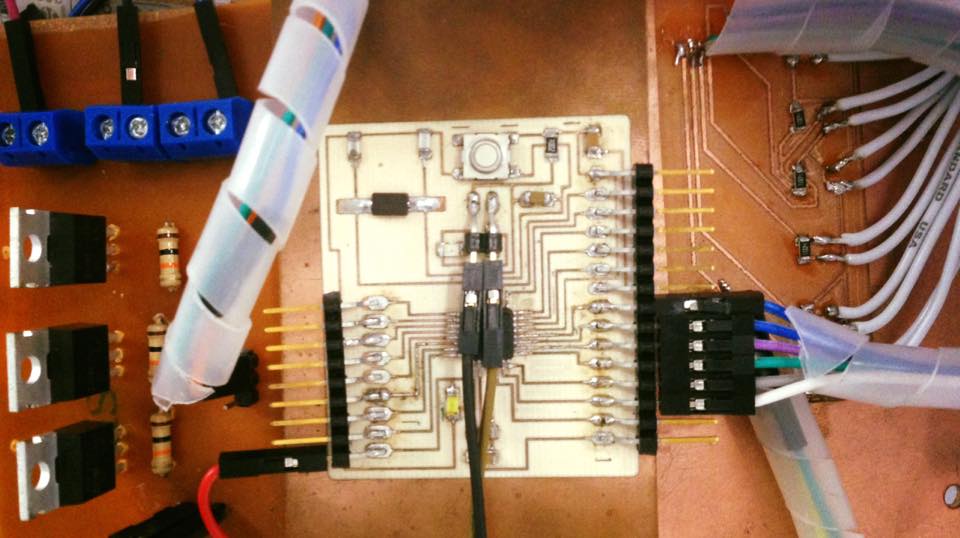
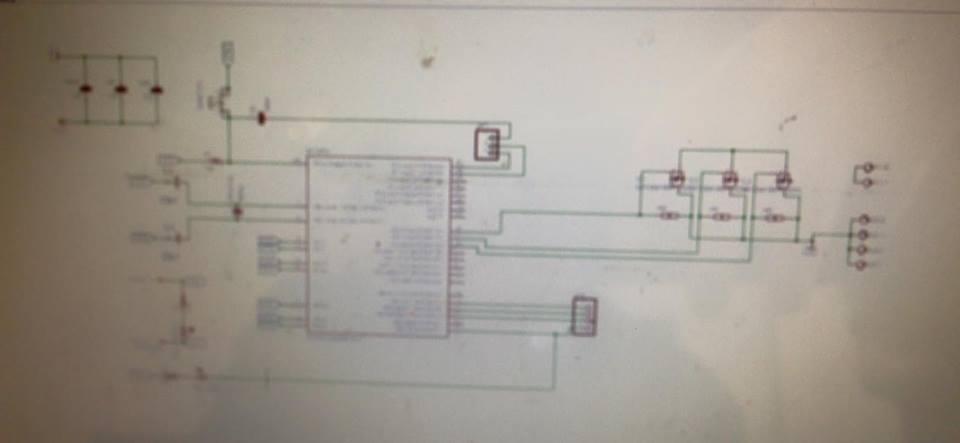
After the Project pressentation , I decided to integrate all my boards.
So now, my dress would work with just one board that integrates:
PIEZOELECTRIC BOARD (INPUT) + SATSHA KIT + RGB LED STRIP BOARD
Once again, I went to Eagle and did the schematics and board.

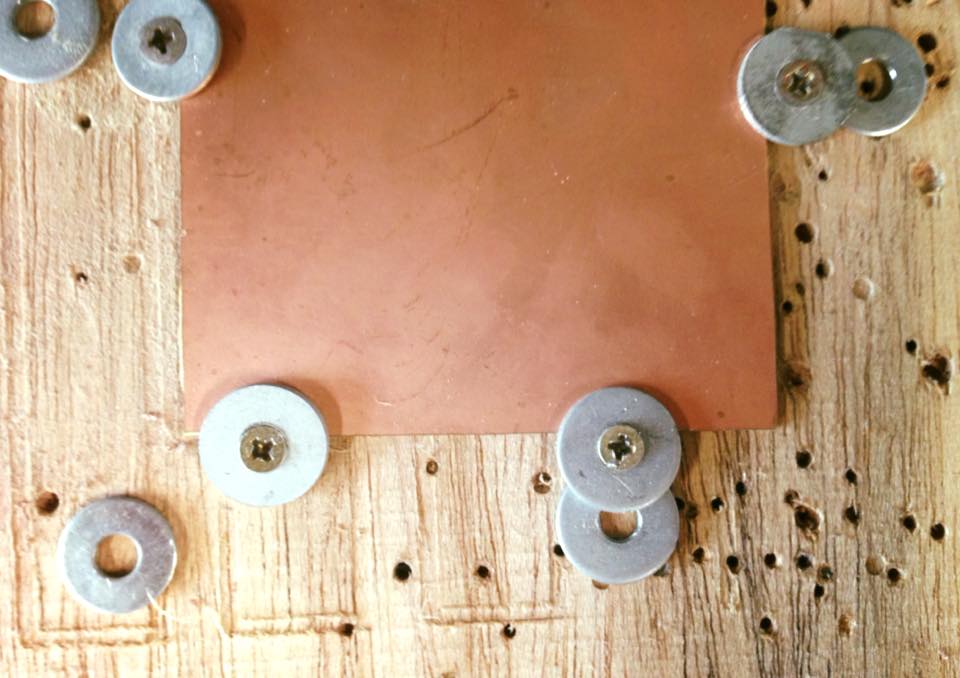
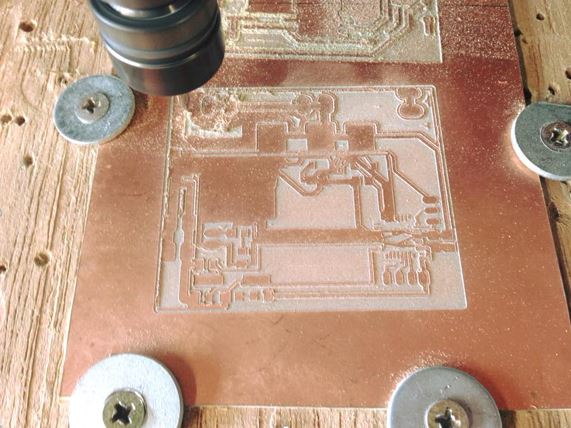
And then, the milling:
Now, I´ll be working on the soldering and programming of the new board so the dress only needs one, which would look much better and would be more comfortable.