3D SCANNING
USING 3D SENSE TO 3D SCAN OBJECTS
For 3d scanning, our Fablab provides a 3d system Sense which we used with a windows pc. We started to scan a whole body, but, unfortunately, we have faced some problems due probably to the lack of light inside the room and to the lack of space necessary for moving. For that reason, we have chosen to scan just our faces an shoulders.
Here is the outcome, loaded on sketchfab
I exported the file in .obj to preserve the texture.
3d printing
As a makerbot replicator owner, I am already familiar with 3d printing with FDM technology. FDM stands for fused deposit modeling. This kind of technology use an extruder, which can move in xy directions, melting a PLA filament at the the temperature of 215 celsius. Once first layer is done, the z axis will a bit, depending on the layer height we choose. Makerbot usually works from 0.3mm layer height, for draft 3d printings, to 0.1mm layer height, which is the highest resolution for this machine. As first print for the assignment I printed a stress test, which can be downloaded here.
Settings are the following:
0.3mm LAYER HEIGHT
1 SHELL
100% DENSITY
RAFT ON
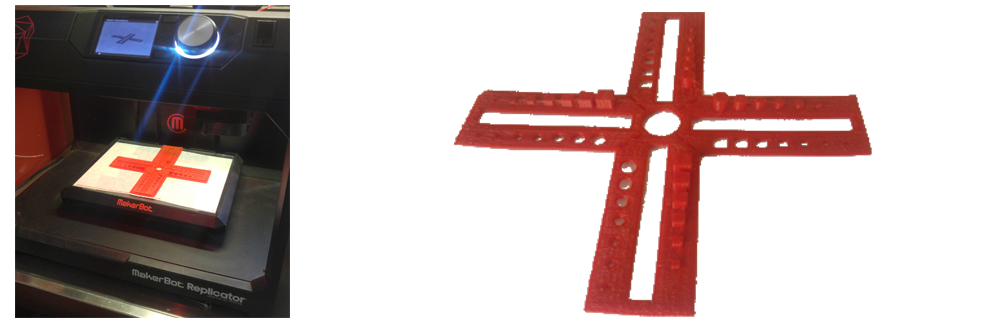
Some issues regarded the pla behaviour. Close to the boundaries, the pla begins to curl. To avoid this process, it is reccomended to use blue tape and some drops of glue. I will try to print it again, using a original makerbot PLA. About the stresstest, I had some problems fixing the parts. I have to leave more than 0.2mm of interference between the two pieces.
Design and 3d print an object
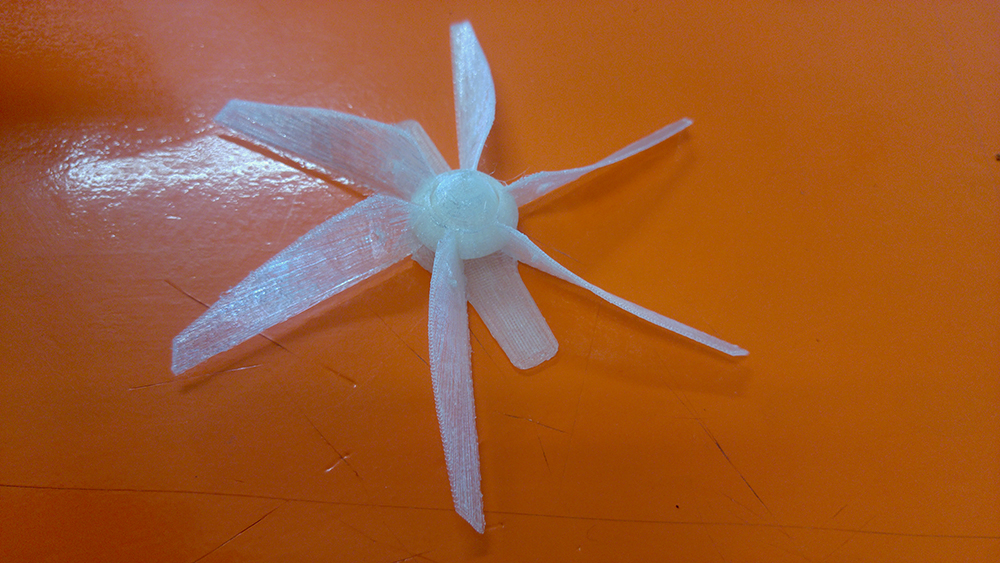
As exercise I have modeled a pinwheel, which file can be downloaded on sketchfab or at the end of this page. Anyway, I did some mistake about the model and the interference between each piece in this first attempt.

This is the section of the object I have creted. As I suspected, because of the lack of space between the parts, the result is not good. The parts are stuck together. I still need to fix the model and leave more space. I will try new settings with 0.5mm.

I have modified the model applying a space of 0.5mm, with 2 shells and 15% of density. It works quite good, but I will print several little pinwheel in order to find the best solution between 0.3-0.5mm gap between to parts, just to allow the spinning.