Rebuild and Assembly
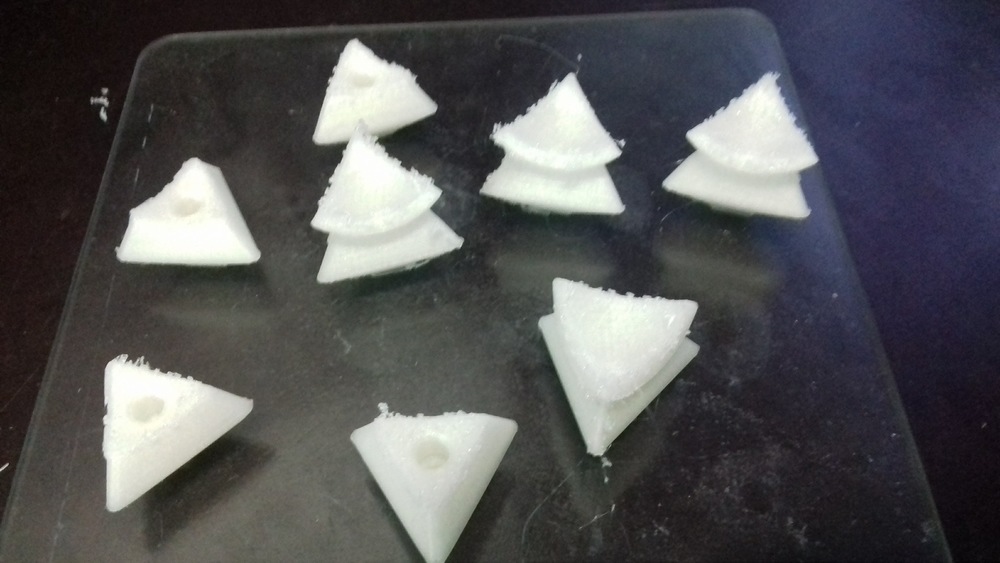
To finish the skewb I have reprinted the vertex pieces with the rounded edges and the tip of the vertex longer than the previous version and the same material. In this case the quality has not been so good because the fans of the ultimaker 2 are damaged.
After sanding the result was acceptable.
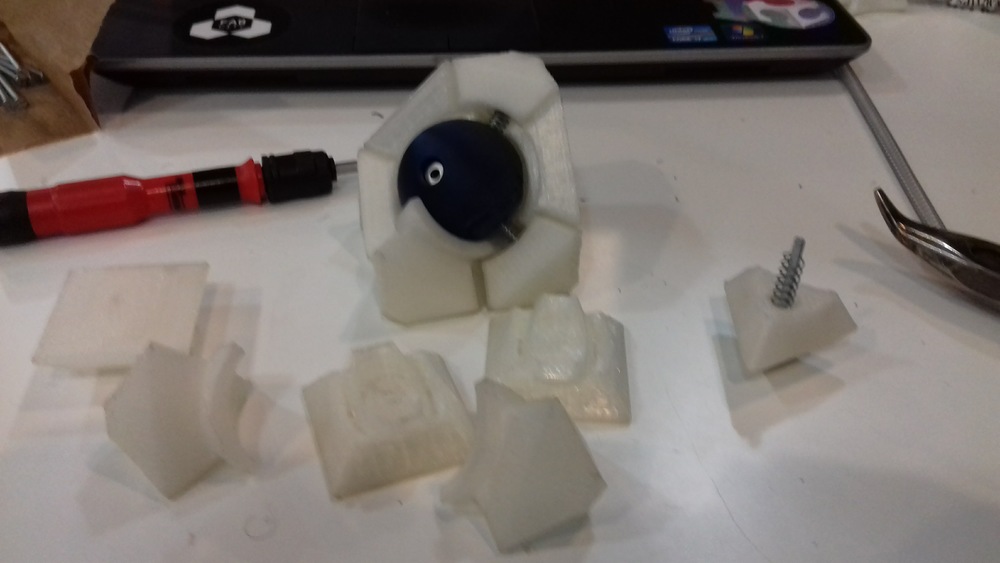
For the assembly it is necessary 4 screws of M3x40mm, 12 washers and 4 springs.
Stikers
I have found DIN-4 vinyls of different colors in serveiestacio.
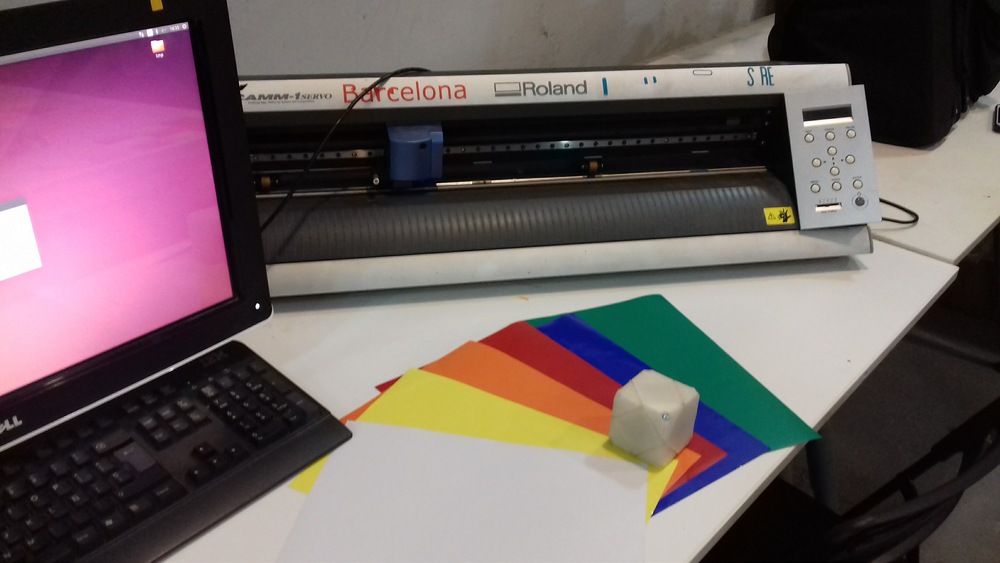
To use Roland follow these steps:
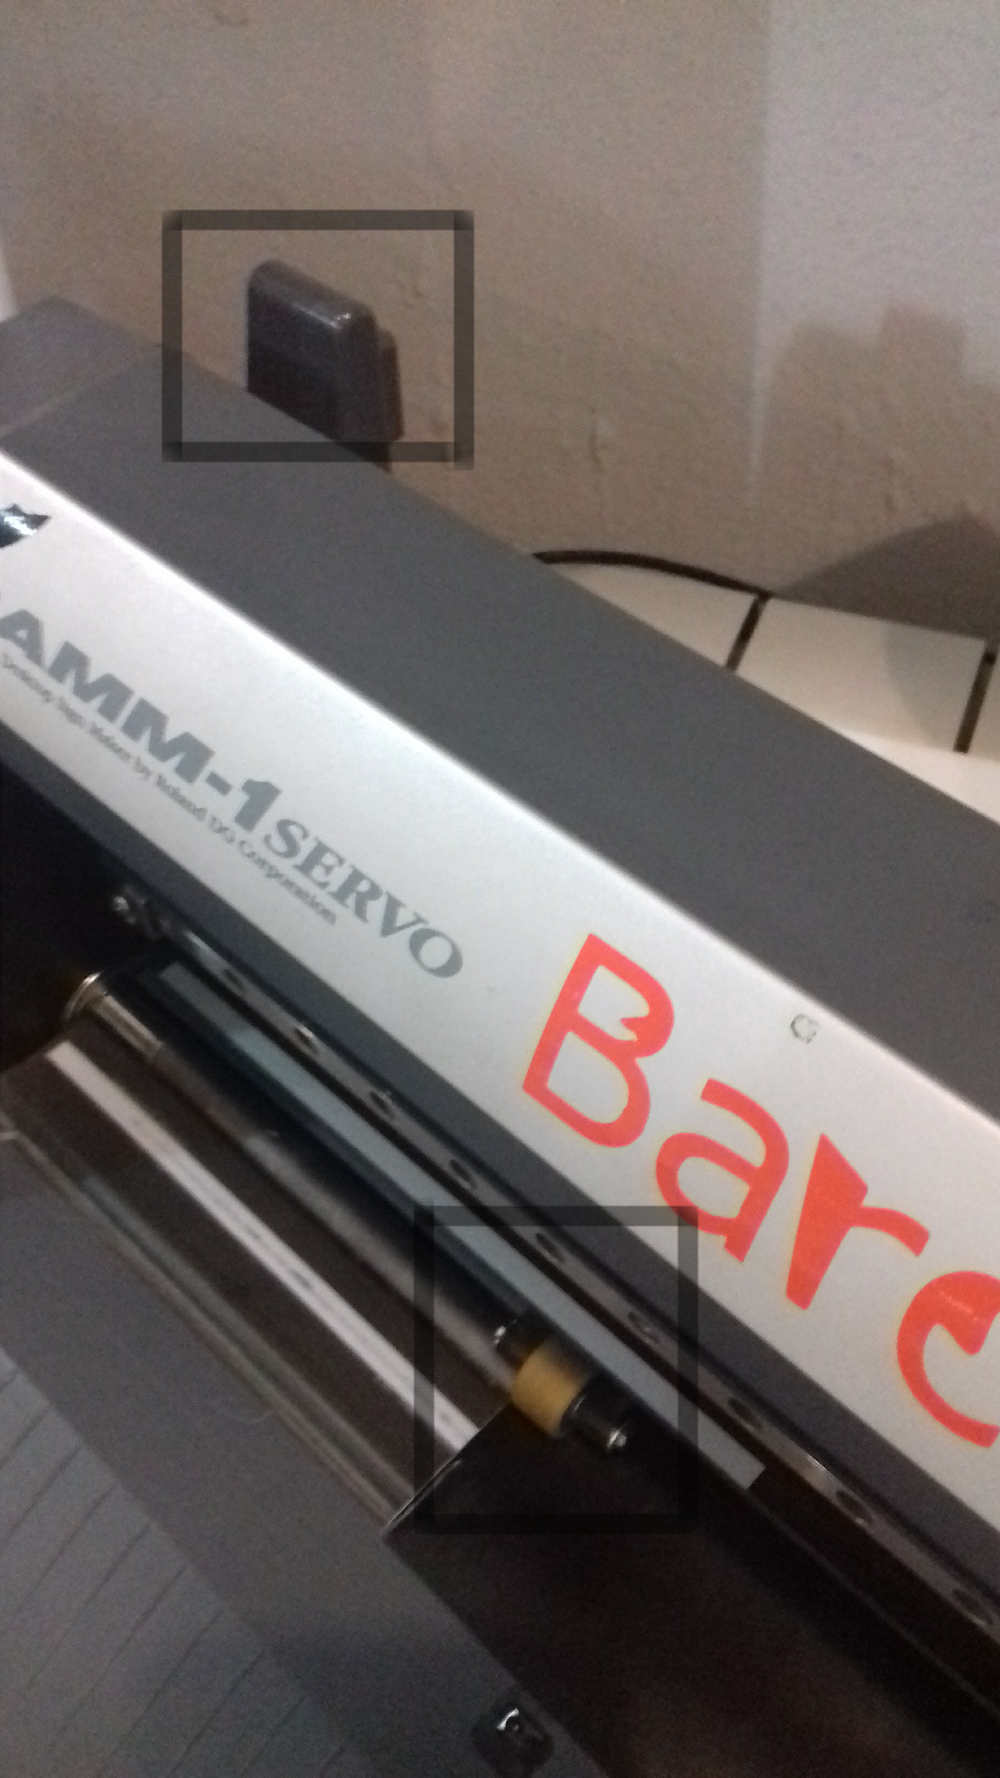
1. - Move the wheels that fix the vinyl to match the dimensions of the vinyl (in my case they are sheets A-4 horizontal).
2. - Lower the rear lever to fix the vinyl.
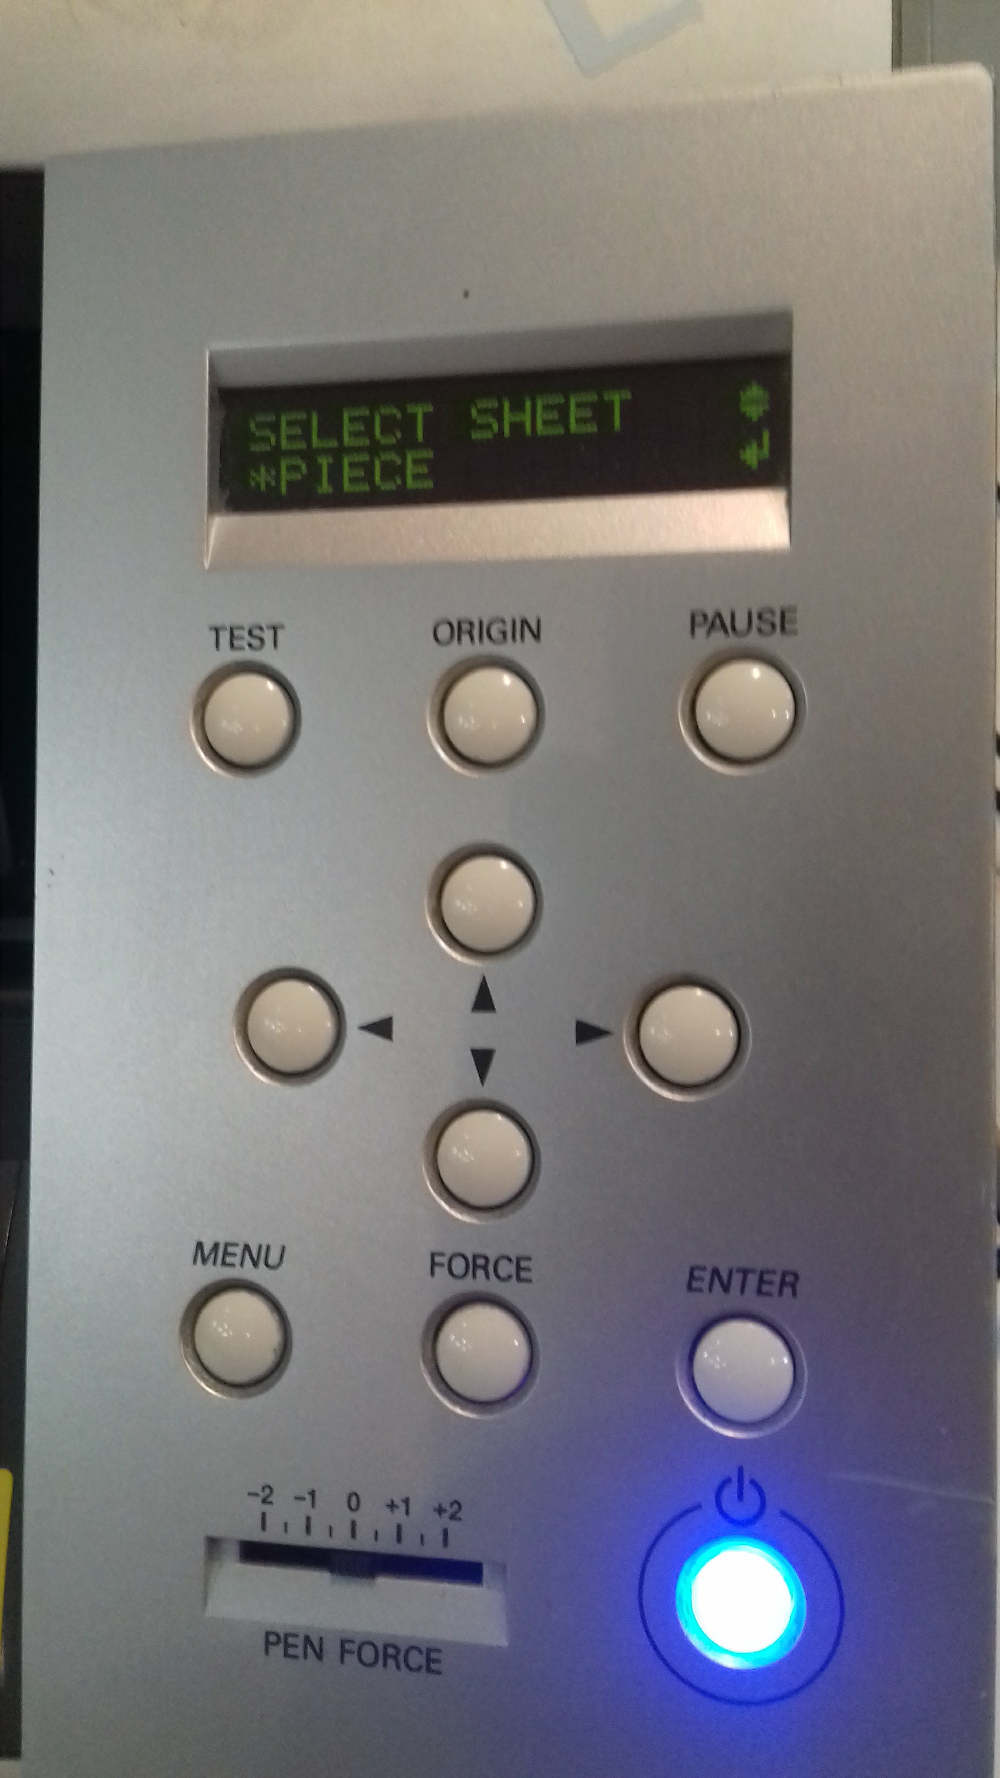
3. - On the control panel select: piece.
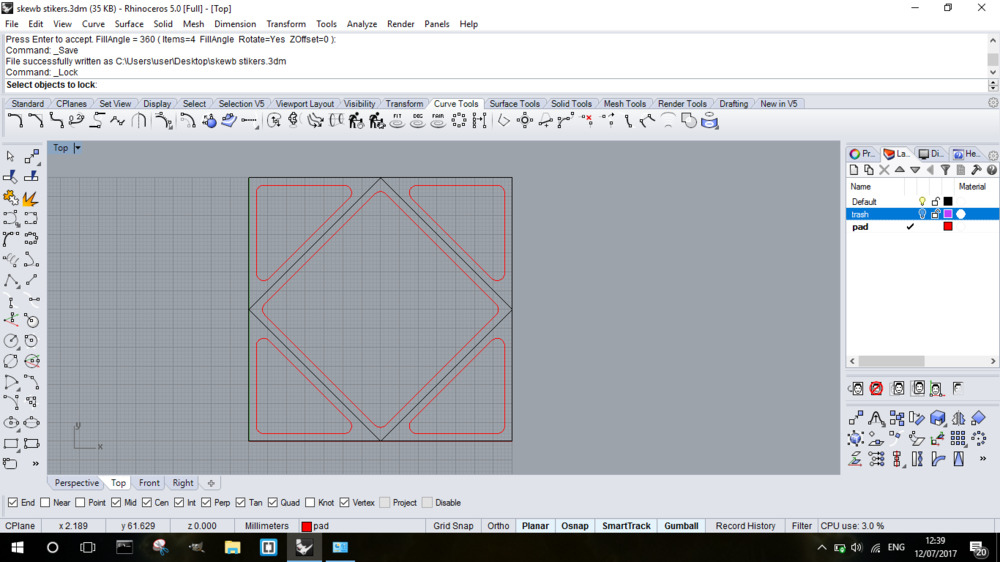
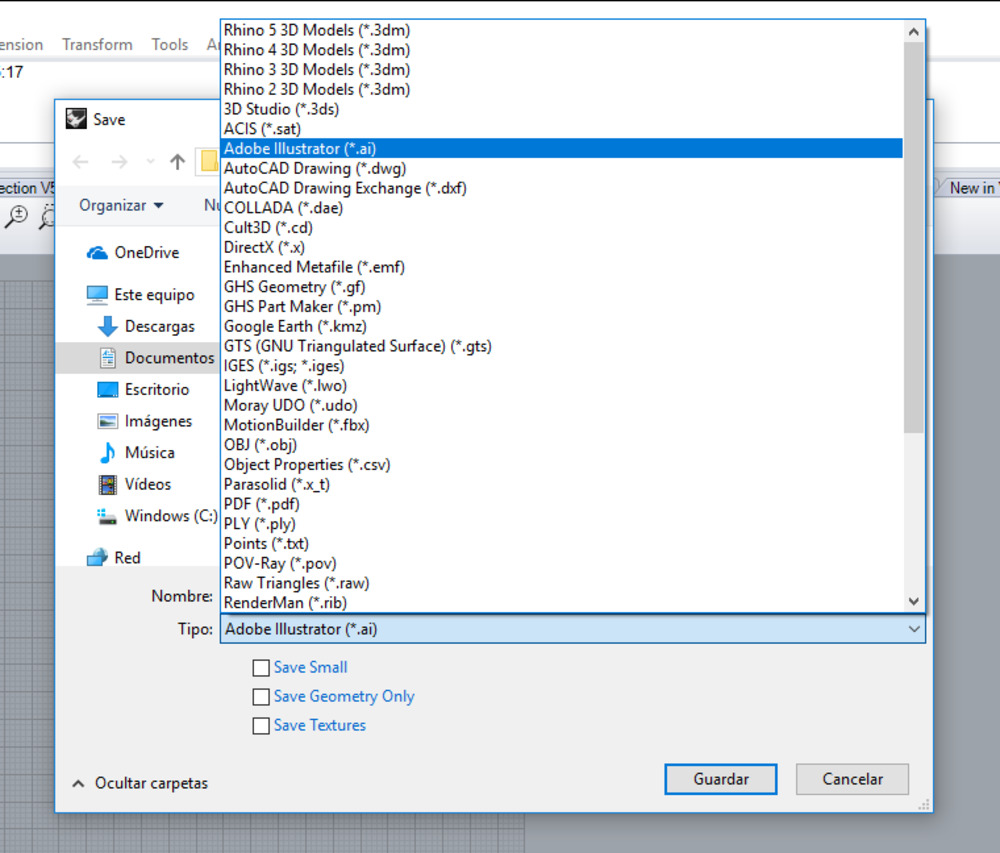
4. - CutStudio only supports .AI so we export the lines we want to cut to this format.
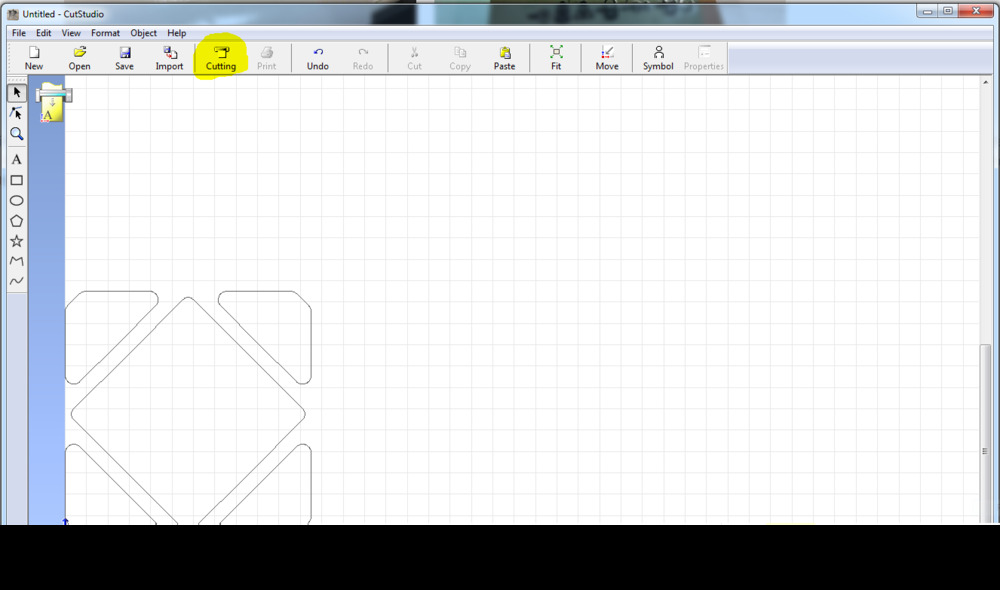
5. - Drag and drop the file into CutStudio and click on cut.
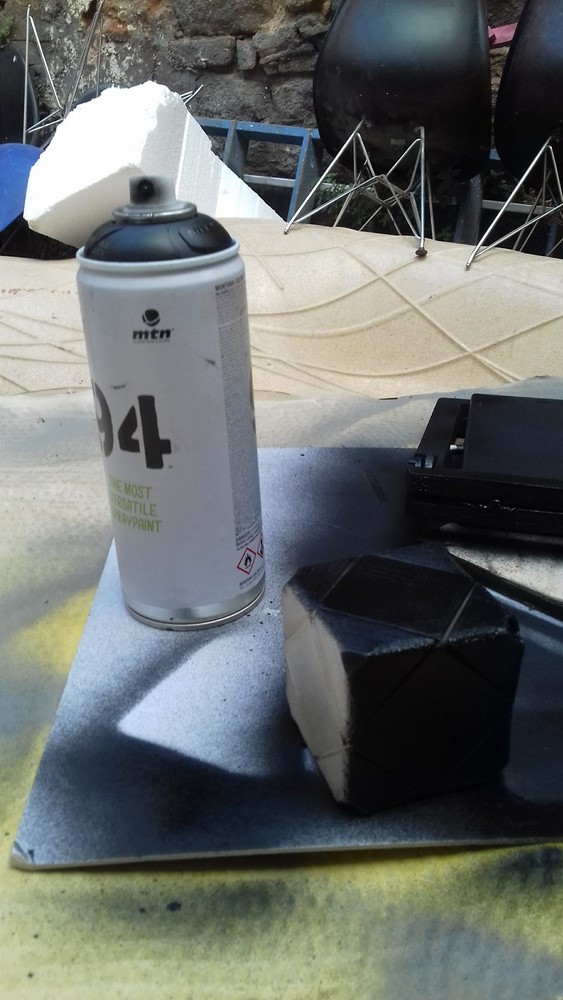
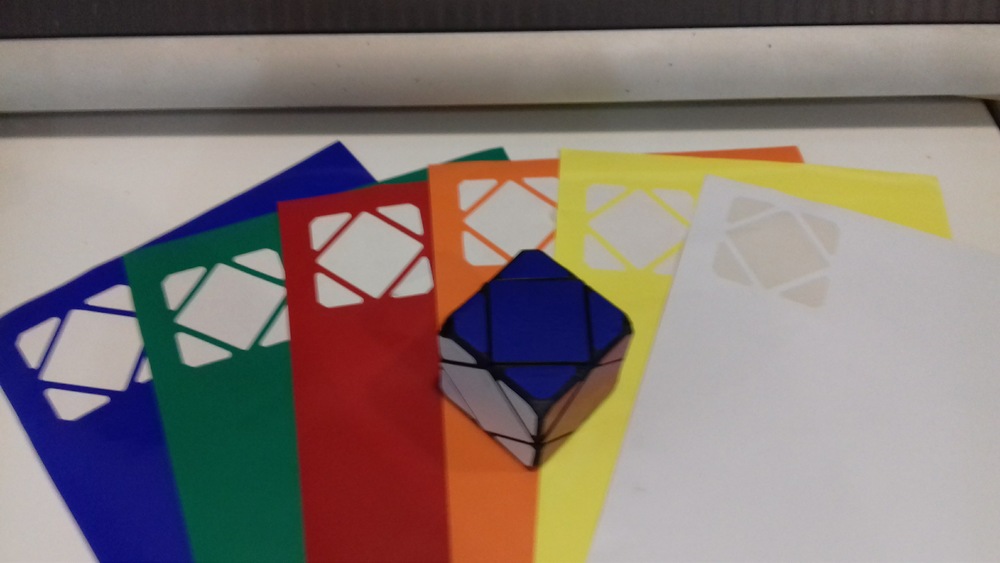
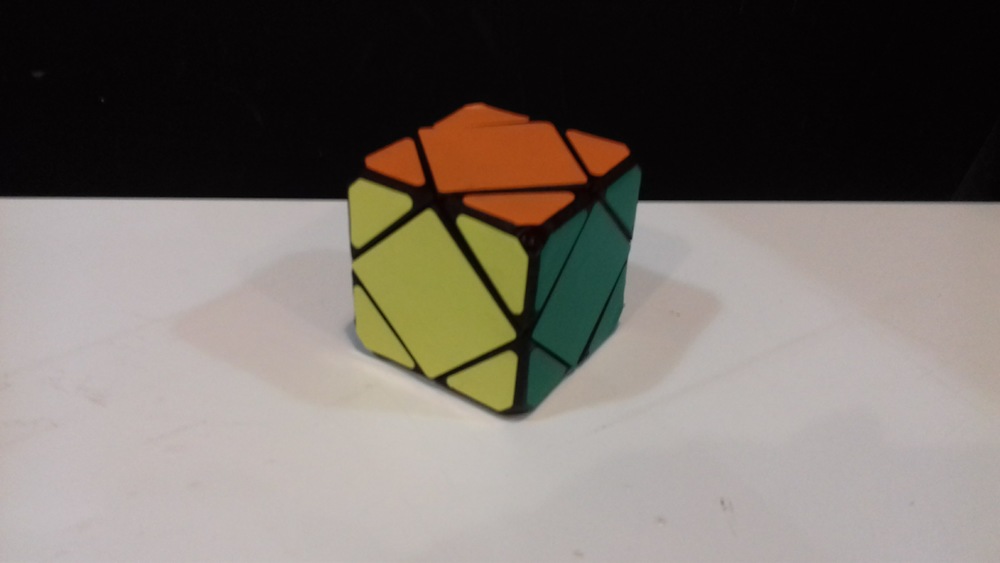
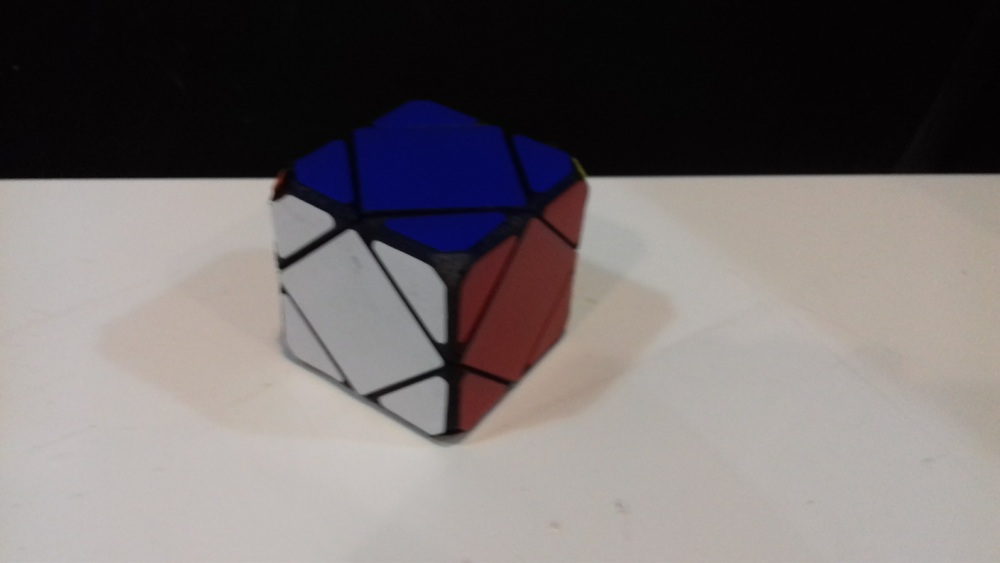
Now just spray paint and stick the stickers.
Download the files of this section here : skewb stikers.3dm - skewbStikers.AI
Go back to Stikers rubiks cube from week 3.
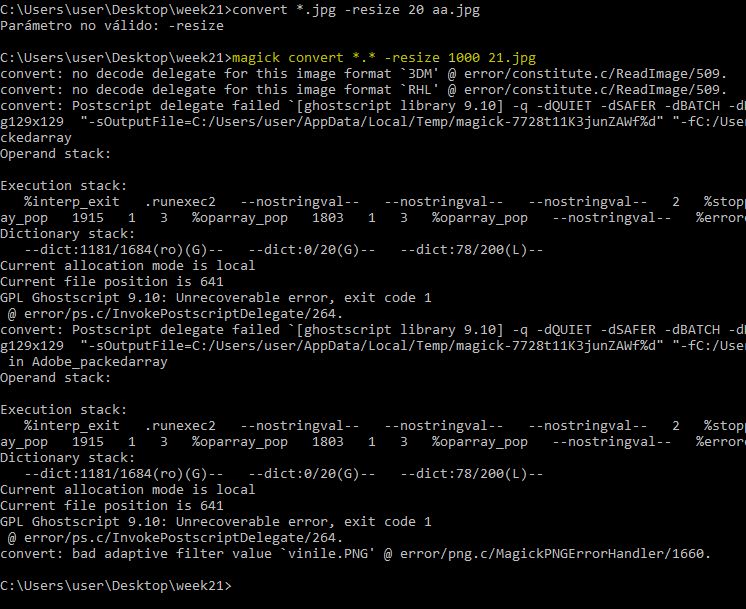
imagemagick.org
After finishing fab Academy I discovered a very useful tool to manage the images in a much more efficient way. I find it very useful to be able to define the characteristics of all the images contained in a folder with a command line.
imagemagick.org|convert *.* -resize 1000 21.jpg