23. Composites remake
Oct 1
- 3d desing
- Make the molds
- Composite
- Result
Go back to 14.- Composites.
3d desing
Download the files of this section here : cenicero.SLDPRT|cenicero.step|cenicero.3dm
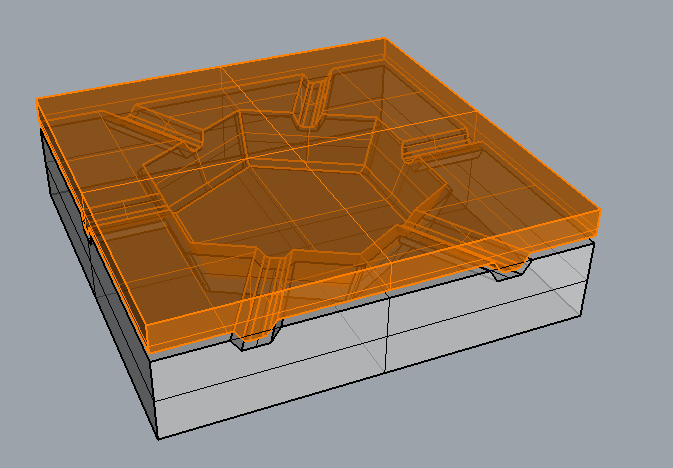
To design the ashtray I started with solidwords because it is parametric and allows me to make changes quickly until I like the design. To design I took into account that the stock is 150x150x30 mm to be able to mill in the monofab available.
.png)
.png)
I begin with the mold that corresponds to the interior of the ashtray. Extrusions are made the first part. The hexagonal prism is extruded with 20 degrees to facilitate demolding.
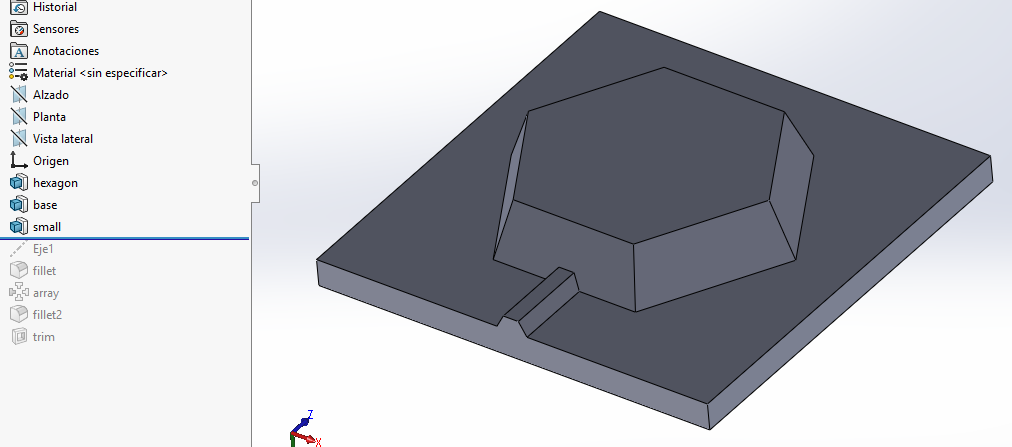
Fillet is added and the axis is created in order to make a polar matrix of the last extrusion operation.
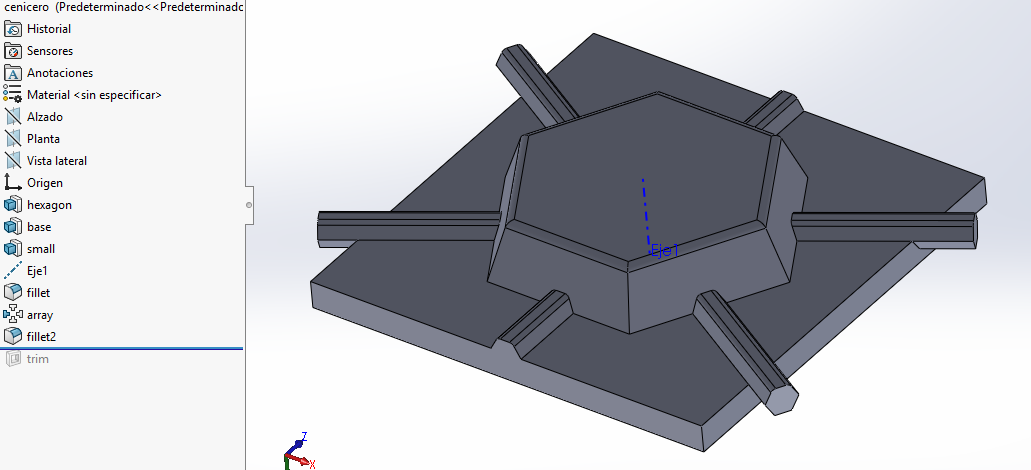
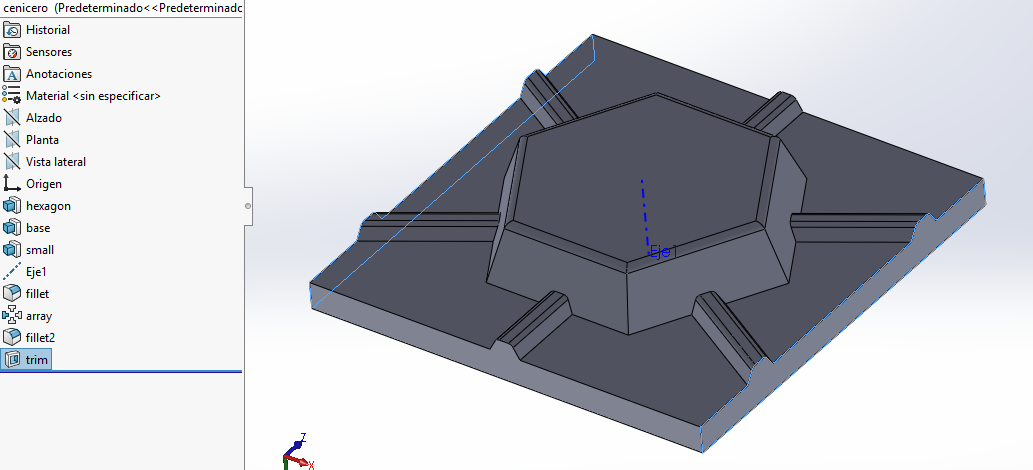
Finally cut the remains of the polar array
The countermold decided to do it in rhino so use the format .step.
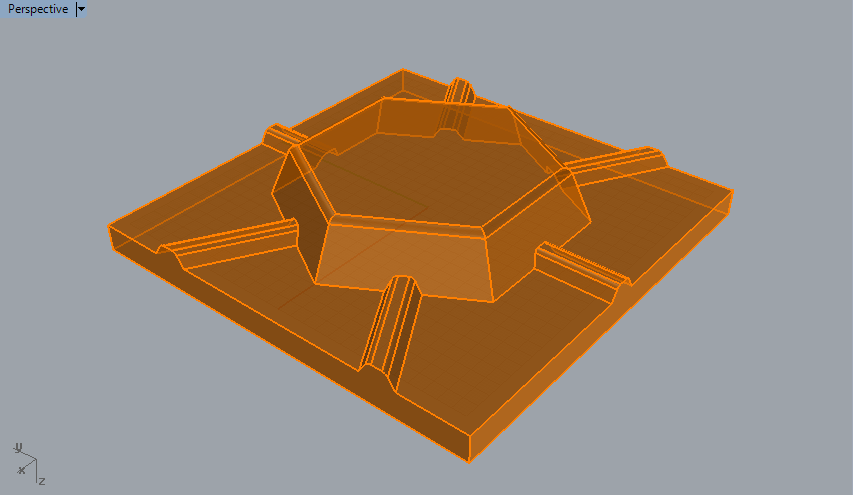
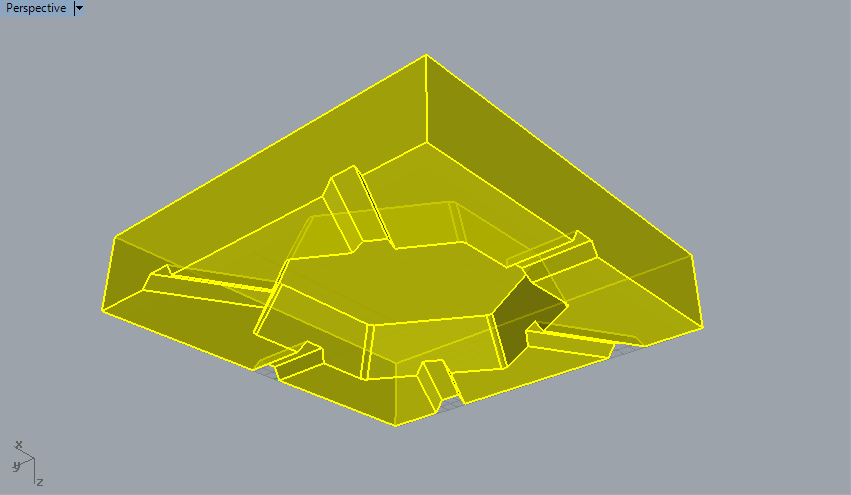
Offset the molding surface 2 mm and create a block with the resulting surface.
Export as STL in order to make the cam with Modela Player4
Make the molds
Download the files of this section here : C_1.stl|C_2.stl|C_1.modela|C_2.modela|Roughing1.prn|Roughing2.prn|Finishing1|Finishing2
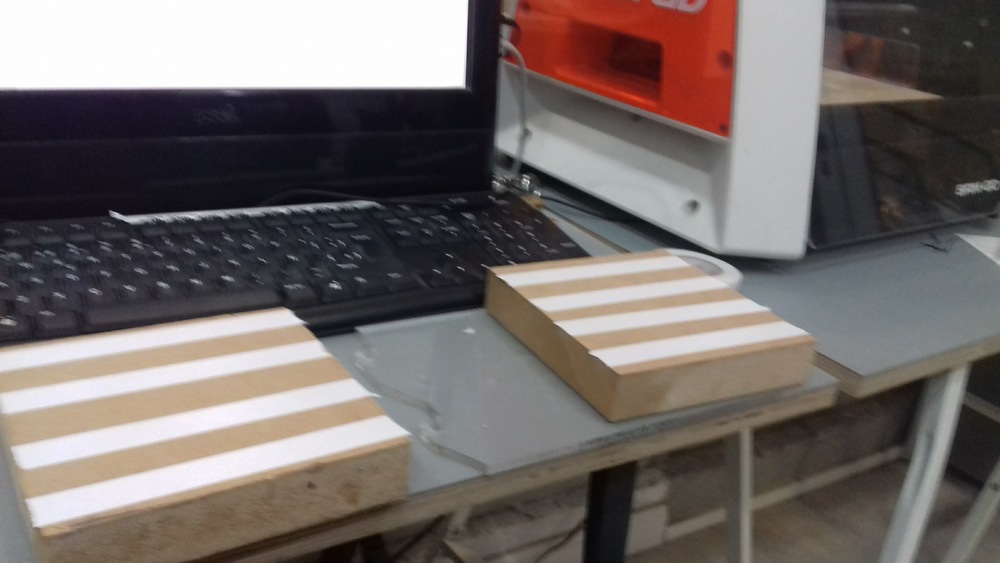
I could use the two monofab SRM-20, Paste the MDF blocks in the methacrylate base with double-sided tape, the drill bit is 3mm in flat diameter. The steps to generate the code in Modela Player 4 are the same as those described in the 12.-molding and castig/millig week, I only took into account in the material selection: Chemical Wood (hard).
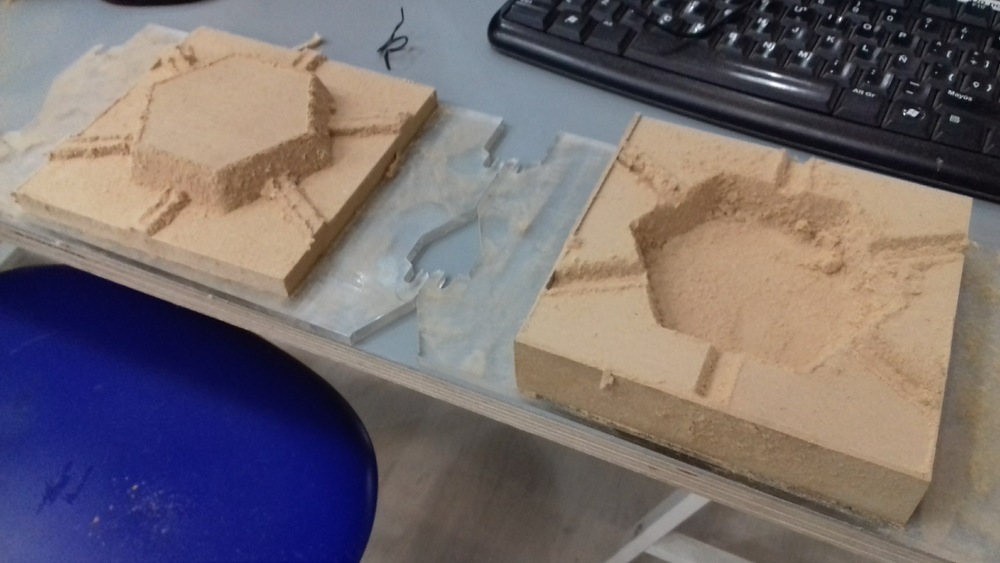
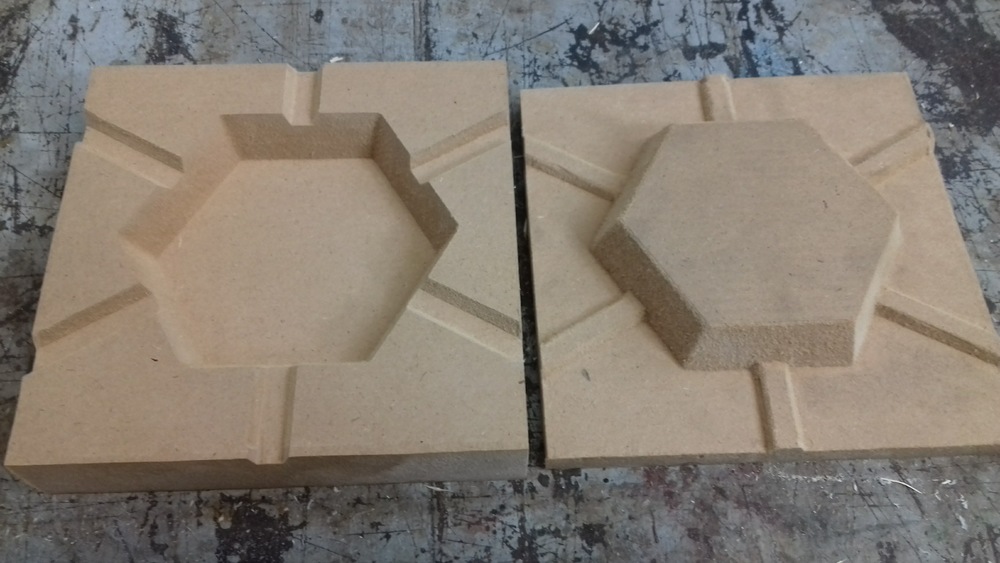
Although I made a file of roufing and another of finishing only I made the roufing and then clean the mold by hand.
Composite
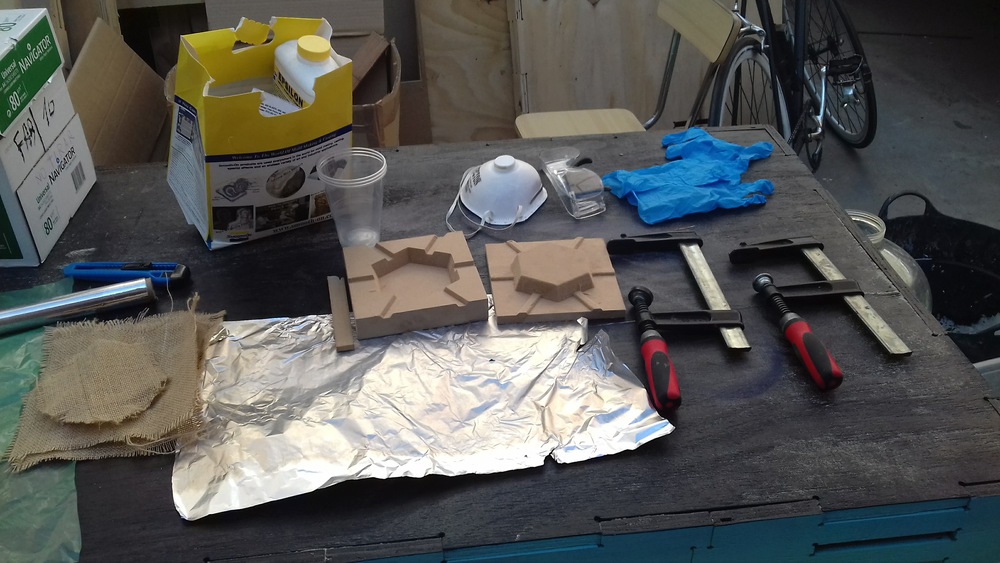
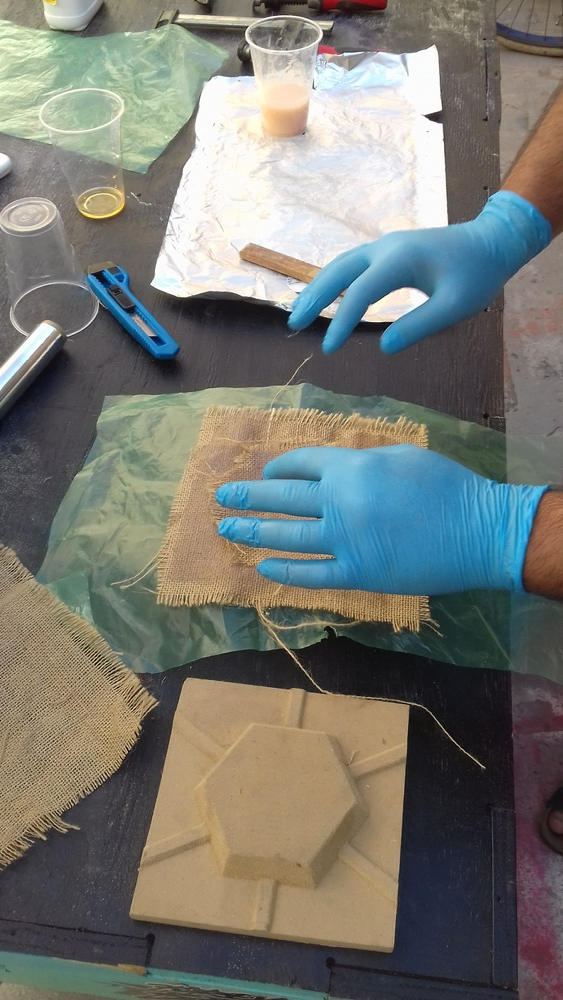
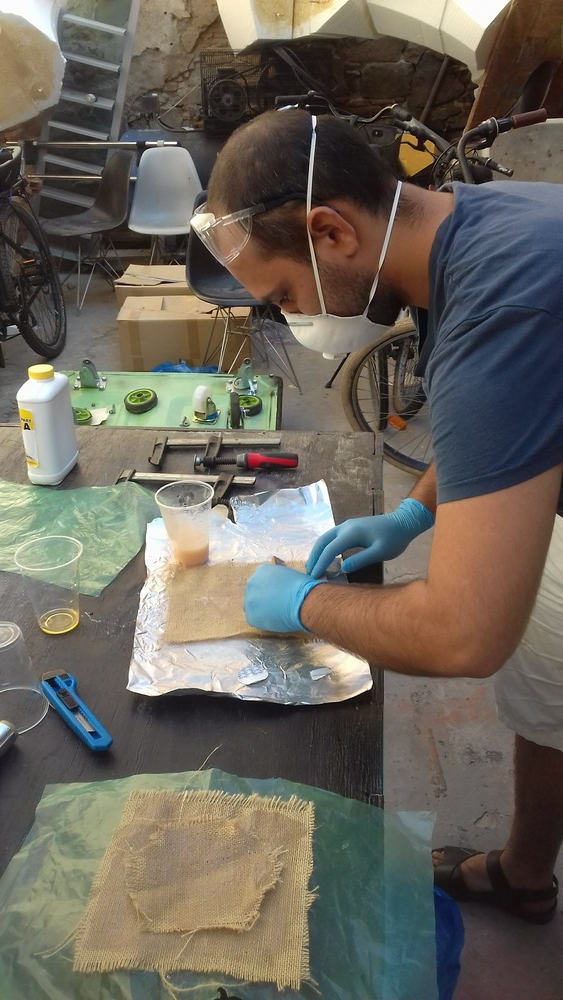
It is very important to be in a ventilated place and the protections: mask glasses and gloves.EPSILON® + 101 Hardener, Scale, Plastic glass and stick to mixit.
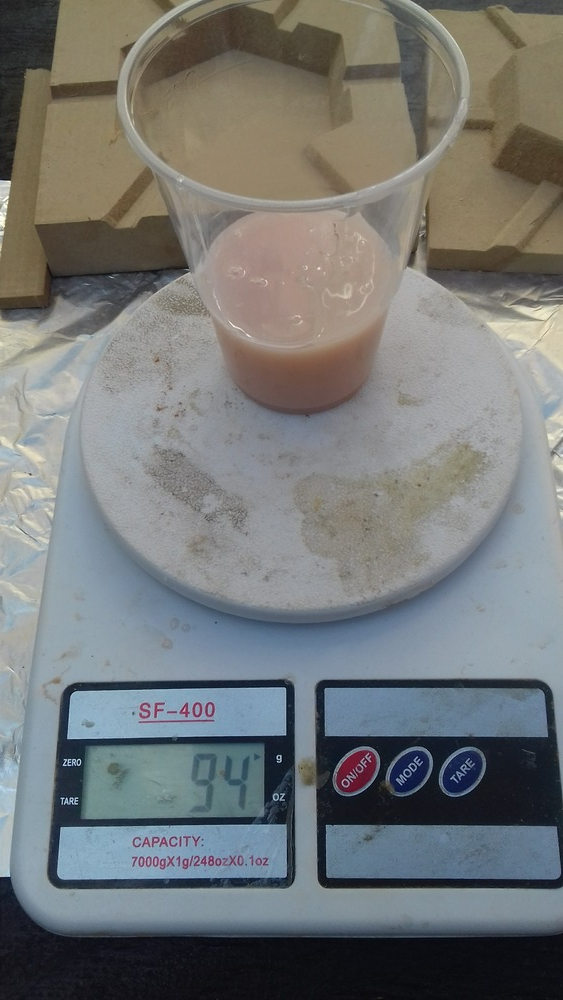
The ratio between the components of the epoxy is 100A: 20B. I throw a little more of component B because when you change the content of from B to A there is always something left in the base.

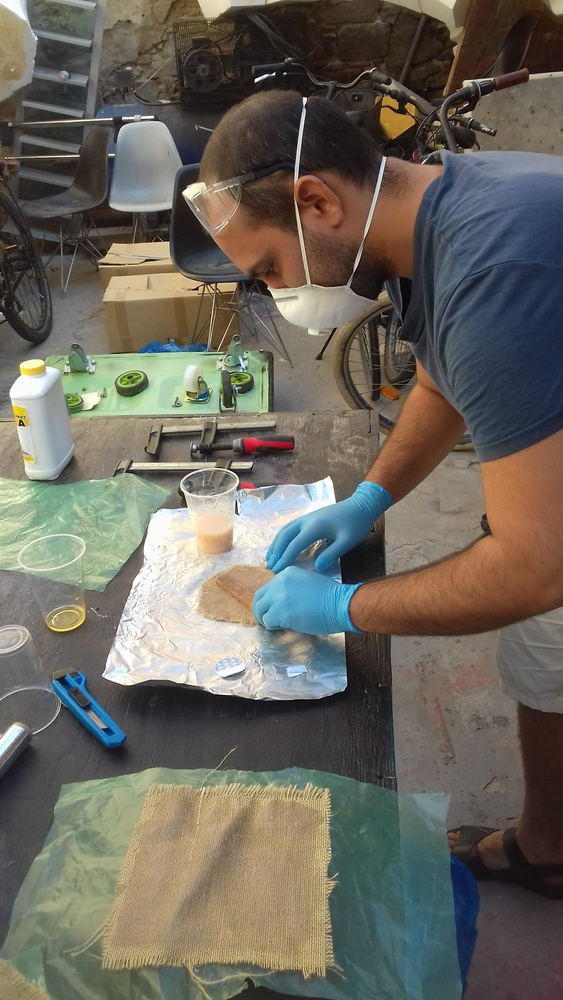
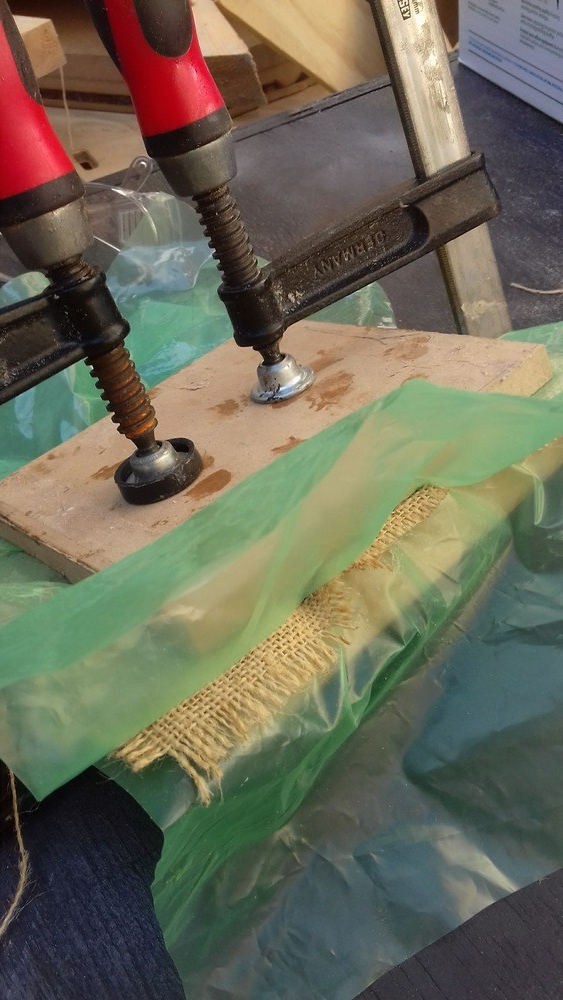
Once you start to mix the components you must have everything ready for everything to come out fluid. There are two zones, the area where the epoxy is applied and the area where the mold is with the green protection. When you have been mixing the components for about three minutes, it begins to heat up and it is a good time to begin to spread the mixture over the fabric and the fabric over the mold. After the third layer is put the other green protection and countermold. The compression force is used with clamps.
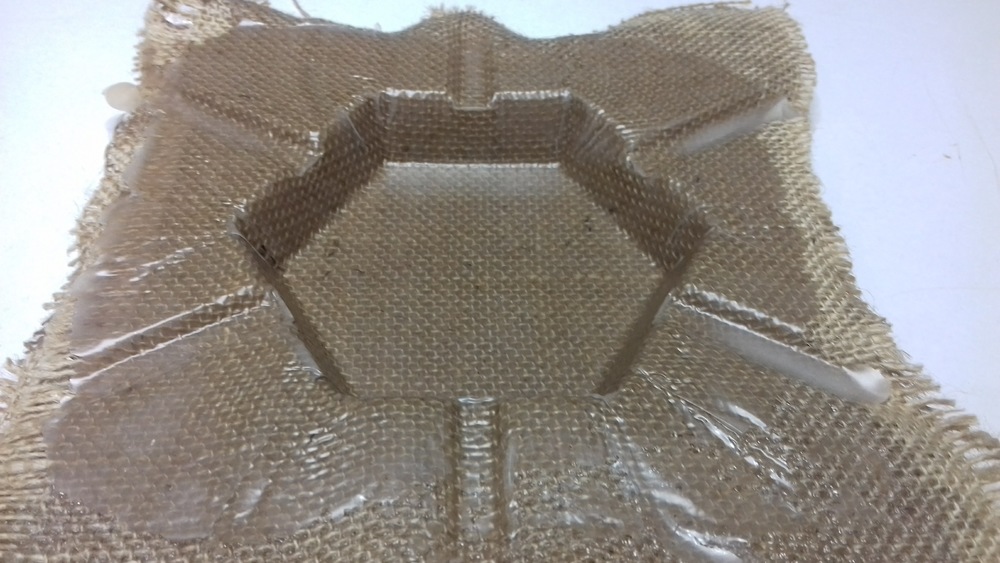
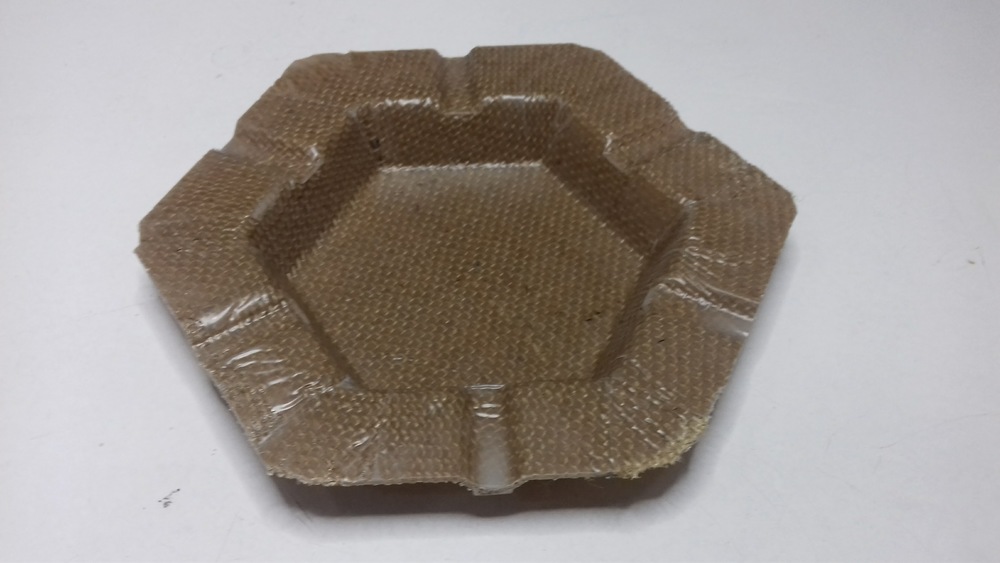
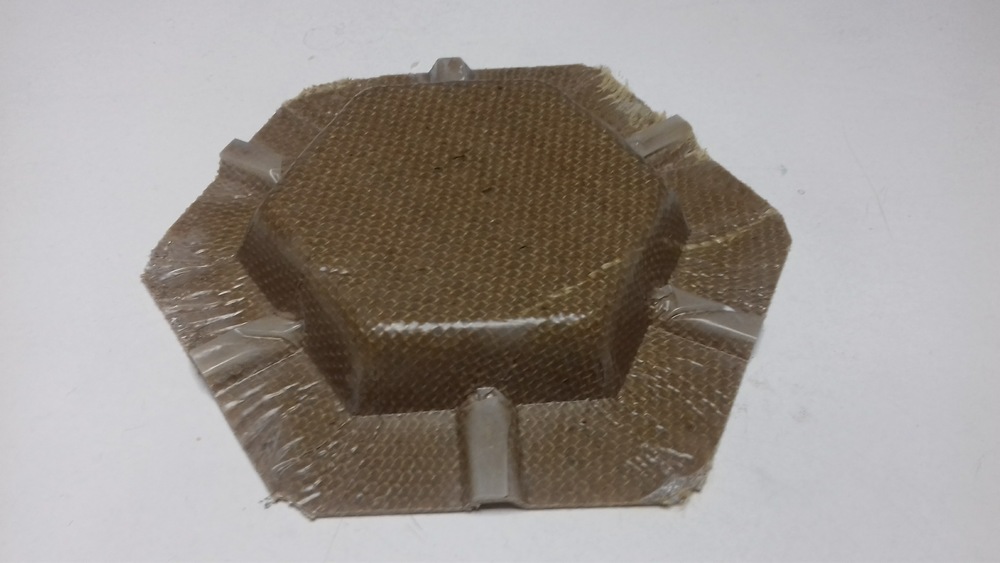
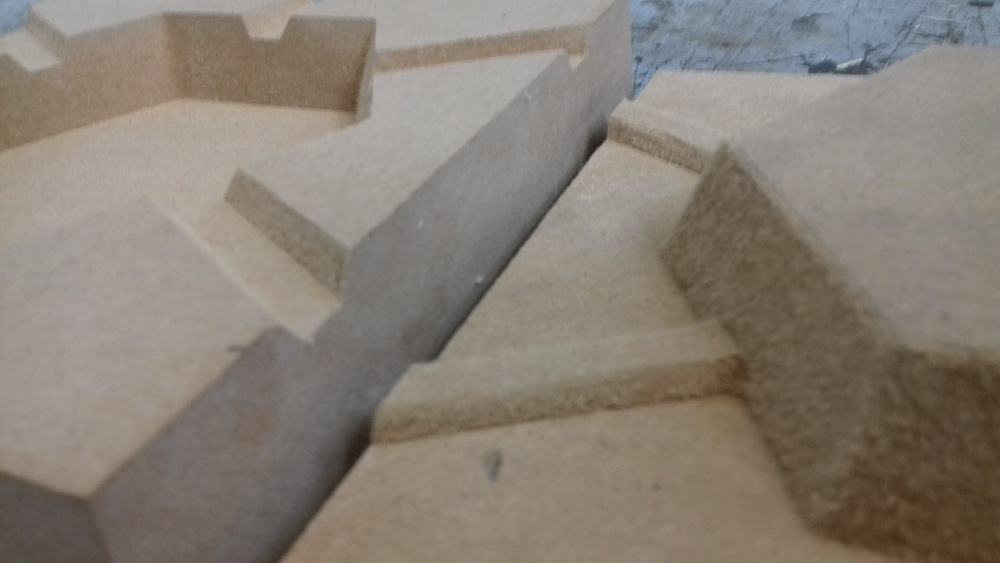
Result
The next day is ready to demold and this is the result