12.- Molding and Casting
Apr 19
Assignments:
-design a 3D mold, machine it, and cast parts from it
Skewb
I had in mind to make this cube in 3d printing week but other things appeared.
The skewb has 1 core 4 fixed vertex pieces , 4 moviles vertex pieces, 6 face pieces.
I guess this project requires more than a week but as it has repeated parts the molds can be used more than once.
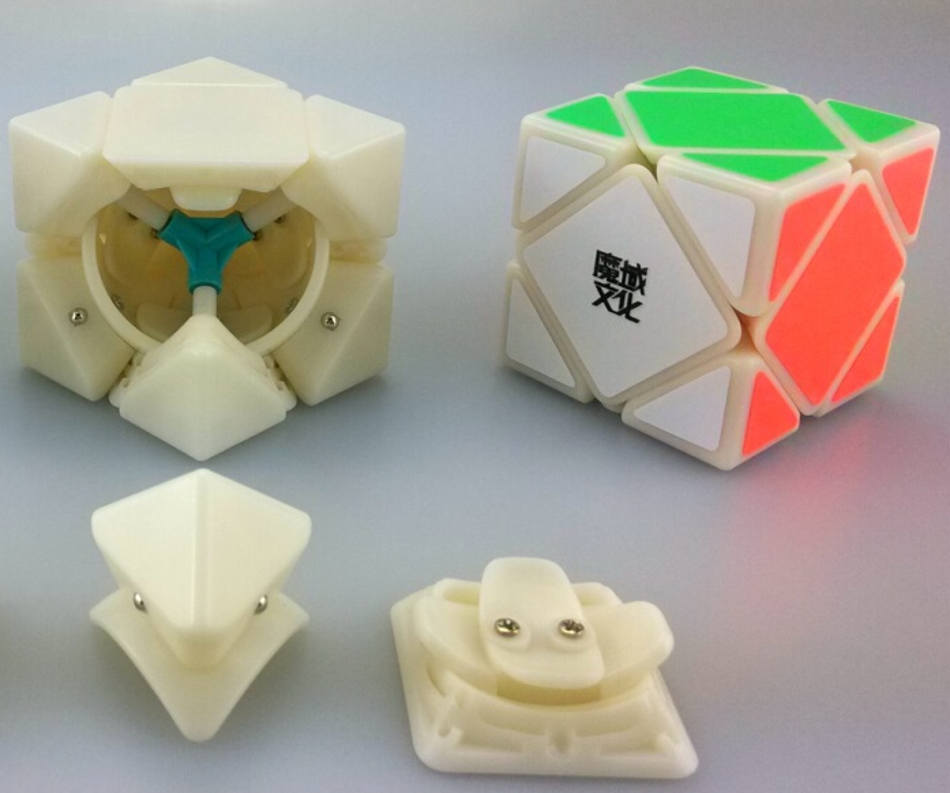
Pieces of Modded Skewb/youtube
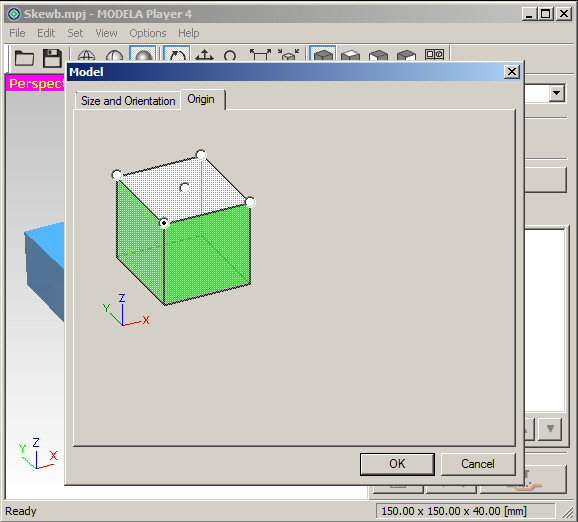
Desing
The design of this cube is based concentric spheres with extrusions towards the center point to fit all the rails.
There are four pieces that join the center, the core has tethahedron symmetry.
I will try to make the core with four equal molds that fit together. And one of the vertex pieces with double side mold.

The design of the core is the product of cutting the surface of the sphere with the planes that form the edges of a tetrahedron with the center.

Download the files of this section here : Skewb.3dm
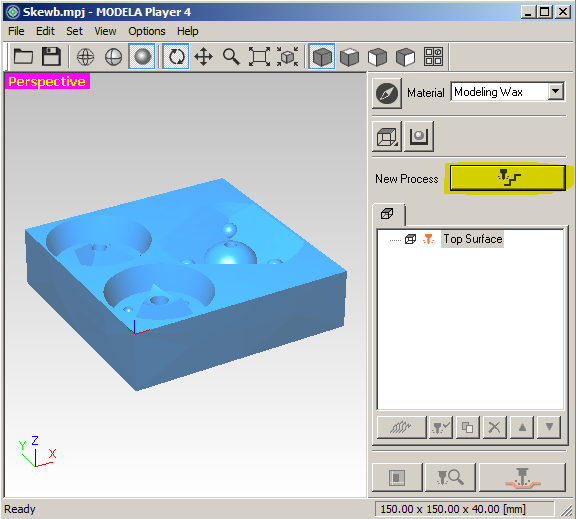
Milling
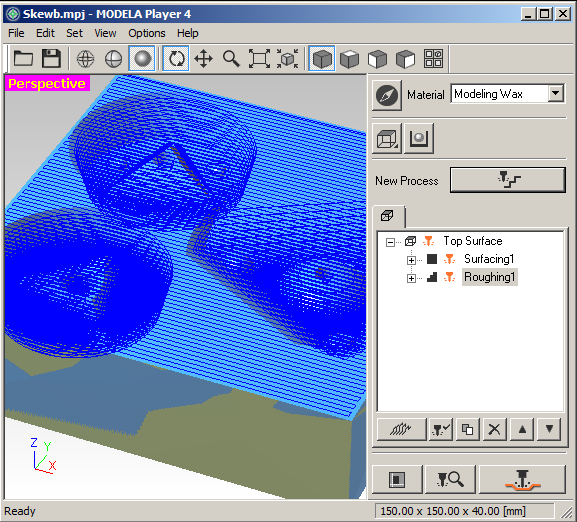
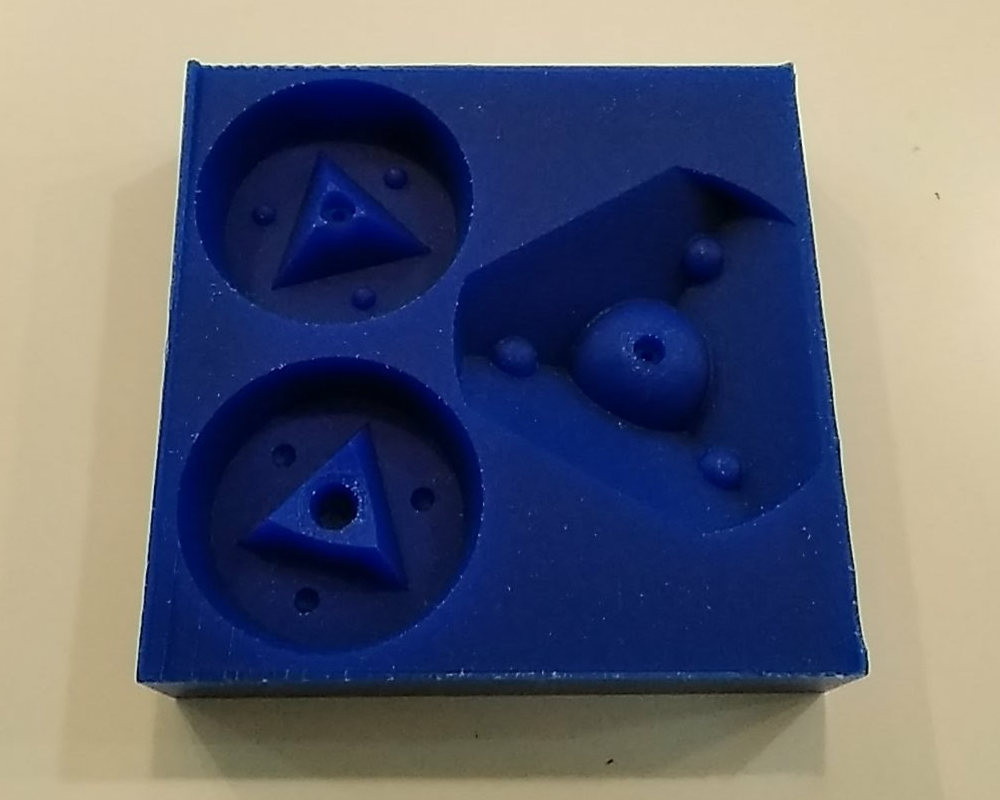
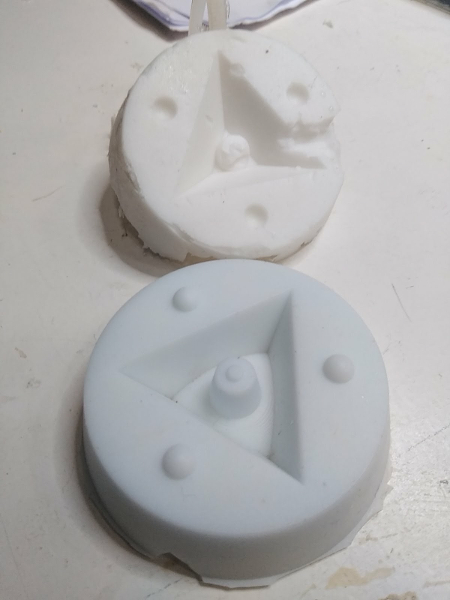
In a block of wax I have been able to put 3 molds, the large triangular to obtain four pieces of rober and 2 pieces that form the two parts of a mold. In the core I have spherical holes in the edges that are filled with metal spheres so that the molds do not move during the casting. In the mold of the vertex also there is a spherical lace to maintain the position during the casting.
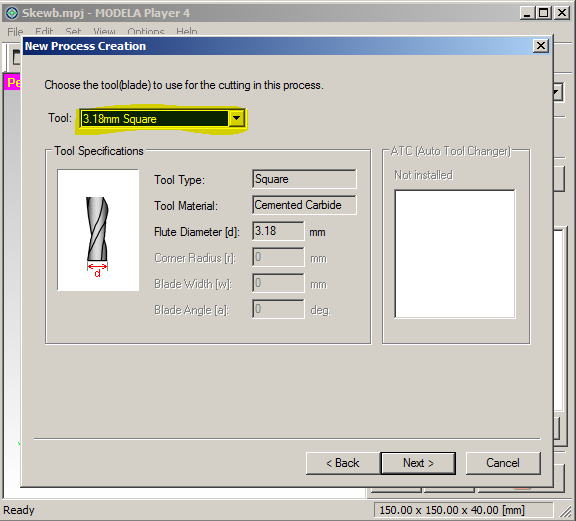
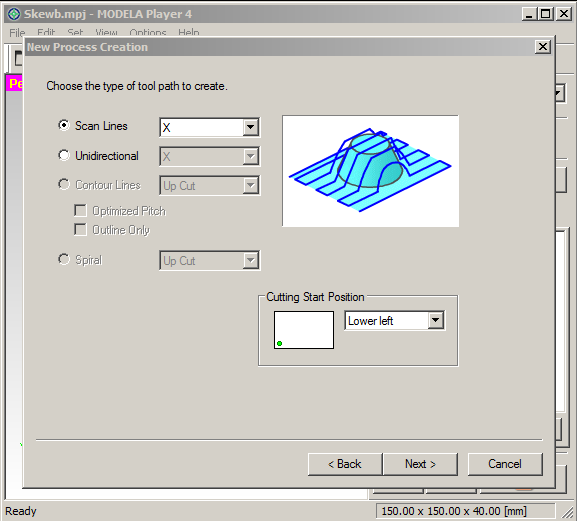
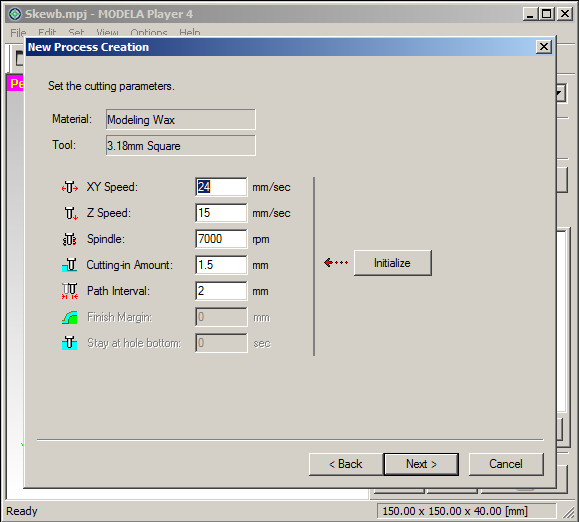
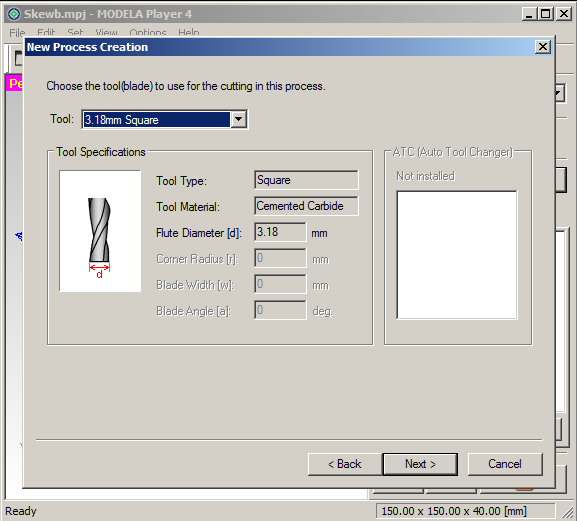
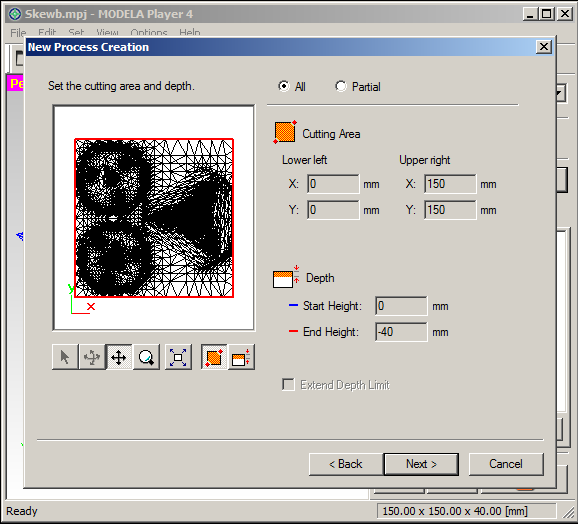
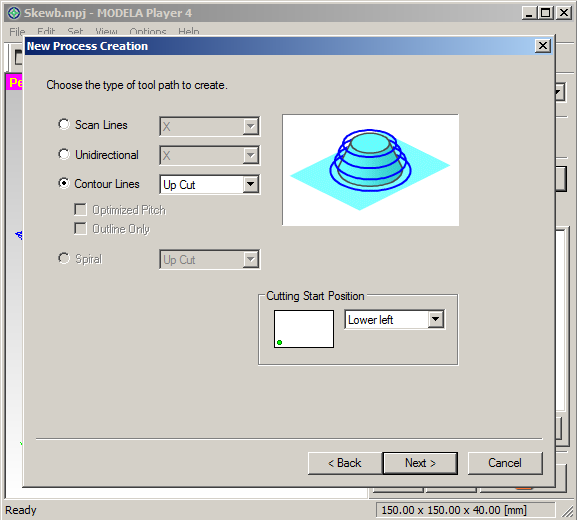
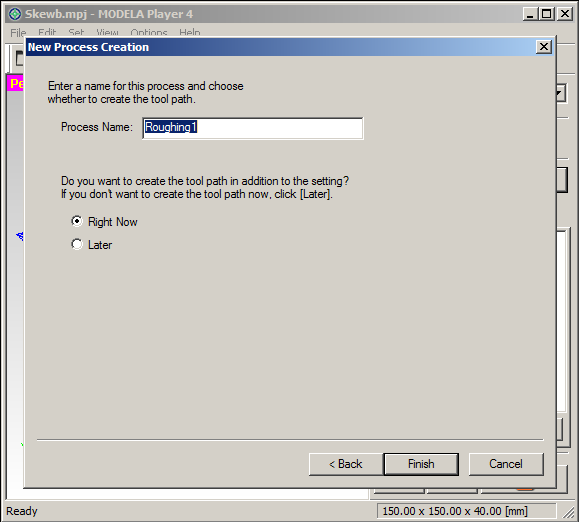
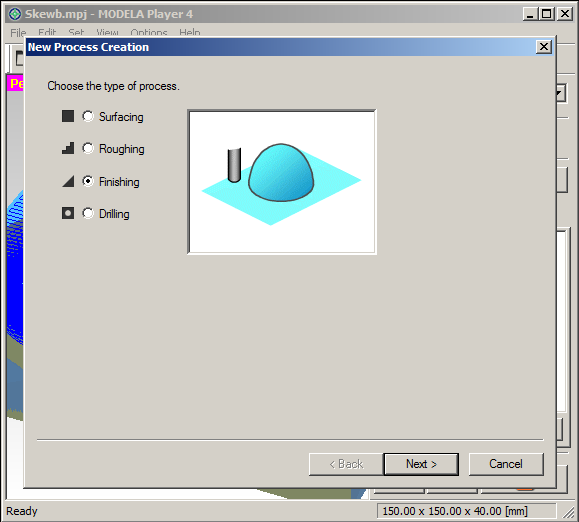
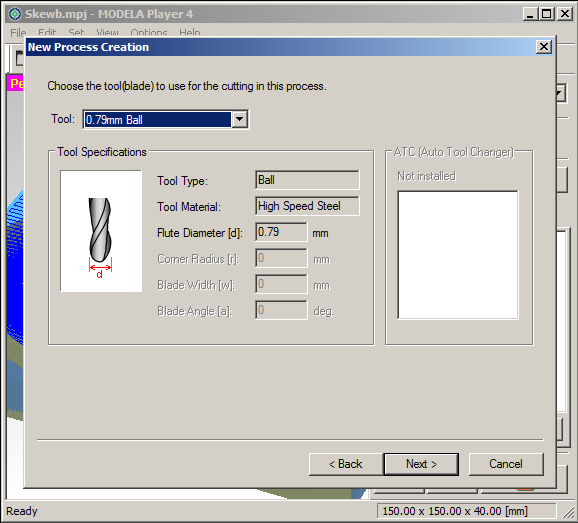
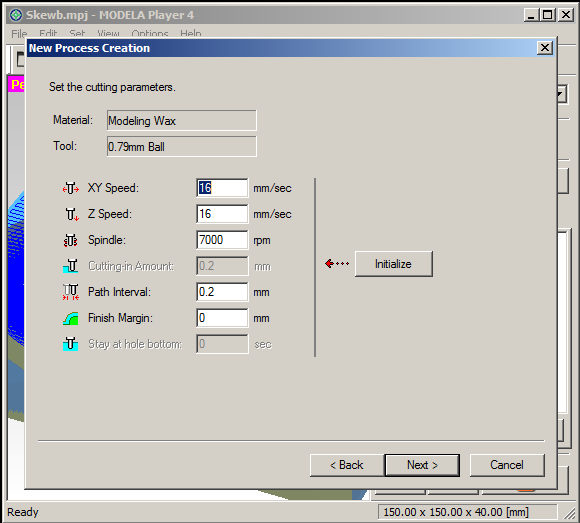
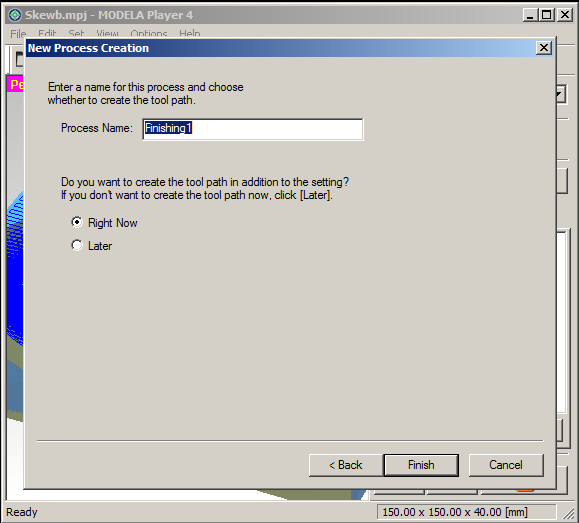
I did the milling in the Roland with a flat drill three millimeters in diameter. The code is echoed in MODELA 4 player and contains 3 strategies: flaten, rofing and finishing.


Molding
The material to make the mold is FORMSIL25:
- Mixing Ratio: Formsil: 100/ Catalyzer: 3
- Working time:30 min.
- Setting time: 4 hrs.
- Strength: 25A
It is important to measure in a scale the proper proportion of each component and to mix well. My first mold the silicone solidified very fast and did not space well through the mold and in my second mold took almost a day to dry but with a good finish.


Remove the bubbles by emptying.
It is advisable to limit the filling surface because when the vacuum is made, the silicone dilates and can be released.

I had two problems, the space for the spheres is not well calculated and I did not make a good preview of the resin entrance.
Download the files of this section here : Skewb.stl
Casting
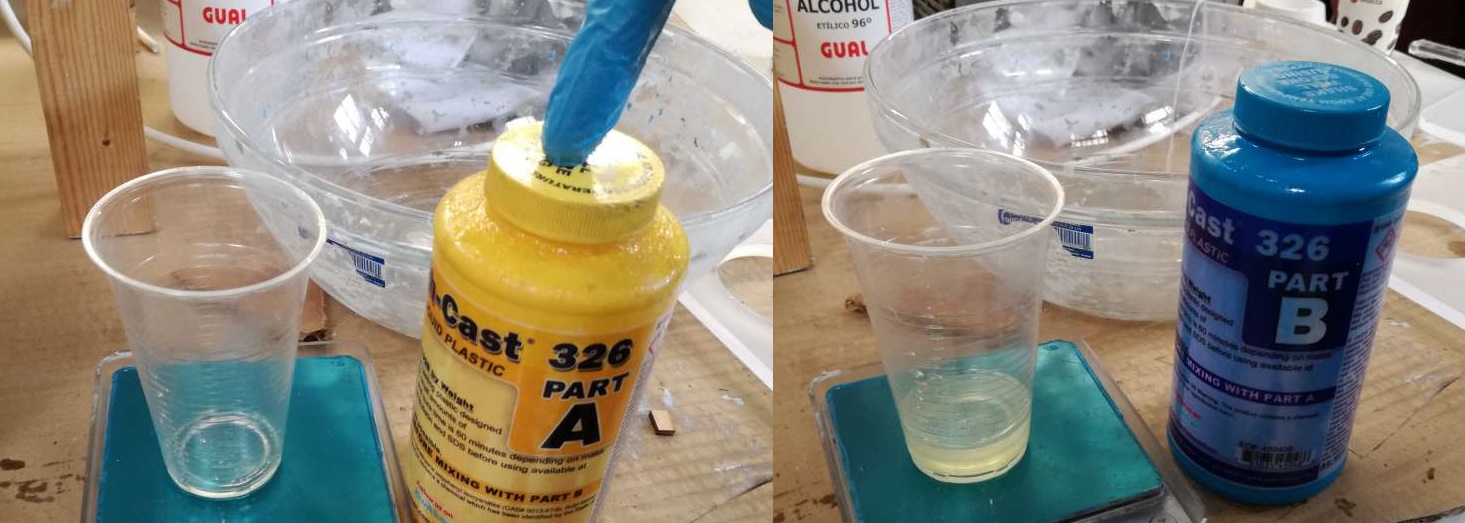
Smooth-cast-326, mixed equal amount of both A and B.
The specifications to be able to use the product are in the label and in this
datasheet:
- Mixing Ratio: 1A:1B by volume or 115A:100B by weight
- Working time: 10 min.
- Setting time: 1 hrs.
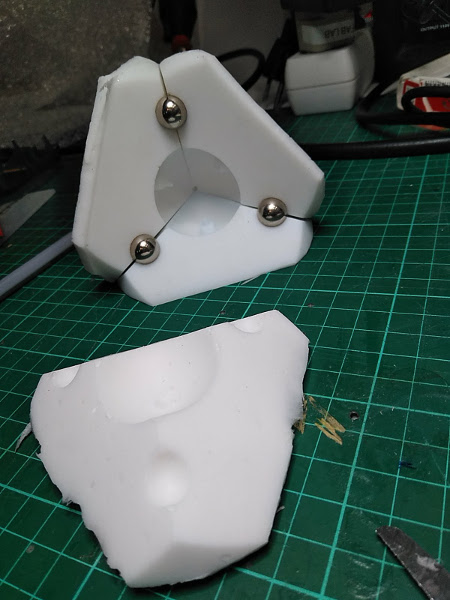
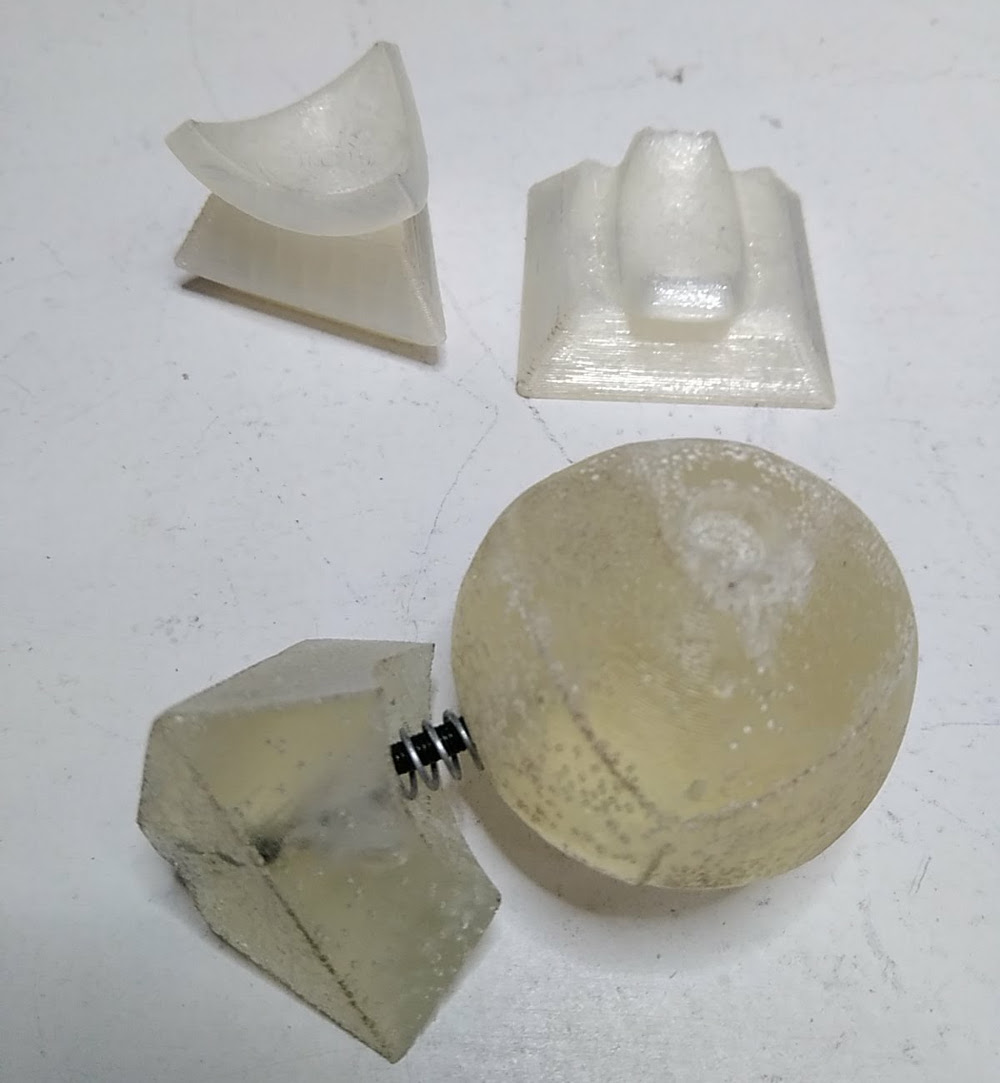
The core is not very spherical because the molds were fastened with elastic gums and the balls that ensure the union are too large.The vertex is correct.

Download the files of this section here : vertex.SLDPRT-face.SLDPRT
Final
Download the files of this section here : core.stl|face.stl|vertex.stl|vertexhole.stl
I finished the cube with 3D printing because I really wanted to check if it would work
This project continue here
