14.- Composites
May 03
Assignments:
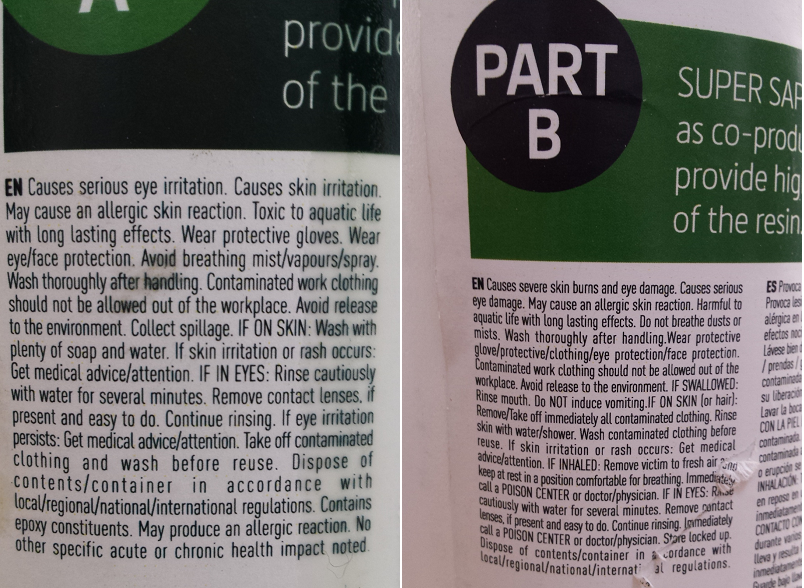
- Read the material safety data sheet (MSDS)
and technical data sheet (TDS) for the resins that you're using
design and fabricate a 3D mold (~ft2)
and produce a fiber composite part in it
I did a fiber composite in this other side 23.-Composites remake.
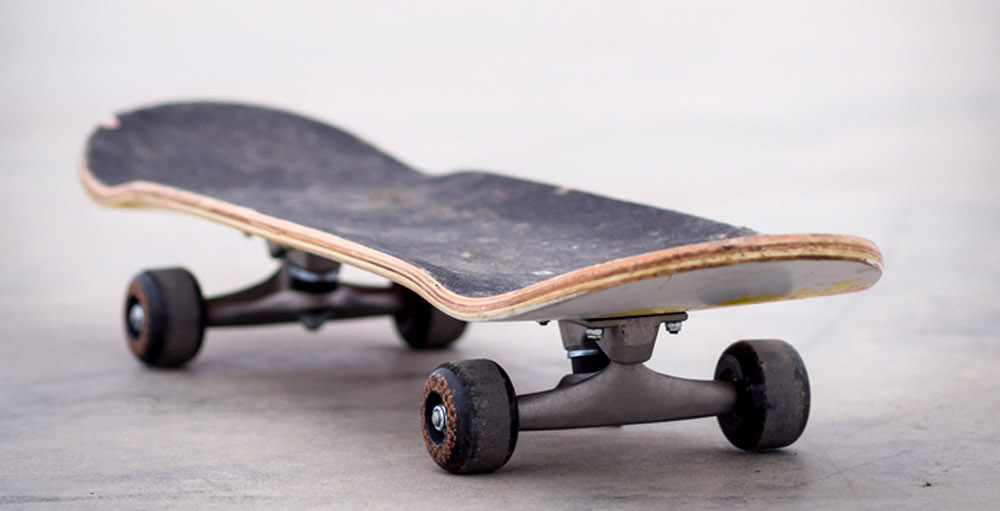
Skate
Searching on google "skate fabacademy" found many projects, especially in barcelona. I wanted to replicate the clasic shape of a skateboard.
reference
FabLab bcn
These photos contain the information I need to draw
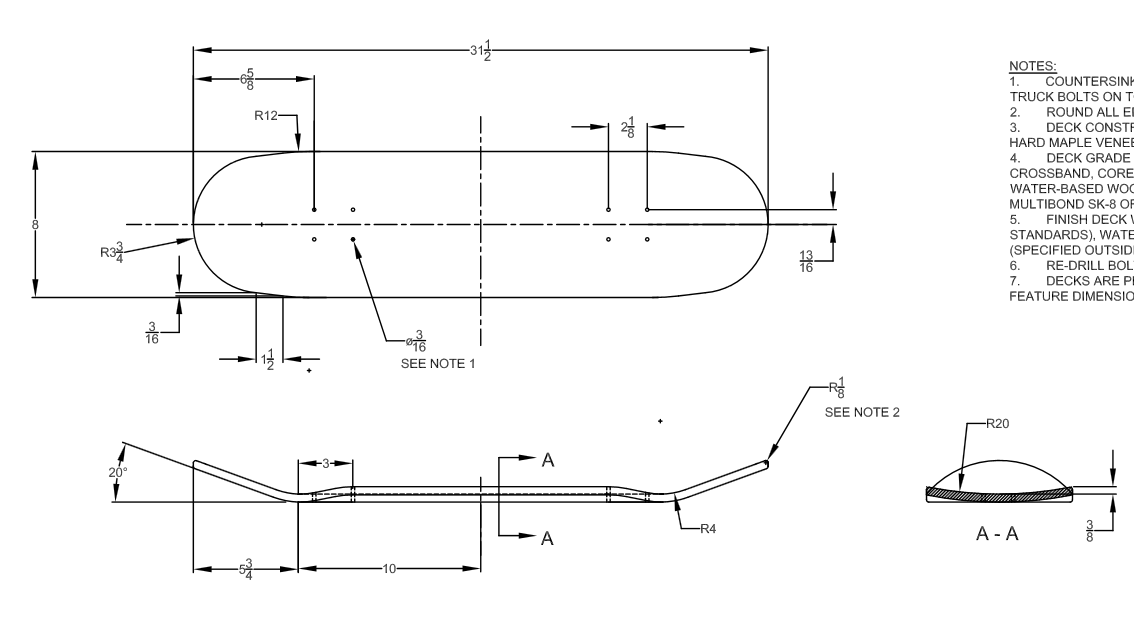
Use "picture frame" in the command bar to insert the forum of skateboard views to use as a reference.
The shape of the mold is the result of the extrusion of an ellipse for the curvature of the central part, and the shape of the nose and tail is the extrusion of a bow with a tan line.
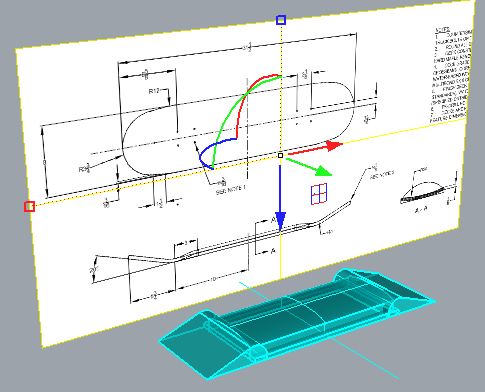
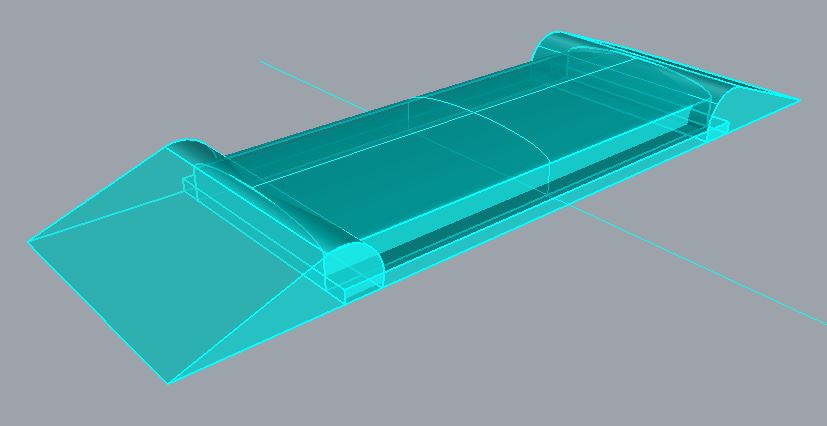
In order to get a smooth final shape I have created an inclined plane tangent to the ellipse.
I have cut union surfaces to create a transition plane with the command "Blend Sufaces".
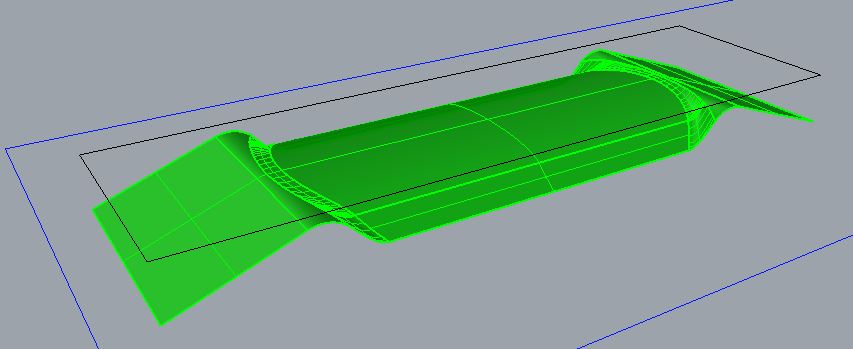
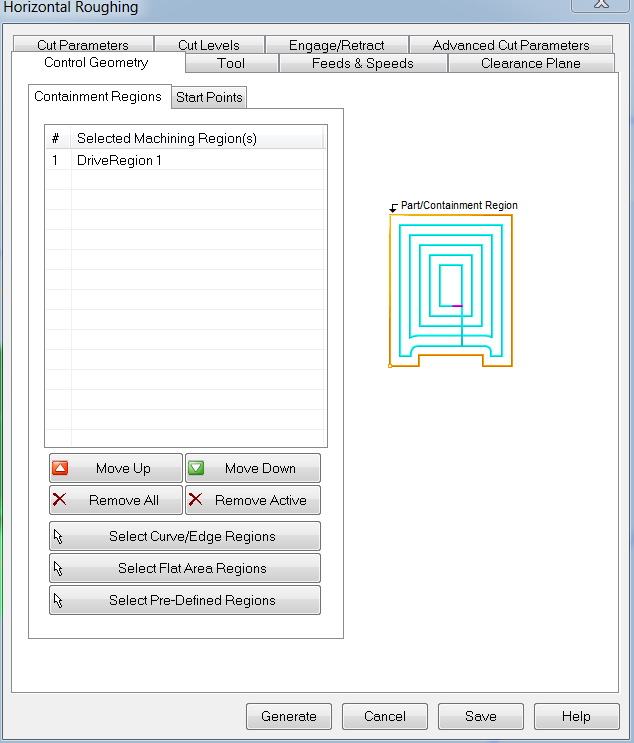
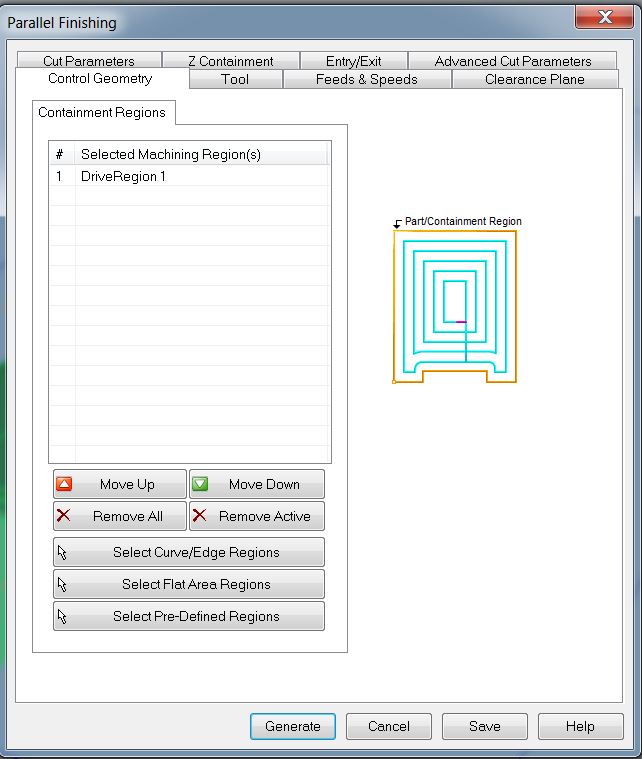
To make the 3-axis strategy only the top surface is necessary, the black squarer is the element that defines the surface of action.
The blue rectangle is the size of my stock
Download the files of this section here : Rhino_cam_files.zip
Milling
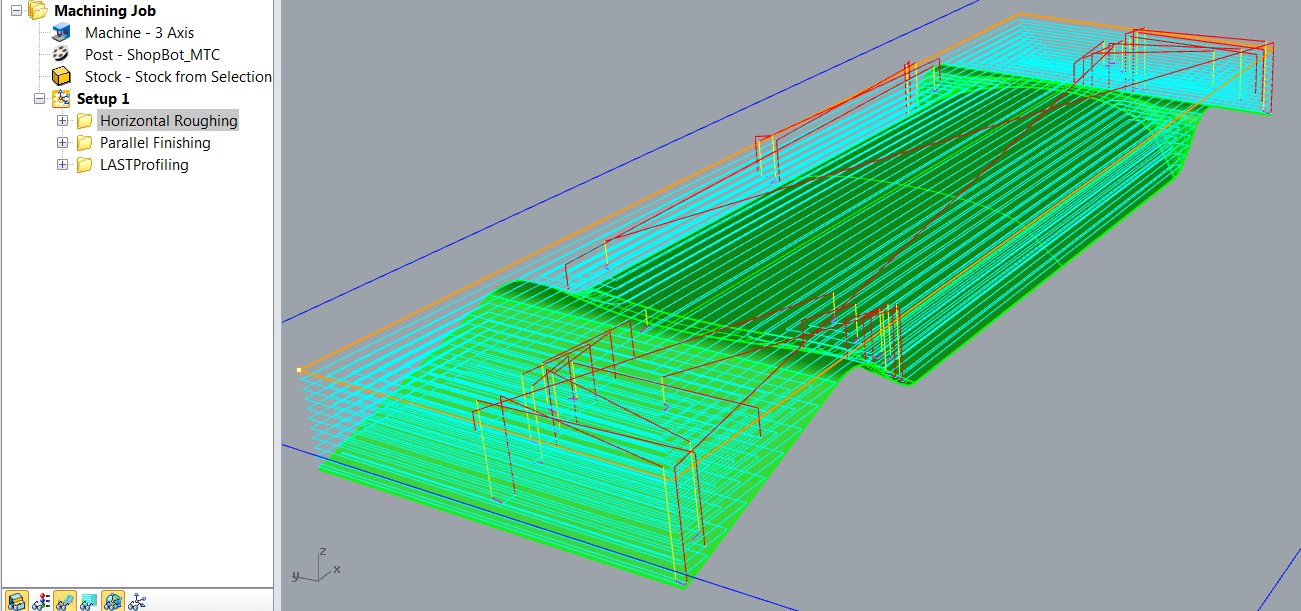
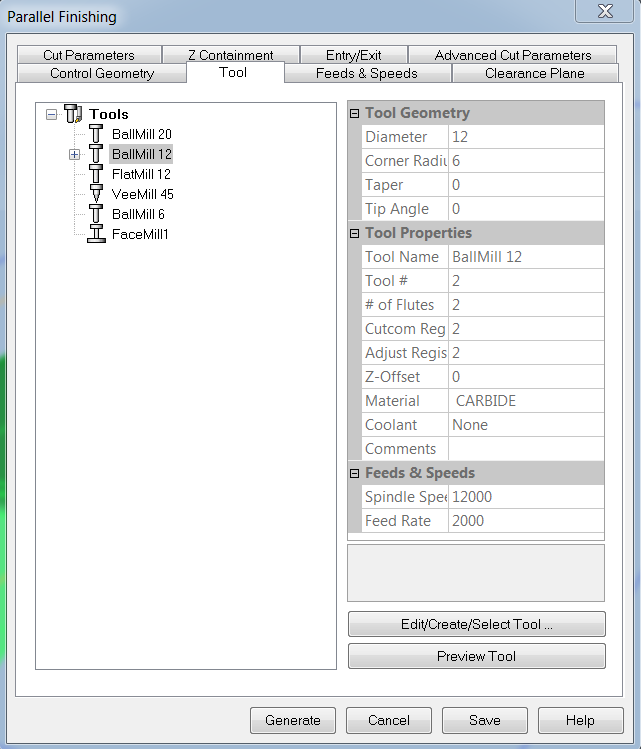
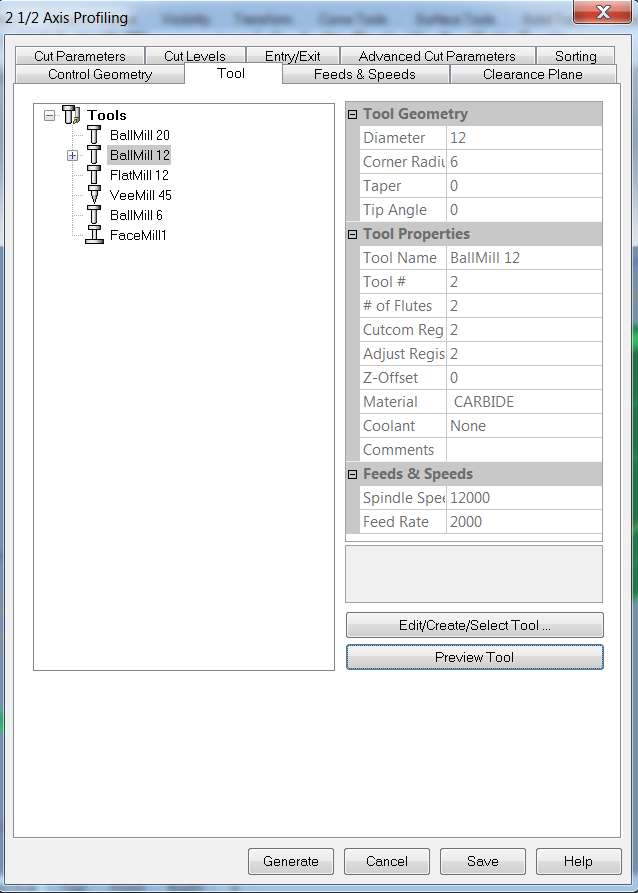
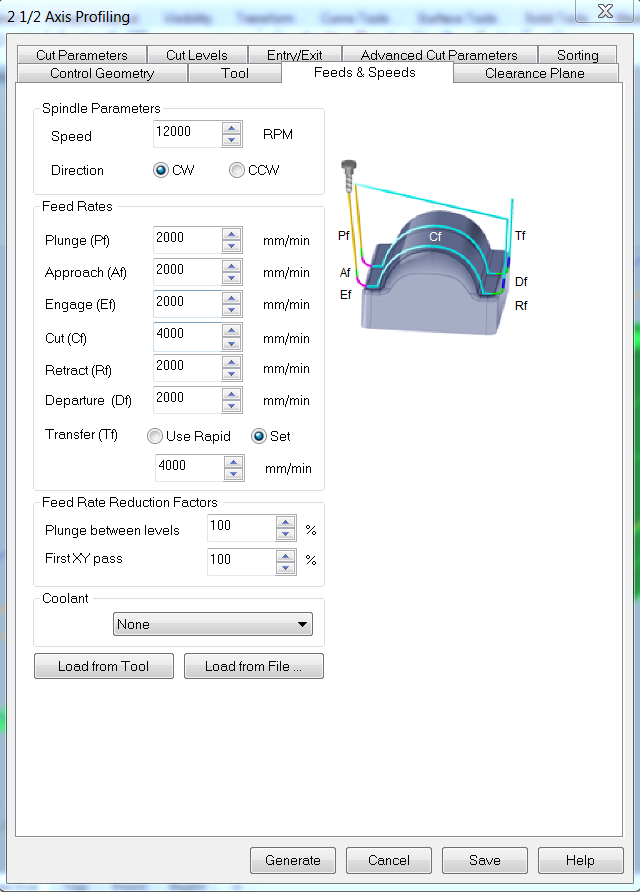
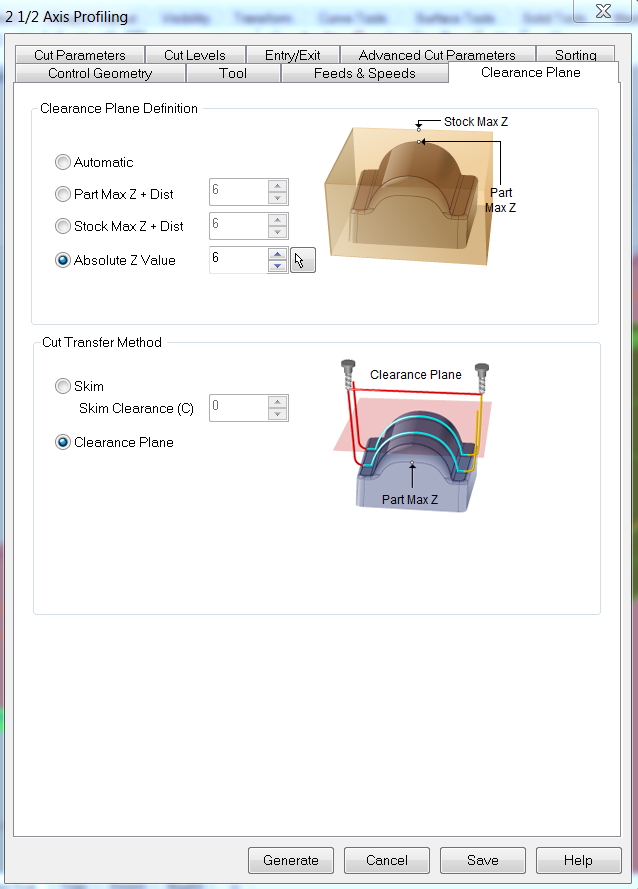
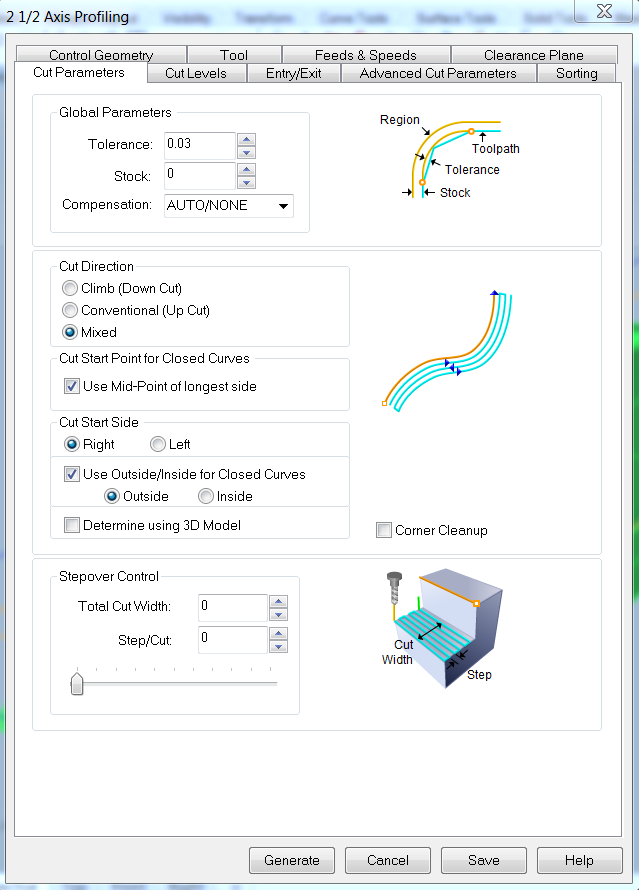
RhinoCam
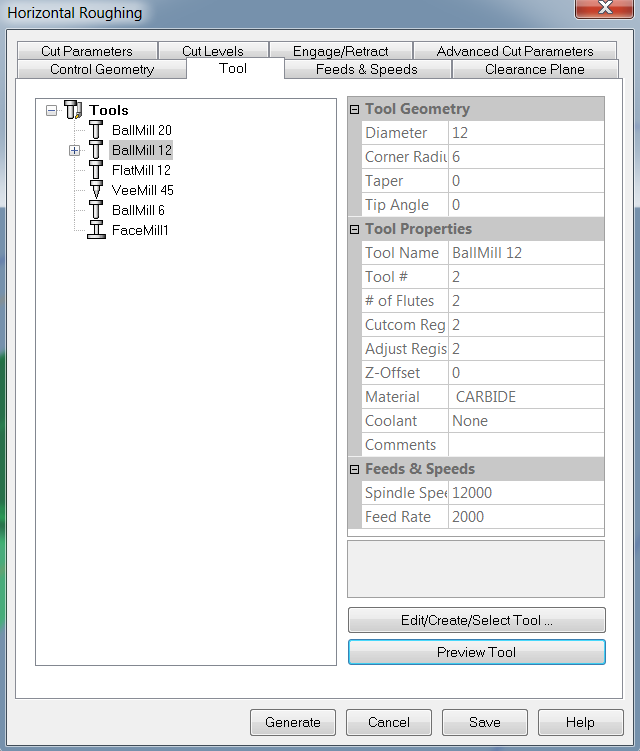
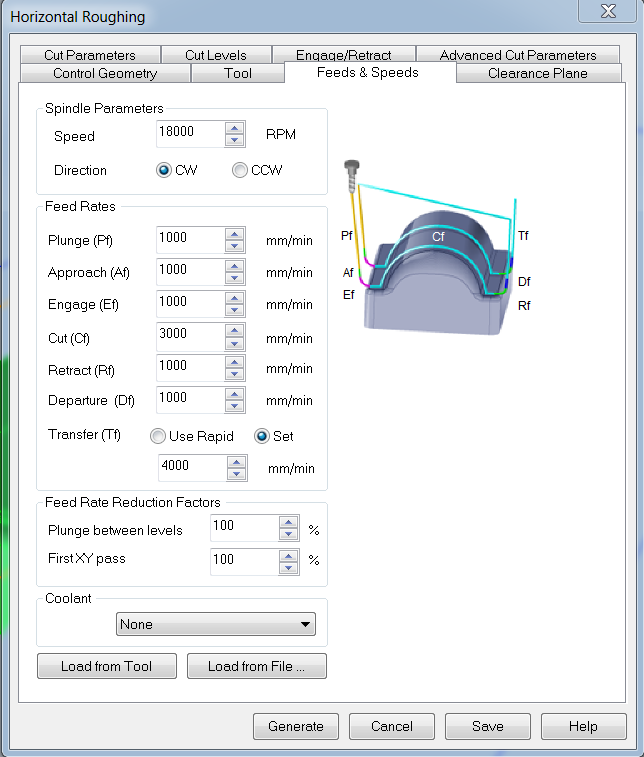
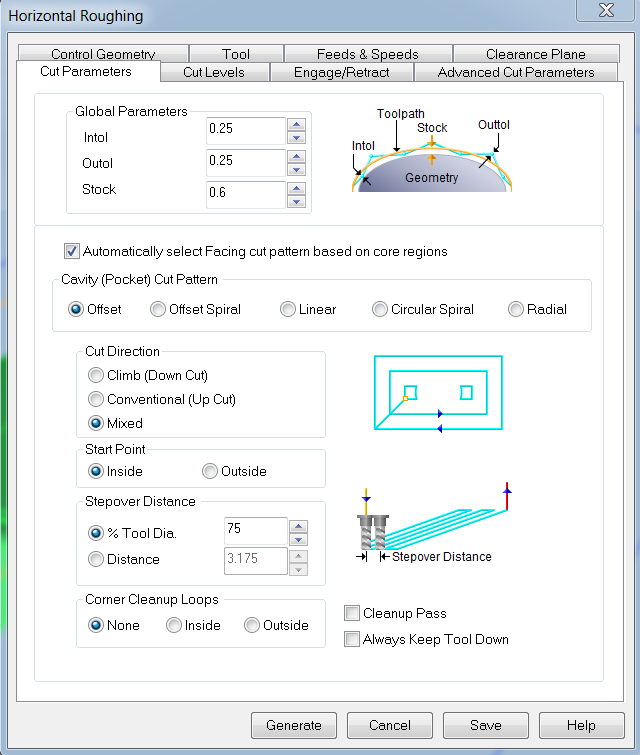
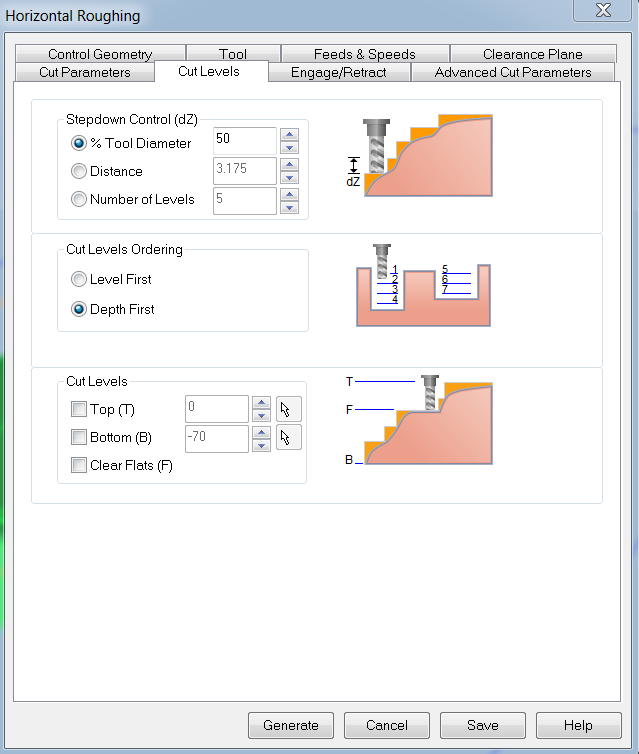
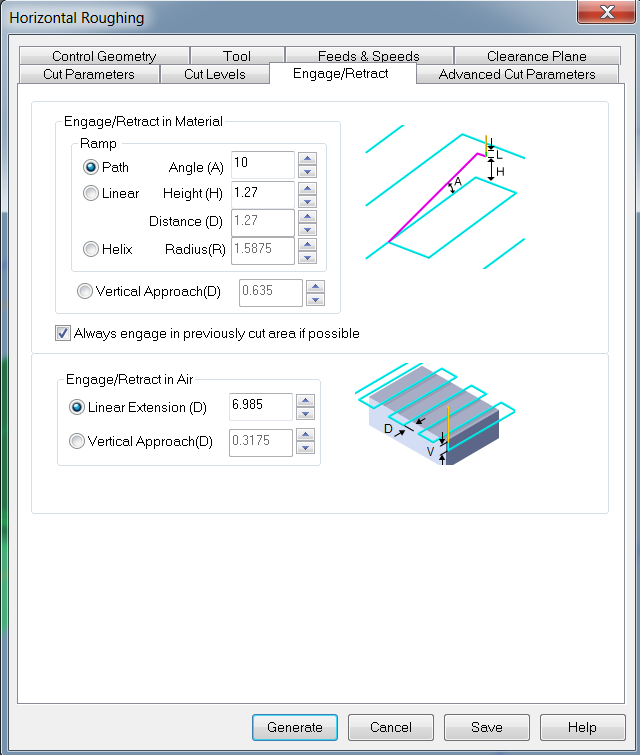
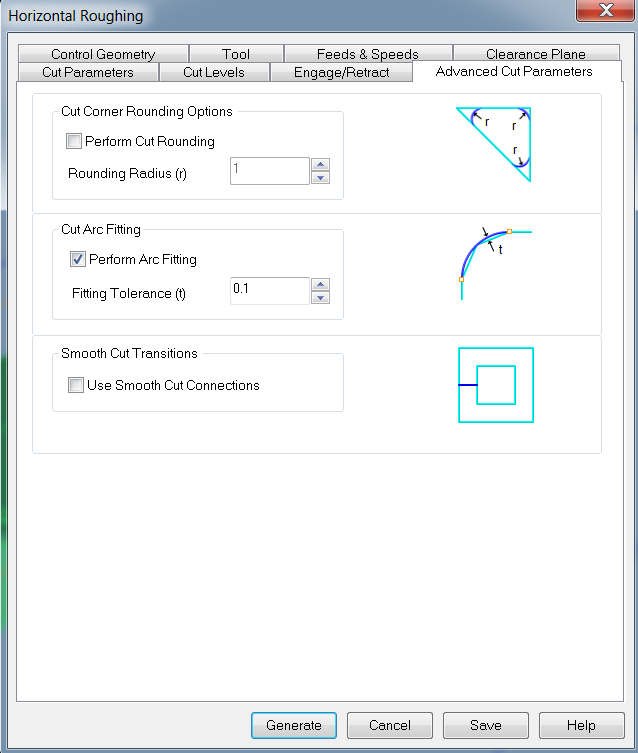
Horizonral Roughing: This job makes the surfaces smooth. I am using foam, Cutting a soft material, like Renshape or foam, where we can use high feedrates and not load the machine, then flat roughing toolpath is always a good choice. The extra stock leftover will not be a problem for the finishing pass to remove and it will also reduce the milling time. Best link to understand horizontal roughing and its step to do it in RhinoCAM (http://cmu-dfab.org/rcam-3rough/)
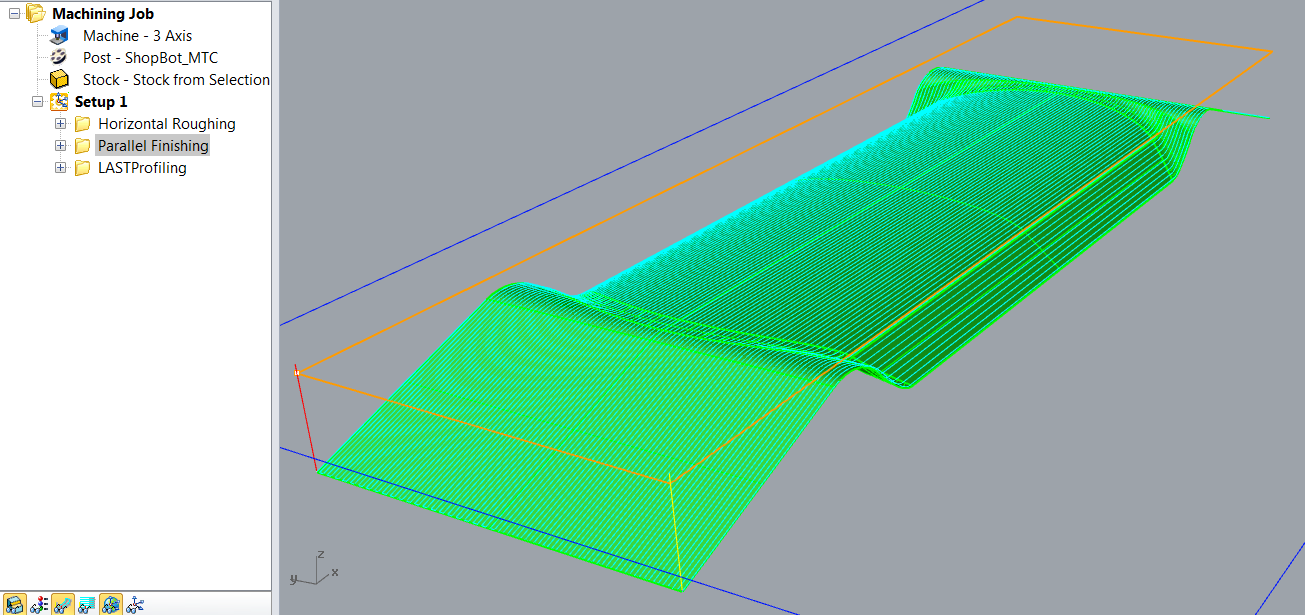
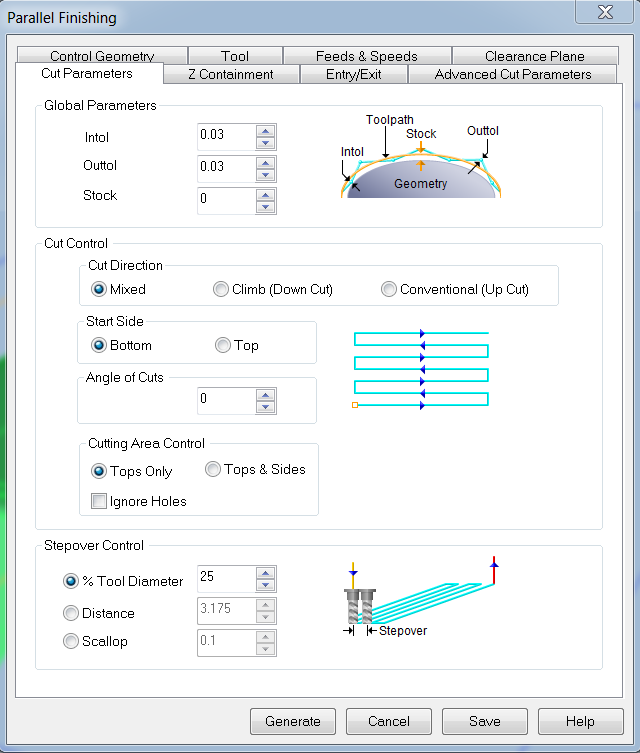
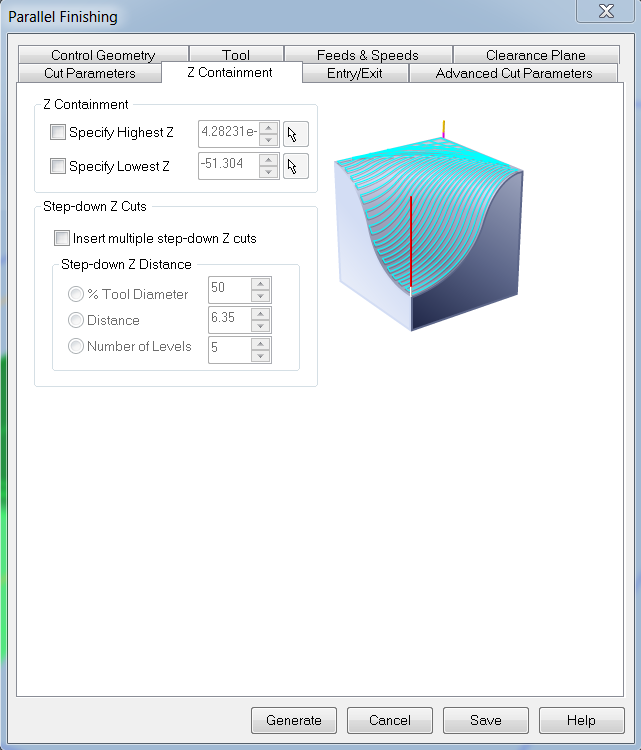
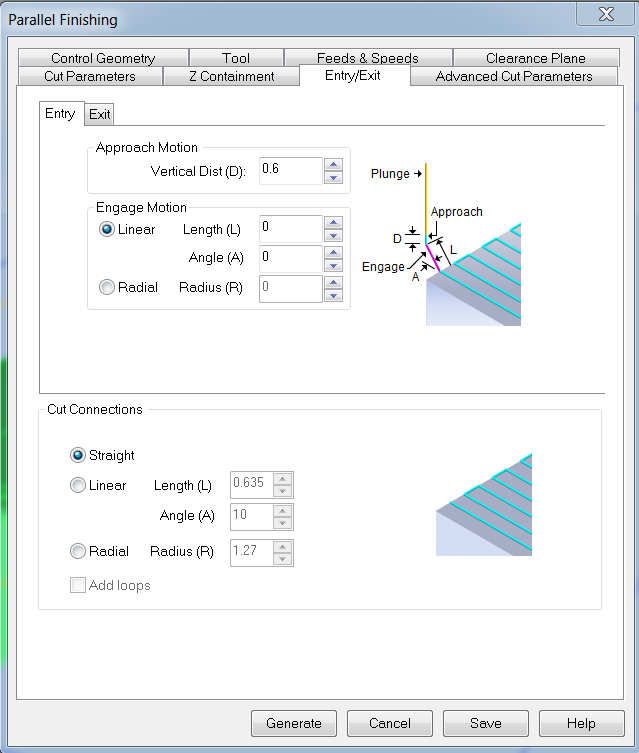
Paralel finishing: Finishing Toolpaths will provide you with a finer, more detailed final part that more closely resembles your 3D Model. Specifically, Parallel Finishing Operations generate Toolpaths across your Part’s Surface in a Parallel Fashion. A good tutorial for parallel finishing is this (http://cmu-dfab.org/rcam-3pfinish/)
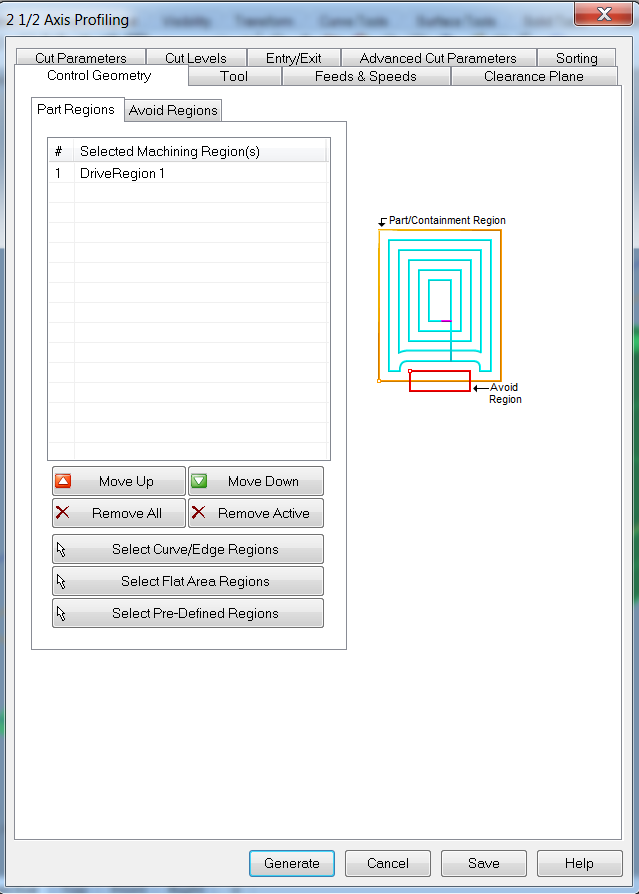
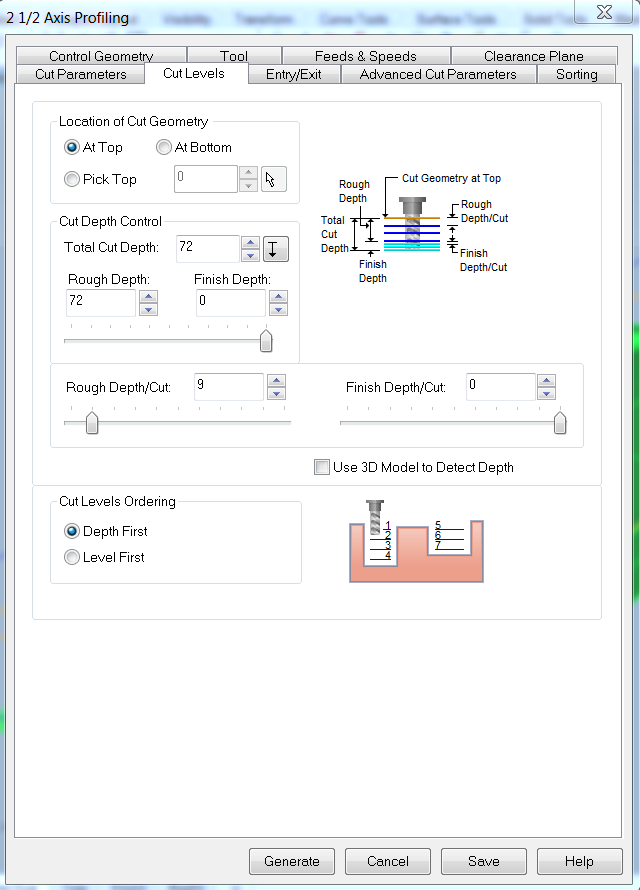
2 1/2 Axis Profilling: The Radial Finishing strategy creates passes along the radii of an arc, similar to the spokes of a wheel, which are then projected down on the surfaces. Here is the guide awesome (http://cmu-dfab.org/rcam-3radial/)
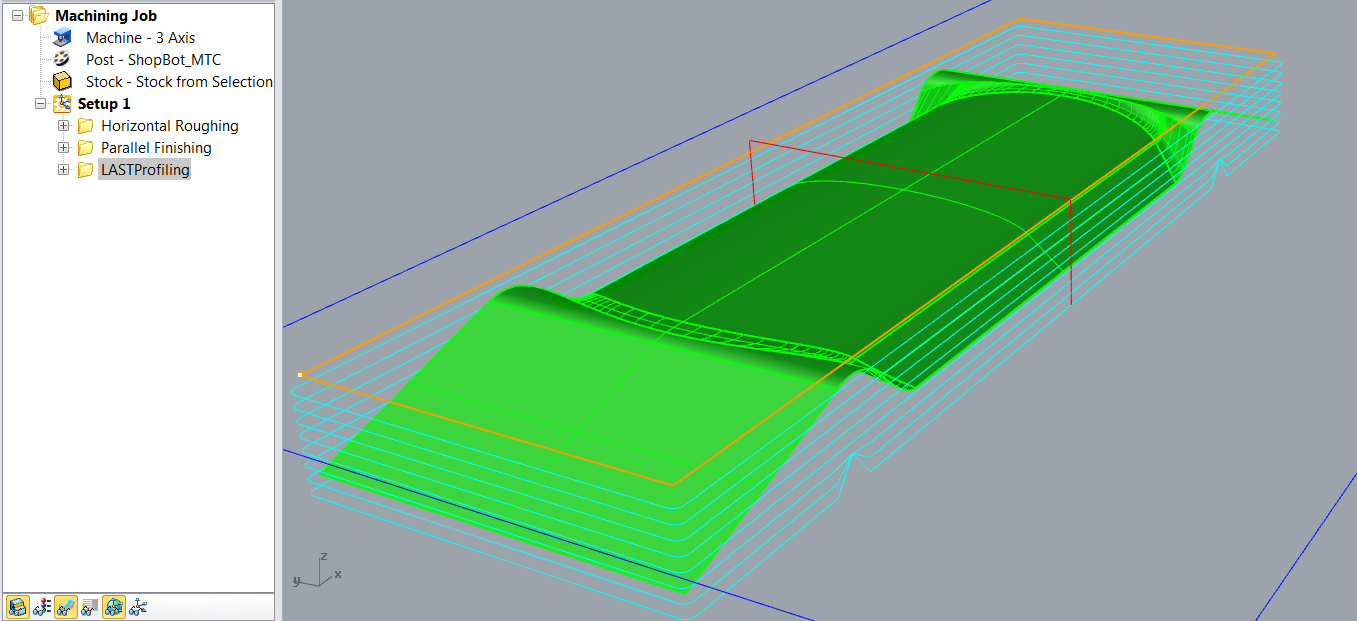
slide with the stings of the 3 strategies


Last Profiling Video
Composite
For this week we had to read the material safety data sheet (MSDS) and technical data sheet (TDS) for the resins that we were using. This is important because epoxi is a hard chemics and have to be handleled properly.
Epoxy resins are thermosetting polymers with unique mechanical and resistance properties. They are the result of a chemical reaction called 'curing', which involves epoxides and other chemicals more commonly known as 'hardeners' or curing agents
Time to Cure: For coating artwork and creative projects, clarity is non-negotiable but a few extra hours of cure time doesn't usually hurt. ArtResin reaches 95% of its full cure within 24 hours, and 100% of its cure within 72 hours
The first thing is to make the material using 2:1 of epoxy and hardner. Mix the material for atlest 10mins.
My composite is formed by three layers of wood that I found by the lab and epoxy between the layers.
It is very important the direction of the veins to get resistance especially in the transverse direction, but also it is necessary to support the curvature of the central part.
The upper and lower layers the veins of the wood are oriented transversely, and the middle layer the veins go in the other direction.
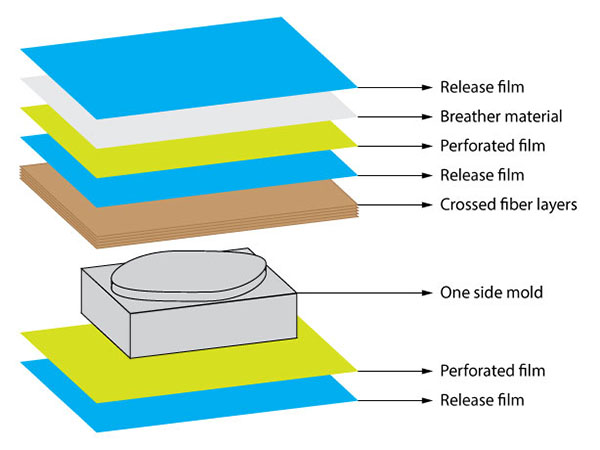
In addition to the layers of the composite it is very important to put the layers that are seen in the image to protect the vacuume machine.
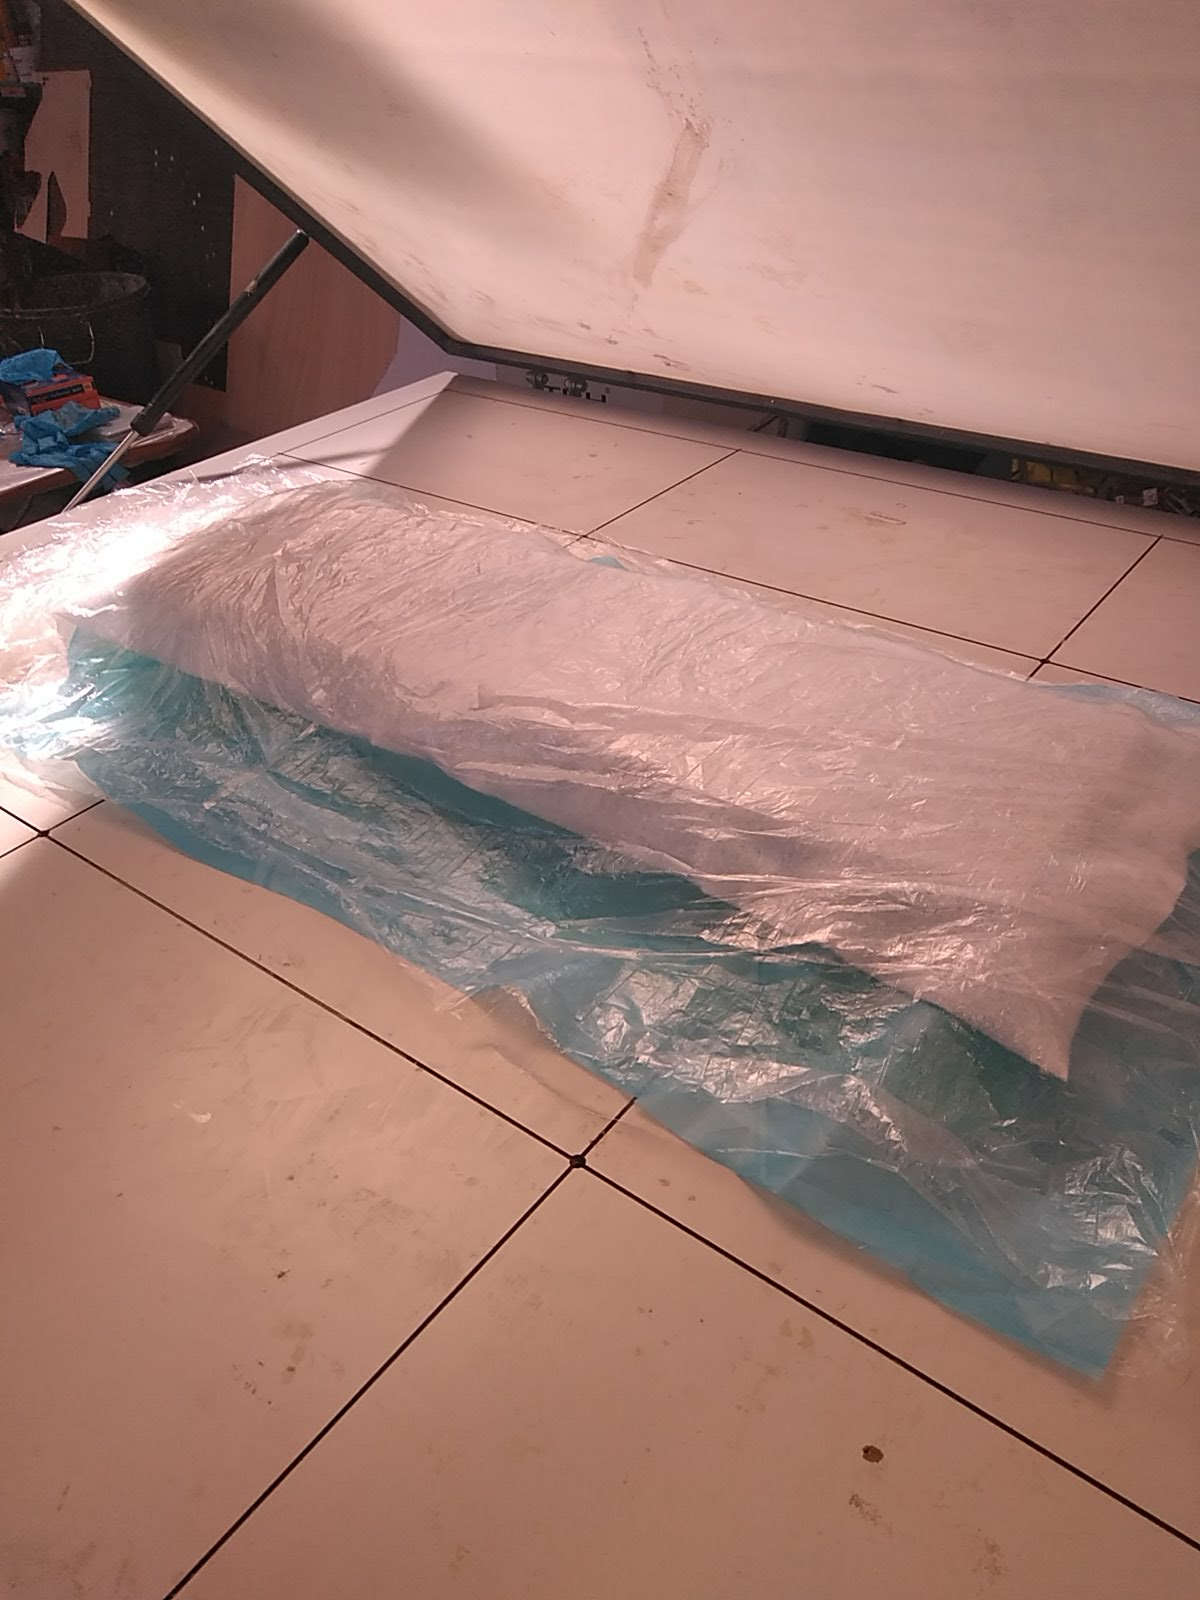
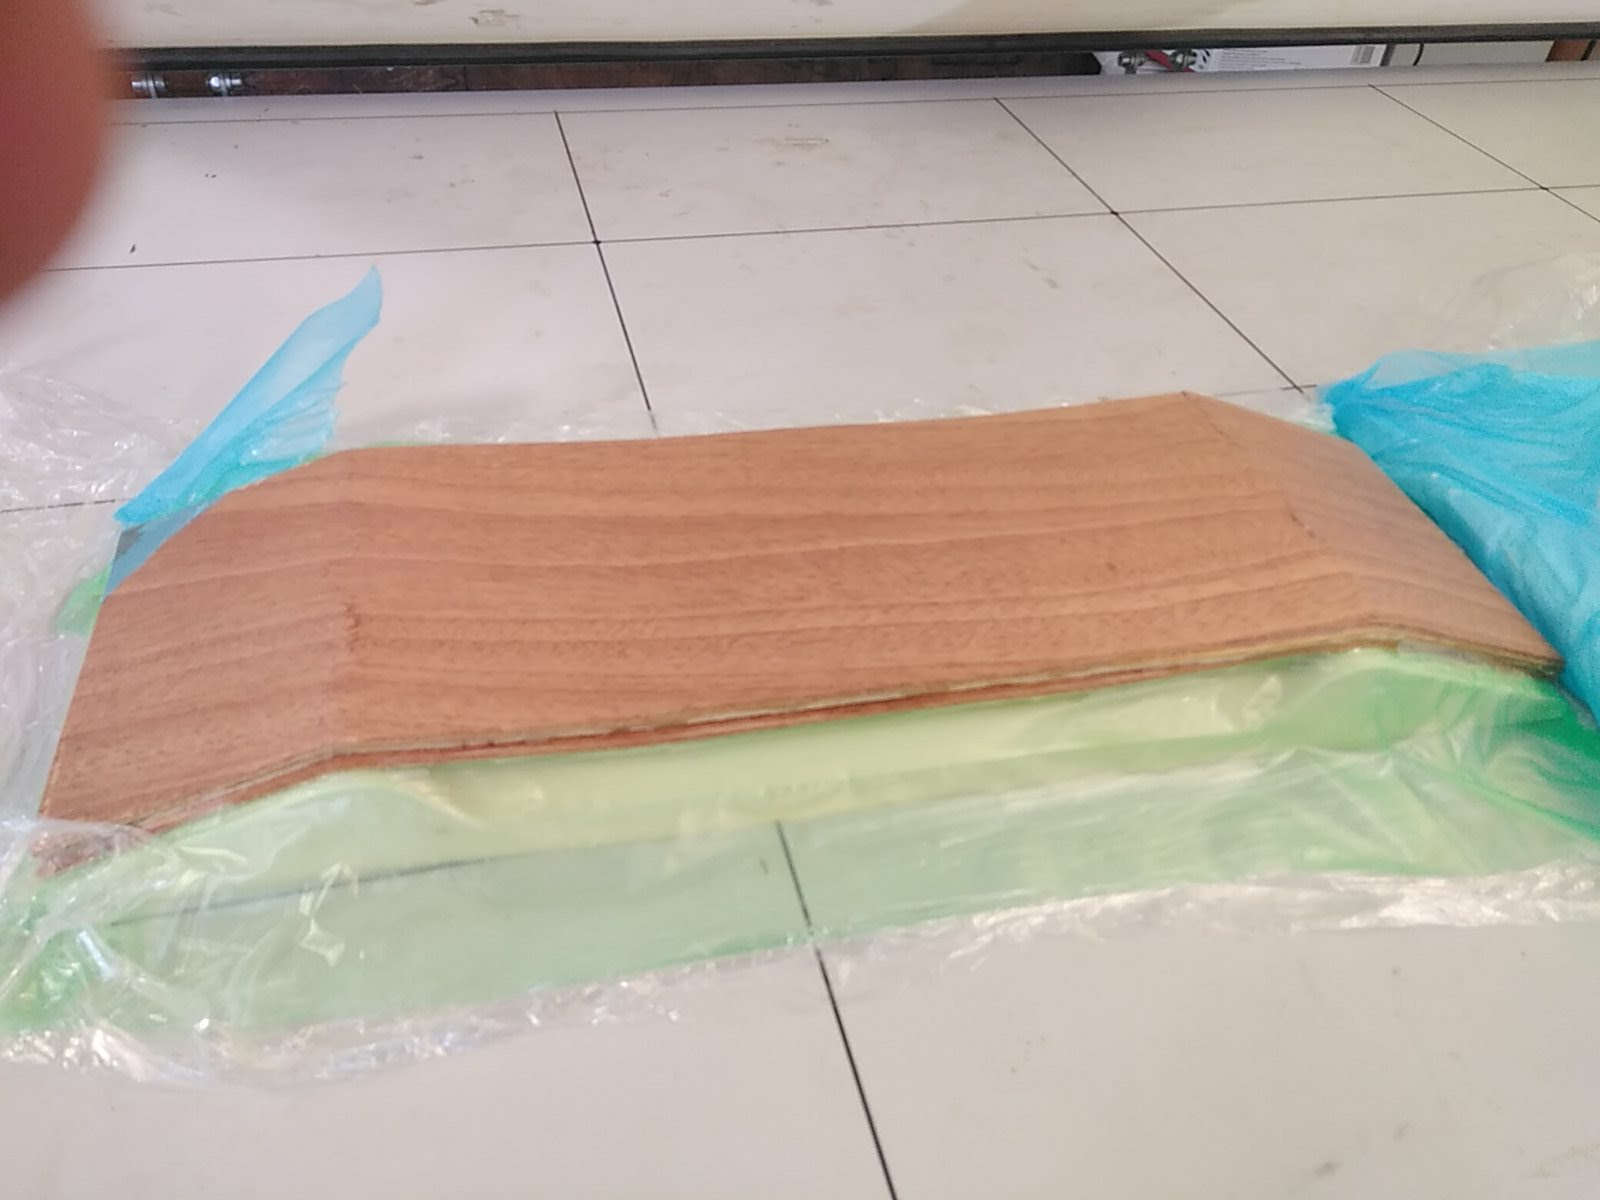
You have to prepare the machine with the two layers of protection to avoid wasting time since you apply the epoxy until you put it in the machine.
The machine is closed and sealed. Two days later it's ready.
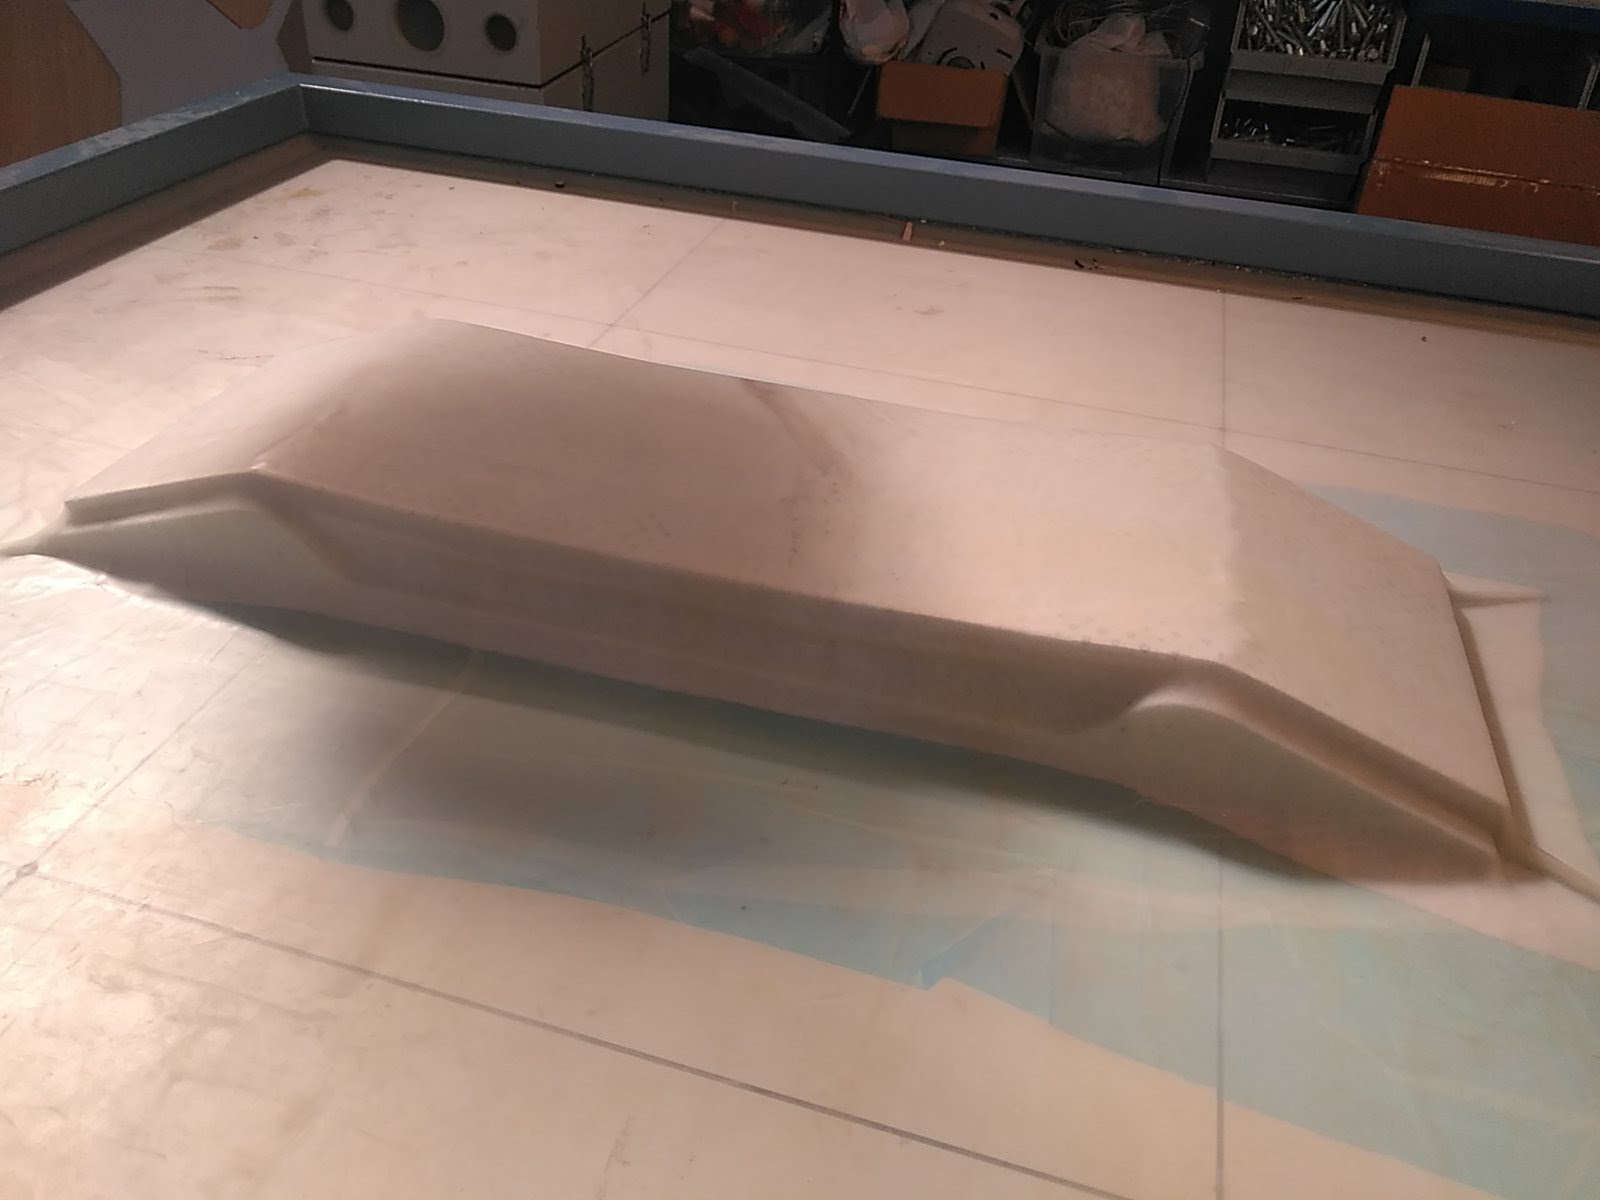
When emptying the board broke through the nose and tail, the wood was not suitable or the curvature should be smoother.
Even so the exoxy holds those points and the result seems solid.
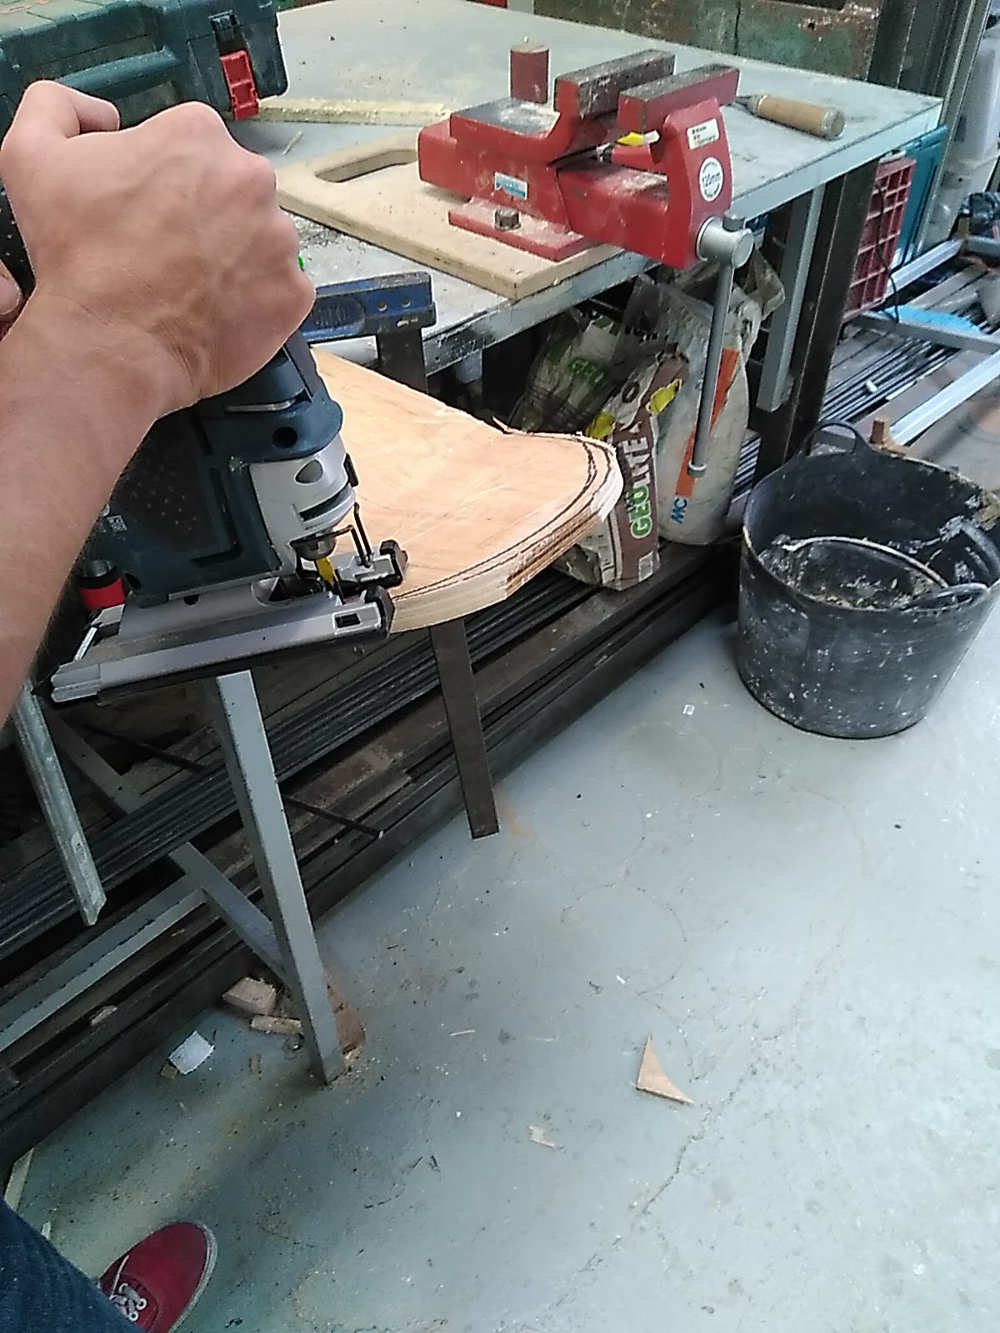
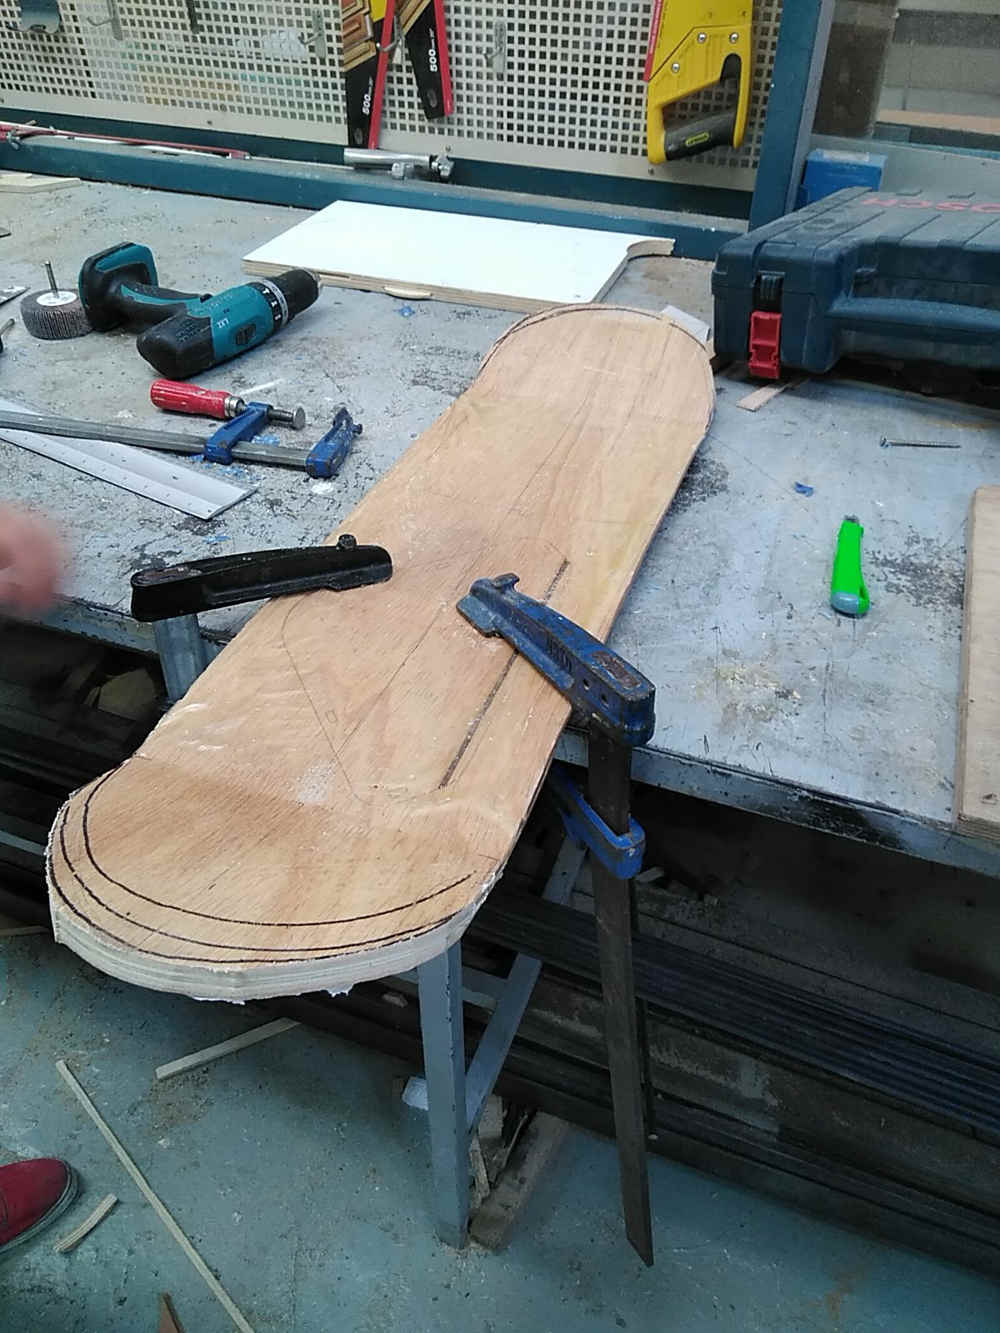
The last steps are cutting the final shape and distance. It is very important to wear a mask because the expoxy that comes off is very toxic.
To this day, the wheels and axles are still missing.
