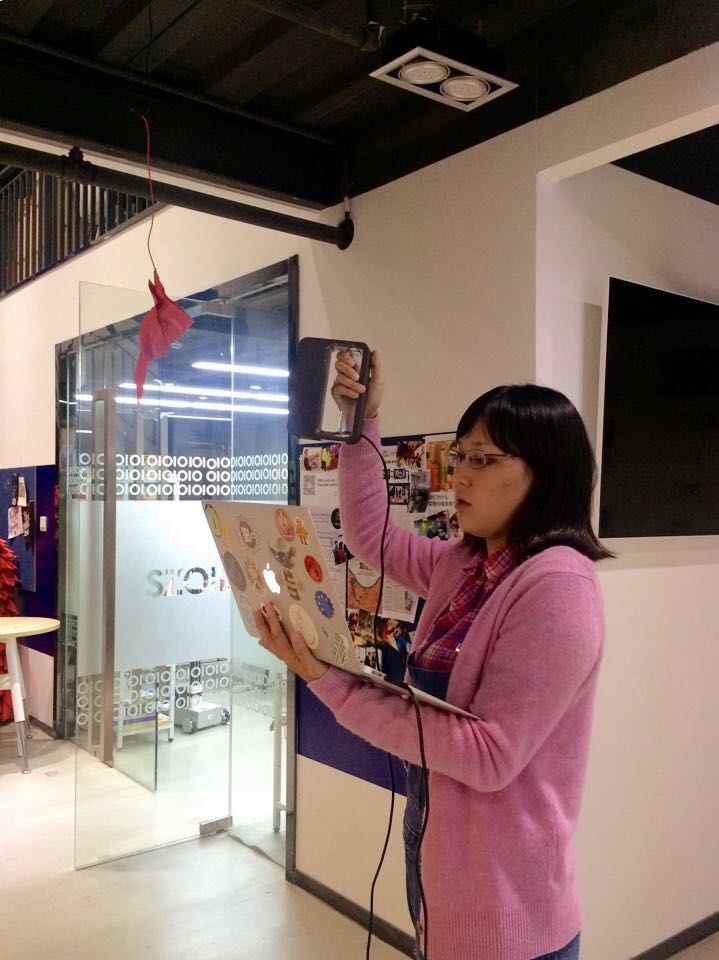
This week, our assignment is about 3D scanning and 3D printing. We have a 3D scanner from 3D systems in our lab, so for the 3D scanning part. I tried the 3D scanner out.
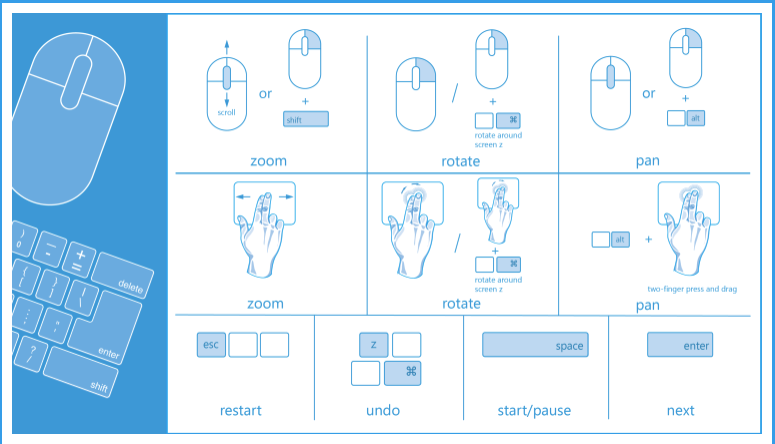
The usage of this 3D scanner is quite easy. You can find all commands above. More information about the scanner I used. You can find link in the reference part.
At the beginning, I wanted to try to scan a handmade paper ball. Out of my expectation, it is hard. I held my computer and the scanner to scan the object for more than 360 x 3 degree, but still cannot get a satisfying model...
No idea why...
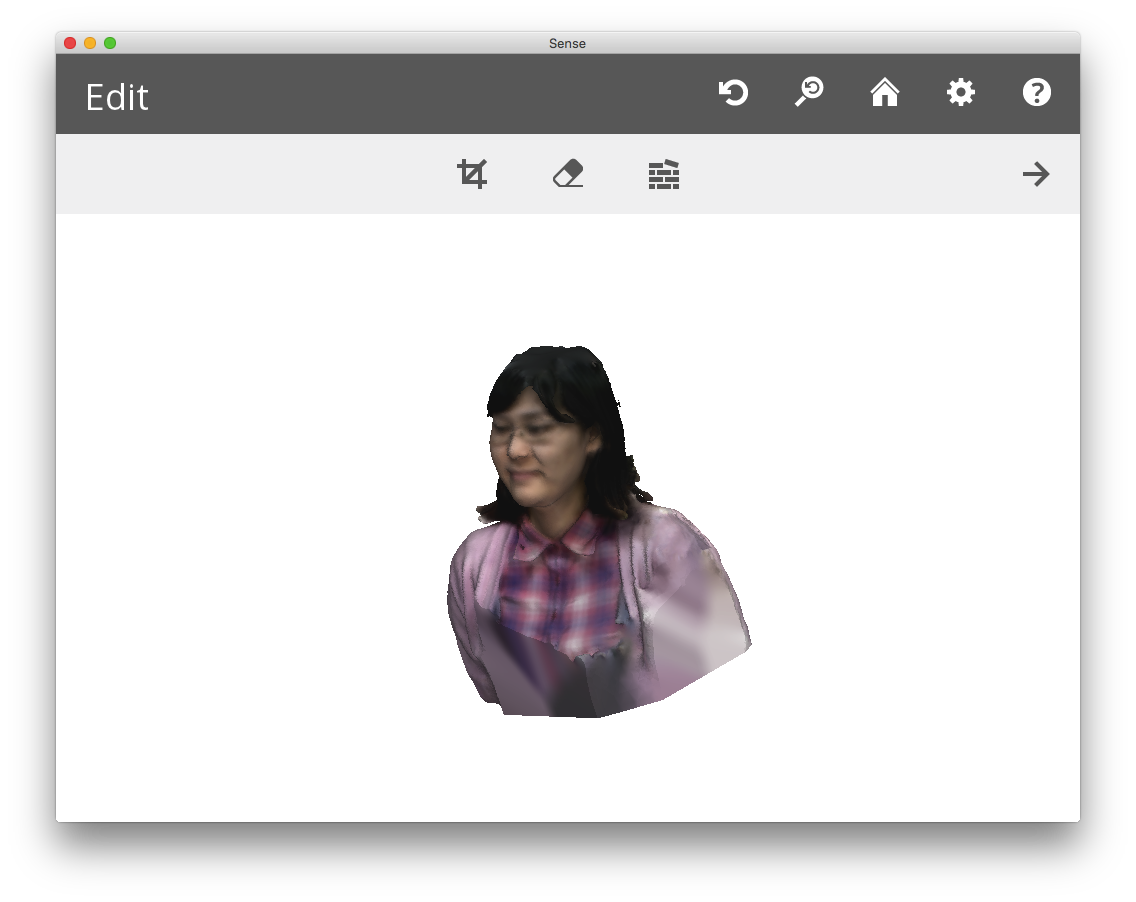
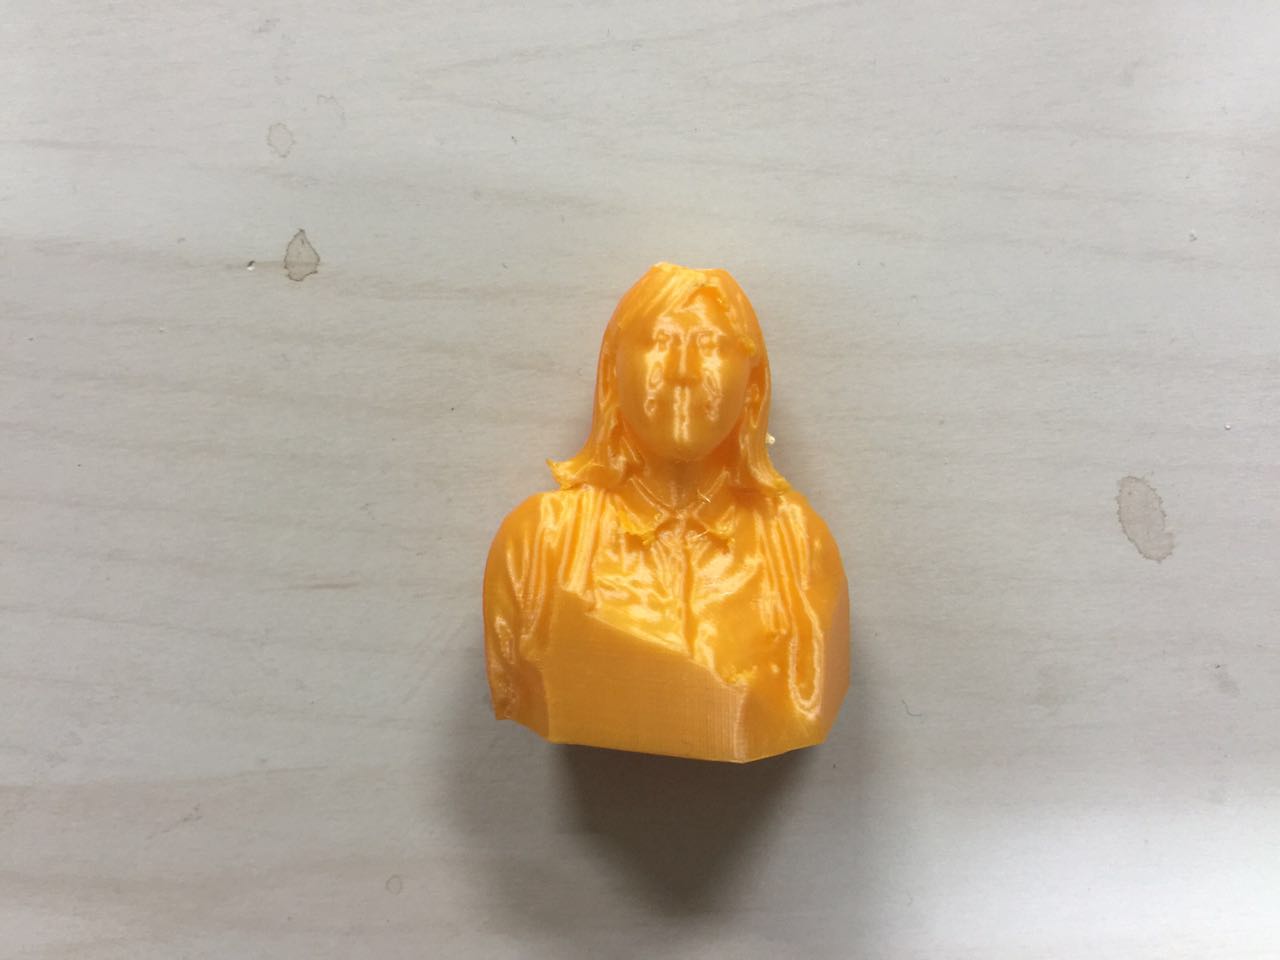
And after that, I tried a different mode provided by the software, in which the target is a person. This time, much more easier. One take, then done!
Below is the model generated by the software.
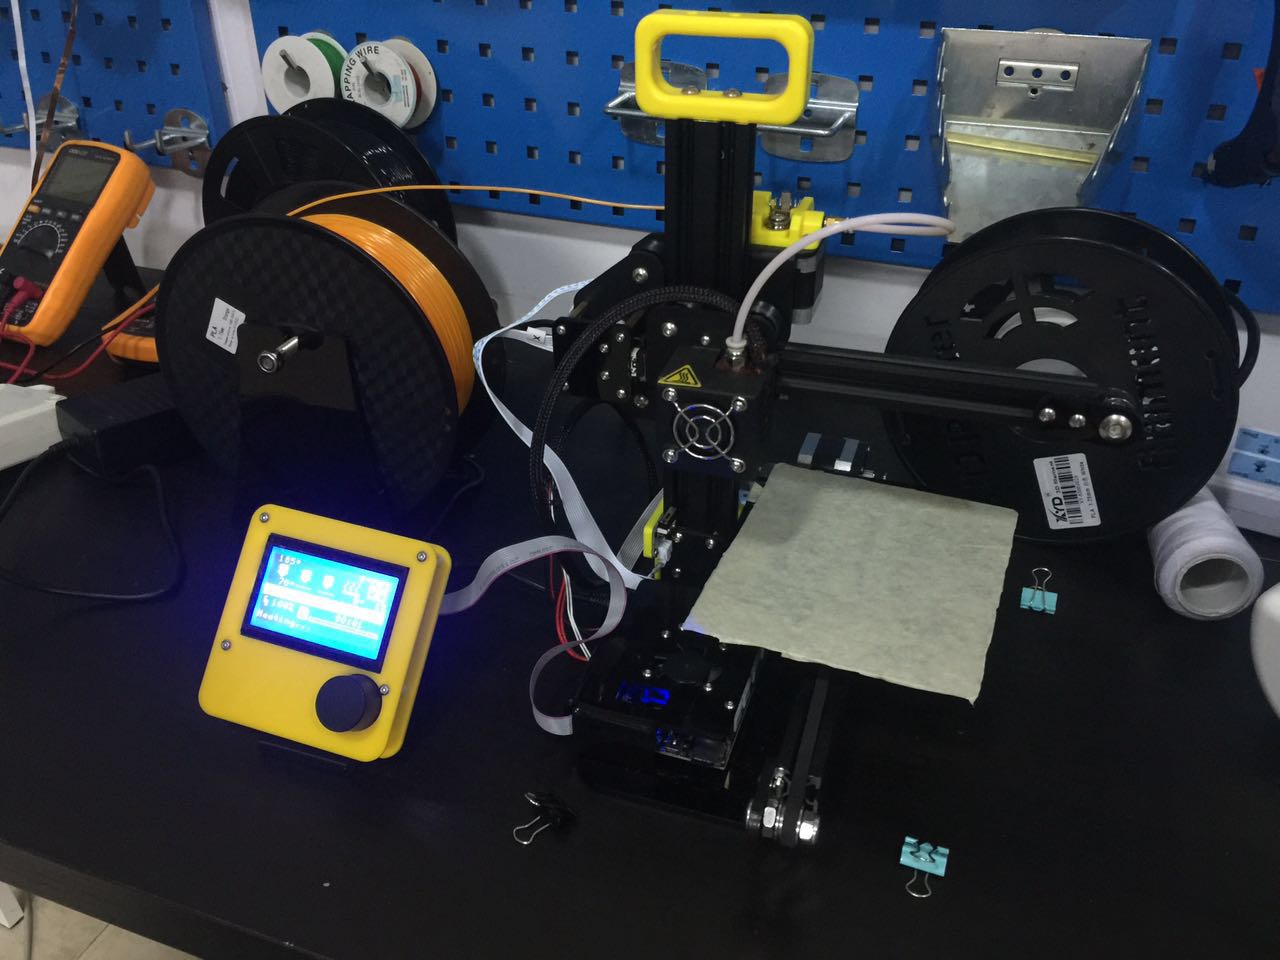
So I sent it to the 3D printer.
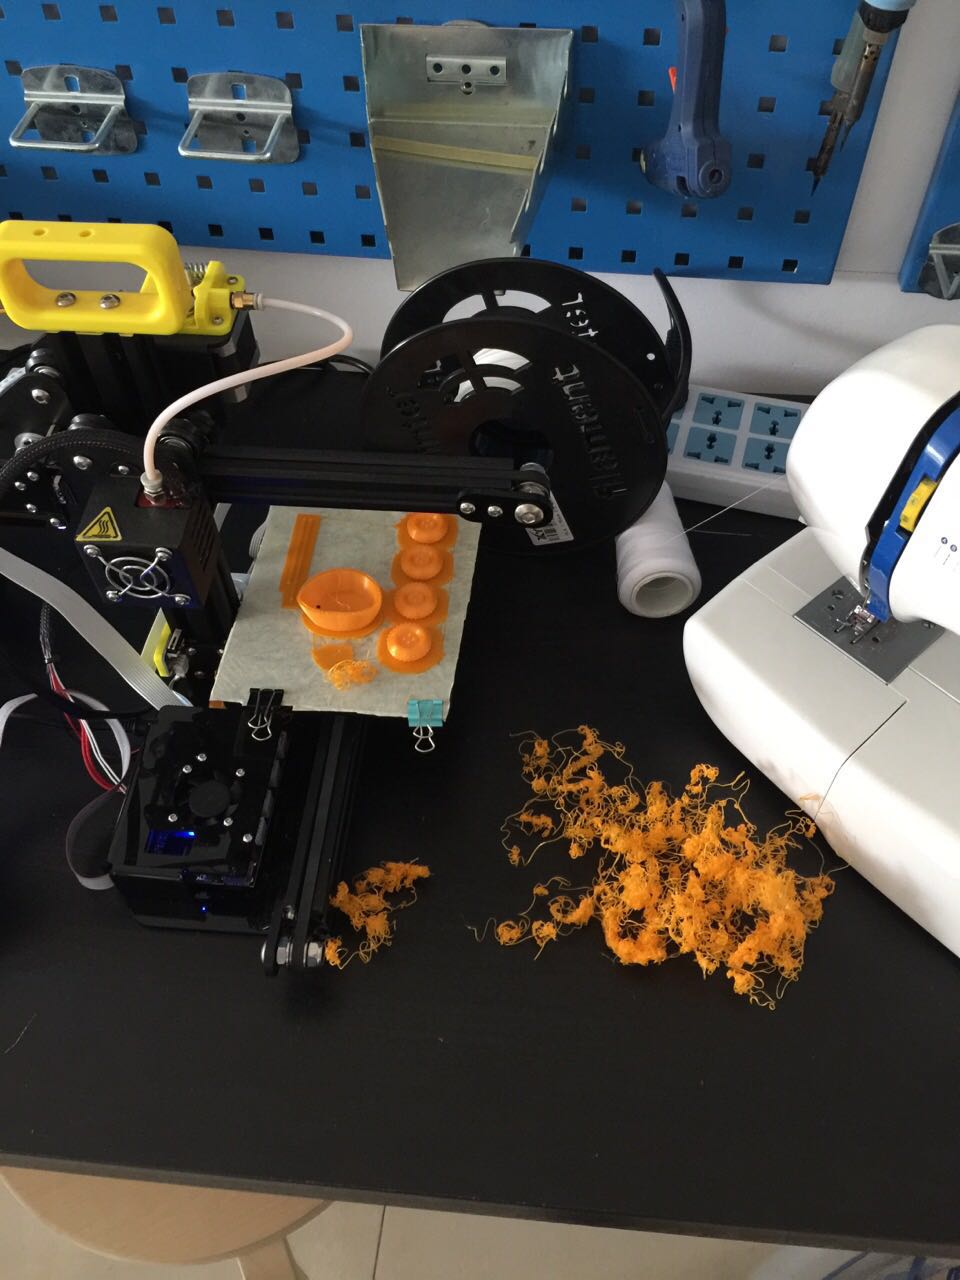
The 3D printer we are using is a recommended one. The structure of it is simple. And you can get the kit for just slightly a bit more than 1000RMB. It is a good model for amateur purpose and educational purpose.
And then I got another me. Looks great! It is fun to be replicated!
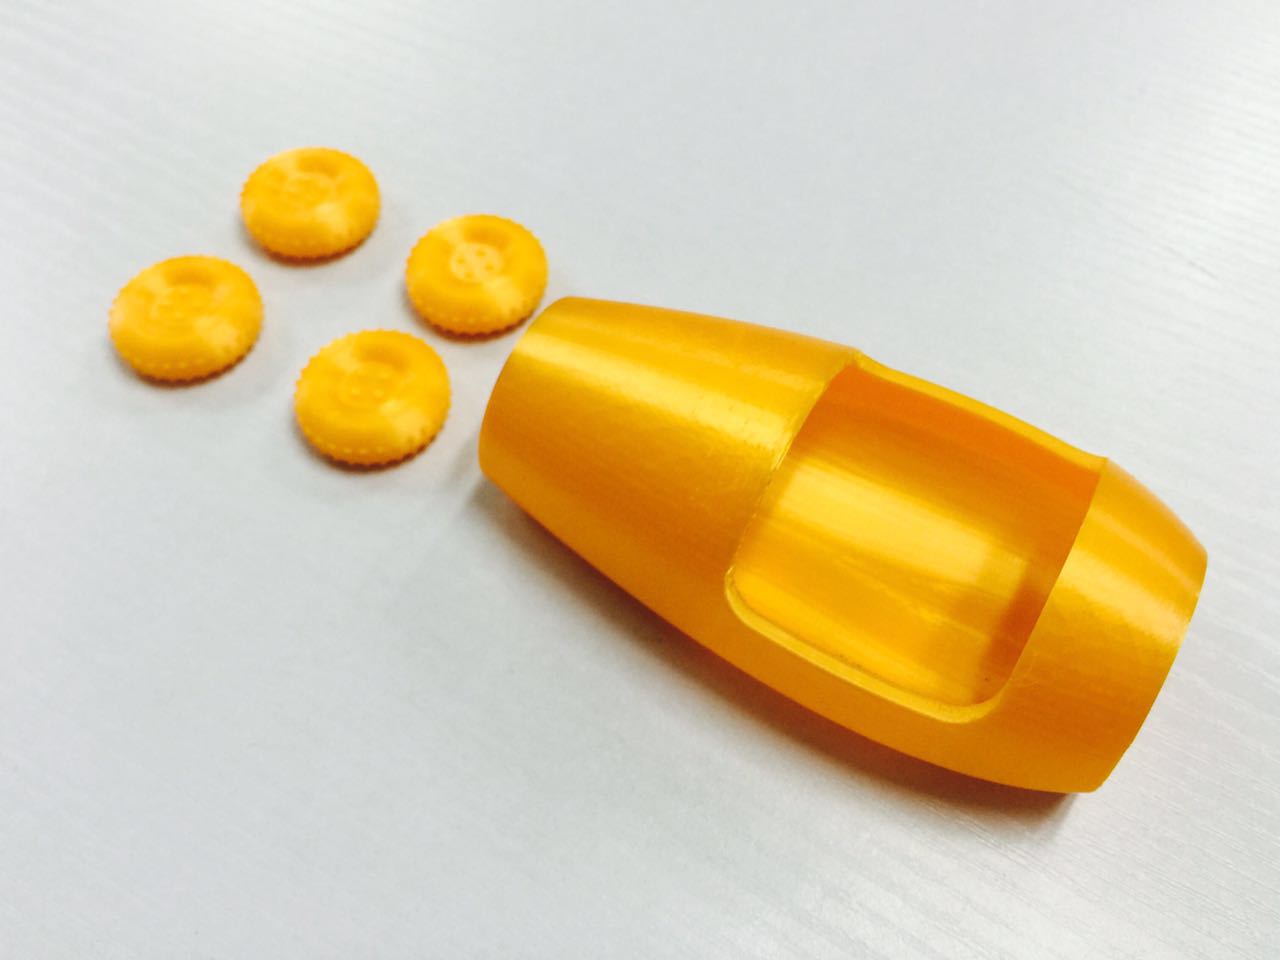
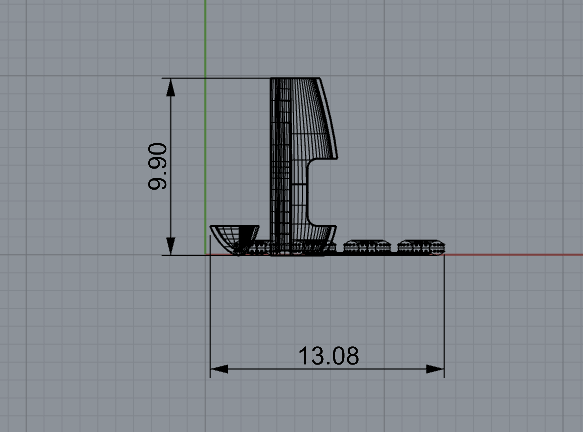
Besides another me, I also printed out the mode I made for my final projects. To check the design process and get the design file of this model, please go to W2 | Computer Aided Design .
The maximum area of the printer I use is 10 x 15 cm. So I scaled down my model and exported it as an .STL file, and used software of the printer to transformed that into gcode.
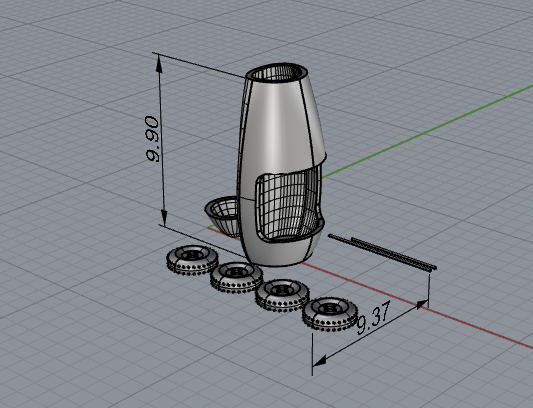
The required time to finish the printing is more than 12 hours. Crazy.
I tried several times but all failed.
And then I tried printing the body independantly. This time I got the successful model.