So in the second week, we got an assignment that we need to choose a 2D or 3D or Video editing, anyway some multimedia tool, to present our idea of the final project, not just let it lay on the paper as a casual drawing.
Neil gave us a long list of software tools which have DIFFERENT personalities. Some softwares are very strict with data, very engineering(like solidwork). Some softwares leave you more space to doodle and surprise you some where that you do not know(like antimony).
If you are interested in the list, you can find the link of it in the Reference column at the right side.
Anyway, I chose Rhino to try for this assignment. I wanted to try 3D design all the time, but for all reasons not started yet, so I am glad to explore a new world.
My final project is a fabbable car for teenagers / kids to learn about vehicle and make their own design.
Here is how I made it:Step 0: Preparation
I took a reference to make this model. Here is the reference:
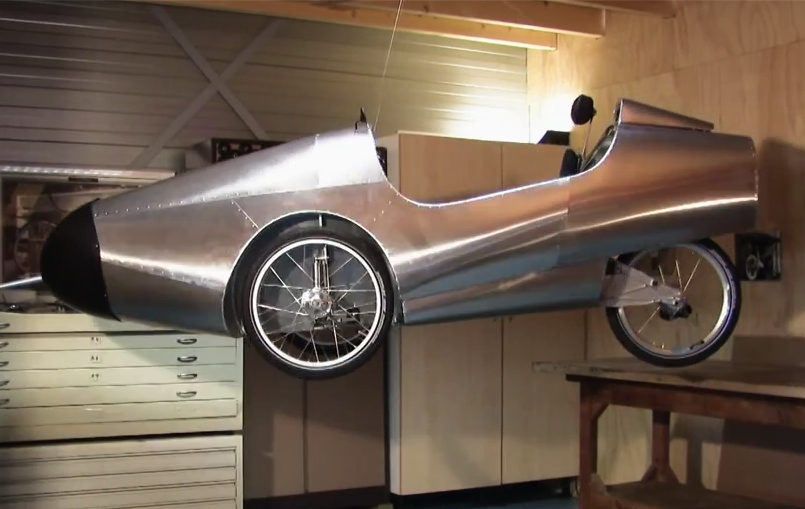
it is a pedal car kit you can assemble in your backyard. But I want to make it with wood(at least the frame part).
Before I started with the 3D modeling software, I used AI to created a 2D draft.
AI is easy to use and quite powerful 2D design software, and my draft looks like this:
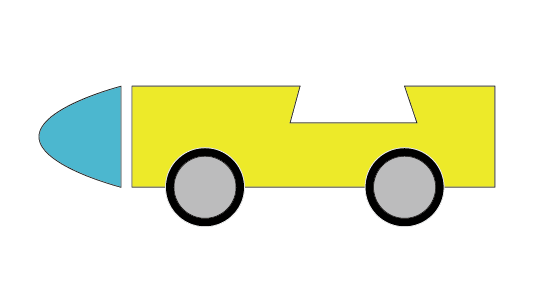
If you are interested, you can find my .ai file in the reference part.
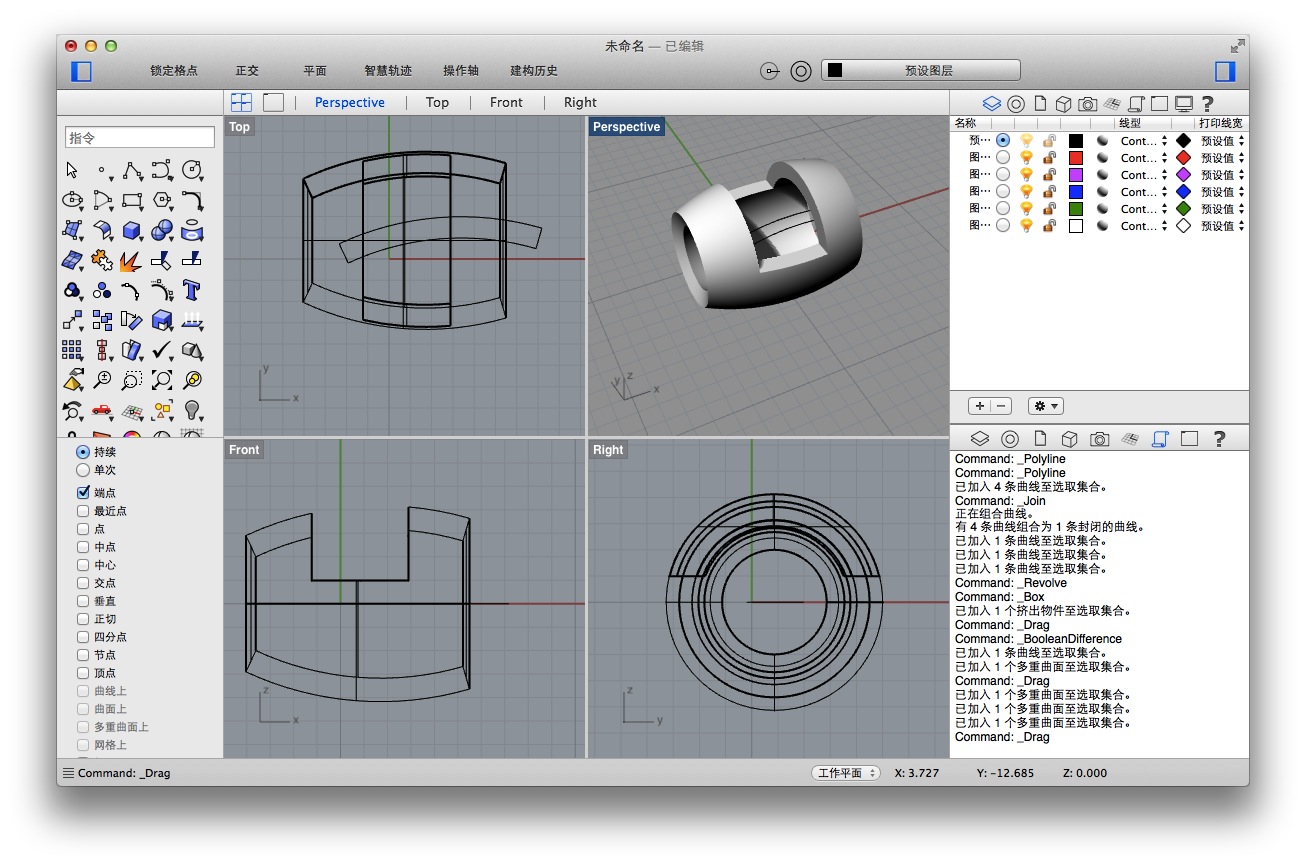
Step 1: Build the body
I started with the body.
To get a smooth body, I have learned:
1) how to draw a curve;
2) how to create a revolved surface;
3) how to turn the surface into a solid object;
4) how to cut an object with another object.
And the main commands of each step are:
 Arc
Arc
 Revolve
 Cap
Cap
 BooleanDifference
The order of these commands agrees with the philosophy of Rhino.
Dots -> Surfaces -> Solids
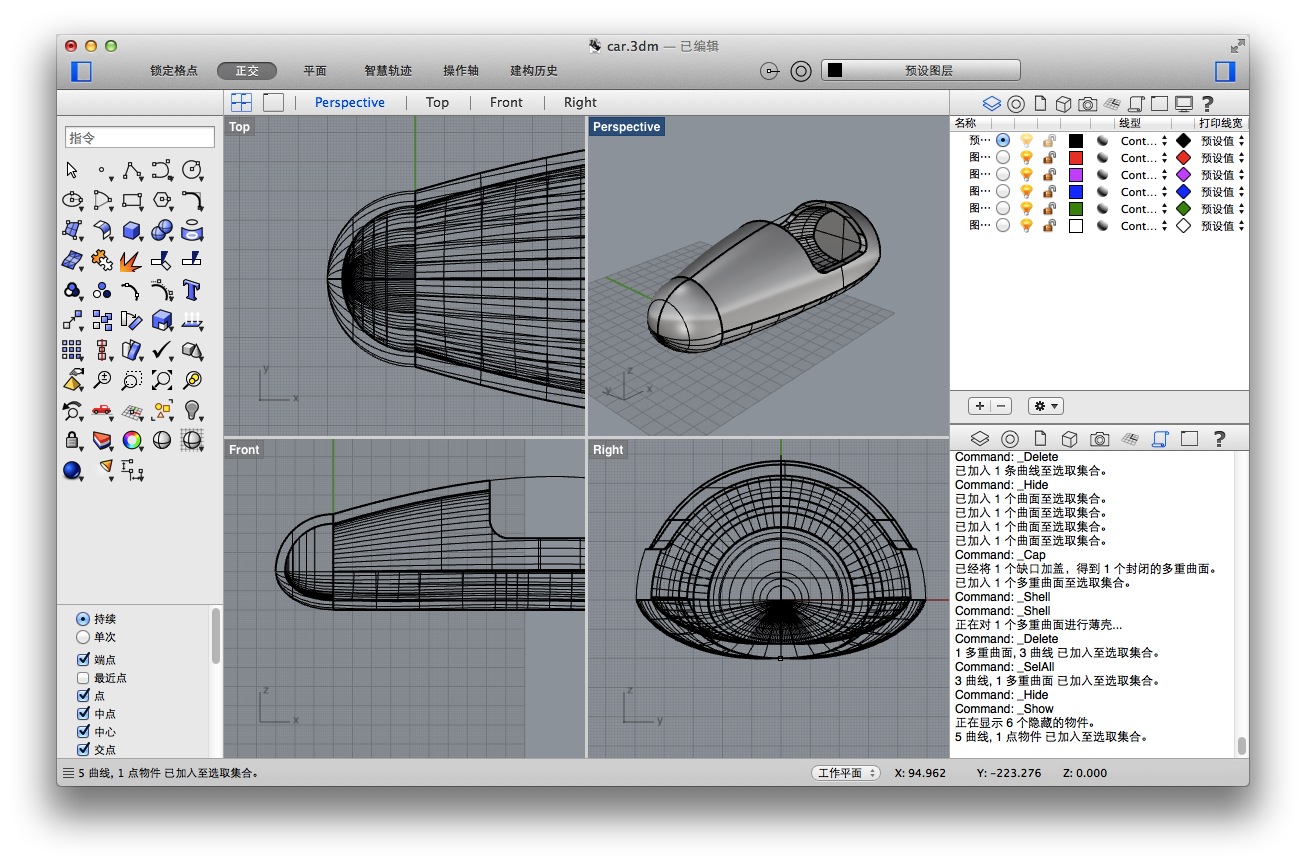
And after this step, I have got this:
Step 2 Build the bullet head
I want the head of this car can be sharper than its body, so I make two parts separately. The process of designing the head part is similar to the body part. But can not use the Revolve function to generate it because the path is not perfectly round. Instead I used the Sweep tool.
 Sweep along one rail curve
This function enables me to create a not round cond.
After this step, I have got this:
Step 3: Wheels
To make the wheels, the process is also similar. This time, not revolving a curve but some pattern. Imagine when you use a knife to cut the wheel into four and what you can see. And that is the thing we need to revolve this time.
After Revolve, I have got this:
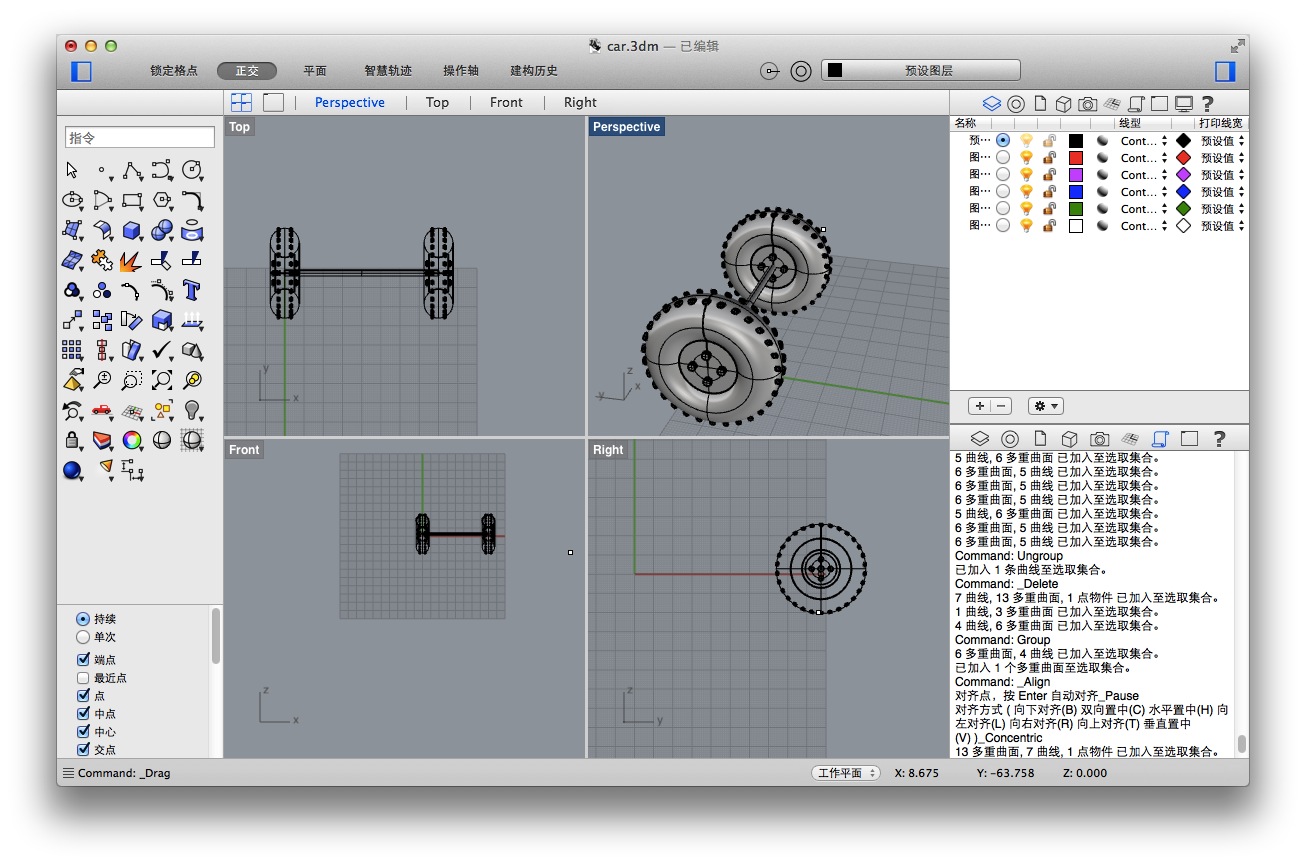
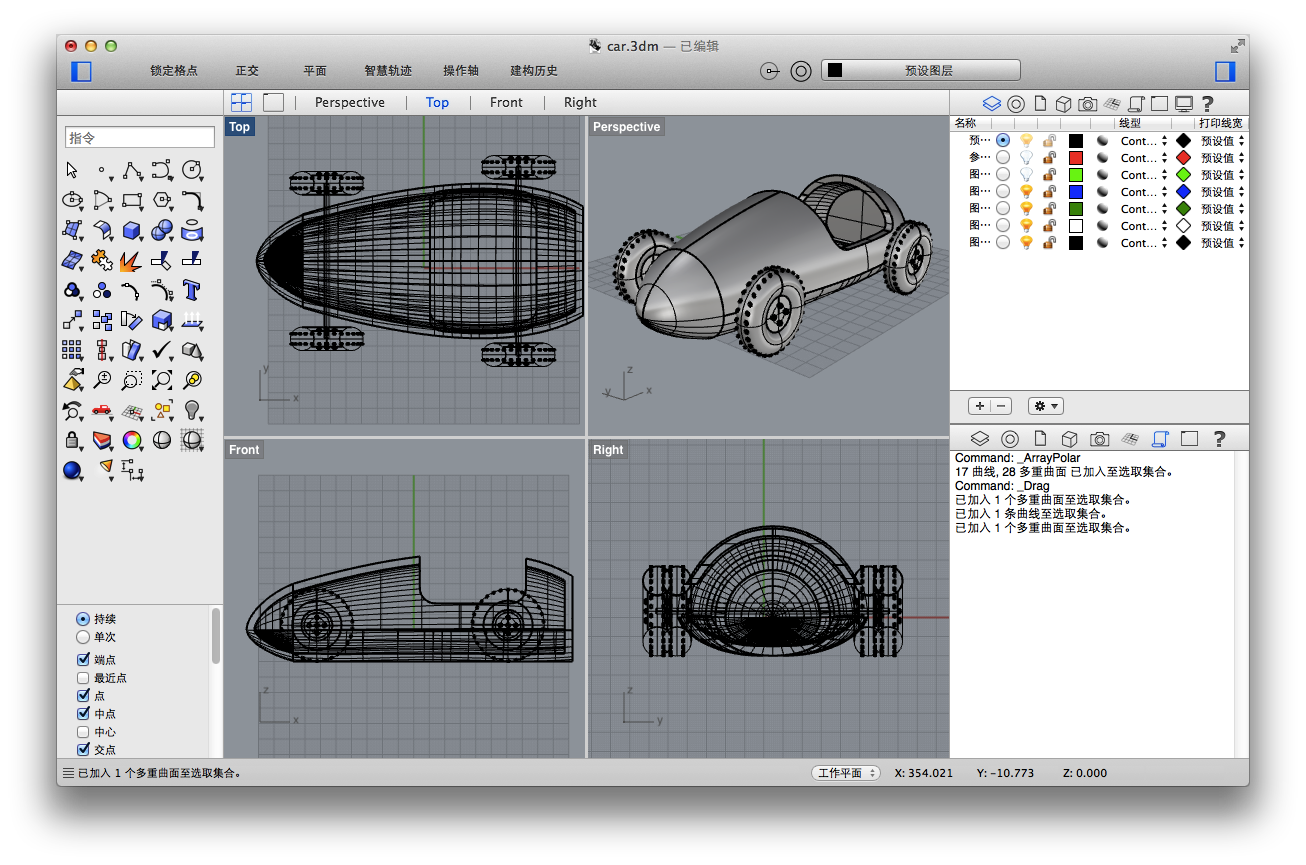
To make it more real, I added some decorations to it, small patterns that arrange along the wheel. This involves function ArrayPolar:
 Array
Array
This function helps you fast replicate an object and array them following some rules.
After this step, I have got this:
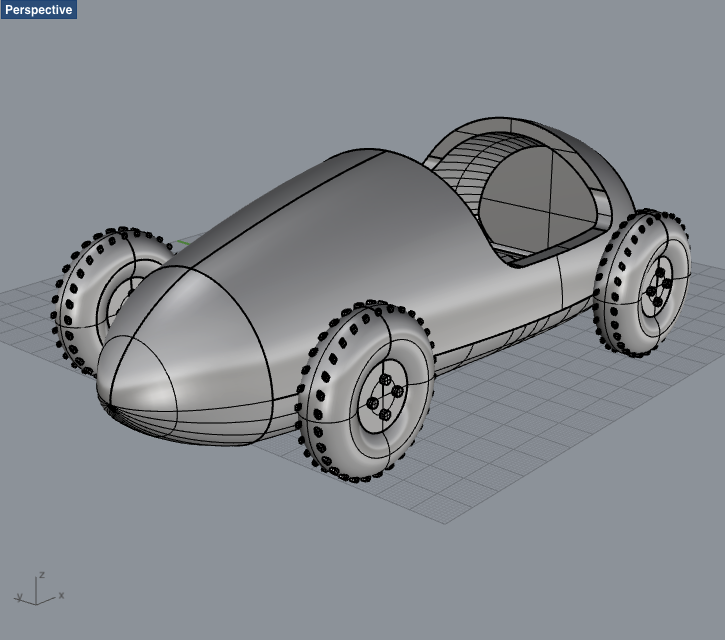
Step 4: What to be done next?
This model is not finished yet. I found as a newbie, I still need to put so many time into it to make it closer and closer to what I want exactly. To be short, following are somethings I still want to fill:
1) add a seat;
2) add mugguards;
3) figure out the power system(pedal) and make that out;
4) figure out the turning system and make that out.
I will improve this model continously until I get that.