2016
3D Scanning and Printing Feb 24 2016
This week, the task was threefold:
- test the design rules for your printer(s) (group project)
- design and 3D print an object (small, few cm) that could not be made subtractively
- 3D scan an object (and optionally print it
Design rules:
We tested our two 3D printers: Stratasys Fortus 380mc and Leapfrog Creatr.
We found a test object that can be used for calibrating and performance testing of 3D printers.

The object holds:
- Size: the object is 4x50x50mm (baseplate)
- Hole size: 3 holes (3/4/5mm)
- Nut size: M4 Nut should fit perfectly
- Fine details: pyramide, cone, all numbers
- Rounded print: wave, half sphere
- Minimum distance between walls: 0.1/0.2/0.3/0.4/0.5mm
- Overhang: 25/30/35/40/45
- Bridges 2/3/4/5/6/7/8/9mm
- Flatness: all flat areas
Slicing of the object for Startasys machine is shown here. The printing was done with default settings and using layer thickness of 0.254 mm.. The Slic3r for Leapfrog printer result is also shown . The layer size is 0.3 mm and the nozzle size 0.35.


LeapFrog
Stratasys
LeapFrog
Stratasys
The result is shown here. Startasys was loaded with ABS and Leapfrog with black PLA. Overall quality of the Stratasys print is better but it failed on narrow slots and slotted text. Leapfrog produced the slots actually quite well but there were some odd mistakes on the pyramids and cones in one layer. I don't have an explanation what happened. Stratasys produced the bridges without any trouble because it used support material that was melted away afterwards. Leapfrog bridges were not successful. The overhangs were executed well with both printers.
Printing an object that could not be made subtractively.
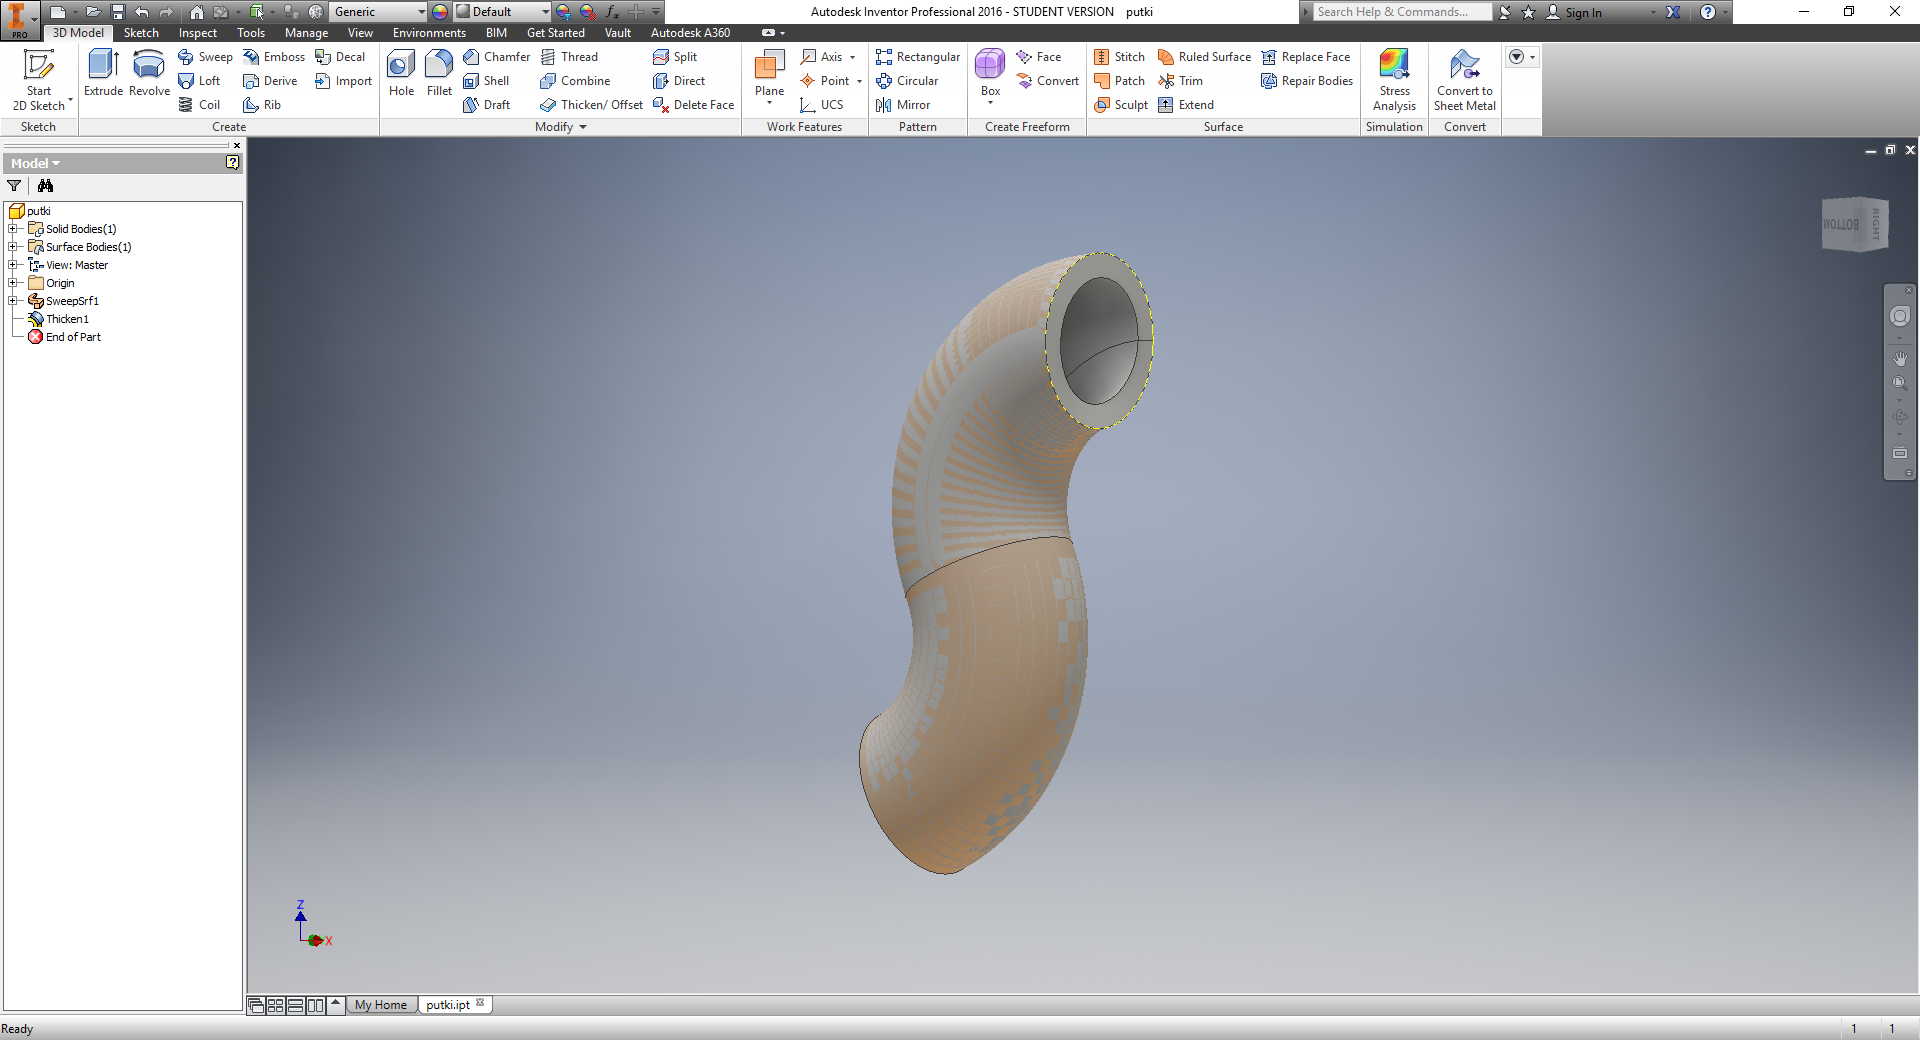
First, I wanted to produce something quickly. Curvy tube is definitely something that cannot be make with a CNC machine no mater how many axis. That is also easy to draw with Autodesk Inventor by using Sweep command. The printing was done with Stratasys since it prints the support material and therefore the outcome is much easier to predict.

Next, I started to think something more complex and actually, my 10 year old son asked me to print Tardis; the time travel vessel of Dr. Who. Inventor was again my tool of choice since we could not managed to make Solidworks license borrowing working in my laptop. These two tools are so similar that it does not make much difference which one you use.
One criteria for producing an object that cannot be produced subractively is that the object is at least partially hollow and you cannot access the internals with any tool.
Printing was done with Stratasys again and the model was covered with support material with default settings, The reason for this is the hanging roof structure. The inside is also filled with support material. This was melted in sodium hydroxide solution.

One thing to remember when exporting STL file from Inventor is that it uses cm as a default unit of length. This makes all your objects 10 smaller than actual dimensions would indicate assuming that you have made the design in mm. I did the scaling in Stratasys Insight and made the object two times smaller than the design. There were several details that remained unprinted because of the accuracy of the printer with the installed nozzle did the machine non-capable for printing these details. The lamp on top of the booth, for instance, came off when the support was removed.
3D Scanning
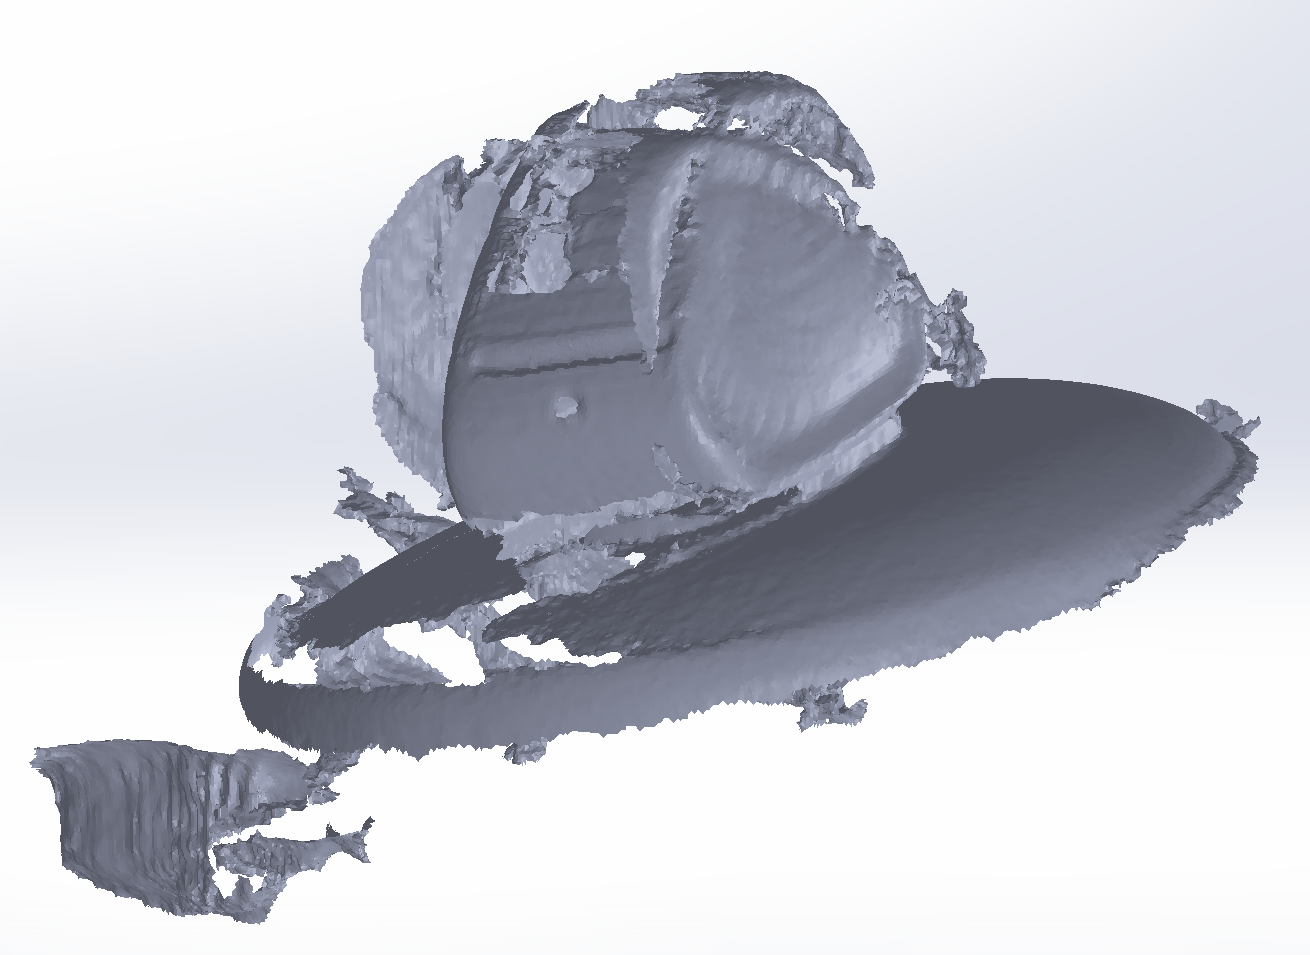
The final part was about scanning a 3D object and optionally print it. We first tried the 3Dsystems Sense scanner but were not able to make reasonable good model that could be corrected with e.g. Meshmixer. It was very hard to maintain sync with the model. We tried to rotate the camera around the object and rotating the object in front of the fixed sensor. We also tried to use Microsoft Kinect but we had too new version of the Kinect and therefore no software support. By the time we got the legacy model, we had no time to experiment with it.
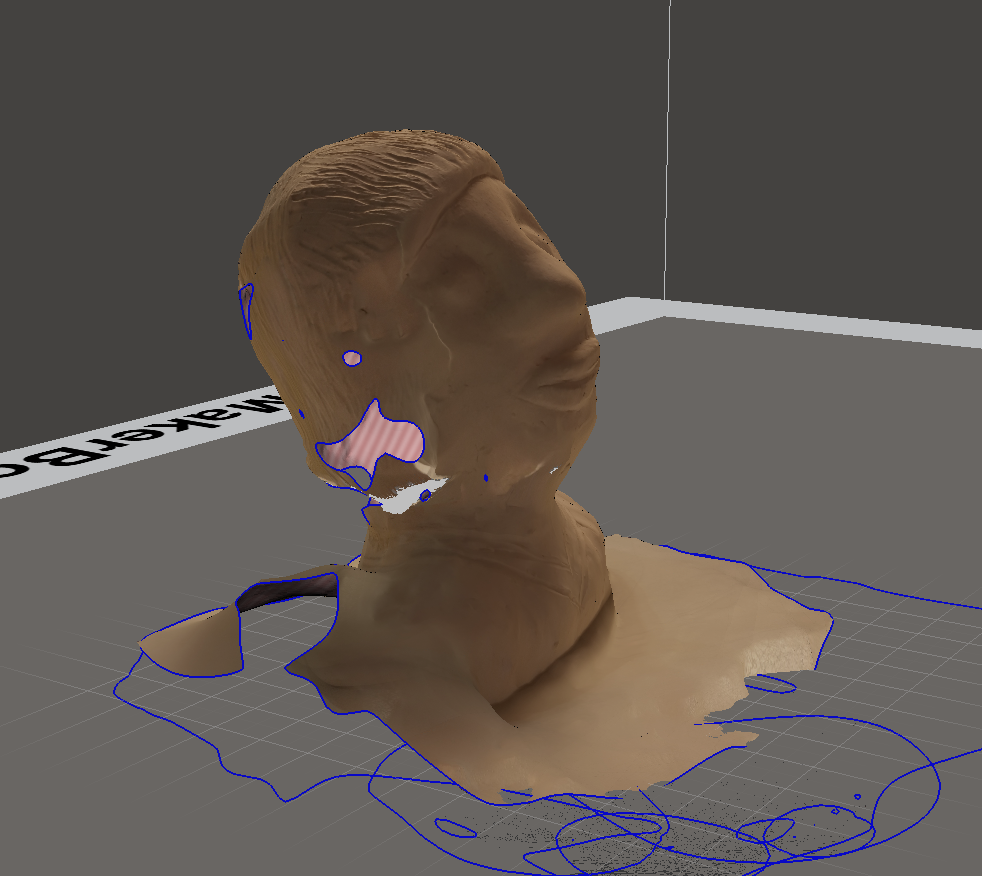
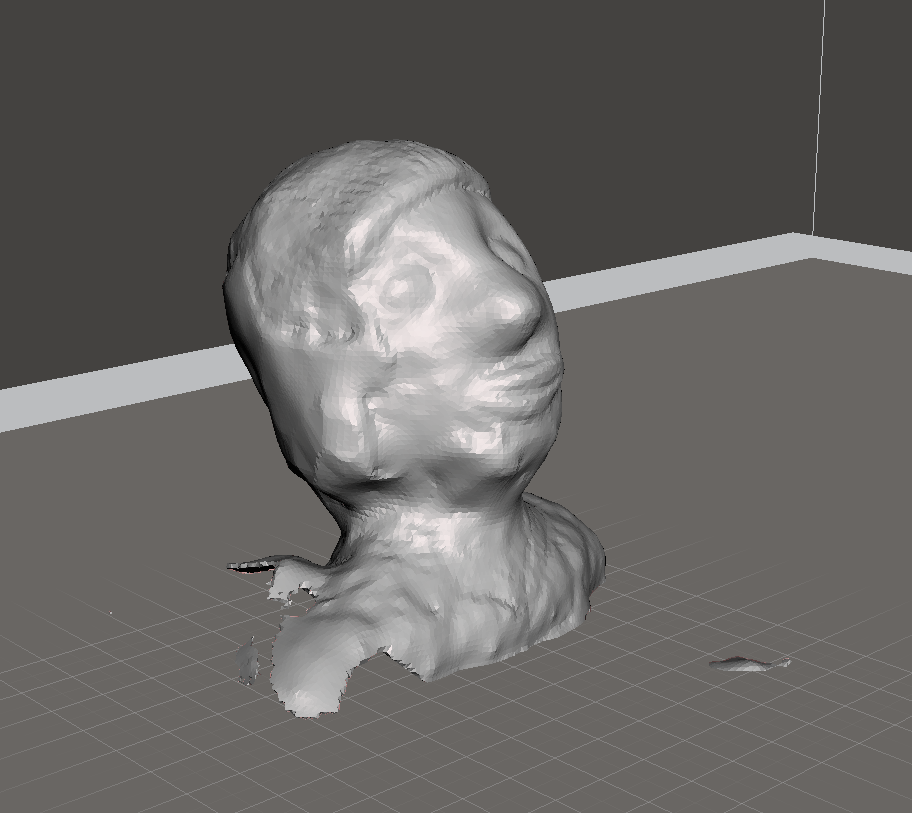
Satisfactory results were obtained with Autodesk 123 Sketch Iphone application. Everything can be done with the phone and then use Meshmixer to edit the scan. After scanning some holes ware visible in the object and Meshmixer can correct them. I did not have time to study the software that much but automatic corrections gave satisfactory results. Antti has a good description on the picture taking process. For some reason, I was not able to login to my 123 account through browser.


The original model
Exsample of 3Dsystems Sense scanner result
