Assignment 5: 3D Scanning and Printing
Test the design rules for your printer(s):
When I started to find information about the quality of 3D printers
I came across an
article telling about designing a test object for 3D printing.
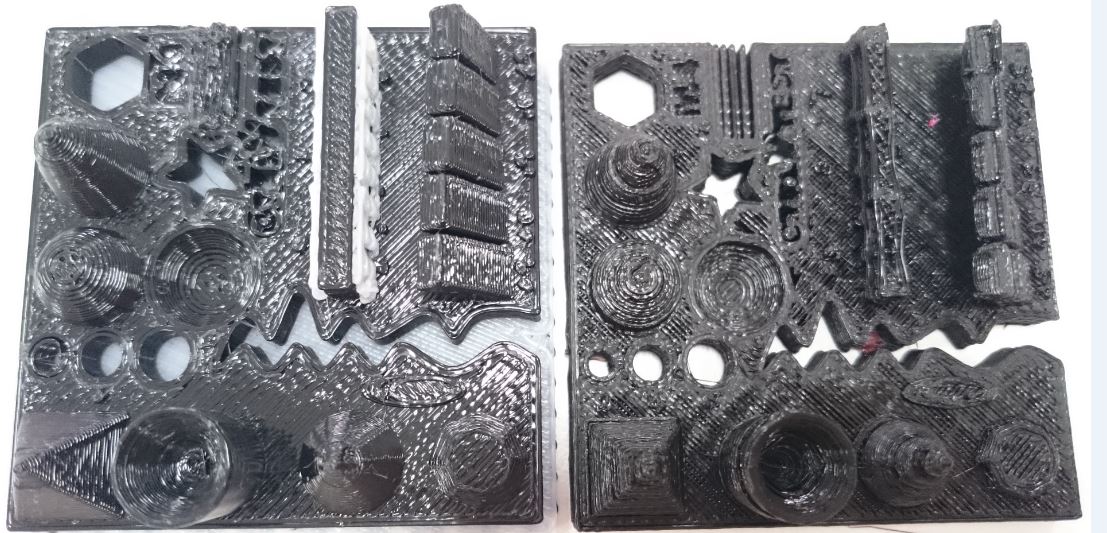
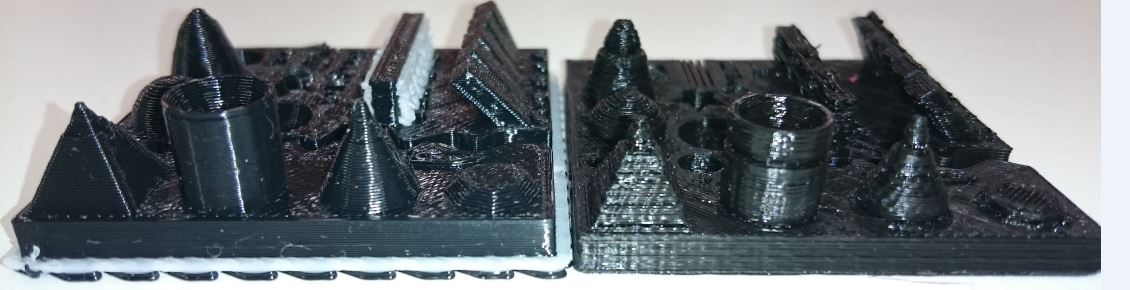
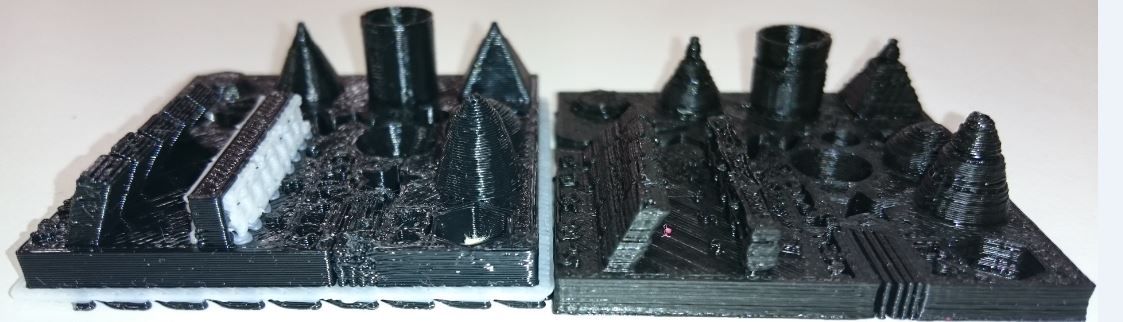
We printed the
test object with our two 3D printers: Leapfrog and Stratasys
380mc. In the following pictures the Stratasys print is the left one
with the support material (white) not dissolved yet.
| 3D Printer |
Nozzle diameter |
Layer height |
Material |
Stratasys 380mc
|
0,25 mm
|
0,25
|
ABS
|
Leapfrog
|
0,35 mm
|
0,3
|
PLA
|
The Stratasys print was with enhanced surface.
The result is as follows: the surface of the Stratasys print is
smoother and the overall quality of the Stratasys print is better.
However, the fine detail shown in the second but last picture with
narrow slots and fingers is much better in the object printed with
Leapfrog. In the Leapfrog print there are discontinuities caused by
stuck filament. We had to manually rotate the filament spool when it
seemed to jerk. The last picture pair shows how the bridge came out
perfect with Stratasys using support.

Design and 3D print an object (small, few cm) that could not be
made subtractively
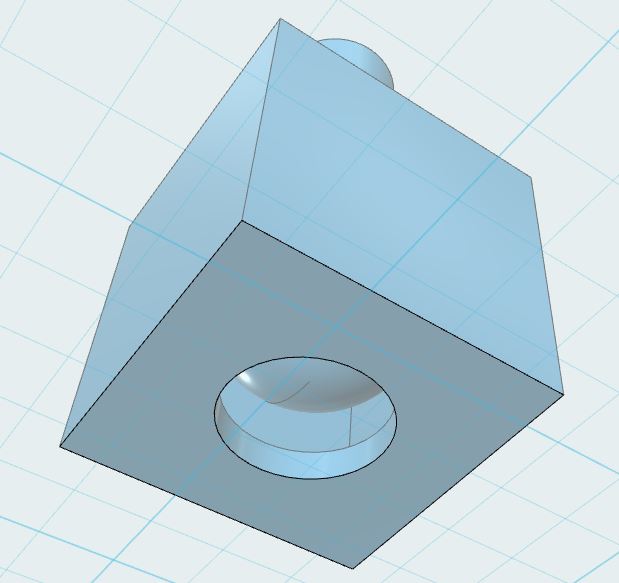
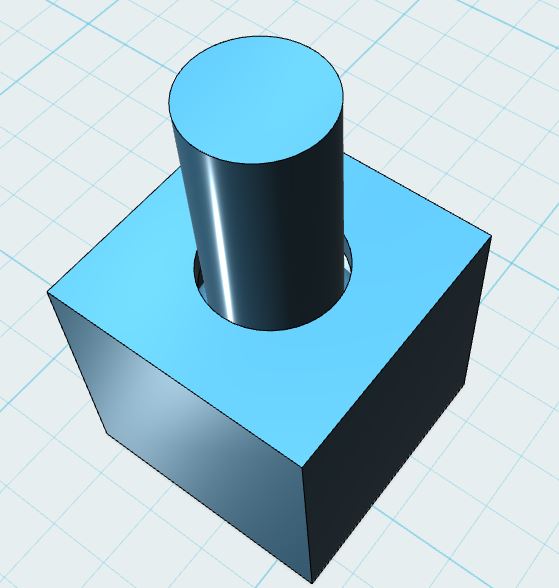
For the object that could not be made subtractively I designed a
thingamajig, that is made of a hollow box with two holes in opposite
sides, with a sphere bigger than the holes inside the box. There is
also a rod attached to the sphere, as shown in the picture below.
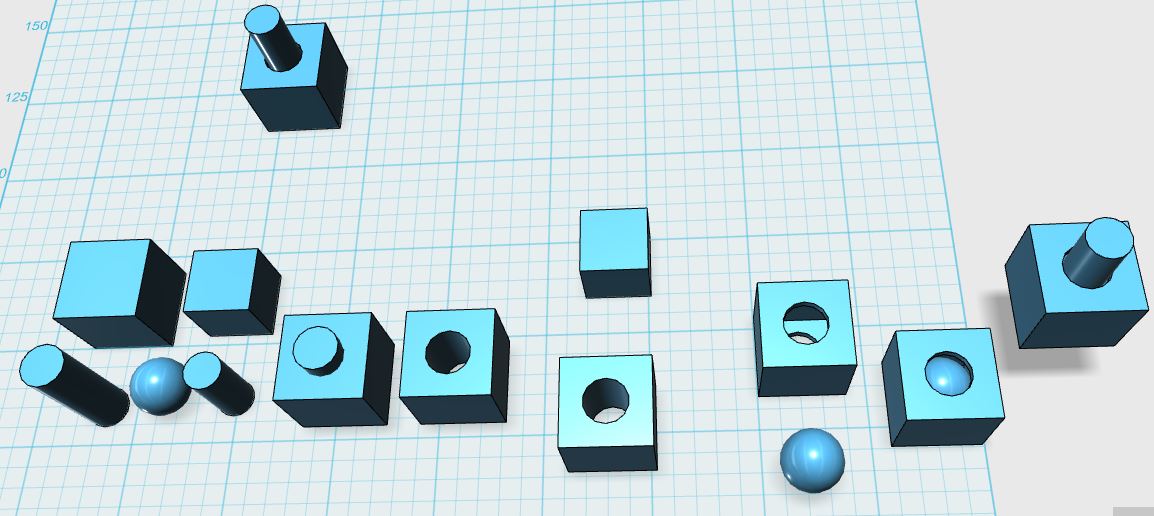
The design process of the thingamajic is presented below:
1. create the basic solids: 20x20x20 mm cube, 16x16x16 mm cube,
cylinder with 5 mm radius and 30 mm length, cylinder with 4.5 mm
radius and 20 mm length, sphere with 7 mm radius.
2. align the 20x20x20 cube with the cylinder of 5 mm radius and 30
mm length
3. subtract cylinder from cube to create a cube with a hole
4. align the cube with a hole with the smaller cube to make a hollow
cube with a hole
5. align the sphere with hollow cube with a hole
6. stick the smaller cylinder to the previous combination
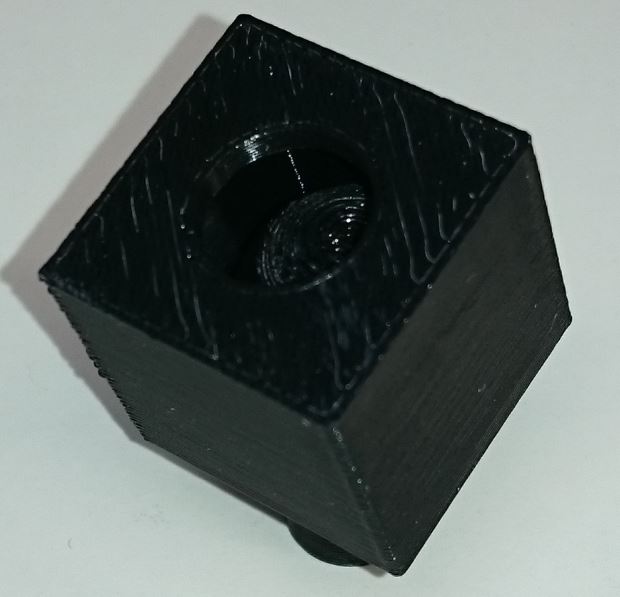
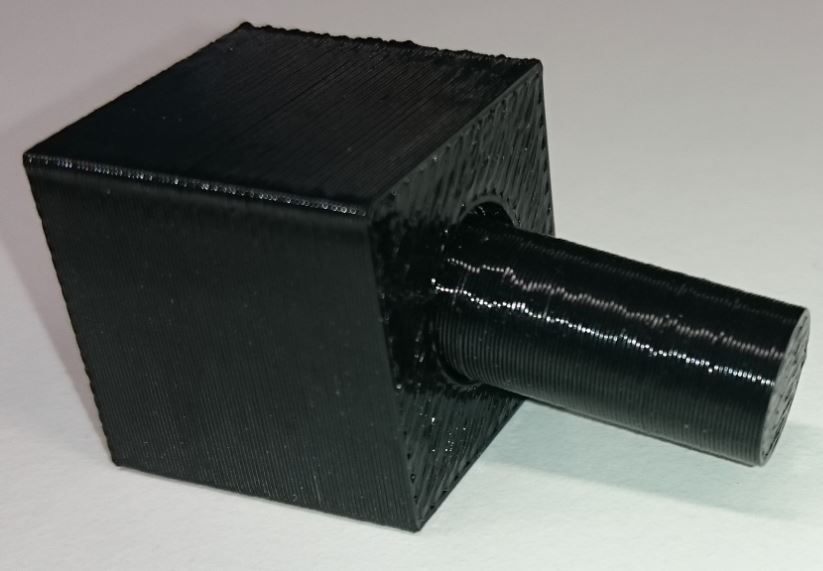
I can't see, how the solid sphere can be machined inside the hollow
cube with holes smaller than the sphere.
3D scan an object (and optionally print it)
At first I tried to use Sense , but
without any luck. My Windows 7 laptop didn't recognize the device.
The I tested it with a new desktop Windows 7 PC. Now I managed
to capture something, but it wasn't recognizable, and it made
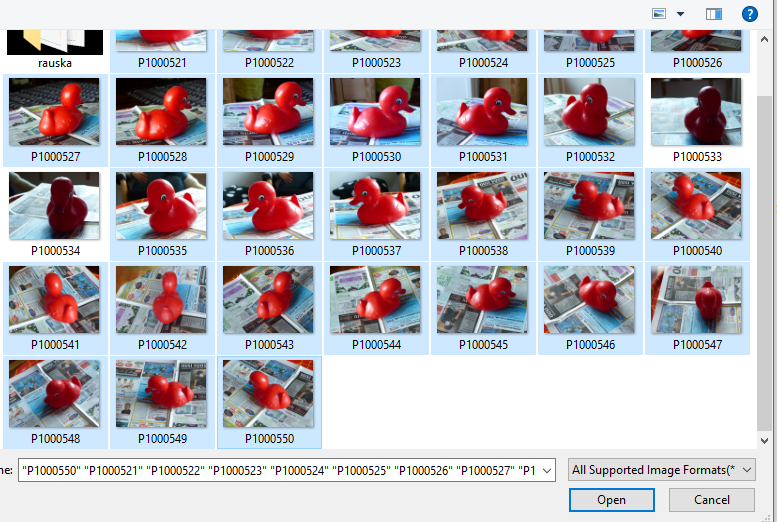
no sense. Then I tried Autodesk 123D Catch with my Android phone.
The initial result was disappointing. Next I started using a compact
system camera. At this point I also read the 123D Catch quick start
guide. To succeed, the pictures must have a common
reference, such as a newspaper or sticky notes with varying
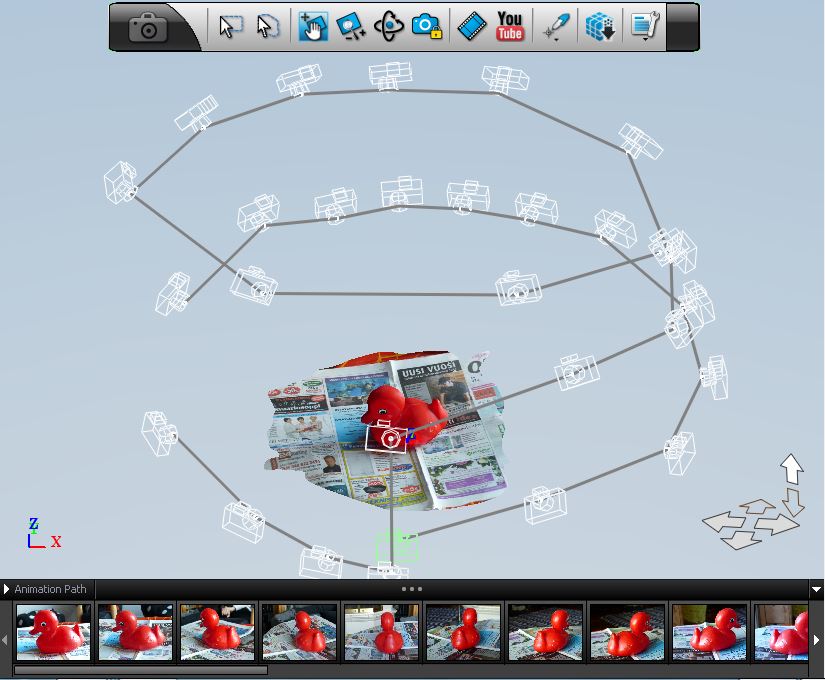
shapes/patterns. I took 28 photographs from different angles and
heights.
3D Scanning process:
I started by opening 123D Catch and creating a new capture.
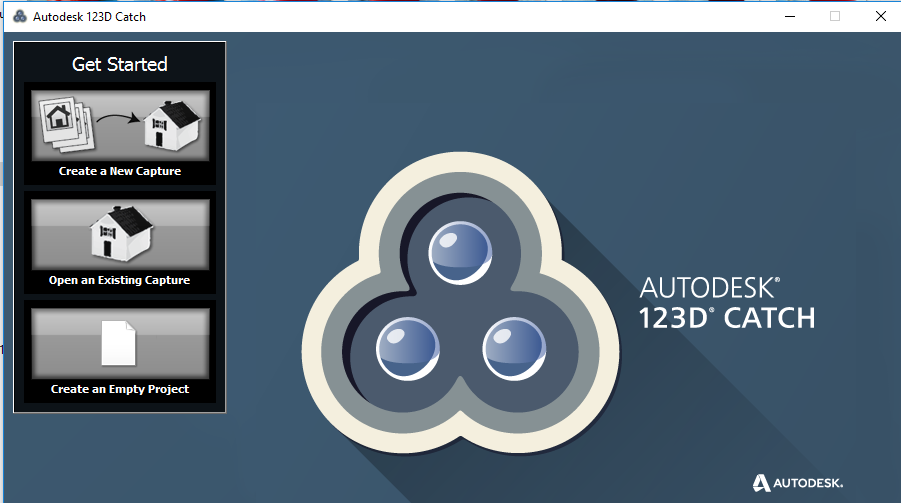
Then select photos:
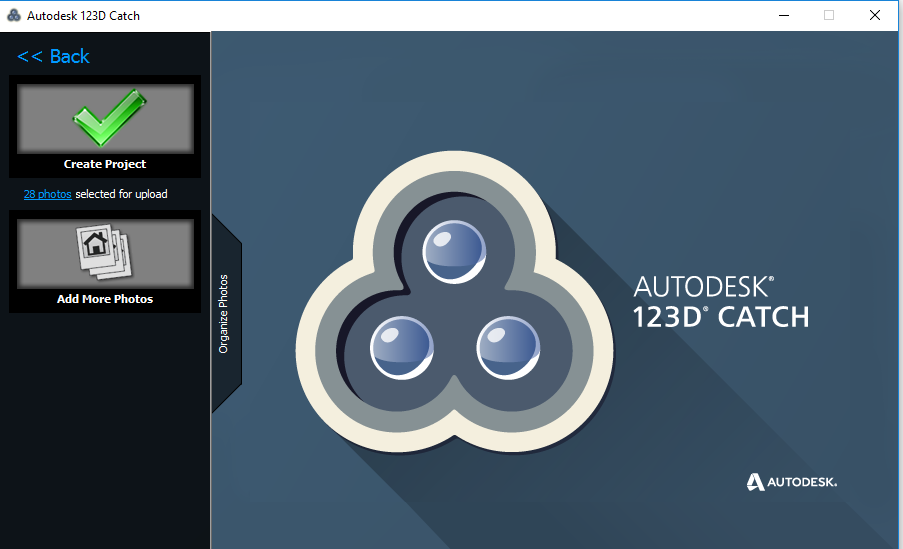
and Create Project:
Photos are uploaded to Autodesk server:
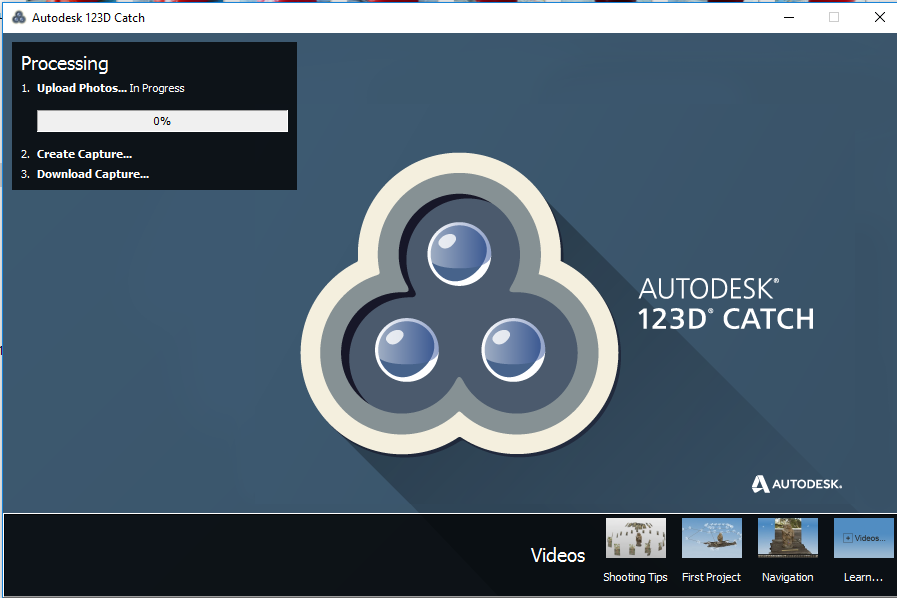
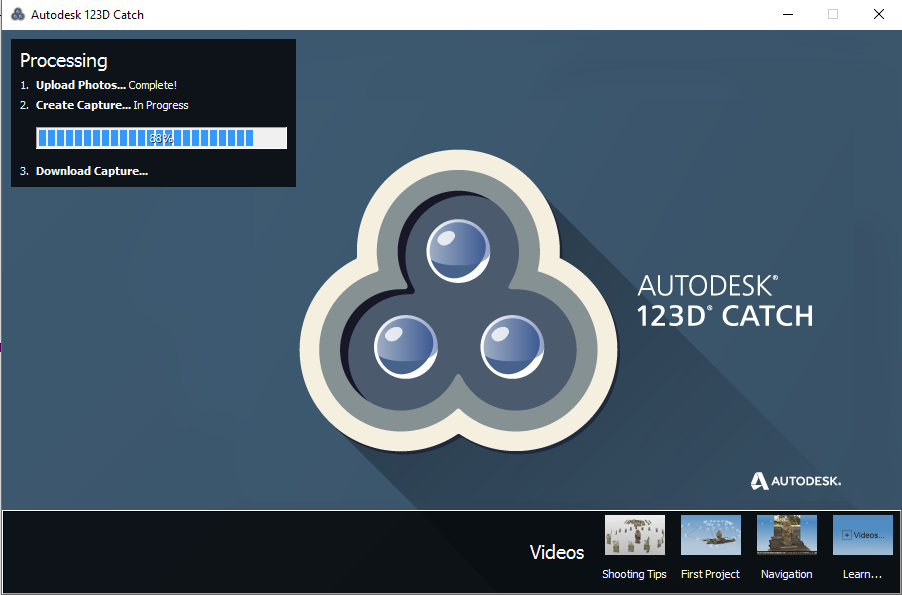
Then wait for an hour or so for the processing:
And a 3D-view appears:
Use the Lasso tool to clean the model:
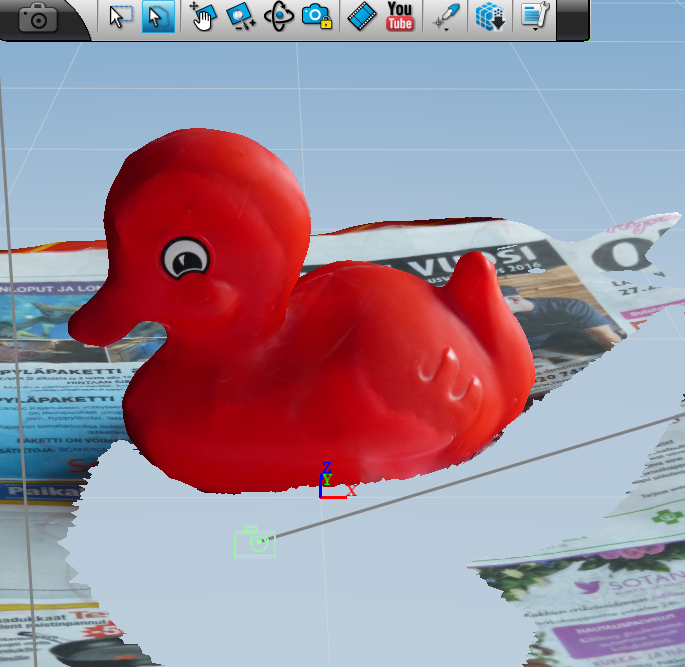
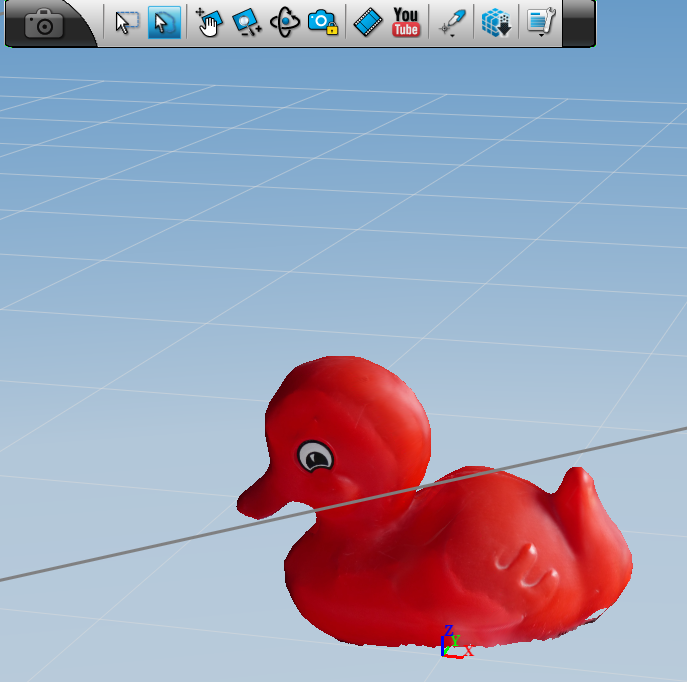
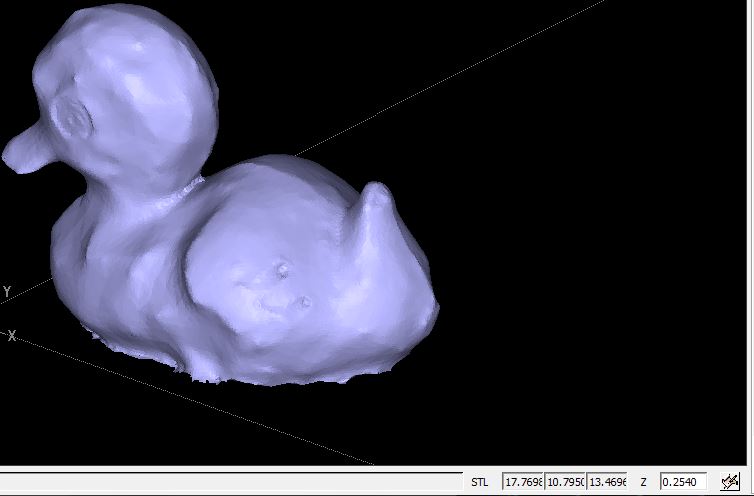
And there the bird is without the newspaper:
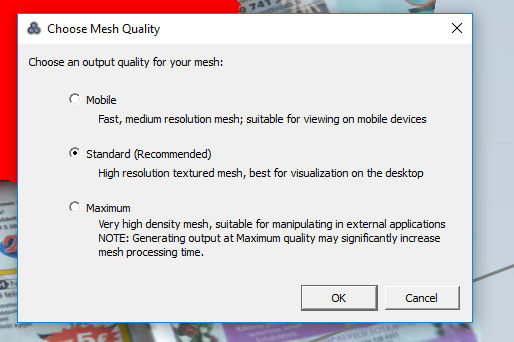
Choose mesh quality:
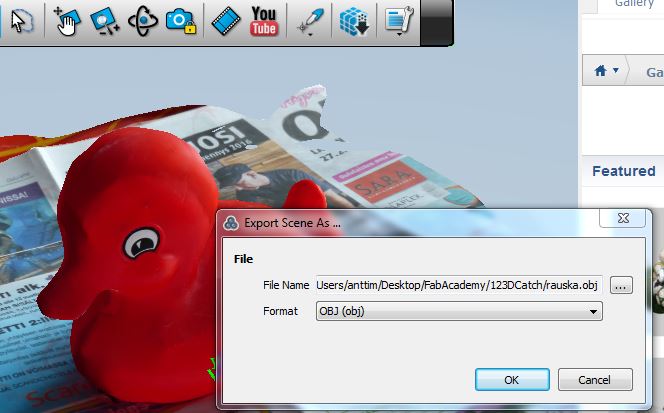
and export the scan as OBJ-file
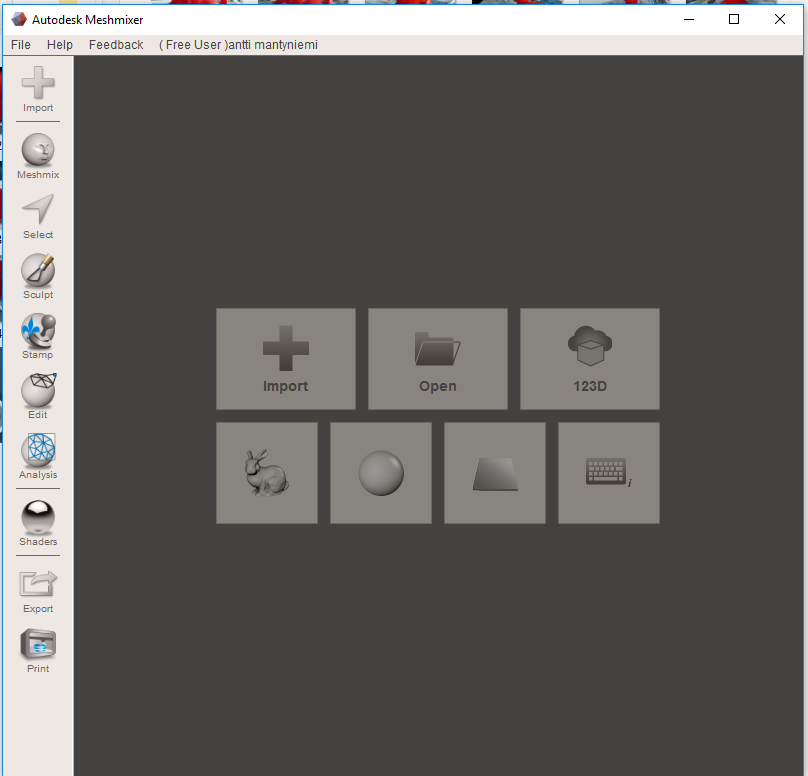
And import it into MeshMixer:
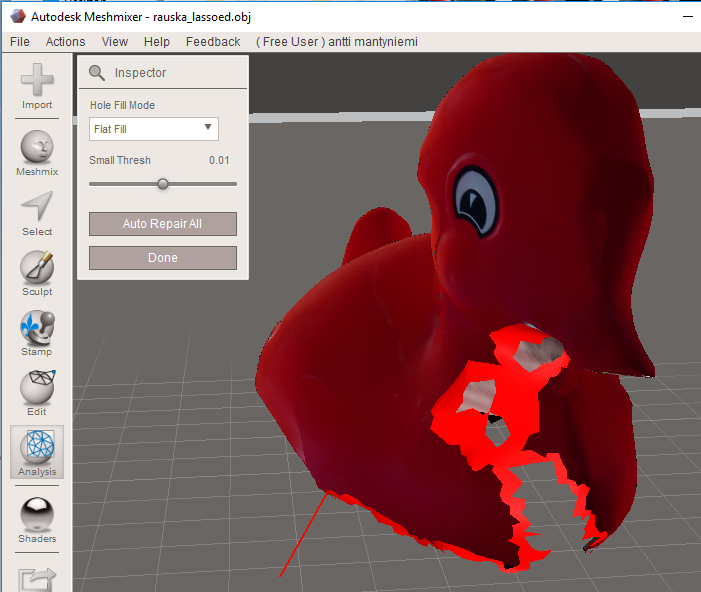
Analysis -> Inspector shows errors:
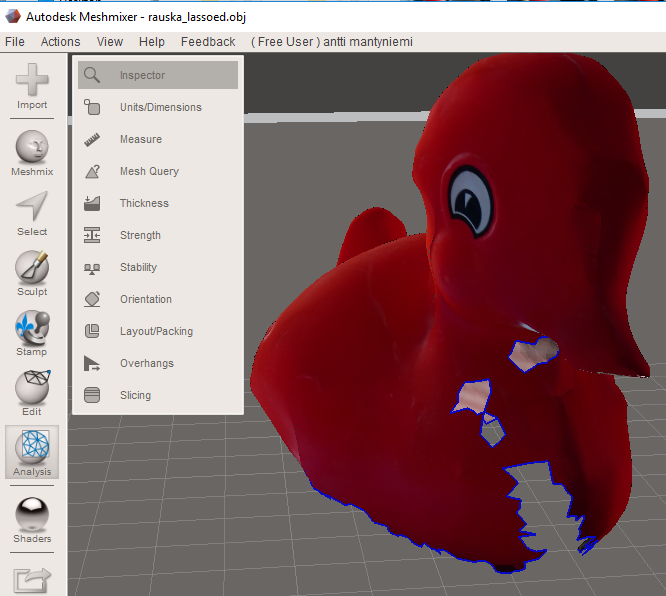
And repairs them:
Edit -> Make Solid converts mesh to a solid.
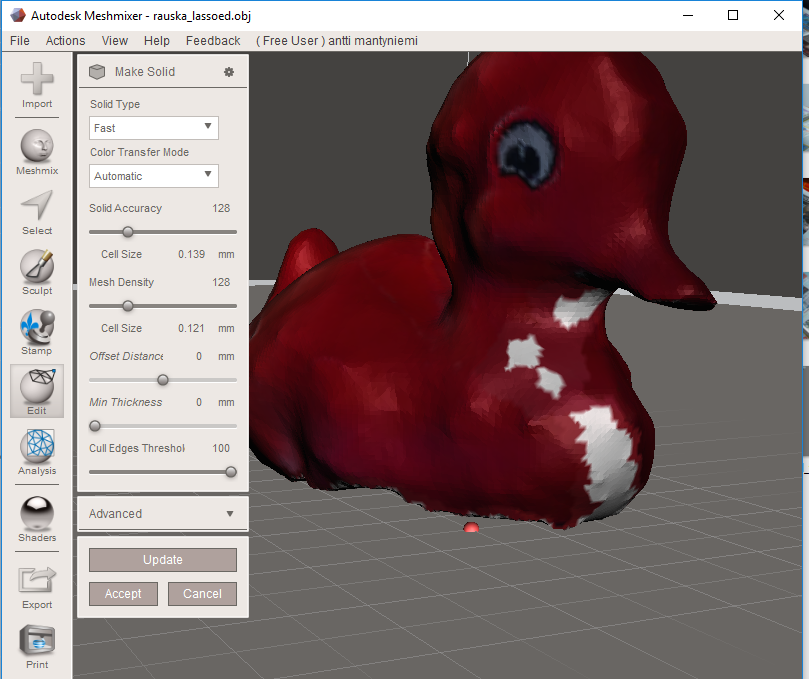
Press Accept and you get the fixed solid:
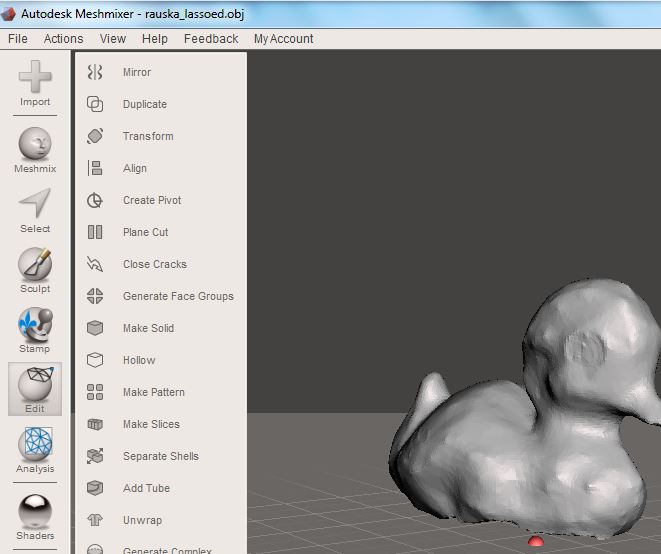
Which can be exported to 123D Design or as an STL-file for example.
In a Windows 10 computer the OBJ-file can be opened with 3D Builder:
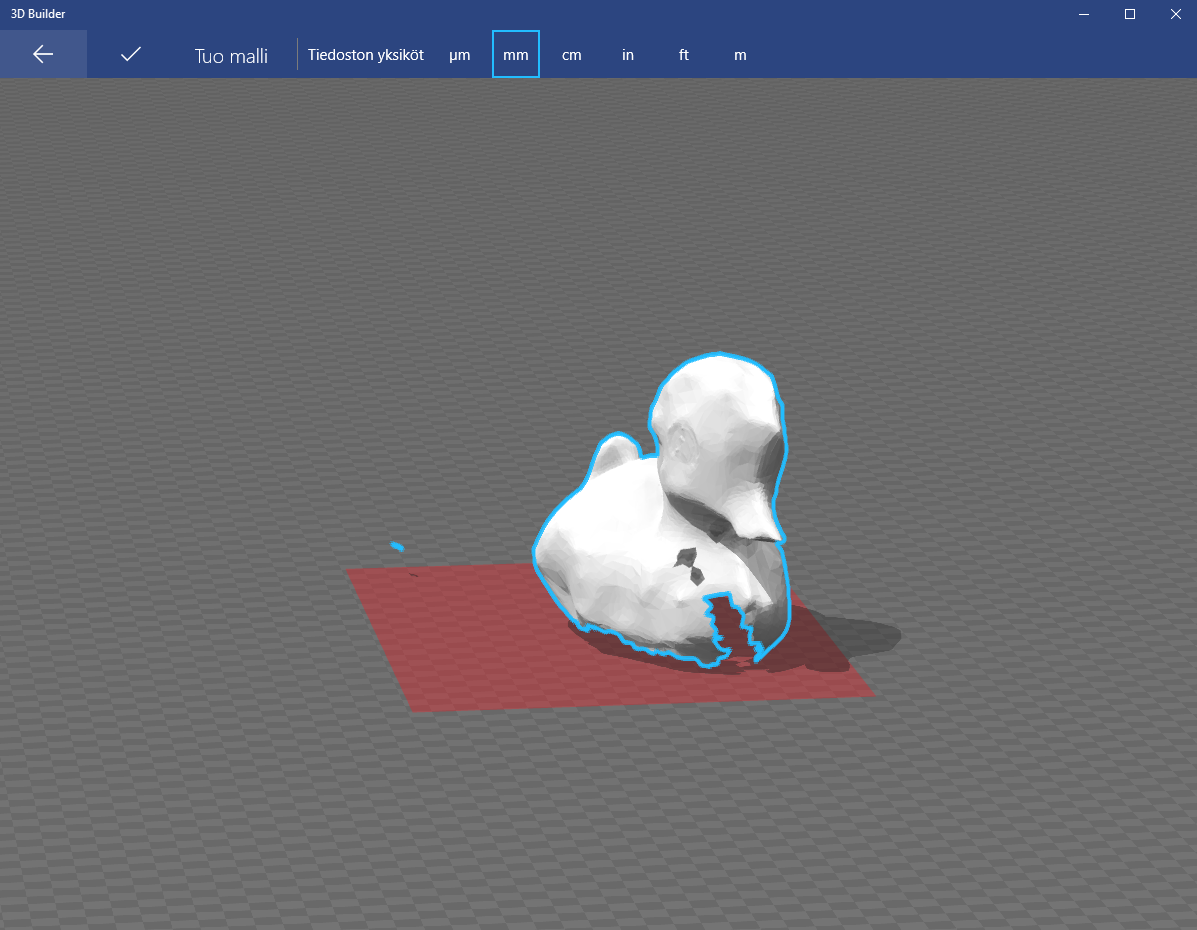
Which asks to repair the model (see the wrench): Sorry about the
Finnish user interface:).
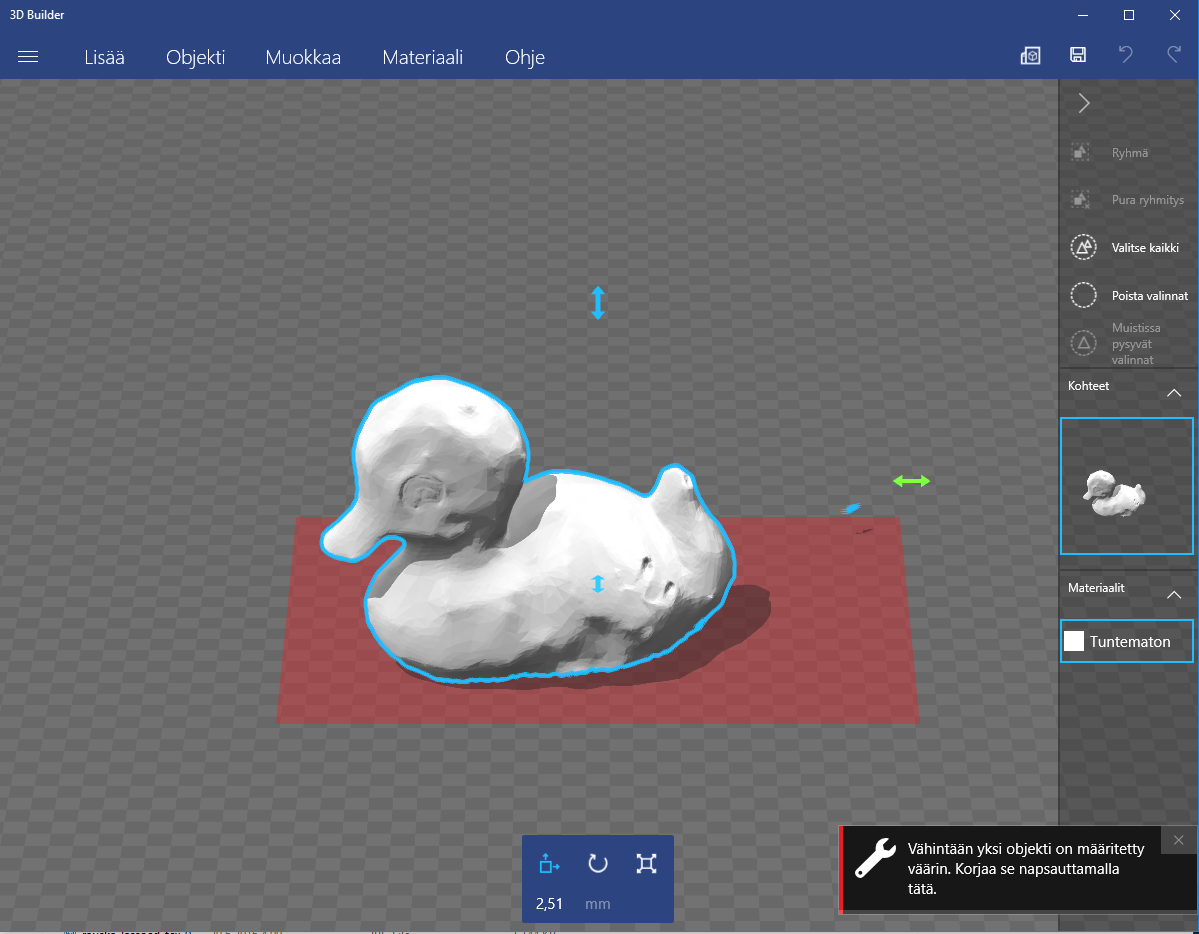
Click the wrench and get the repaired model, which can then be saved
for example as an STL-file:

I imported the STL-files generated by MeshMixer and 3D Builder to
123D Design and scaled them to about actual design. However, I
decided to print it very small to conserve filament.
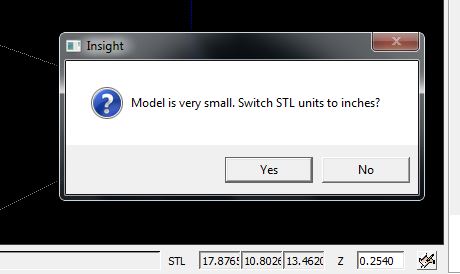
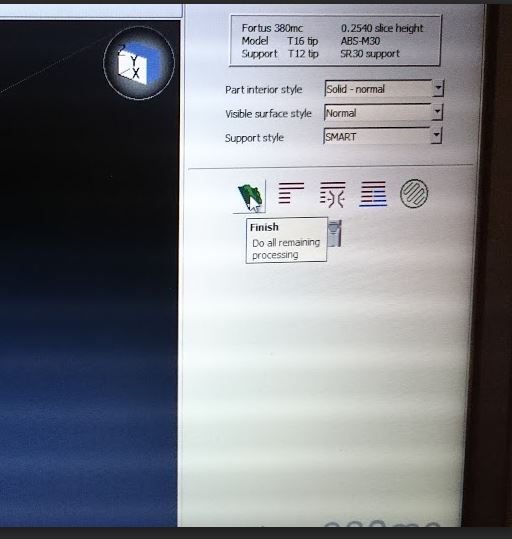
I sliced the object for printing with Stratasys Insight. I got a
warning for small size.
The flag symbol does all remaining processing. One can select the
interior filling, surface finish and support style. Otherwise, it is
a straightforward process.
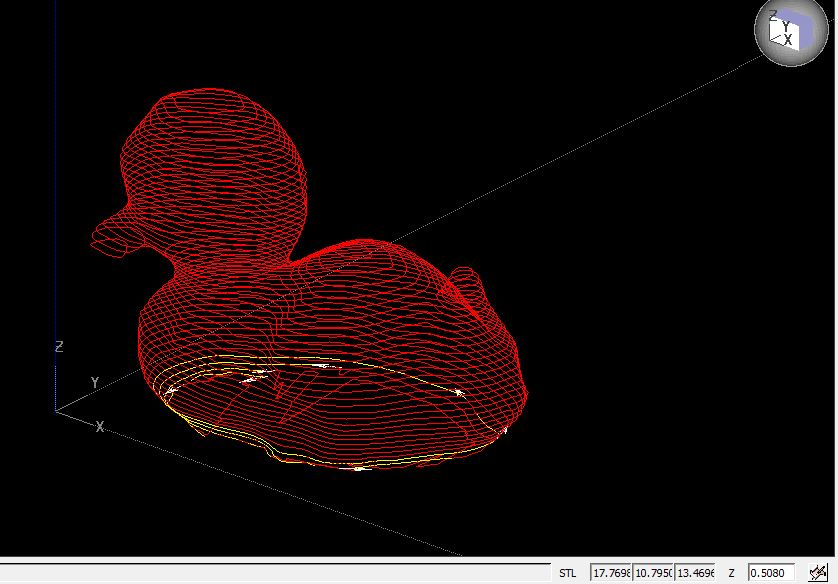
There was something wrong with the model:
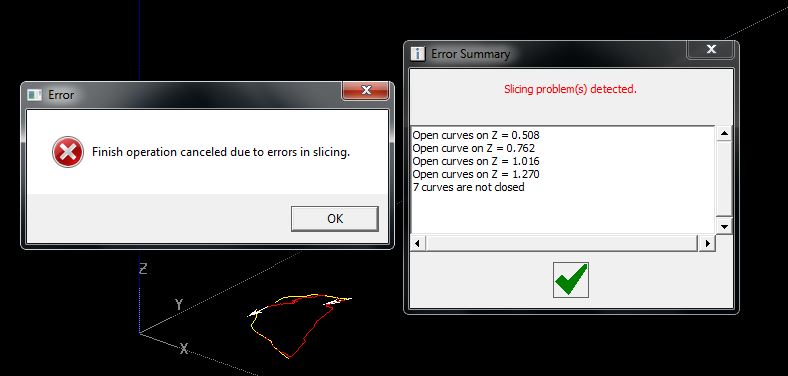
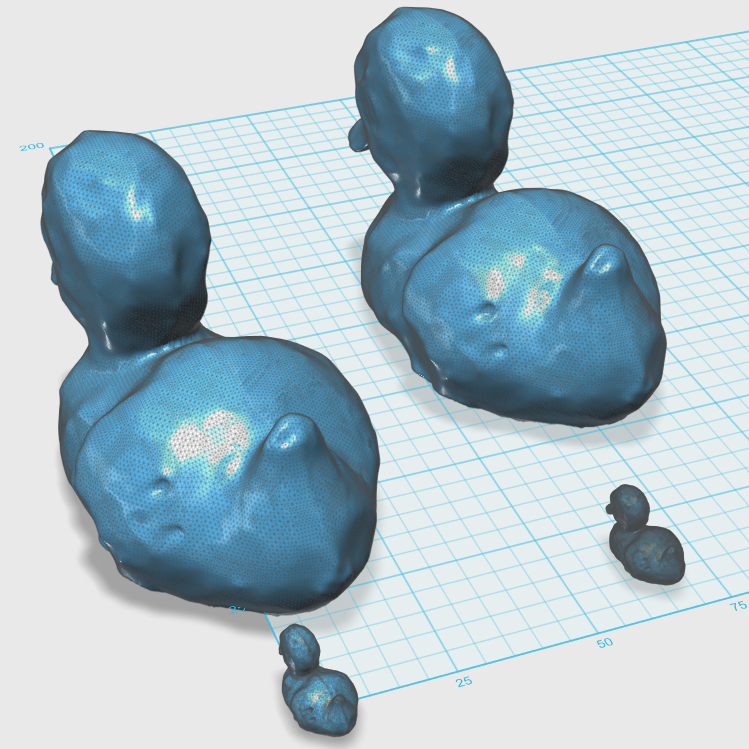
But Insight corrected the model, and the slices to be 3D printed
look like this:
I tested the slicing with the object corrected and made to STL with
Microsoft 3D Builder. This time I chose Sparse interior style,
Enhanced surface and Break-away support.
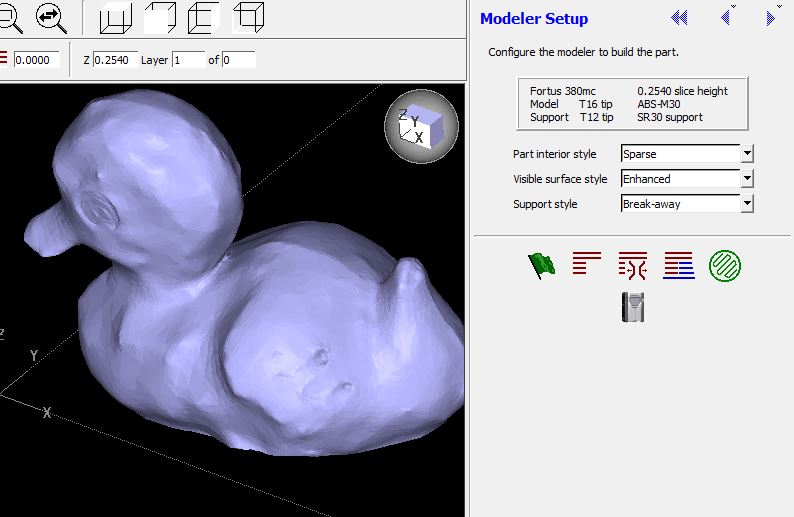
This time got no errors:

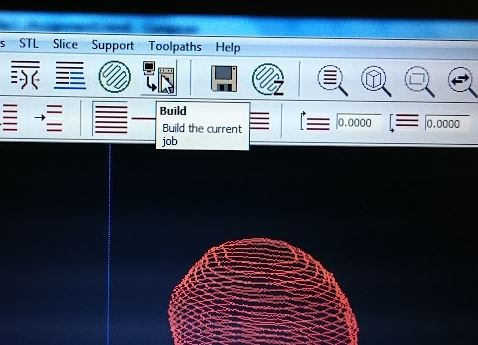
The button Build sends the data to the printer:
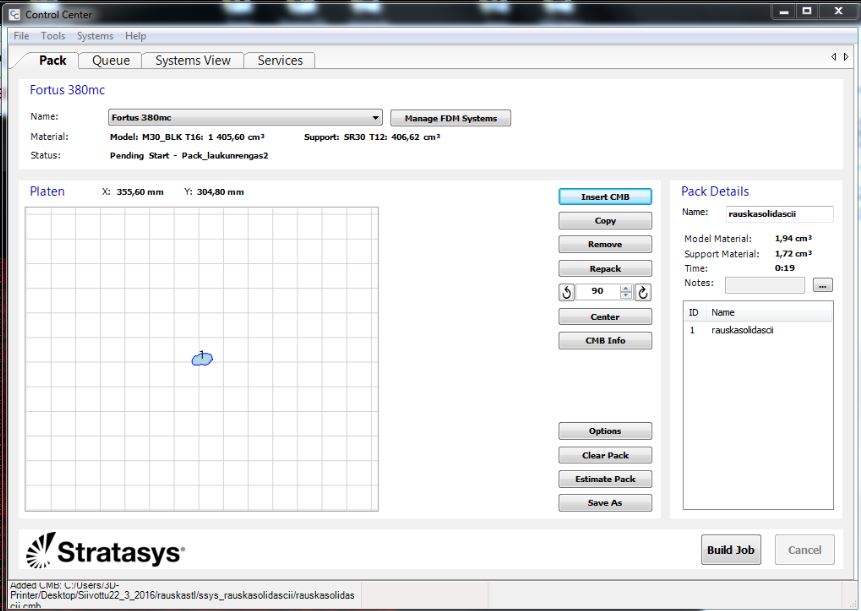
The printer Control Center lets you position the print.
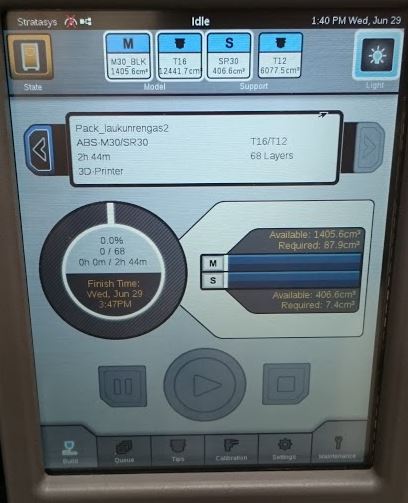
Just install a clean build plate into the 3D-printer, and press the
PLAY button (between PAUSE and STOP)...
And the new nestling looks like this.
Files:
Bird
STL from 3D
Builder
Thingamajic
Thingamajig design
process
Home