
This week assignment was design a 3D mold, machine it, and cast parts from it.
I wanted to make a transparent lens using molding and casting. The first thing then was to design a 3D mold. Some important things on design for molding is to consider the fill hole and some vents to allow the air comes out while you fill with the material.
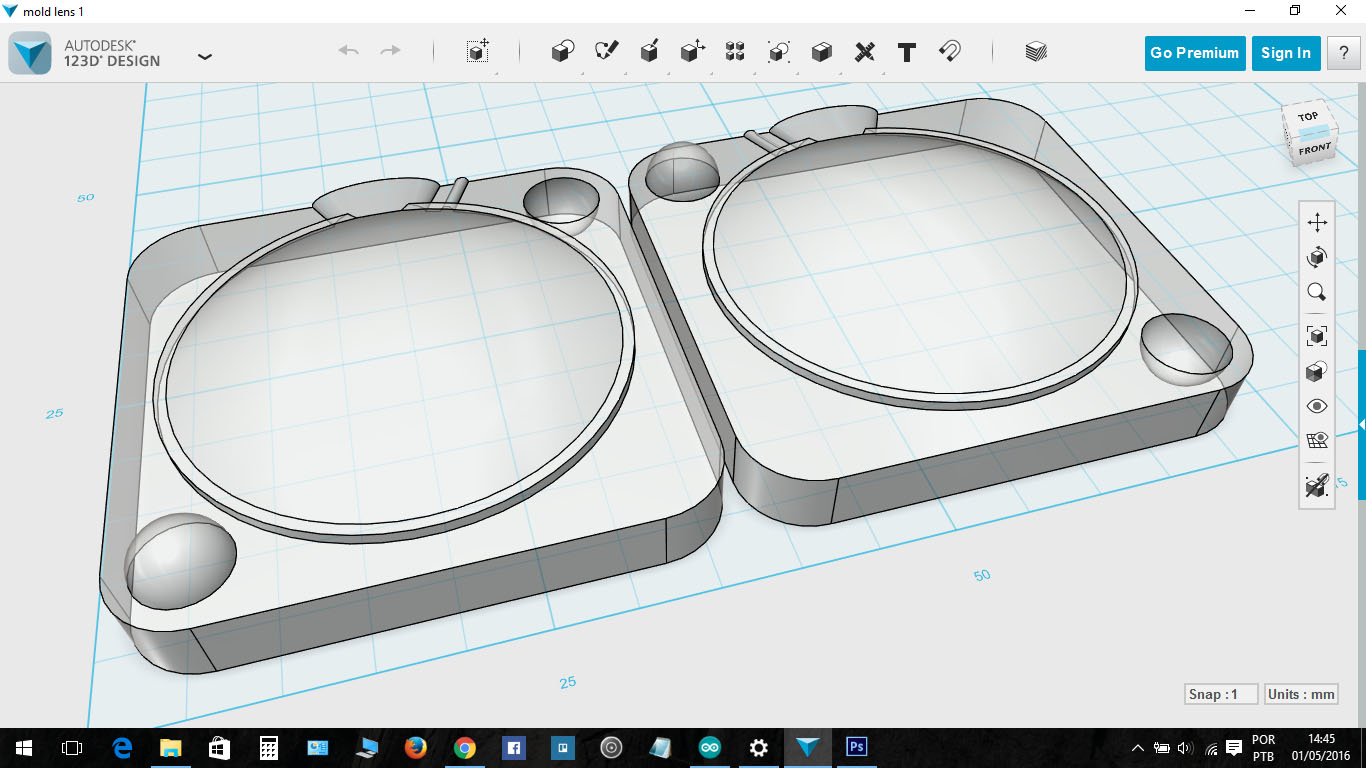
I used the 123D Design to make my model. I had also to consider that I wanted enought space to sand the lens, so instead of making a hole to put the lenses model, I just put the lenses in the top, and then I would have to use some side suport to put the silicon material for taking the mold. I designed it to fit on the mold in a way to use better the space.
After design it on 123D, I used the MeshLab to change my model to binary and make it not to heavy in terms of Kb.
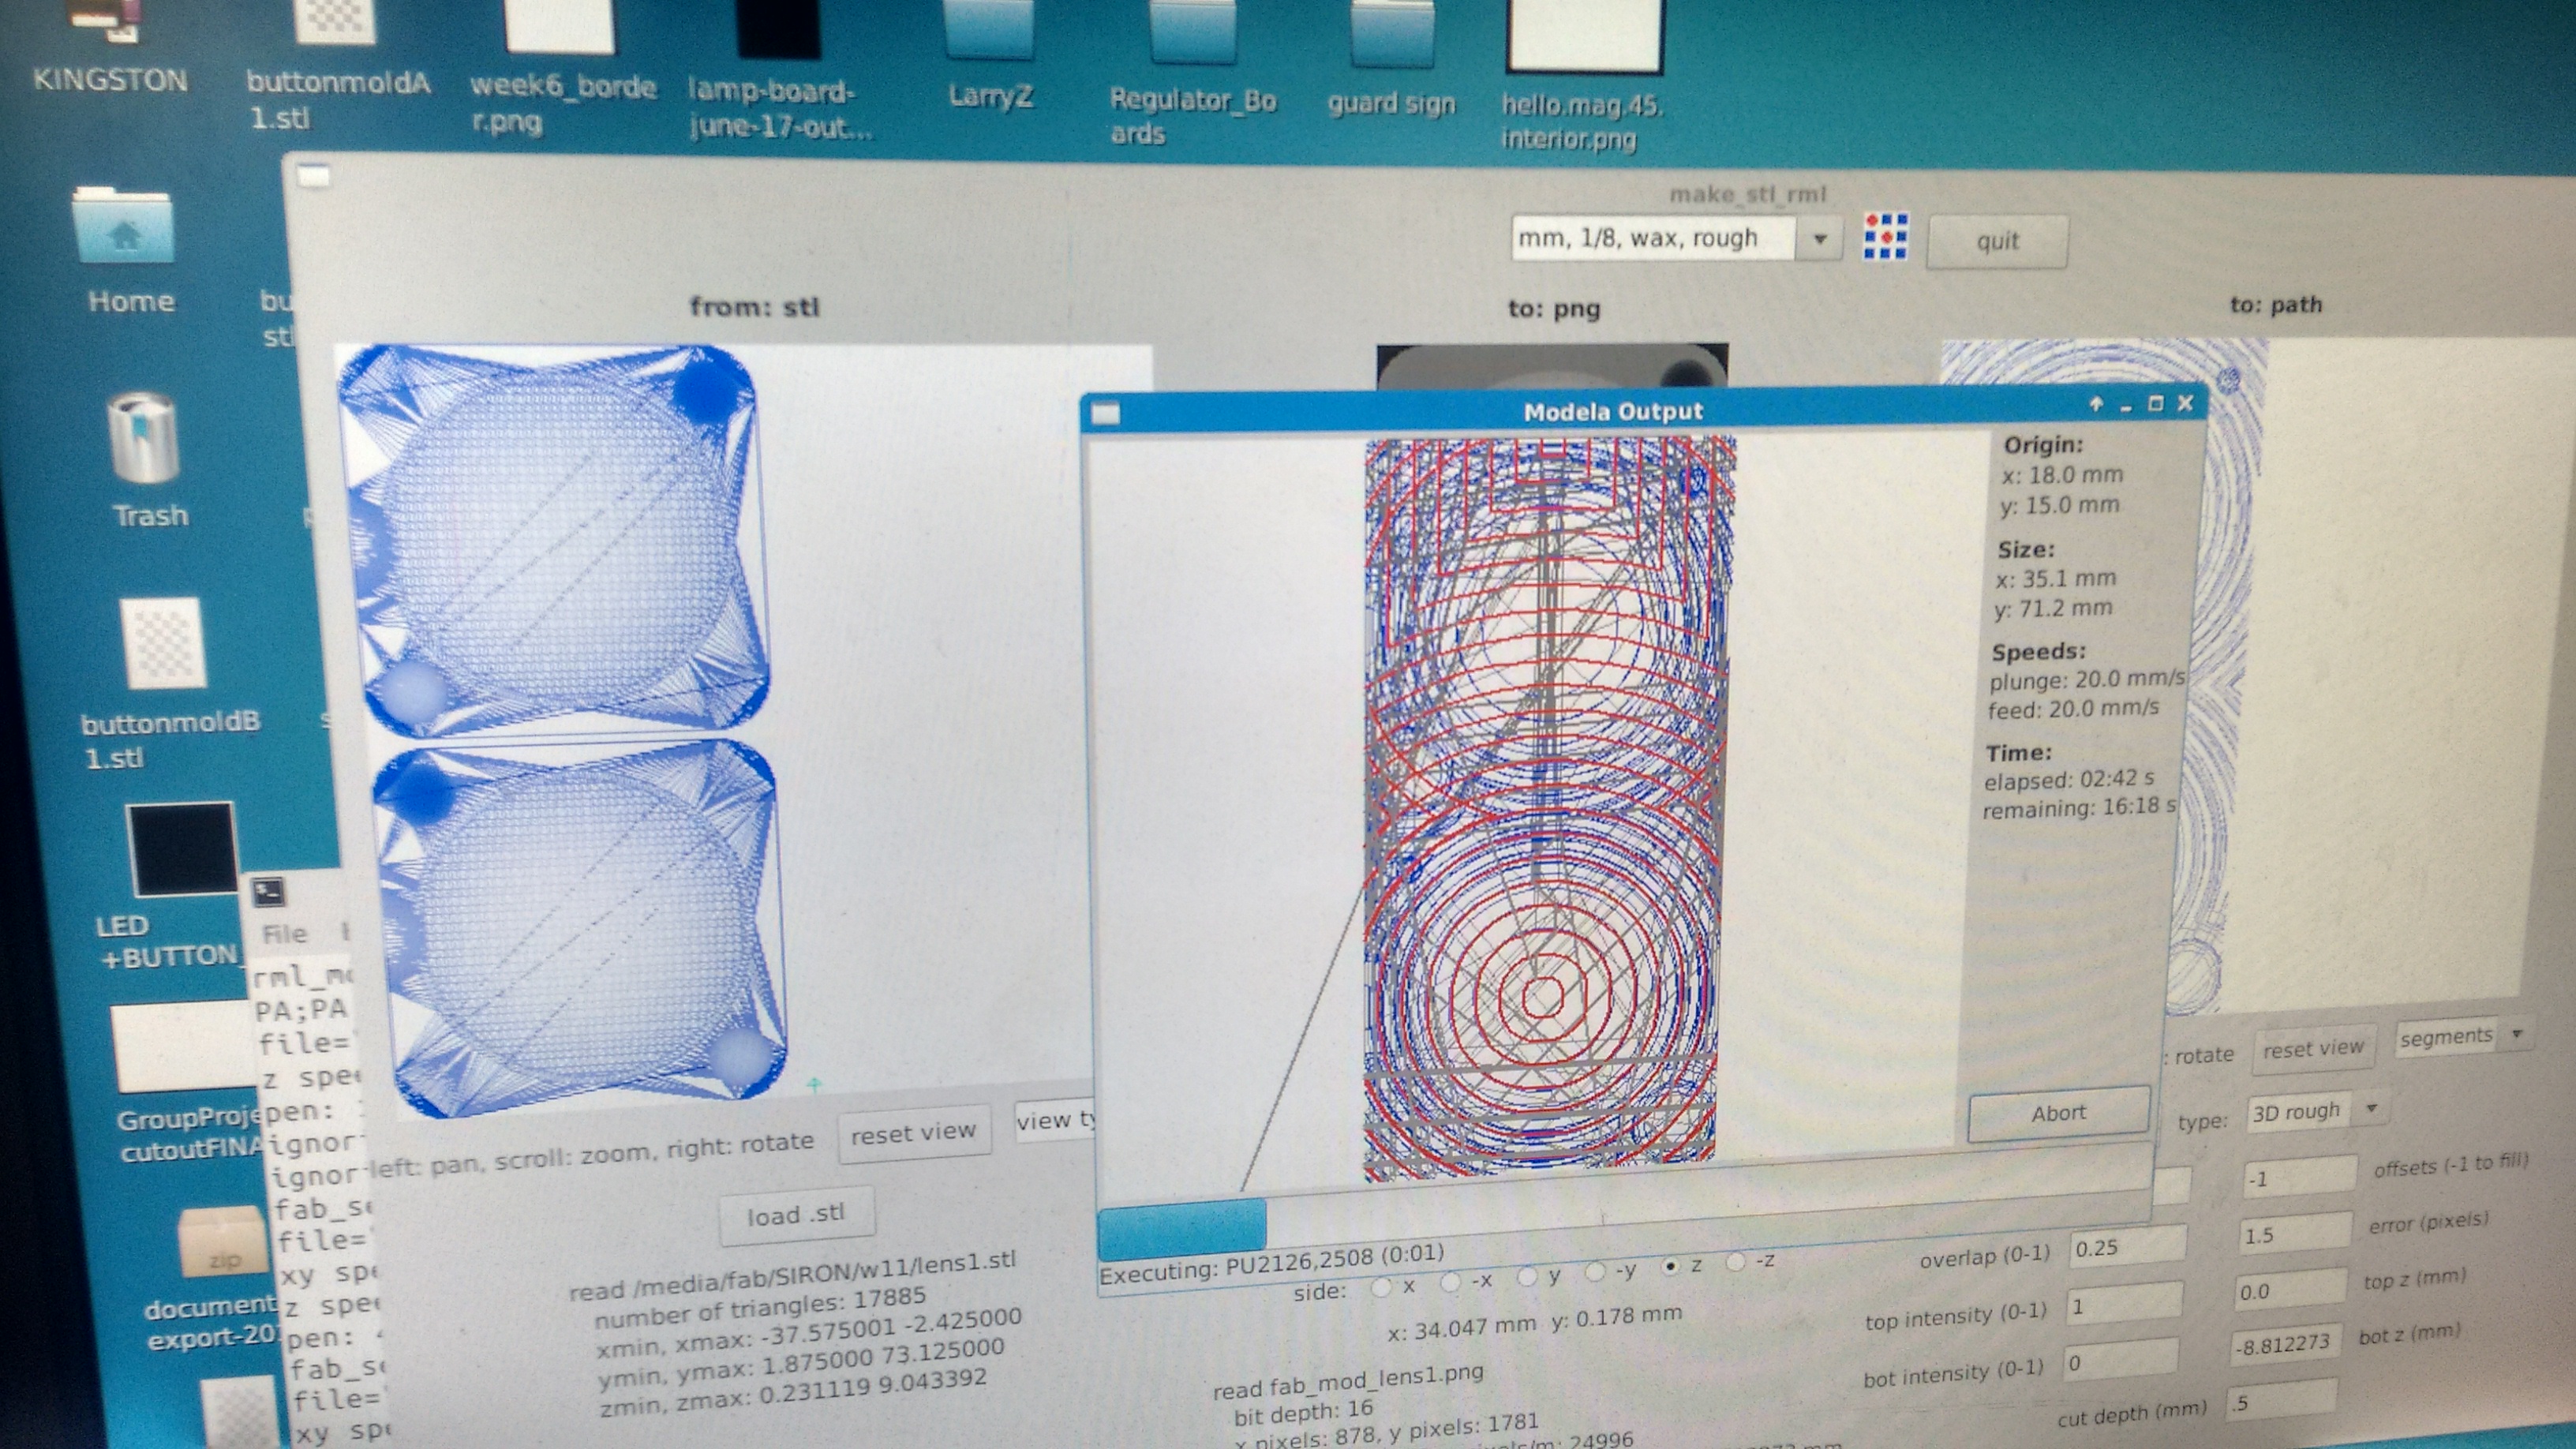
At the FabModules I imported the 3D model in the STL format, then as process you choose .rml (roland mill). The software will transform your model in a grayscale pattern that will be translated in a kind of heightmap, where usually Black is the lowest part and White the top. Then using this heightmap it generate the toolpath. I first selected to "wax rough cut", and I used 1/8 endmill, and then "wax finish cut" but I changed the bit to 1/16 for a better finish. At this part it is importat to consider the height of the cutting part of the tool. For, my design it was ok.
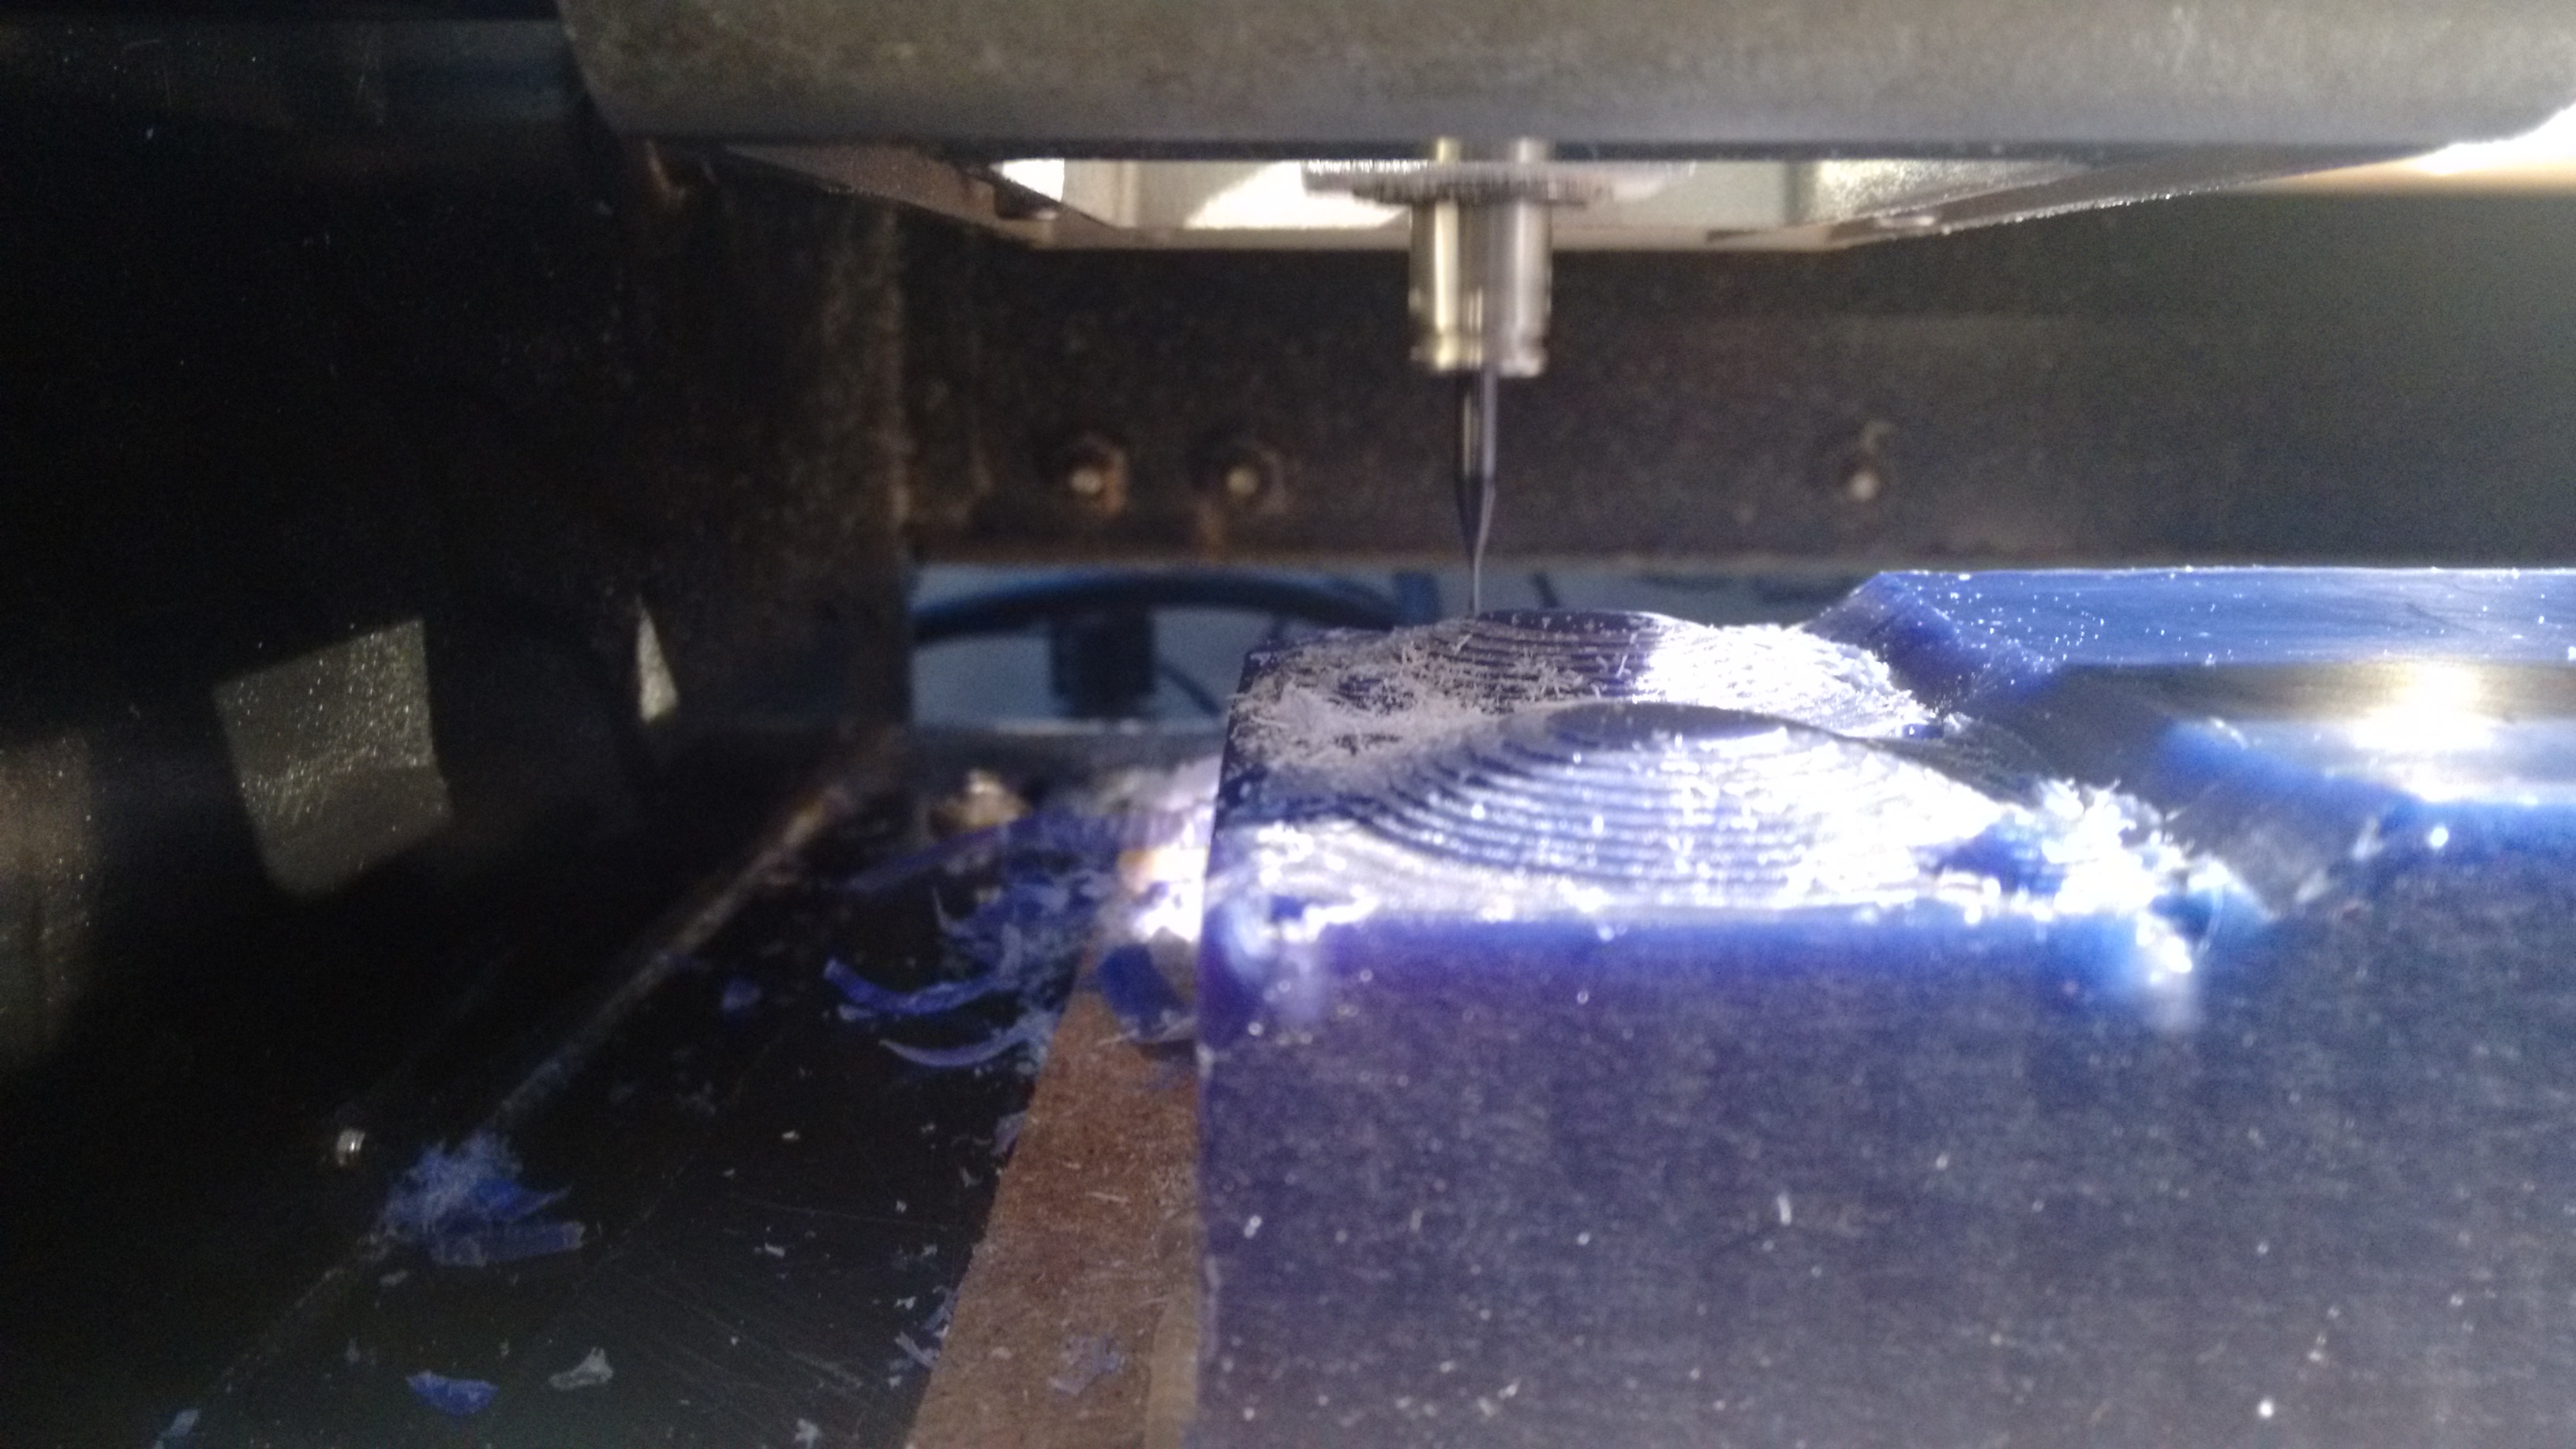
I begin milling the rough cut and then the finish cut. One important thing is the waste generated by the milling process can actually be reused to make more wax blocks, that can be milled again.
After the milling process, I used a very smooth sandpaper to try to make the mold (and the lens after all) clear. Here is the final result on the wax after sanding it.

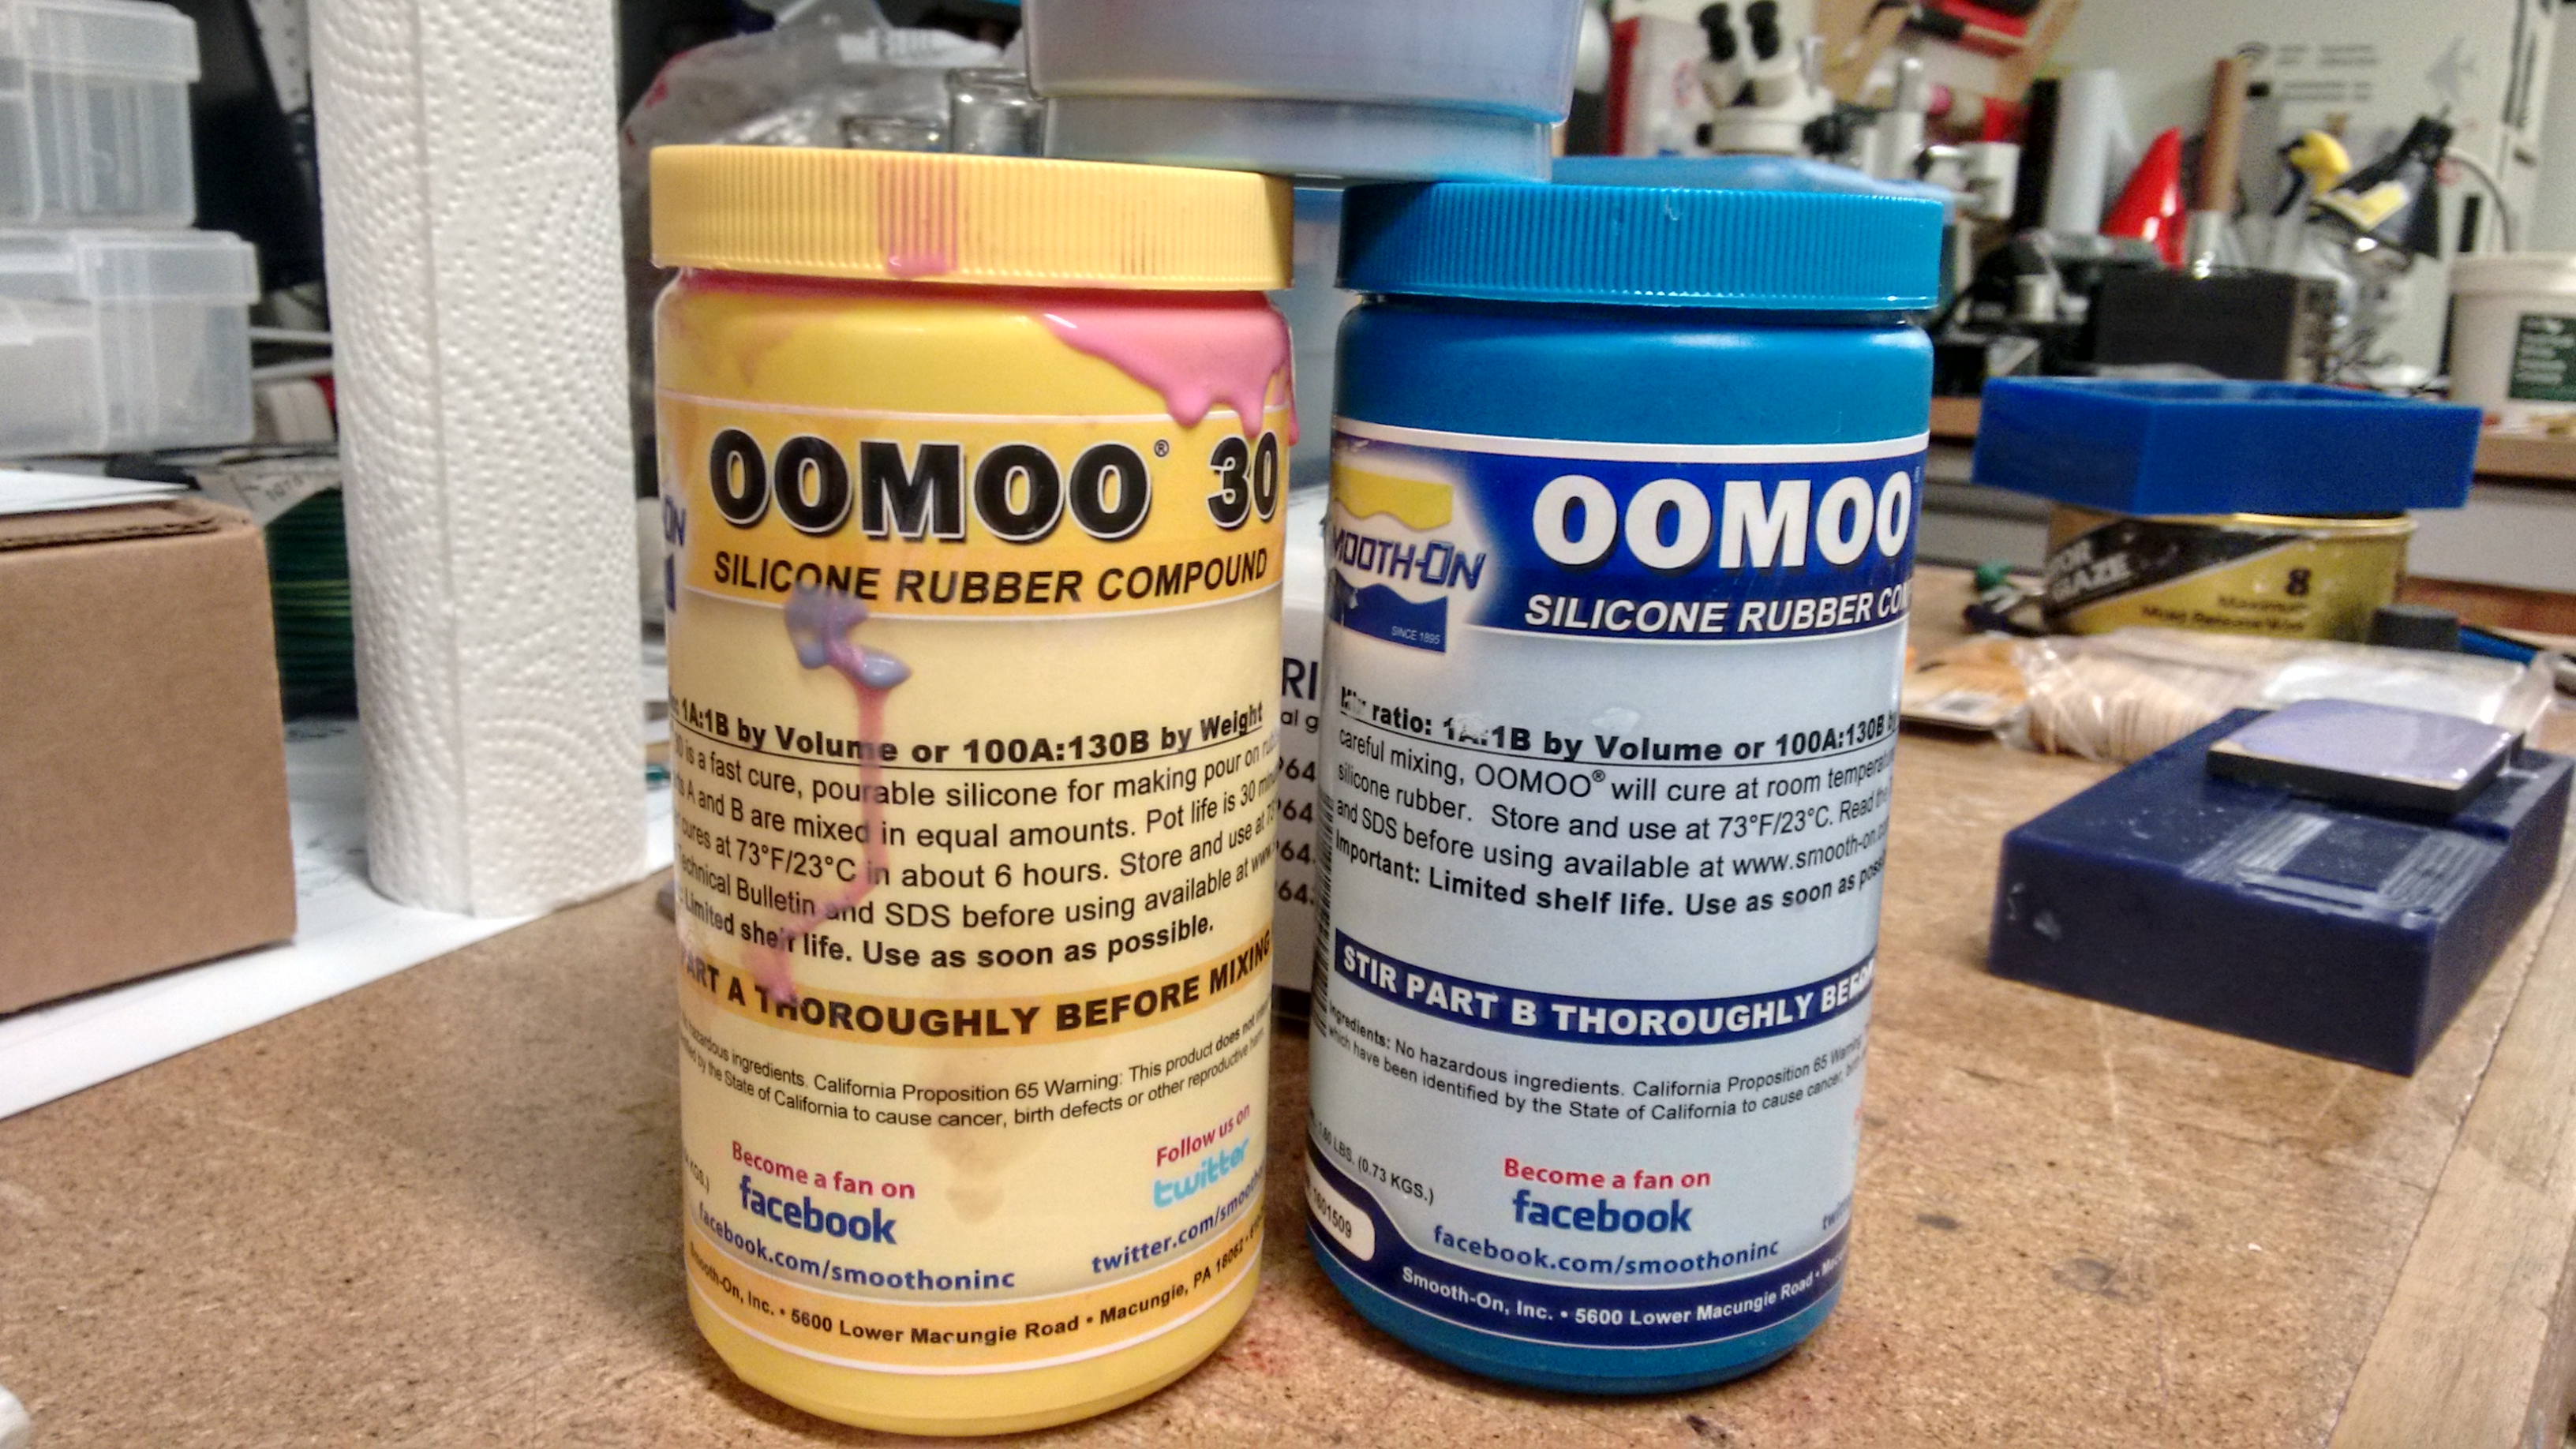
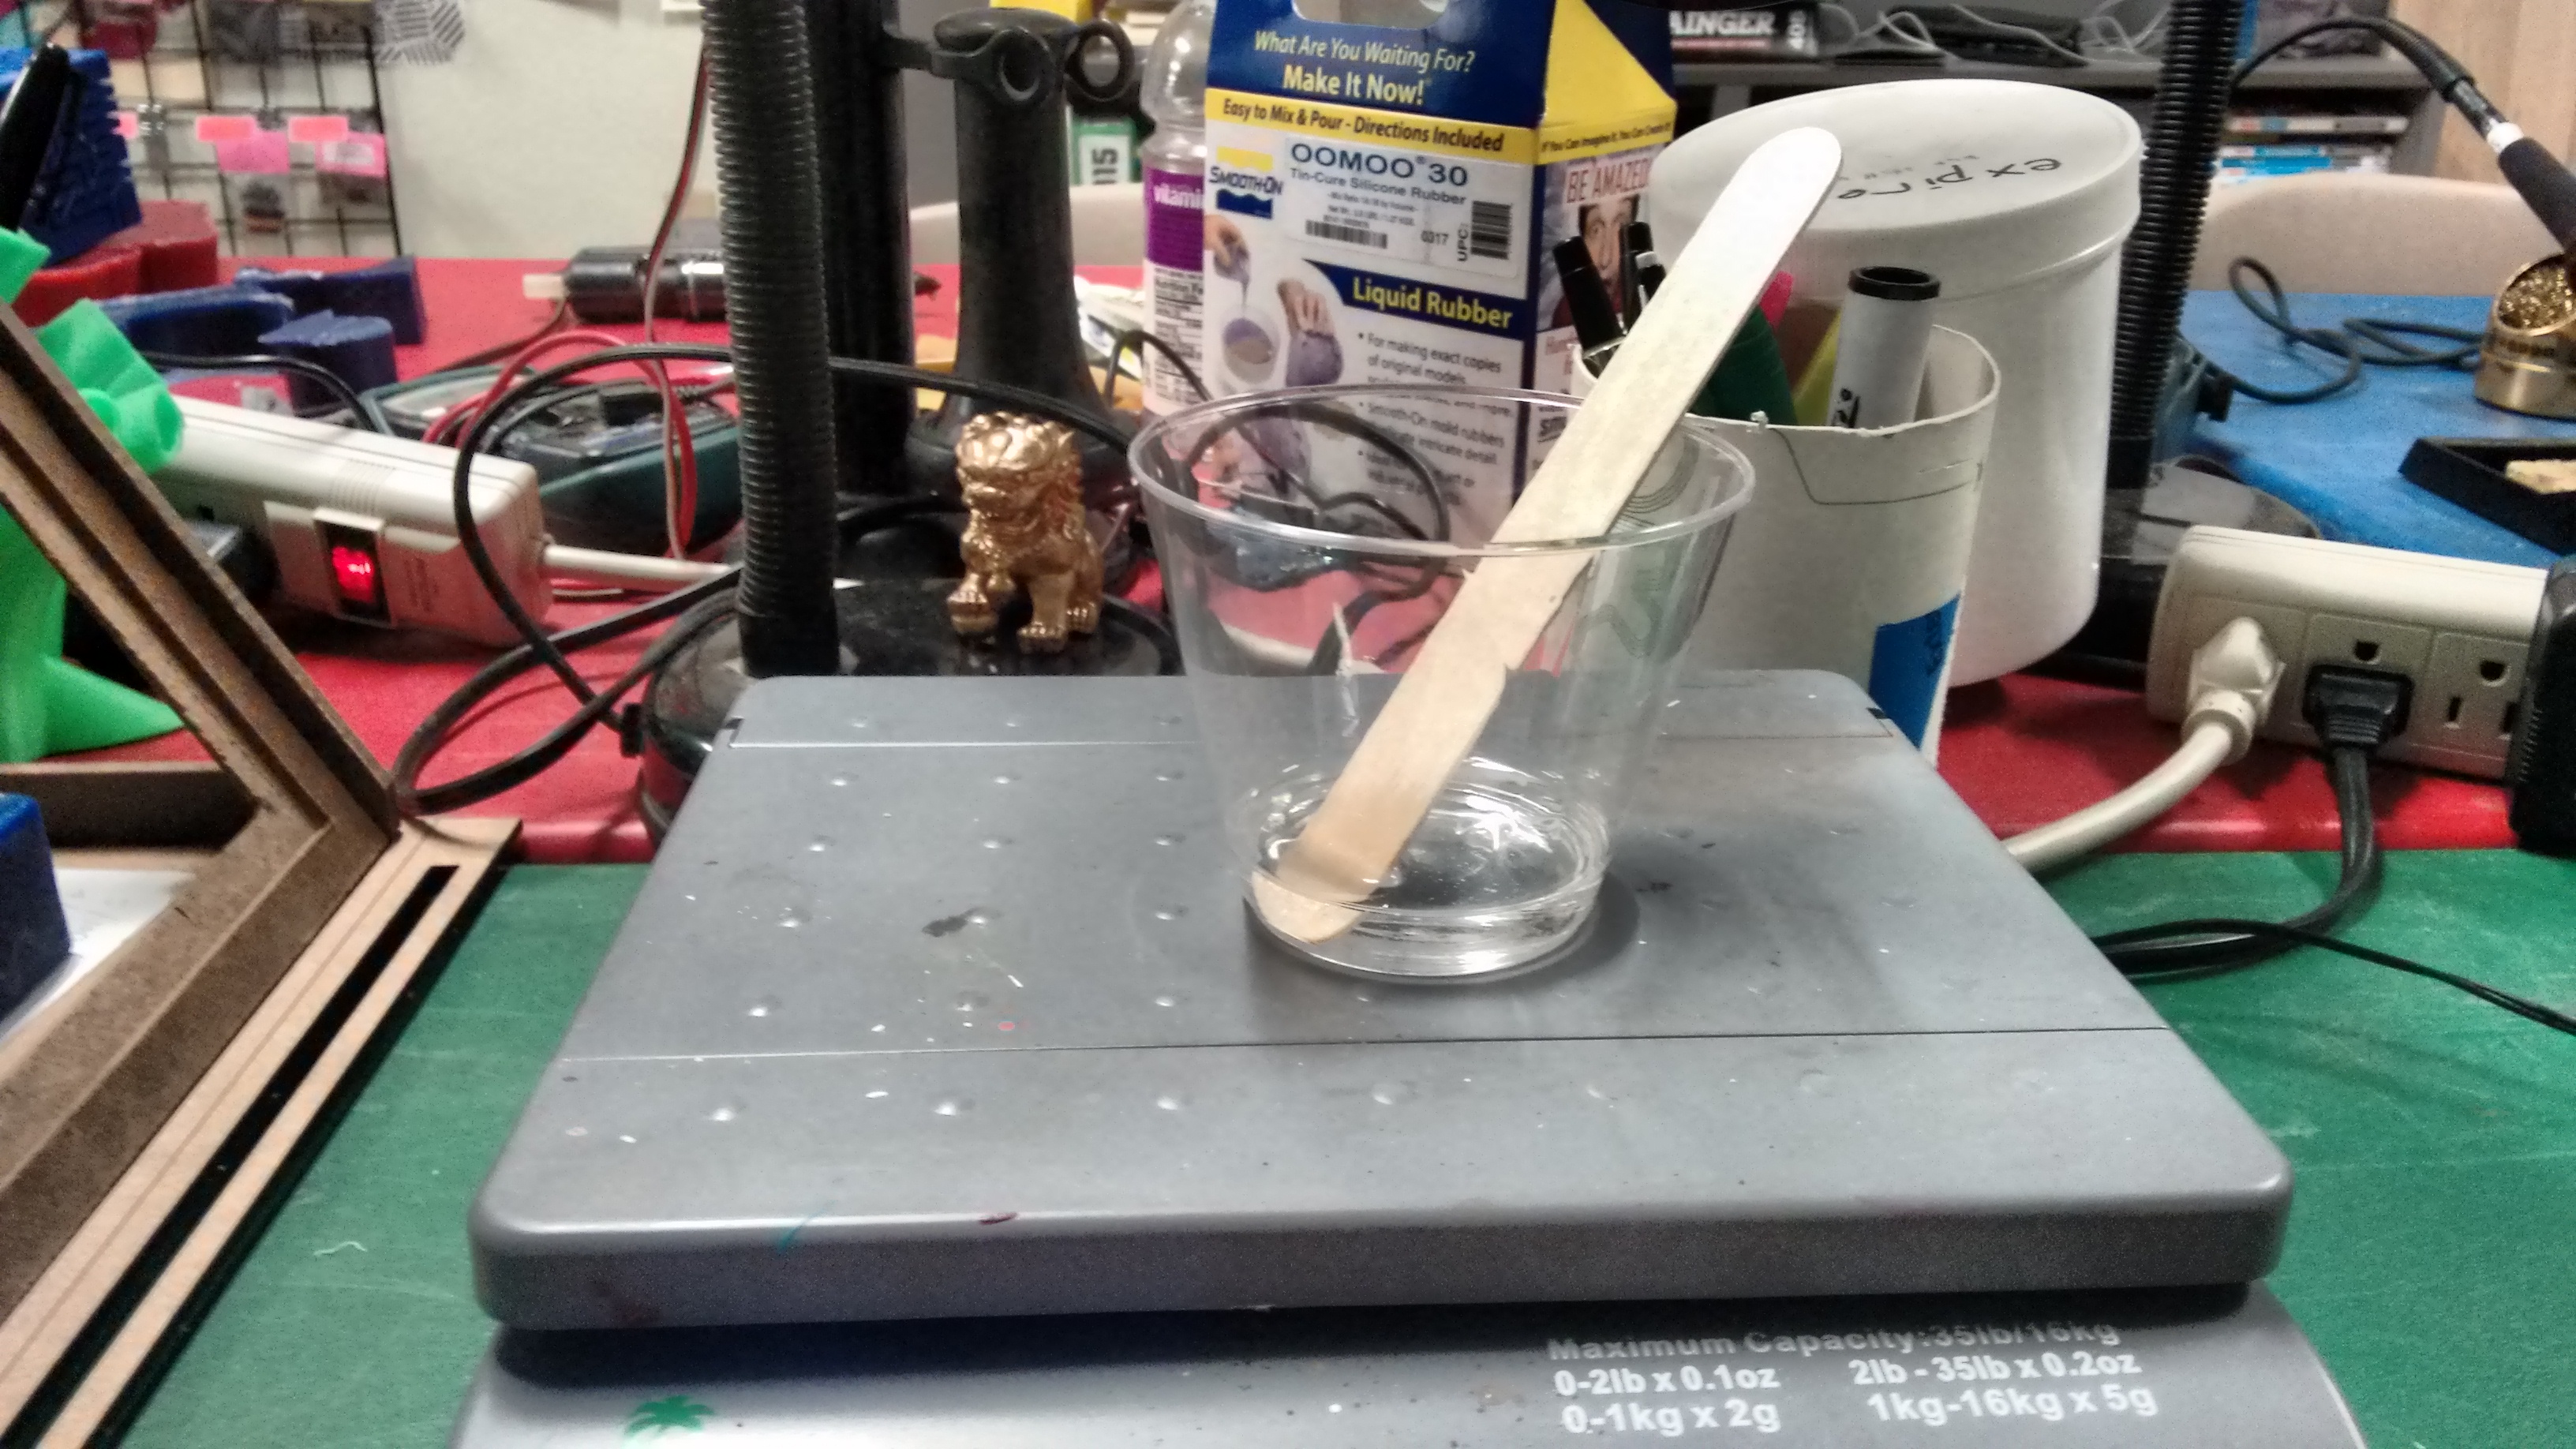
Then I used the silicon rubber compound OMOO to prepare the final mold. This material comes in two different components, one is pink and the other is blue. You mix them together in 1:1 to get the final mold material, that will solidify in few hours. To know how much I would need. I filled the wax with water and got a reference in a plastic cup just to have a aproximated volume of OMOO that would be necessary. Then dry your mold and cup and mix them together till it gets a nice light violet color.

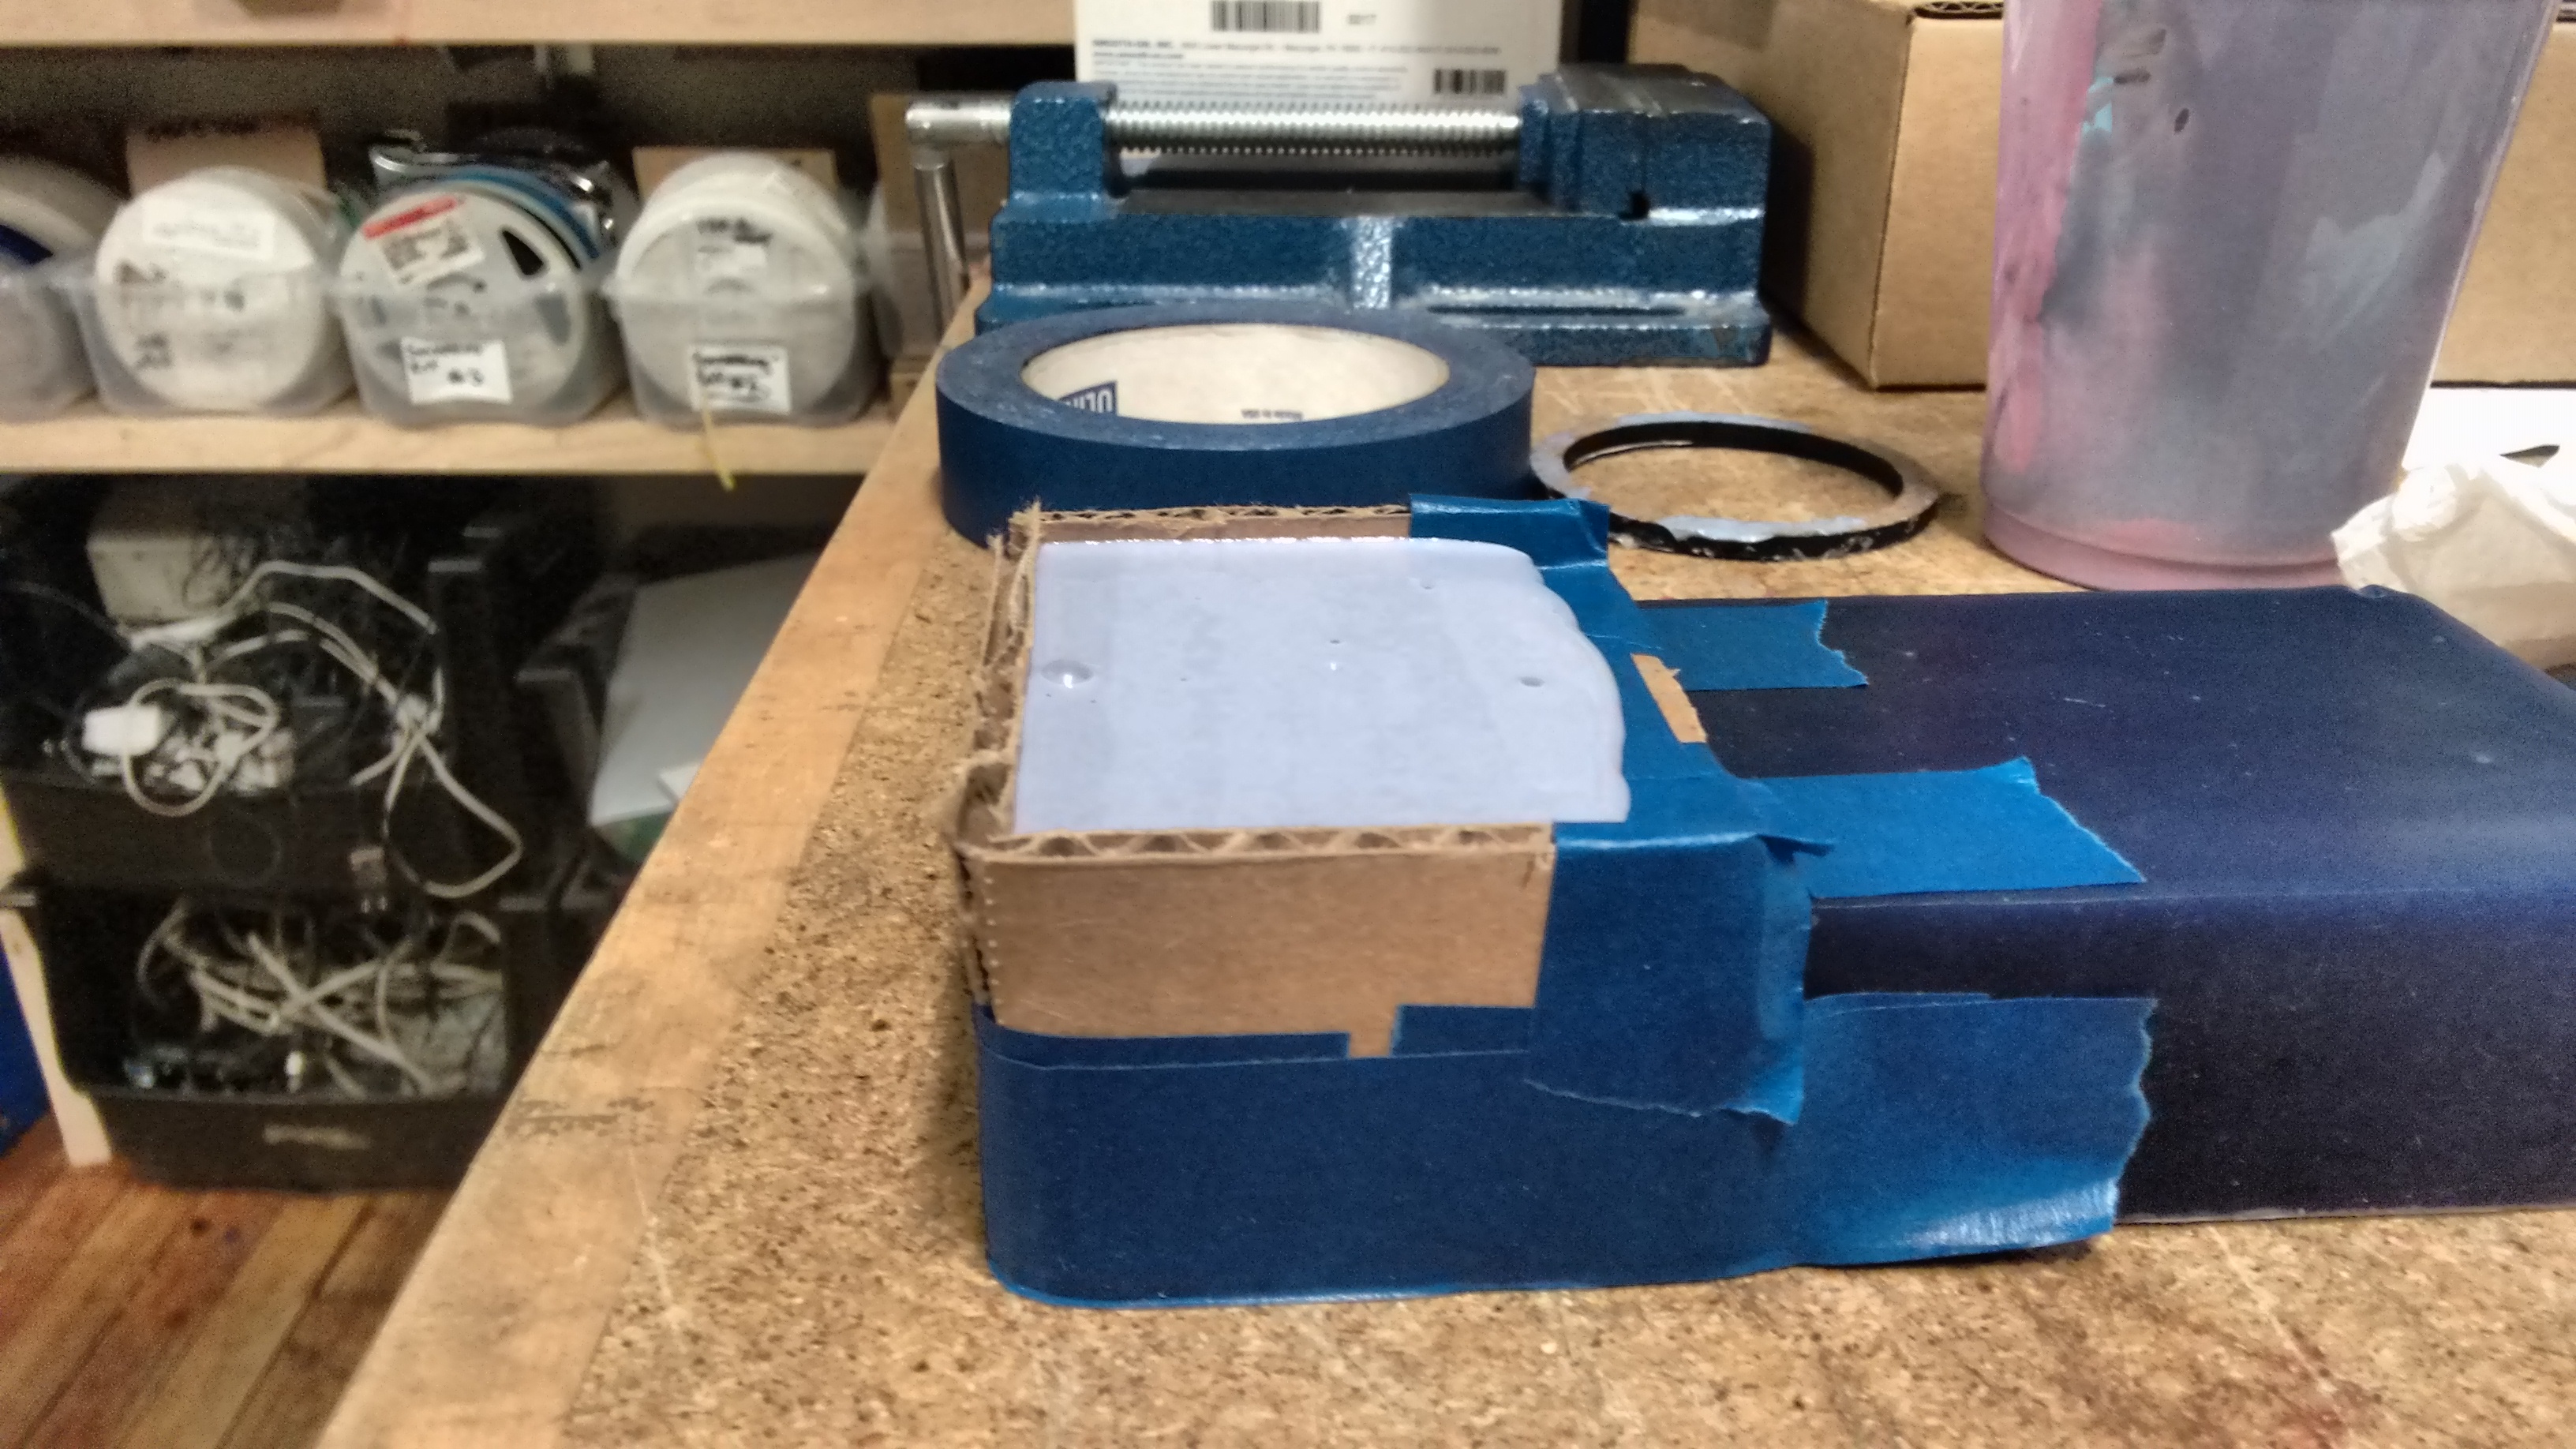
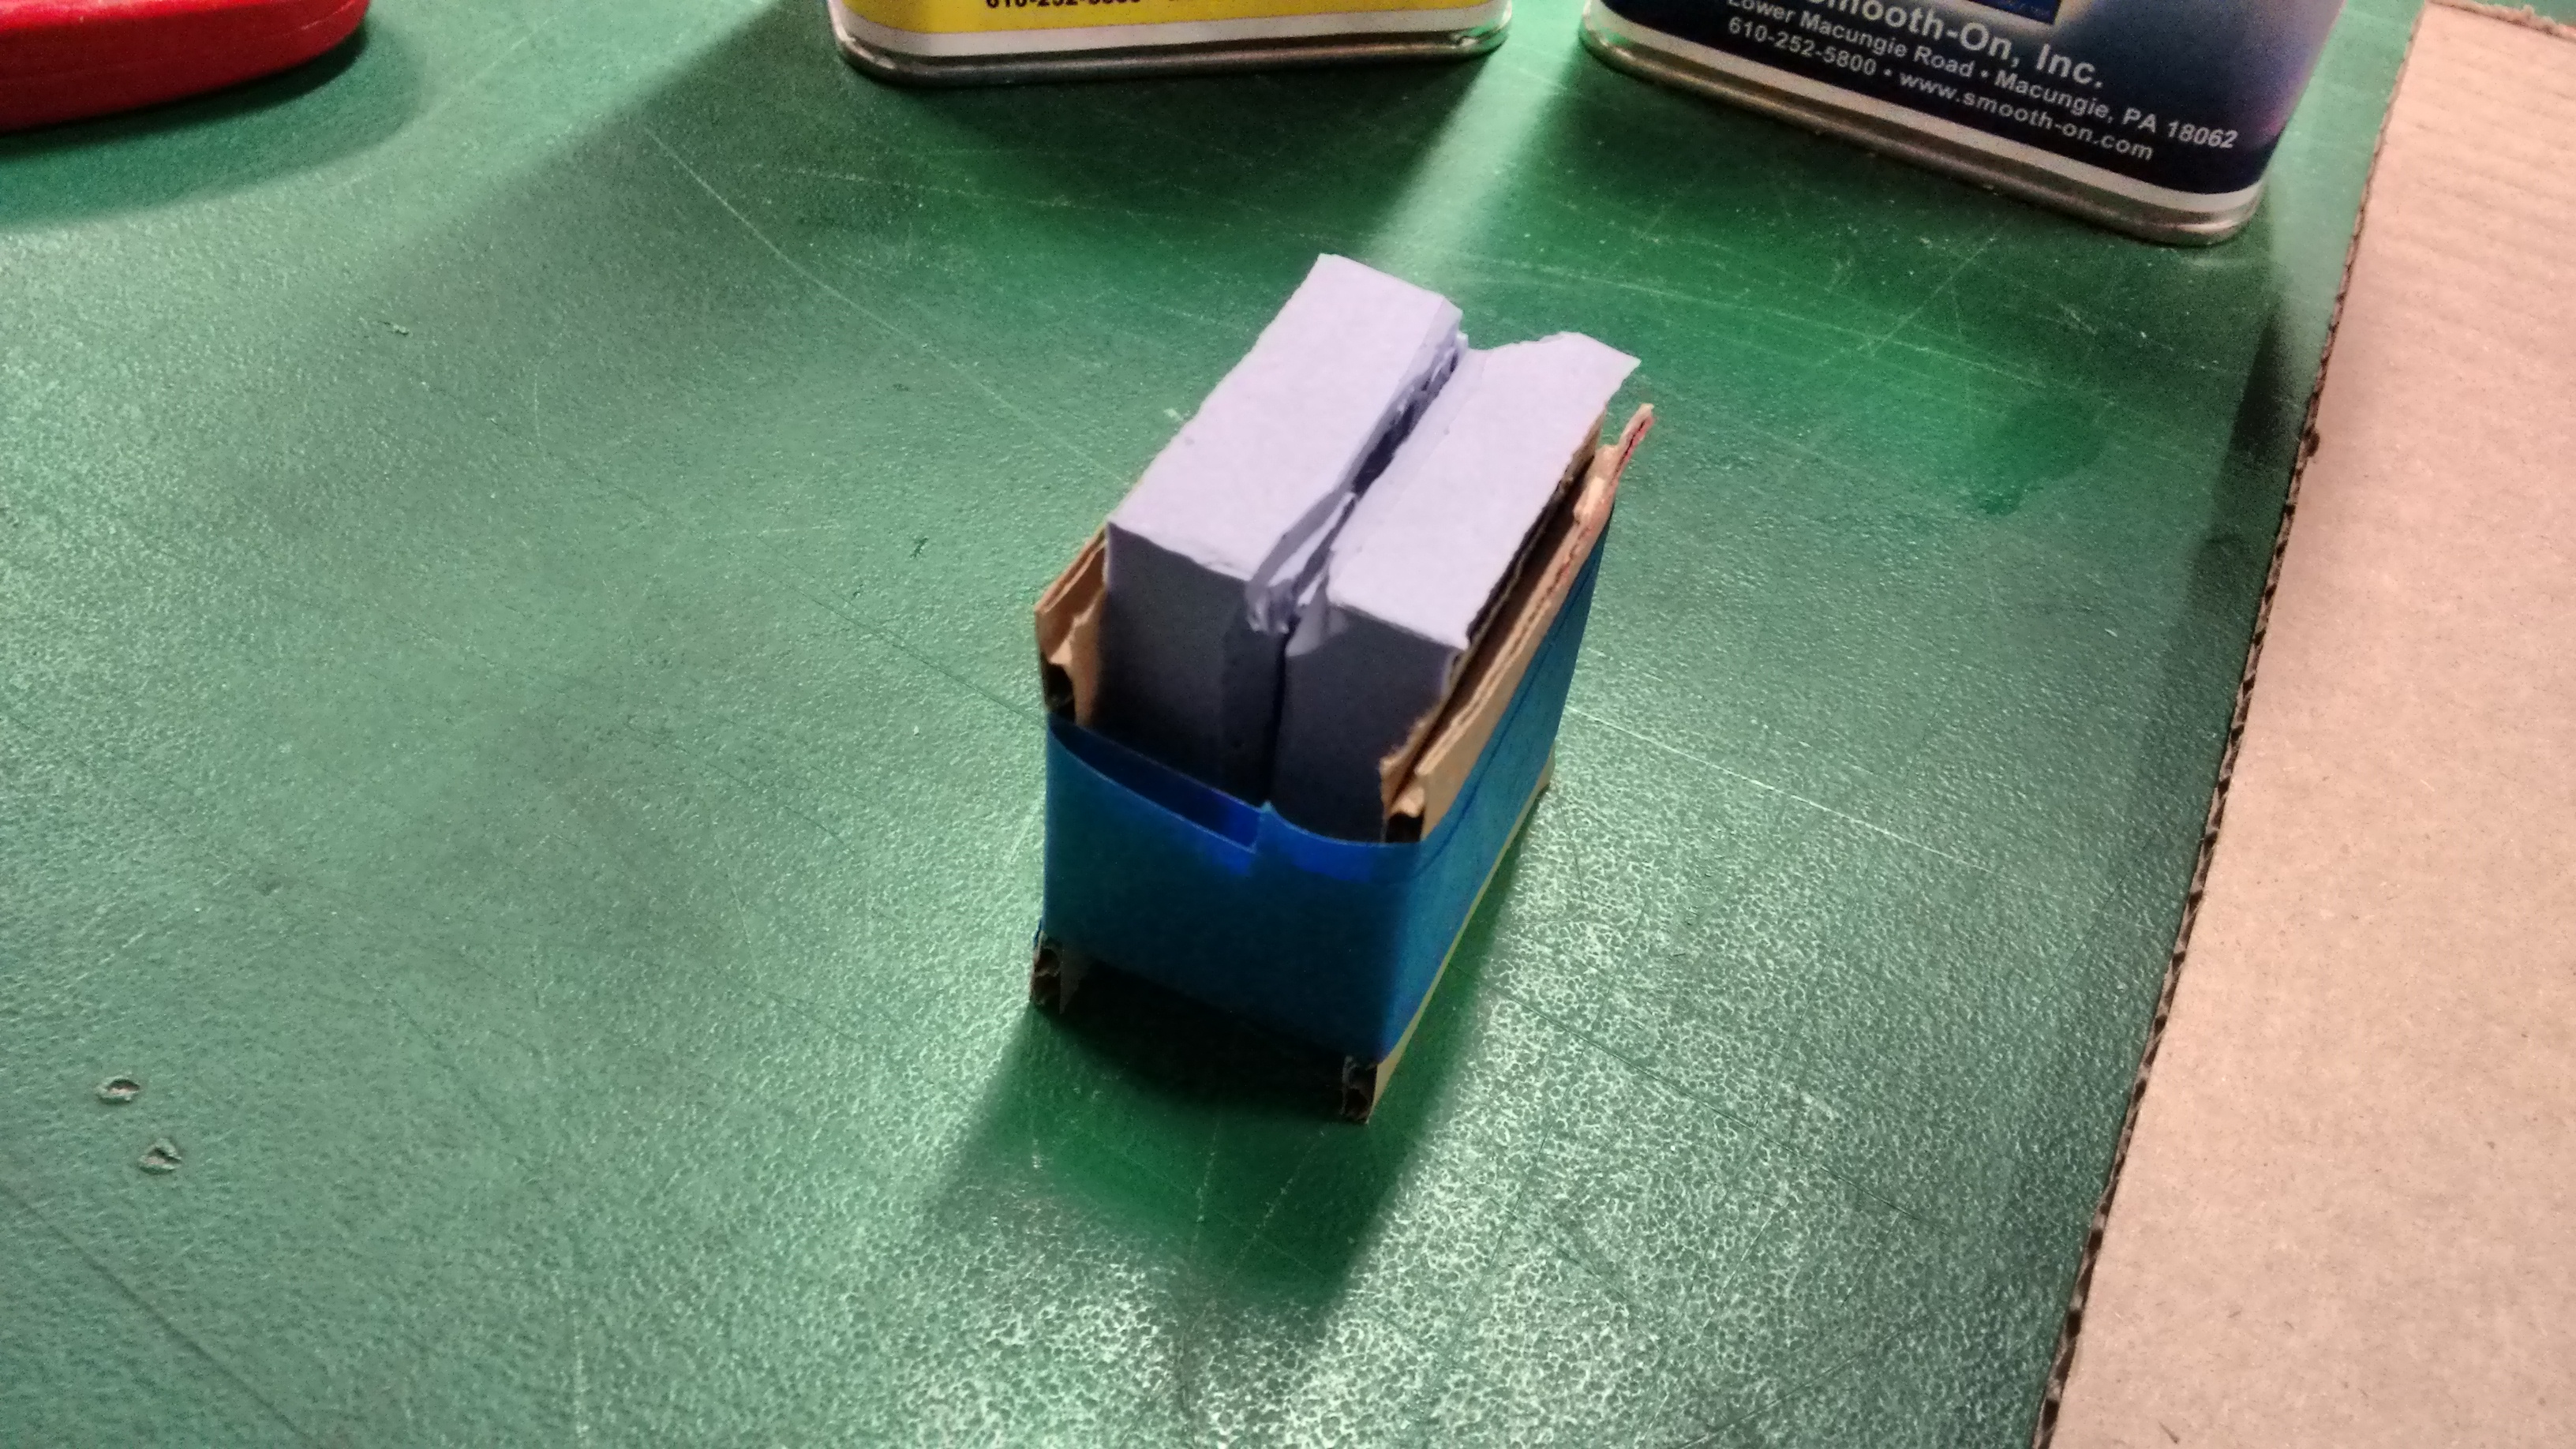
After mix it, put on the wax and wait until it solidify. See in the picture that, in my case, I had to put some cardboard on the sides to make the mold.
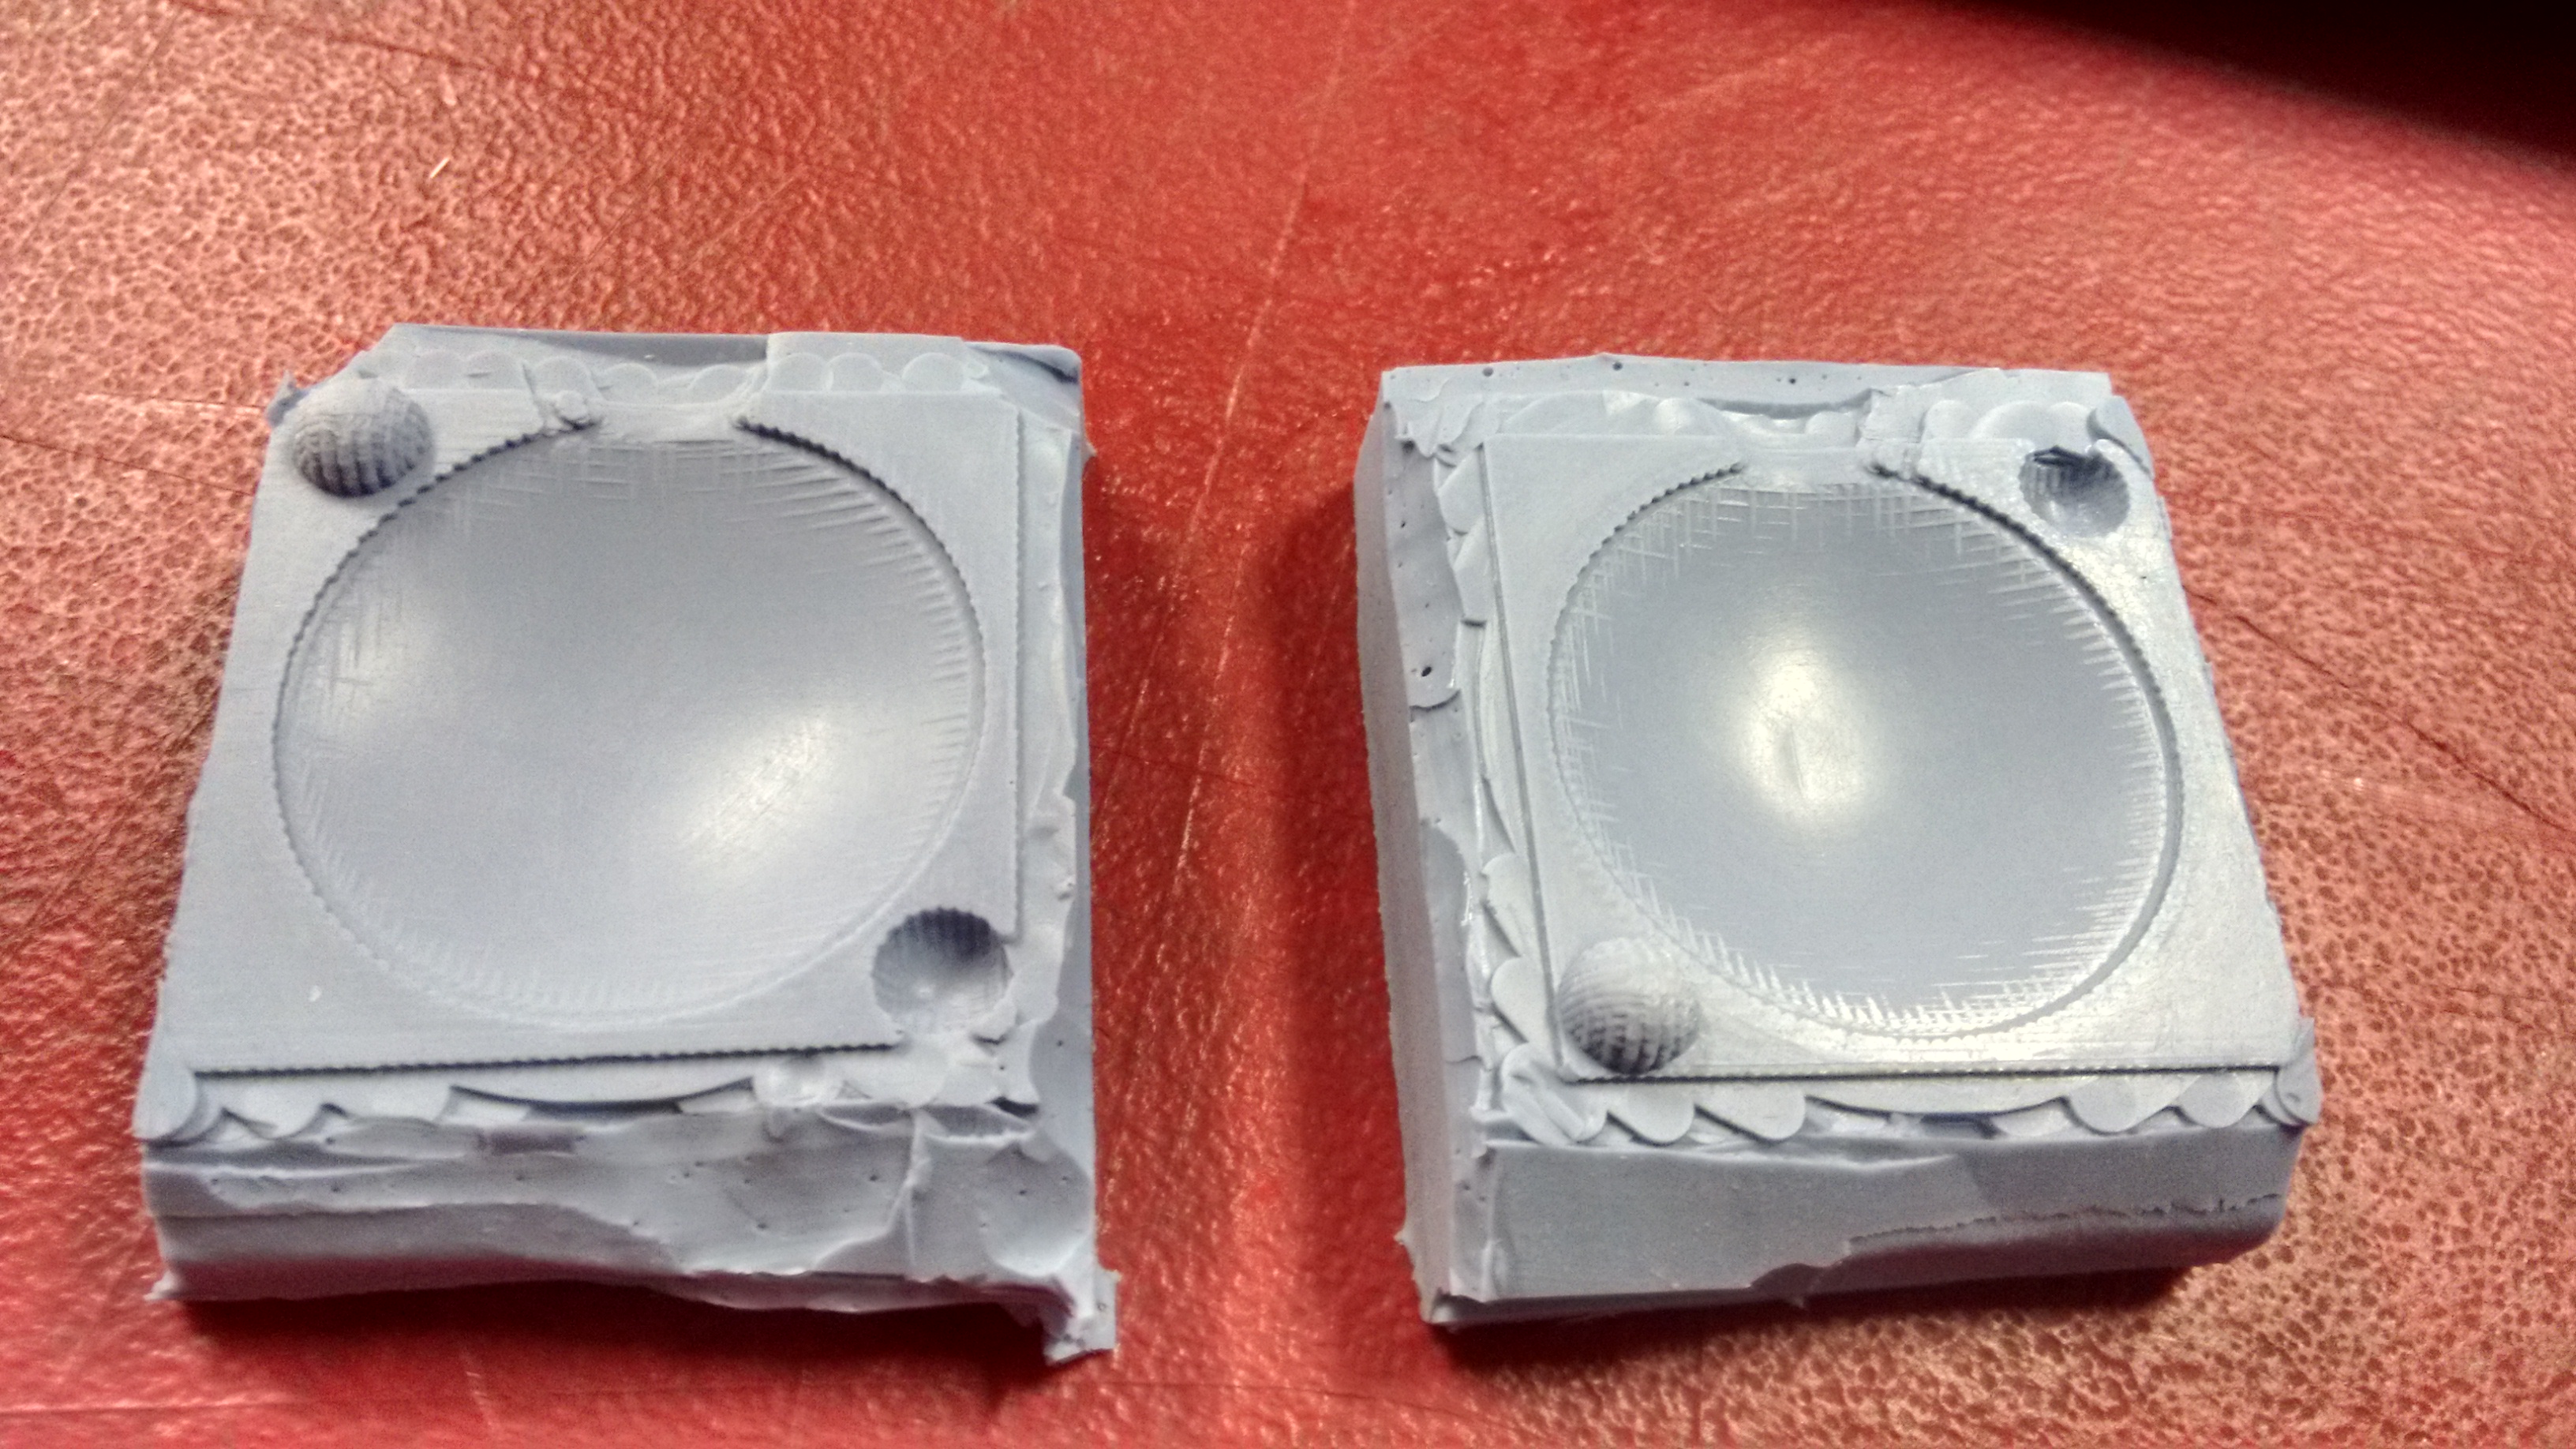
I waited till the next day to get the silicon molds, and the results was pretty nice. You can see that the silicon gets really every detail from the wax, and I was happy that I made a good choice on sand the wax before make the mold.
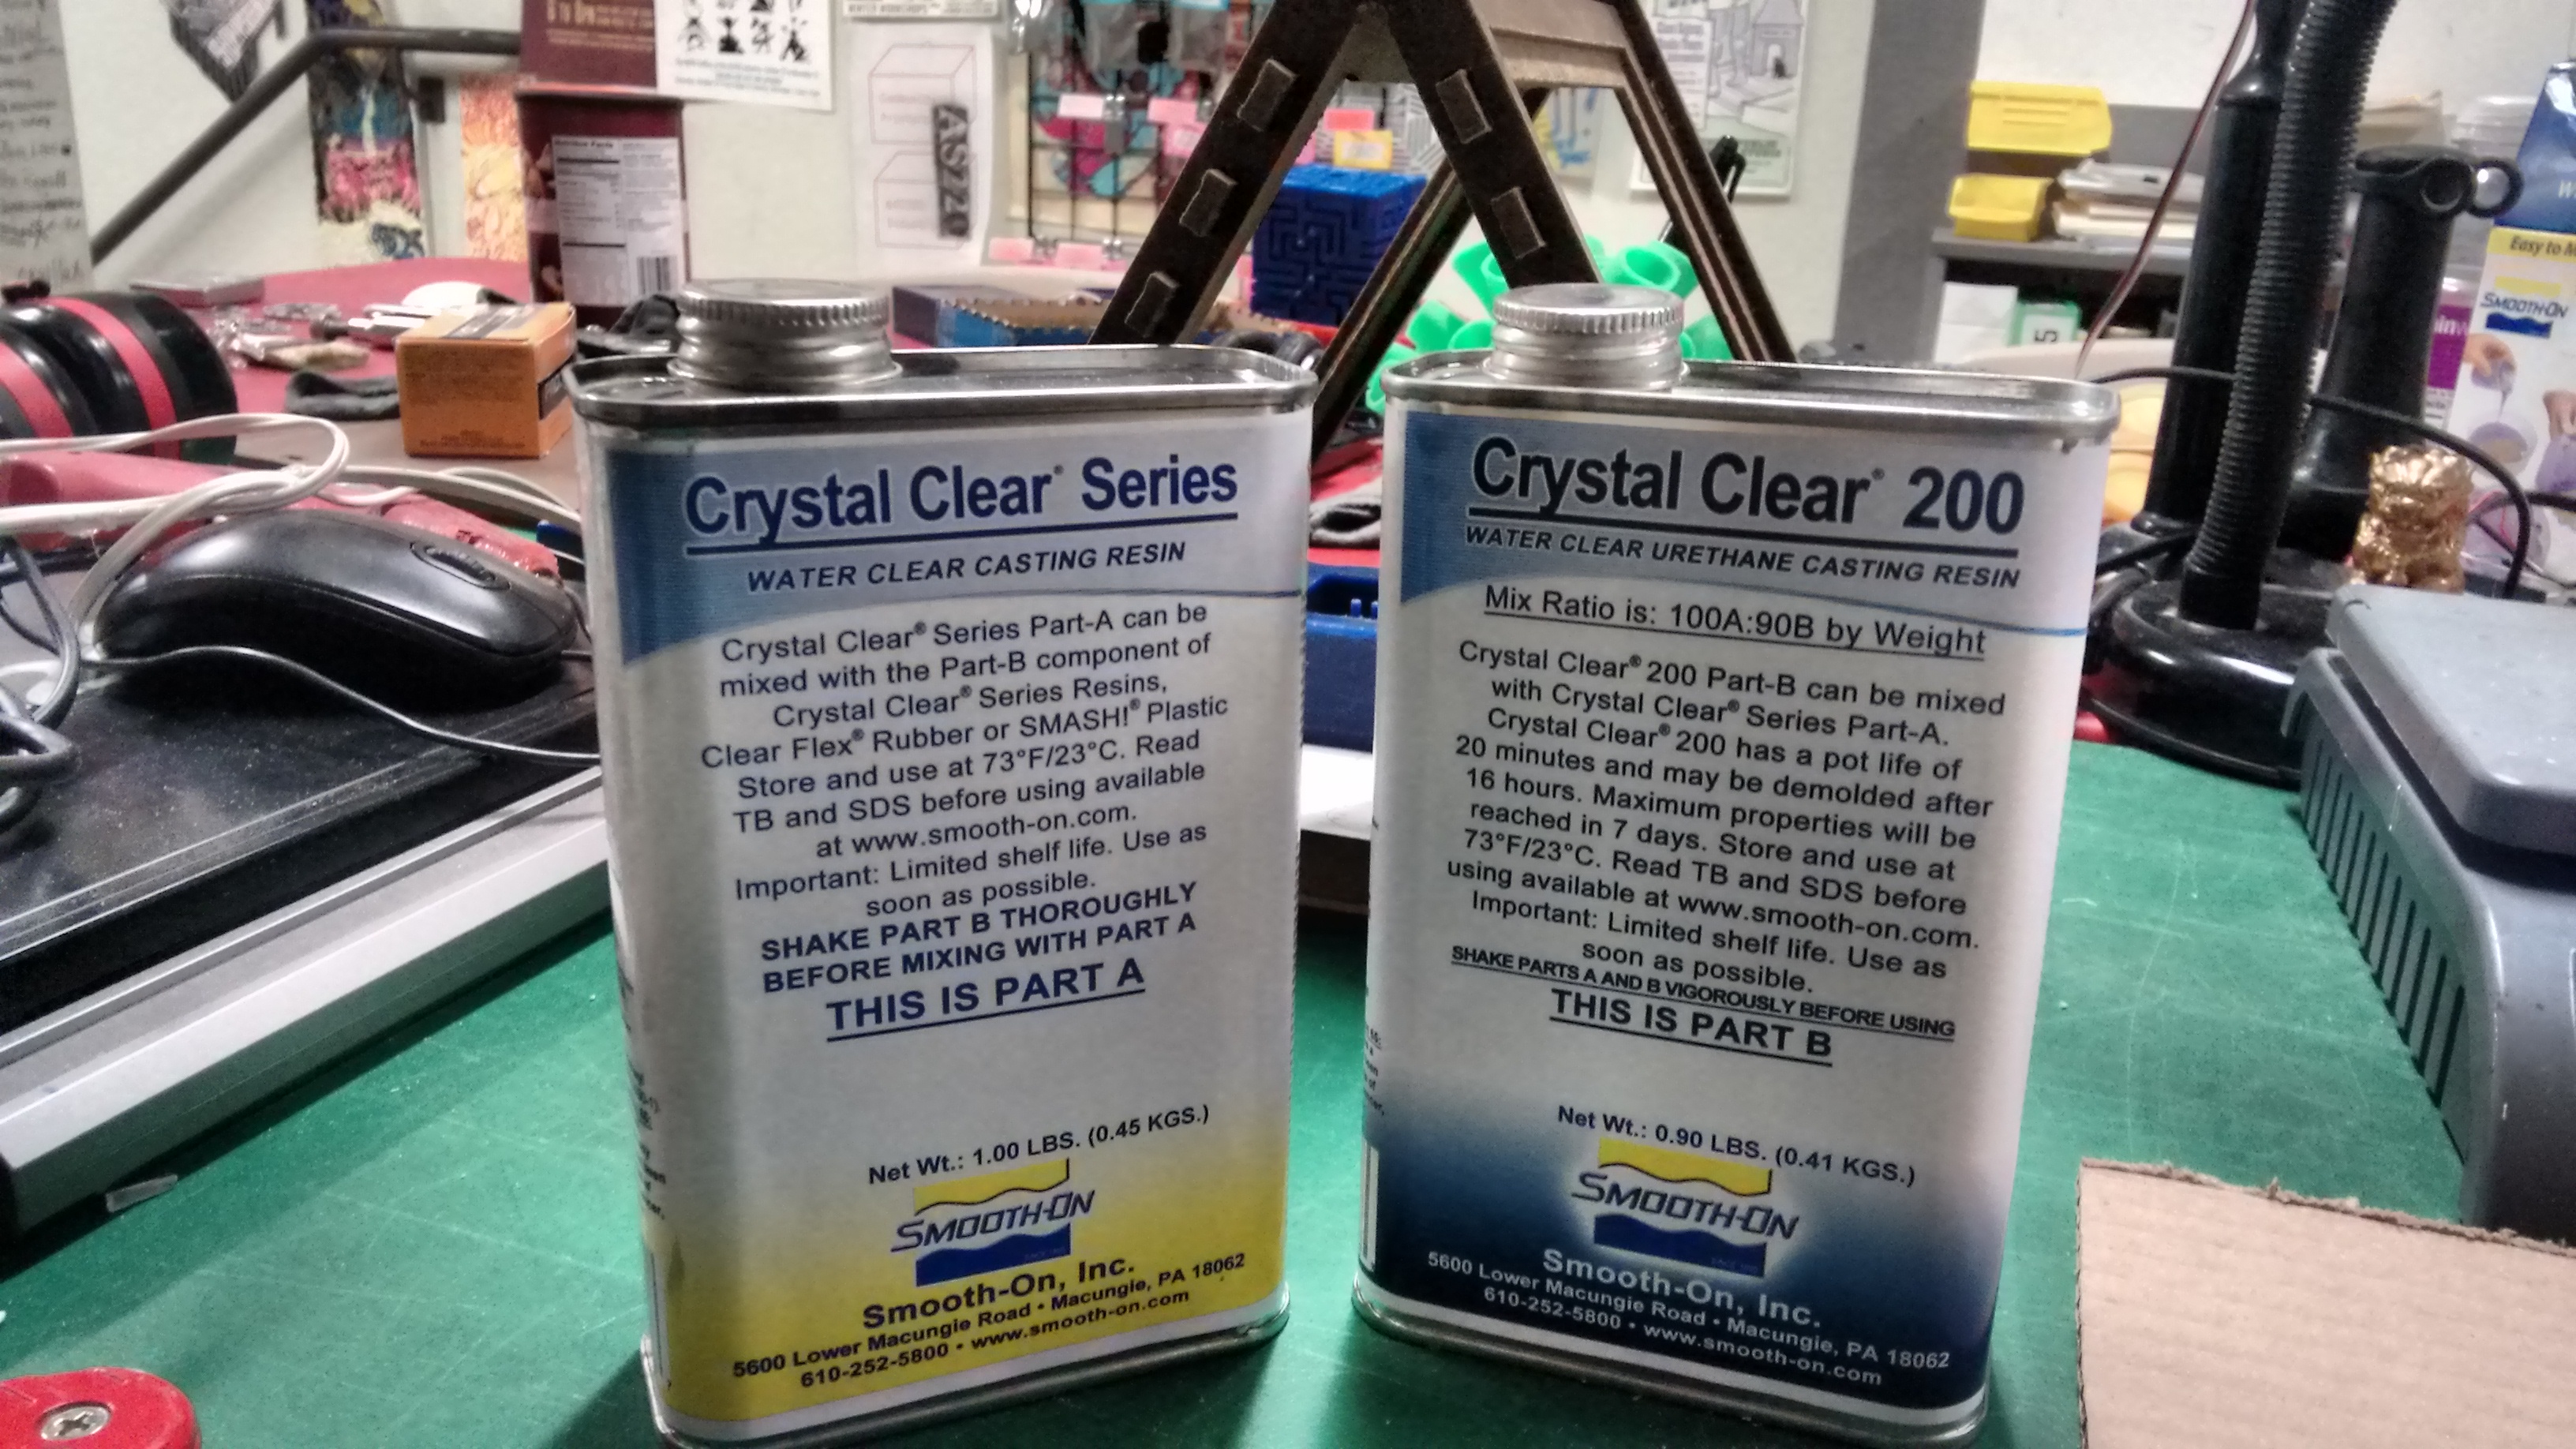
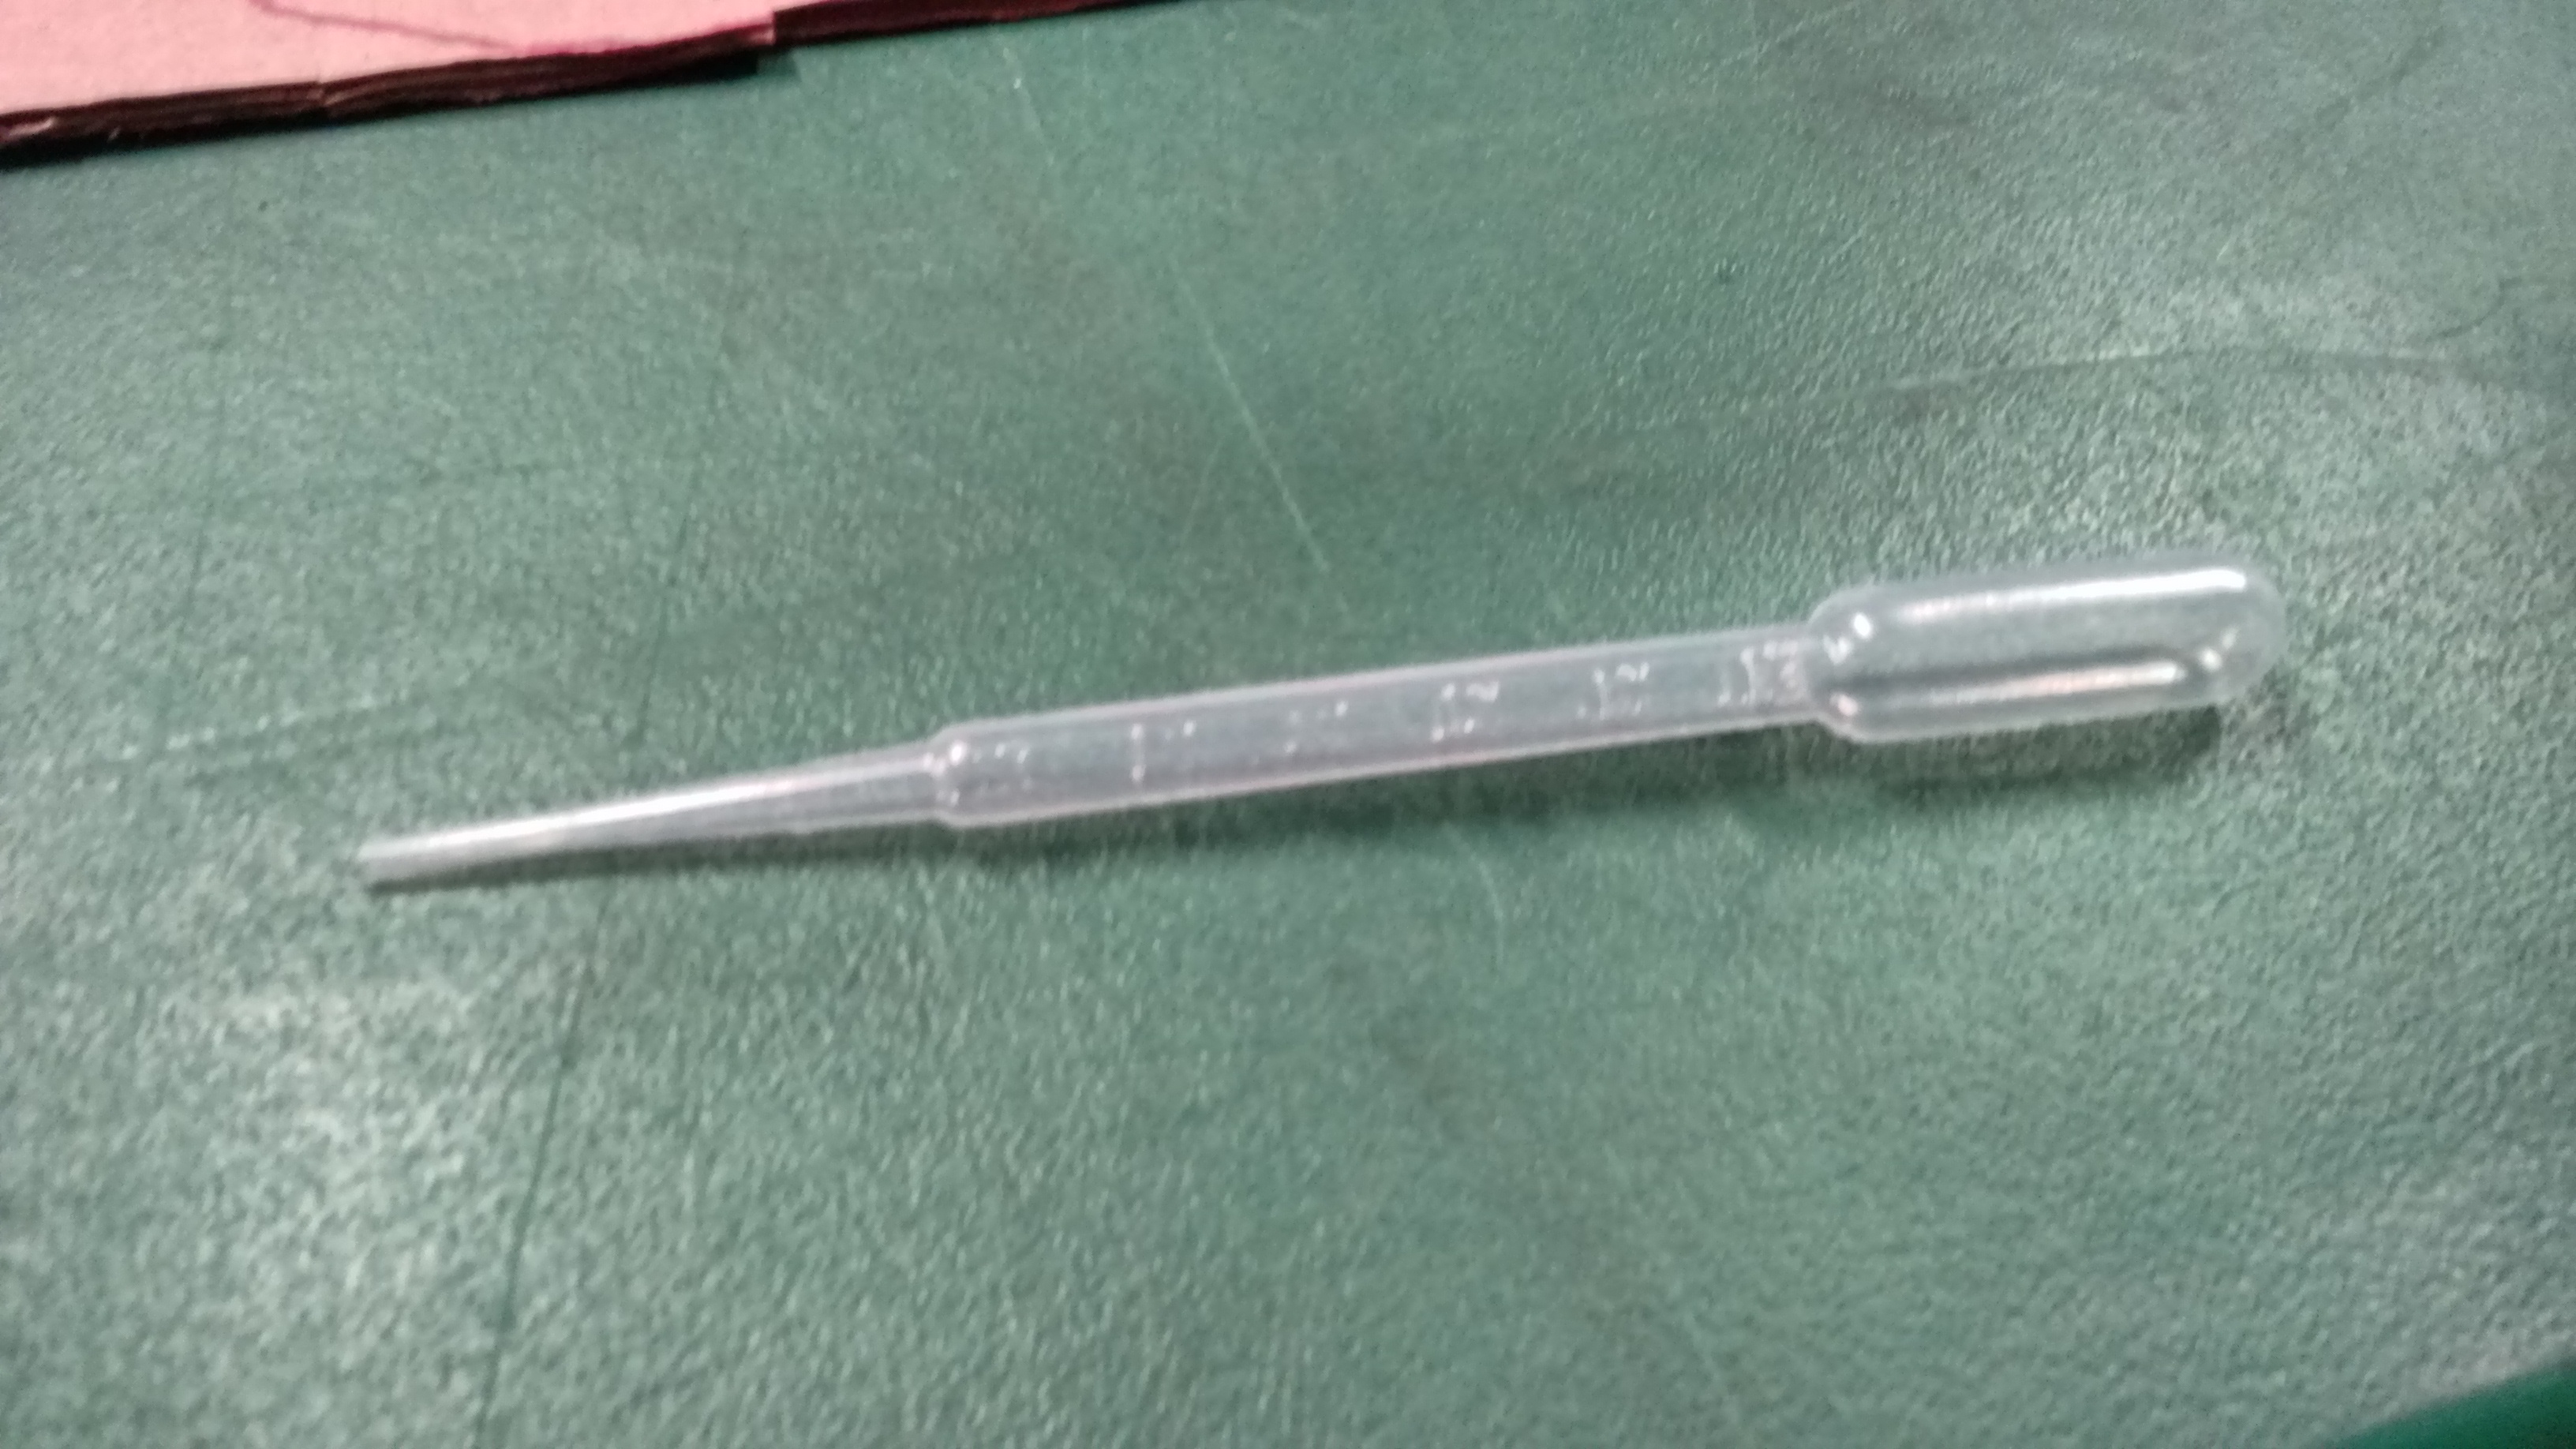
Then it is time to make the cast lens! I used the "Cristal Clear", that also come i two parts, and after you mix them, it gets hard after several hours. For this material the ratio is 100:90, so I set to use 10g and 9g and that should be enouth for my lenses as the mold it pretty small. To fill it I used this pipette tip.
After fill it I let it harden till the next day to take out the casted lens. It came out prety nice but I got some bubles in it and even using the sandpaper in the mold, the image generated is not 100% clear. However it still good and you can kind of see that the lens works!

It would be better if I had used a vacuum machine to help take out the bubles after fill the mold with the crystal clear. Also I think I was not very careful using the pipette tip.
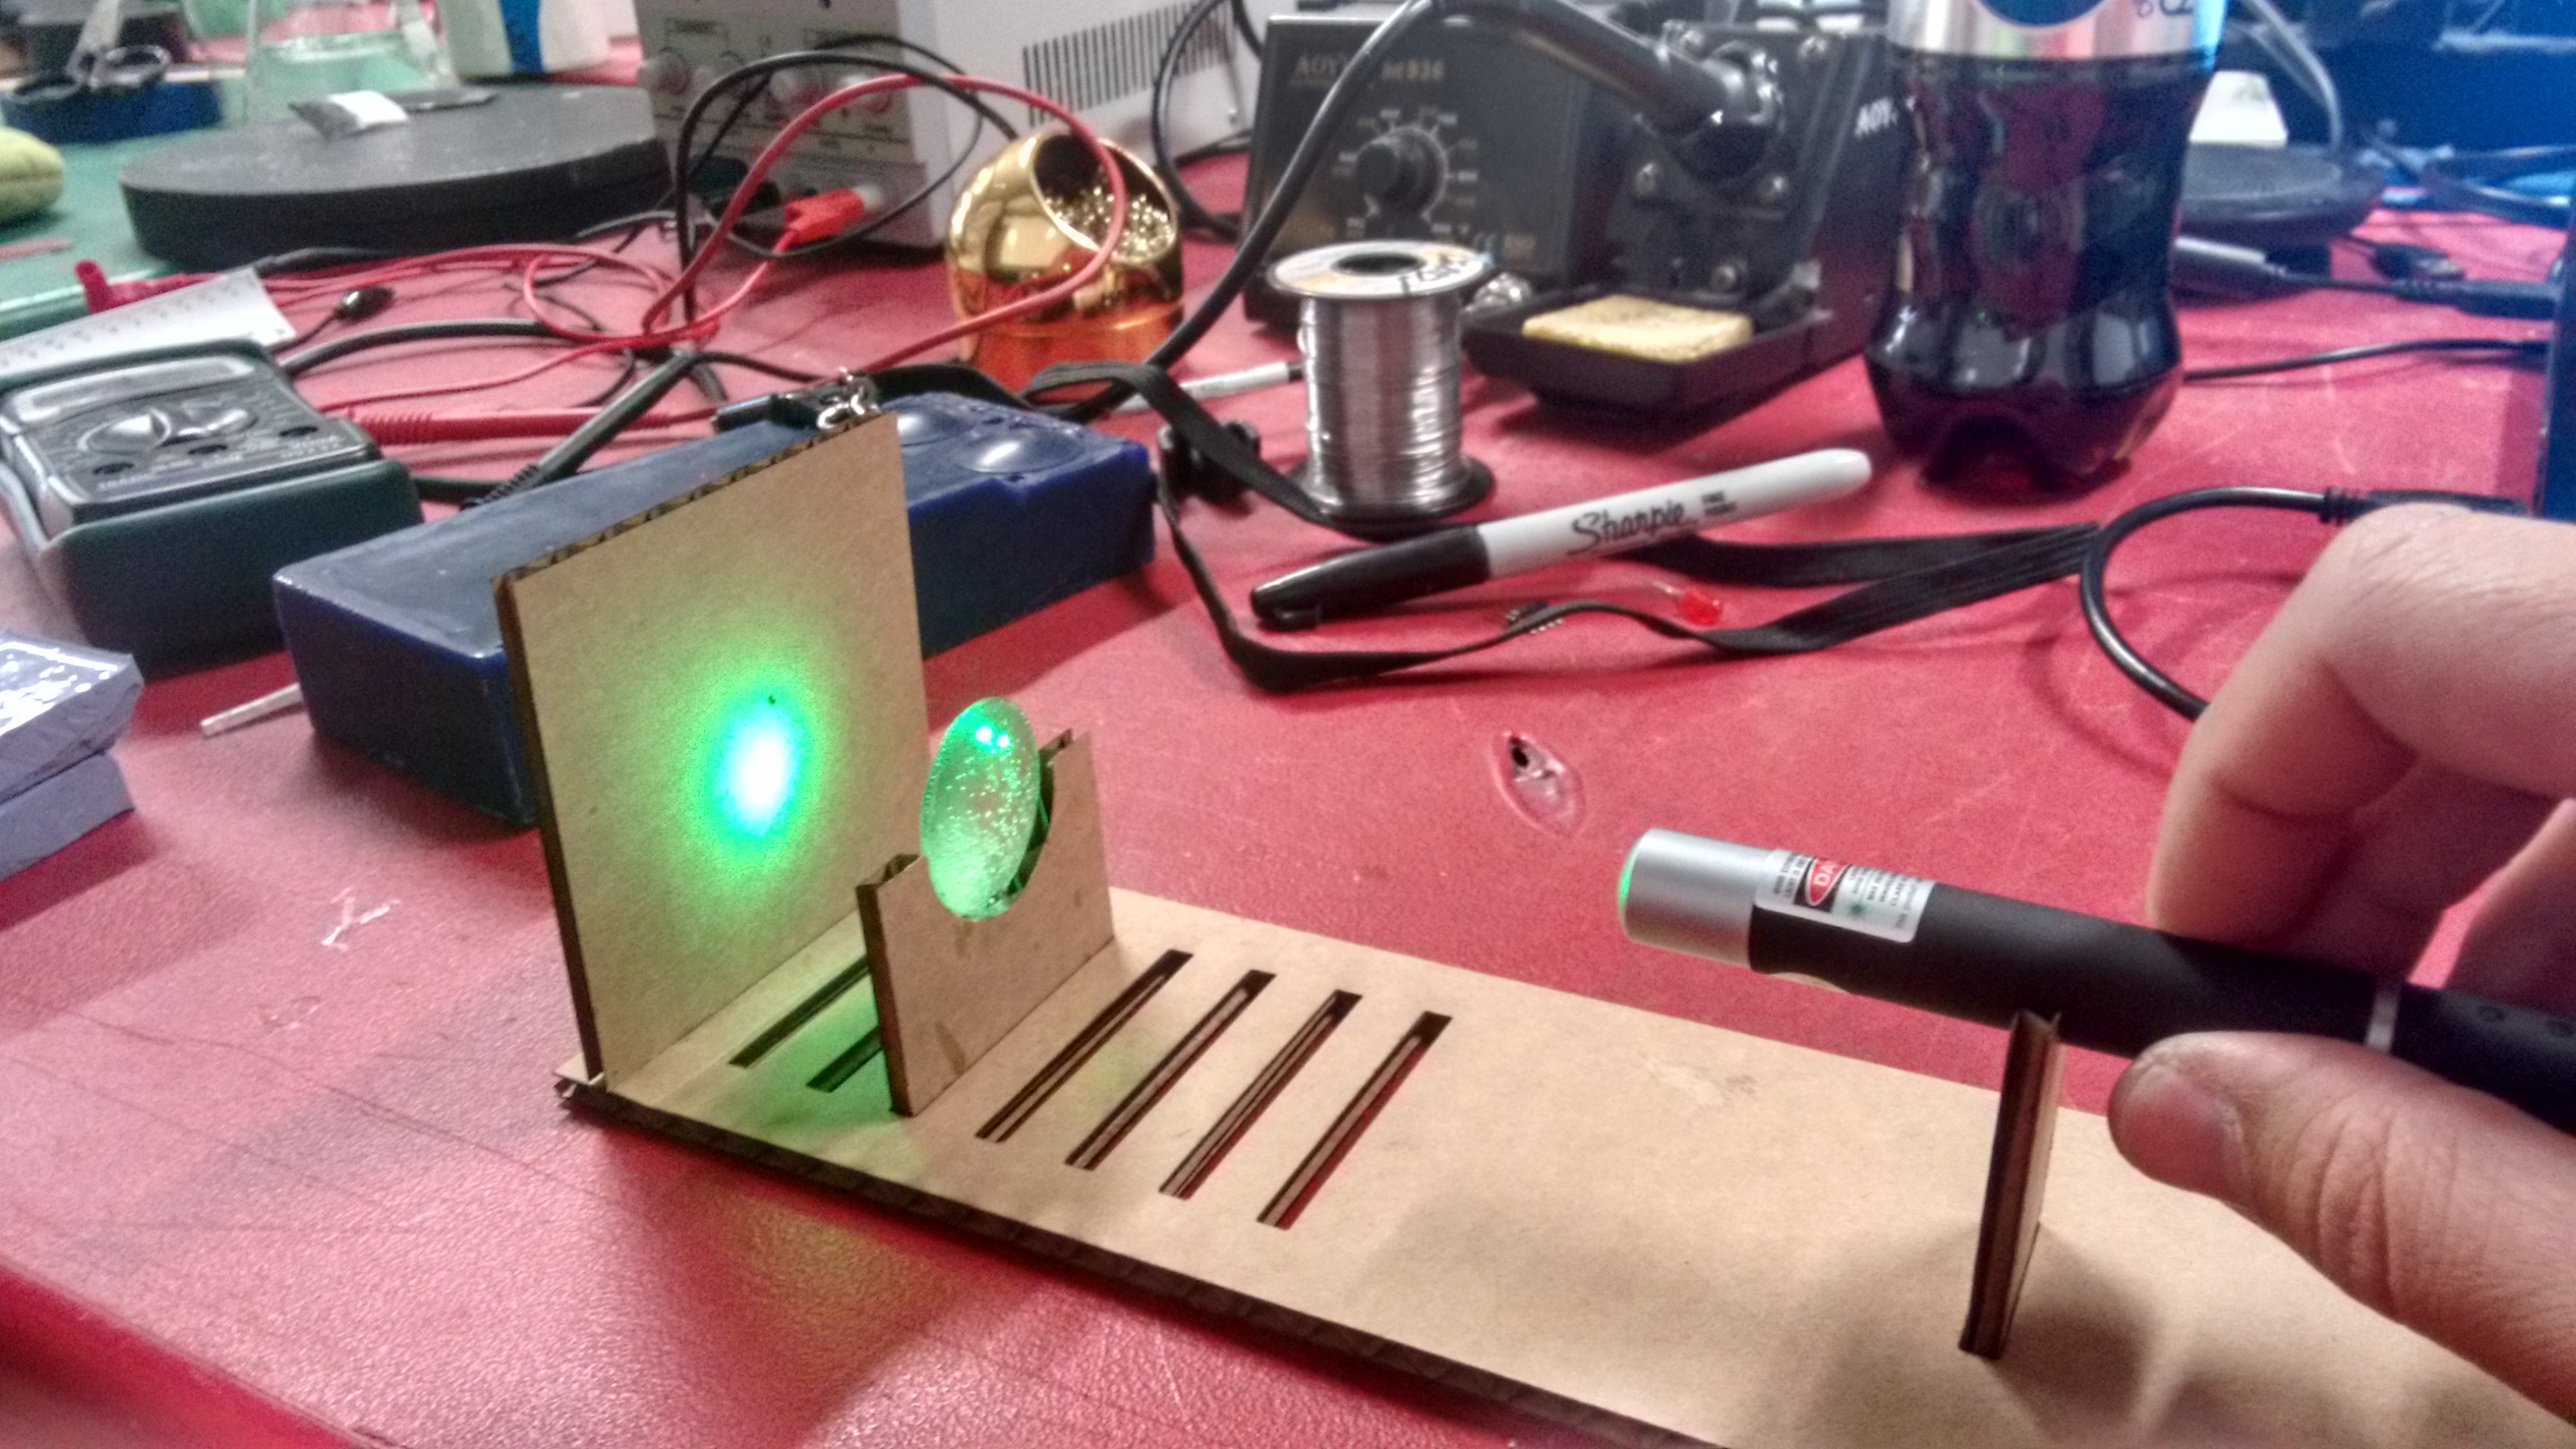
After all I got a laser pointer and made kind of a cardboard structure to check better how the light changes after passing through the lens. It's kind of a educational kit about optics!

All the files I used are available here:
- 3D model for milling: lens1.stl
- Cardboard structure: bases.pdf