Project Management
Follow how I set up Git, learned how to create a website, and created my personal Fab Academy project page.
Our Goals
The learning outcomes for week 1 were to understand version control protocols, how to use website development tools, and to create a proposal for our final project.
This week's goals were to build a personal website introducing ourselves and our final project, to draft a proposal of our final project and add it to our website, and to upload our sites to the Fab Lab class repository through Git.
Getting Started with Git
As I was not yet familiar with version control like Git, nor had I ever practiced website development, I first needed to do some background research and work through some online tutorials.
Find the online resources I used to learn more about Git here: Git Video Tutorial for Beginners Git Beginners Guide Pro Git E-Book Git Cheat Sheet Git Website- Getting Started Intro to Distributed Version Control
The first day we worked together to download and set up Git, the distributed version control system recommended by Neil to use for backing up multiple versions of our web development files. (Find Git's website below) GIT
This is what the Git terminal looked like when I was linking my local repository to the class archive:

In order to ensure that any changes I made to my file were changes I absolutely wanted to push to the class repository, I made a duplicate file to work on. Therefore, I had one file to make my changes on, called Website (local), and another file that I would upload the final version I wanted to push via Git, called Website (Git). These Website folders should look identical in structure, except when I’ve made changes to my Website (local) file that have not been updated in my Website (Git) file.
Before starting my tutorials and research into how to develop my website or change the Bootstrap template, I decided to test and understand the Git commands to properly send my updated website versions to the class repository.
This is what the Git terminal looked like when I pushed my local repository to the class archive:
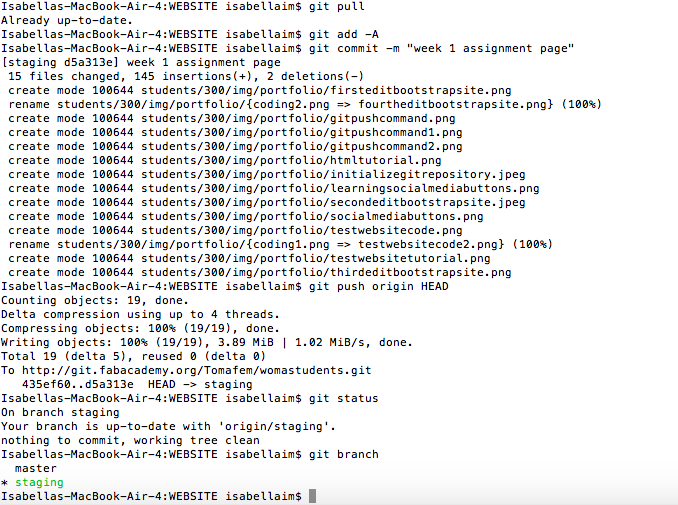 You can find the steps I took to save the local version before pushing it to the class repository below:
- First, I make sure that I save any changes in my text editor, in this case Atom.
- Next, I make a copy of my website file, which is called 300 (my student folder number) and can be found under the ‘student’ folder in the Website (local) folder. (This is to copy any changes or additions I’ve made to my file lately.)
- Then, I paste the copy of my website file (again, called 300) from my Website (local) folder, into the “students” folder in my Website (Git) folder. Note: (There will be a prompt asking me if I want to replace the existing file named “300” with this other file with the same name “300”. Always choose “Replace” as you are replacing your old website version with the new version reflecting your latest changes and additions.)
- git pull
- git add –A
- git commit –m “add note here to label what changes you are commiting”
- git push origin HEAD
- git status
- git branch
- git pull (This command gets all changes done by yourself or others to your file and places it in your local repository. Therefore, it’s best practice to do this command BEFORE you start working, and BEFORE your want to push your file to the class repository. You can and should do this command as often as you can, or whenever you edit files (add/ remove/ edit).
- git add –A (This command prepares a package of changed files to commit.)
- git commit –m “add note here to label what changes you are commiting” (This command will create a local checkpoint of your work (commit). You need to add a note in the parentheses to label your commit- this can be a few words about what changes you’re committing.)
- git push origin HEAD (This will send your work to the remote repository, so in this case our class repository, which our instructor Thomas could then validate and send to the main repository for the Fab Lab Academy.)
- git status (This command reflects your current status and whether your repository is in sync with the remote repository that you have just pushed your work to.)
- git branch (This command shows a list of local branches (edited). You MUST always be in the staging branch, not in the master branch.)
Now it’s time to pull the latest version of your file to the class repository. To do that, first open your Git Terminal, then enter the following commands:
Once you complete these commands your updated file should be successfully pushed to the class repository!
Here’s some extra information about each command just listed above:
Now that we’ve gone through the basic commands for how we push our work through Git, we can explore how I went on to build my personal site.
Getting Started with Website Development
First, since I started out knowing nothing about website development, I started by working through some online tutorials to understand the basics of HTML and CSS.
Find the online resources I used to learn more about HTML/ CSS here:
Open Classroom HTML & CSS Tutorial
HTML Cheat Sheet
W3Schools HTML & CSS Tutorials
Bootstrap CSS Tutorial
Shayhowe- Building Your First Webpage Tutorial
Mozilla Developer HTML Info
The first day we worked together to download and set up Atom, the text editor that was recommended by Thomas to use for writing our website code. (Find Atom's website below). ATOM
With the advise of Thomas, I decided to use the Agency theme from Bootstrap as the template for my website. So the next step was to download the file for the Agency template as my working file for my website.
This is what the Bootstrap Agency theme looks like (with a small edit):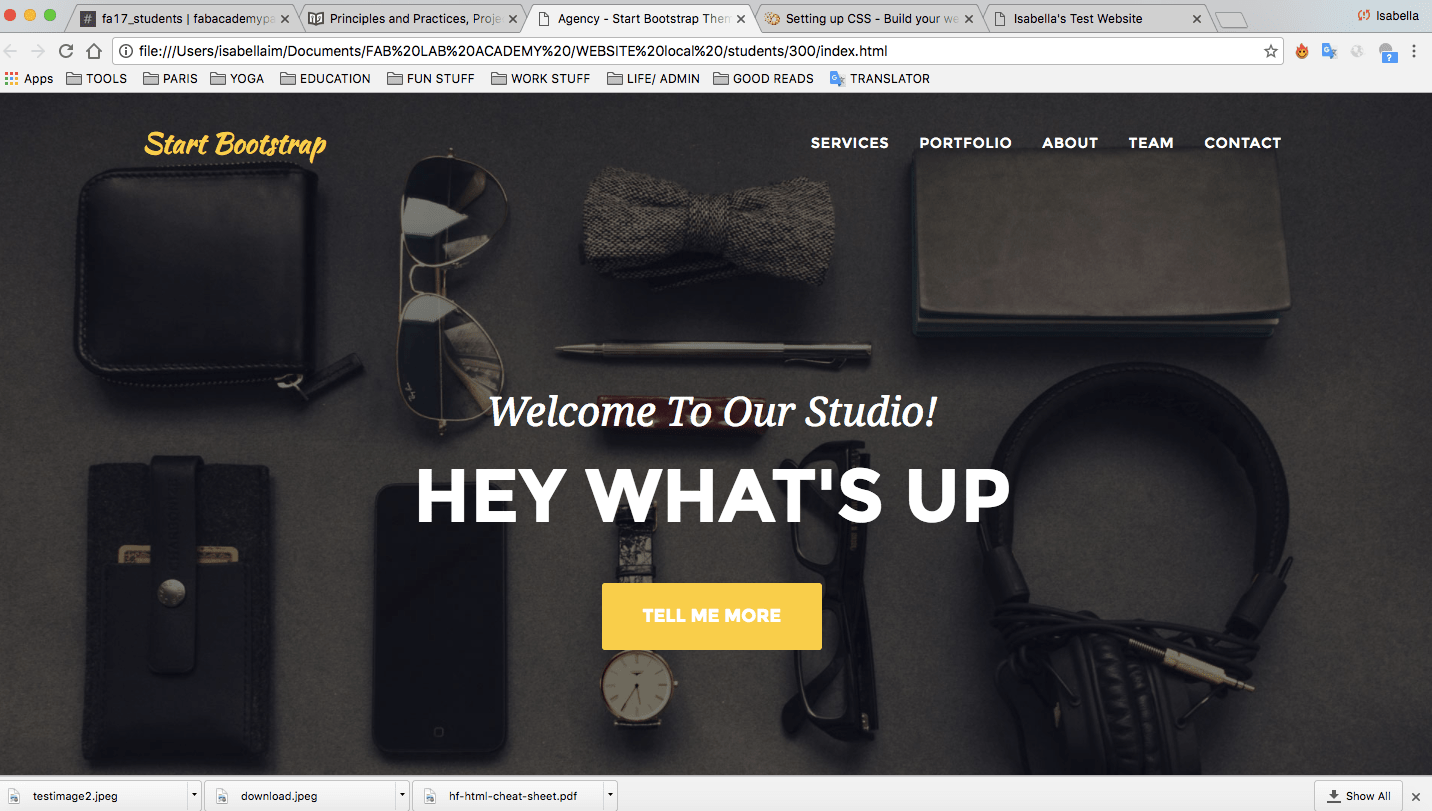
Find the Agency theme template I used from Bootstrap here: Bootstrap Agency Theme Template
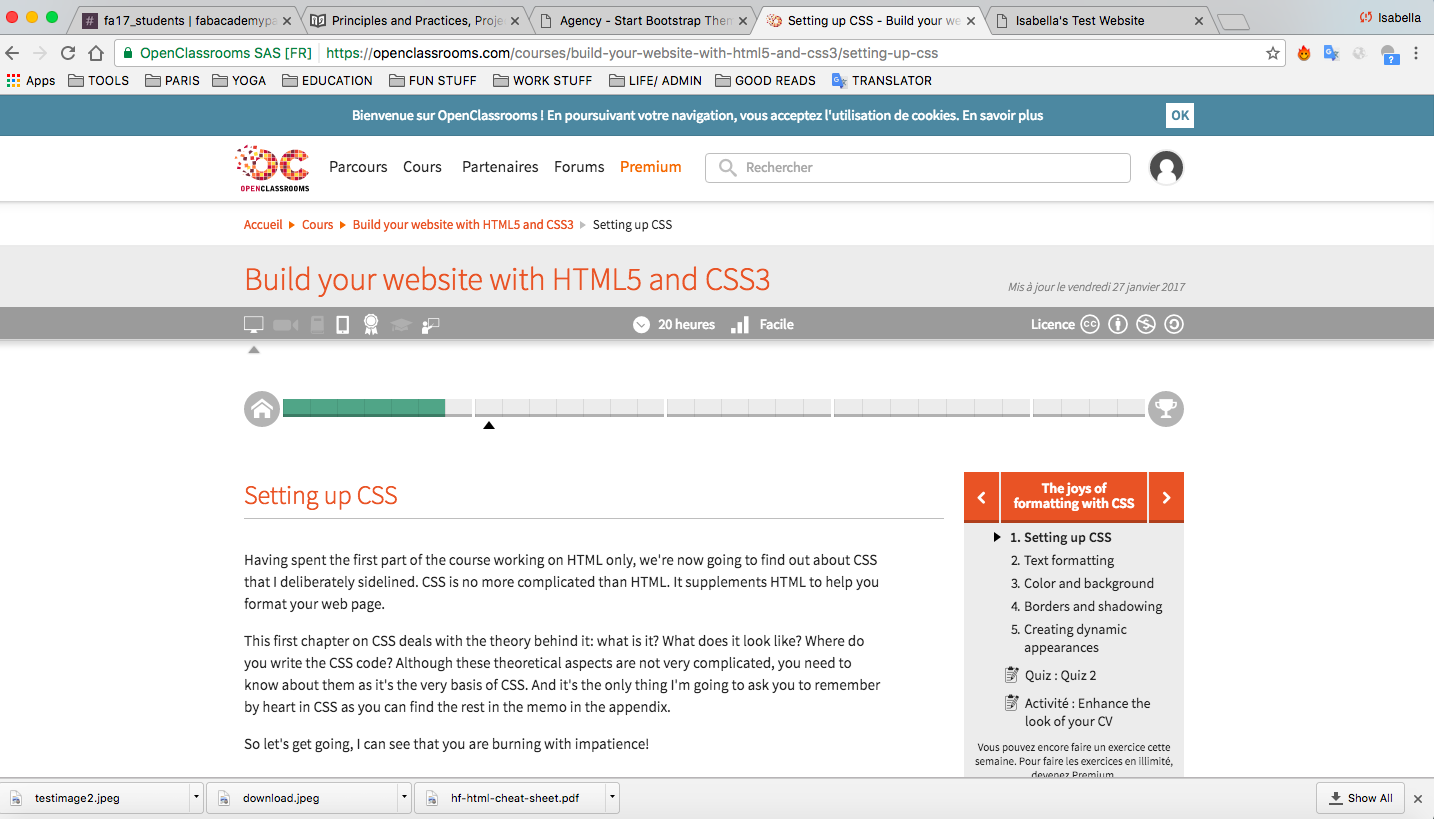
Although it took longer than just diving into changing the existing Agency Bootstrap template, I decided to first build a practice website in order to grasp the foundations of HTML5 and CSS3.
This is my favorite tutorial was by Open Classrooms:
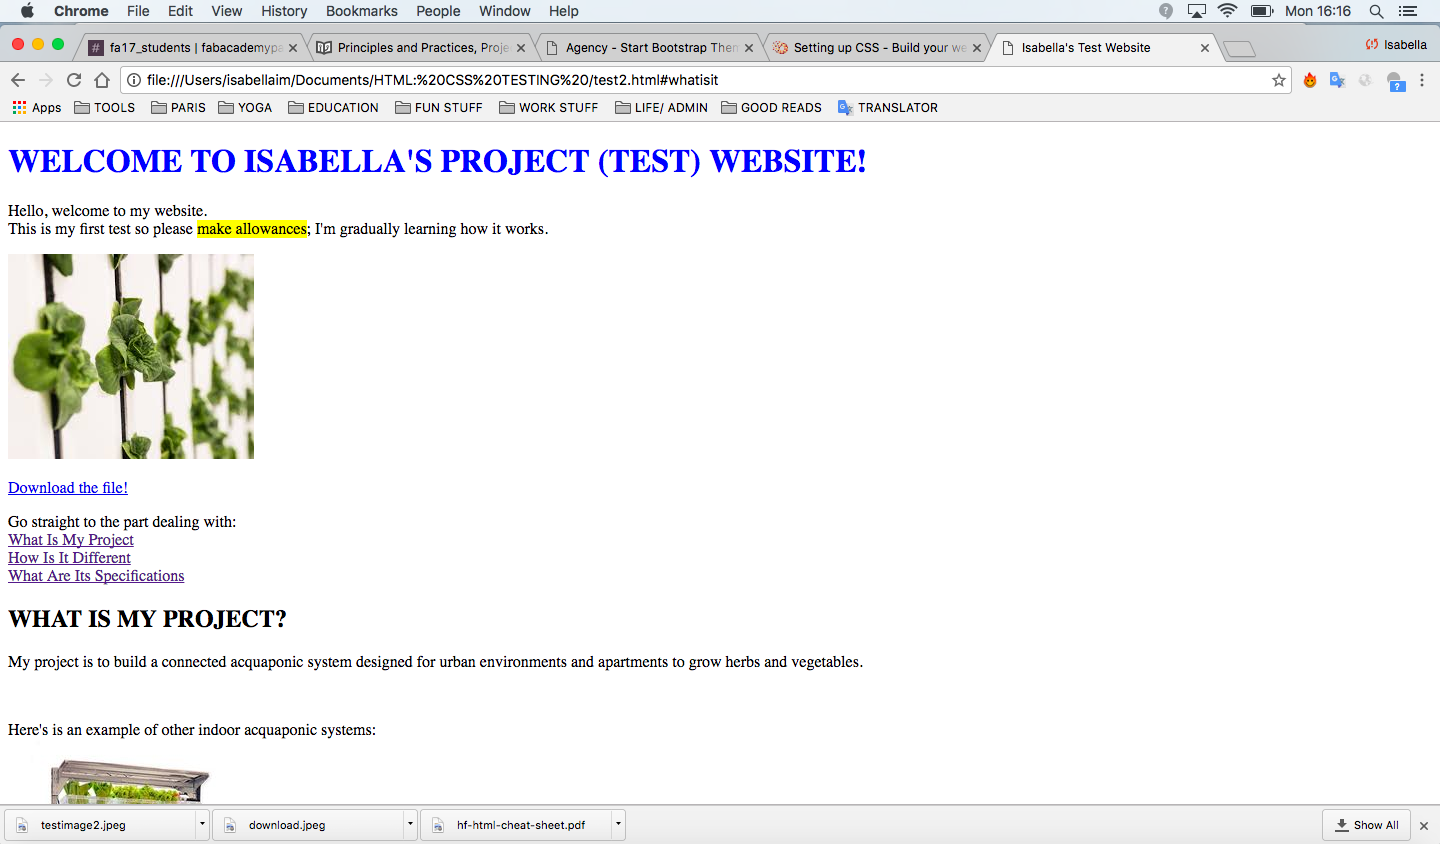
 Here you can see some versions of my test website that I learned to make from Open Classrooms:
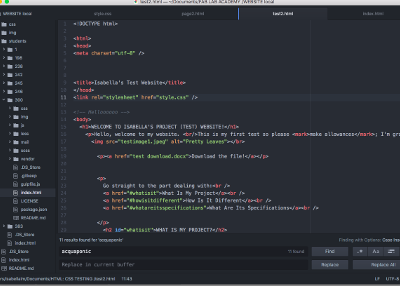
This is the code behind my test website on Atom:
Then, I started to play around with changing and adding code to the Agency template, to customize it and start creating my personal site.
Here you can see some of my first changes to the Agency theme template:

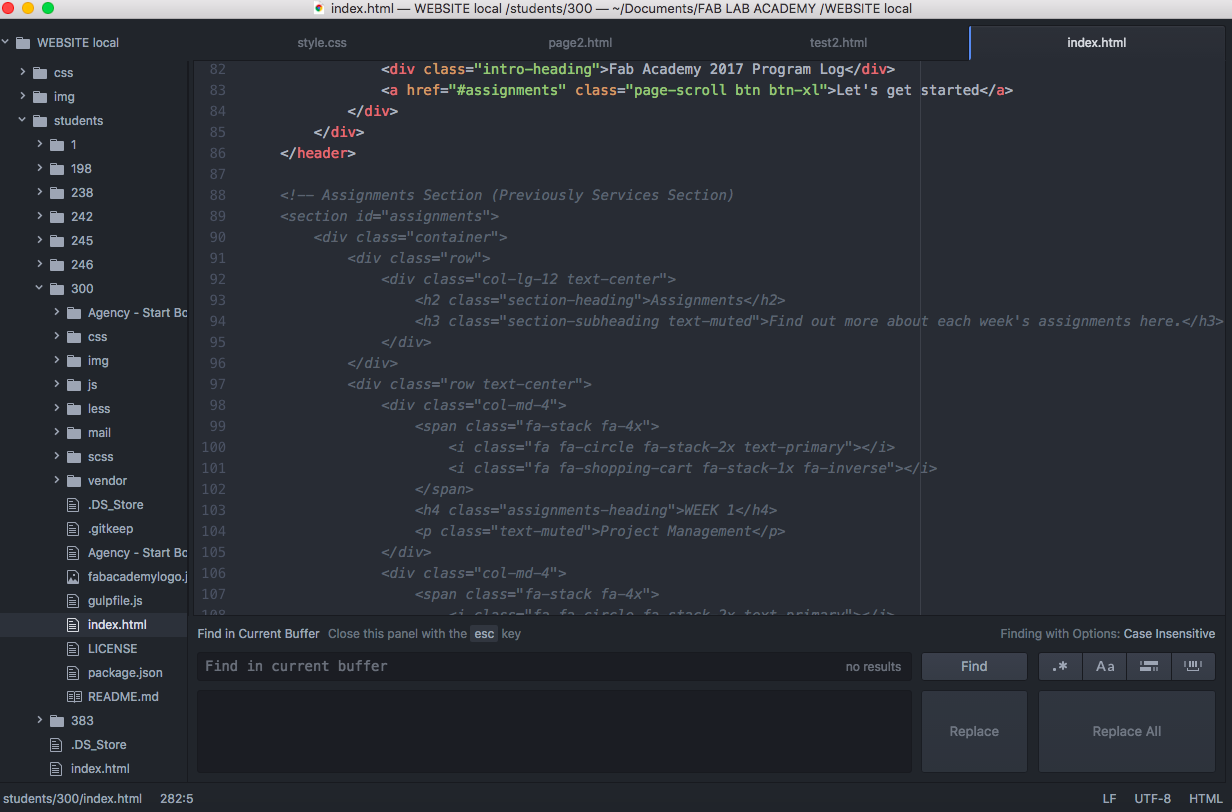
This is some code behind a few edits to the Agency template on Atom:
Finishing Touches
I took the last two days to make numerous changes to my website to personalize the layout and sections to fit my needs. I ended up collapsing the original "Services" section in the template and focused on the customizing the "Portfolio" and "About" sections instead. Now, you can see that the original "Portfolio" section is being used for "Assignments" and the "About" section is used for the "Final Project" timeline.
See the new homepage and sections of my site below:

Final Project Proposal
When I began the Fab Academy program I already had a final project idea in mind. I've wanted to create a smart indoor aquaponic system with automation capabilities for a few years, so I didn't need to take too much time to brainstorm project ideas.
I did research on past Fab Academy student projects on the subject of acquaponics to see how my project could differ. You can find links to the past students projects who I researched this week:
James Akumu Jia-Hao Chang Lina Monaco Sander van Villet Paul Groneveld Guillaume Teyssie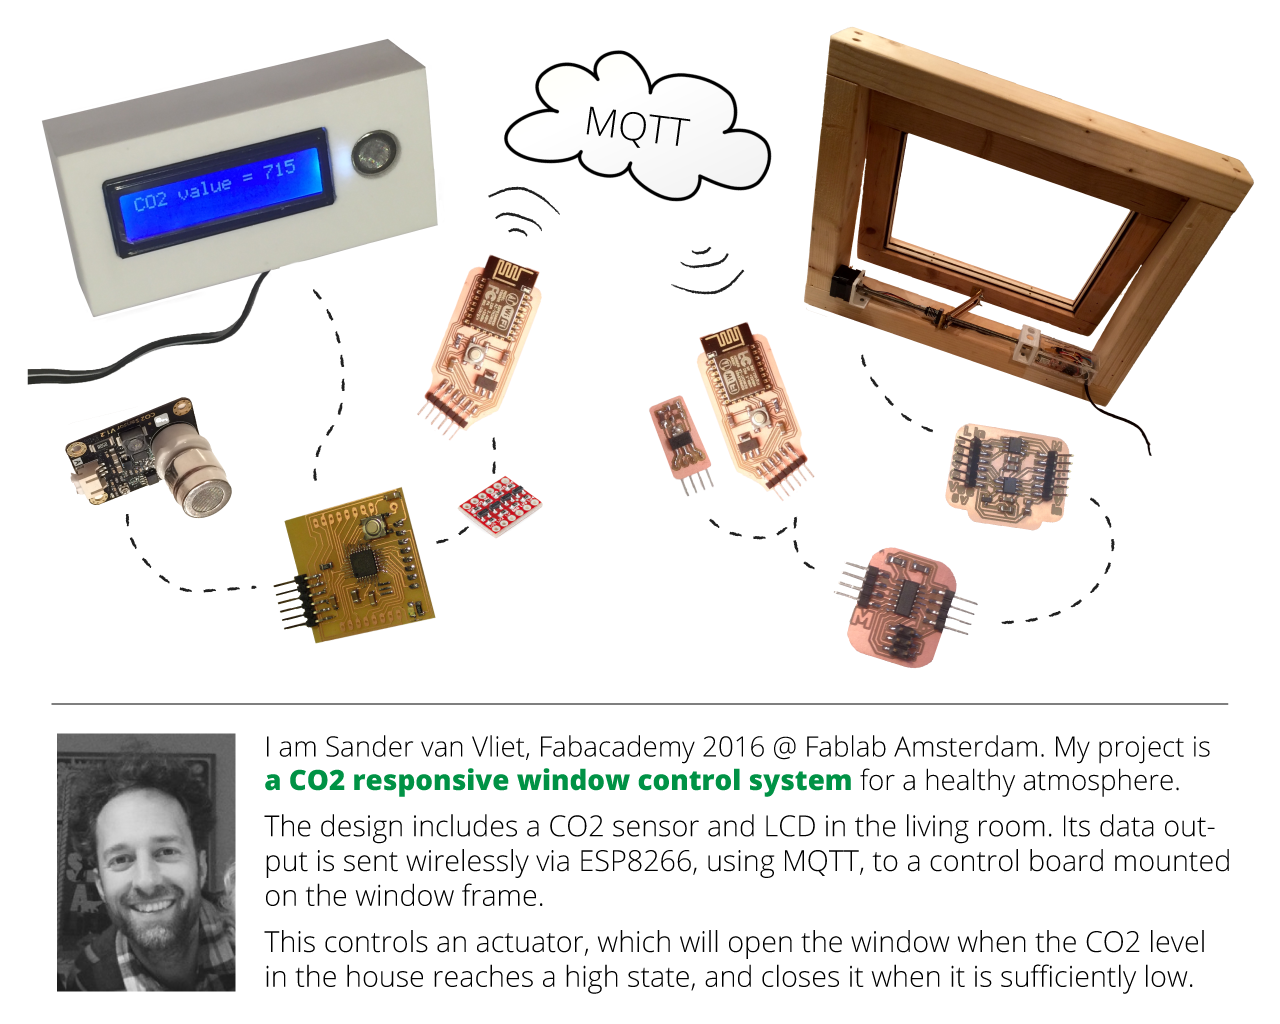
Find out more about my final project idea in the Final Project section!