Assignments
Find out more about each week's assignment here.
WEEK 1
Project Management
WEEK 2
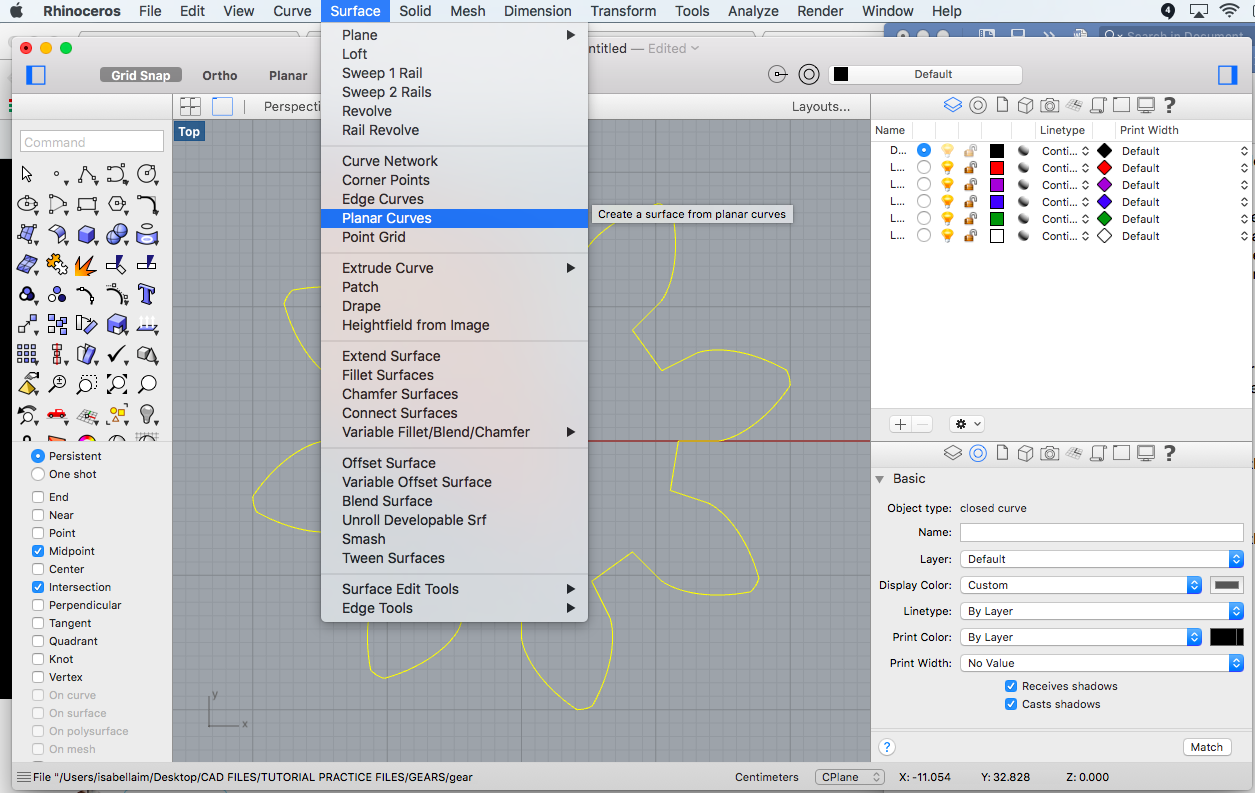
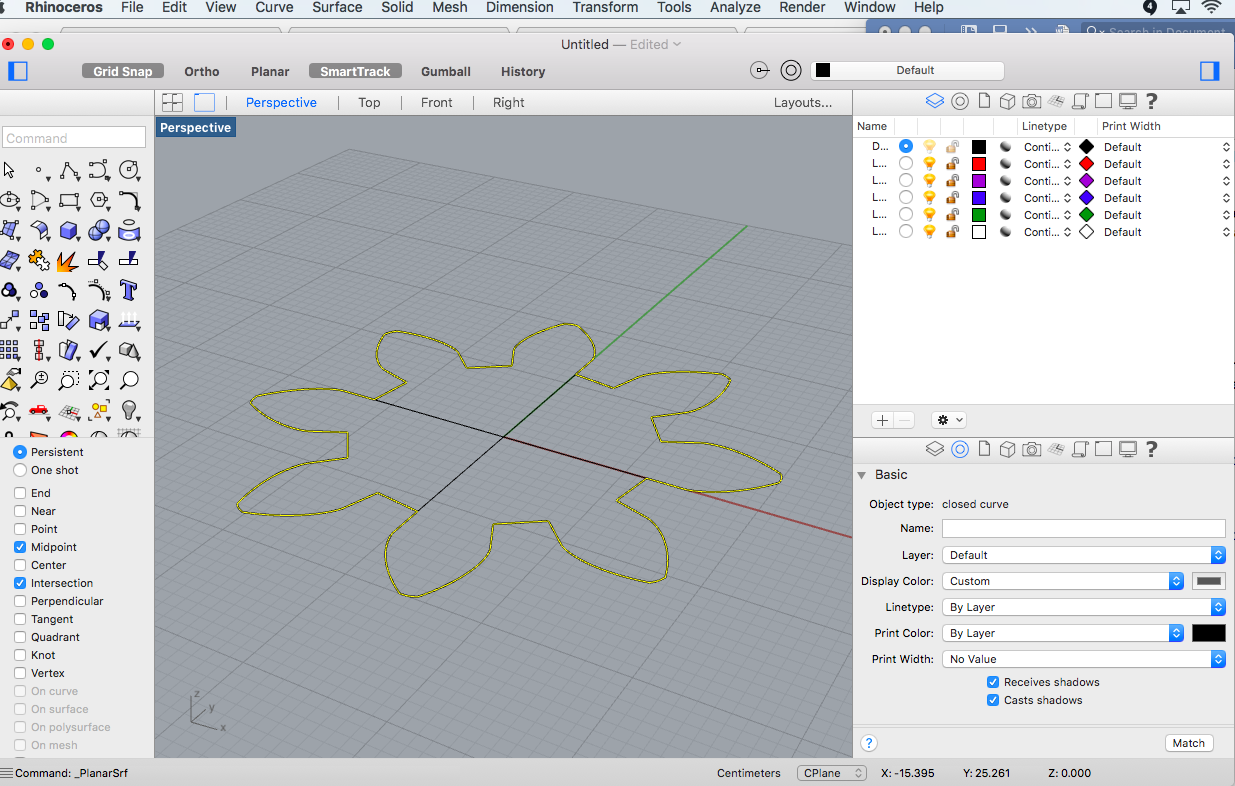
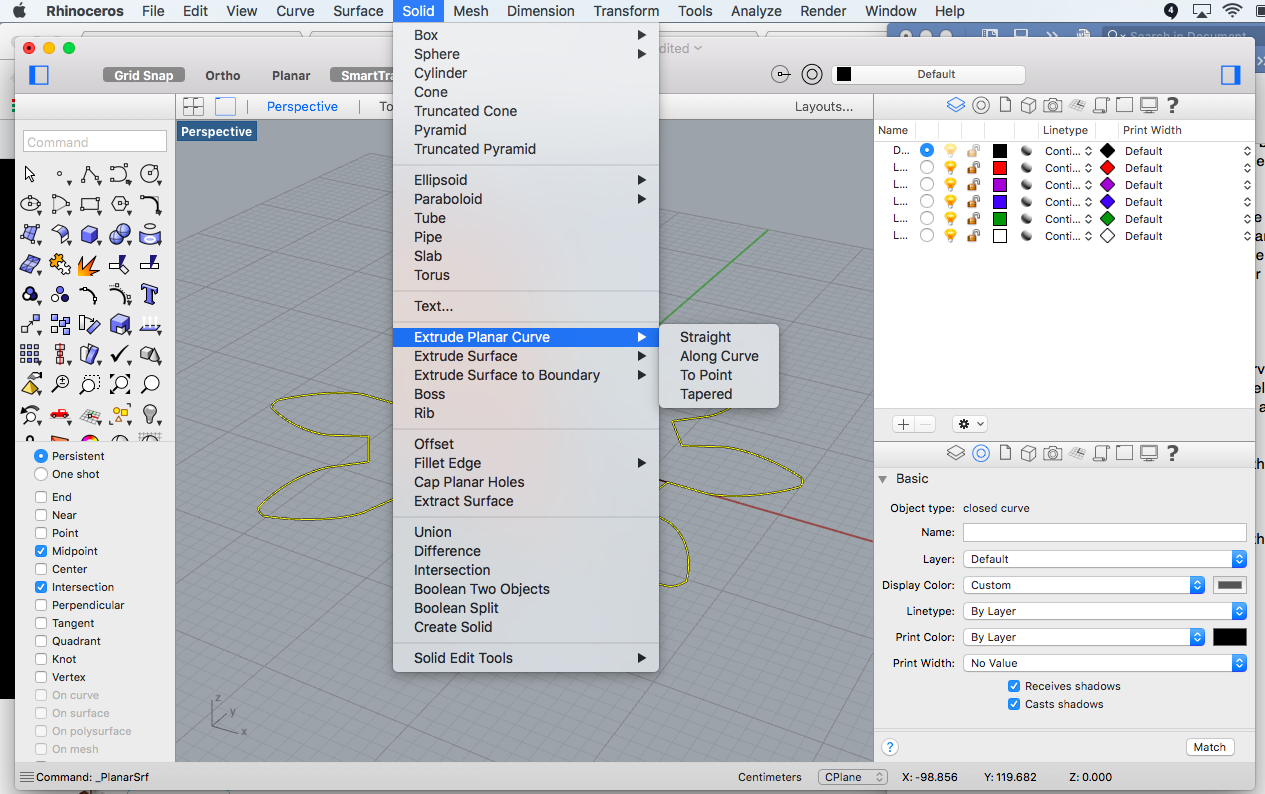
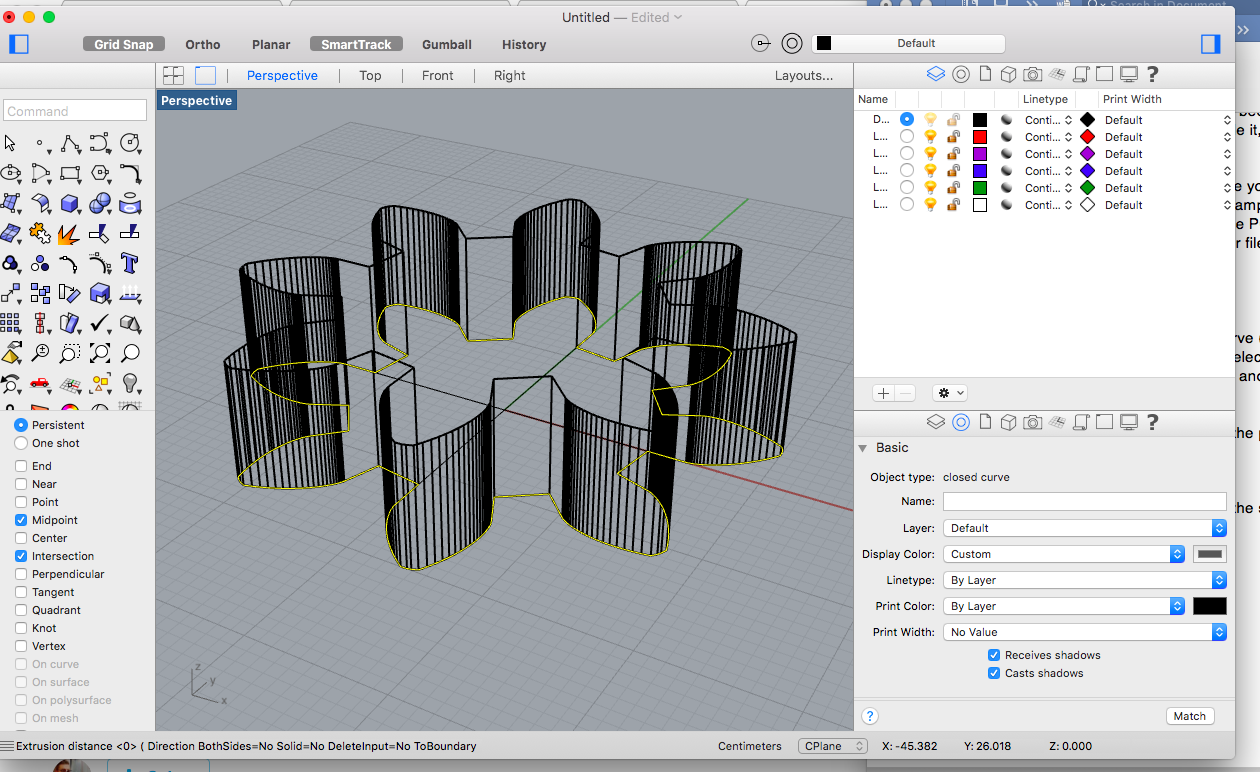
Computer-Aided Design
WEEK 3
Computer-Controlled Cutting
WEEK 4
Electronics Production
WEEK 5
3D Scanning and Printing
WEEK 6
Electronics Design

WEEK 7
Computer-Controlled Machining
WEEK 8
Embedded Programming
WEEK 9
Mechanical Design
WEEK 10
Machine Design
WEEK 11
Input Devices
WEEK 12
Molding and Casting
WEEK 13
Output Devices
WEEK 14
Composites
WEEK 15
Networking and Communications
WEEK 16
Interface & Application Programming
WEEK 17
Applications & Implications
WEEK 18
Invention, Intellectual Property, Income
WEEK 19
Project Development
Final Project
Learn about the creation process for my final project below.
-

January 2017
Ideation
My project is to build a connected acquaponic system designed for urban environments and apartments to grow herbs and vegetables at home.
Read More -
February- March 2017
Design
COMING SOON!
Read More -
April- May 2017
Electronics/ Mechanics
COMING SOON!
Read More -
May- June 2017
Prototyping
COMING SOON!
Read More -
Final
Presentation
ABOUT ME
Find out more about me and how to get in touch below!
Isabella Iglesias-Musachio
Maker Space Manager/ Former TechShop France Director of Operations
isabella.iglesiasmusachio@gmail.com
06 12 18 11 12
I started out my career in the maker movement as a General Manager for TechShop Inc. where I opened and managed the latest TechShop in Washington, D.C. for two years. I was then recruited by Leroy Merlin to launch and manage the first international TechShop in France. One and a half years ago I packed my bags and moved to Paris to start a new adventure, ready to build maker spaces in a whole new environment.
This year I decided to take a break from management to focus on building my technical skills and focusing on sustainable development projects, which brought me to the Fab Academy!
At the moment I'm consulting for various innovation labs on the development of fab labs and maker spaces internationally.
Feel free to email me for further information!

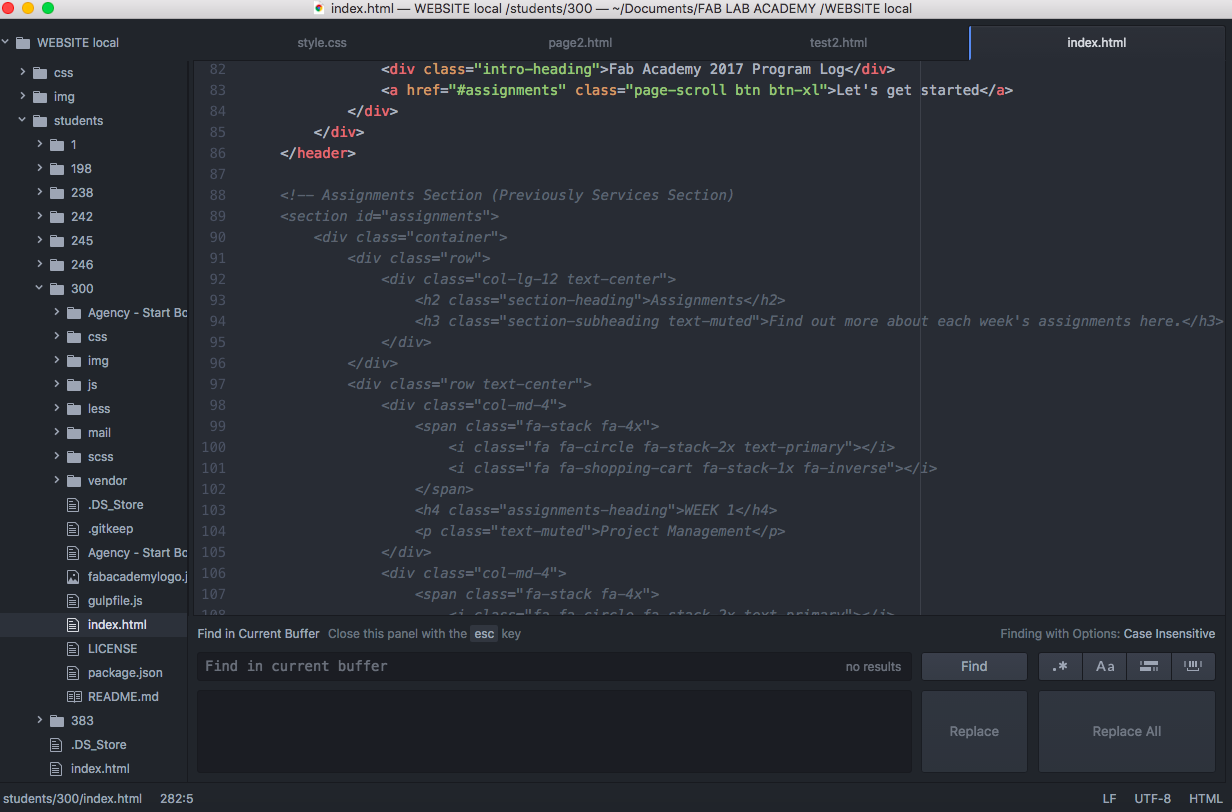
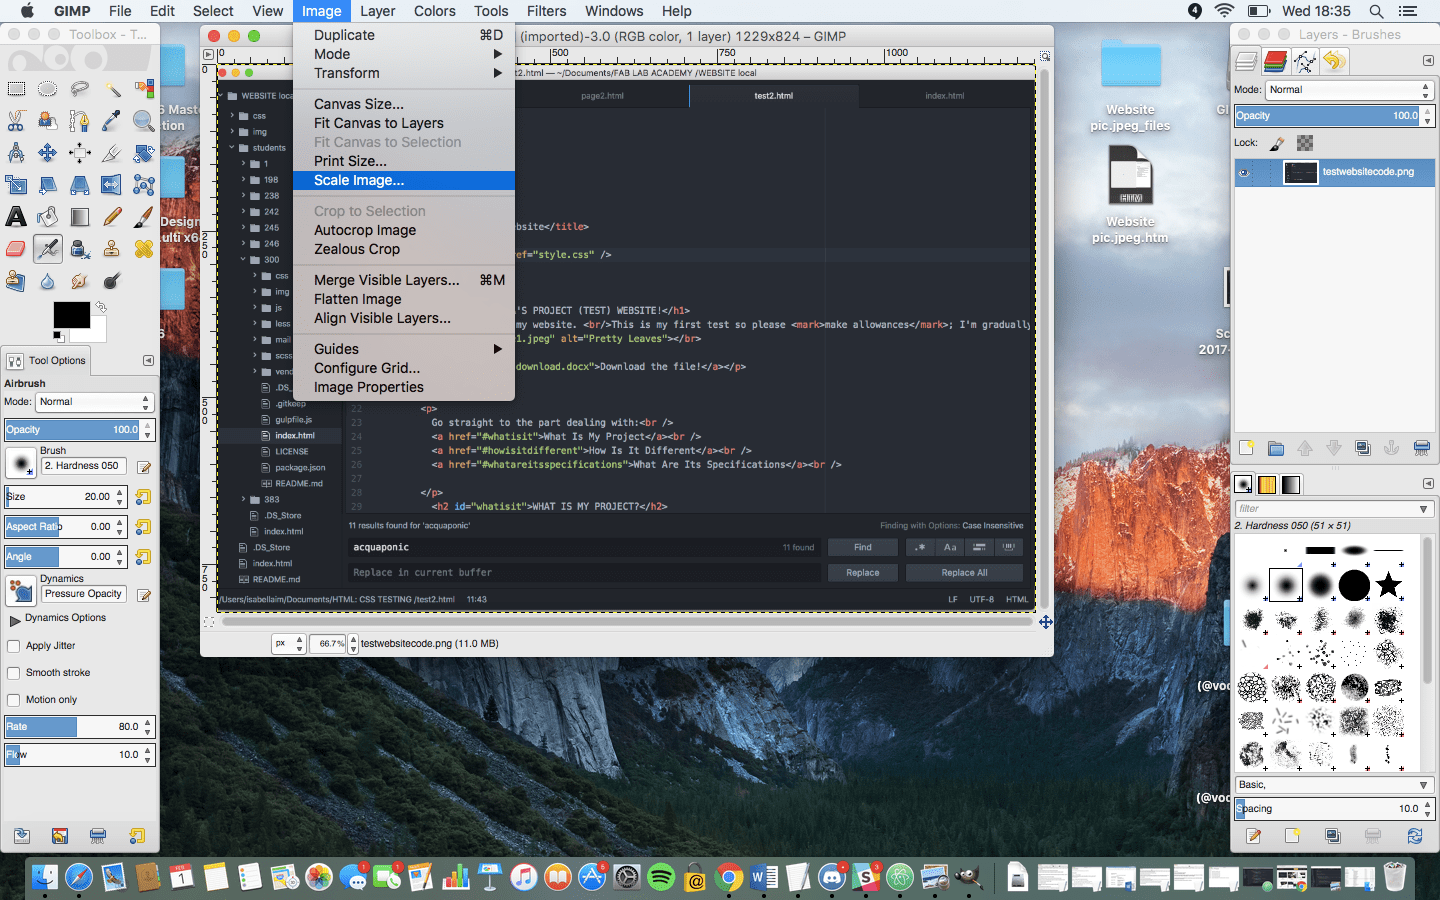
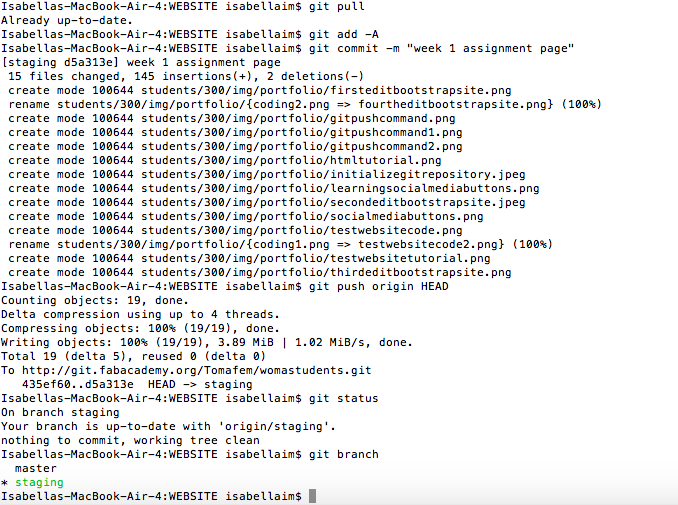 You can find the steps I took to save the local version before pushing it to the class repository below:
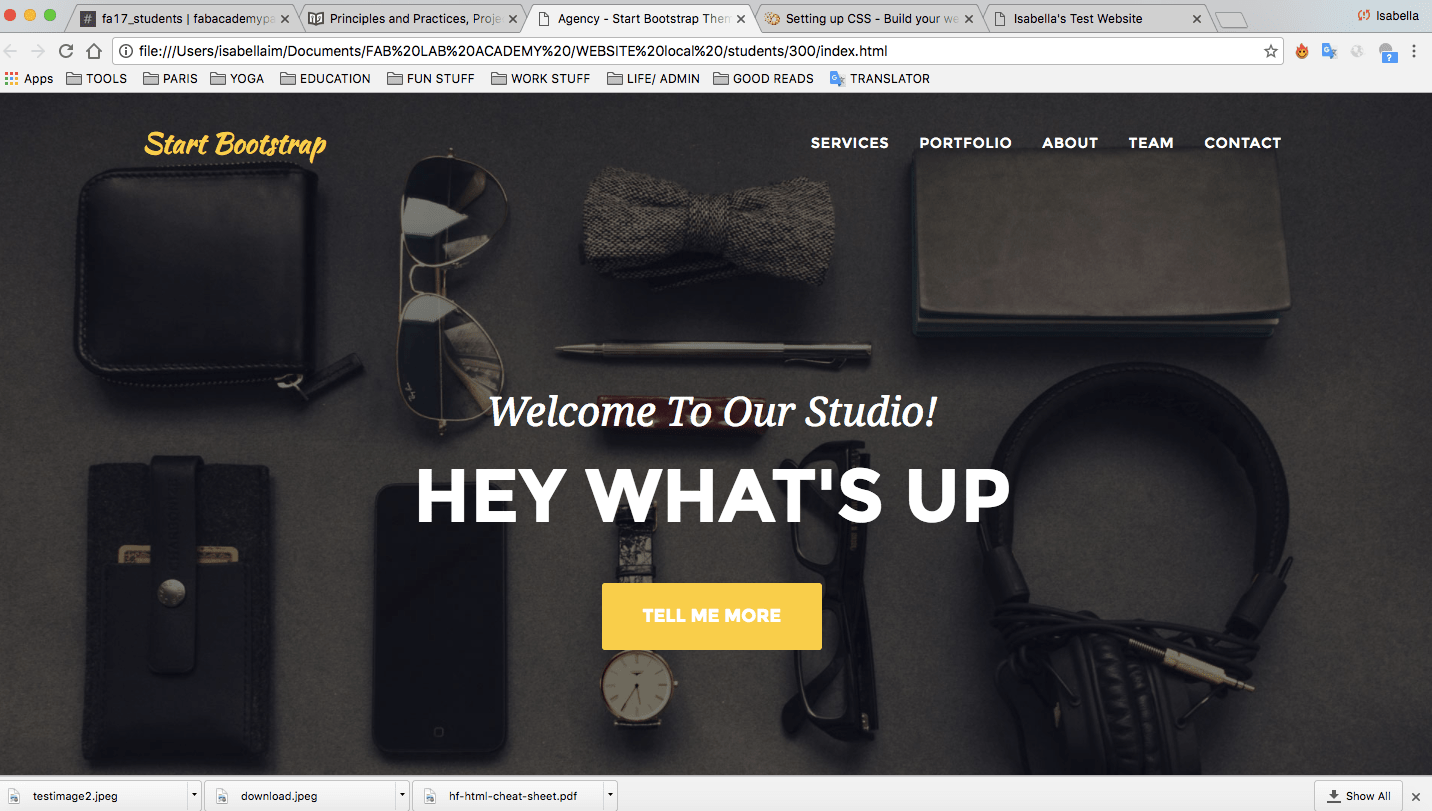
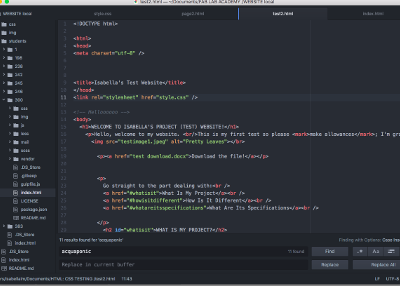
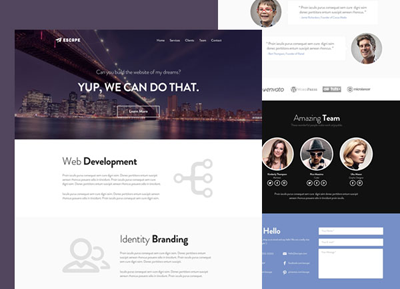
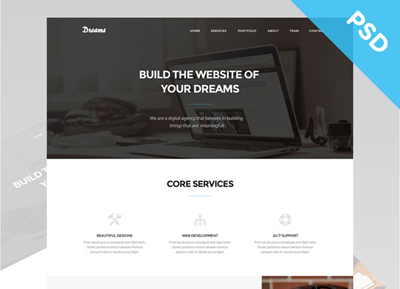
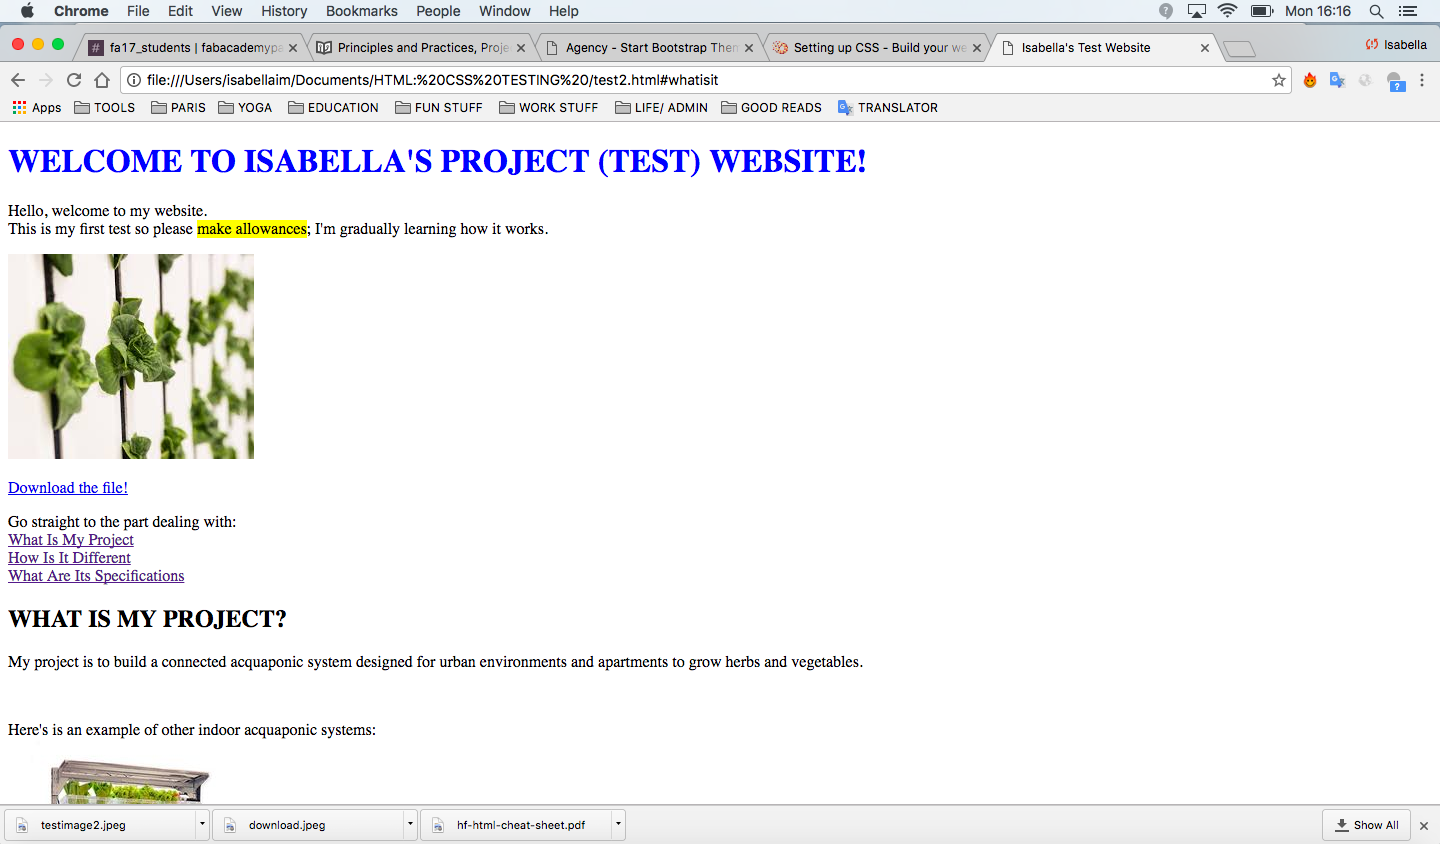
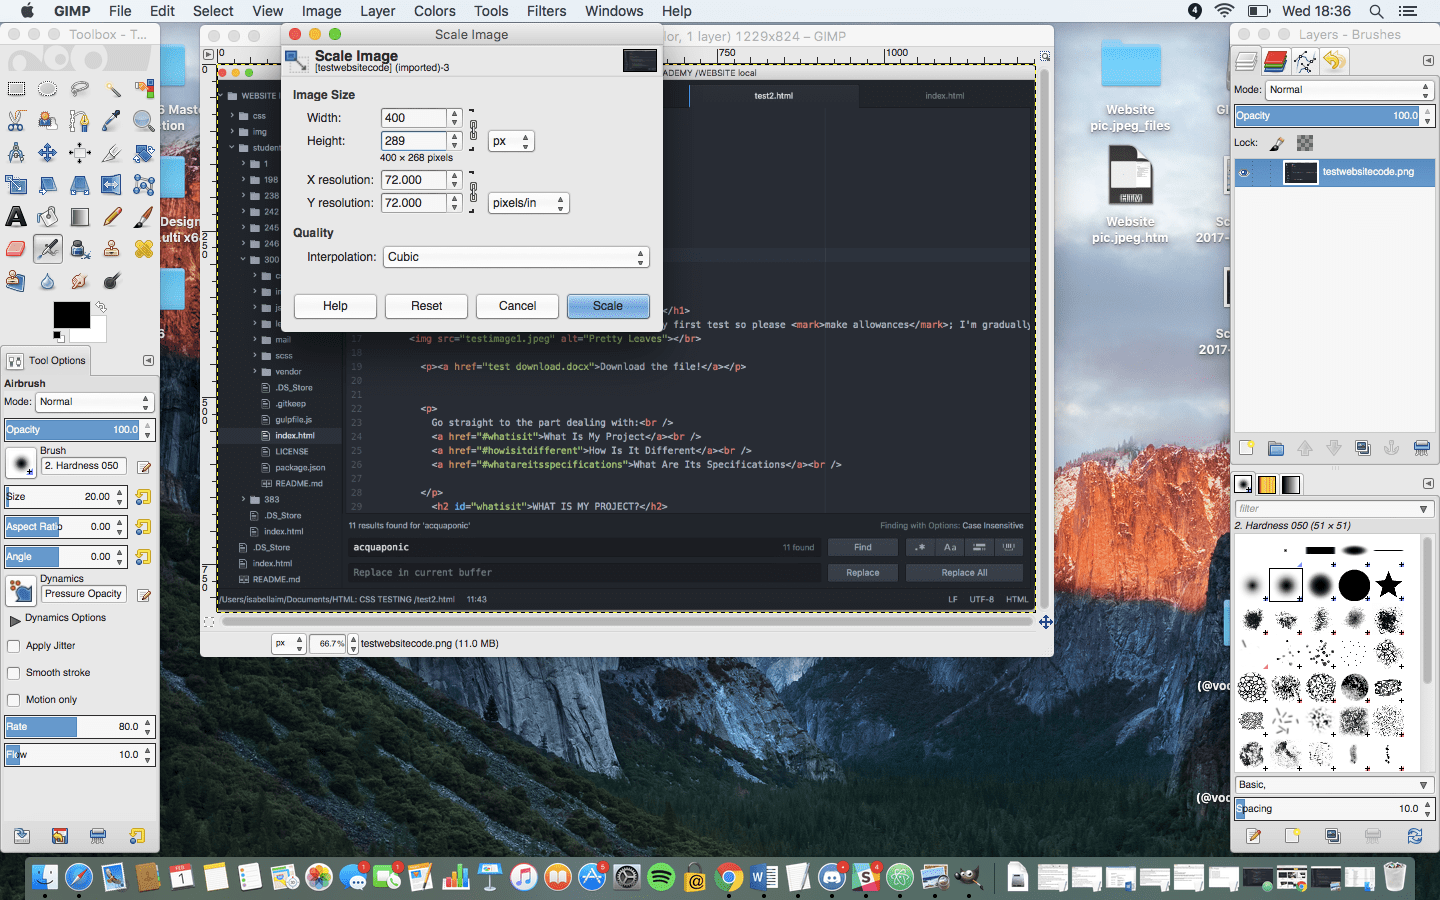
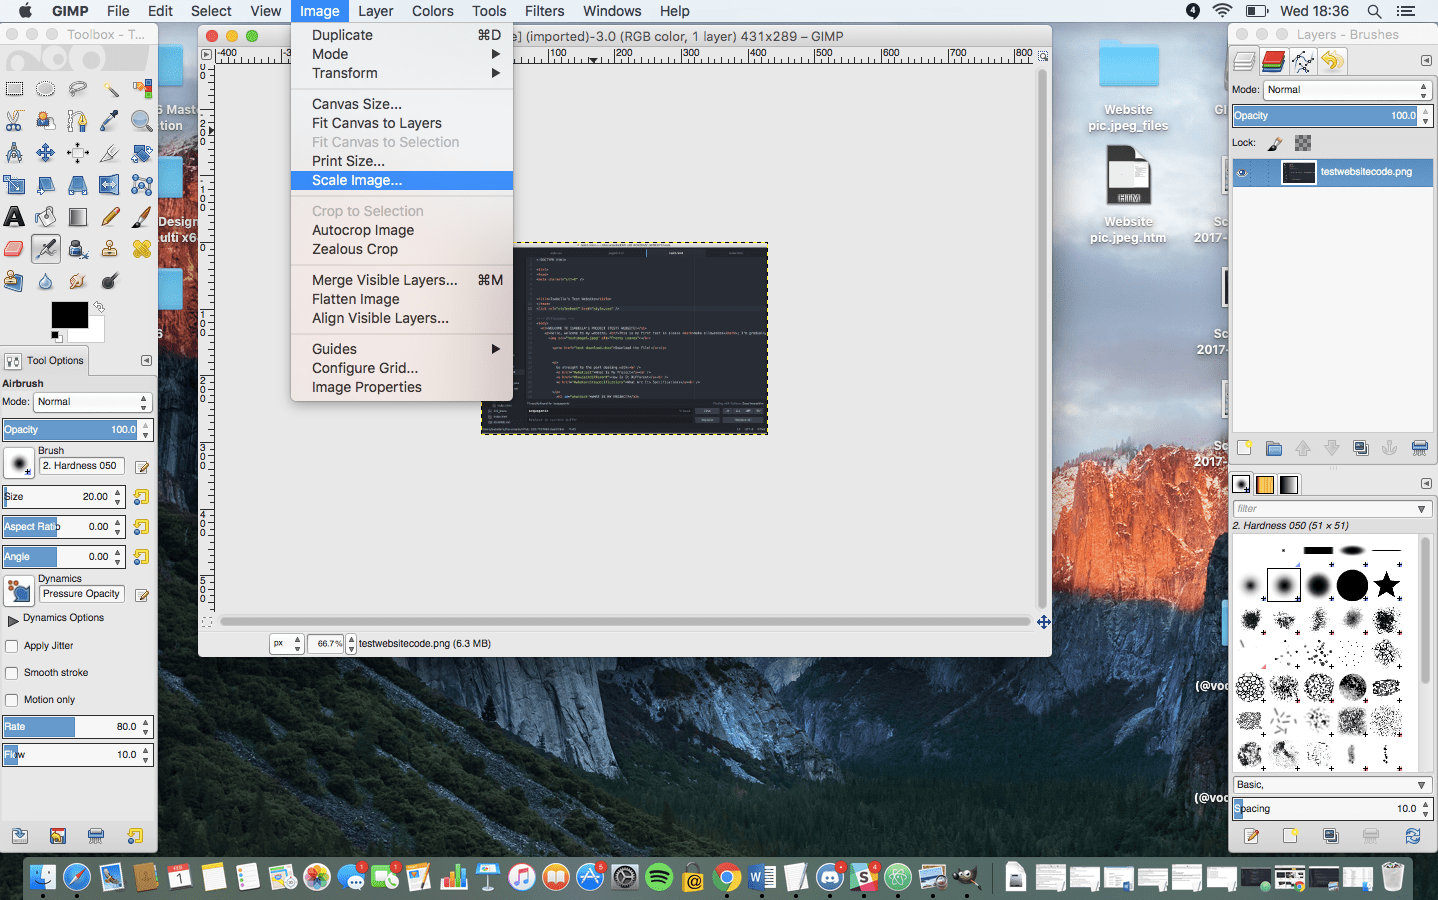
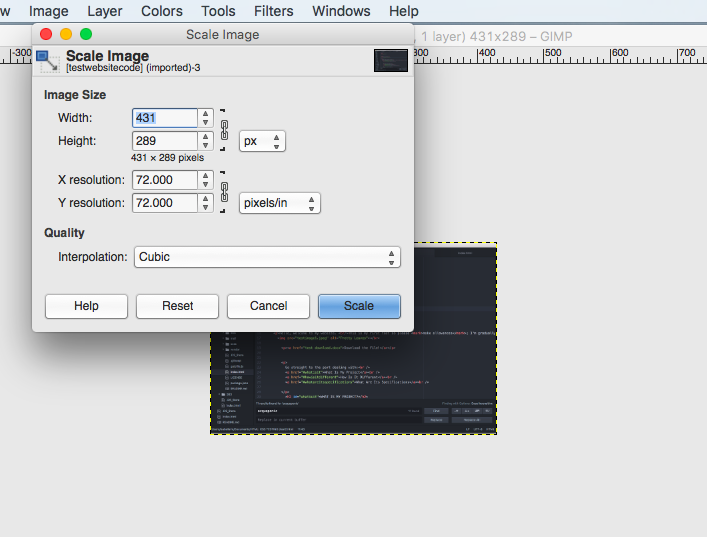
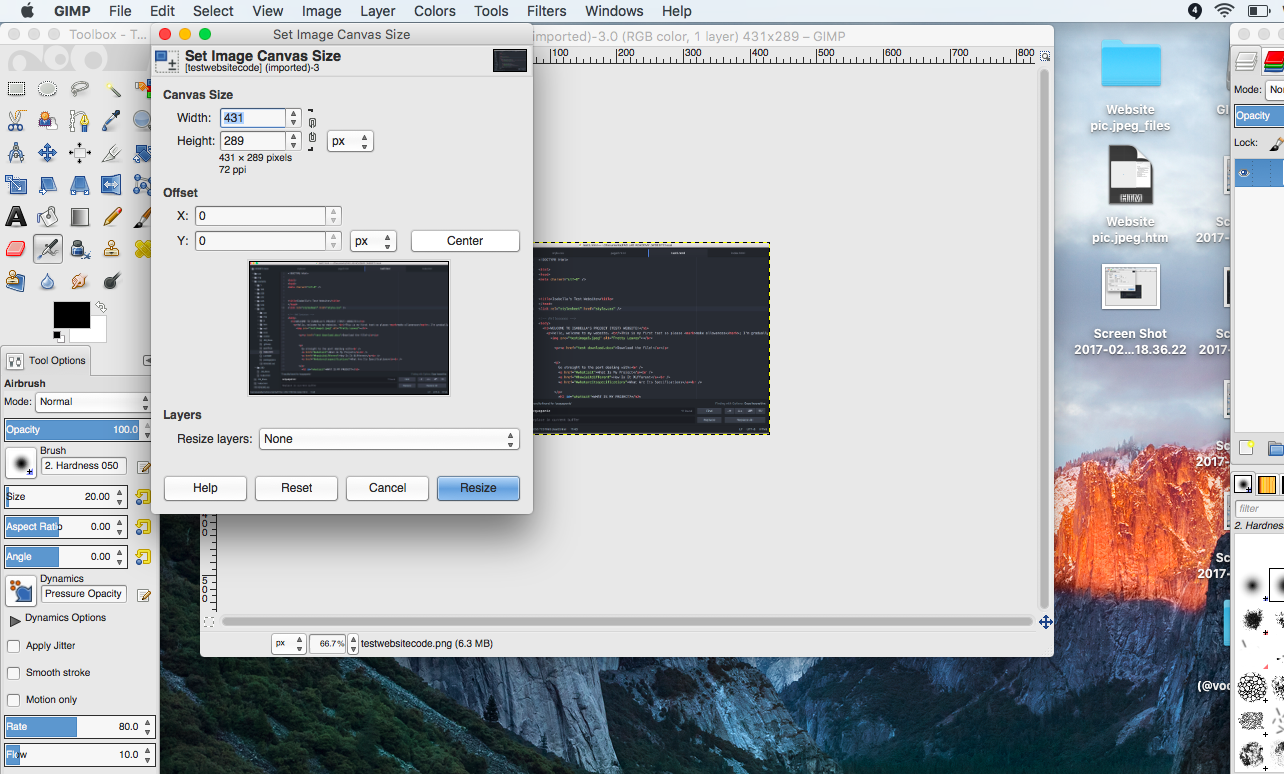
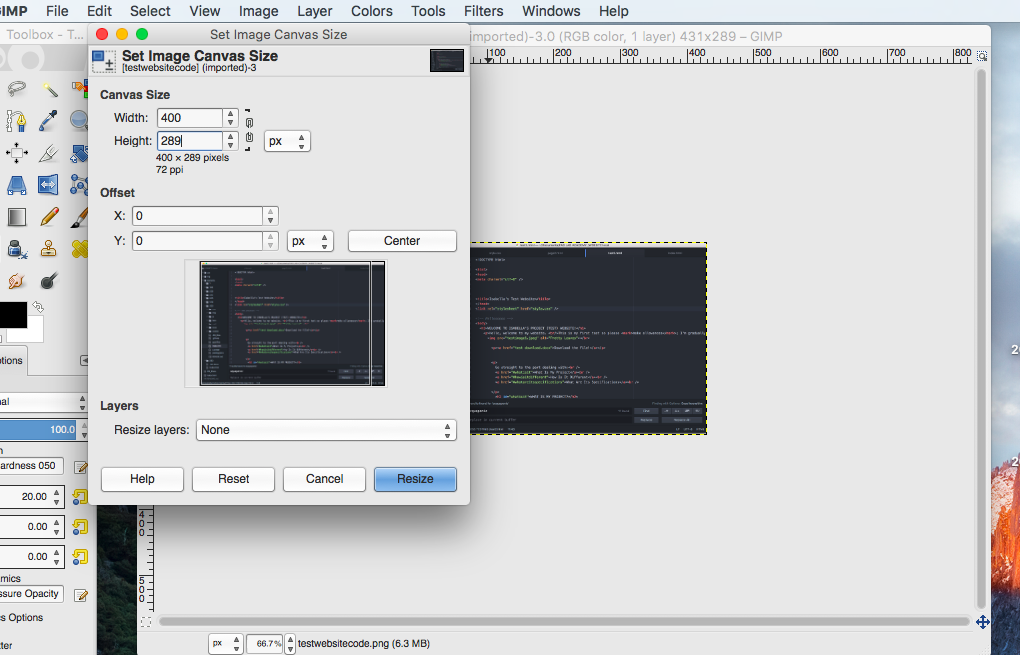
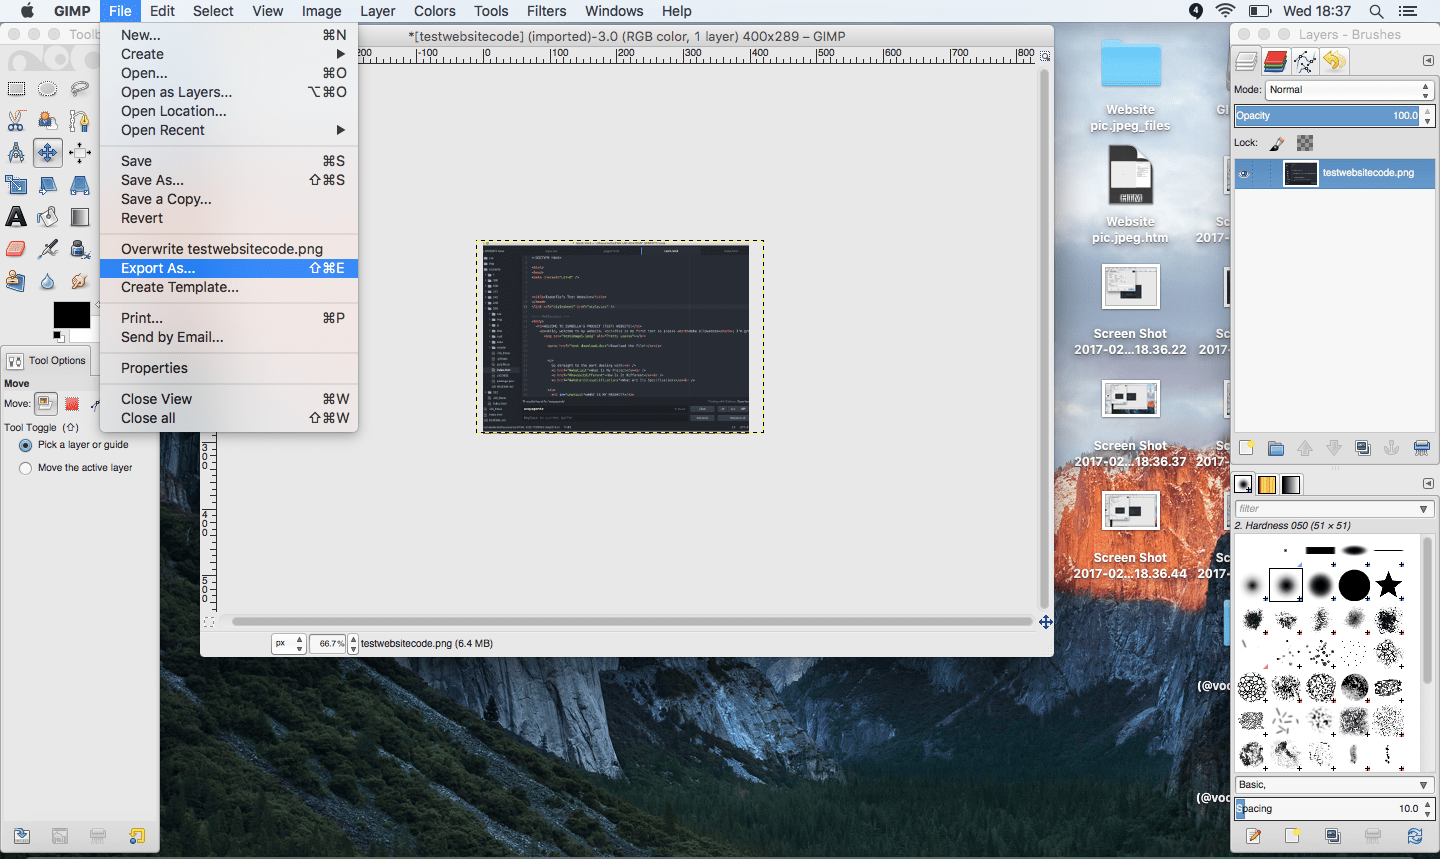
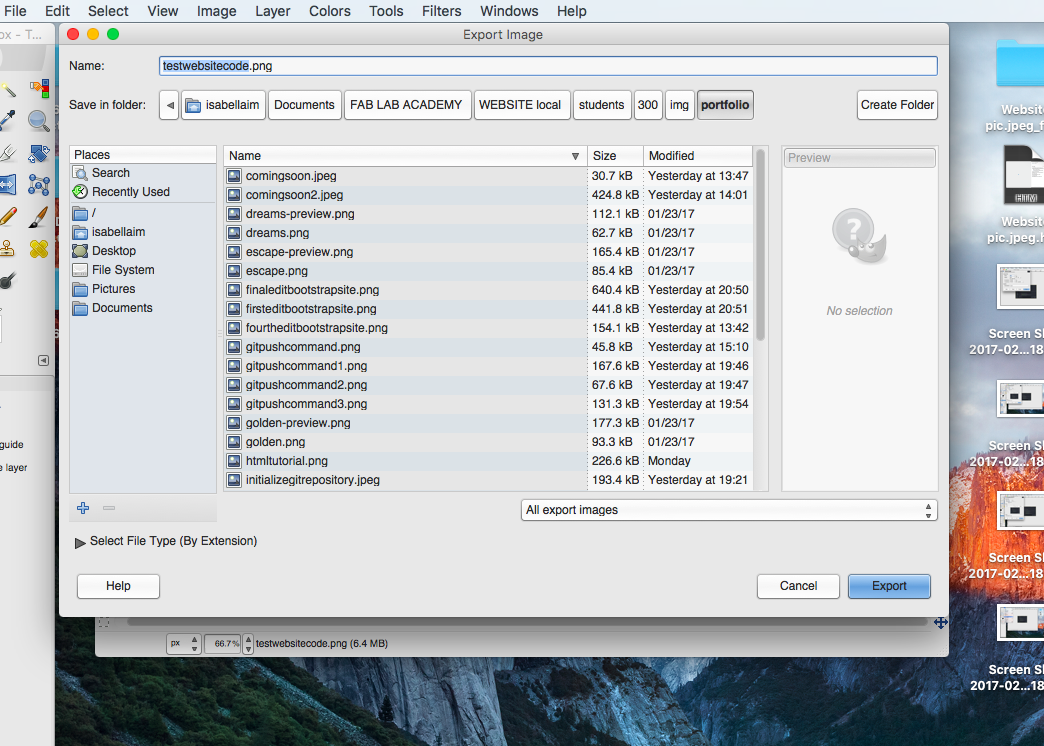
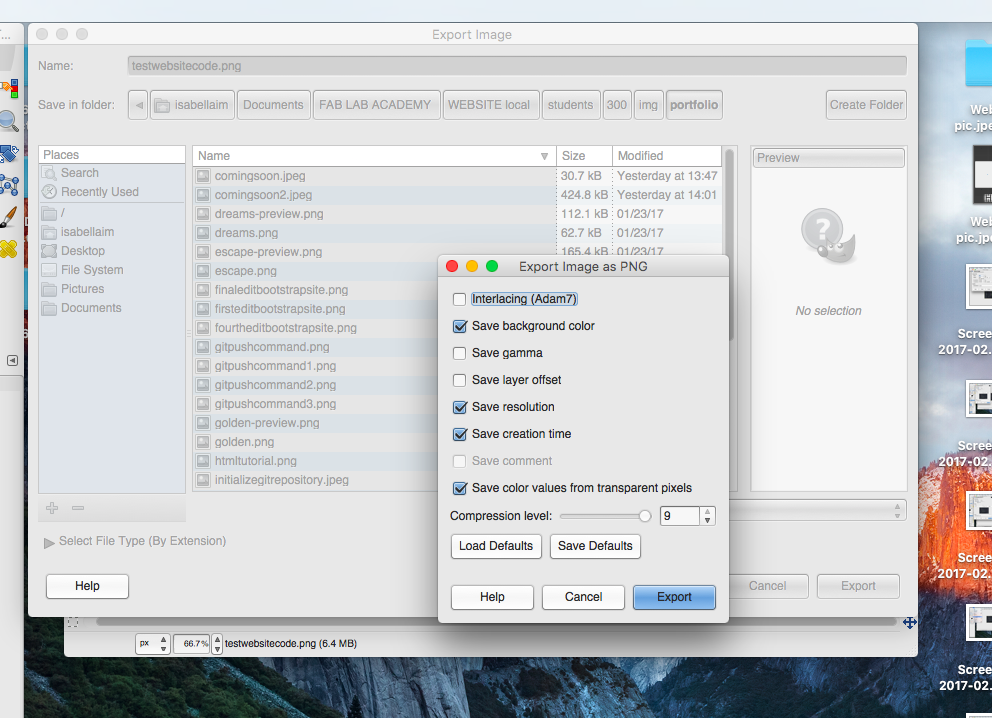
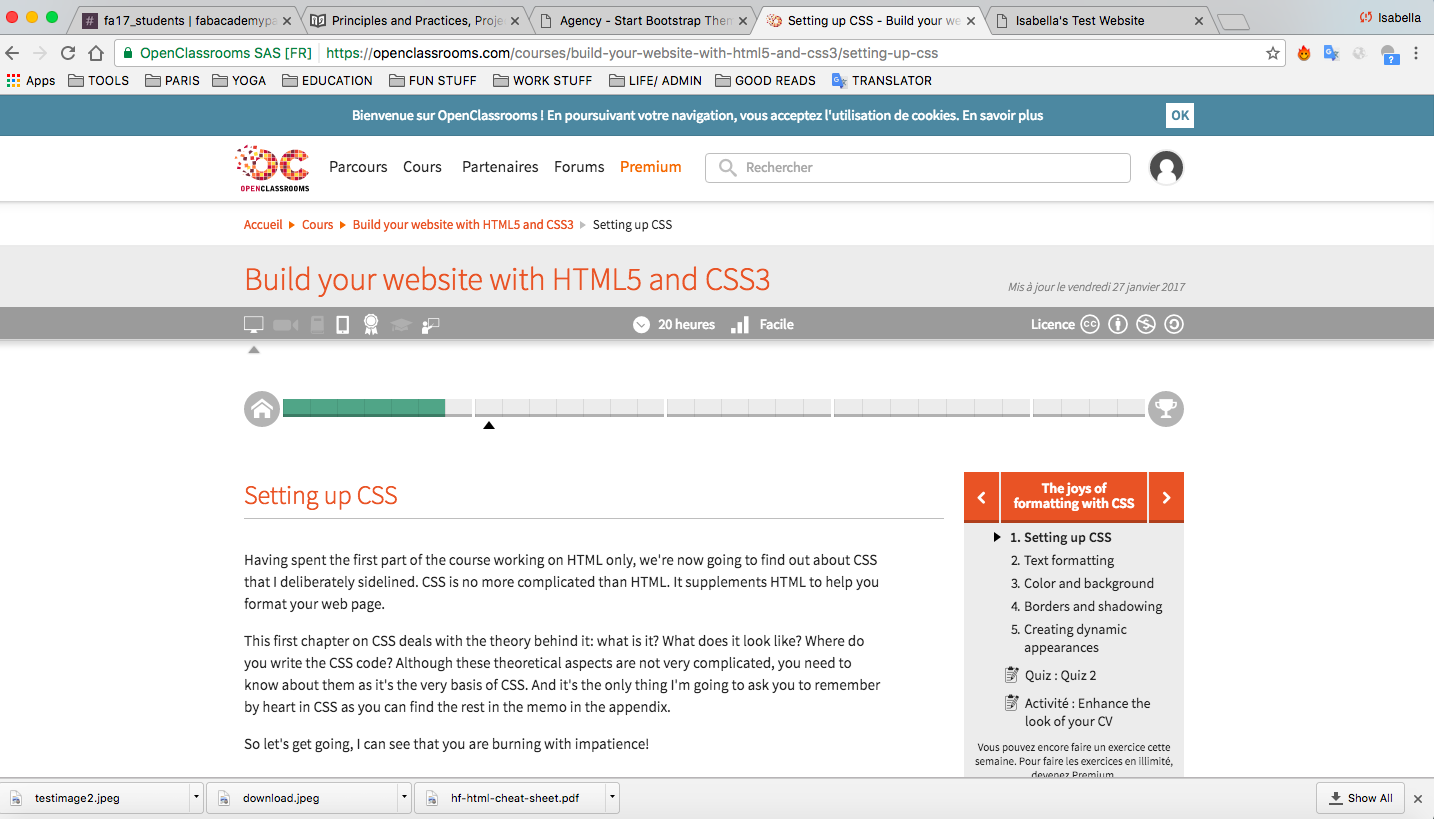 Here you can see some versions of my test website that I learned to make from Open Classrooms:


/step1.png)
/step2.png)
/step3.png)
/step4.png)
/step5.png)
/step6.png)
/step7.png)
/step8.png)
/step9.png)
/step10.png)
/step11.png)
/step12.png)
