Rolando Maroño Vazquez
Week 1: Principles and practices
The first assignment is to create a web page in which I would be documenting everything. The professor Gershenfeld in his lecture show us many options to do this. Here in FabLab Puebla we picked Adobe Muse to create our web page. I consider Adobe Muse a very useful and easy option to web designing. Is a very intuitive software and works like a Powerpoint, you drag the elements and sort them out easily.
When you open Adobe Muse you will need to fill the specifications of size of your web page. You can see it in the image below.
I picked up the computer layout type, this gives us the advantage of high definition and a big size of screen development. This window has many options to be customized but the ones that really matters are the widht size, this is because this option will determine the screen size that will occupy, we want it to be higher than 1200 pixels. The height size doesn't matter because muse will enlarge the working space when you insert more elements.
Muse main interface is made by two main zones. The pages zones and the master zones. Each zone will be open with one screen already made. In the case of the pages zones, the one already made will be the home page. The one in the masters page will be our template, is in this master zone where I will put my menu, my background colors and some patterns that I picked to give color and shapes to my page. The things that I add or modify in my master page, will be automatically appeared in all of the other pages. In the image below we can see my master page design
In order to pick the colours for my page I used the site www.paletton.com. It's a very intuitive page in which you can pick the contrast, how many colours and your main colour. The page calculate the complementary tones and gives you the RGB codes so you can add them in Adobe Muse.
The next step was to start doing the "About me" Page. I chose my font which is Arial Hebrew black. I picked the color white in order to do contrast with my background colors and palettes.
I plan to add links and other widgets in my pictures later on. In order to push my page into the online servers, I did the next steps.
I had a Macbook so I had trouble installing the Gitbash, I asked a friend to lend me his pc and I did as it follow.
It's not so hard if you follow the steps, you will need to create fablab.io account or an account directly in the fablab Git repository.

I will explain this step by step, but first you need to download GITbash.

Then you must create a SSH Key using the command: ssh-keygen –t rsa –C “email”
We need to choose the address to save it and an optional password.
After that, it will be created a file.
Now we use the commmand Cat to read our key. This command will look up the folder already made in the previous step.
Then we copy the clipboard using the command:
$ clip < -/ .ssh /id_rsa.pub

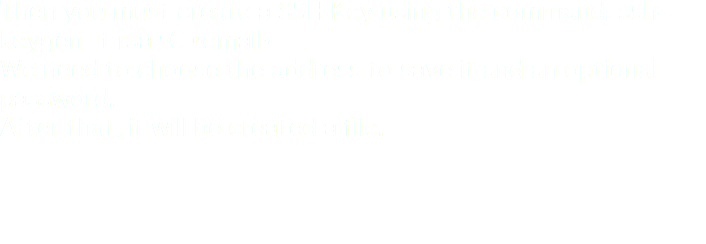
That clipboard will be paste in the GitLab web page, in your session in the SSh Key division, in the add key you will paste that.

Once the key is added and authorized it will be generated like this.

Then we will need the specific folder address of the FabLab Puebla address, that will be added to the Gitbash and then we will be able to clone the content.

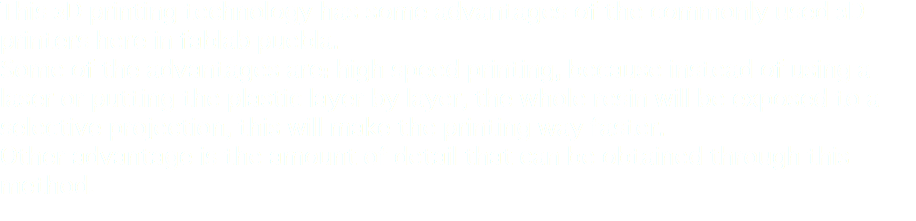
Then we use the command clone in the gitbash, we need the previous address on that command:

$ git clone git@git.fabacademy.org:fabacademy2016/fablabpuebla.git

After this, it will create a folder with all the content of the Fablab puebla folder of the repository. This folder it will be created in the same user folder in which the ssh key folder was created, in the picture below you will see the shh folder and the fablab puebla folder.

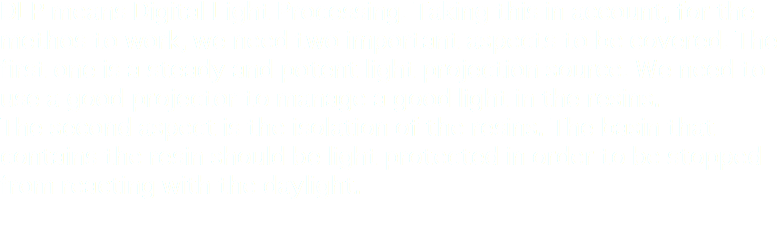
We access to the fablab puebla file, we are going to find other folders and files, we will choose the student file and I will find my folder, my student name is 239.

The image above shows that I accesed the file of the student listed as 239, you can check the list, that's me, Rolando.

In this folder I can upload the files , in this case the page, but first I checked how we upload files with a simple image, a screen shot of this tutorial to be exact.

In Gitbash we move our updated files into the cloned file
Now we use the comand add to add our files into our Git
We use a commit so we can upload the files

After that we will need to configure a name and a mail in order to make changes to the repository, they will also need to add an explanation of what you are changing this registar let the masters have a control of who is changing who because many people from around the world have access to this.

After that, we can push the file we use the command:

$ git push origin master. After that the file will be pushed, as it shows the image below.

As for my final project, the idea is to build a DLP printer.

The picture above shows some files pushed by me.

My project will be to create a 3D printer with the DLP technology. This will be useful tou our fablab because we have only one of those 3D printers and the work area is really small (50mm x 50mm x 50mm). We use it, mainly, to jewelry applications in order to do molds to cast jewelry.
This 3D printing technology has some advantages of the commonly used 3D printers here in fablab puebla. Some of the advantages are: high speed printing, because instead of using a laser or putting the plastic layer by layer, the whole resin will be exposed to a selective projection, this will make the printing way faster. Other advantage is the amount of detail that can be obtained through this method.
DLP means Digital Light Processing. Taking this in account, for the methos to work, we need two important aspects to be covered. The first one is a steady and potent light projection source. We need to use a good projector to manage a good light in the resins.
The second aspect is the isolation of the resins. The basin that contains the resin should be light protected in order to be stopped from reacting with the daylight. This is my workplan:
Week 1: Invrestigation of the background and how the technology works.
Week 2: Investigation of the photo sensible resins. Watching the machine here working.
Week 3: Early desing of the mechanism.
Week 4: Acquiring the projector.
Week 5: Designing the photo isolator basin.
Week 6: Acquiring the rest of the materials.
Week 7: Designing the elctronics.
Week 8: Programming
Week 9: Early testing,
Week 10: Solving the mistakes.
Week 11: Final Testing.

Below we have some pencil drawn sketches that I did to give my self an idea of how the whole mechanic system will work.