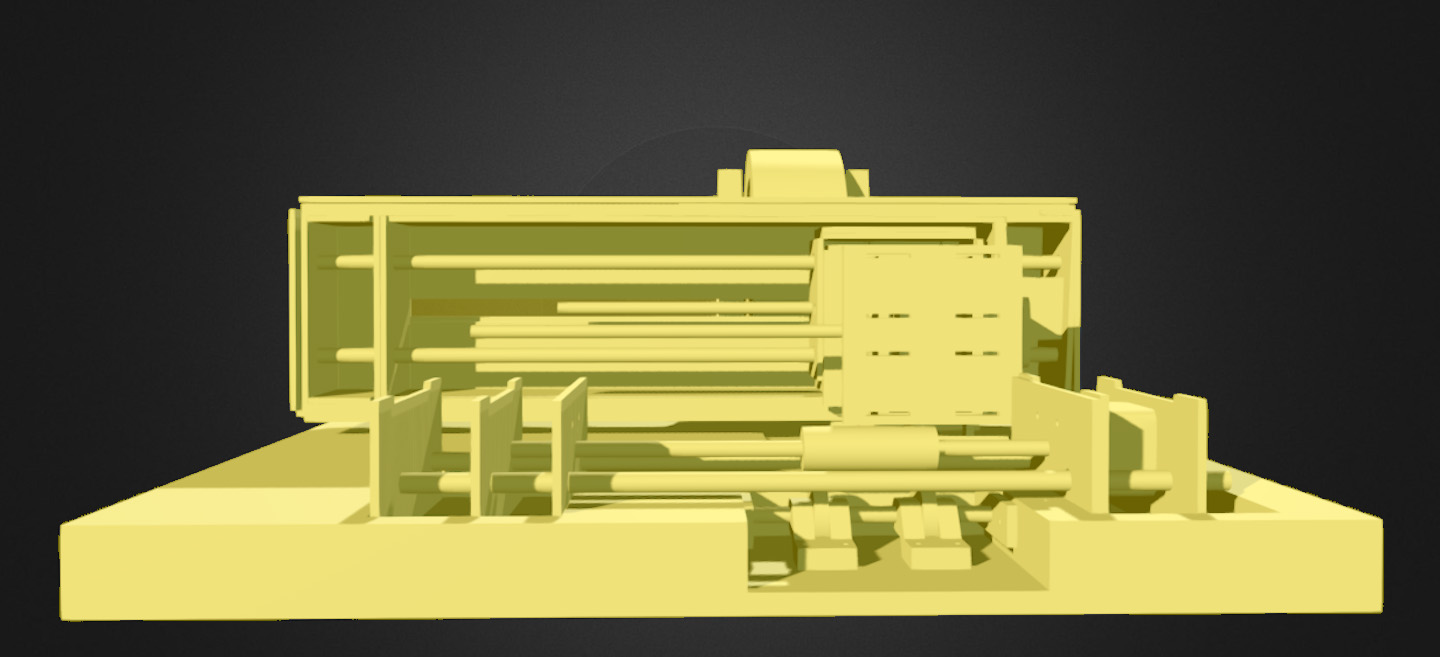
Tests Menu
Testing The Head
The head is by far the element that gave us more problems while
building it and required a big number of tests for it to work correctly.
We had to redesign the rotary part that transforms rotation movement to an upward and
downward movement to make the punch. Here we have a video with the redesigned
part fit together with the head.
Once we assured the movement of the punch vertically, we assembled everything together and test it manually. The first tries, the machine was not making the holes on the paper. What happened all the time was then the punch came down from the head to make the hole on the paper, the force to do it turned into a backward movement for the stage, failing to punch correctly.
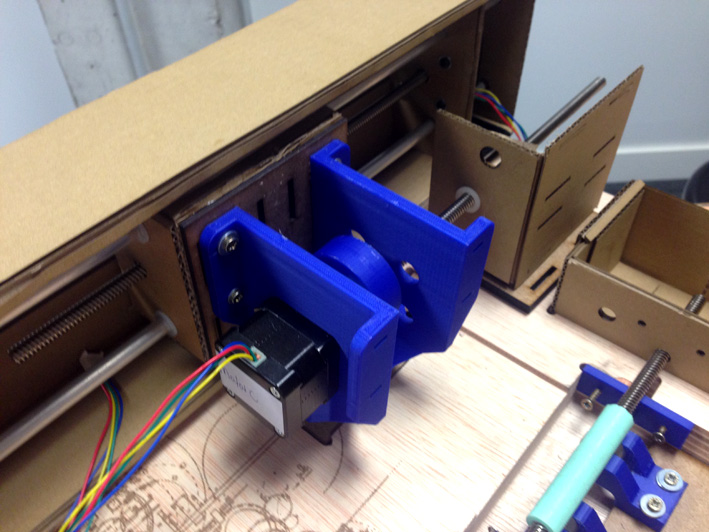
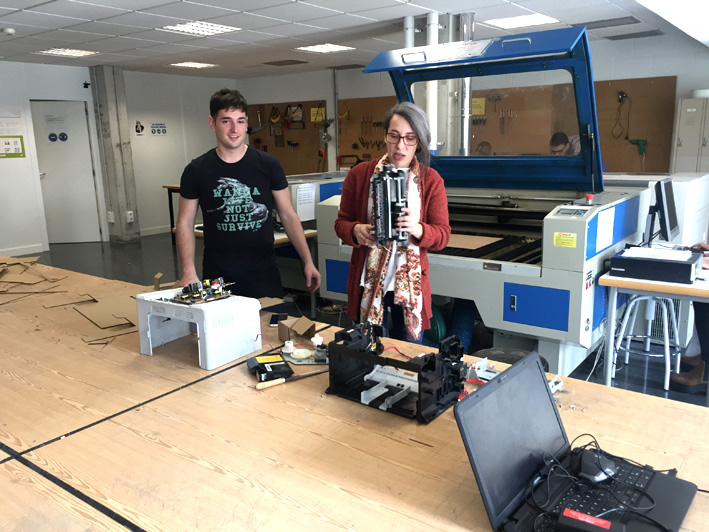
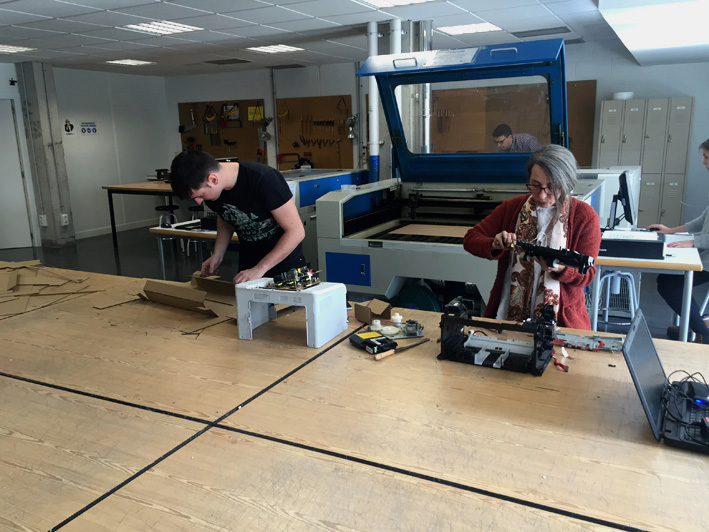
Testing The Head Assembled To Stage and Base
In this 3rd video, using our hands to stop the stage of moving backwards, we realised that we needed to add something to hold the head in its position while executing the command.
Testing The Head Assembled To Stage and Base 2 - sabemos cuando hace agujero
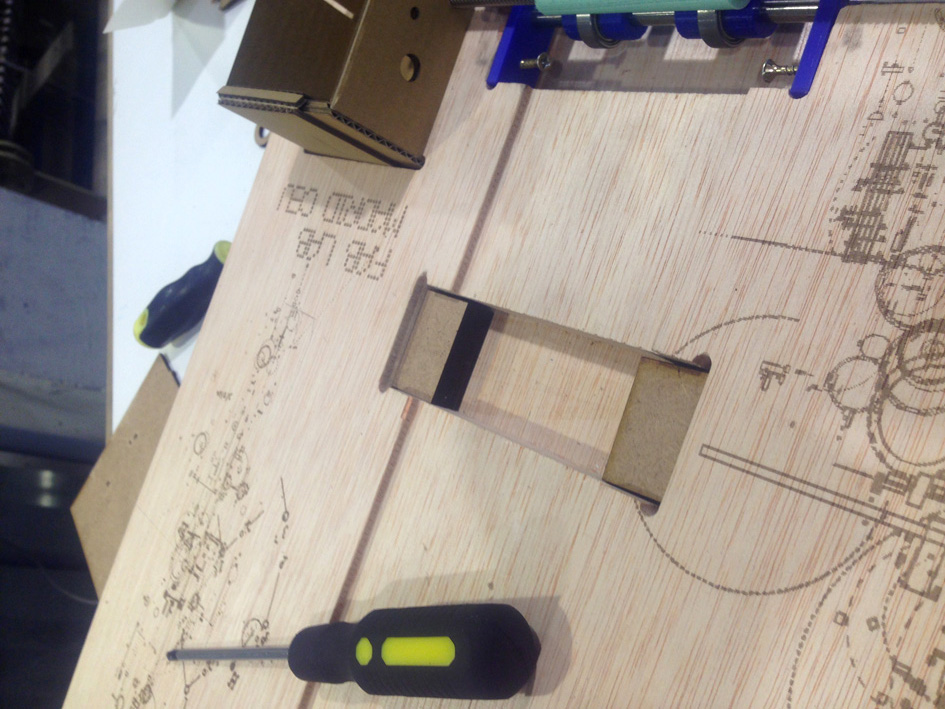
What we added was and additional cardboard rod holder, screwed with two 3mm Medium Density Woods to the 20mm Plywood. Here you have the piece.
Punch-Hole 3mm Medium Density Wood Board
In order to make the hole correctly, we needed a hard surface to let the punch go through but holding back the paper. We had to test which one worked correctly, so we decided to cut different widths for the punch to go through. We had 3mm, 3.5mm , 4mm, 4.5mm, 5.5mm, 6.5mm, 7.5mm, 10mm
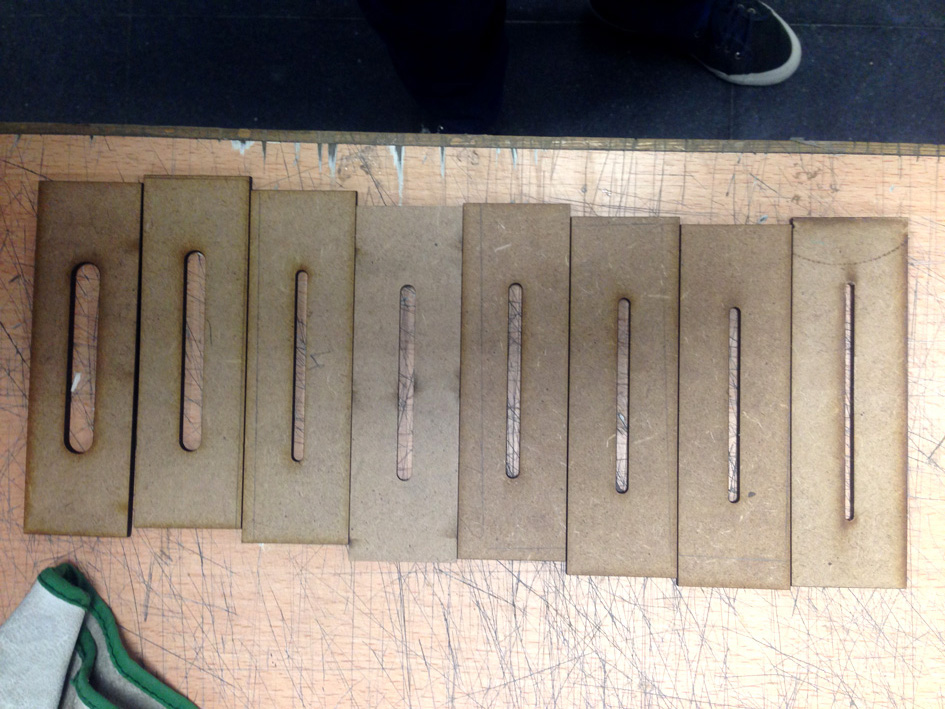
Different Widths
Place Where Is Placed The Punch-Hole Wood Board
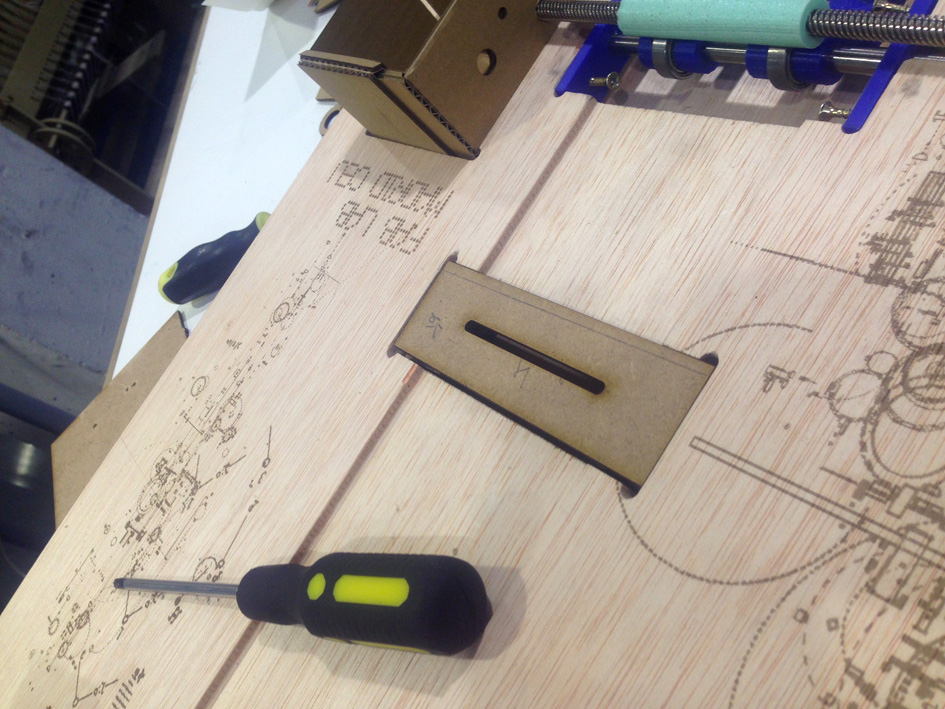
6.5mm width

Zoom At The Moment When The Punch Comes Down
Testing The Rolling-System Mechanism
Several tests we did on the rolling system. Here we are making sure the rollers from the inferior rod move freely.
This test was once we had the system assembled to the base.
Adjusting the rolling system in order the paper to be pulled by the motor.
Later on, we had several problems with the height of the motor rod, as in one side was higher than the other, not pulling the paper firmly.
Stainless-Steel Rods
In our design we needed a rod for the pulling-system mechanism to work. We found a stainless-steel rod, and we had to test whether it could be cut out easily. Once we figured out if it was easy to handle, we just cut the length we needed for our design and included it directly in our machine.
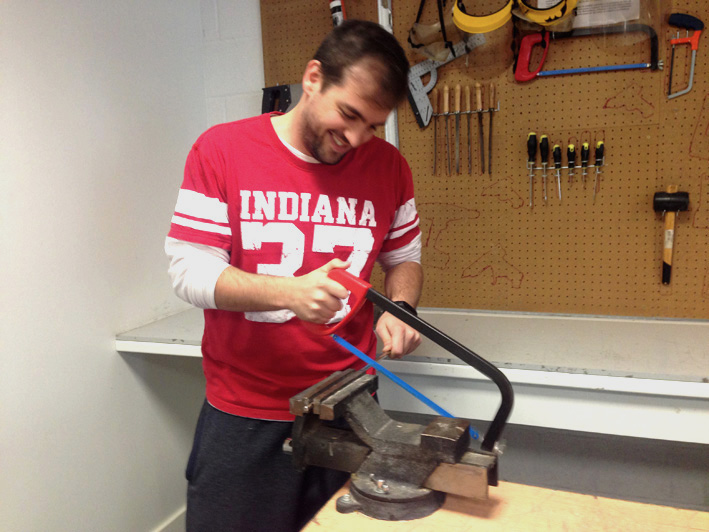
Daniel Cutting
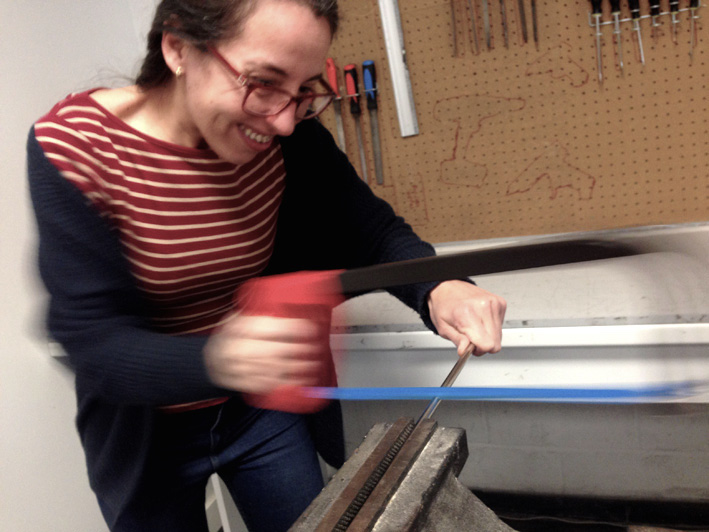
Pilar Cutting
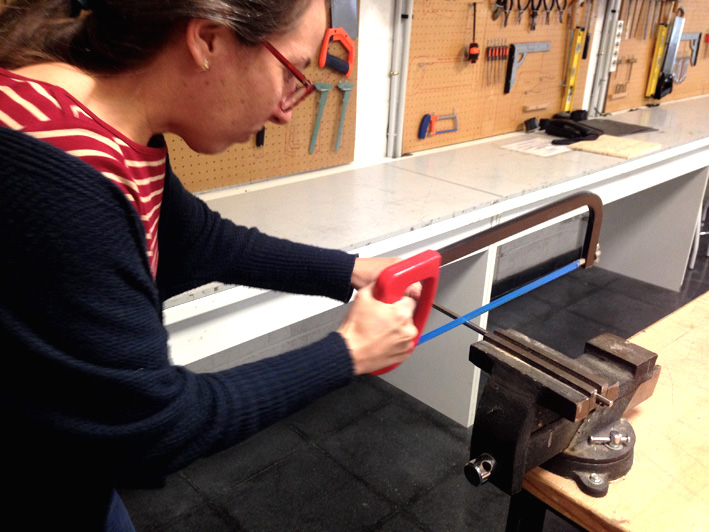
Pilar Cutting
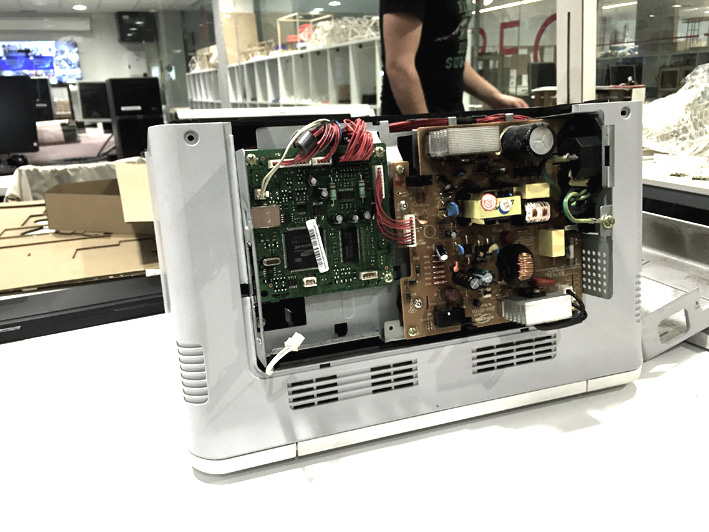
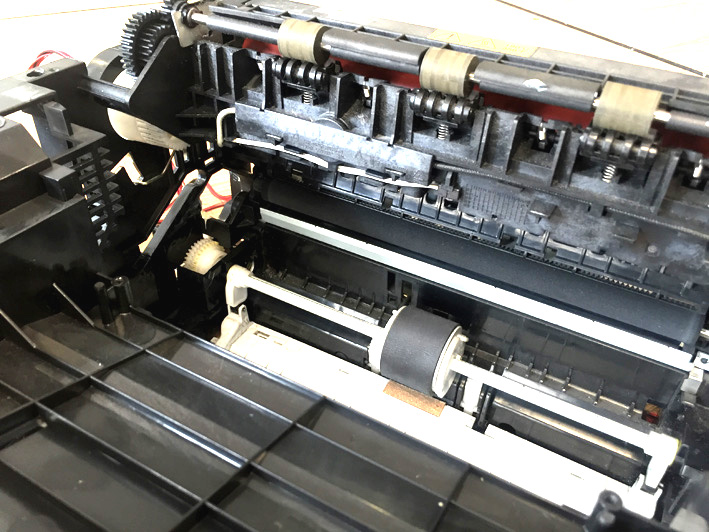
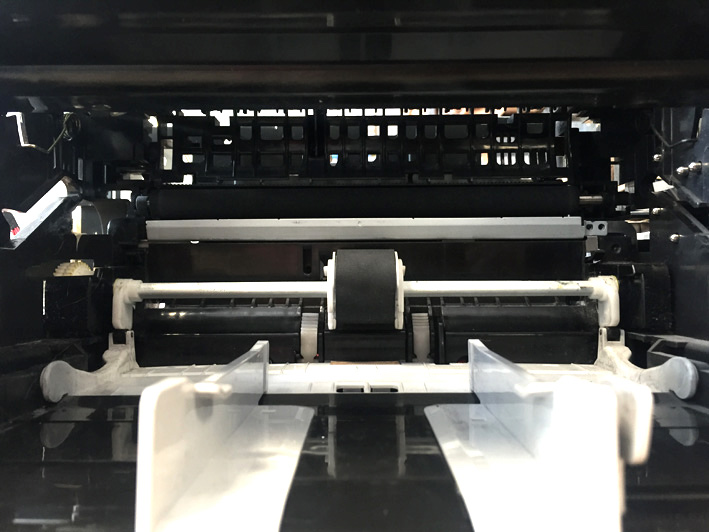
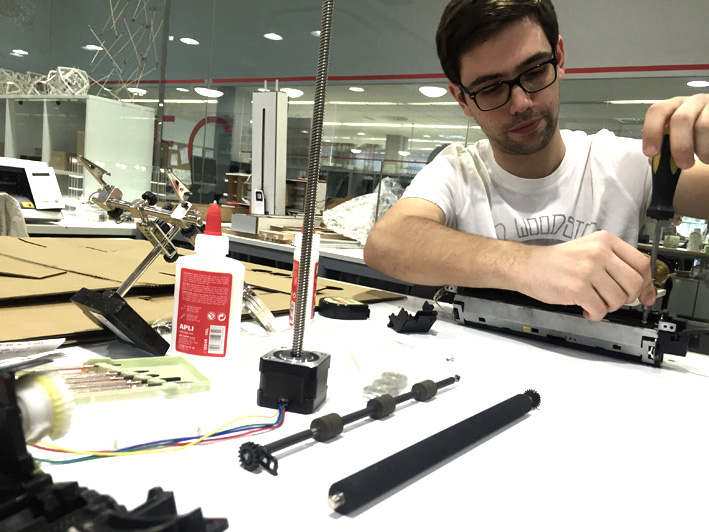
Learning From A4 Printers
We had the idea to take an old printer and take a look inside to see if any of its parts could be reused for our machine. It was very interesting to see how many different design decision have been made with all kinds of rods so it worked correctly. Fortunately, our machine does not need as many rods as the printer needs.
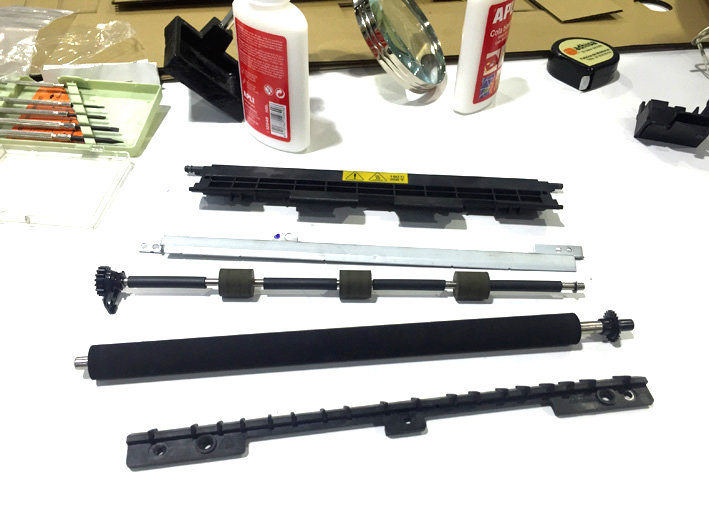
Printer Rods
Printer Rods
For the Pulling-System Mechanism, we had different design options as it is a very delicate mechanism,
with a plan A, plan B and plan C. As our idea was to create our own machine digitally, where everything
is fabricated in the lab, we continued with the parts we already had designed, and if they did not work,
turn on Plan B and reuse the printer parts.
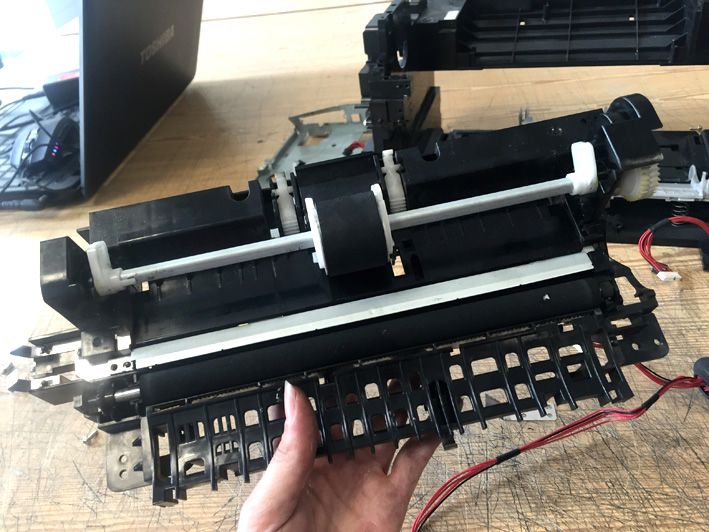
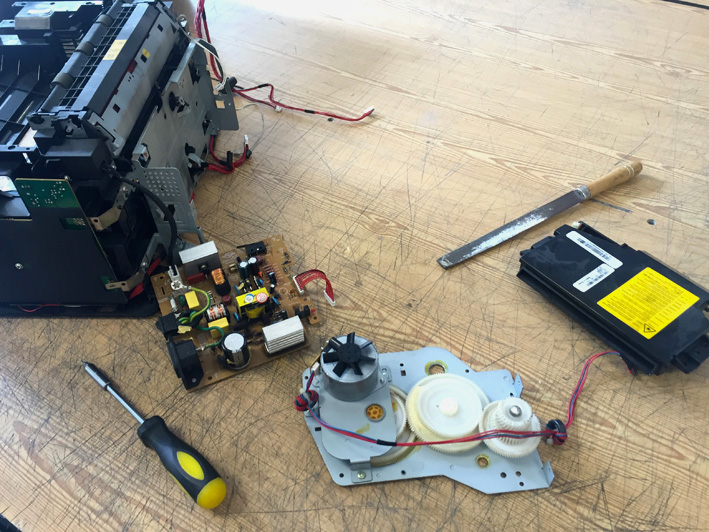
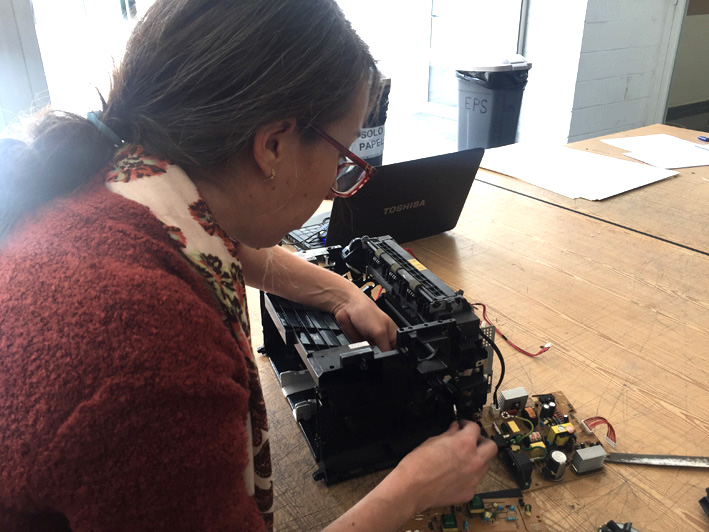
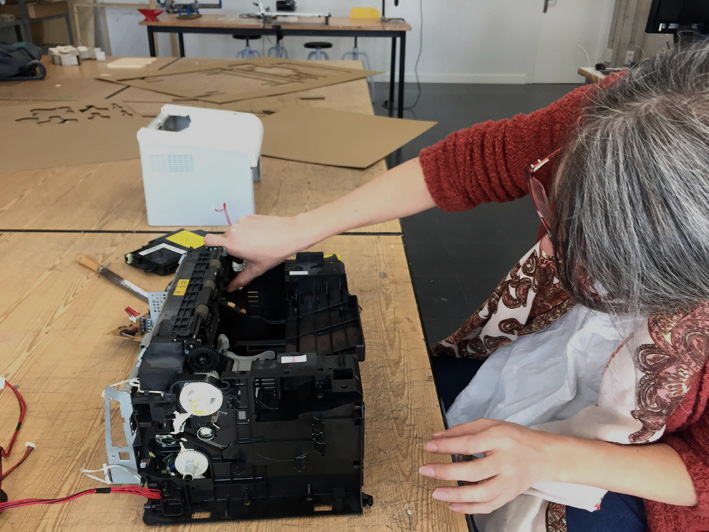
Here we are opening the printer and taking what we needed.
Printer
Printer
Printer
Printer
Printer
Printer
Printer
Printer