
Render
What We Wanted
Emerging from music lovers, we decided to discover a new world in music and technology as no other machine has been built like the one we decided to do. New project, new ideas, new ways of listening to music.
Once your music is processed in our machine, the only thing you need to be
aware of is to take the paper and place in the music player and let the magic
flow.
Just play!
In this website you will find out how we designed it, how we made all the different tests for the different parts that the machine has, how we built it and how we programmed it. If you want to download all the files to make it yourself, just click here.

After a considerable amount of working hours, we arrived to this beauty and beast!
Enjoy!
Our 1 minute Final Video Result
Pilar González Caballero : Designer + Maker + Builder + Electronics + Coder + Documentation Files and Graphics
Pilar's Website
Daniel Amigo Casado : Designer + Maker + Builder
Daniel's Website
Javier Burón García : Designer + Maker + Coder
Javier's Website
Alvaro Fernández-La Roja : Designer + Maker + Builder
Alvaro's Website
Note: One of our members (Javier Burón García) was constantly travelling from Córdoba to Madrid and Dublin.
We had the difficulty to work together as one while one of our members could not be present for most of
the time. Still, he had the challenge to design the head mechanism for the punch to move upwards and downwards
and to be in contact with us to create the best algorithm for our machine. Although while building, design
s changed in order for it to work, as everyone else in the team, was essential to develop, design and build our
machine.
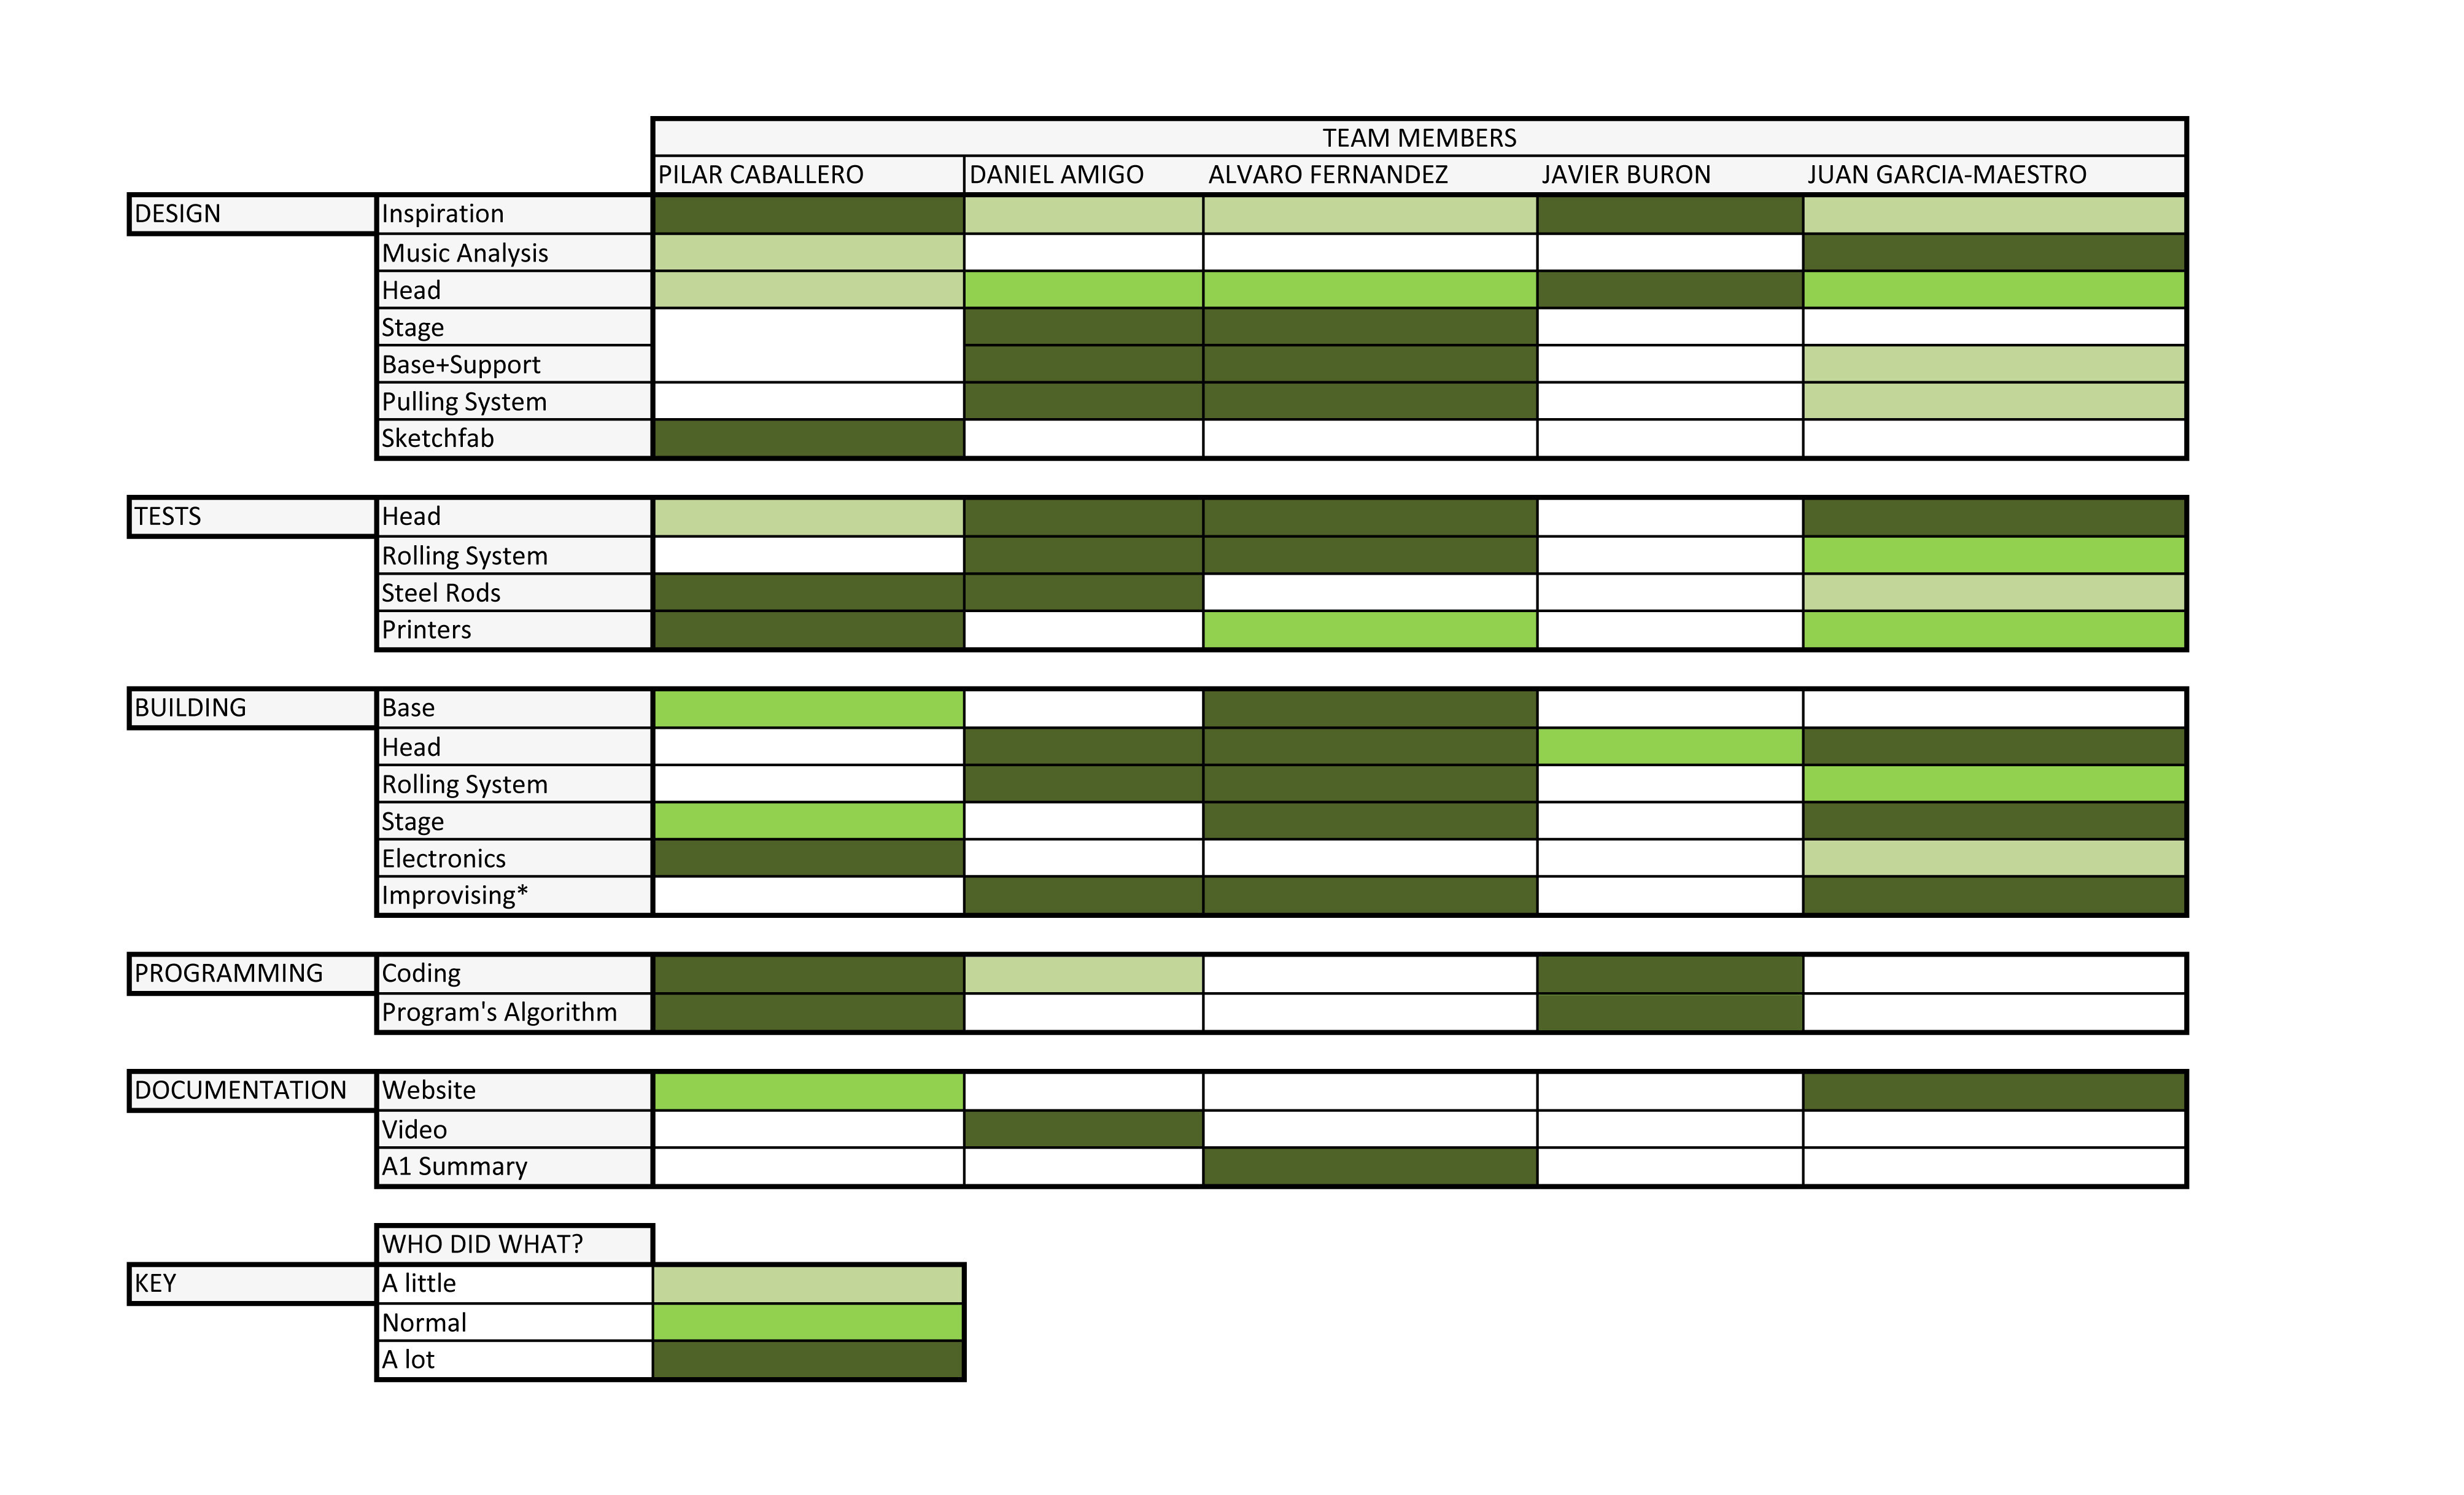
The table below shows 'who did what?', a small guidance.
Enjoy!
Hour Distribution
Take time and have a look to our a1 summary where you will find everything
you need to know! For further information, all Enlarge Image are on the website.
Please click on the image and enlarge it.
Enjoy!
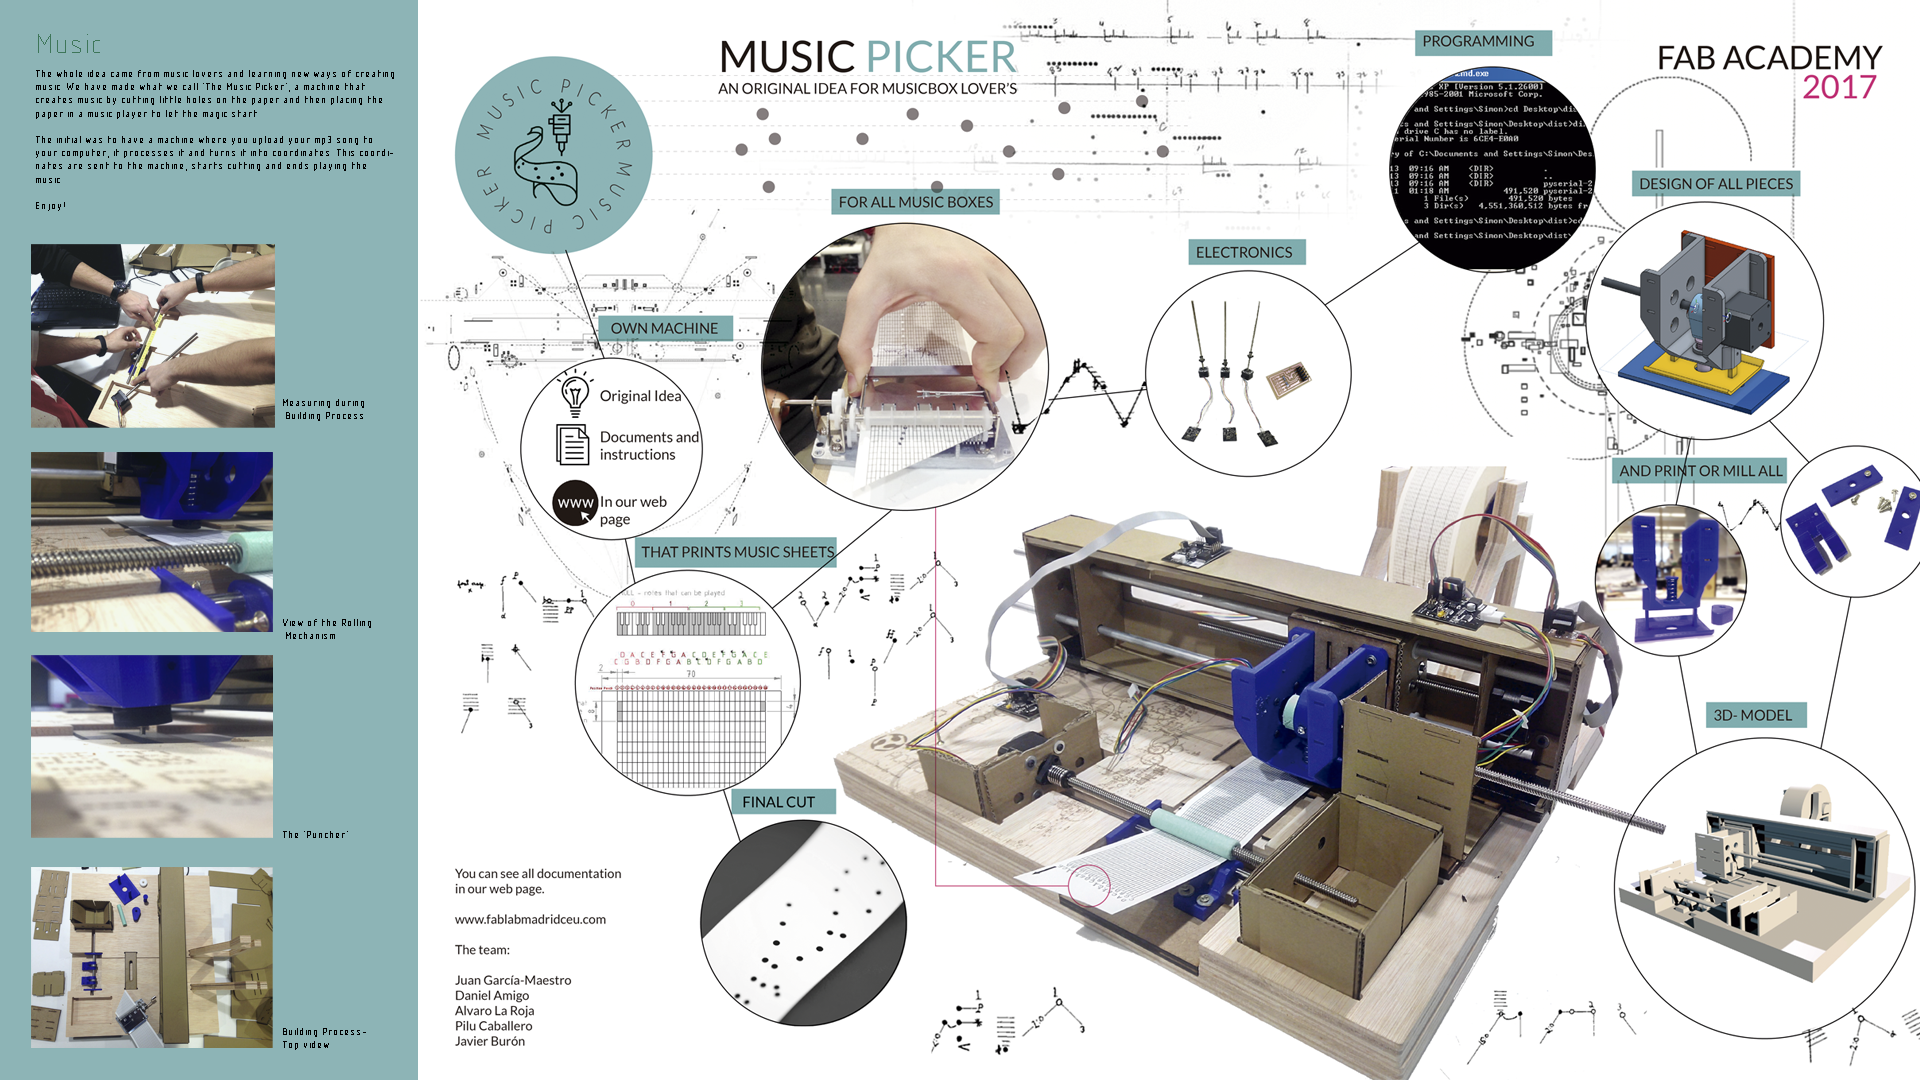
Music Picker Machine
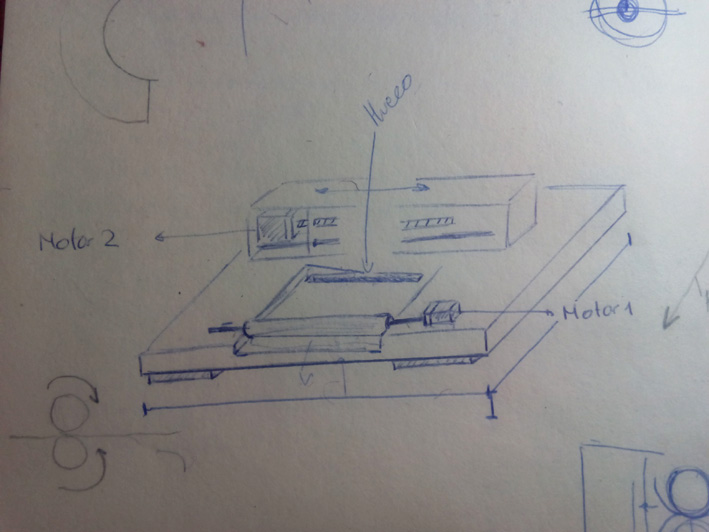
First Sketches on Paper
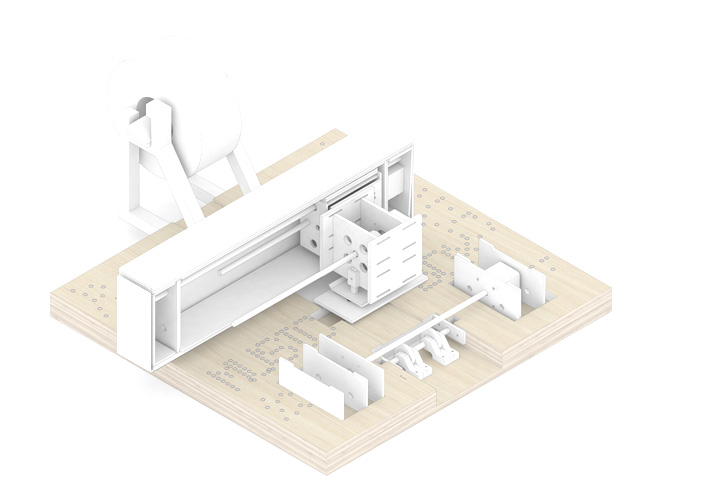
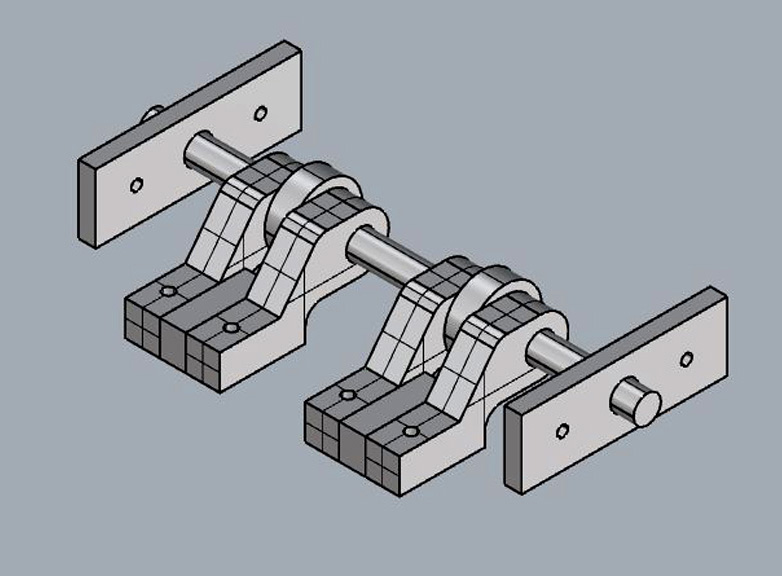
First render of our machine

An OnShape visualisation of our possible header mechanism
A Rhinoceros visualisation of some elements pulling the paper from the roll
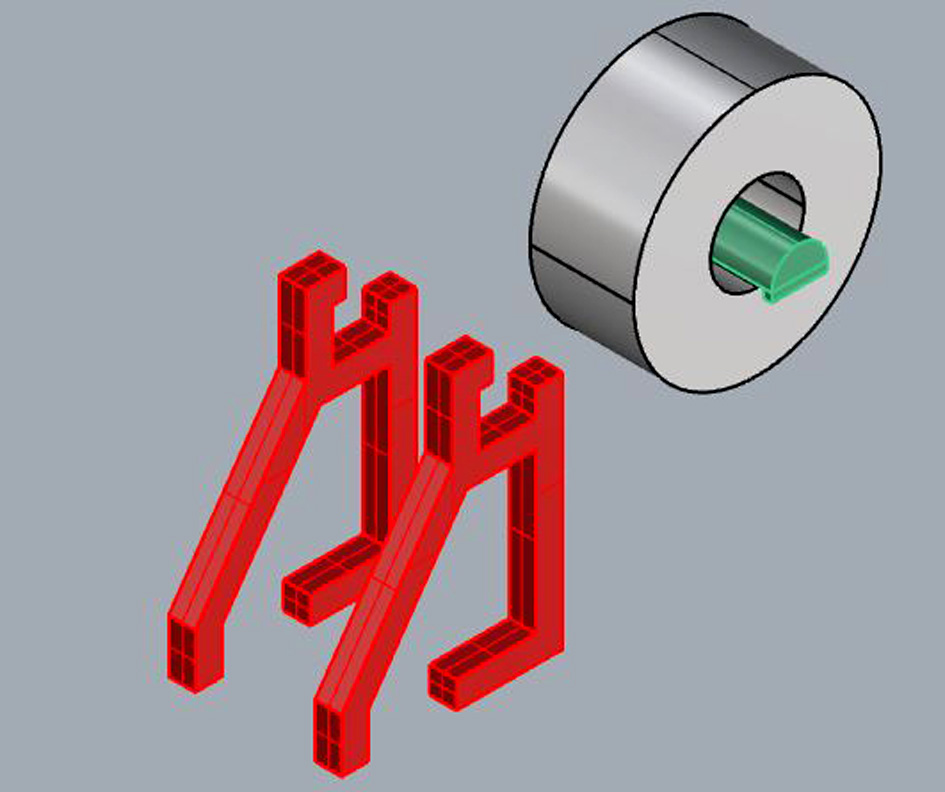
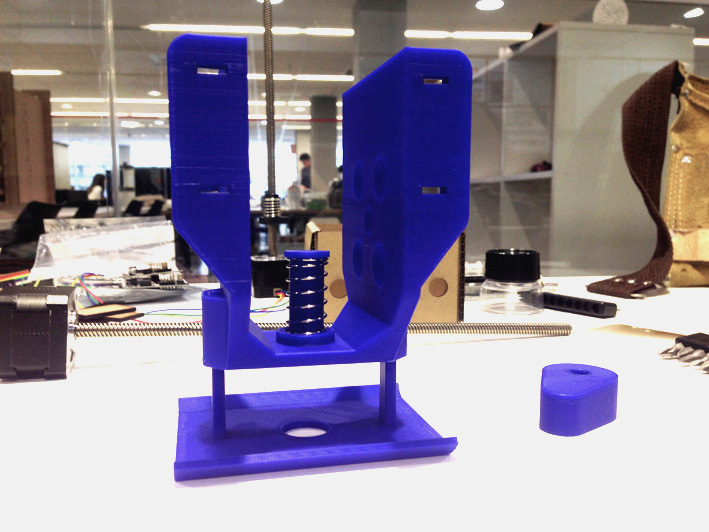
A Rhinoceros visualisation of the vertical roll support
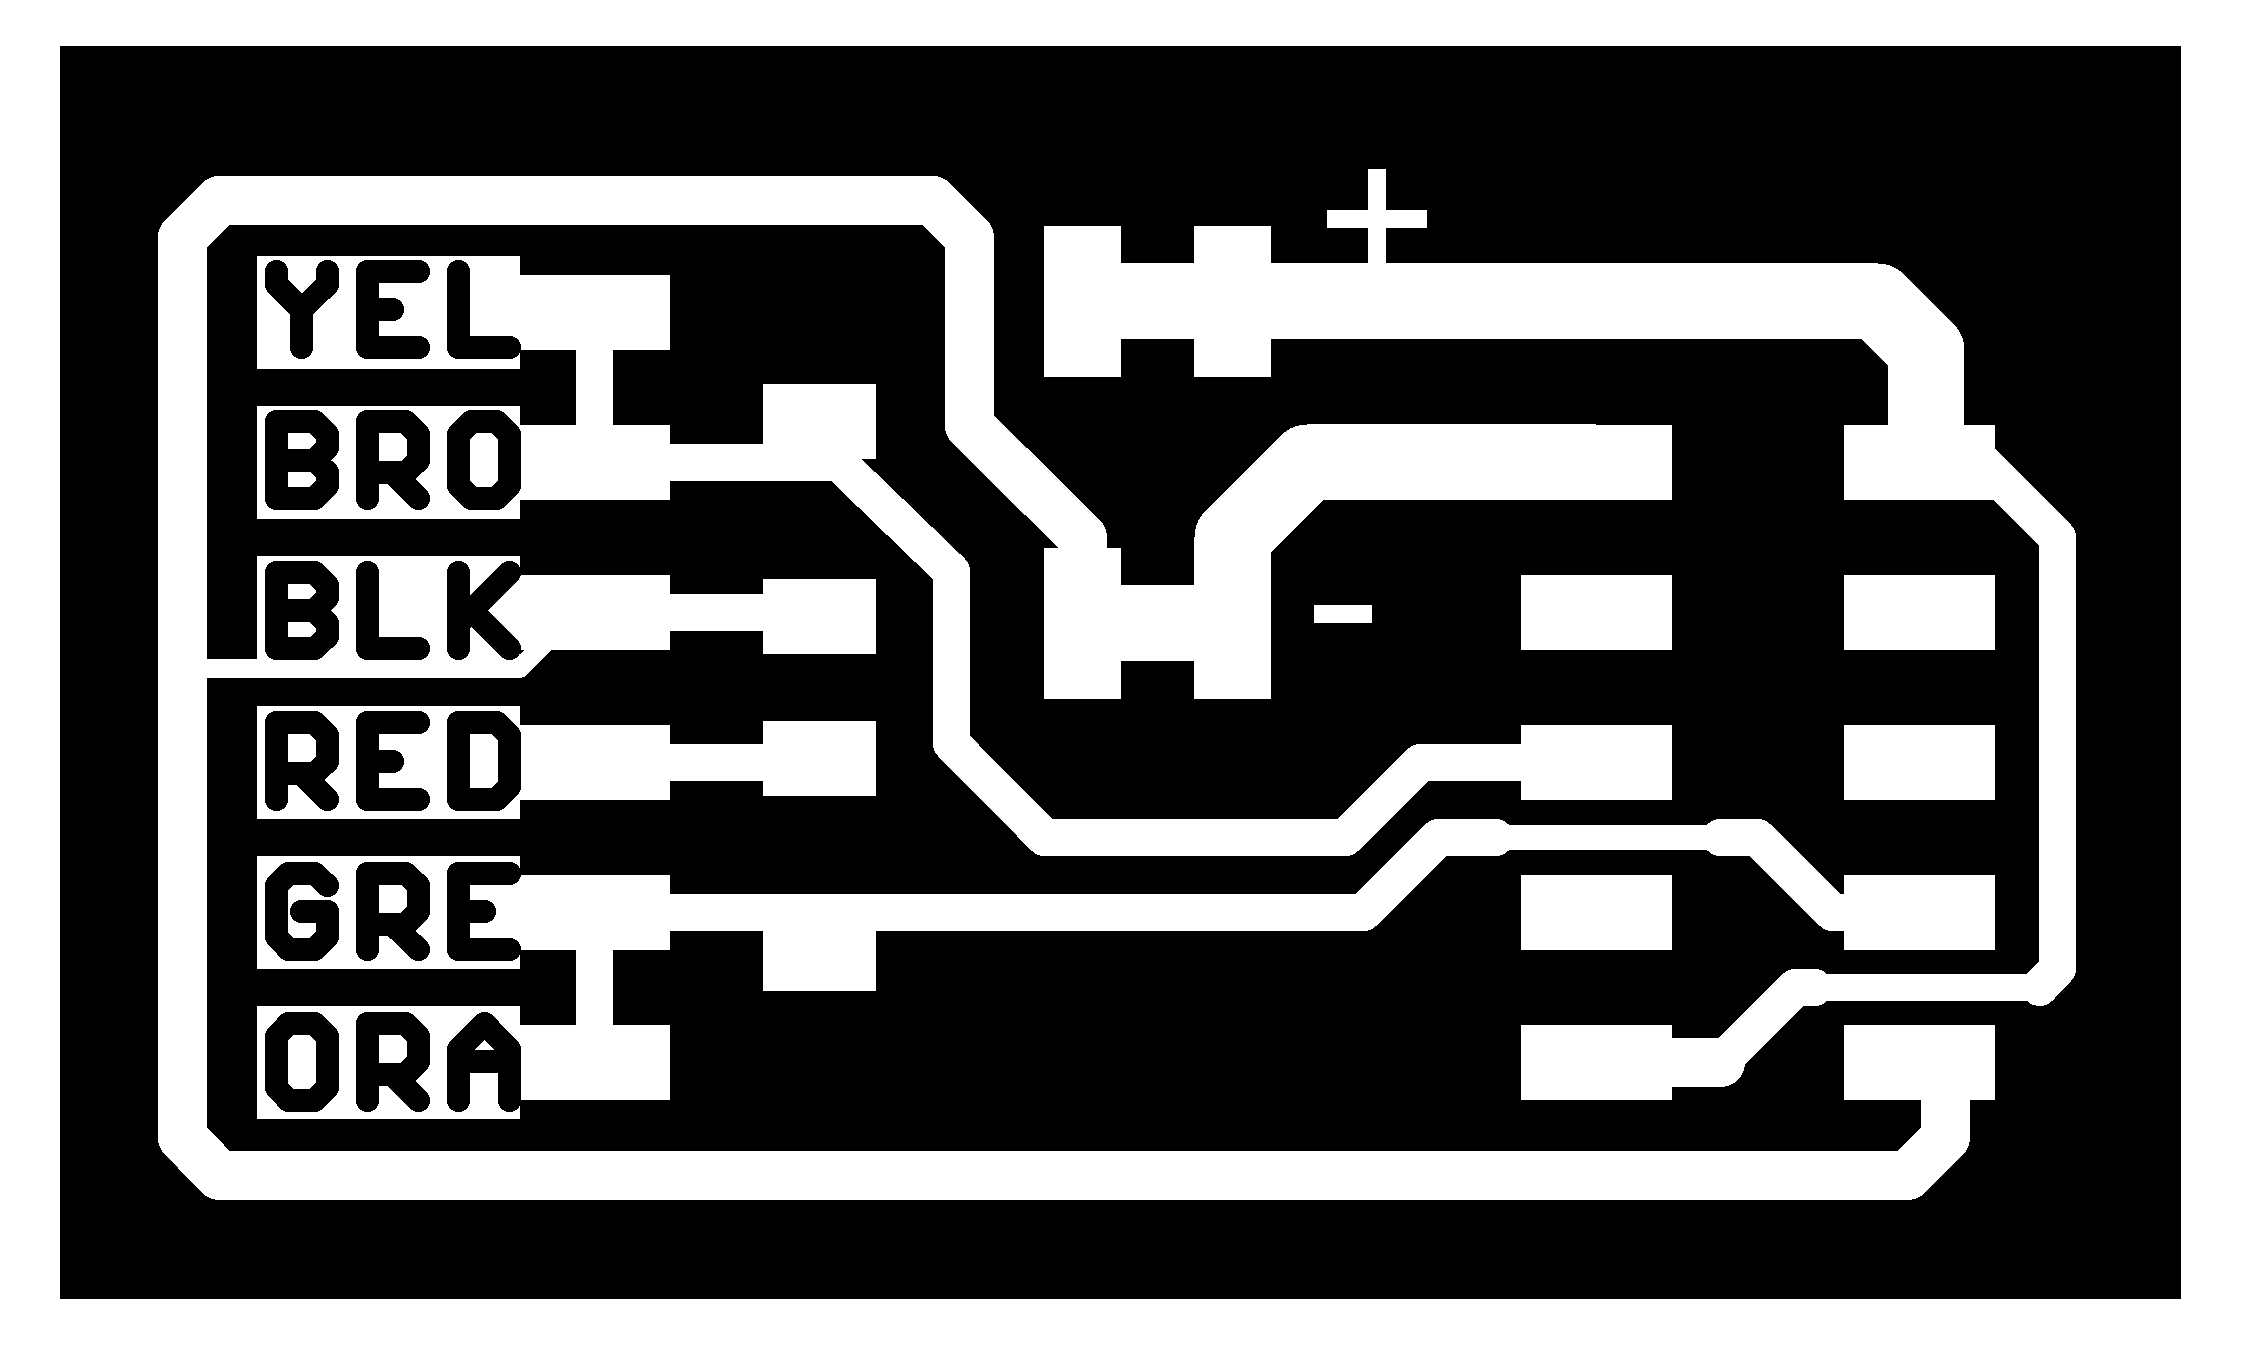
Our Fabnet layout design

Once the paper has been cut, we place it here and start running the music player

Here is where the machine is going to cut the paper creating different holes for the music player to play
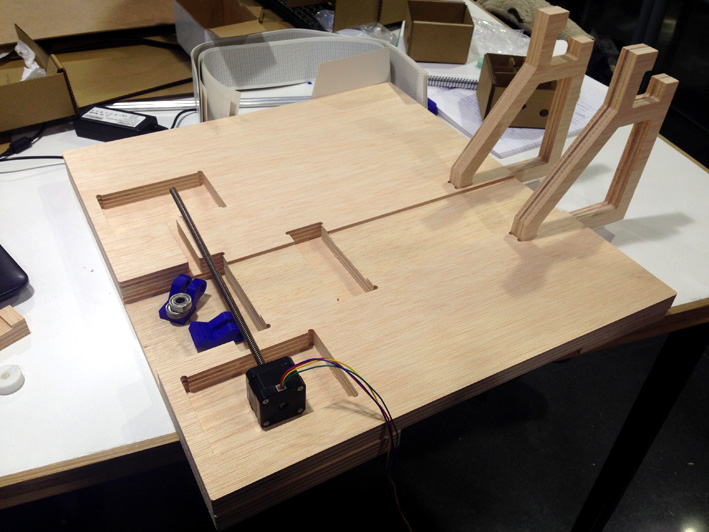
Building the base
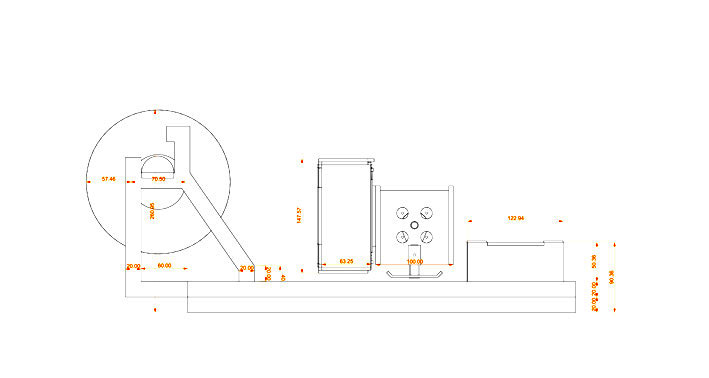
Outcome of the OnShape Design
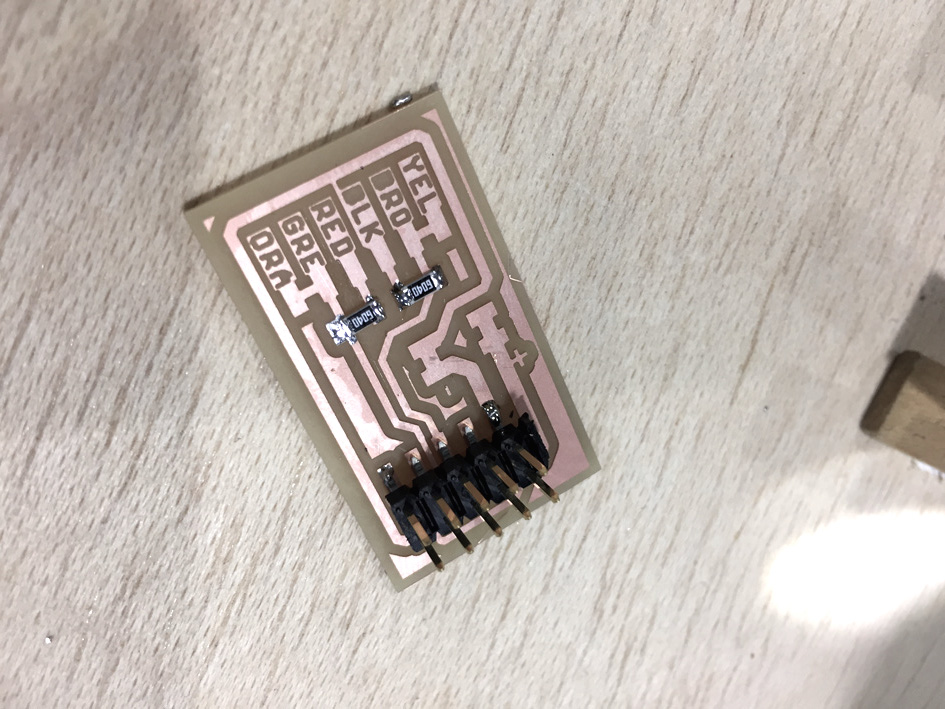
Our communication board to the nodes under construction
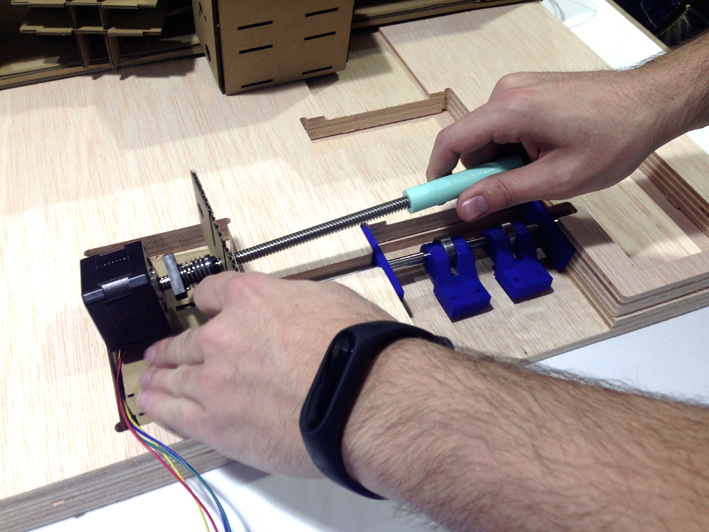
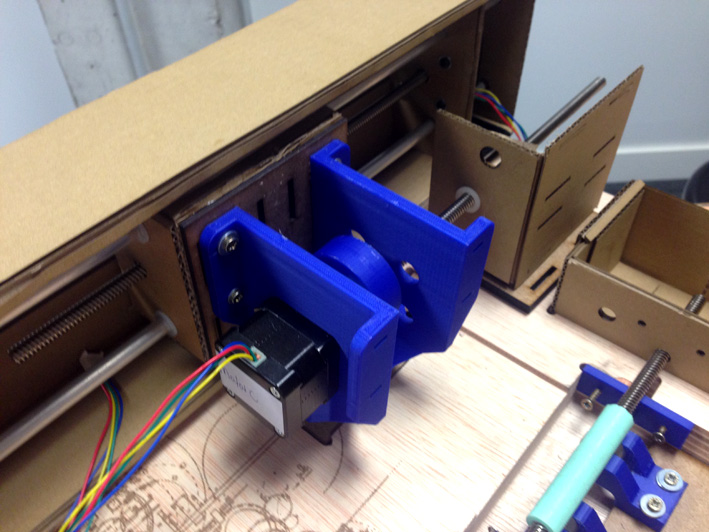
Building the front pulling-paper mechanism

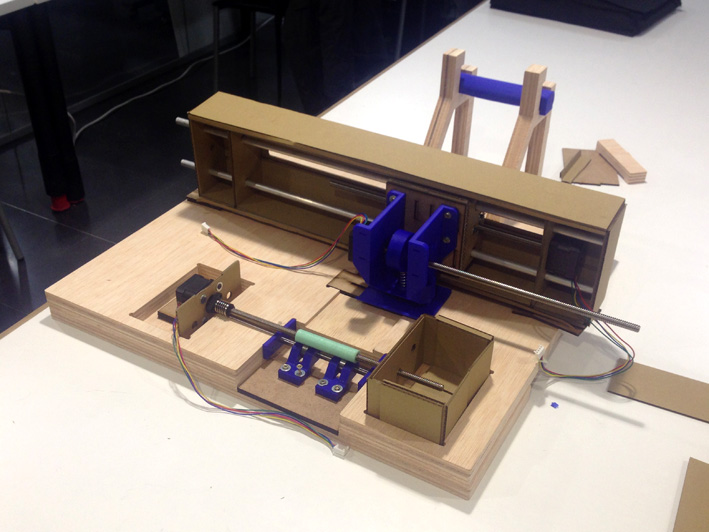
Gluing the Stage
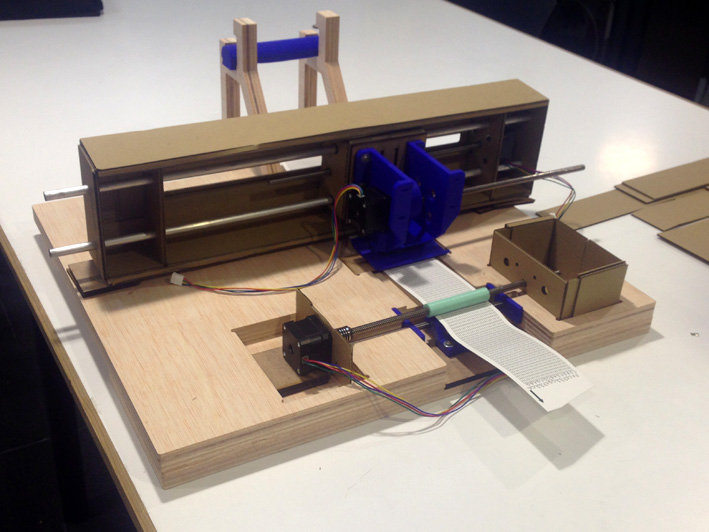
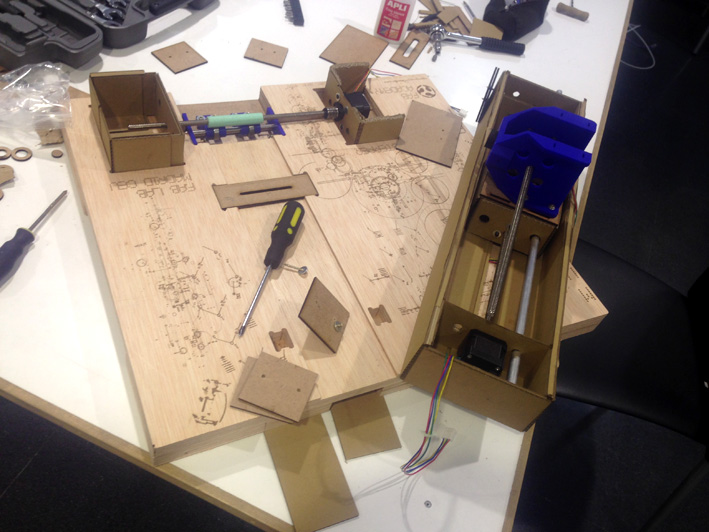
Top view while we were putting everything together
Frist Results

First tests with the punch
as we had design errors, we had to improvise to make sure the machine worked!
Improvising to solve design problems
The main tasks of the project can be break down in this creative process:
1. Brainstorming
2. Designing
3. Building and testing
4. Programming
5. Future Improvements
We can be proud of having done everyone of them except for number 5, reaching the point
where the machine comes alive and starts working. Of course, our machine can have several
improvements, as this is the first prototype, but for future changes, we know it is going
to work.
One main question that needs to be resolved is the punching shaft. The one we have right now does not work as we expected, sometimes working and other times missing the notes on the paper. We have been looking for a replacement that works better, but still we are working on it as is not easy to find a punch that fits in our music scale (2mm diameter each note, with a nice and clean cut).
In this assignment we have learnt a lot of things. The first one (and we think the
most important one), is to finish what we started. Having the results of the effort we
have put into something enriches us as a group. Secondly, team work is not always pleasant.
We have been through tough moments as a group as we are an heterogeneous team, but in the end we did not give up.
Thirdly, building a machine: The amount of time and effort that involves working on a
machine, its design, its production and its post-production process. As this assignment
is the one that appears to be the predecessor of our final project, it is a good way to
practice.
On the other hand, we have learnt how to create something (or anything!) with all kinds of materials and machines.
Each piece of the design corresponded to a certain machine and material. We now know the advantages of using each
machine and looking forward to do our final projects.
We have documented as much as we could every aspect of our machine during all processes (design, testing, building and programming). On the website, you will be able to see how we did in each aspect of the design and construction of our machine.
Demand vs supply time management was not great. We had a calendar that always was
changing as design problems came out nearly every time we met. The main difficulty wa
s that one, doing something that nobody has done before. With barely no references
and having to design a new machine, pressure was always against us.
Must say, the passion above all led us to finish this machine.
In all processes we have tried to learn in a spiral development, especially in
those parts where we started building and testing our first designs. Those were the
worst ones as we had to adjust everything. Then, new elements started to come up, and
we had to re-adjust again, and again, and again.
Sometime though, we could have done things better saving some time.
For a near future, this first prototype could lead into a more ambitious project.
The main idea for it is to choose any song, load it up to the computer and print it
in out machine and play it.
The process we planned at the beginning for it was:
1. Change an mp3 file to midi file
2. Change midi file to coordinates
3. Coordinate to punching holes
4. Punching holes to music notes
From this process, we have achieved number 2 to 4, having prepared a program in python
to change any midi notes into coordinates and the machine to read those coordinates and
print it.
The Sheet MusicBox Cutter Machine by FabLabMadridCeu on Sketchfab