Week Seven: Computer-Controlled Machining
I will use autocad to design a chair this week and use shopbot to make the cut. To complete this sophisticated project, I decide to collaborate with Berry from Fablab Shanghai in finishing this chair. My design has been contested by Berry for several time. Initially, I wanted to make three parts, two of which are legs and one of which is the top. However, I soon abandon this idea because of the instability, and add another part on the top. If you examine my design carefully, you can see eight squares on each top. I design parts extruded with corresponding size to create anchors between the top part and the leg part.
-

Step1: The sample leg
-

Step 2: The shape of the top part
-
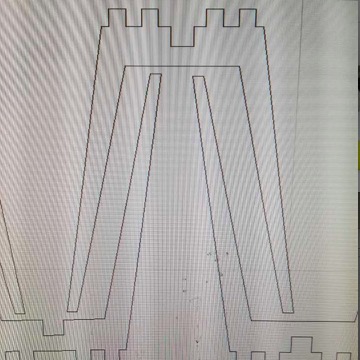
Step 3: Another sample leg
The next part is to make our shopbot work. This shopbot has been idle for quite a while, so it took me a long time to have the machine fixed. I use a hammer to stable the wood through anchoring several nails. The sequence of getting the spindle to move follows a particular combo of pushing the colorful buttons. I use the software, Vcarvepro, to do the cutting in the end. There are several details that I want to document. I have to wear gloves to grab the wood. My finger was cut by the splinter on the wood. Also, the tip of the drilling bit of Shopbot was connected too firm. I was having a difficult time replacing it with a bigger size.
-
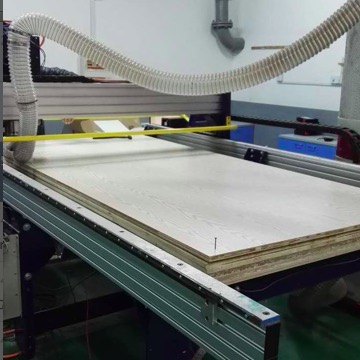
Step 4: Intro of Shopbot
-

Step 5: Hammer for stabling the wood
-
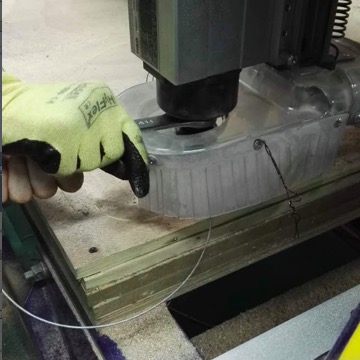
Step 6: The difficulty of changing the onsrud
-
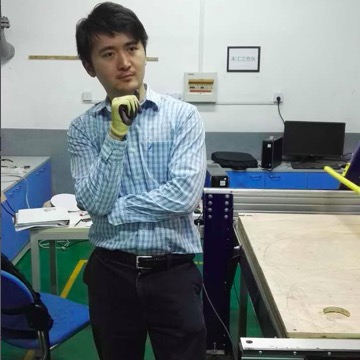
Step 7: Meditation during the process of cutting
-

Step 8: The demonstration of the first thing I cut
-
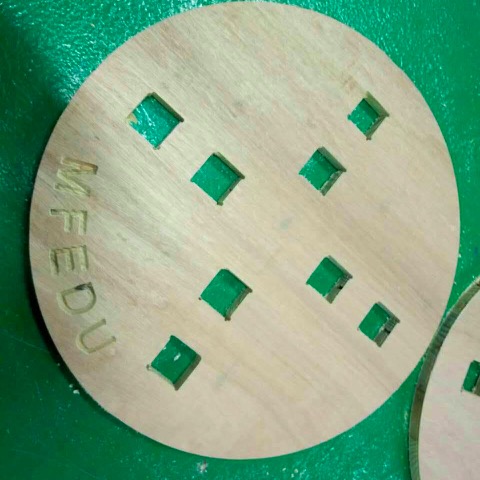
Step 9: The demonstration of the top part
-
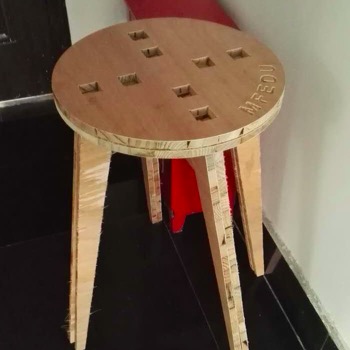
Step 10: The demonstration of the final chair


