Week Fifteen: Communication
The assignment for this week is to design a system that can communicate. My idea is simple. I always want to learn how to connect the behavior of a cell phone to an electronic module. I think one of the fastest way of doing so is to use the bluetooth. I use Arduino Uno to help me to realize my idea. There is no difficulty in setting up bluetooth on an Arduino Uno and connecting it to a motor. I played with function of bluetooth for several times. I interchange the signal from bluetooth with phrases to test whether the bluetooth functions properly. Then I build a communication system based on bluetooth and motor. I have attached my code with documentation.
-
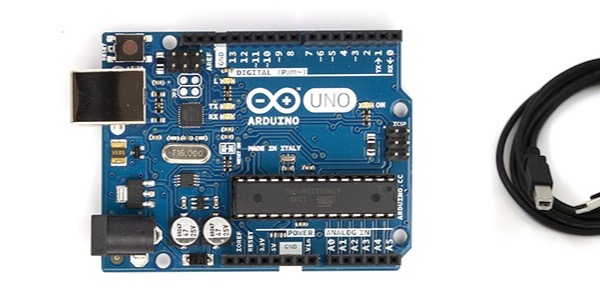
Step1: Prepare the hardware
-
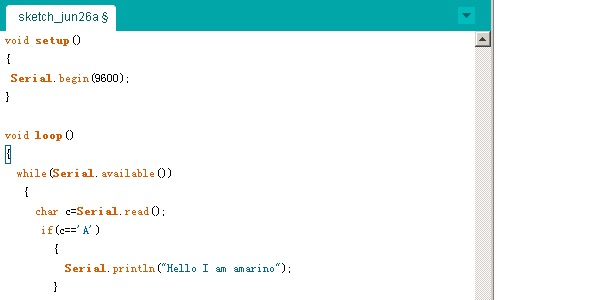
Step 2: Test several codes
-

Step 3: The picture for actual connection
I think this course of communication is important for me see the true beauty of setting up a system. I can make different electronic sector talk to each other so as to perform some complex actions. I think this lesson serves as an important milestone for me to see what digital fabrication can accomplish.
-
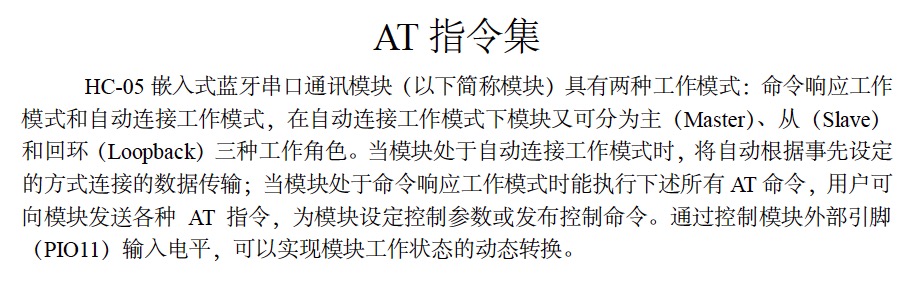
Step4: AT Command
-
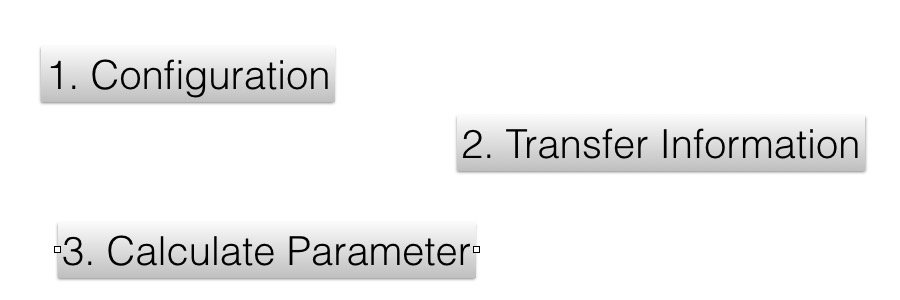
Step 5: Steps
There are several central steps and essences that are worth mentioning here. AT command is one essential part. It is a configuration command that helps to configure the three roles, Master, Slave and Loopback. This configuration is a prerequisite part before transfering my real data to the bluetooth. After the configuration, the second following step is to make my board communicate to the bluetooth. I need to calculate the exact data and make it compatible with the info being programmed. I see the unit "1" input is equivalent to 10 degrees of movement in motor, so I make the delay 3 times in order to match my "1" unit with 30 degrees. I set the whole program within a loop so that the bluetooth can keep detecting. The major problem for me during this week is to understand the principle for AT Command. Brother Yu spent quite a lot of efforts in helping me understand this part.