Assignment 3 - Week3 - Computer-Controlled Cutting
Now its time to design, make, and document a parametric press-fit construction by using laser cutter.
Press-fit construction is also known as interference fit or friction fit.
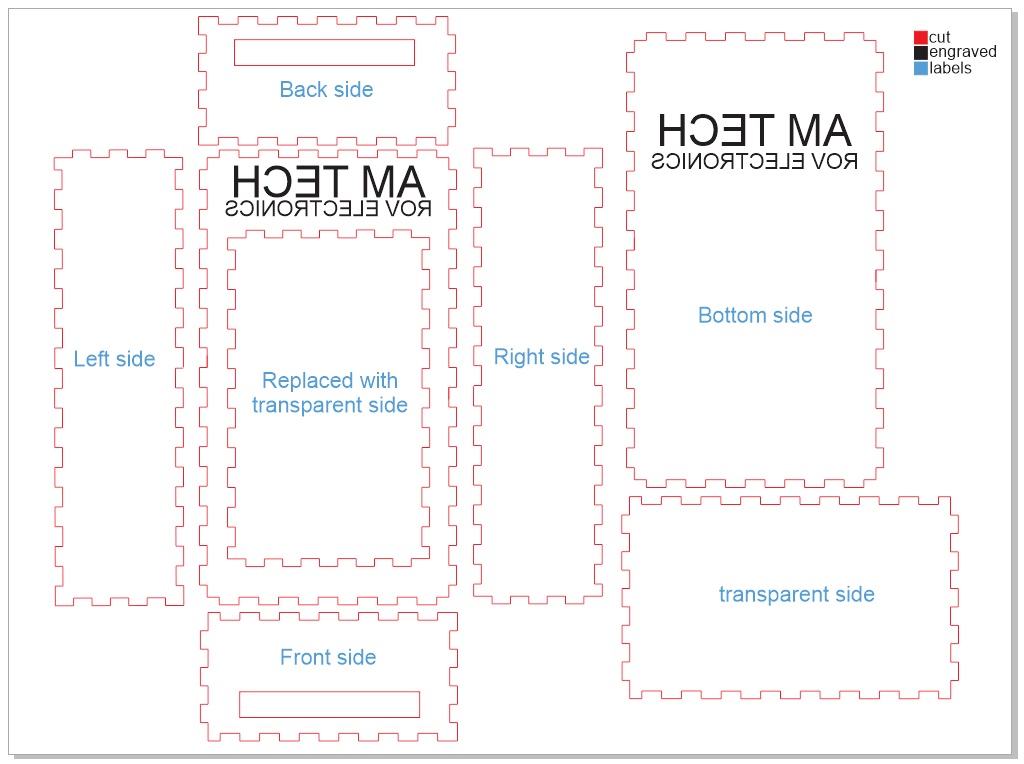
I will use corel draw which is a great vector drawing program. When designing for the laser cutter, thin red lines cut and black/grey values are engraved.
In my final project i need a box made of acrylic that will contain all the electronics and the controllers all together to make the internals of the submarine arranged and good to be shock proof and vibration proof.
Also i will make another Press-fit construction educational kit.
First: the final project box - Second
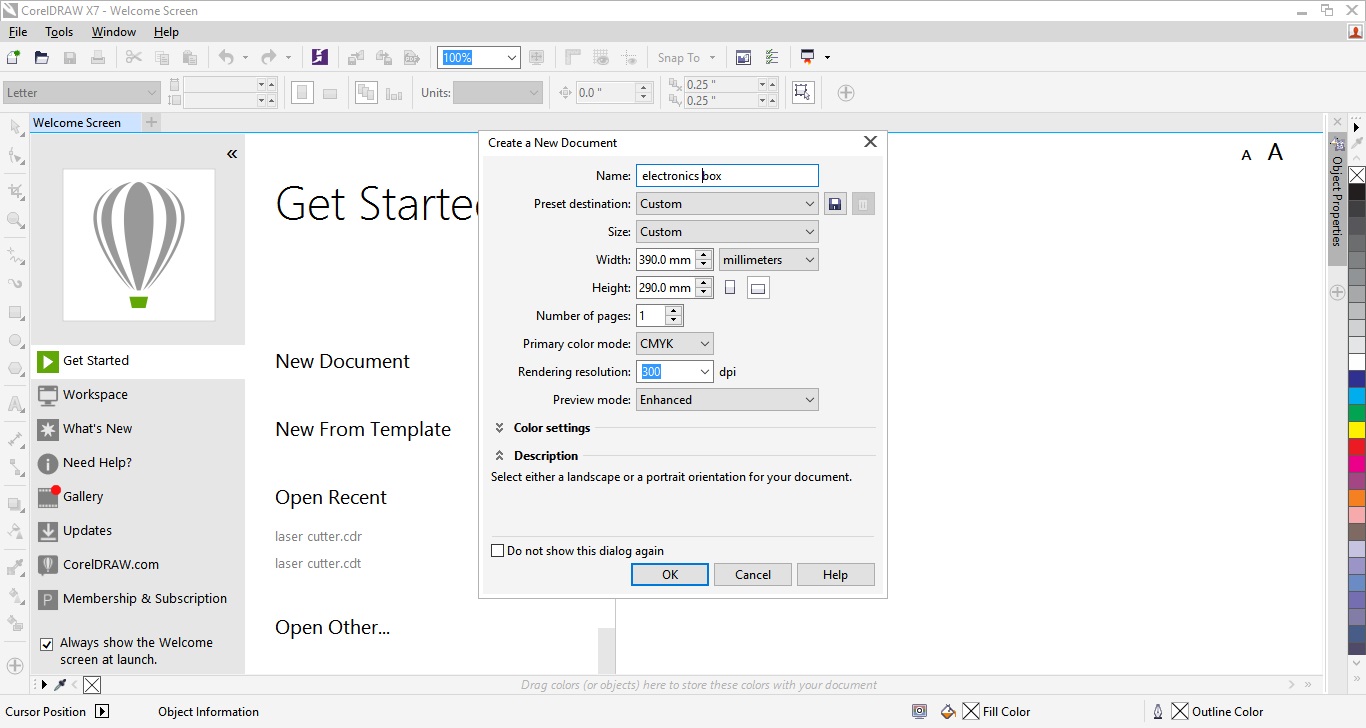
• In the beginig open corel draw and open a new document and create the dimentions for the document as your laser cutter dimentions to be in the safe side.
• I used Box Maker for making the box with the desired dimentions
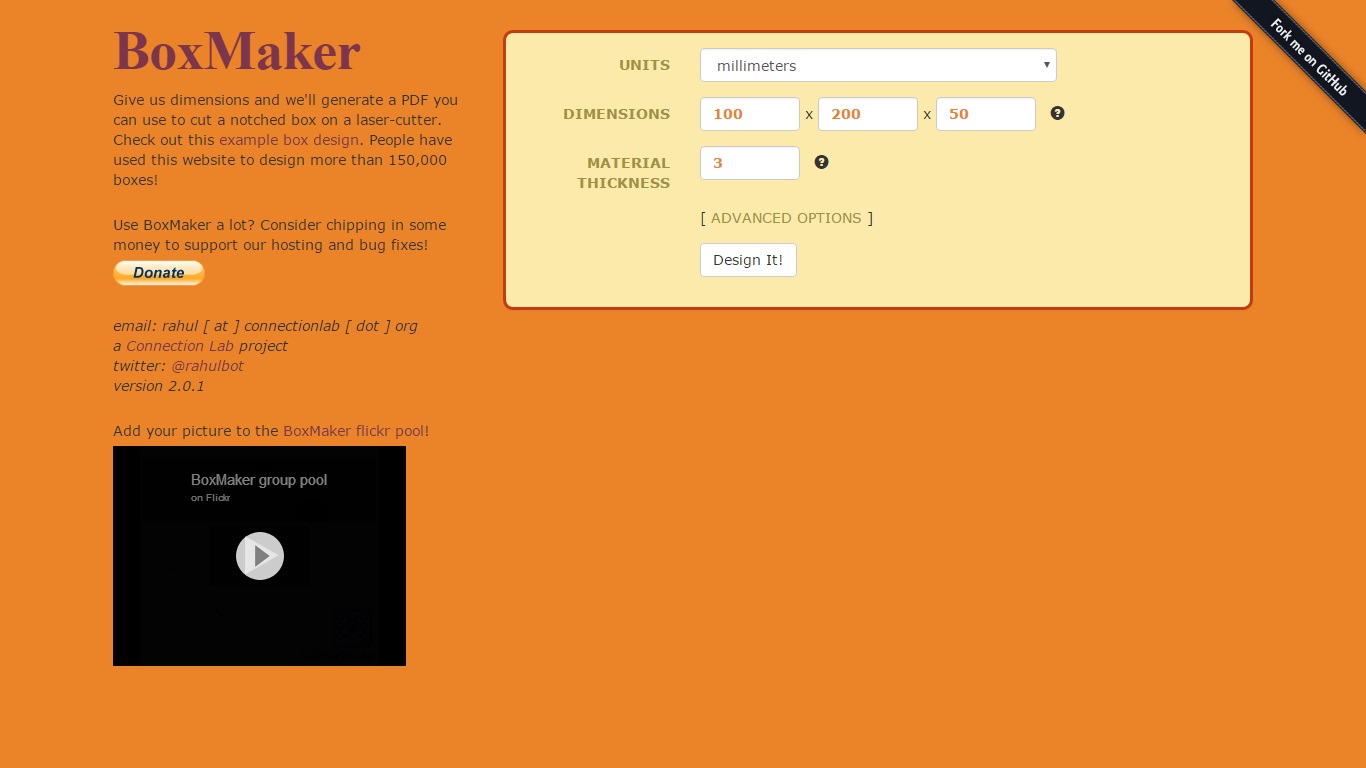
• But every time i put my desired dimentions it give me that dimentions 100x100x50 not 100x200x50.
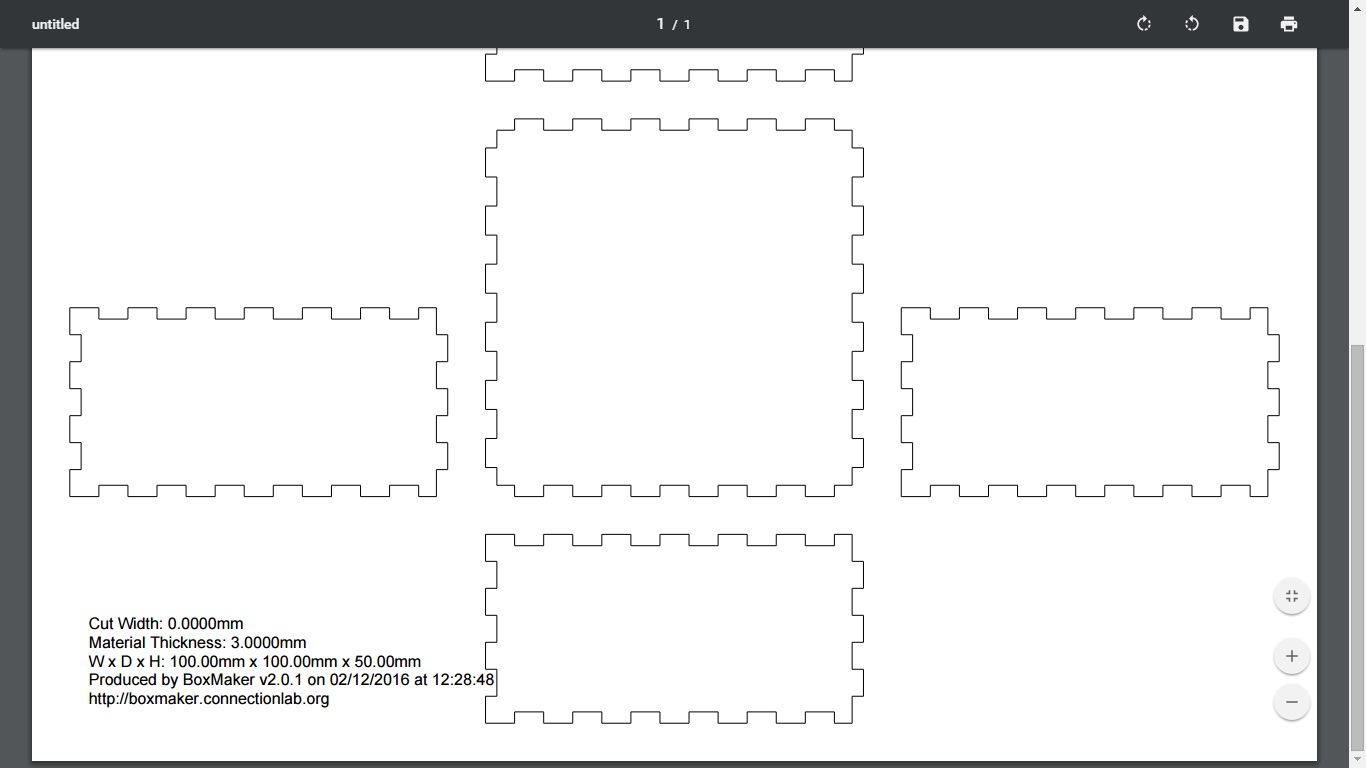
• So i took the pdf file and imported it in corel draw and with some modification i got my desired dimentions
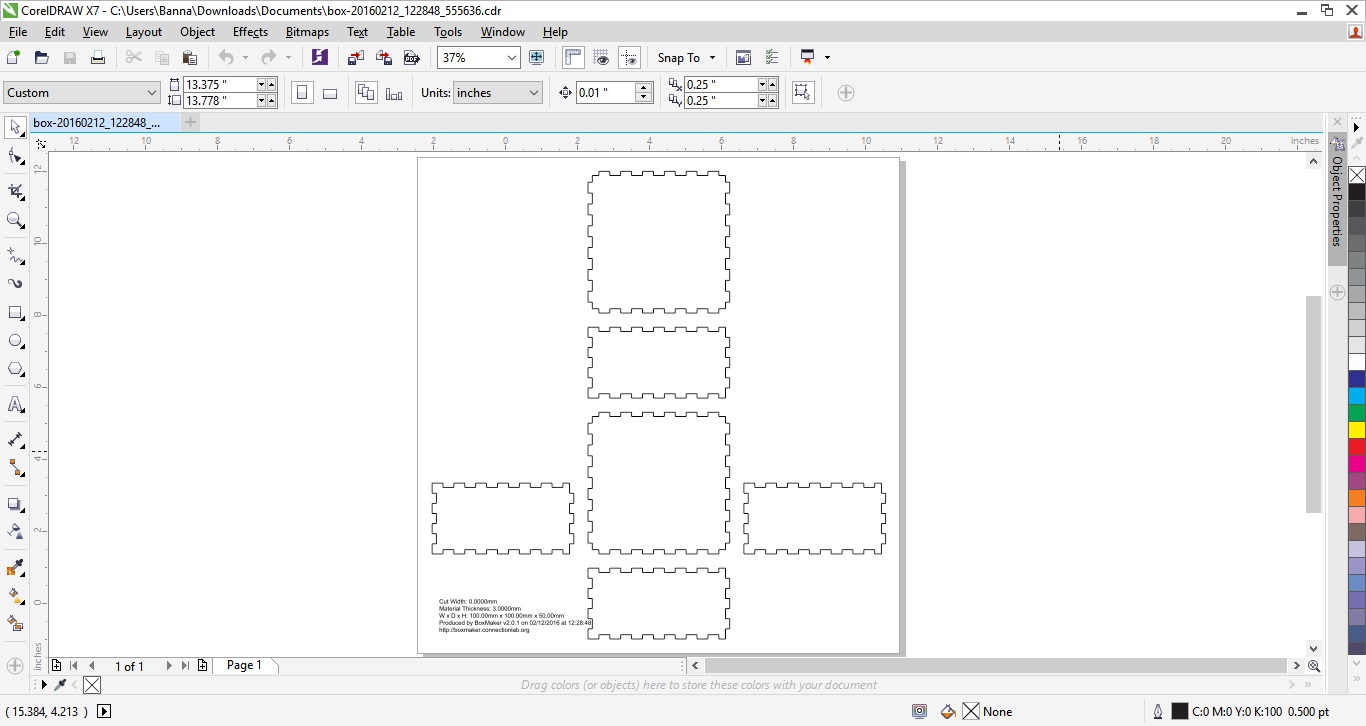
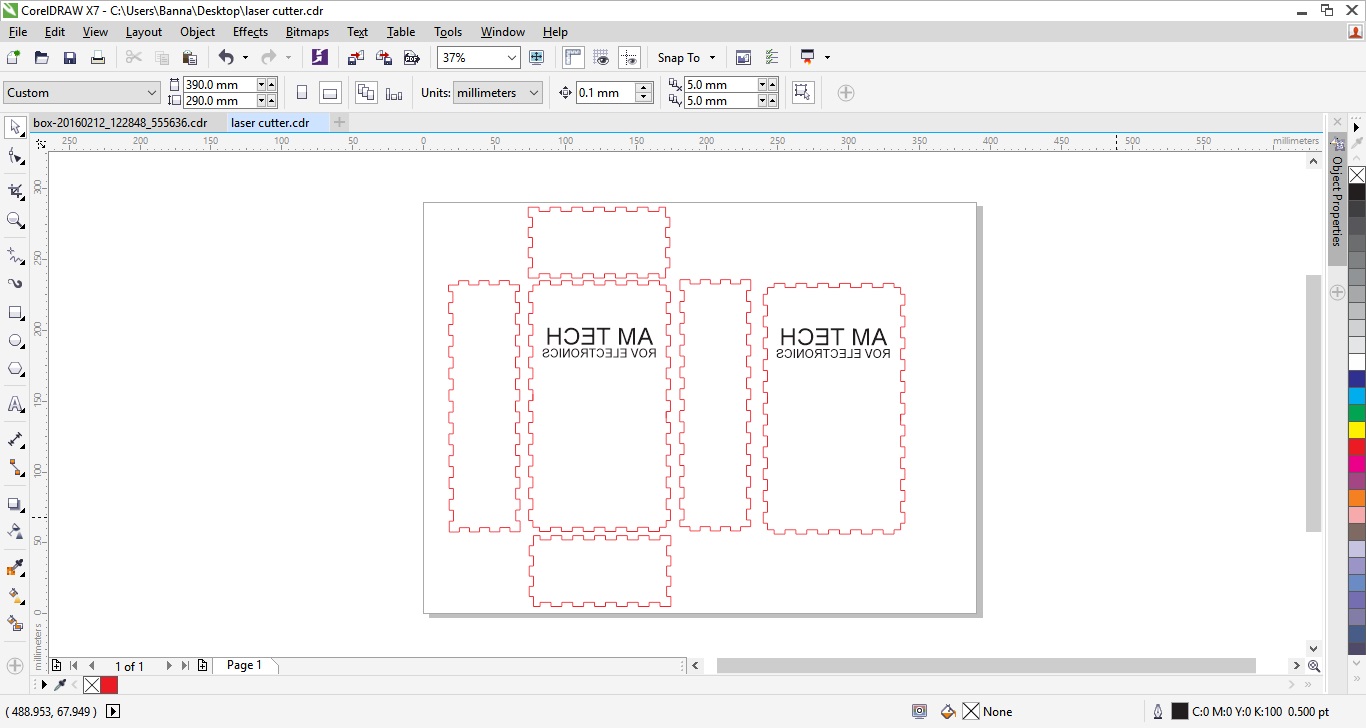
• And here is the final design that i will cut.
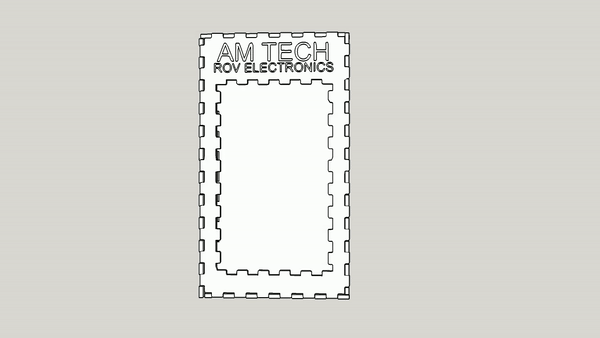
• Also i made a gif for simulating the box.
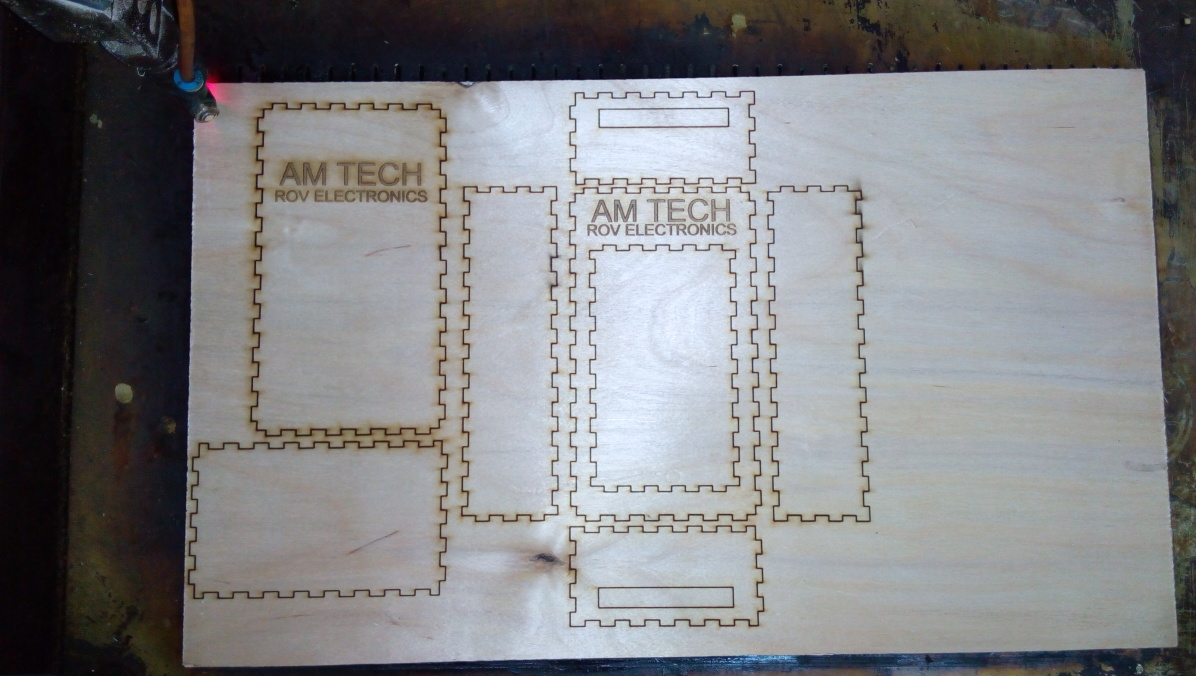
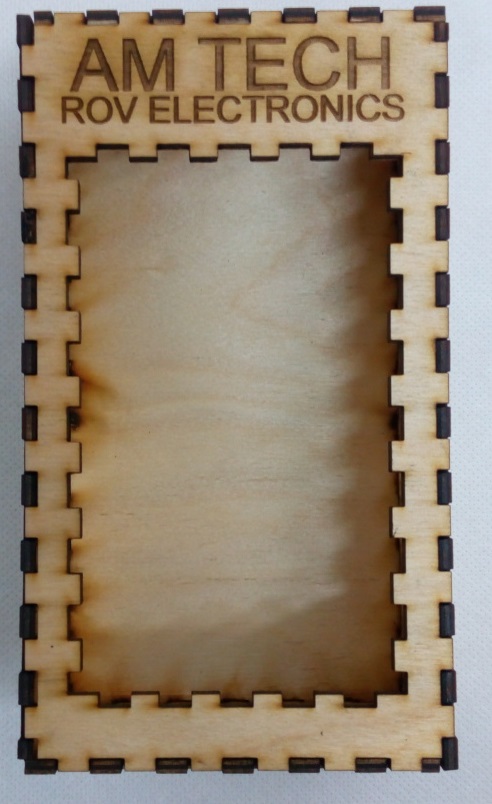
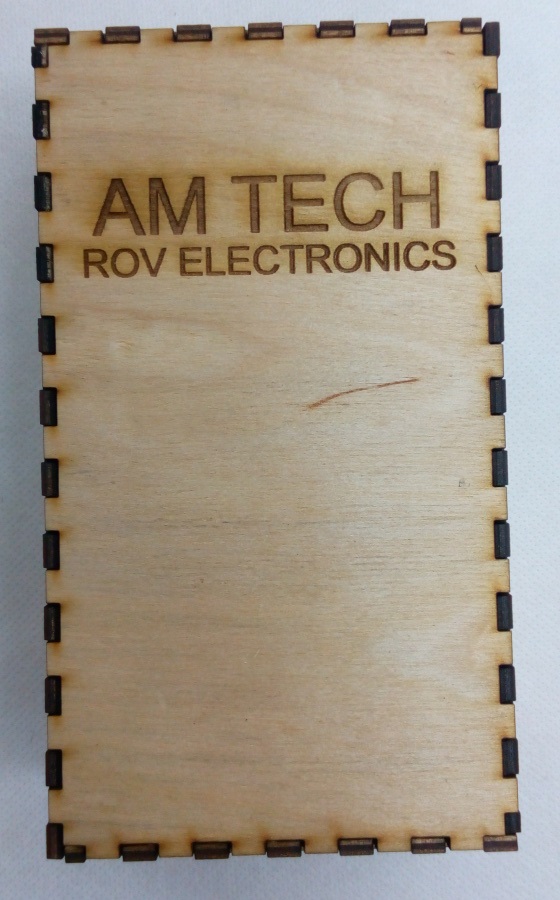
• After cutting the box with the laser cutter here is some pics .

Second: educational kit - First
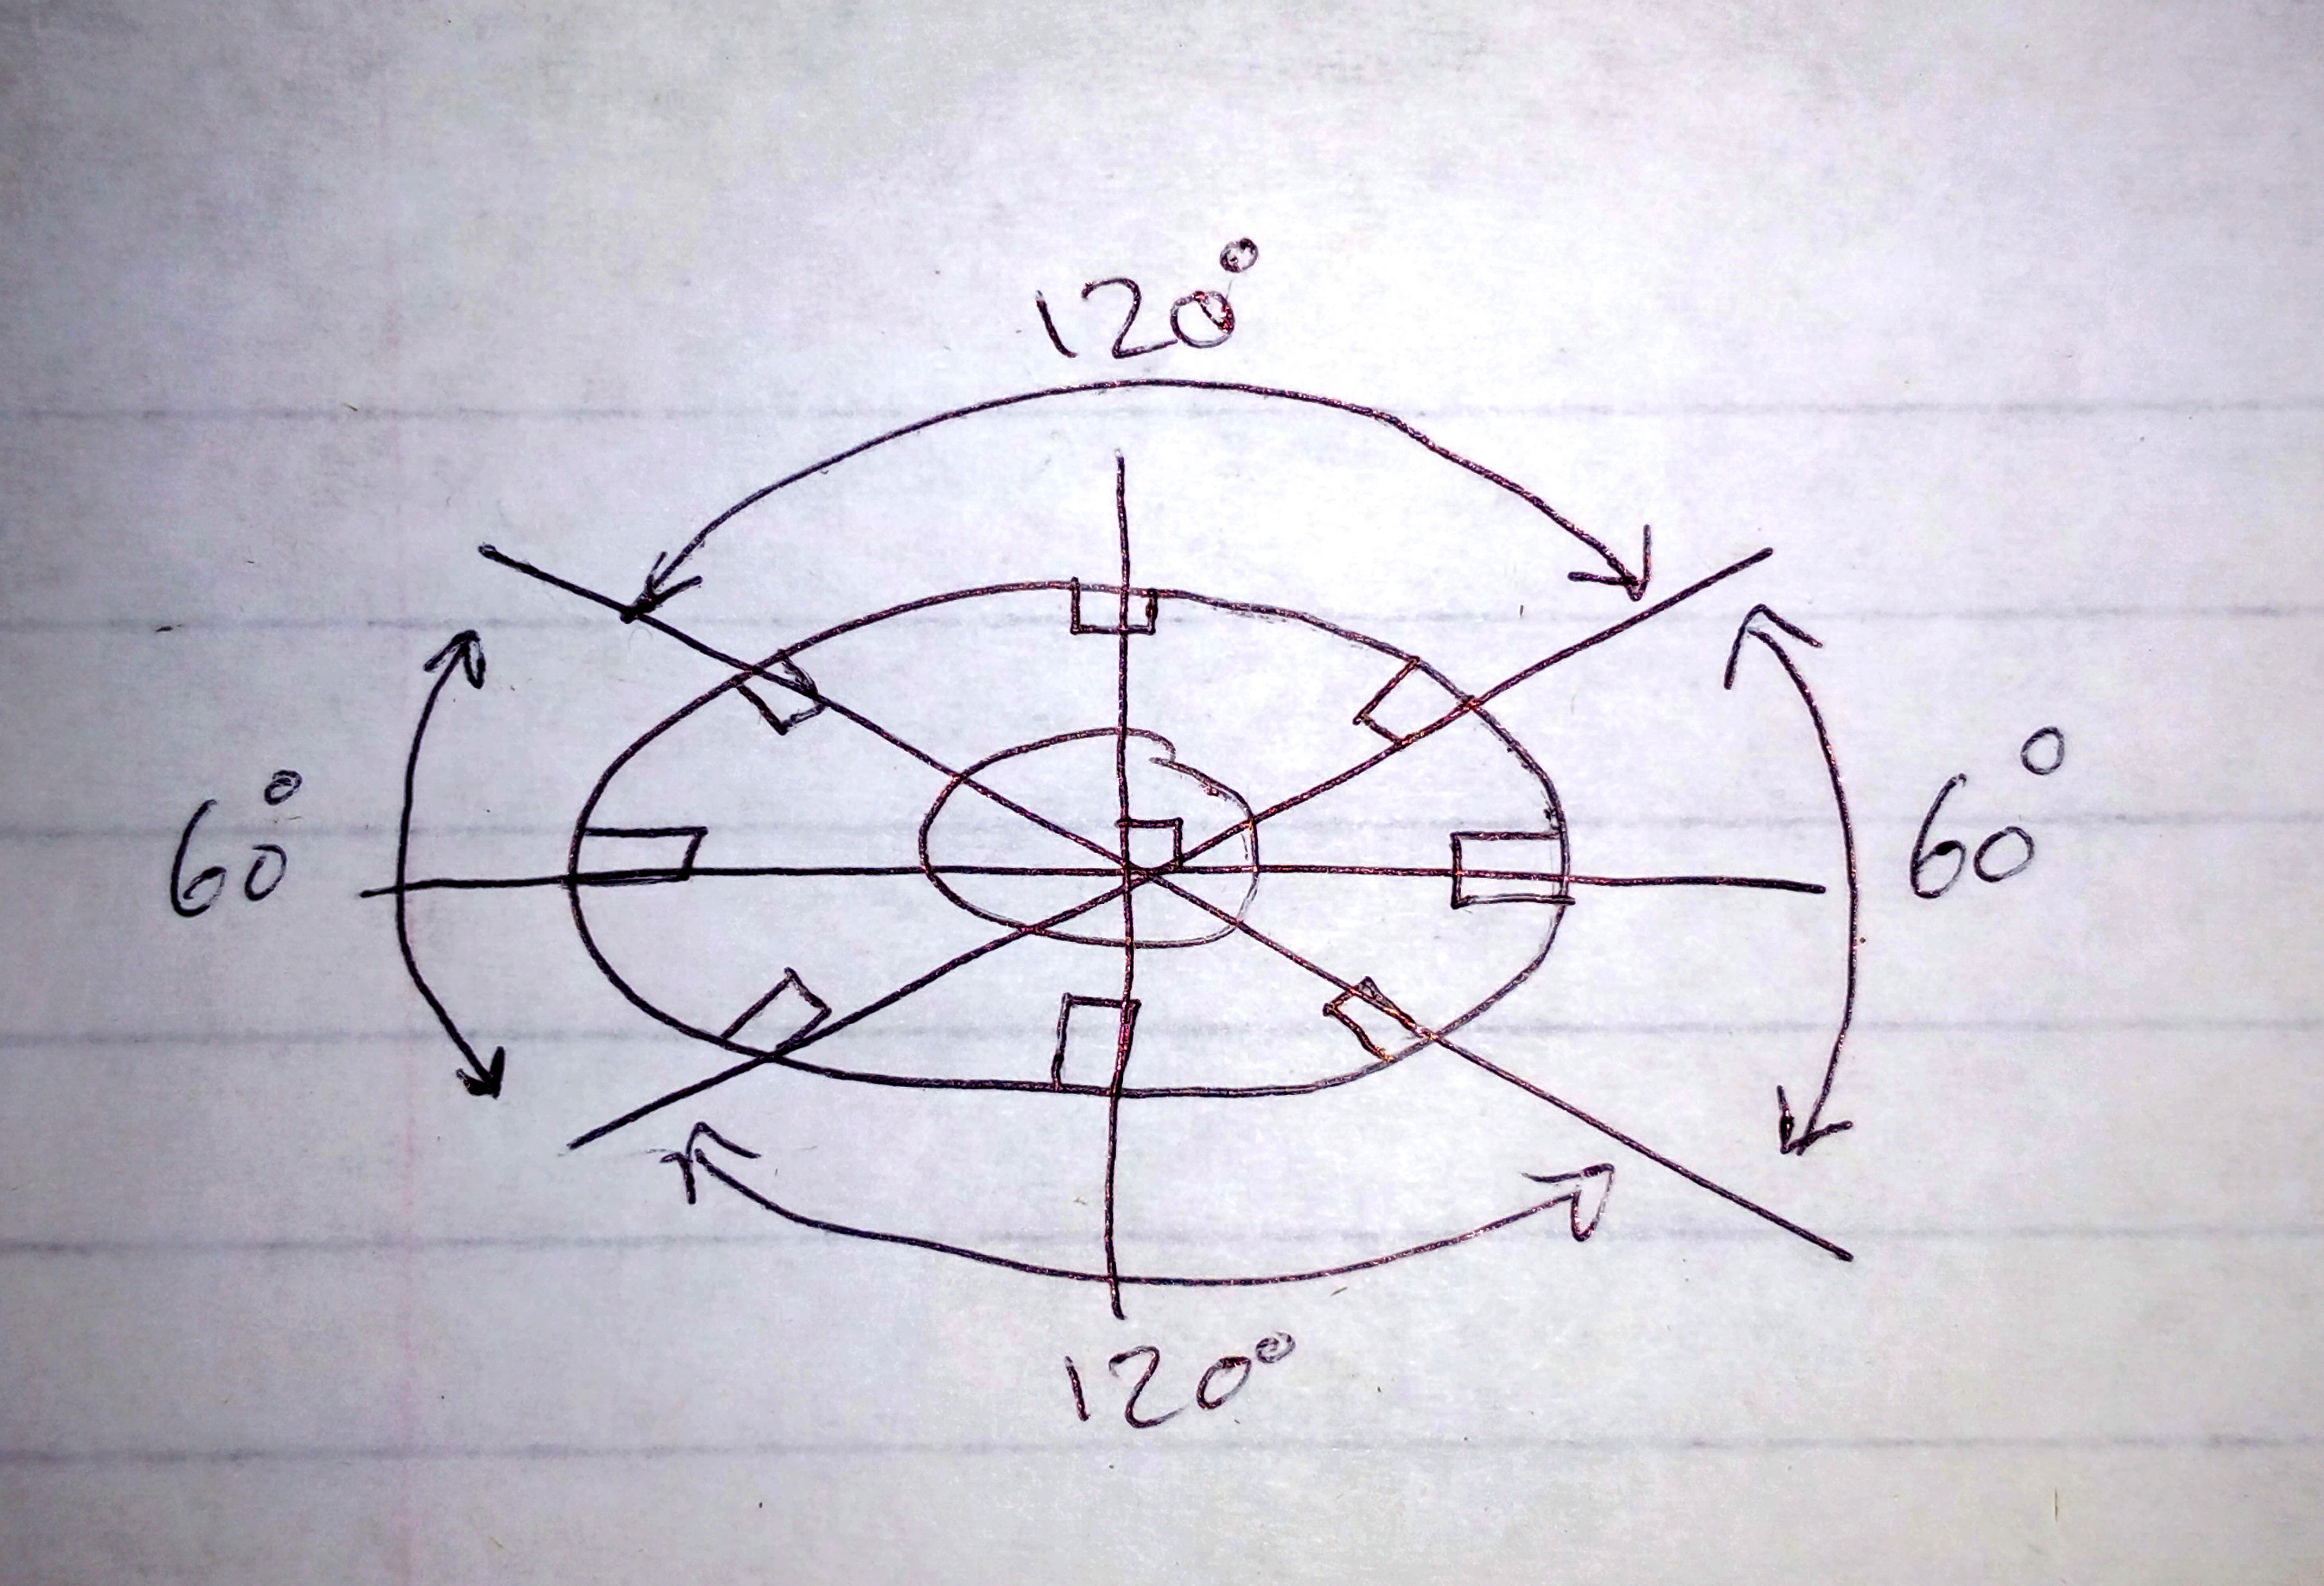
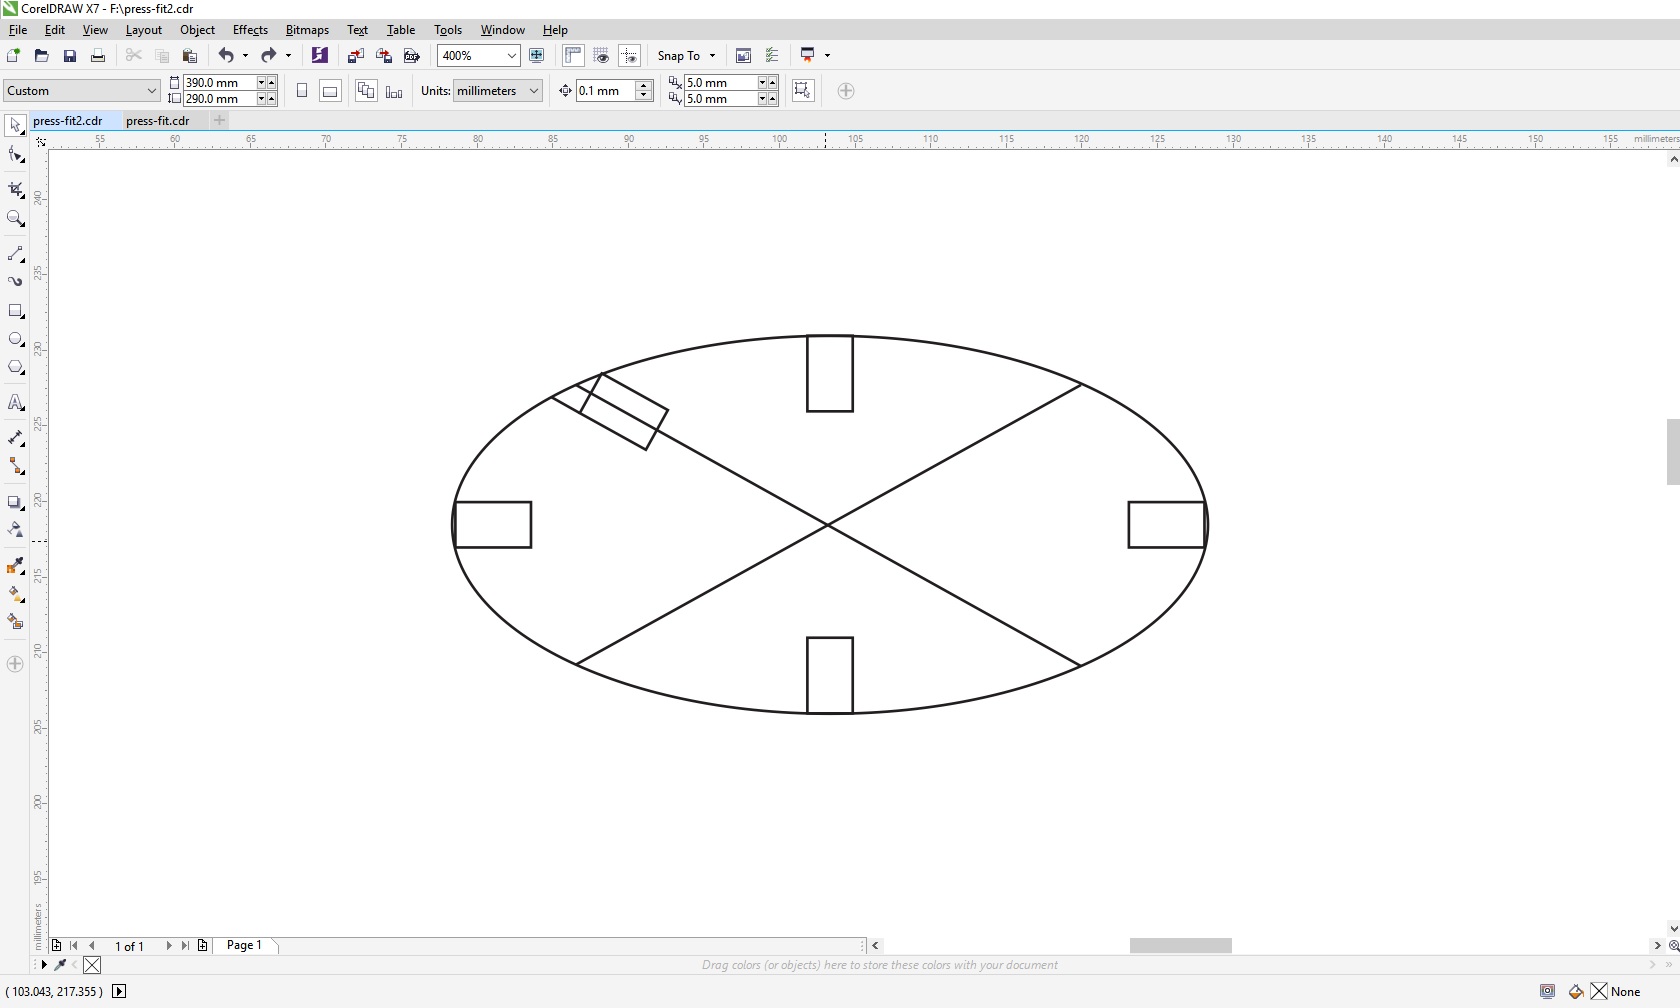
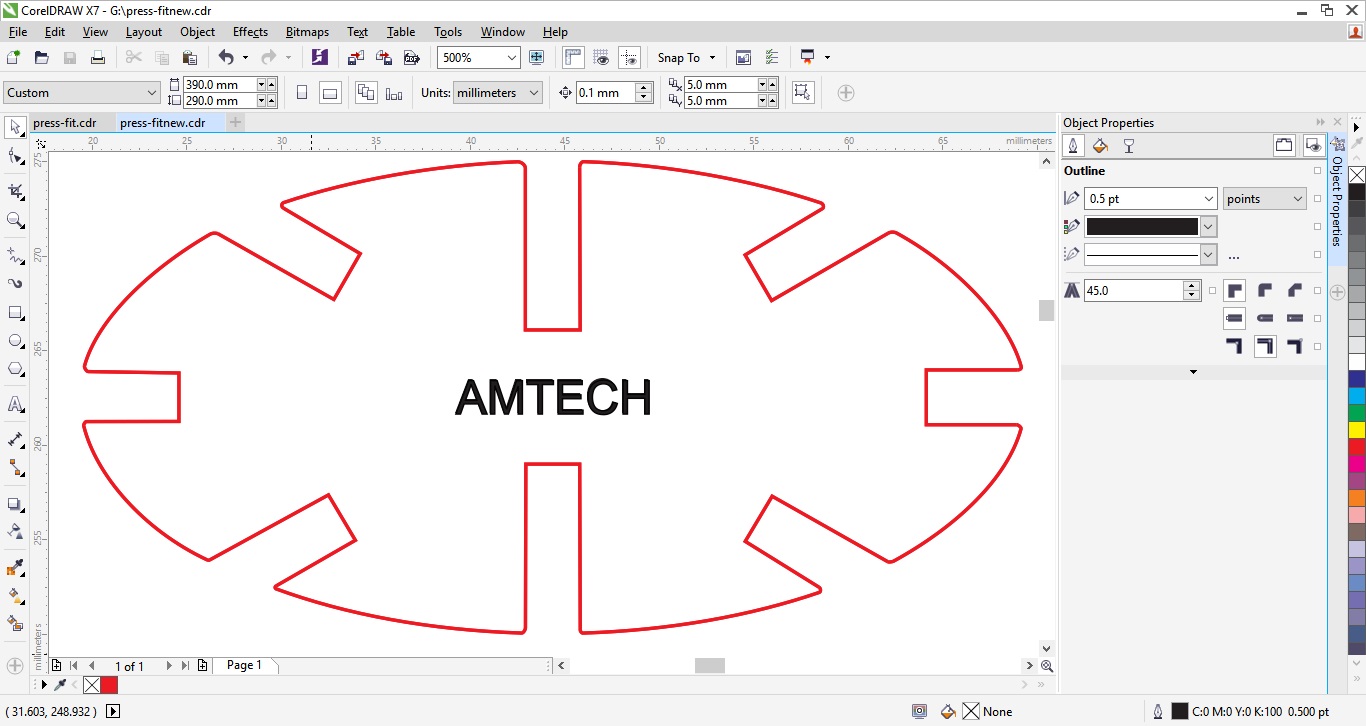
I draw a sketch for the imaginary design that will fit to make most of shapes
Then i used corel draw to apply it .
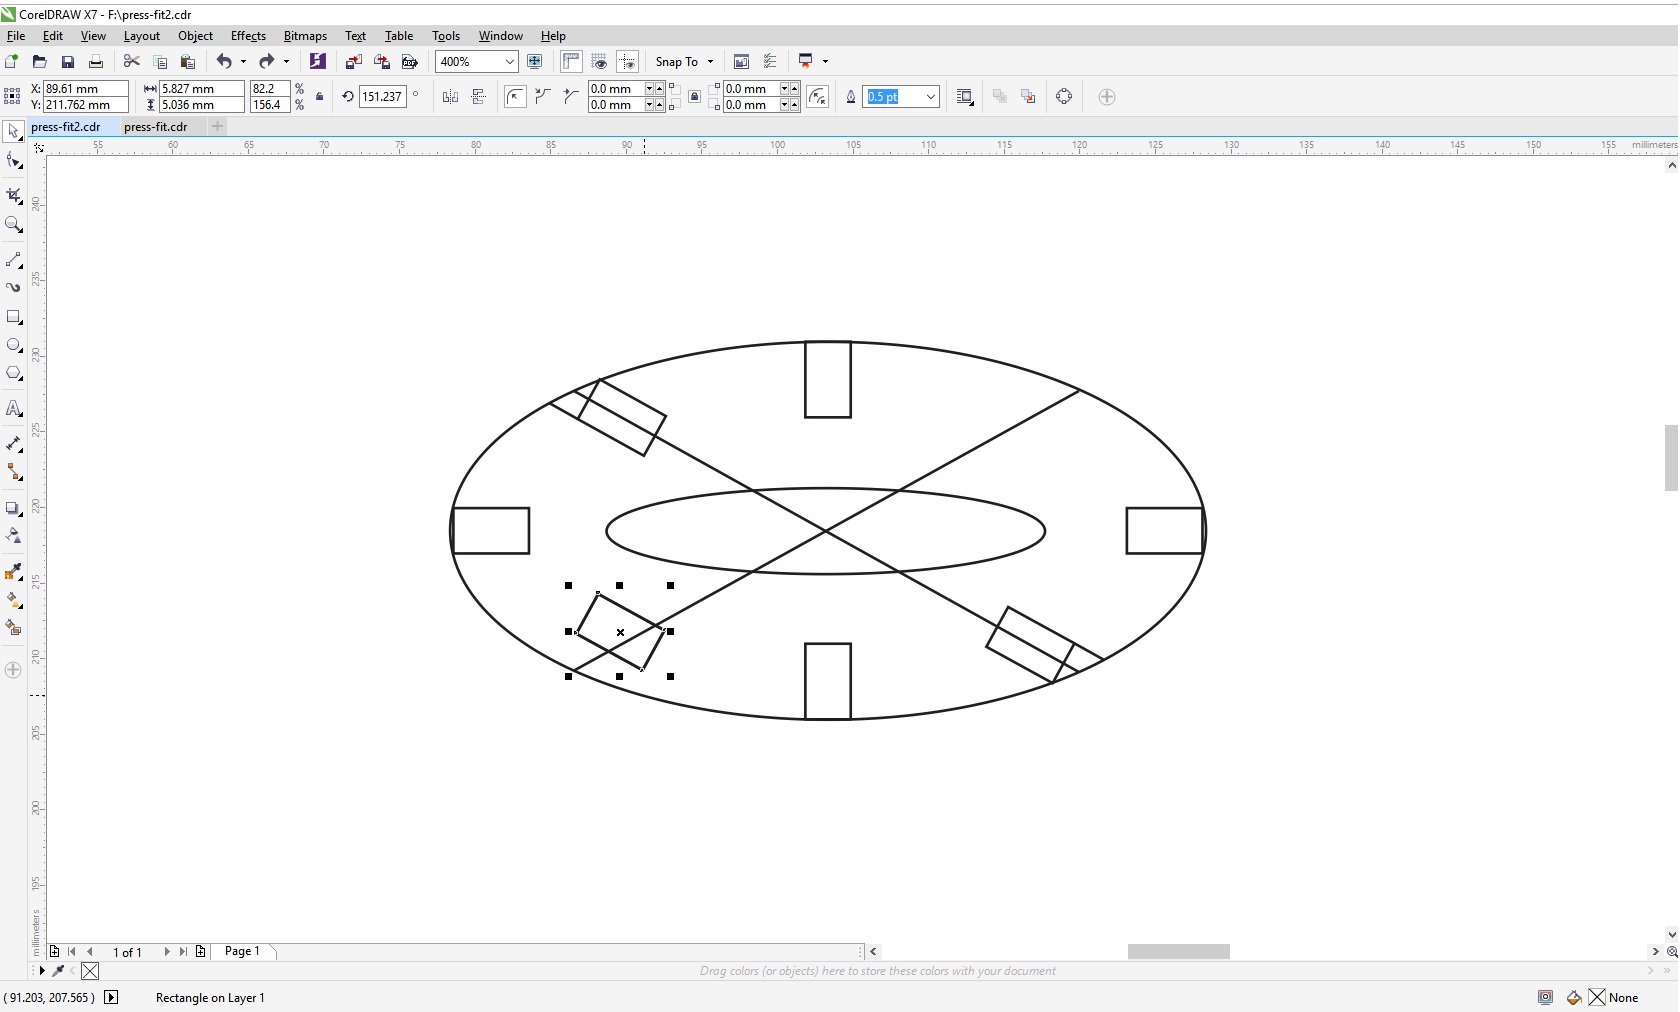
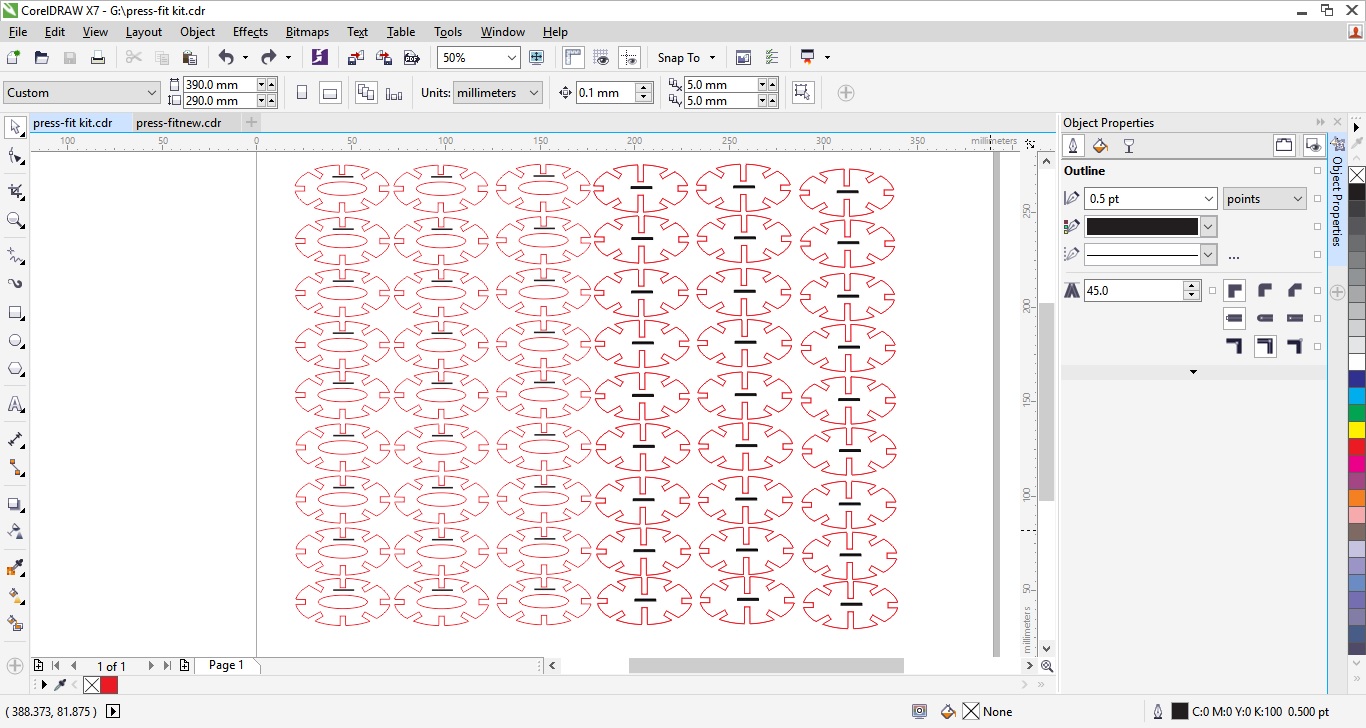
Then i repeated the part to insert them into the laser cutter program.

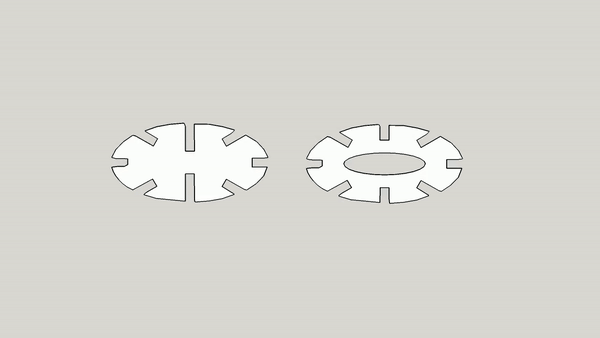
I desided to make another part to make the kit do more shapes.
And here is a gif for the two parts.
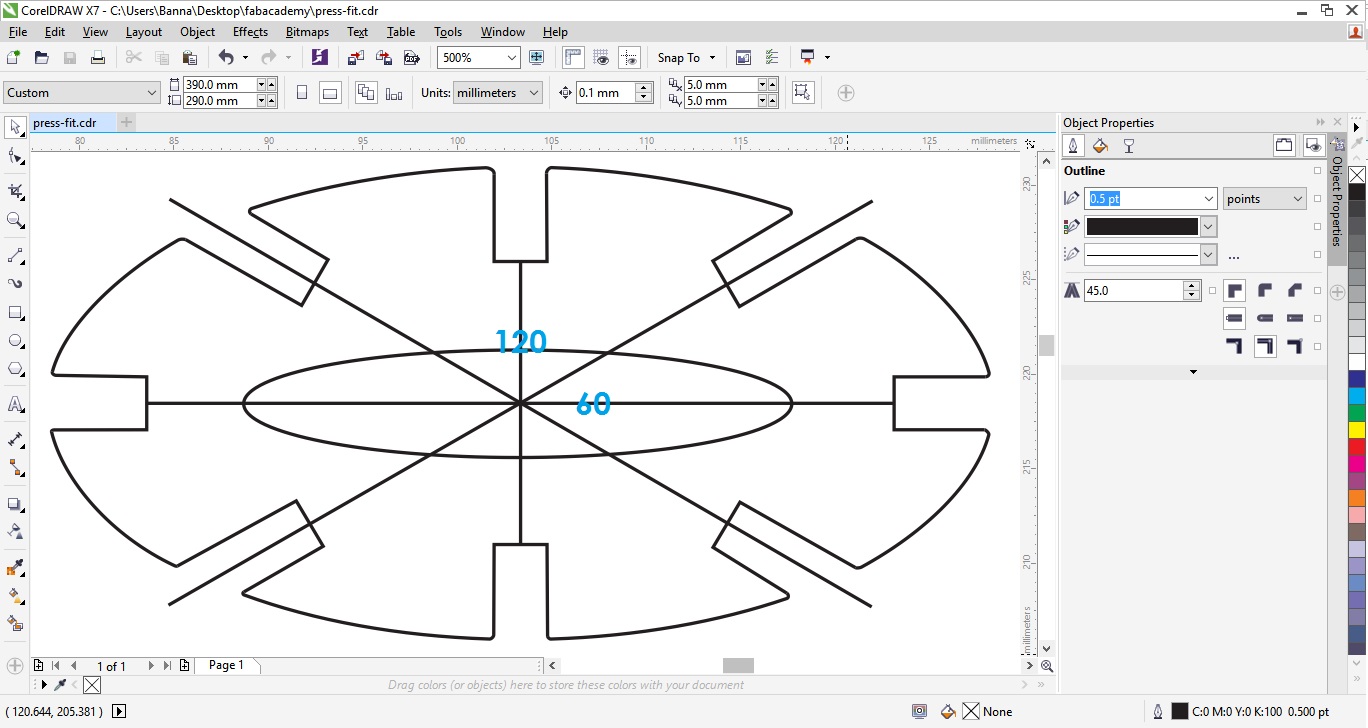
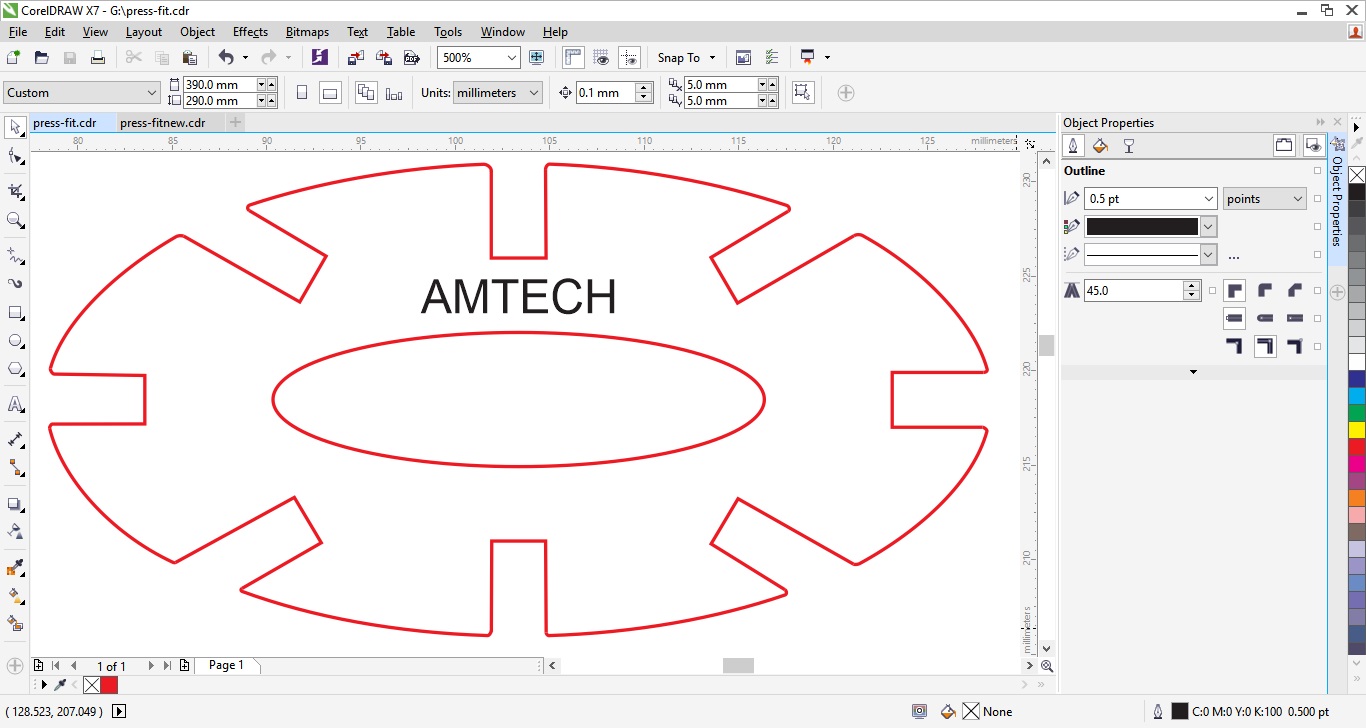
Here is a screenshot for the two parts before cutting in corel draw.
And now it's time for cutting .
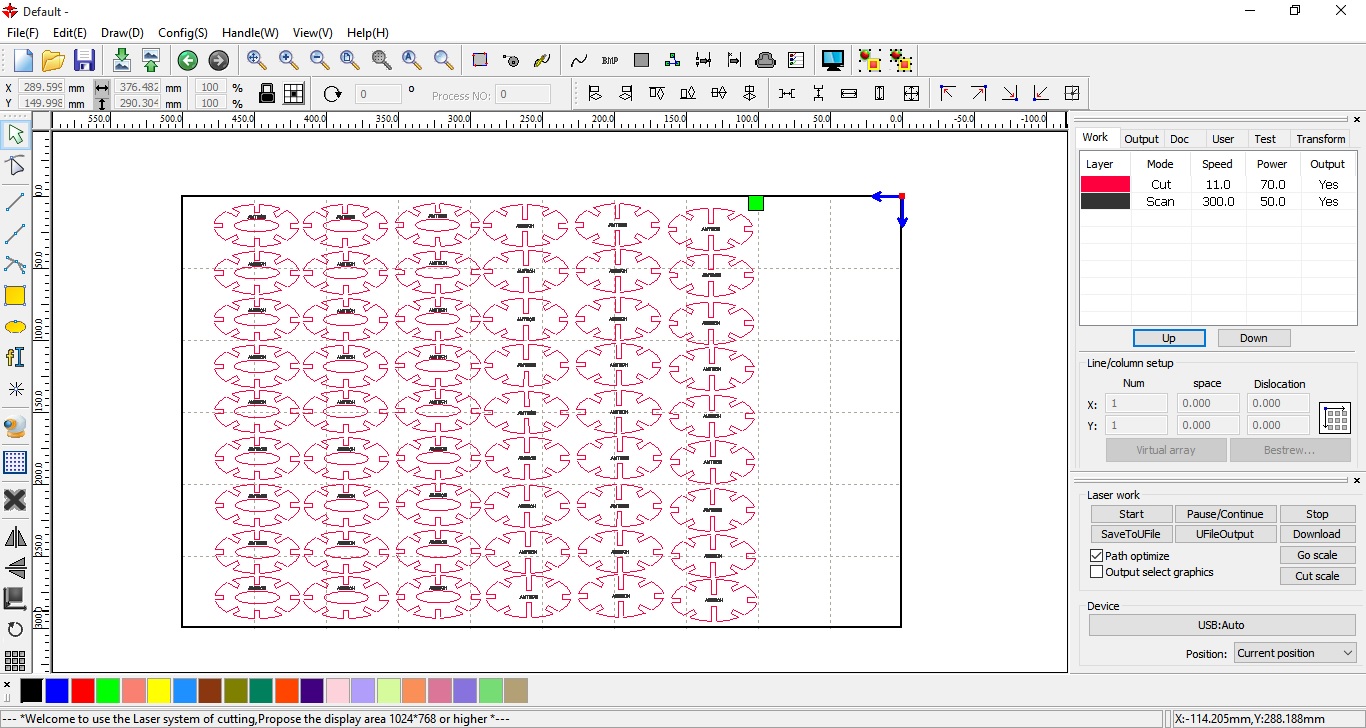
I exported the drawing as a DXF file because the default laser cutter program imports only DXF files.
I opened laser works ( the default program for the laser cutter machine )
then i imported the DXF file and costumized the power and the speed for cutting and also for the scanning ( engraving ).
I choosed wooden sheets to make the desired parts because wood is soft and have the ability to fit easily with some friction to keep the desired shape holding together.
after putting the wooden sheet in the cutting area in the machine and adjusting the focus .
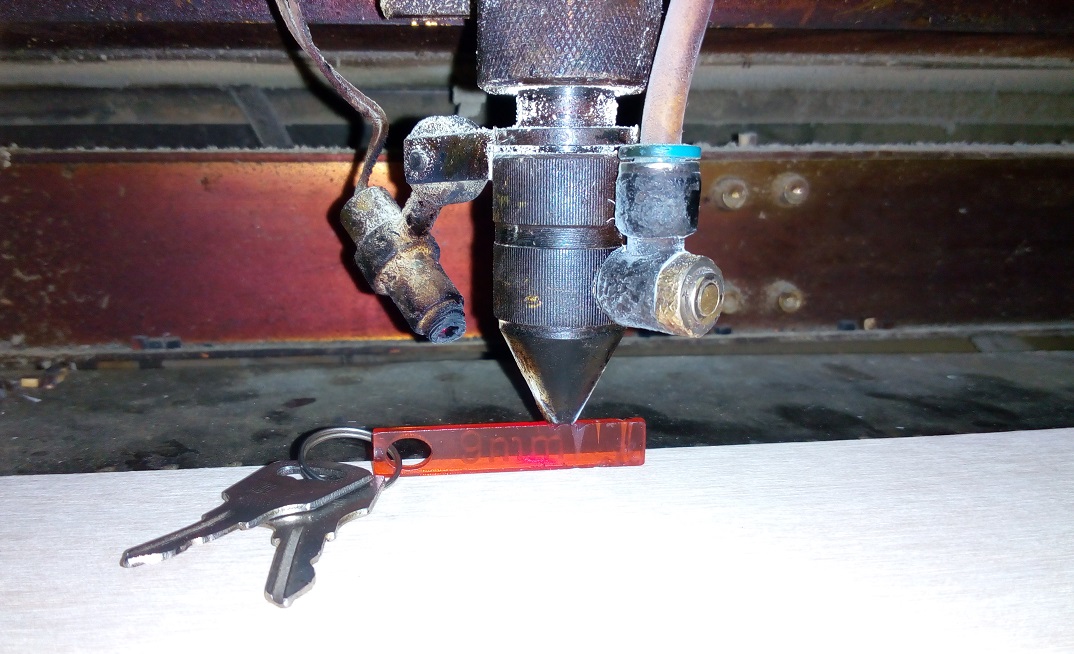
And i set the origin of the lens to x=0 and y=0.
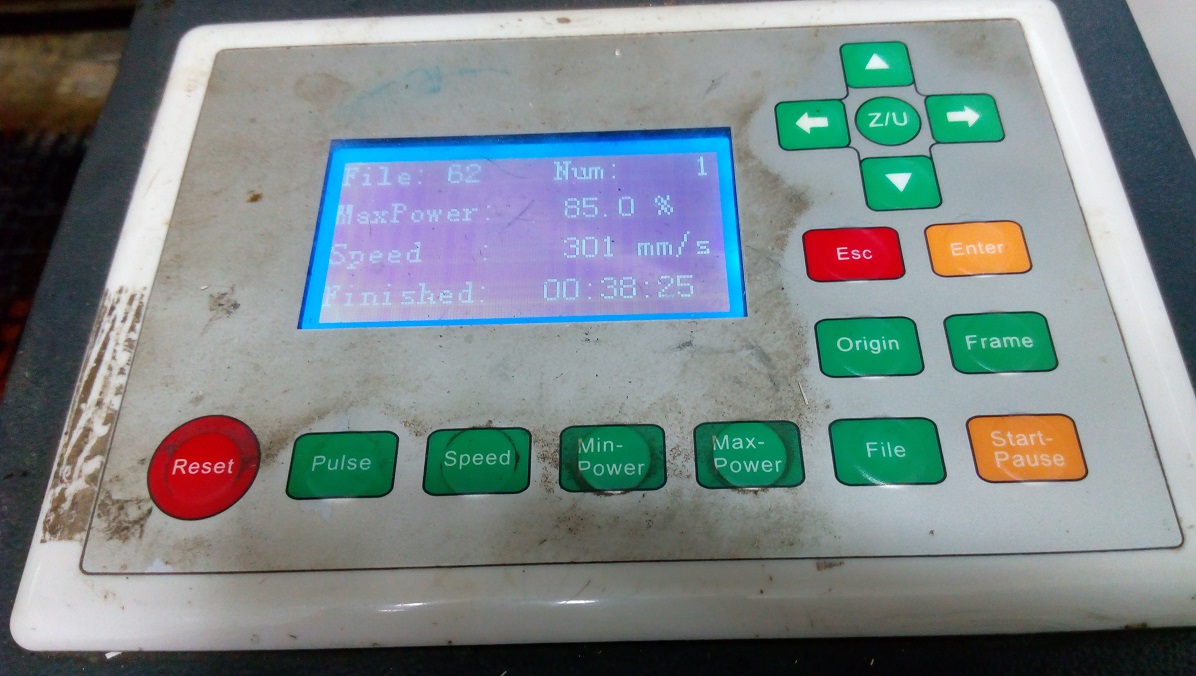
Then i pressed start in laser works program in the computer.
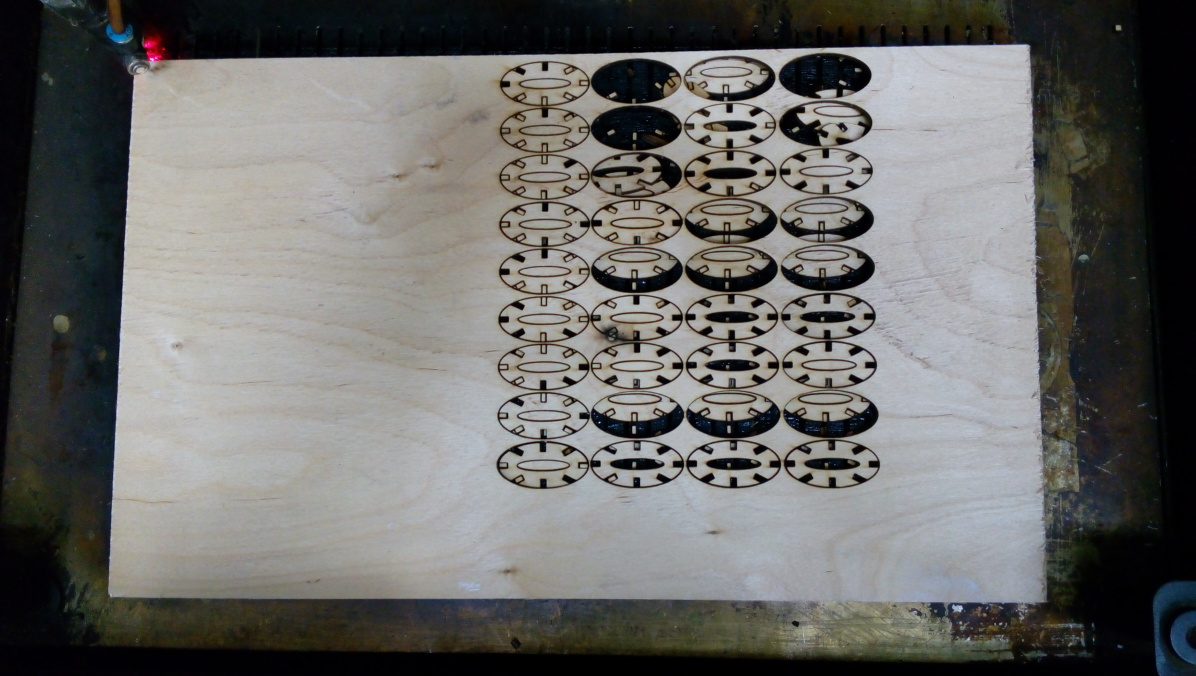
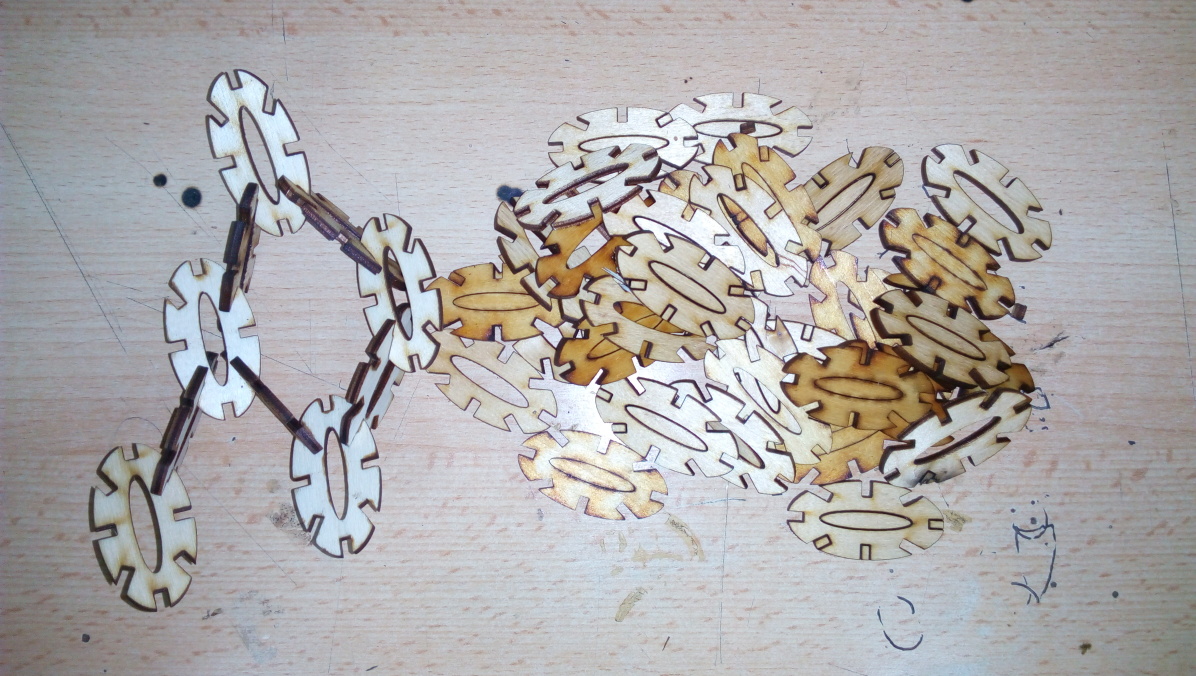
So here is after cutting
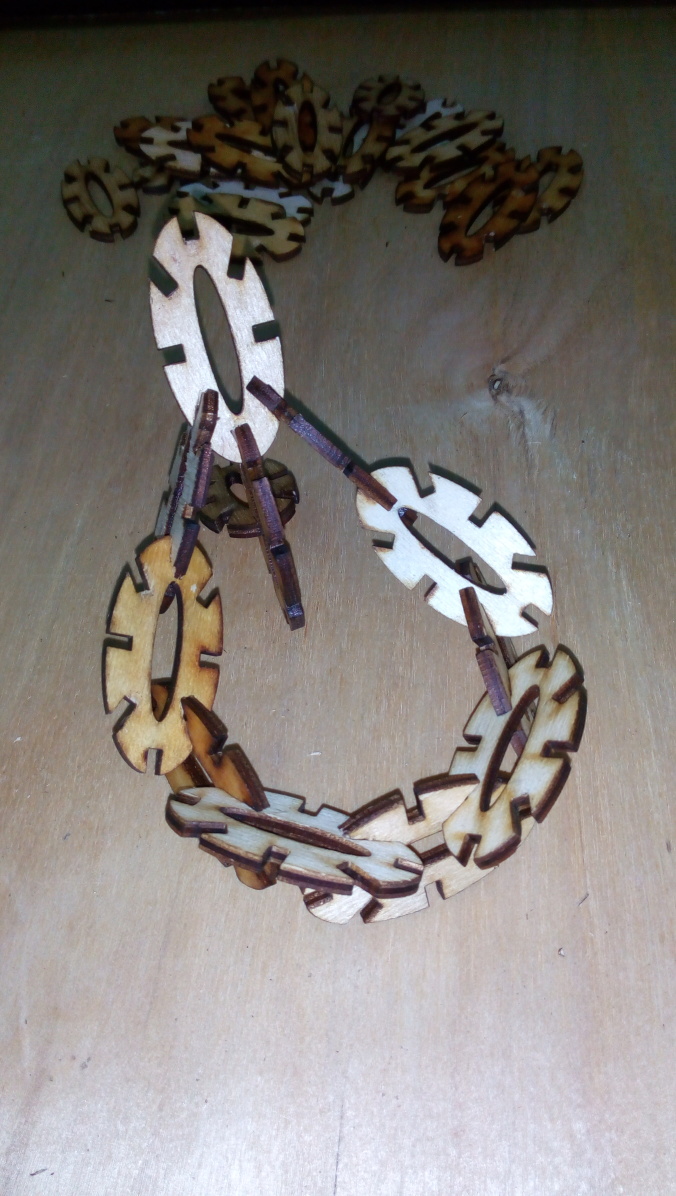
And here is the two parts.
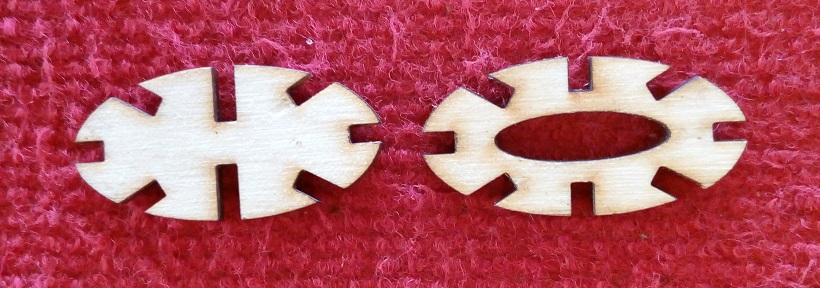
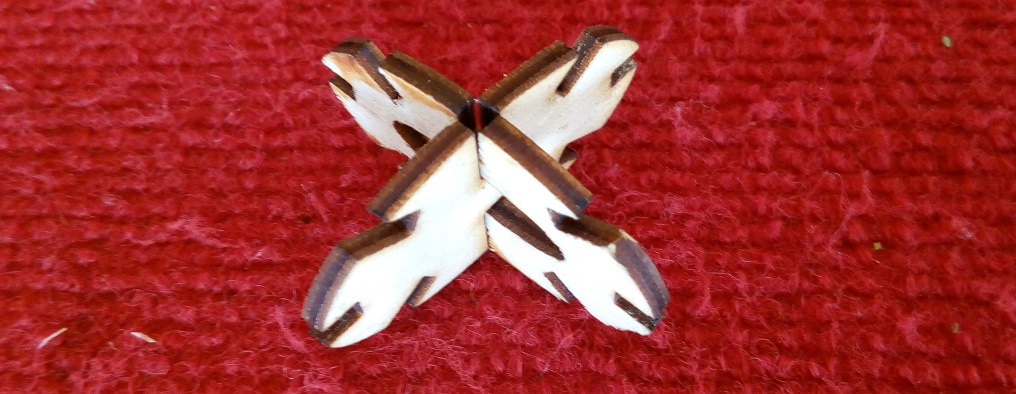
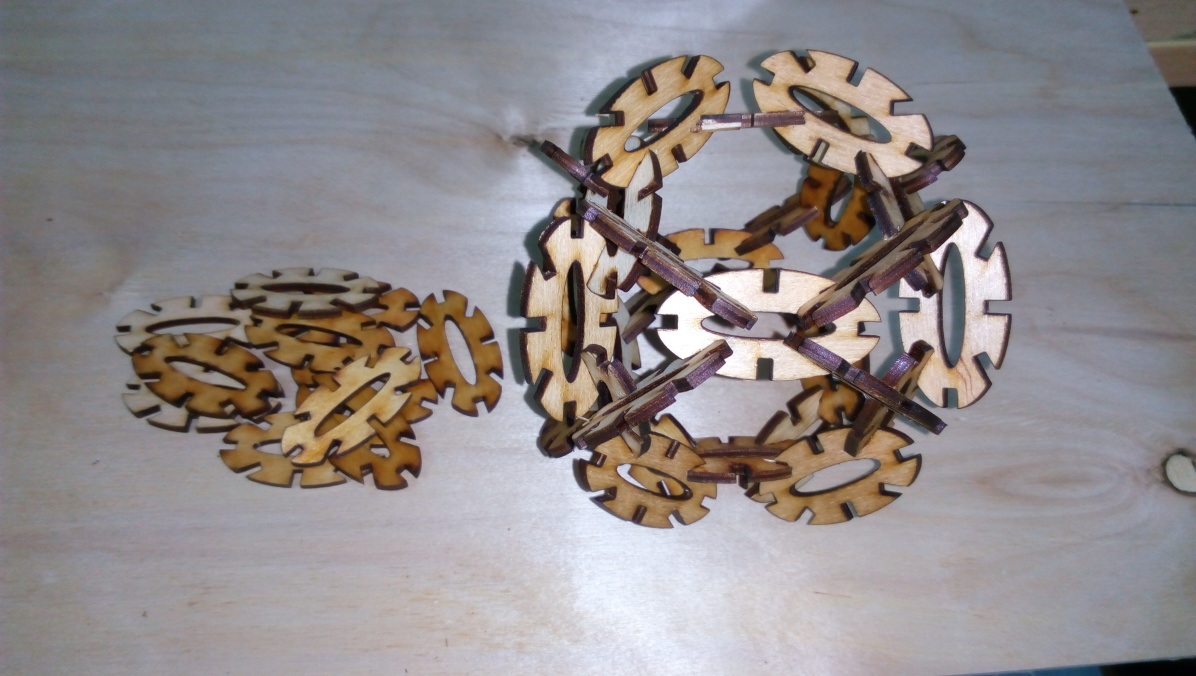
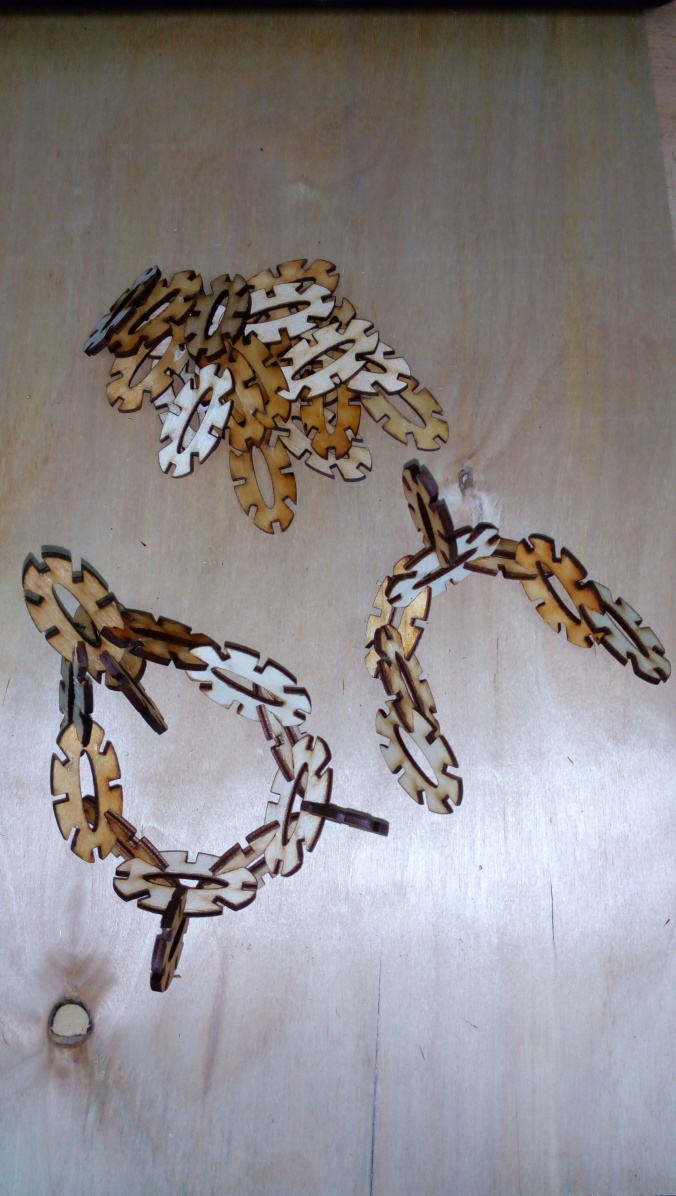
After removing the excess wood and cleaning here is some pics for the parts and example to show how it's clear and fit together.
Also i can make a lot of shapes and patterns to suit my needs .
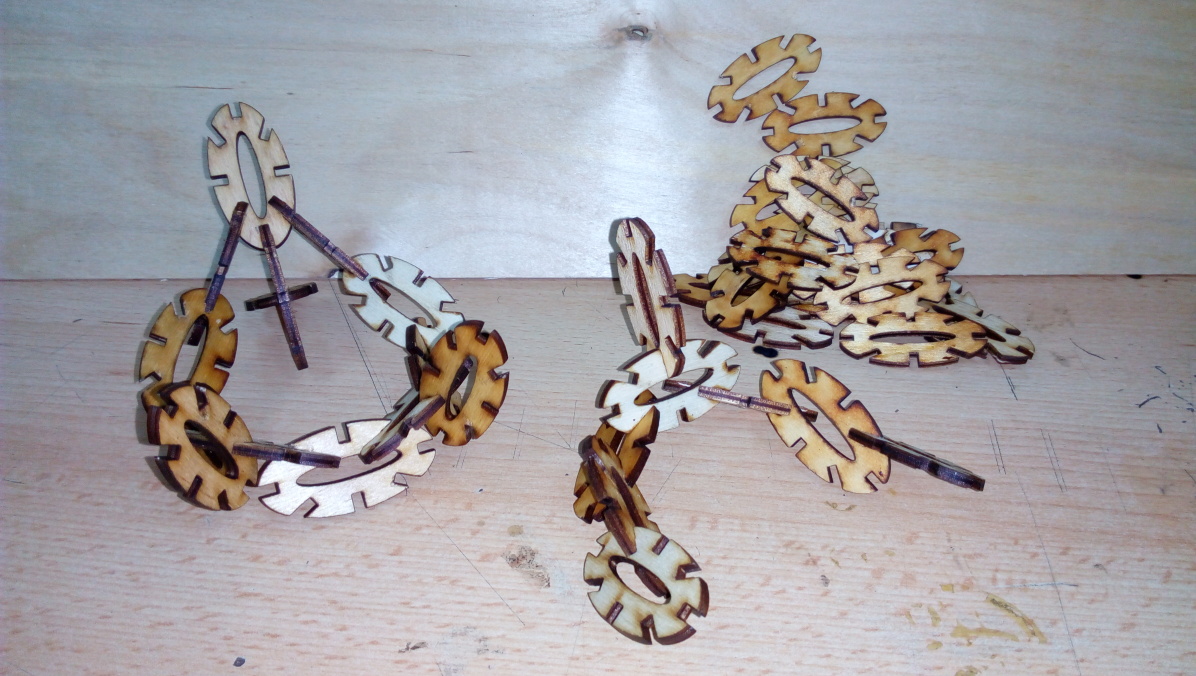
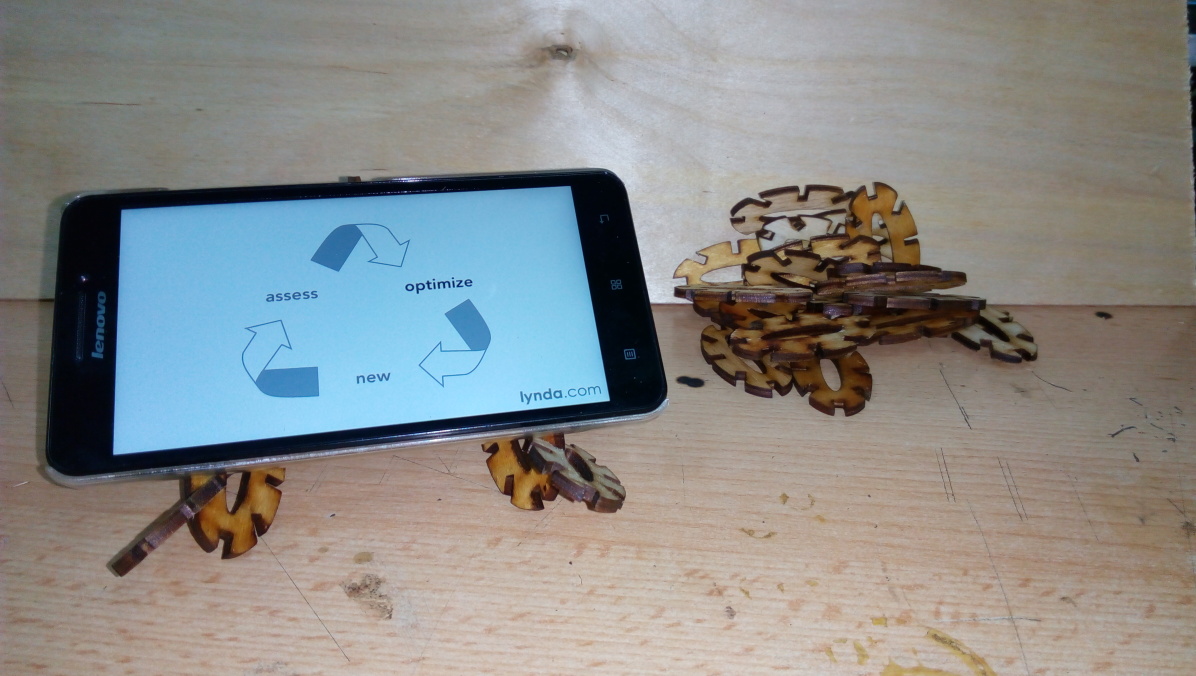
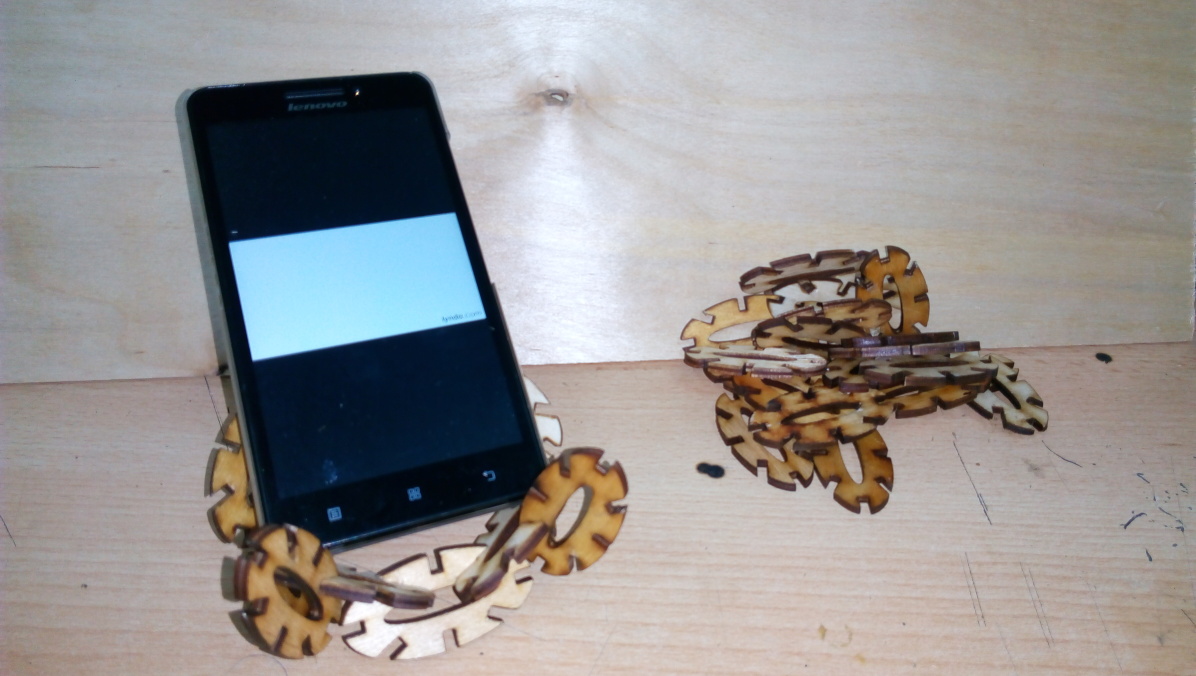
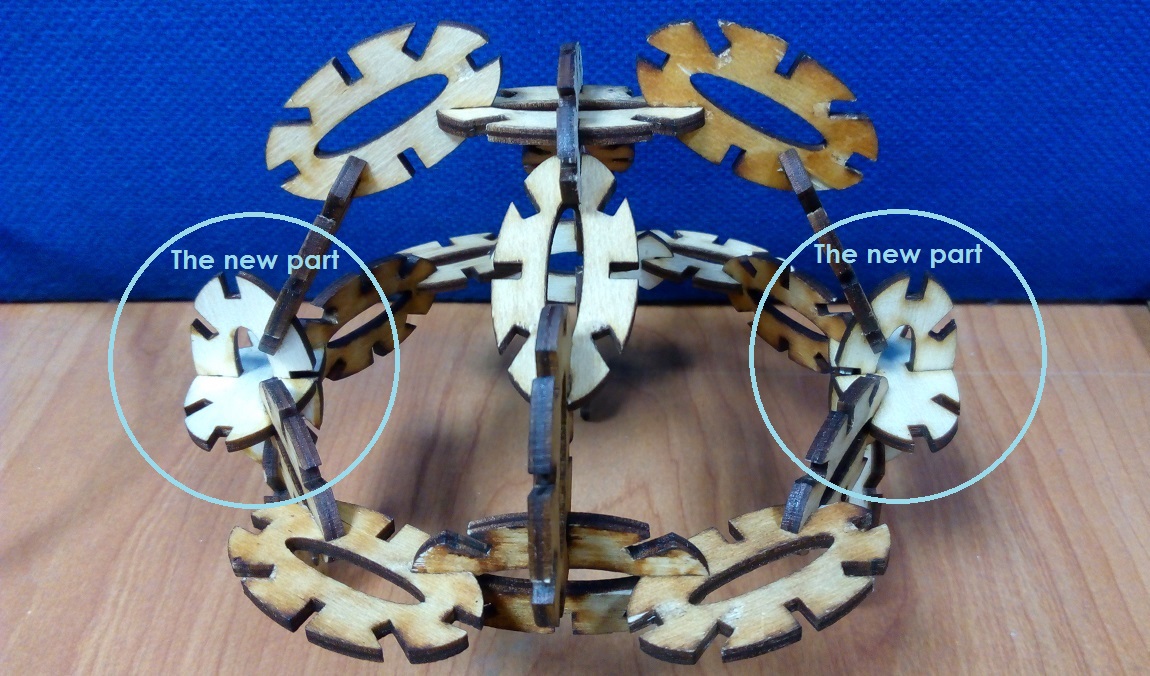
So now i think i can make limitless shapes from that kit ;)...