Week 13 - Molding & Casting
Assignment
design a 3D mold, machine it, and cast parts from it
I’ve decided to do a simple object first in order to get familiar with the workflow, which is completely new to me. These are the steps:
- create 3D model, ideally in a tool which supports boolean operations, like Antimony or OpenSCAD.
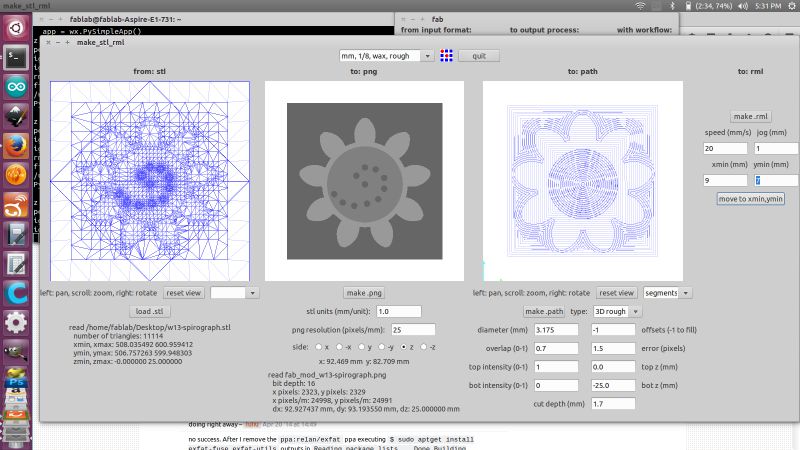
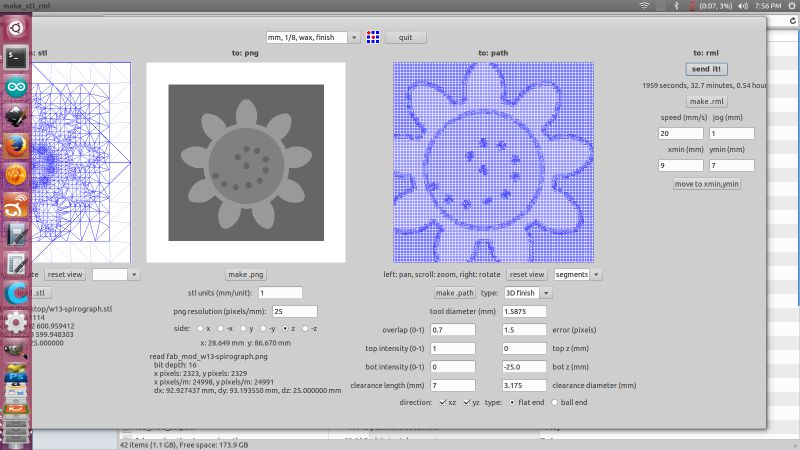
- export an STL file, convert to PNG, generate toolpath using fabmodules
- mill it using the Modella out of machineable wax
- rough cut
- finishing cut
- create a silicone mold
- cast a piece using DryStone
I’m making a spirograph, which can be used to create interesting designs.
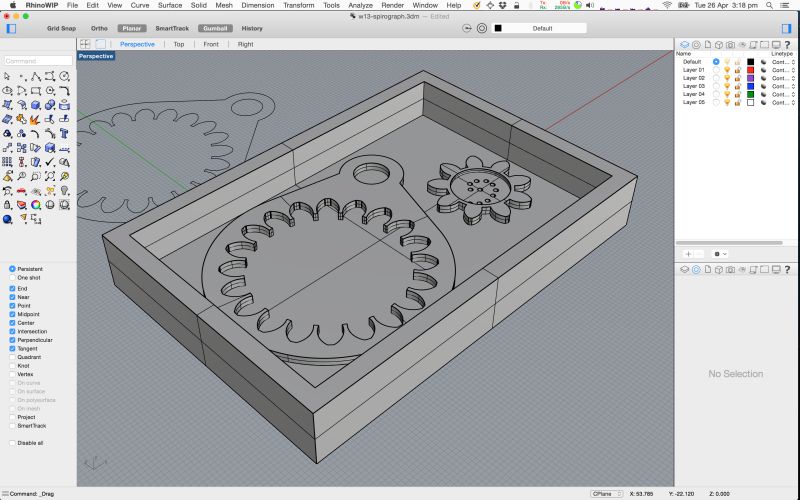
I used Rhino to create a 3D model:
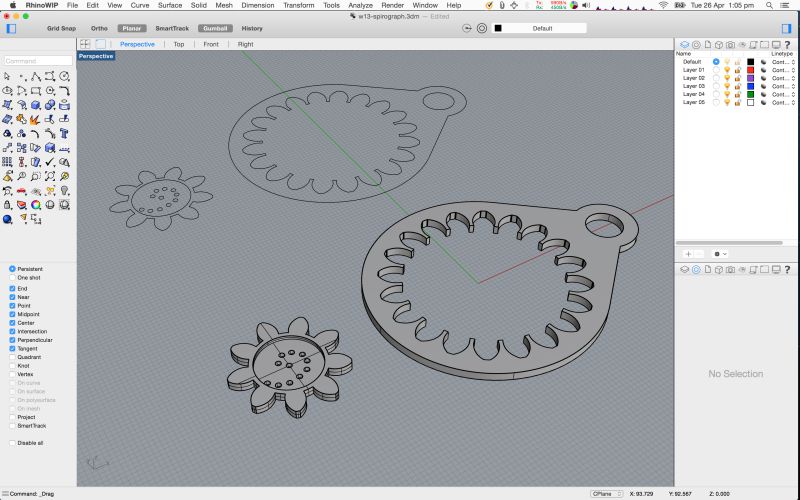
Next, I designed the silicone mold for it by subtracting the above design from a cuboid.
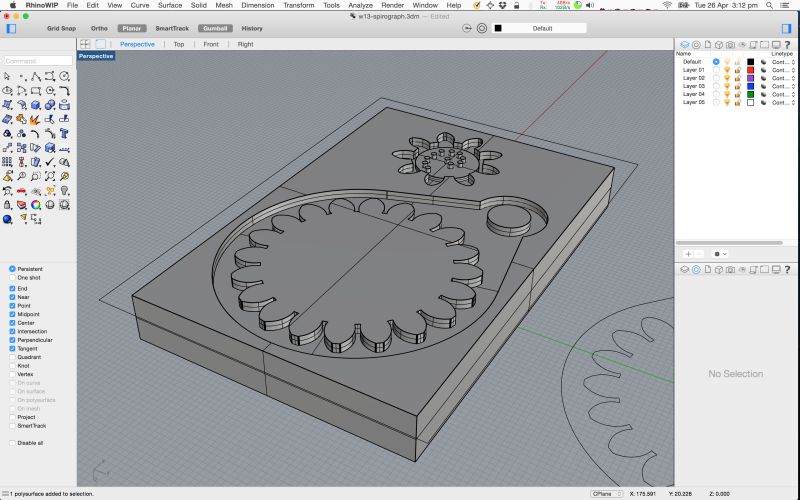
Then I designed the wax mold for the silicone mold, by subtracting the above from a bigger cuboid. This positive -> negative -> positive thinking definitely takes some time to get used to!
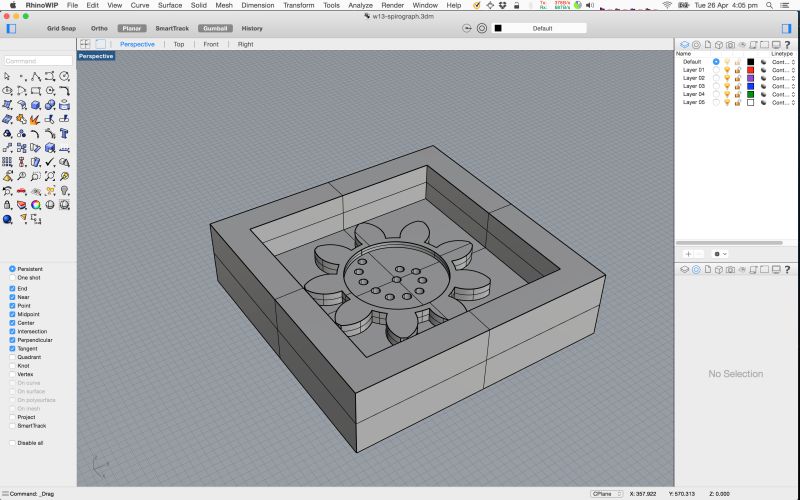
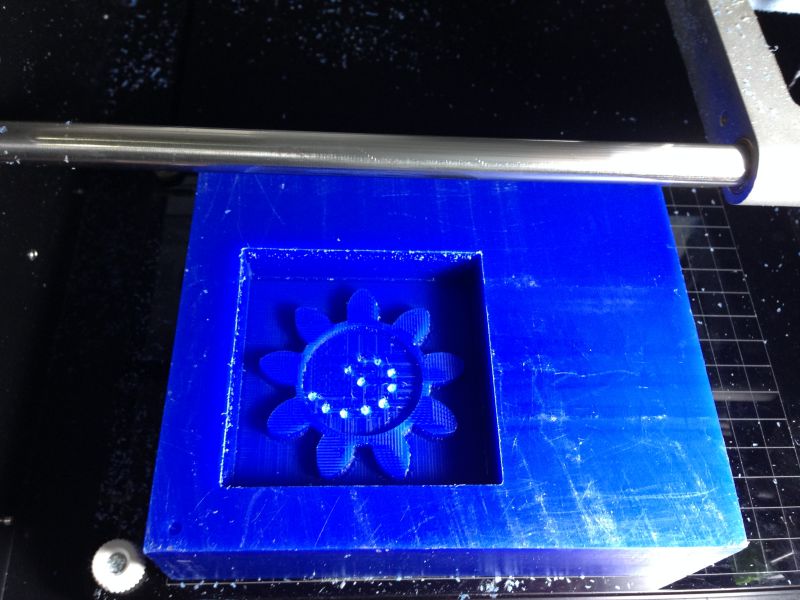
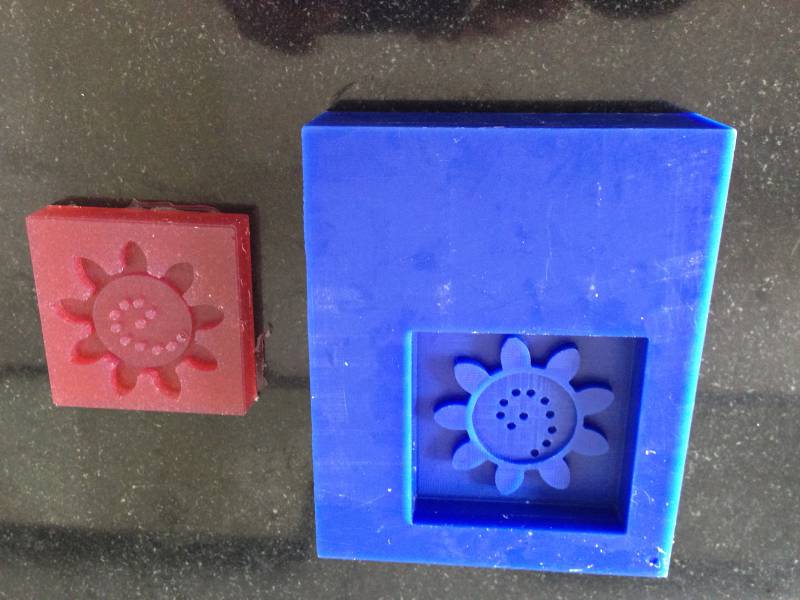
I wanted to do a test run, so I created a mold only for the gear:
Original Files:
- Rhino 3DM file and STL file: spirograph.zip)
These are the settings in fabmodules for the rough-cut with a 1/8th inch flat-nose end-mill:
These are the settings for the finishing-cut with a 1/16th inch end-mill:
Here is the mold after the rough cut, notice that the holes weren’t cut:
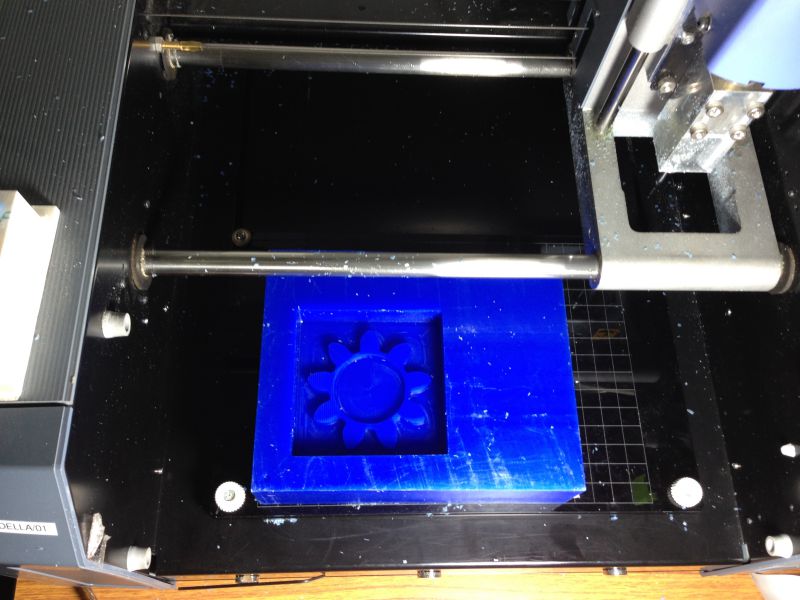
Here is the mold after the finishing cut with the holes cut out too:
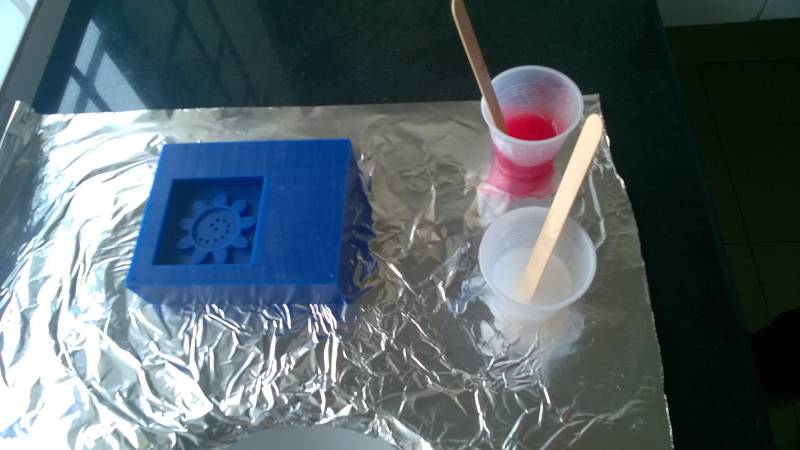
Next step was to cast the silicone mold.
- I used Sorta-Clear 37 Silicone Rubber, which is made by mixing 2 parts (Part A & B) in 1:1 ratio.
- First I measured the volume required by pouting water into the wax mold and emptying the water into a cup.
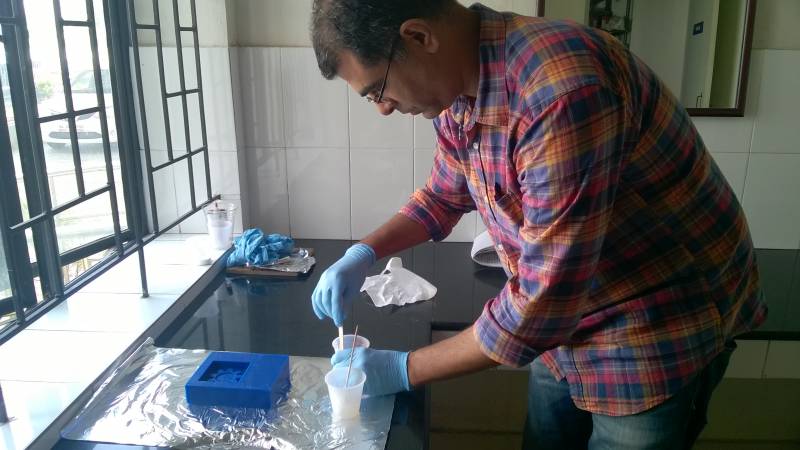
- Next I took equal volumes of Part B and Part A in separate glasses and mixed these individually.
- Then I added a little red dye to Part B, just to try some colour.
- Then I mixed part A into Part B and mixed it for 3-4 minutes
- I then poured a little of the mixture into the mold and pressed it into the holes.
- I then poured the rest and shook the mold to let it settle.
- I used about 100g of silicone mixture (part A + B).
Part A & B ready to be mixed:
Mixing in progress:
Filled mold ready for curing:
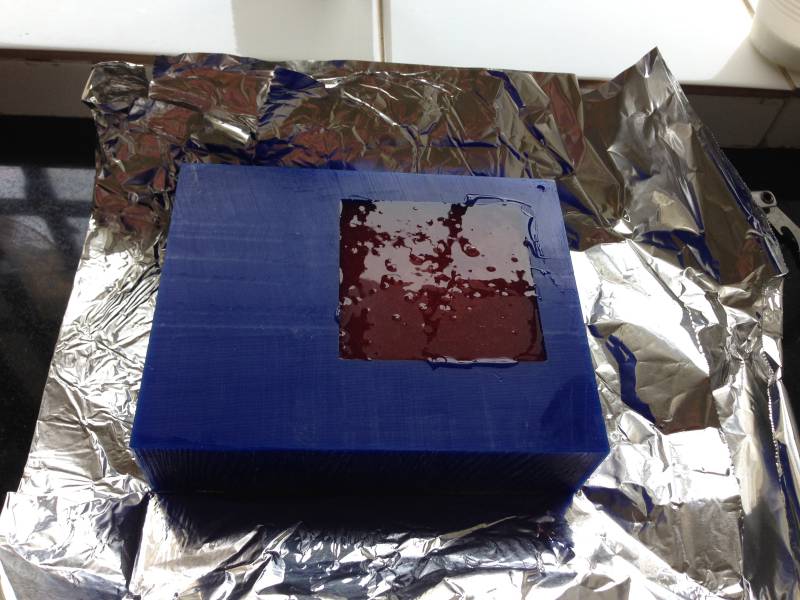
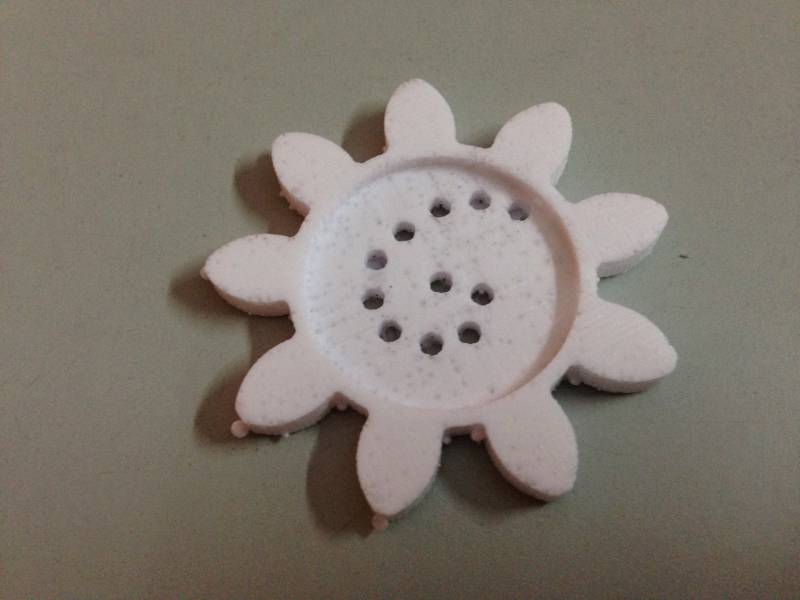
The curing process takes 4 hours. Here is the mold right after it was removed:
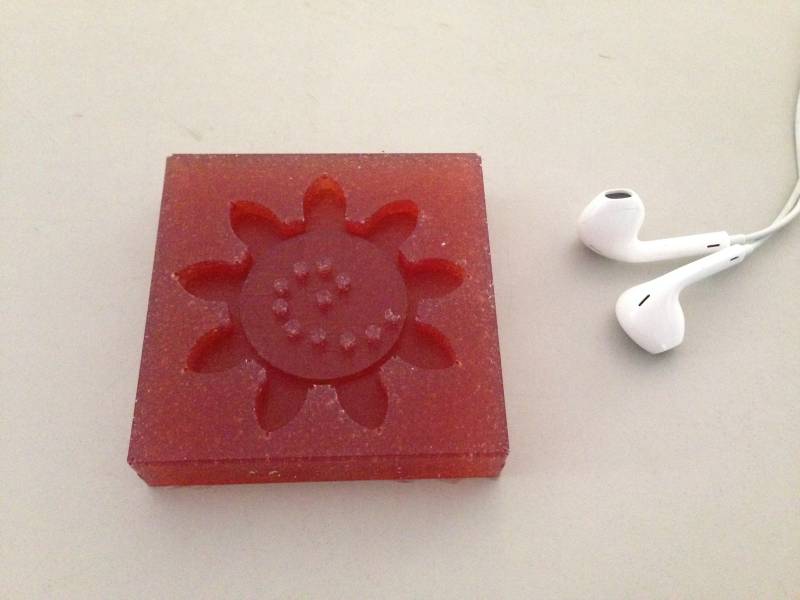
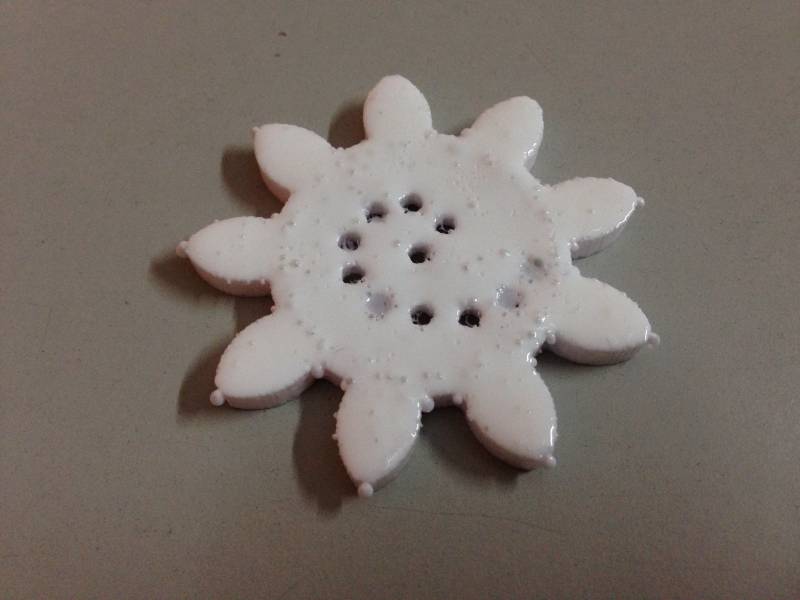
Next, I cast the actual piece using Smooth Cast 305 Resin, which sets in 30 min.
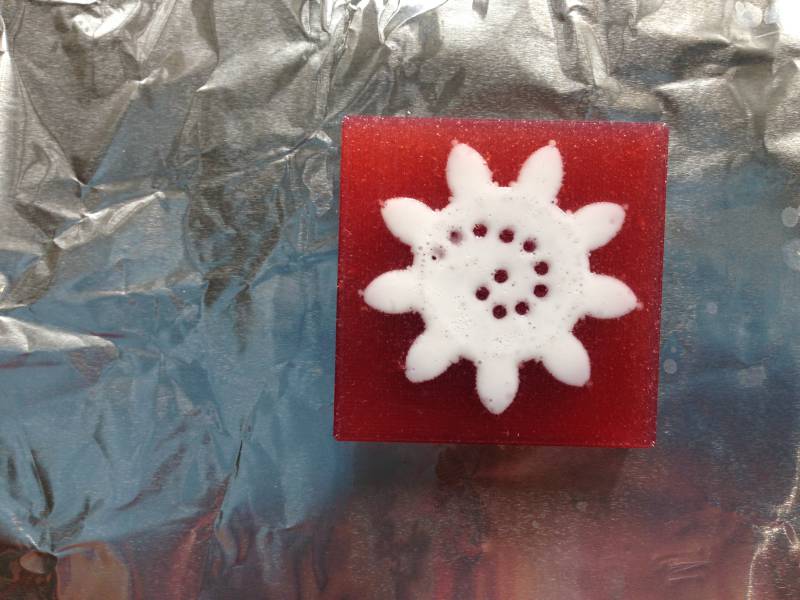
Here is the filled up mold:
And this is right after removal:
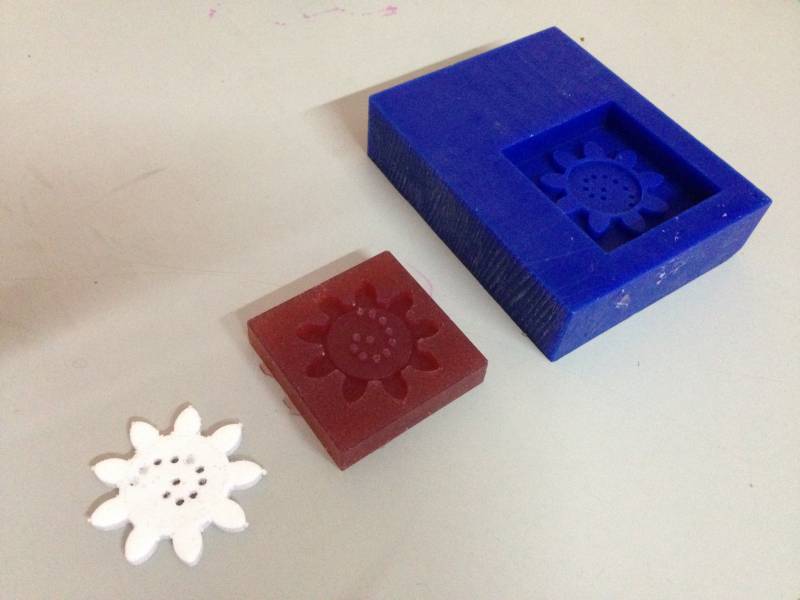
The top surface is not as flat as I expected it to be, probably because I filled it a little too much. It also has many tiny air bubbles.