<-- Week 2
WEEK 3
[COMPUTER CONTROLLED CUTTING]
Week 4 -->
WEEK'S GOALS:
IDEAS THIS WEEK:
1. Laser Cutting:Press Fit
- 1. Turban
- 2. Small geometric press fits
- 3. Press fits of our firm's logo with Fablab's logo
- 4. Sand blasting and screen printing
2. Vinyl Cutting:
Copper Cutting
- 1. Educational parrallel/series circuit in our logo's shape
- 2. Origami
ACHIEVEMENTS THIS WEEK:
1. Laser CuttingBrief
Laser cutting is a technology that uses a laser to cut materials, and is typically used for industrial manufacturing applications, but is also starting to be used by schools, small businesses, and hobbyists. Laser cutting works by directing the output of a high-power laser most commonly through optics. The laser optics and CNC (computer numerical control) are used to direct the material or the laser beam generated.
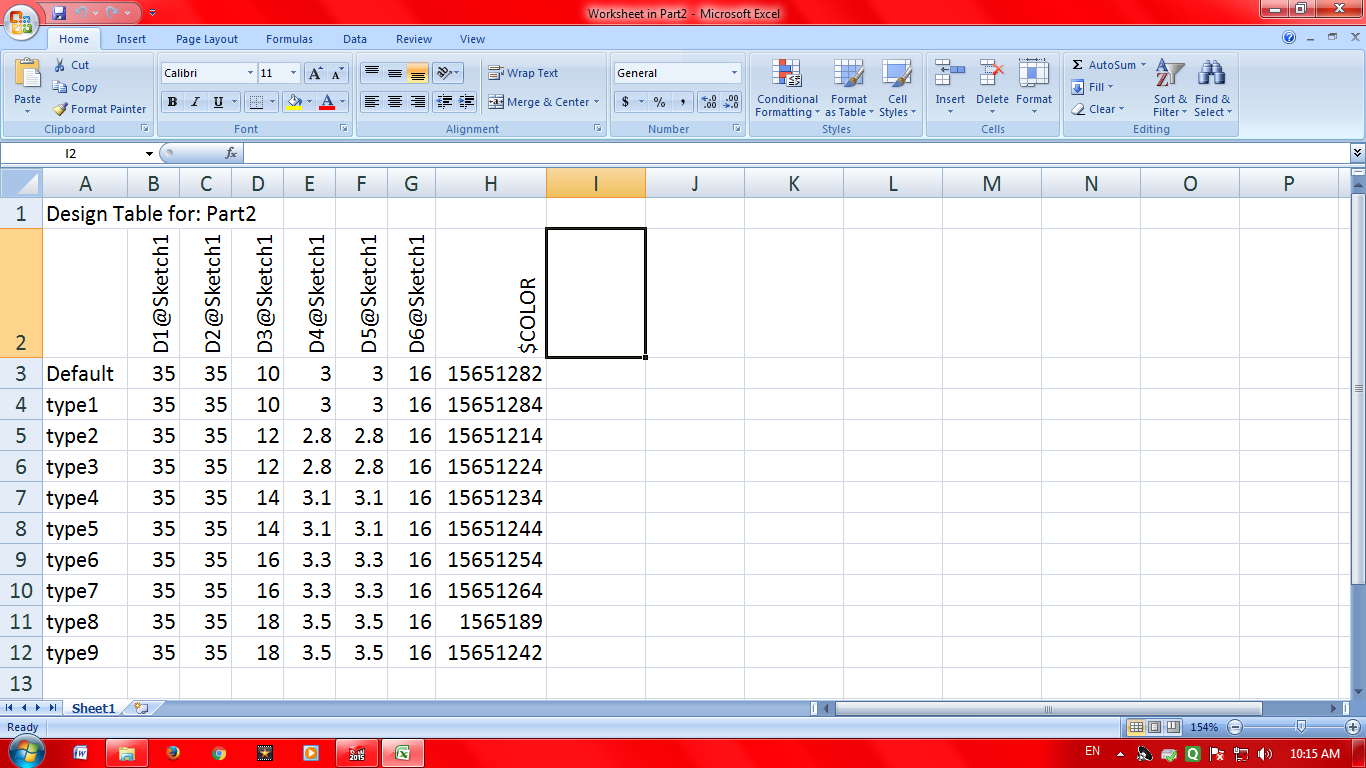
- 1. Used parametrics of Flatfab to arrange for my drawing paths(din't lasercut them though)
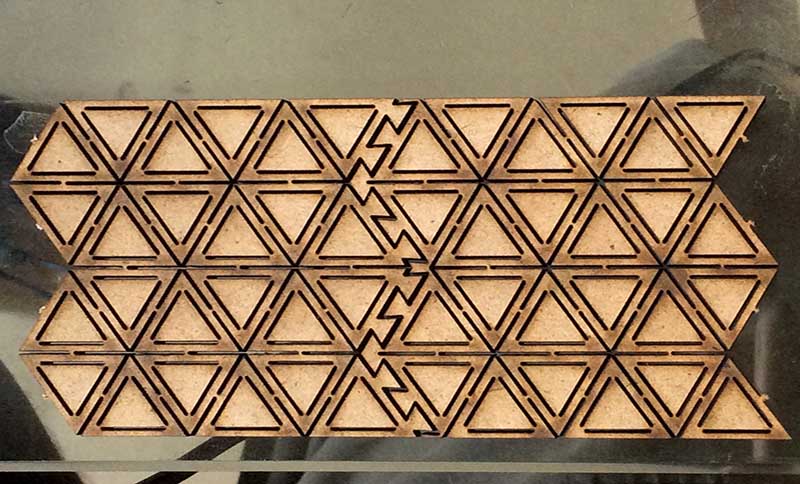
- 2. Experimented with multiple tesselation designs found online and tweaked their designs to see their effects on the print. Checked for their tensility, bendibility, flexibility and rigidity in relation to other designs
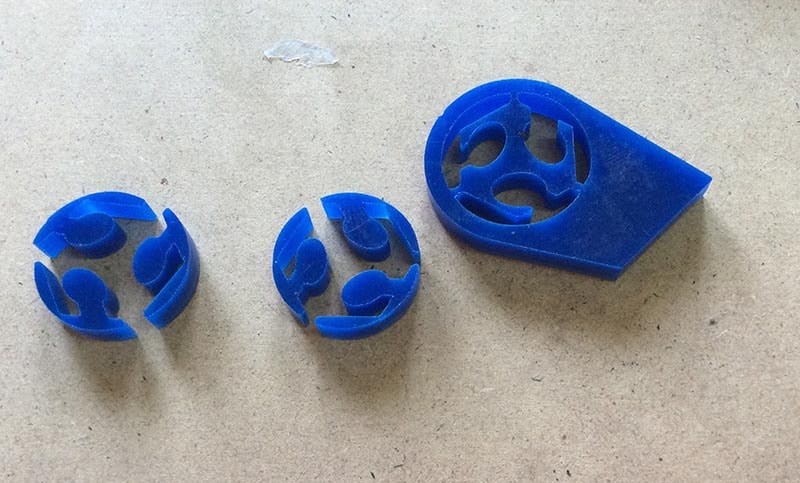
- 3. Designed pressfit locks that can rotate about min. one axis.
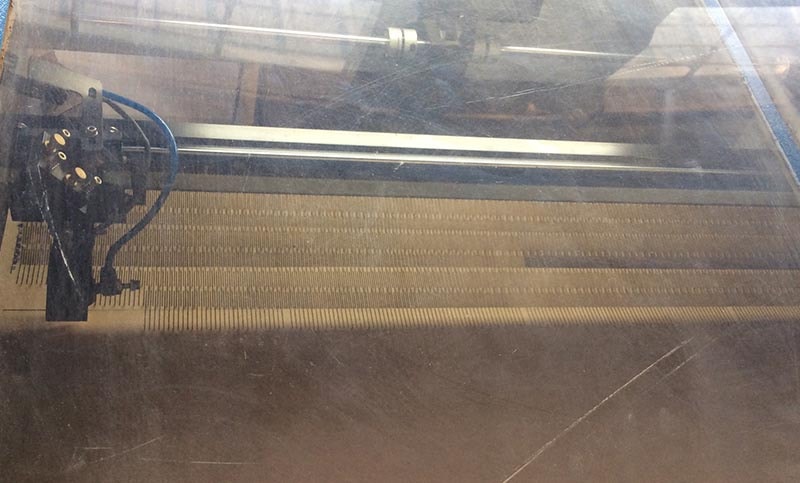
- 4. Printed a 4.5 m MDF made out of press fitting .75 m strips together which i'll use to tie my turban.
- 5. Calculated the kerf of the laser cutter through
Press Fit
- 1. Turban
- 2. Small geometric press fits
- 3. Press fits of our firm's logo with Fablab's logo
2. Vinyl Cutting
Brief
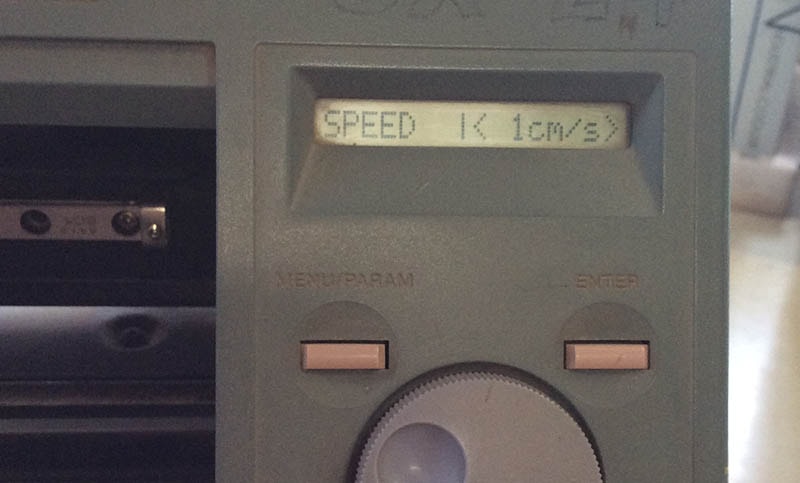
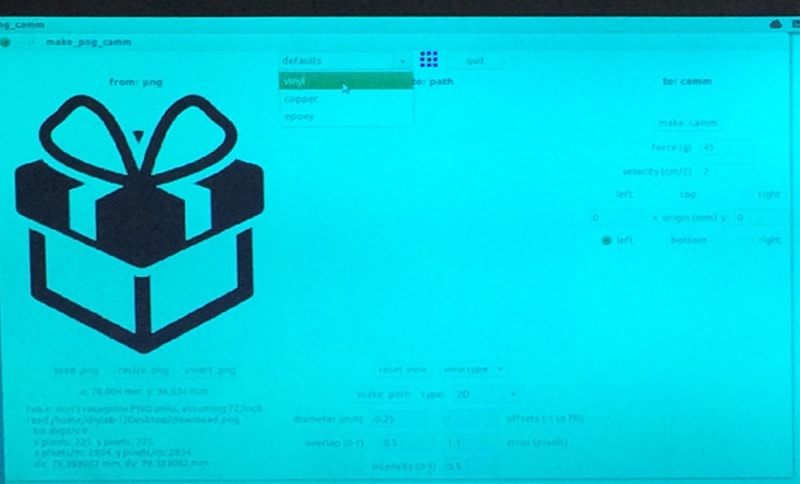
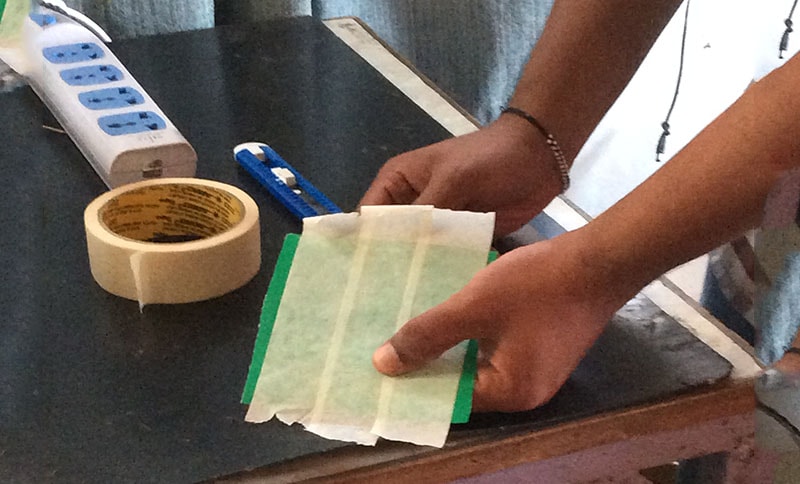
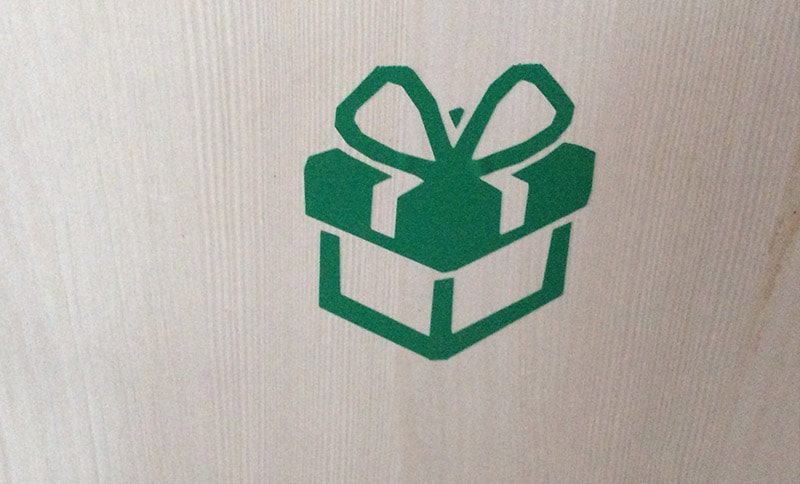
- 1. Tested different cut speeds to determine the right speed and power for cutting vinyl.
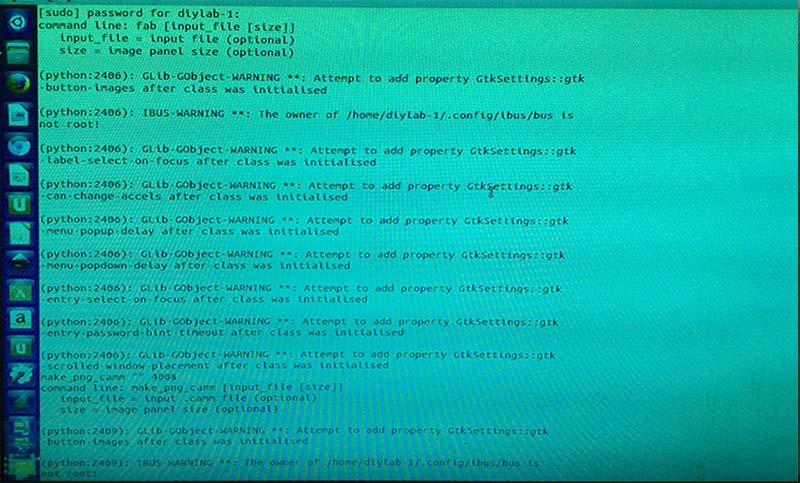
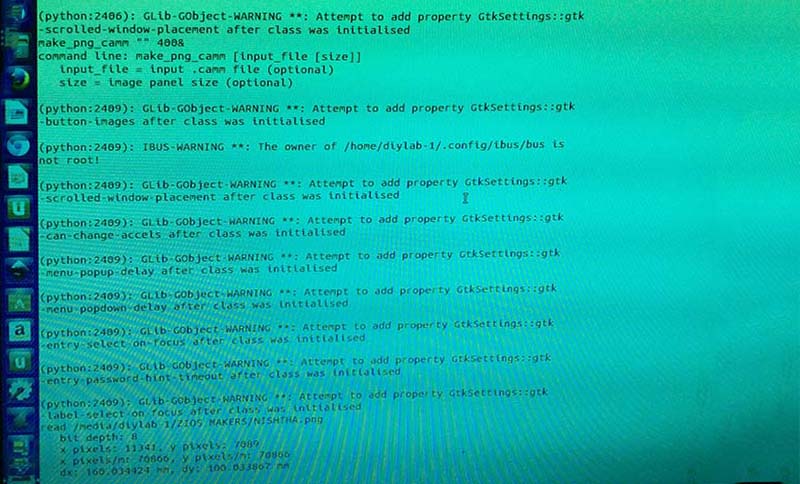
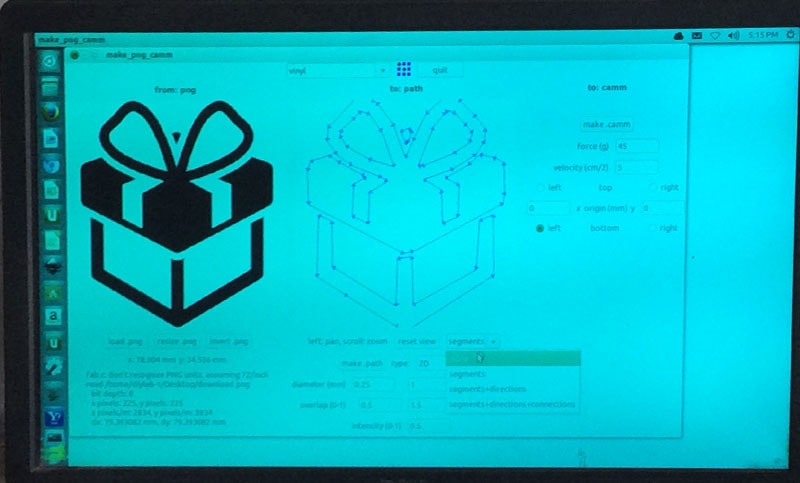
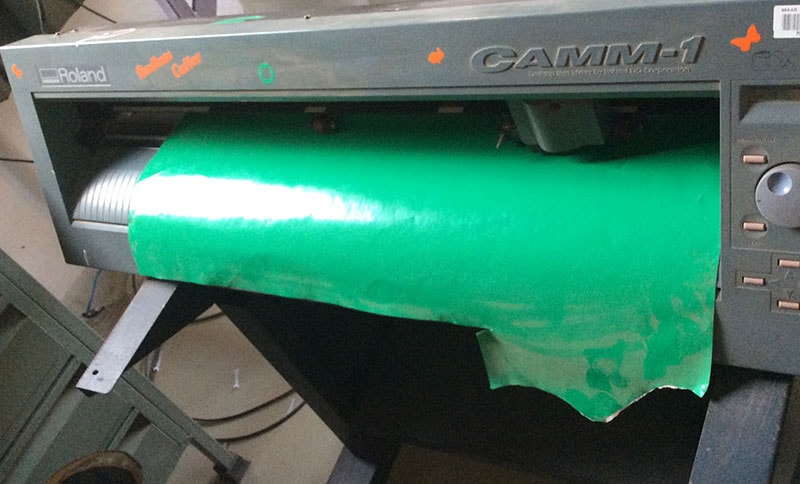
- 2. Used mod to run a roland vinyl cutter
Copper Cutting
- 1. Educational parrallel/series circuit in our logo's shape

<-- Week 2
Day 15
[ Setting Up ]
Day 16 -->
1. Used flatfab
2. Editing my Website
Today, its Vigyan Ashram's holiday as its their Village yatra (journey) where all the people belonging to that village meet each other coming from different places, pray as community and invite others to their home for lunch and dinner. So I was invited to one of our instructors place which had a very beautiful and heritage architecture, ate very tradional Vegetarian food. On this occasion they also have faire as community. I went at 11 and got free in evening around 6 because i had to walk from one corner to other and to other and back to Ashram,in which i even visited one Historical place in pabal.
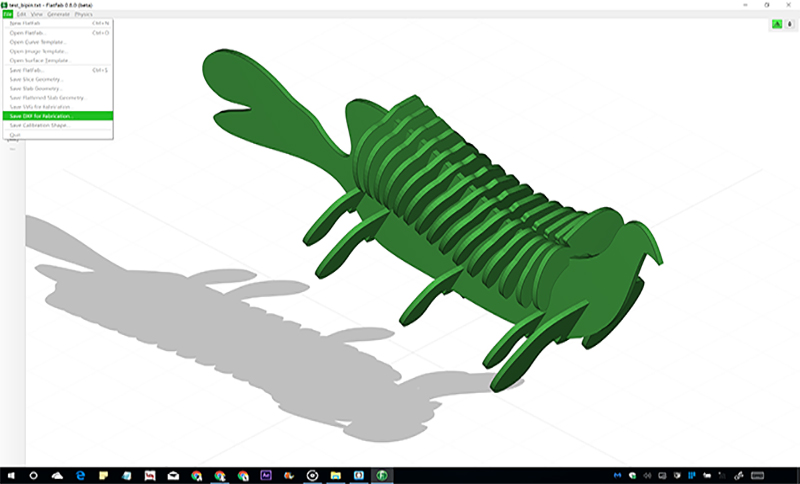
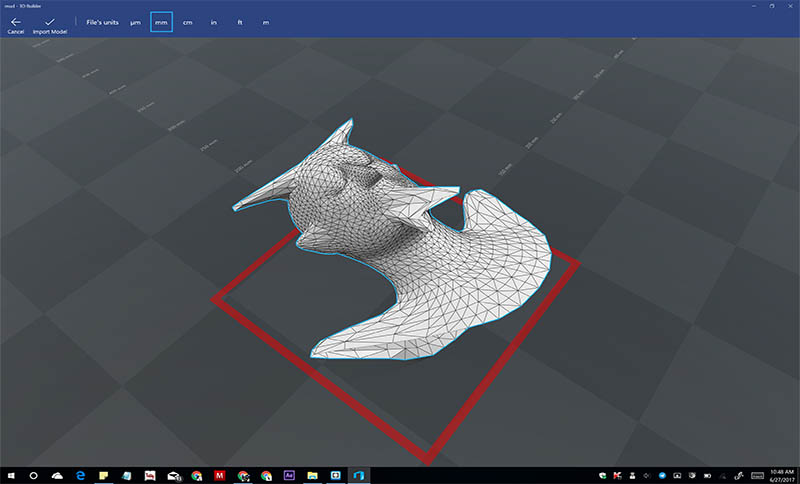
In flatfab, you can export the file directly as svg, dwg and others in its exploded form ready for laser cutting. The default flatfab gets saved as a .txt. file and wouldnt open unless the pc opening it has flatfab in it. Attaching the svg file in attachments below exported from the final flatbad design.
<-- Day 15
Day 16
[ Detailing 3d model ]
Day 17 -->
Today:
1.Learnt Parametrics in autocad and flatfab
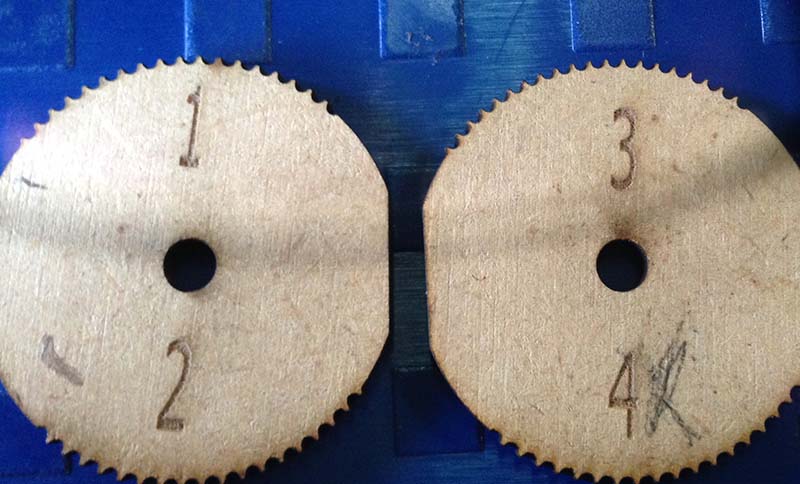
2. Tested and measured the kerf of the laser cutter
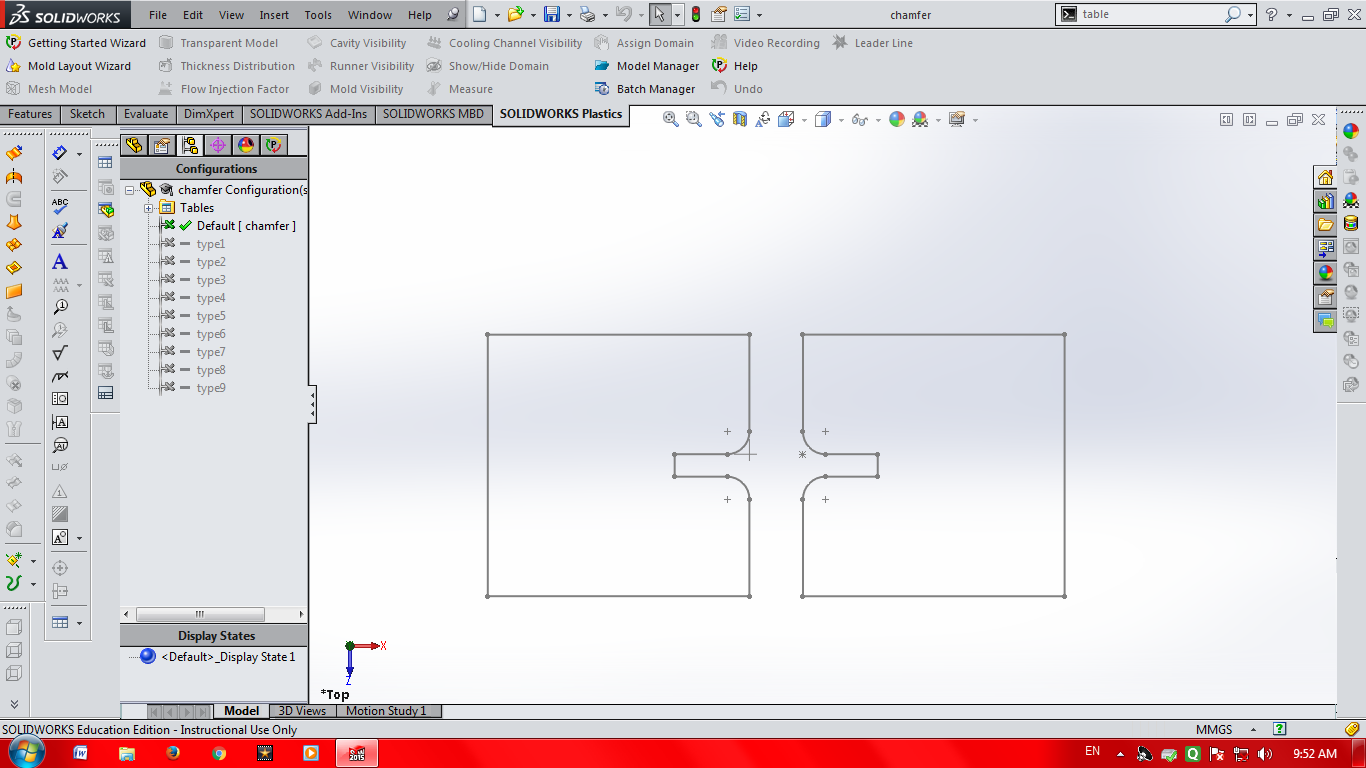
3. Started Group Assignment in which I Laser cut (Laser cutter SIL) two different types of Locking system, made sample cuts of diferent living hinges and lines with different cutting speeds and properties.
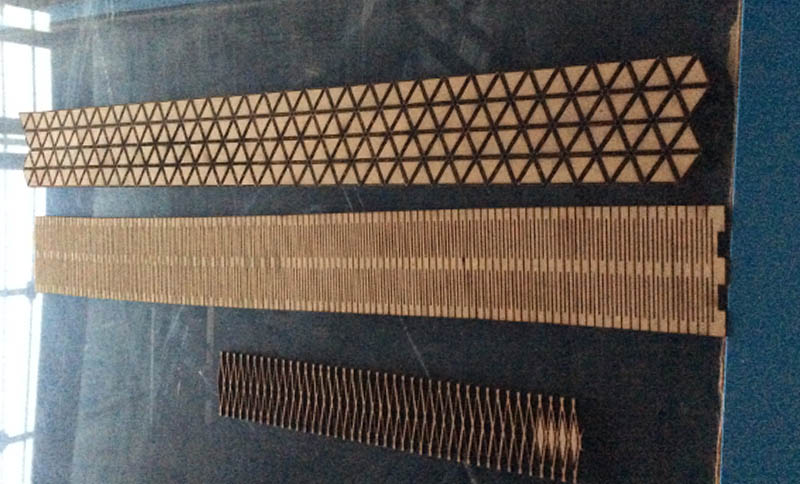
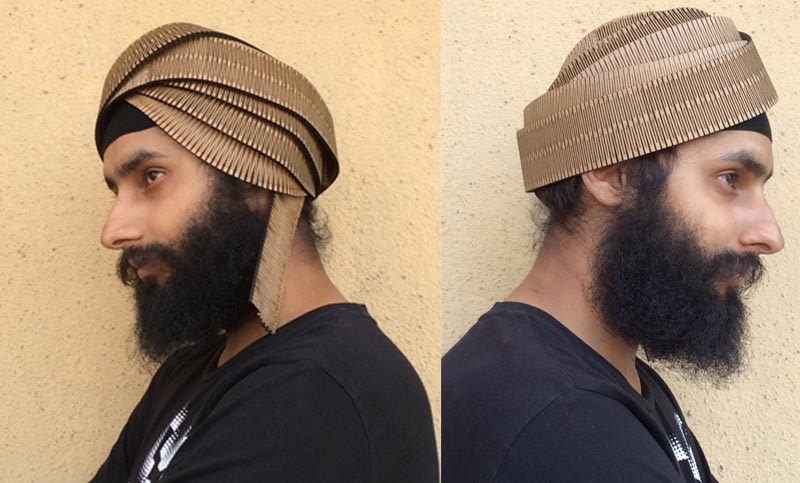
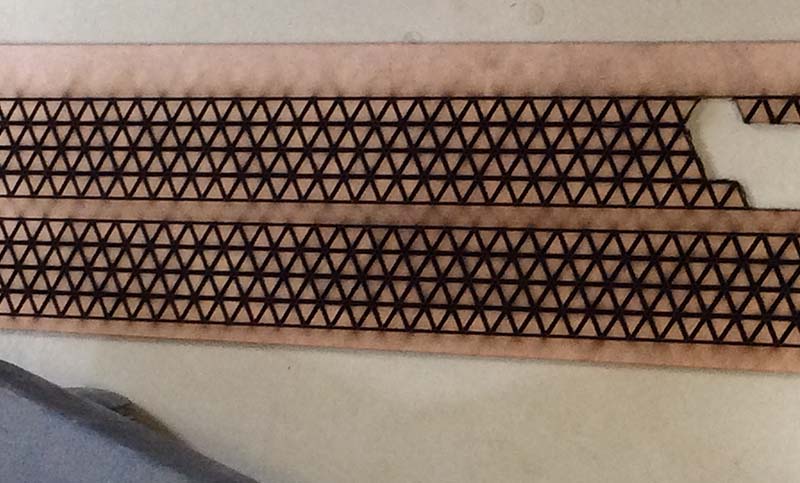
This specific living hinge had a nice advantage over the linear pattern that it bends both ways, the linear one breaks easily if bent in the second direction against its pattern. This pattern was perfect for the turban. However on more texting i realised even though it folds better, it is not able to fold more than 260 degrees and breaks then. The linear pattern is able to fold 340 degrees before breaking for the length i would need to print.
1. 3mm MDF, we use speed@15 and power @60,
2. 6mm MDF, speed@8 and power @60,
3. 3mm Acrylic, speed@8, power @62
4. 6 mm Acrylic, speed@4, power @62
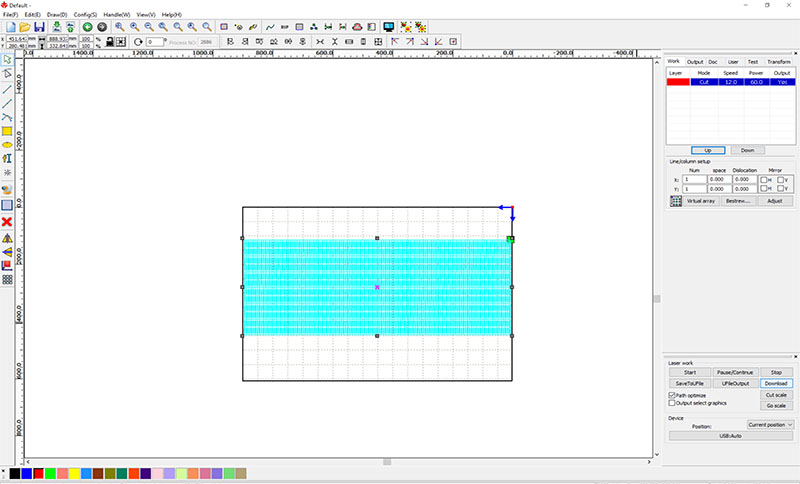
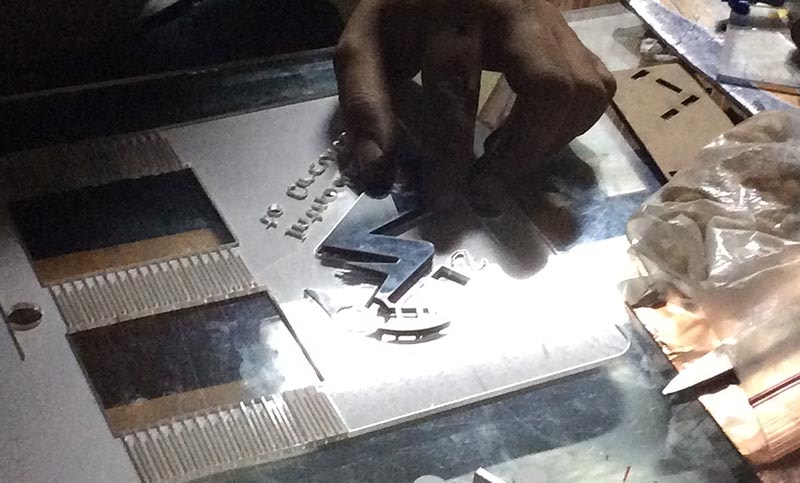
Settings to cut 3 mm MDF (took 12 mm/s to be safe due to the print job being long and wanting to avoid any chance of mdf not getting cut)

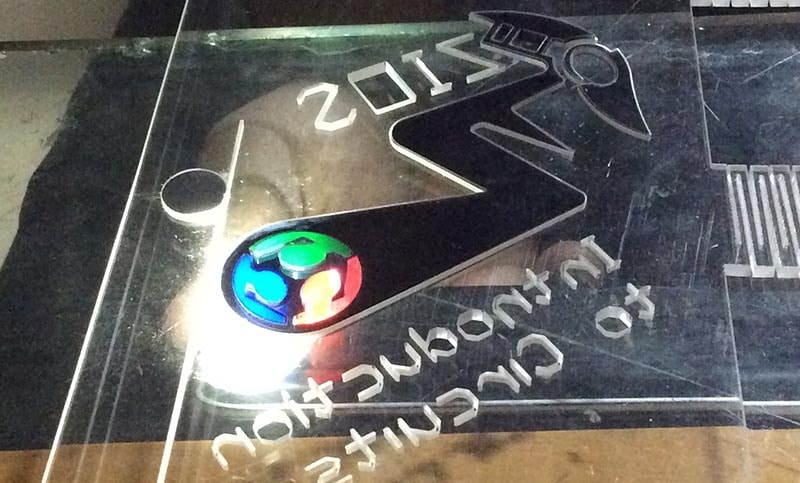
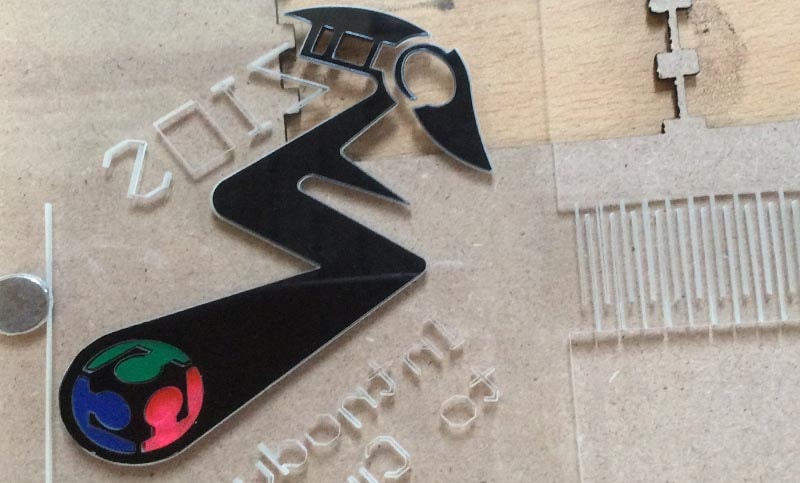
Next Up-Pressfitting our logo with Fab Foundation's
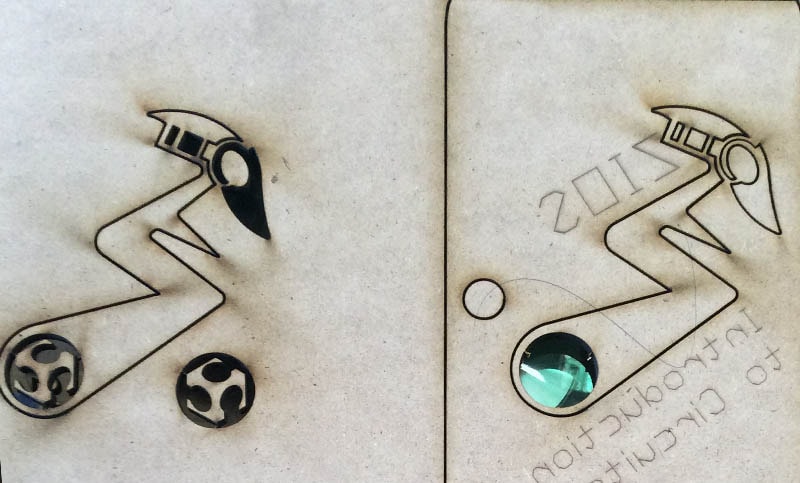
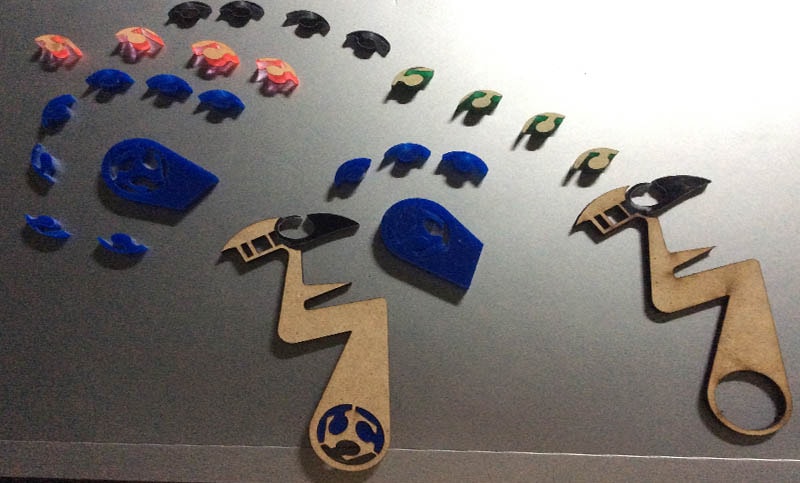
For the pressfit logo of Fab foundation and our firm too within each other, i individually cut the designs on seperate acrylics with our logo being a 3mm black acrylic and the fab logo being on a 6 mm RGB acrylic to get a emboss effect. For this i offset the design to the inside by 0.6mm (black acrylic design) and offset the fab logo pieces towards the outside by 0.6mm to get them to fit perfectly and snugly into each other. Before this, i encountered quite a few errors and had to do repeated cuts.Basically, the mistake i was making at that time was not adjusting the Z-height of the laser while I switched between the 3mm and 6 mm acrylic sheets which made the laser's accuracy and kerf go off. Adjusting the z height solved the problem for me after realising my mistake while i was having coffee near it looking at the controls of the laser machine.(phew!)

<-- Day 16
Day 17
[ Execution Day]
Day 18 -->
Today is Saturday :
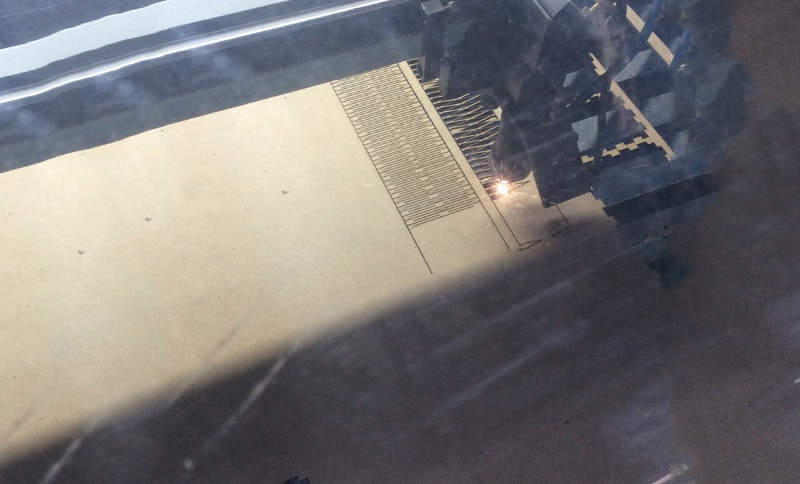
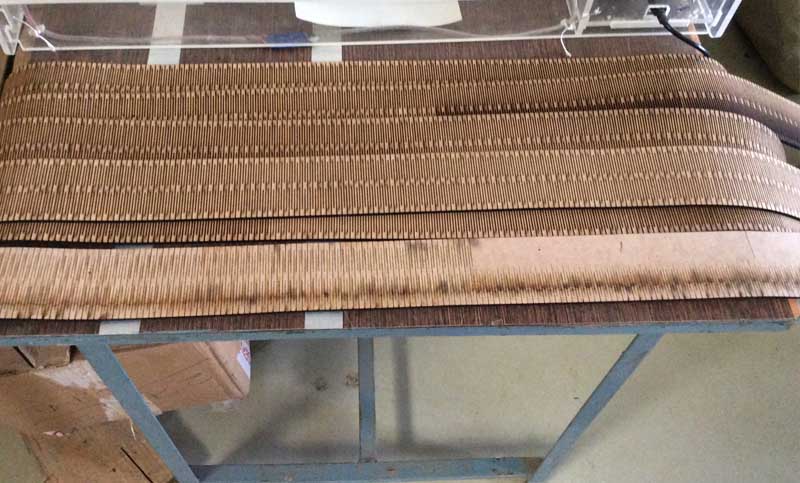
1. Printed the complete test pieces of my turban
2. pressfit them together to form a 4 m lenght turban which was then tied.
<-- Day 17
Day 18
[Doing another pressfit kit]
Day 19 -->
1. Meeting with Yogeshji
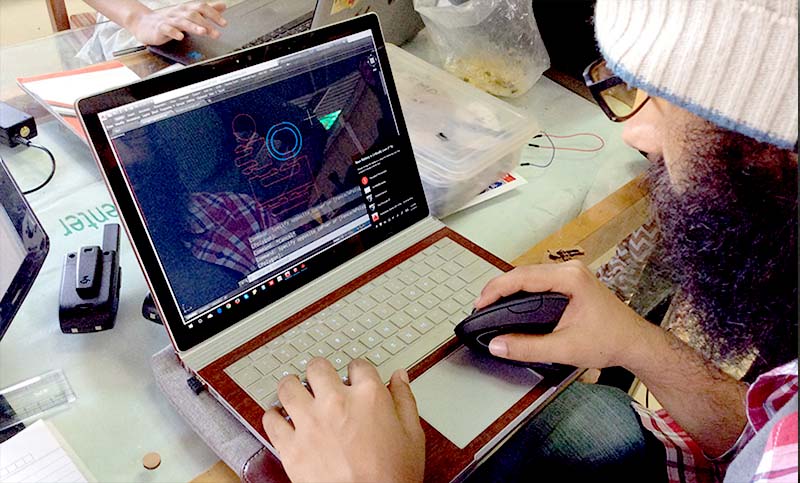
2. Designing and cutting different patterns to decide which will suit for my Laser cutting Assignment , well, that is, Maker Turban ;-) , so design which folds well to tie my turban, best part is nothing like this exists before so i loved working for it, right now while printing im updating my website.Lets see how it turns out.
3. Vinyl cutting-Yet to start of my own
4.Downloaded softwares Inventor and Fusion 360 for the workshop which will take place tomorrow morning
I liked this week as it forced me to not sit on laptop whole day designing and working but also do hands on work . I discussed with Yogesh ji my final project and how i plan to improvise it with time and use Shopbot before the given week so that i am able to figure out ideas to improve my final project.
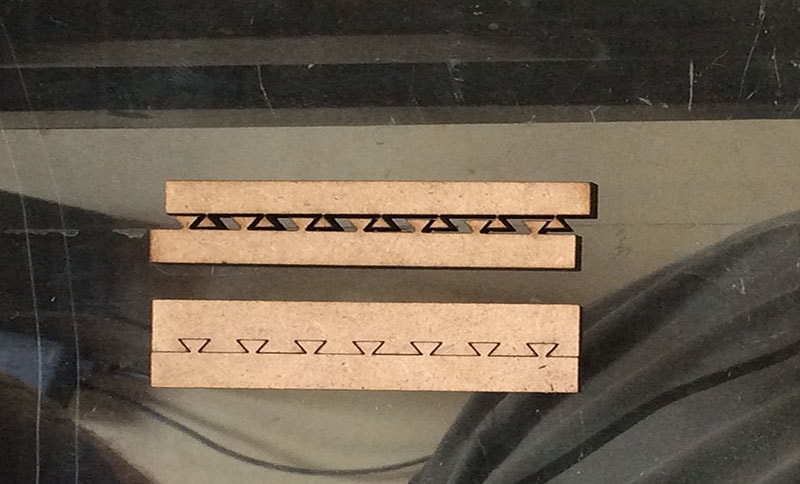
Nishtha made few designs which can be used for folding in group assignment as reference for all of us for our projects, so using 2 from that and designing 3-4 of mine i laser cut all of them and analysed which one go well easily for my Maker turban.
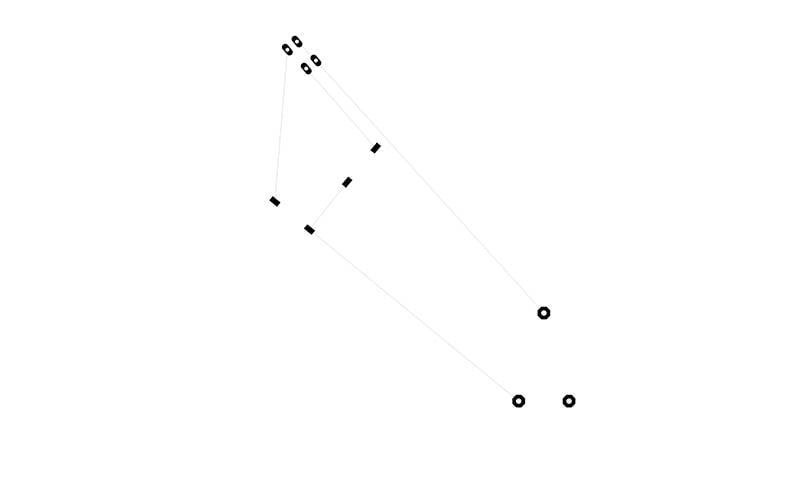
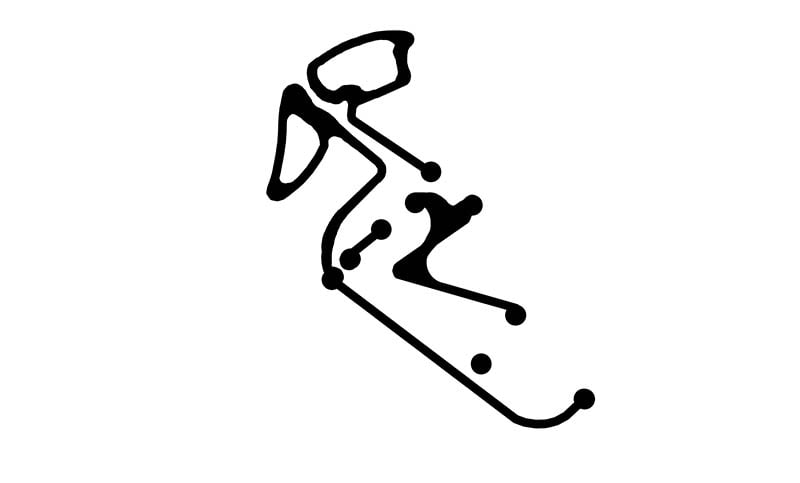
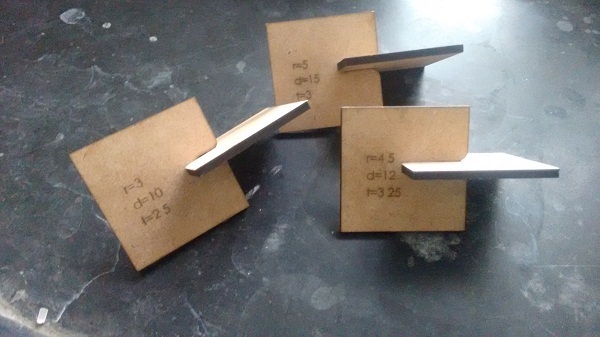
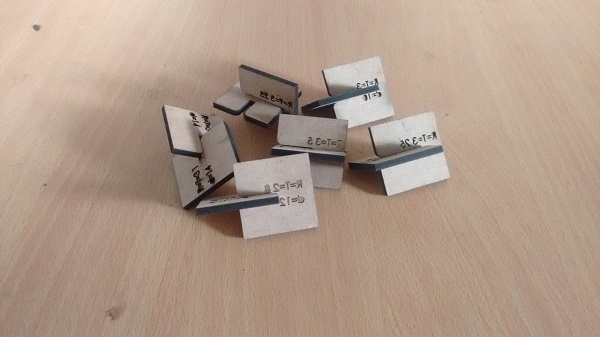
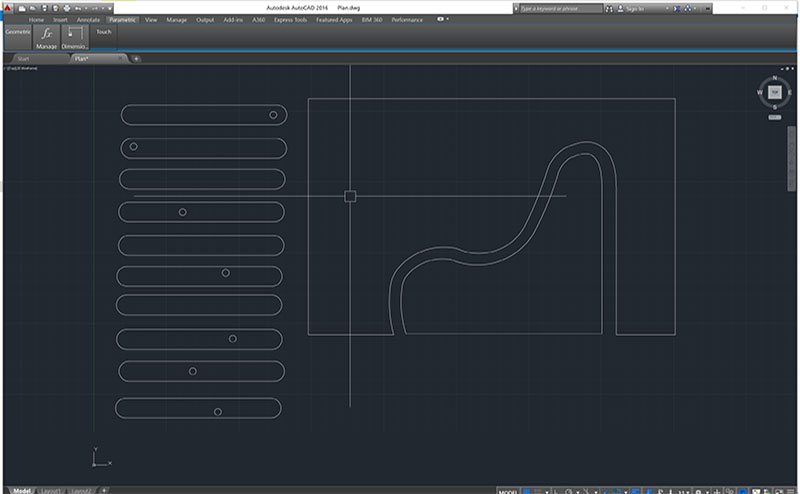
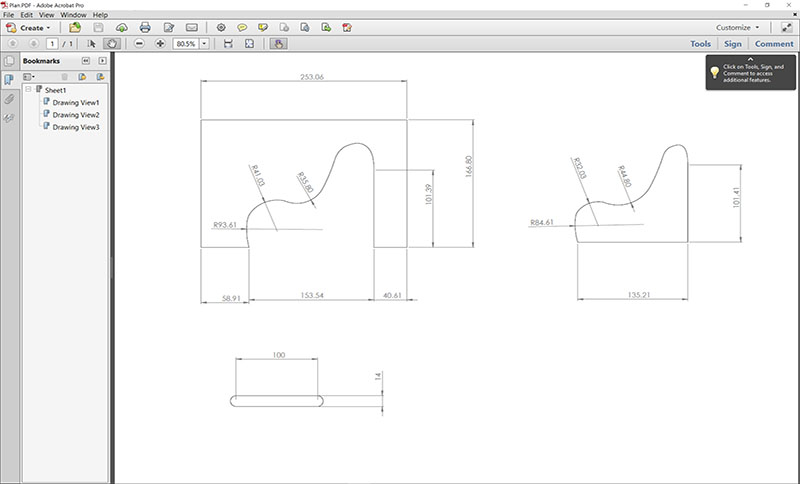
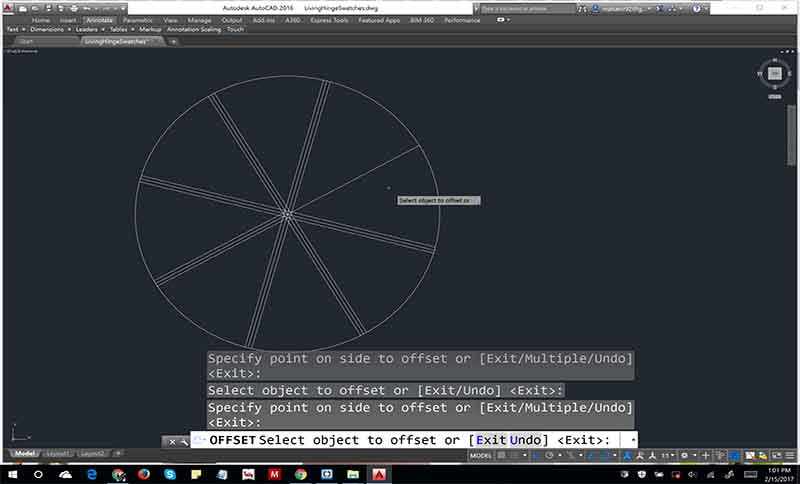
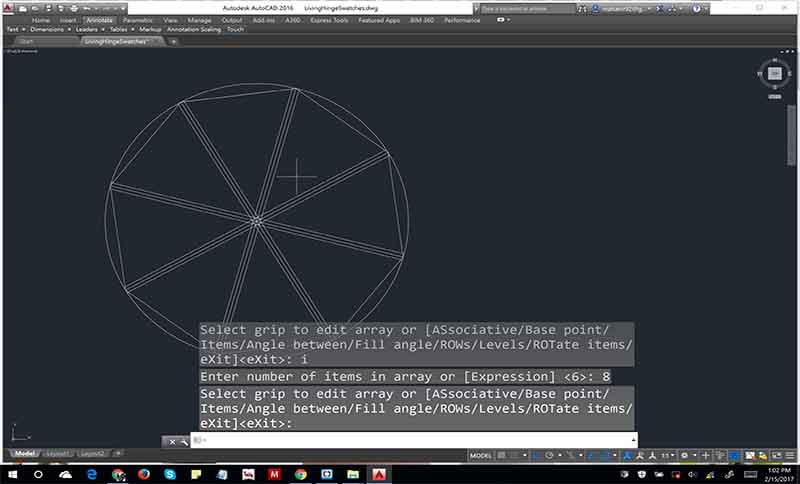
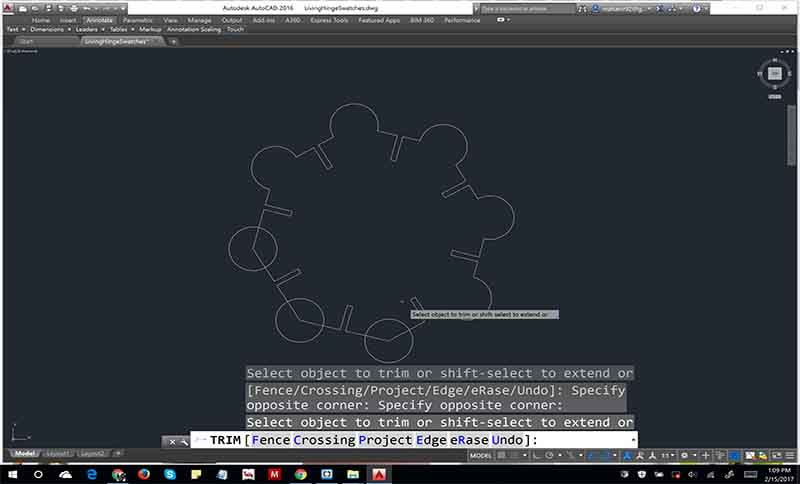
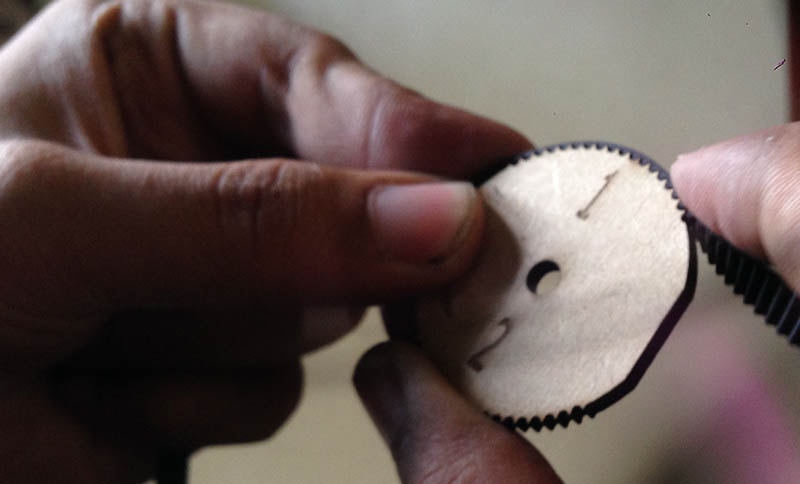
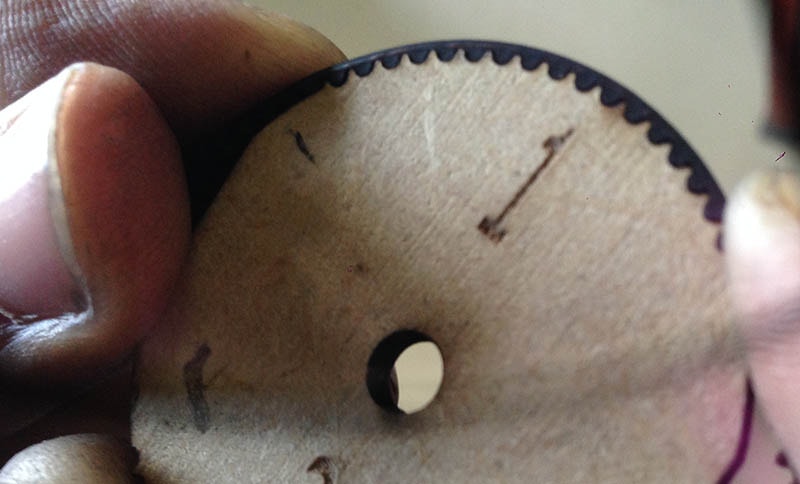
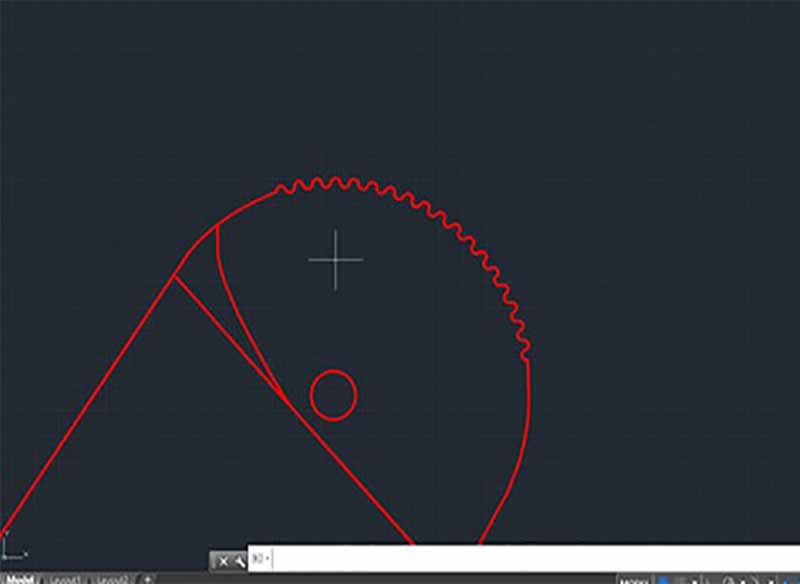
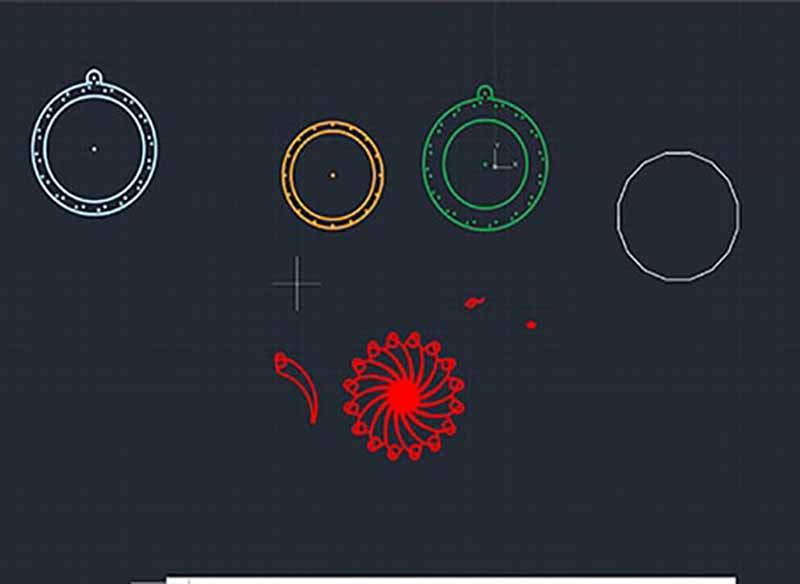
So whats being shown below is the process of deisngin my press fit kit on autocad using autocad's parametric tab which lets me put various kinds of contsraints on a design to restrict its degreess f movement during changes in dimensions. I have majorly kep tthe lines and arcs either-parralel, perpendicaular, colinear, co-aligned among other options in newer versions of Autocad.
On press fitting the press fit kit

<-- Day 18
Day 20 -->
<-- Day 19
Day 21 -->
Today is Saturday :
<-- Day 20
Week 4 -->
Today is Saturday : 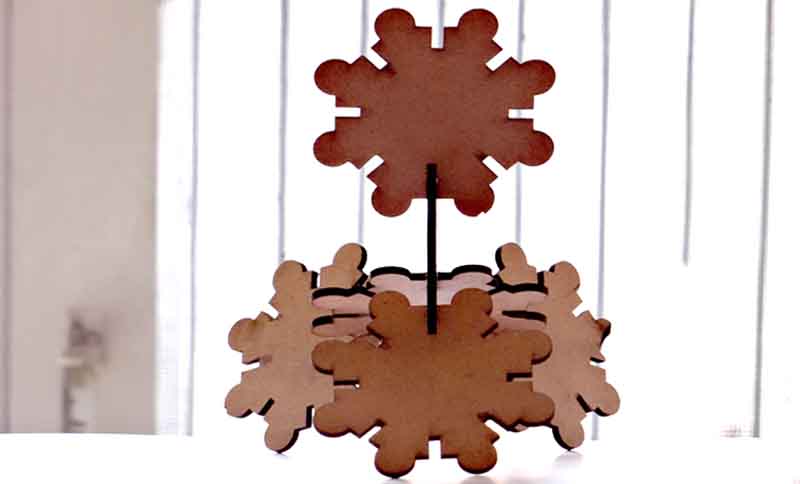
Day 19
[Remaining Assignments]
-Learnt Fusion 360 (Simulation beginner)
-Laser cut my turban sample to check its turns
-Vinyl cut Parallal series for Nishtha's book as my vinyl assignment
1. Well, Our instructor gave us half day to design our vinyl and we all failed to do so because we were working on laser cutting different locks and press fits.
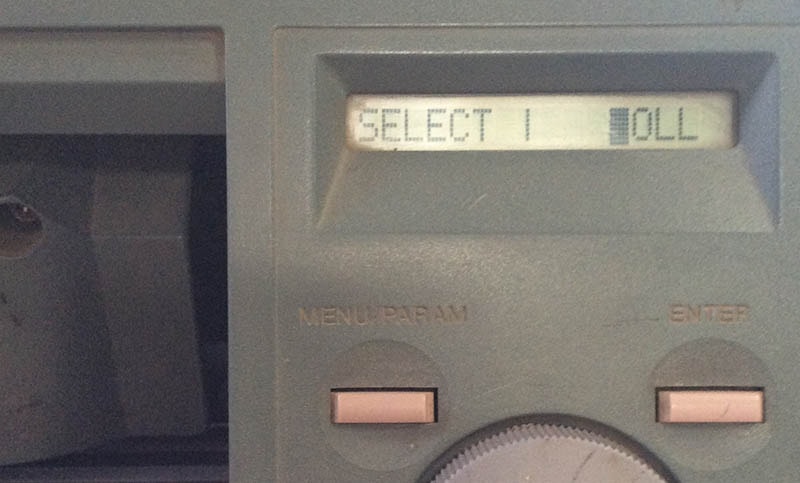
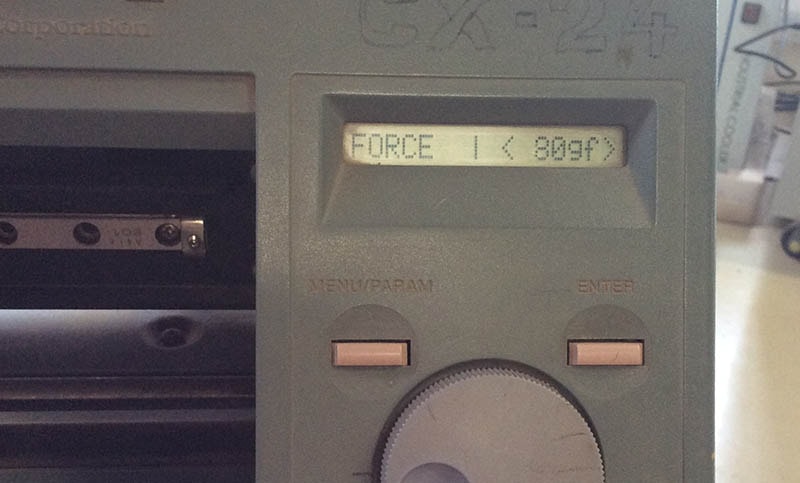
2. Other half day our instructor Suhasji showed us how to use vinyl cutter , its uses and did whole process, told us about speed, force.
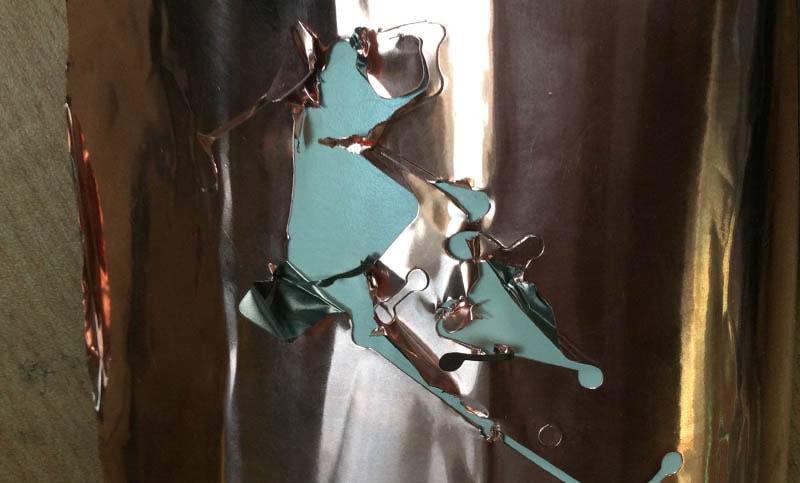
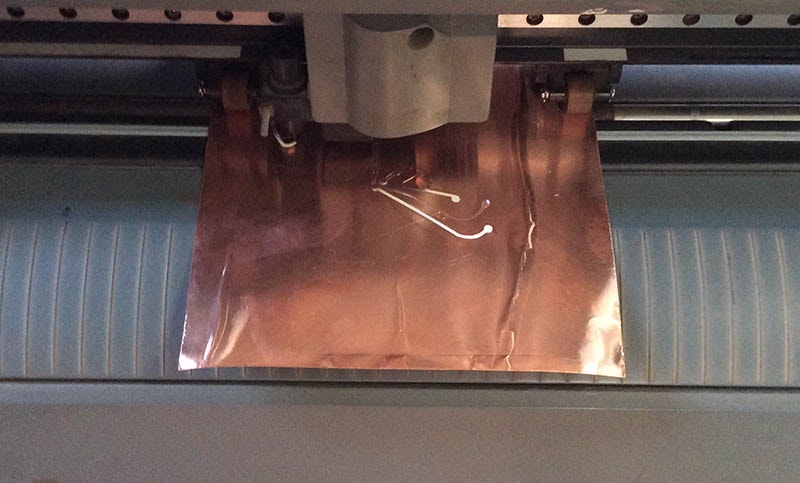
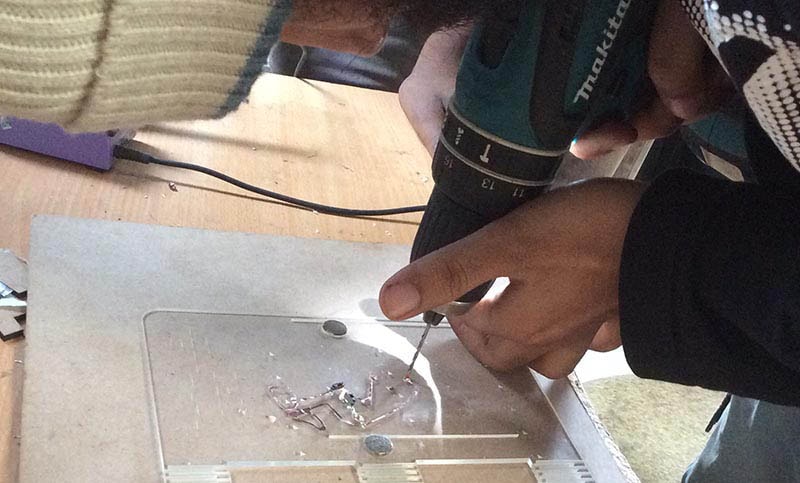
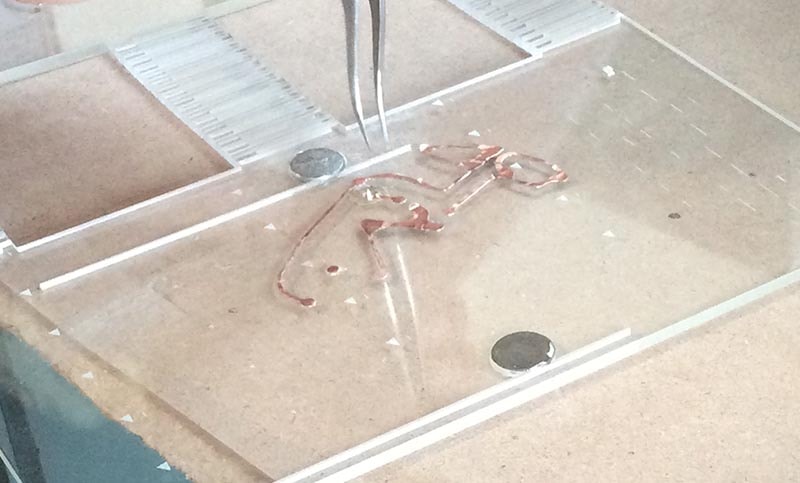
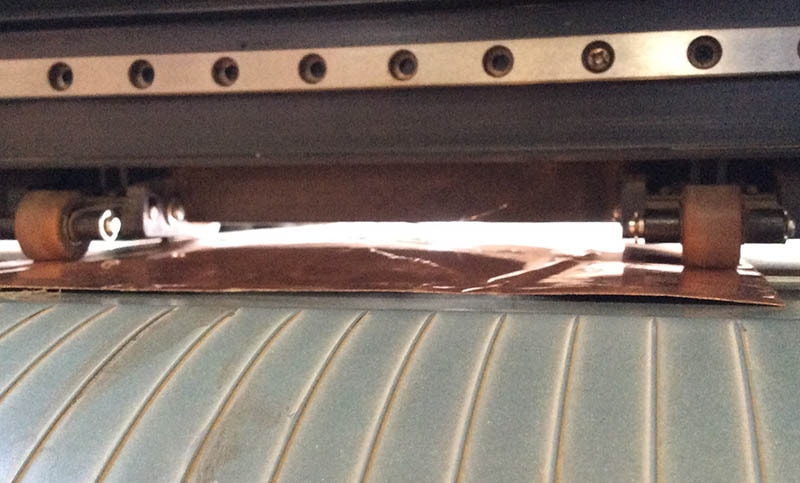
3. While I was designing, my Co-partner of my startup Nishtha Kaushik, approached to me that copper cutting on Vinyl is not coming out right. So we spent whole day giving different trials and errors understanding the best speed and force for cutting copper and that thickness was also one of the concern for copper cutting also we improvised bit more by exporting eagle file ( yes we both learnt EAGLE which was seriously fun for me because i was designing even in Eagle) to autocad and making circuit in the shape of our company's logo,as even i was planning to copper cut so i found it worth my time to learn . We both spent whole day and night till 12 midnight bringing the perfect copper design which was her *series circuit and mine parallel circuit in the shape of Zio's(our startup).Finally even after 12 i spent more time thinking and searching for ideas to vinyl cut and laser cut.
Today, we had a seminar and discussion on Autodesk applications, parametrics, modelling, feature based softwares etc by Mr.Yogesh kulkarni (ex-autodesk employee). I discovered fusion 360 modelling and simulation. Spent day designing my turban and parallal series. Interacted with young students and taught them how to use lasercutter and Vinyl cutter. Have regional review tomorrow and I have to complete my documentation plus final my Maker turban because the traingle pattern didnt work out, will try again tomorrow.Its 3am, i would continue later.
Day 20
[Copper Vinyl Cutting]
1. Whole day in Designing my Expandable Container through sketching followed by Sketchup
2. Took inputs from the young team i have with me, taught them sketchup , photography for now
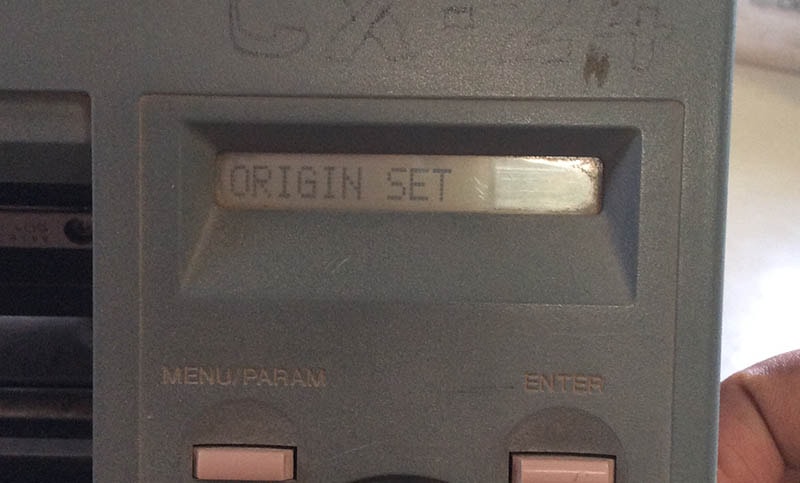
So for the Vinyl Assignment, I started with eagle, placing the components in the shape of our firm's logo. It took a while to get used to eagle since am not from an electronic background but my profession of archtiecture helped grasp it fast it being similar to other cad softwares. After placing the basic comonents and doing a basic routing, I took this to photoshop with 1000 dpi and edited it there. THe problem with the vinyl cutter is that it finds difficulty in cutting curvy copper due to two reasons:
Day 21
[Copper Vinyl Cutting]
1. Whole day in Designing my Expandable Container through sketching followed by Sketchup
2. Took inputs from the young team i have with me, taught them sketchup , photography for now.
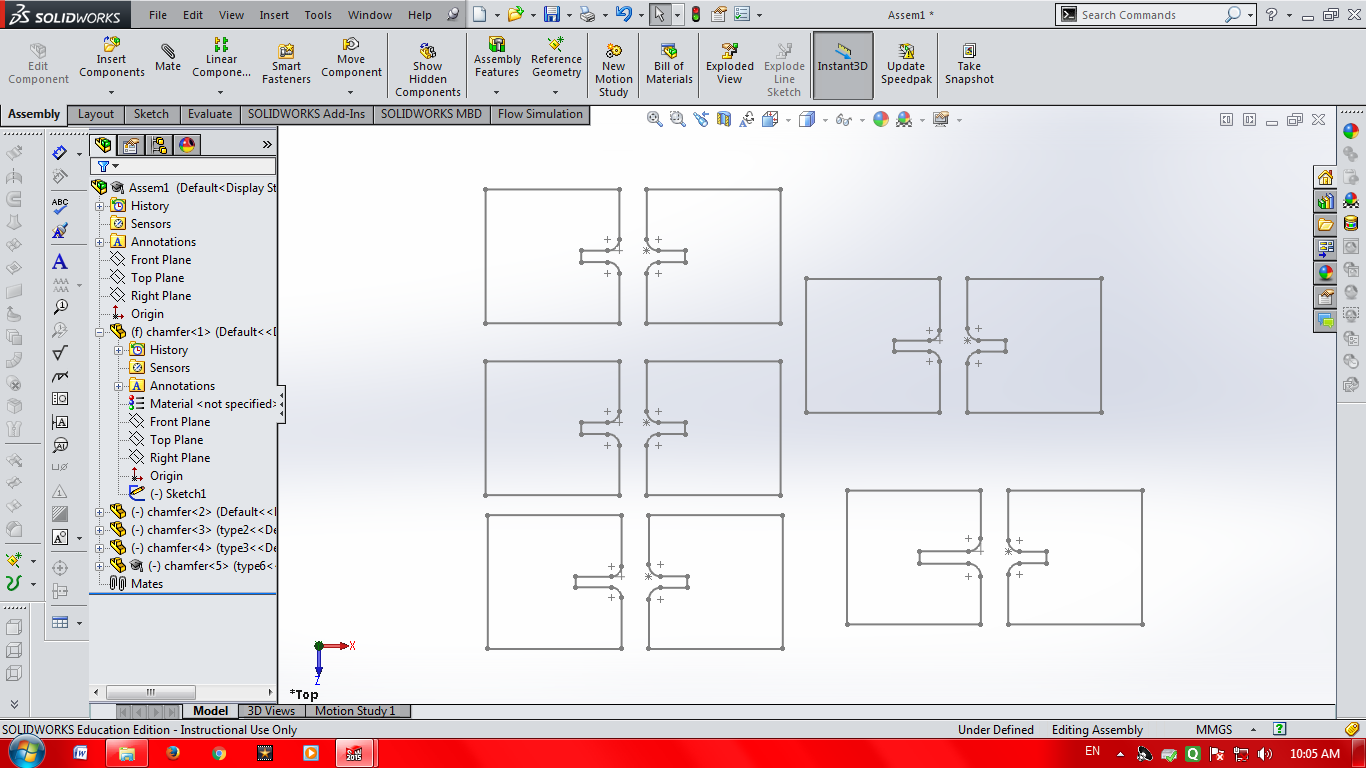
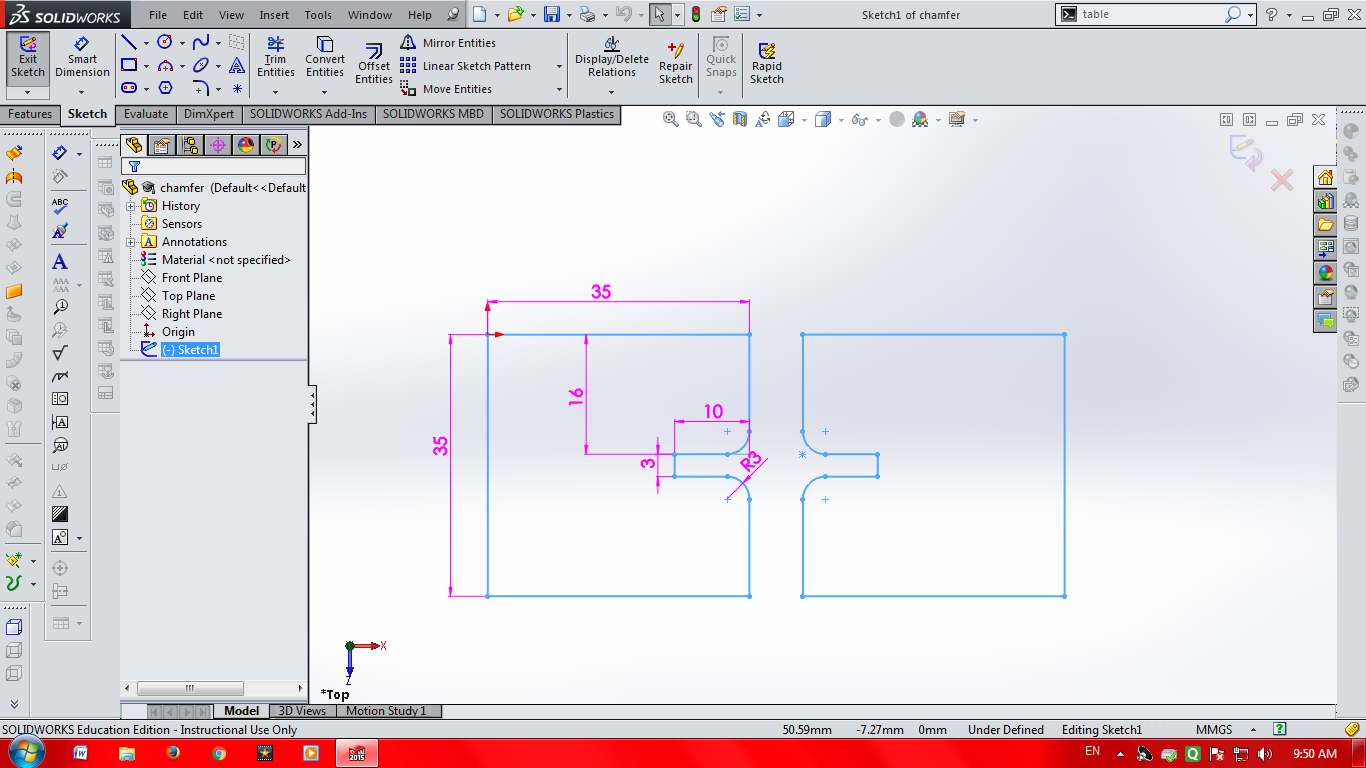
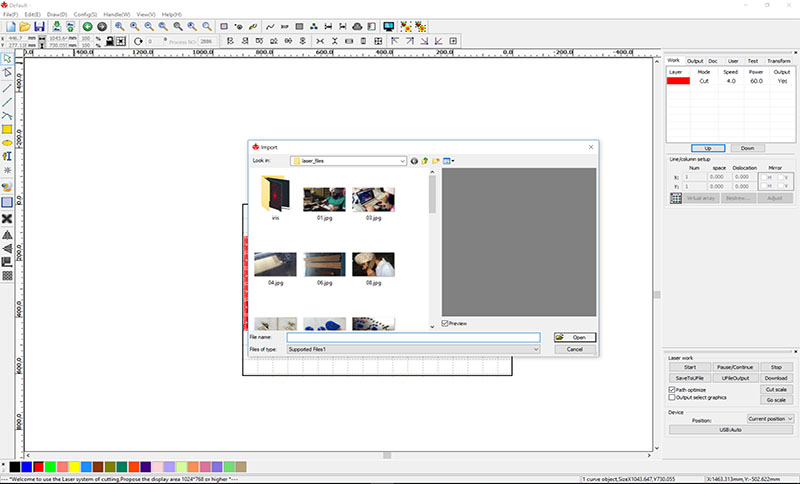
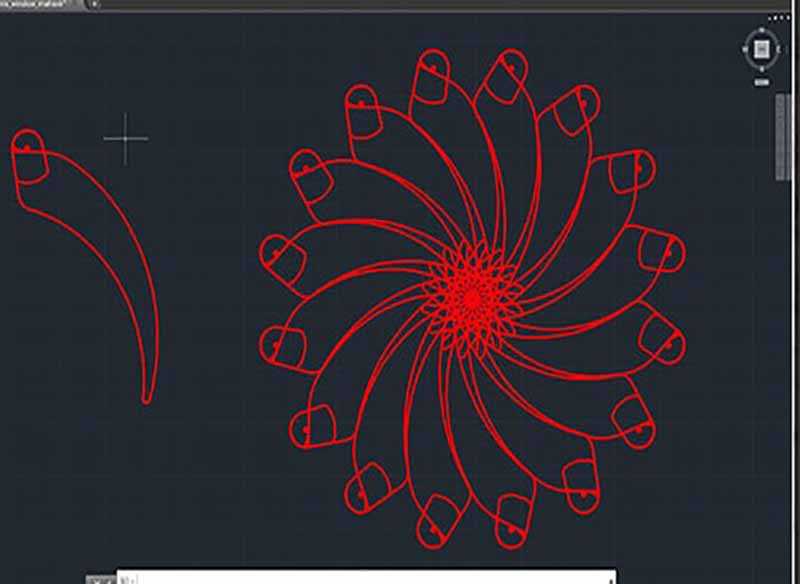
Concluding Laser dwg images of all work done this week