Moulding and casting
Assignment
- Design a 3D mould, machine it, and cast parts from it.
Learning outcomes
- Design appropriate objects within the limitations of 3 axis machining.
- Demonstrate workflows used in mould design, construction and casting.
Have you
- Explained how you made your files for machining.
- Shown how you made your mould and cast the parts.
- Described problems and how you fixed them.
- Included your design files and ‘hero shot’ photos of the mould and the final object.


Designing a mould
-
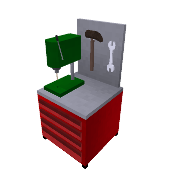
My model to cast will be a tree, wich is part of the St. Jude School logo:

I started working with FreeCAD, but I am still not skilled enough with this software to finish on time, so I decided to use Tinkercad. I created an svg file of the logo using Inkscape, so I extracted the tree and imported it into Tinkercad.
Tinkercad is a very good tool, but I was not able to apply chamfers and rounded edges to the model. So, I will have to apply the rubber compound with a brush before pouring it into the mould, and the plastic when casting the model.
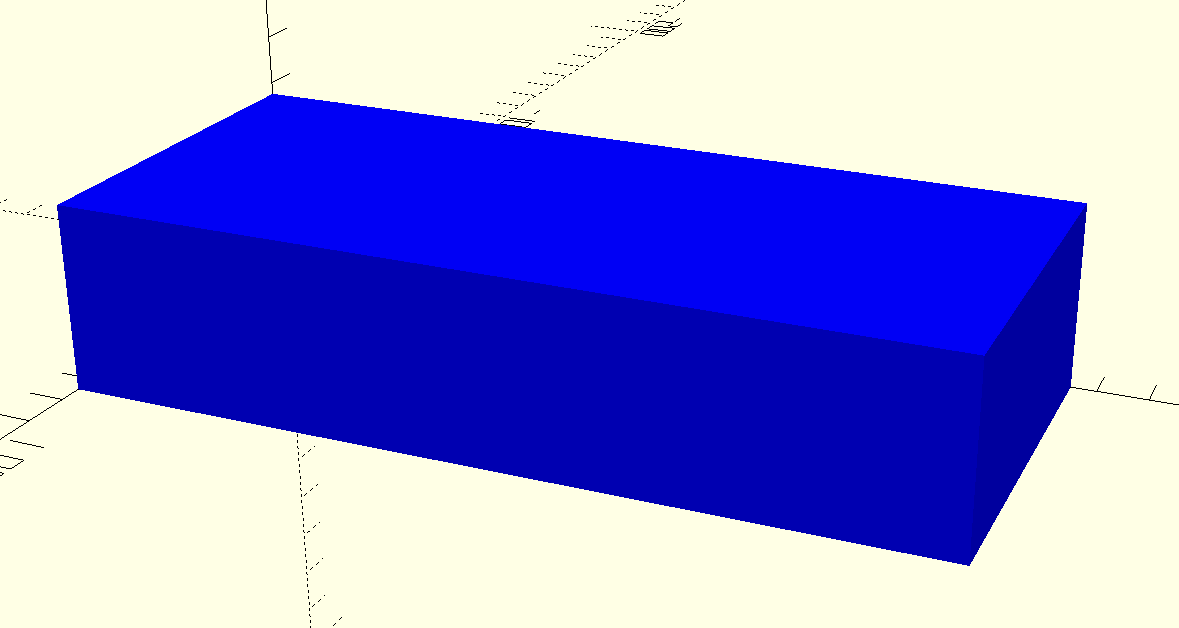
The parafin wax piece for the mould is a 75mm x 175mm x 37.5mm prism, in which the two parts of the mould must be engraved:
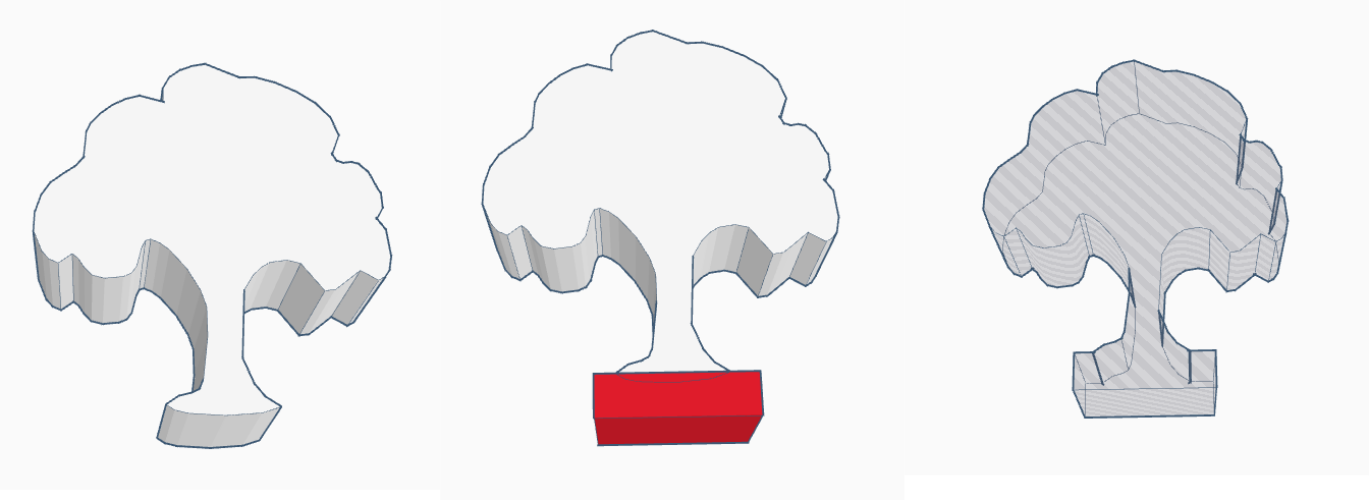
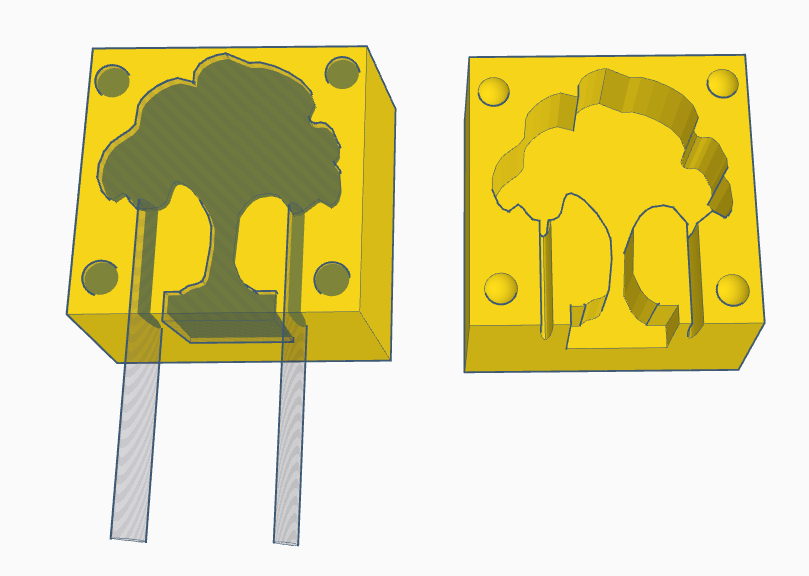
In Tinkercad I imported the tree file and extruded it to 20mm. Then, added a prism as base, joine the forms and made them "hole":
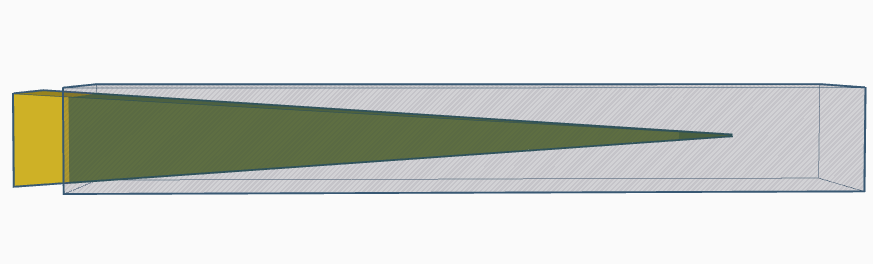
Then, I created a prism with a slope, using a very tall pyramid and a tall prism hole to truncate it (the image is rotated to fit the screen):
Then I combined the hollow tree and the slopped prism, alligning the base of the tree to the edge of the prism, because this will be the hole to pour the liquid plastic into the mould. I added four spheres on the corners to be the coupling guides and two hollow tubes for air release, This is the first half of the mould:
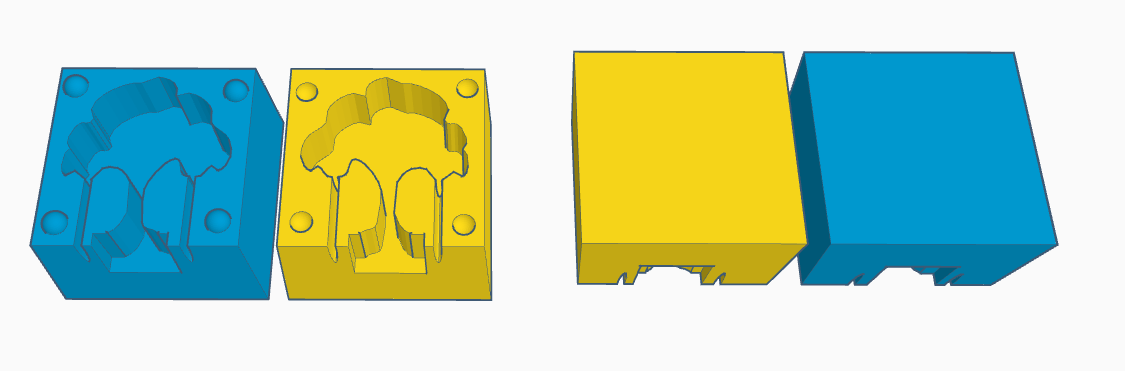
The next step was to copy the first half, put the two parts next to each other and mirror one of them. Also the hollow sphere guides were turned to solid. Then the two halves were turned 180 degrees, because this will be the position on the parafin wax block:
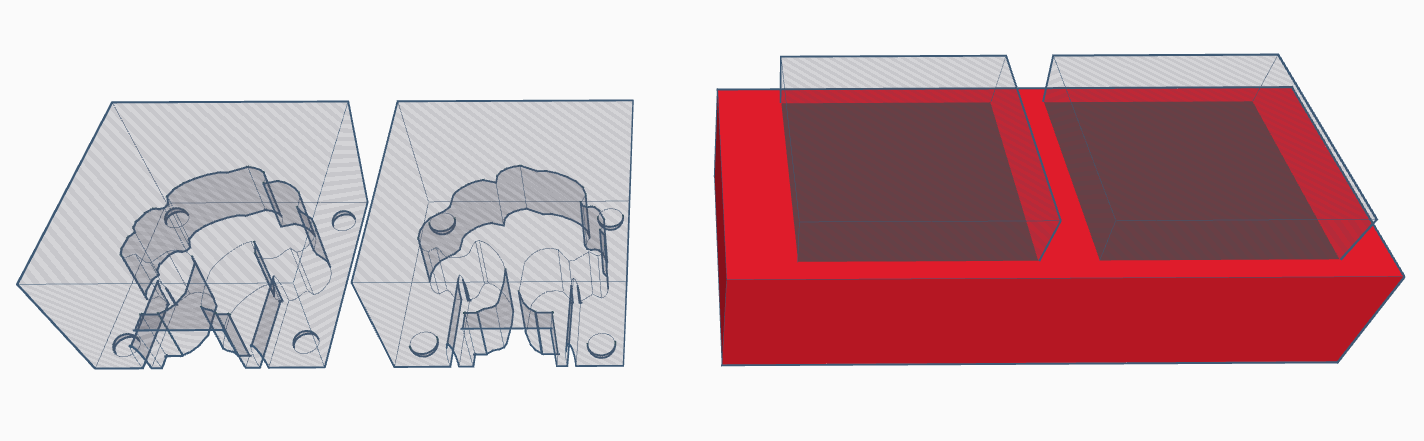
Then, this group is converted to hole and combined with a block the same size as the parafin wax to make the final model:

Machining the mould
-
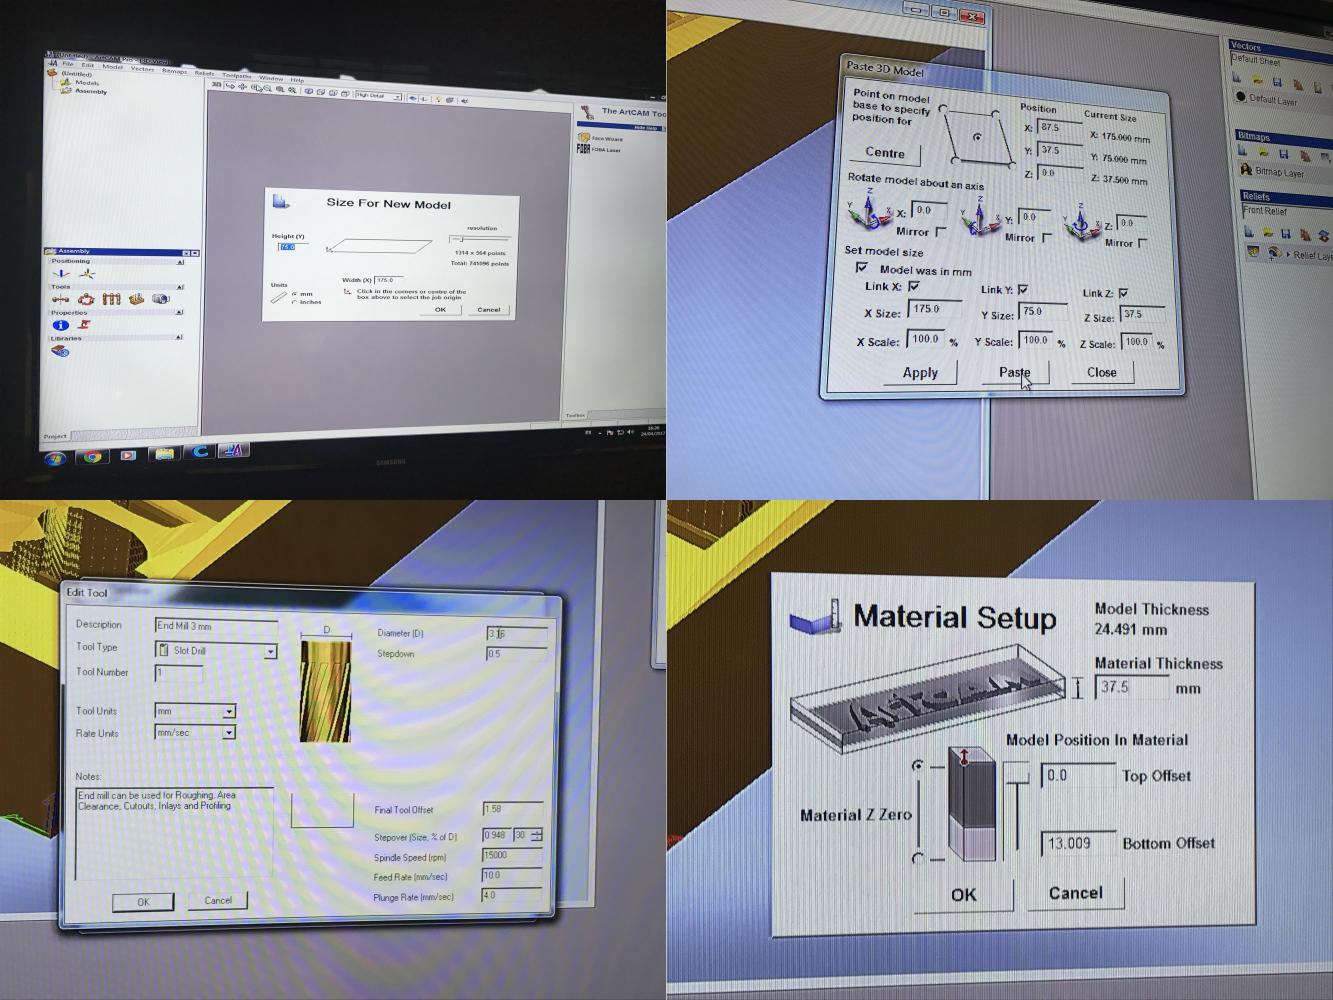
With the file ready, Wwe used ArtCAM to create the toolpaths. First, a new model must be created, with the size set to that of the wax's width and length. Then the 3D model is imported to ArtCAM.
Two toolpaths were created for the model: one whith a 3,5 mm tool and other a a 1,58 mm tool.
The option 3D toolpath is used for carving the model, then the Z slices are set. For the first toolpath, the Z slices were too big (I used 3 mm), so it was fixed in the second toolpath using a smaller step (I used 0,5 mm). Also a safe Z was set, on the first try it was set too high and the milling machine threw an error.
- Settings for first toolpath:
- Feed: 10 mm/sec
- Speed: 15 000 rpm
- Step down: 3 mm
- Settings for second toolpath:
- Feed: 10 mm/sec
- Speed: 15 000 rpm
- Step down: 0,5 mm
Our machine requires the cnc file to be converted to a dat file, to do that, a software is used to open the cnc file and save it as dat.
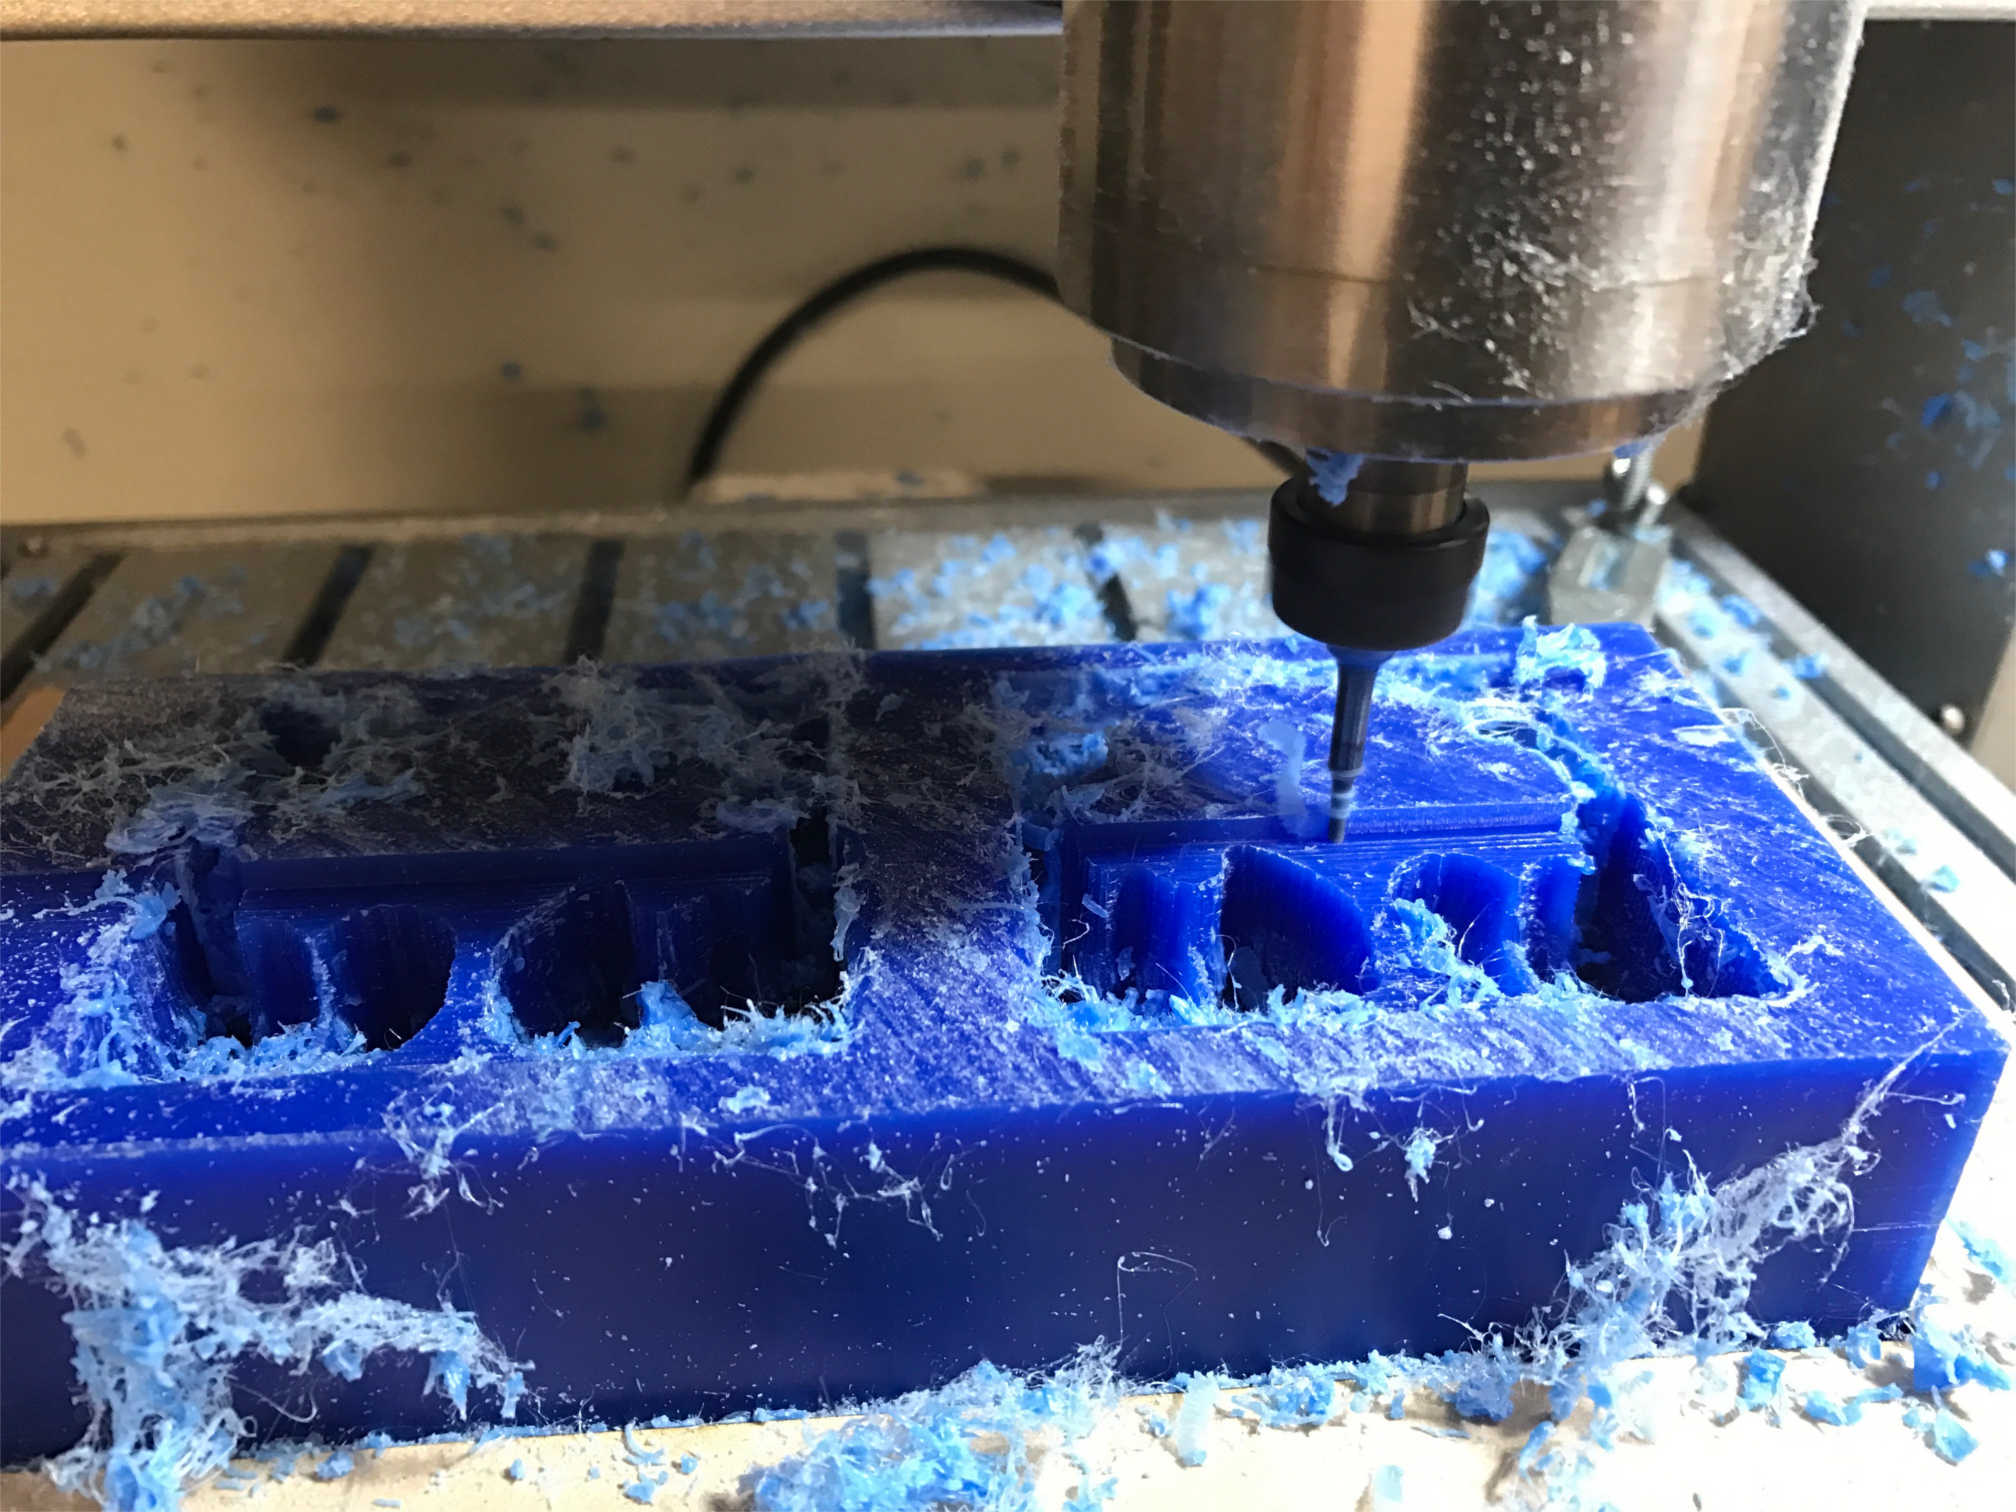
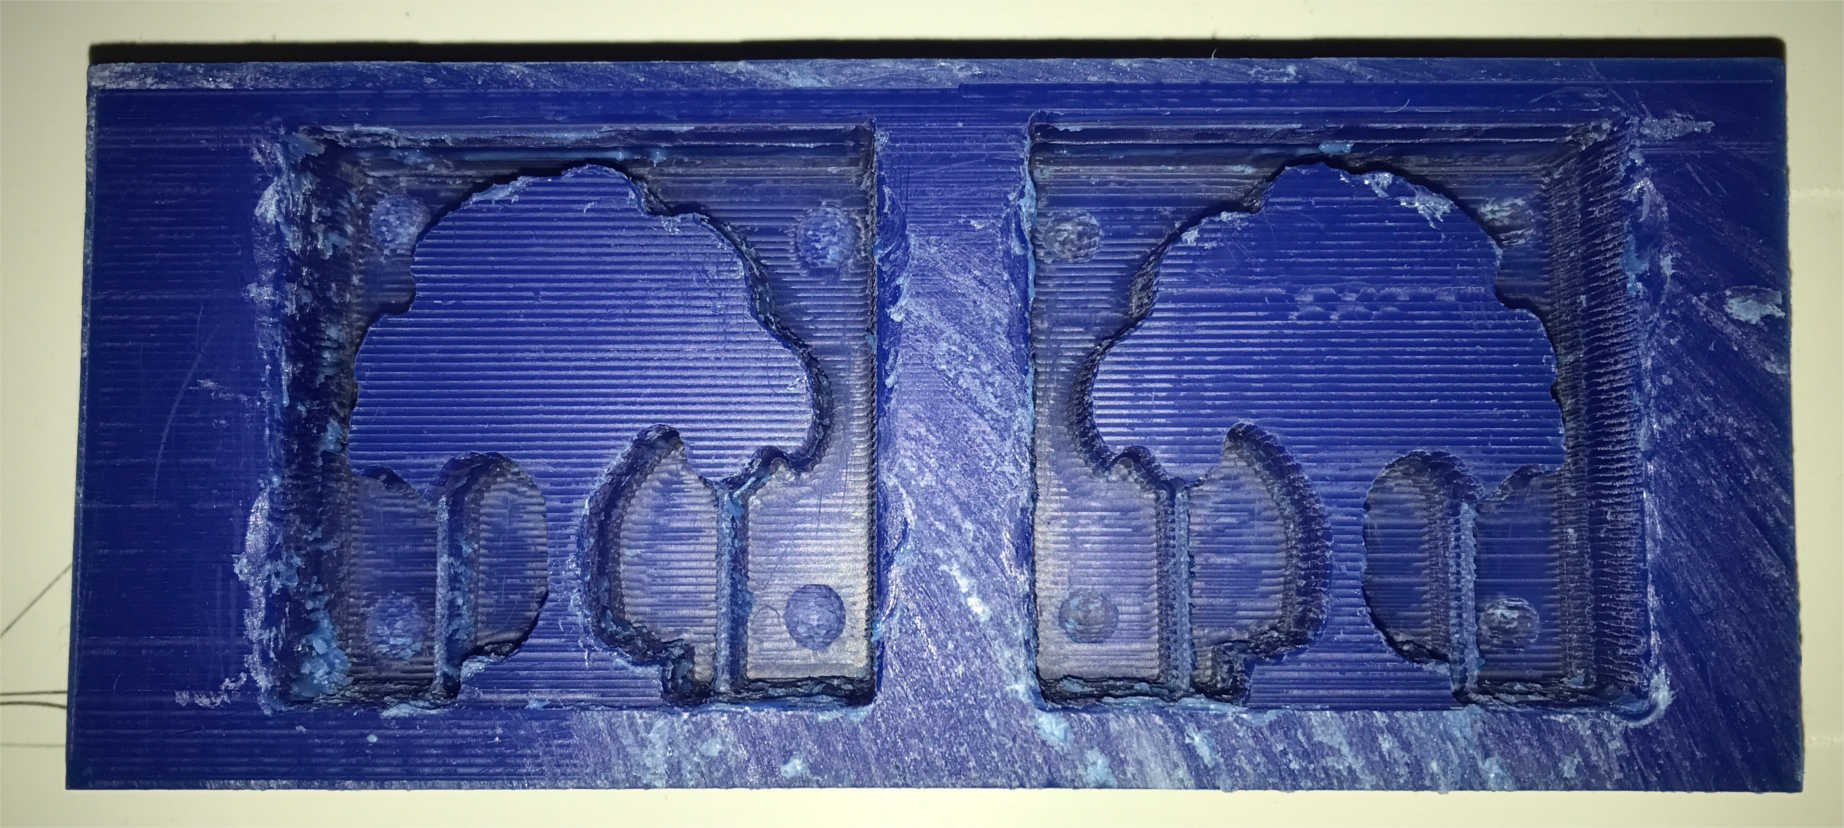
The the material was attached to the bed and the zero was set. The machine started to make a very clean job, but as the tool went down, some wax started to melt.
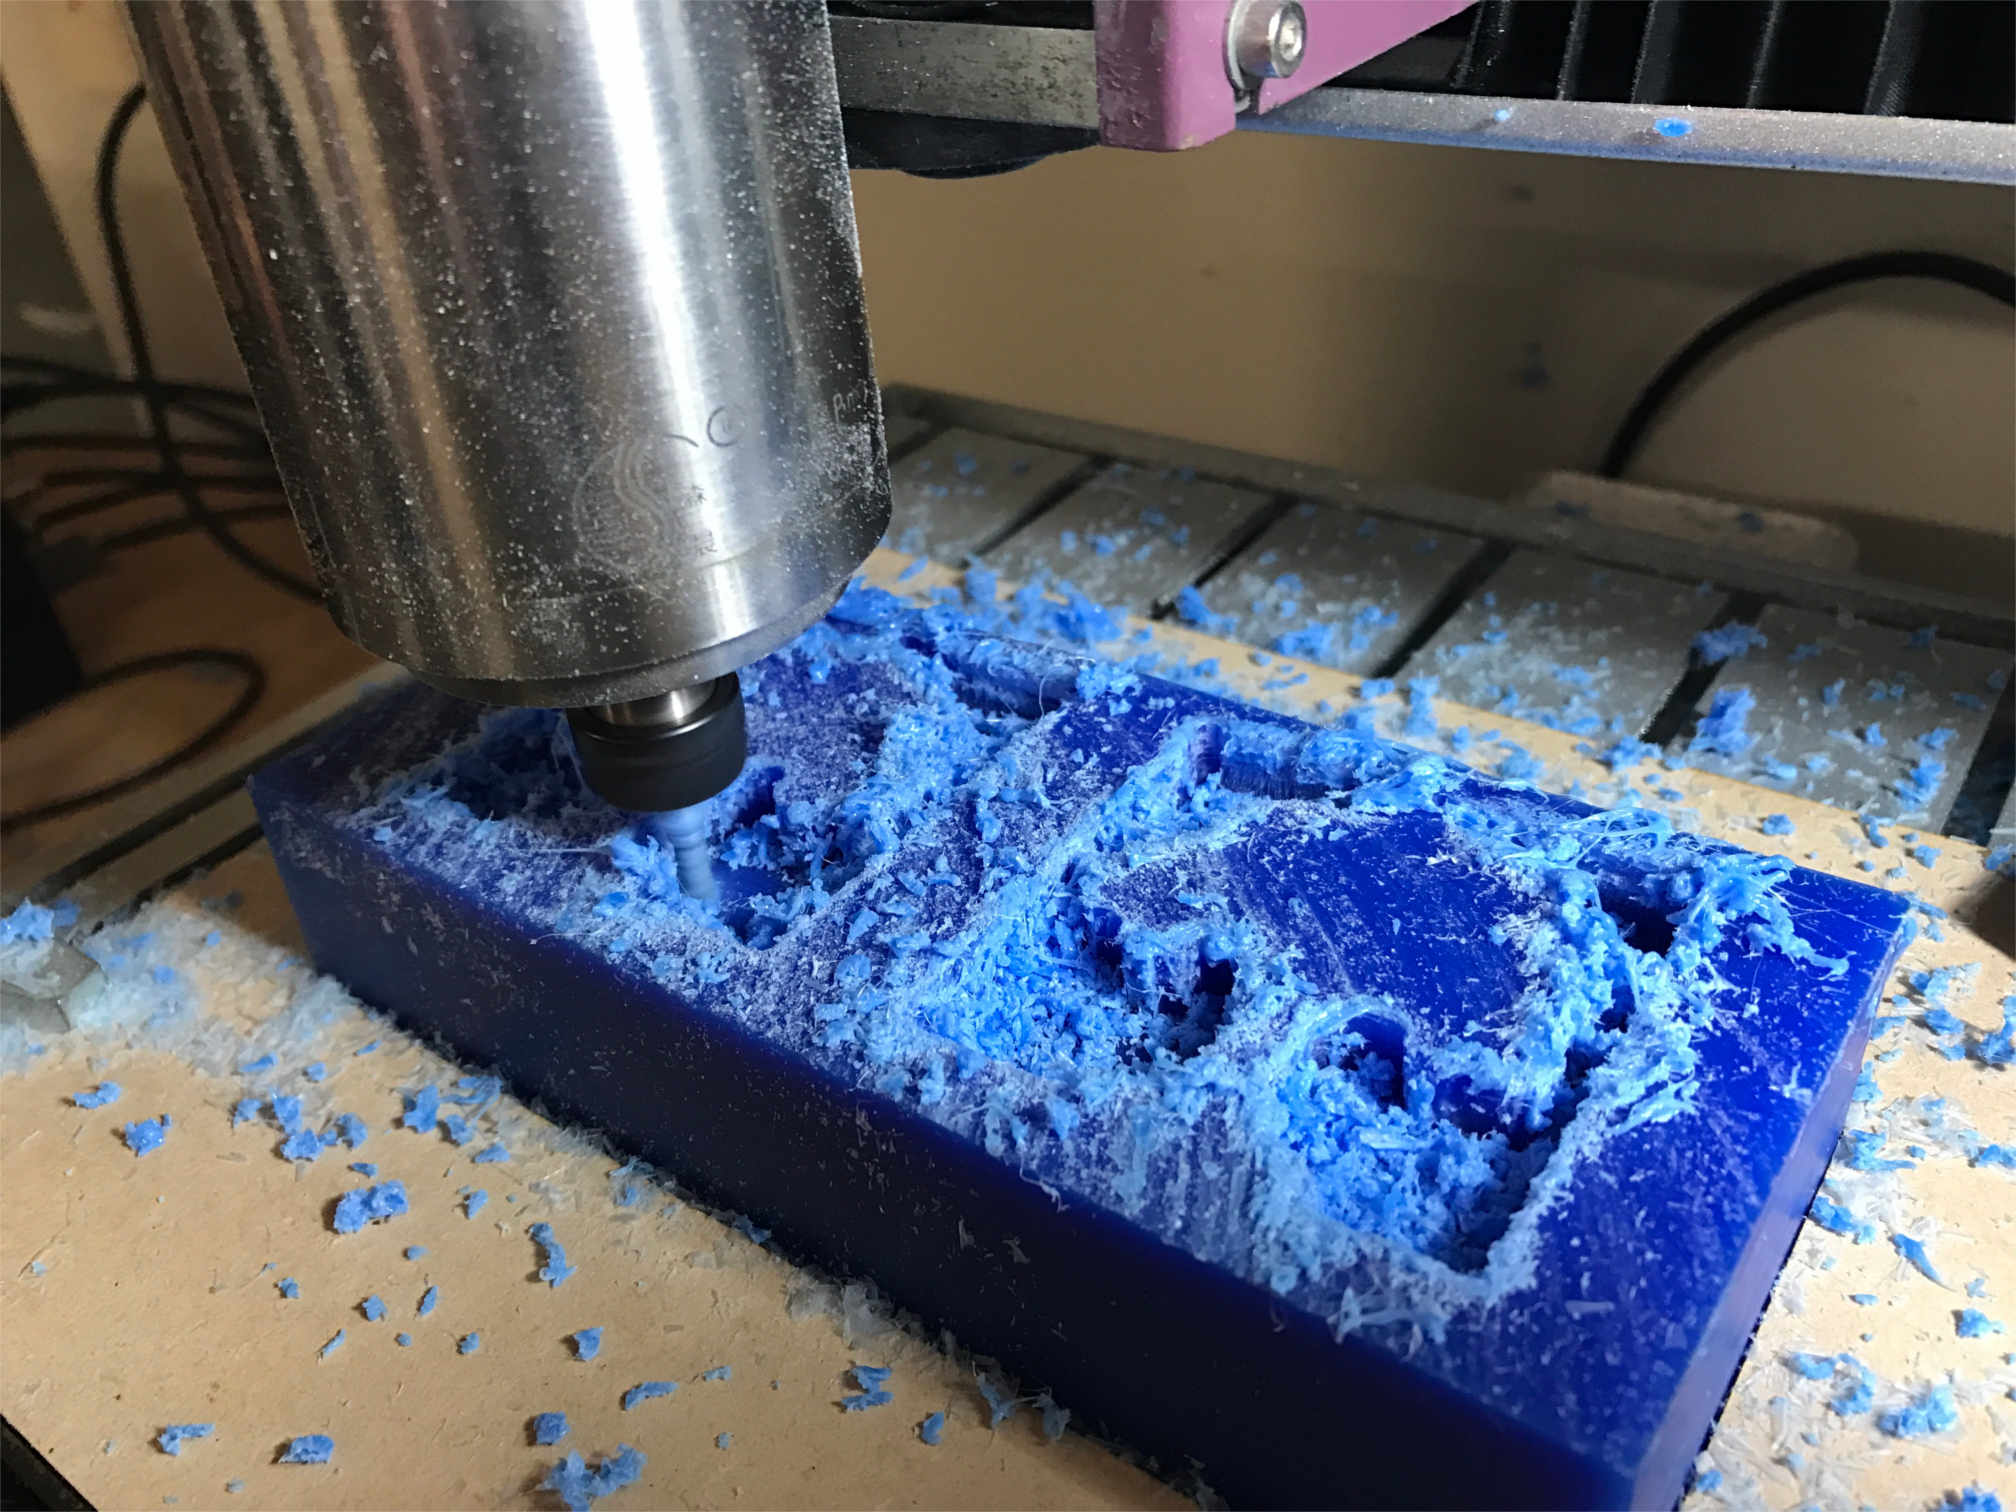
The second toolpath with the smaller tool and smaller steps was cleaner and required much less manual remove of material.
Rubber mould
-
For the rubber mould we prepared the mix with equal parts of the compound. We used vegetal oil as release agent, and applied it with a brush to the wax.

The rubber mix was stirred slowly to avoid creating bubbles, then poured into the wax slowly.
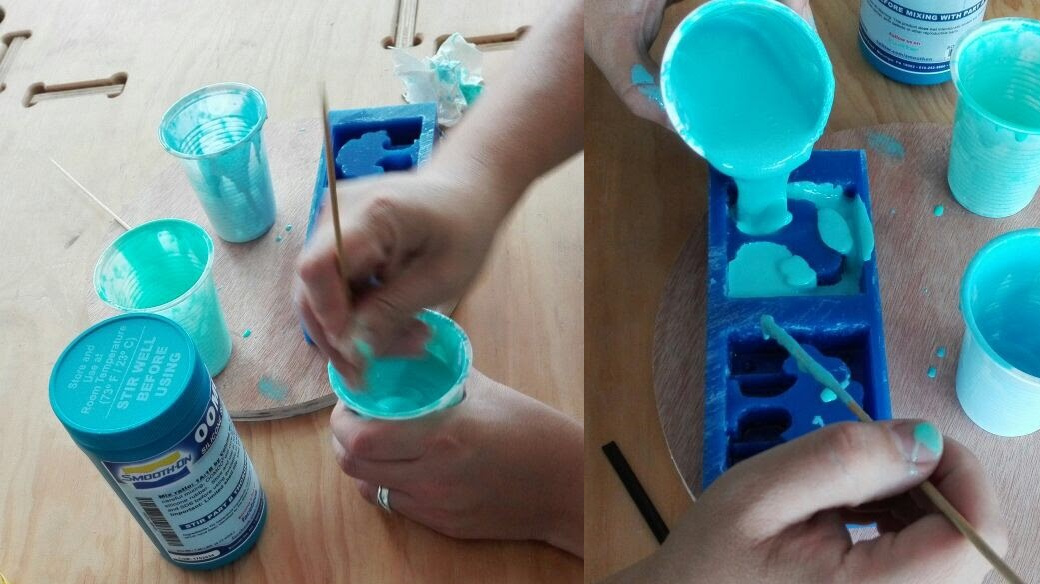
Finally, the model was gently hit to let air bubbles out, then it was let to rest.
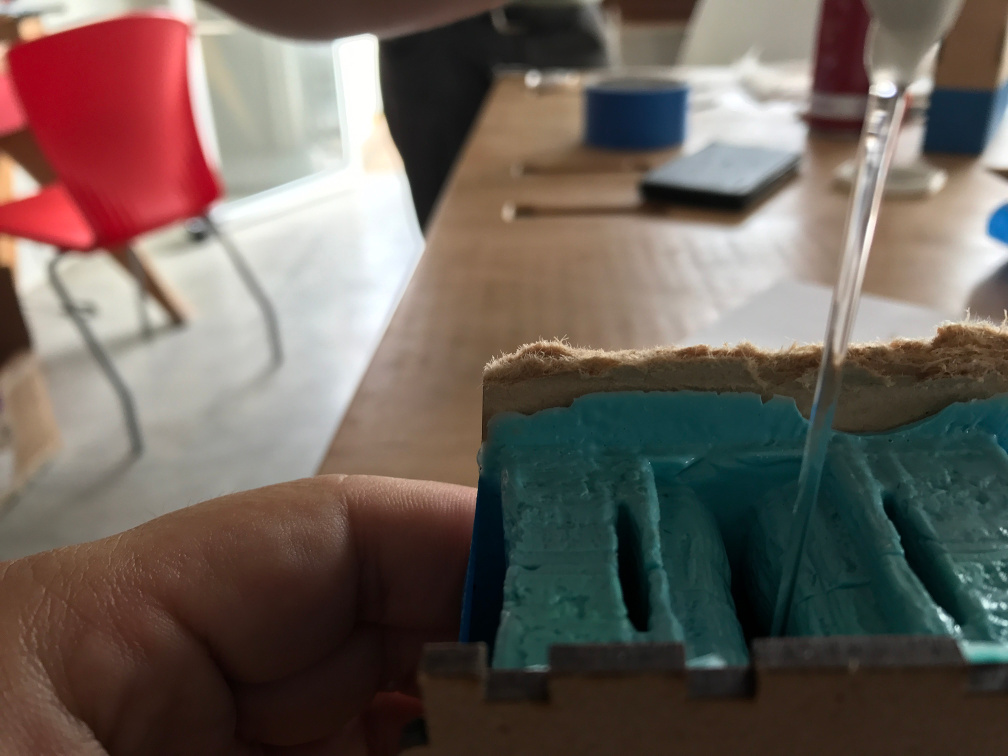
After 24 hours, I took out the rubber mould.
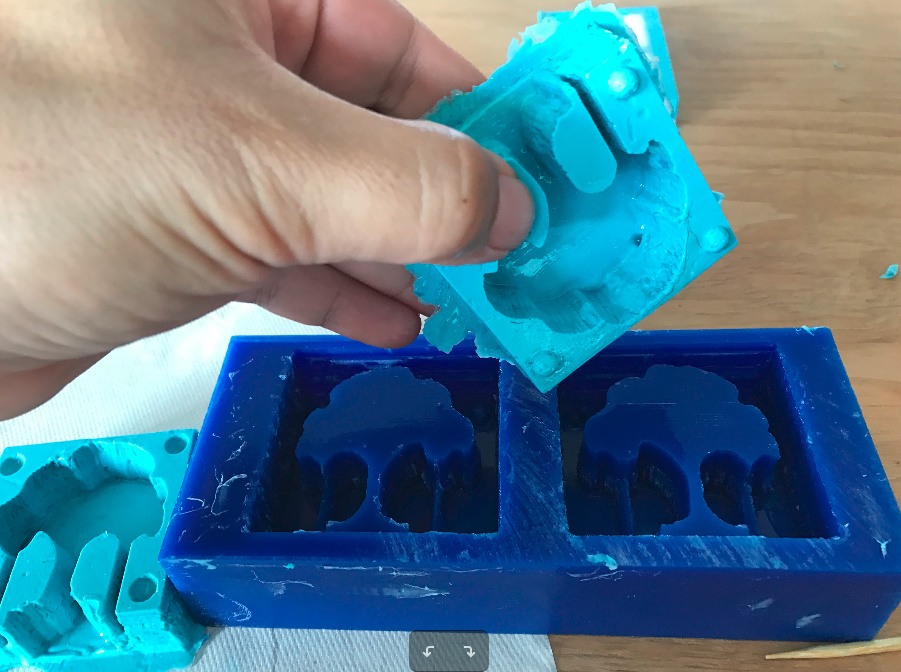
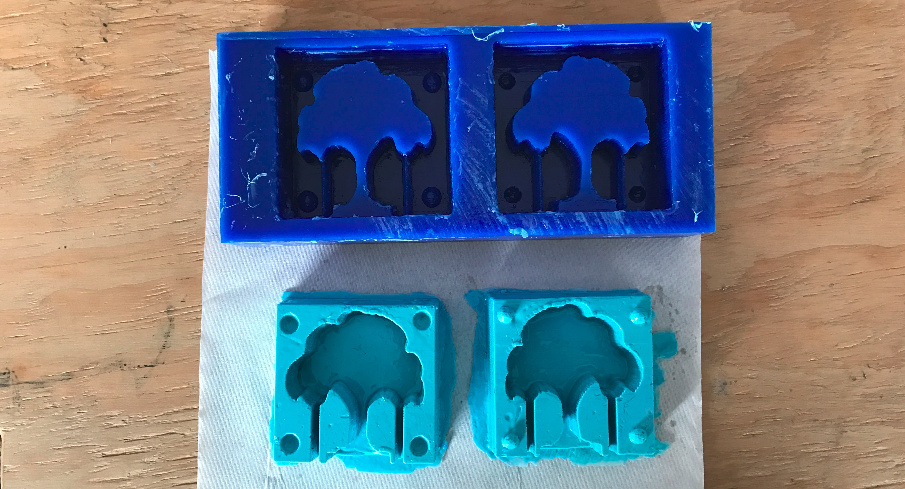
The mould had minor defects because it was too deep, and the tool deformed the walls of the wax.
Casting
-
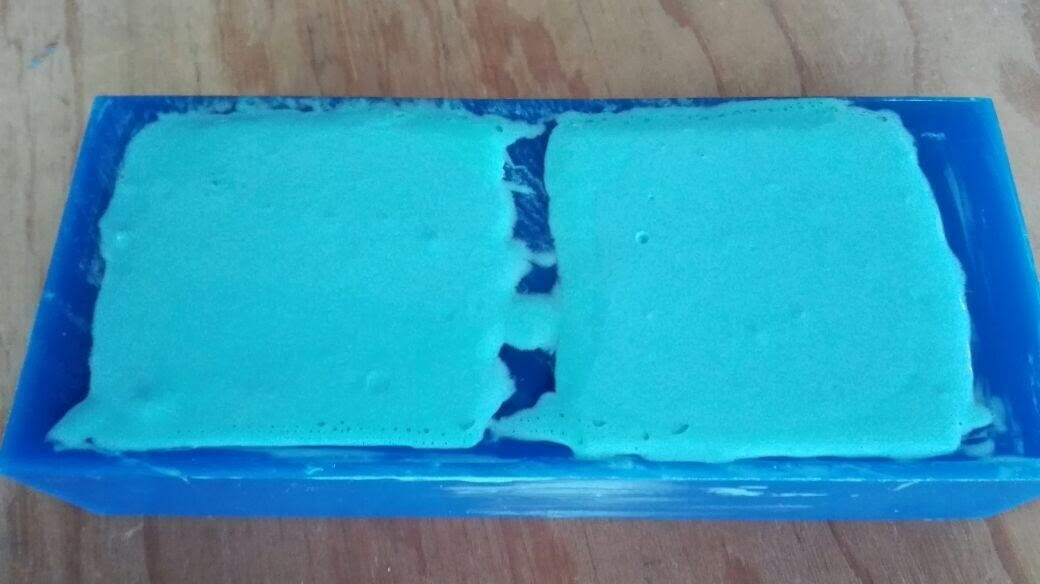
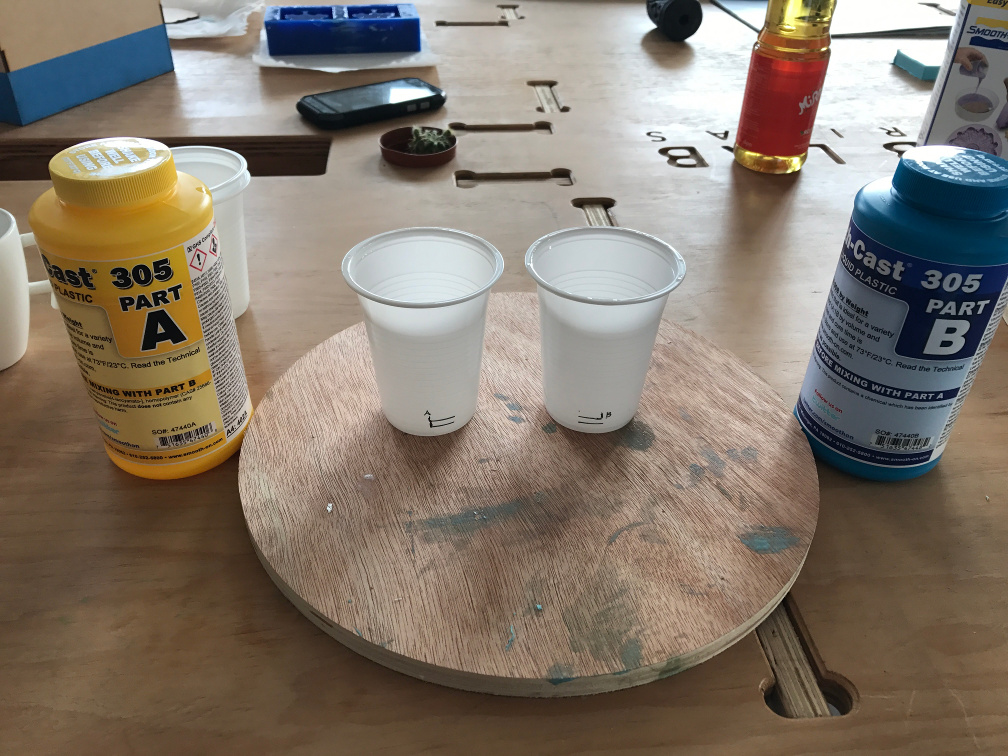
Once the mold was ready, I made the plastic mix, by combining two equal ammounts of material. This generates a lot of bubbles, but I had no means to get rid of them, and also, there was no time to let it rest, because the mix starts reacting just a few minutes after combining the two parts.
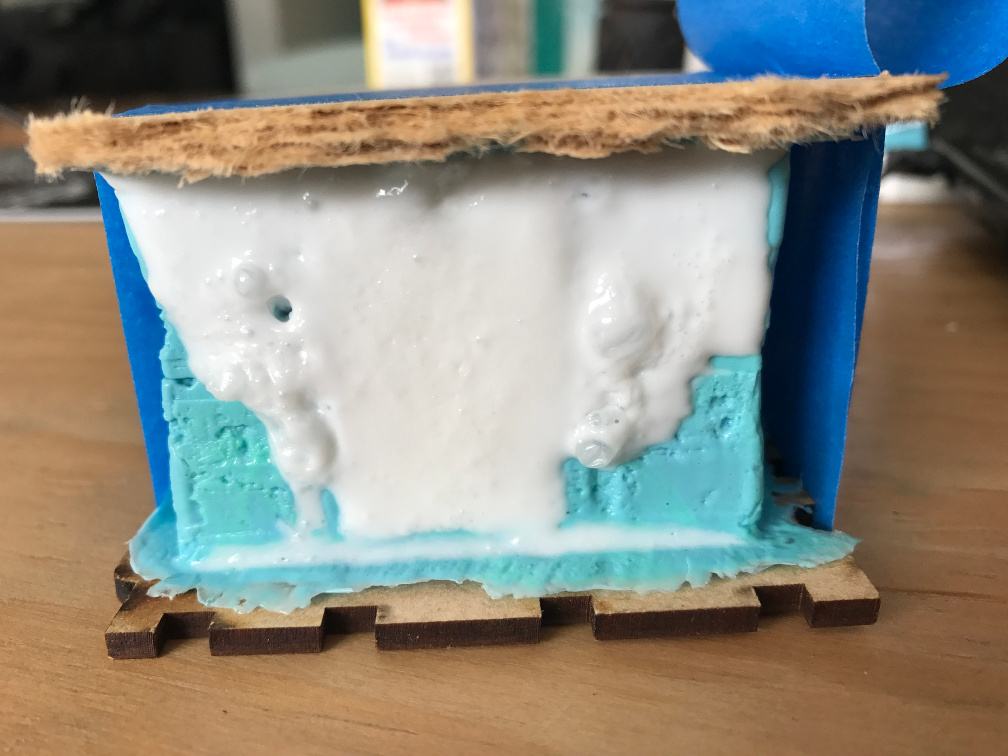
With some help, I poured the mixture into the mould.
After a few minutesm the mixture turned white, and the mould got notably hot. Some bubbles came out of the mixture.
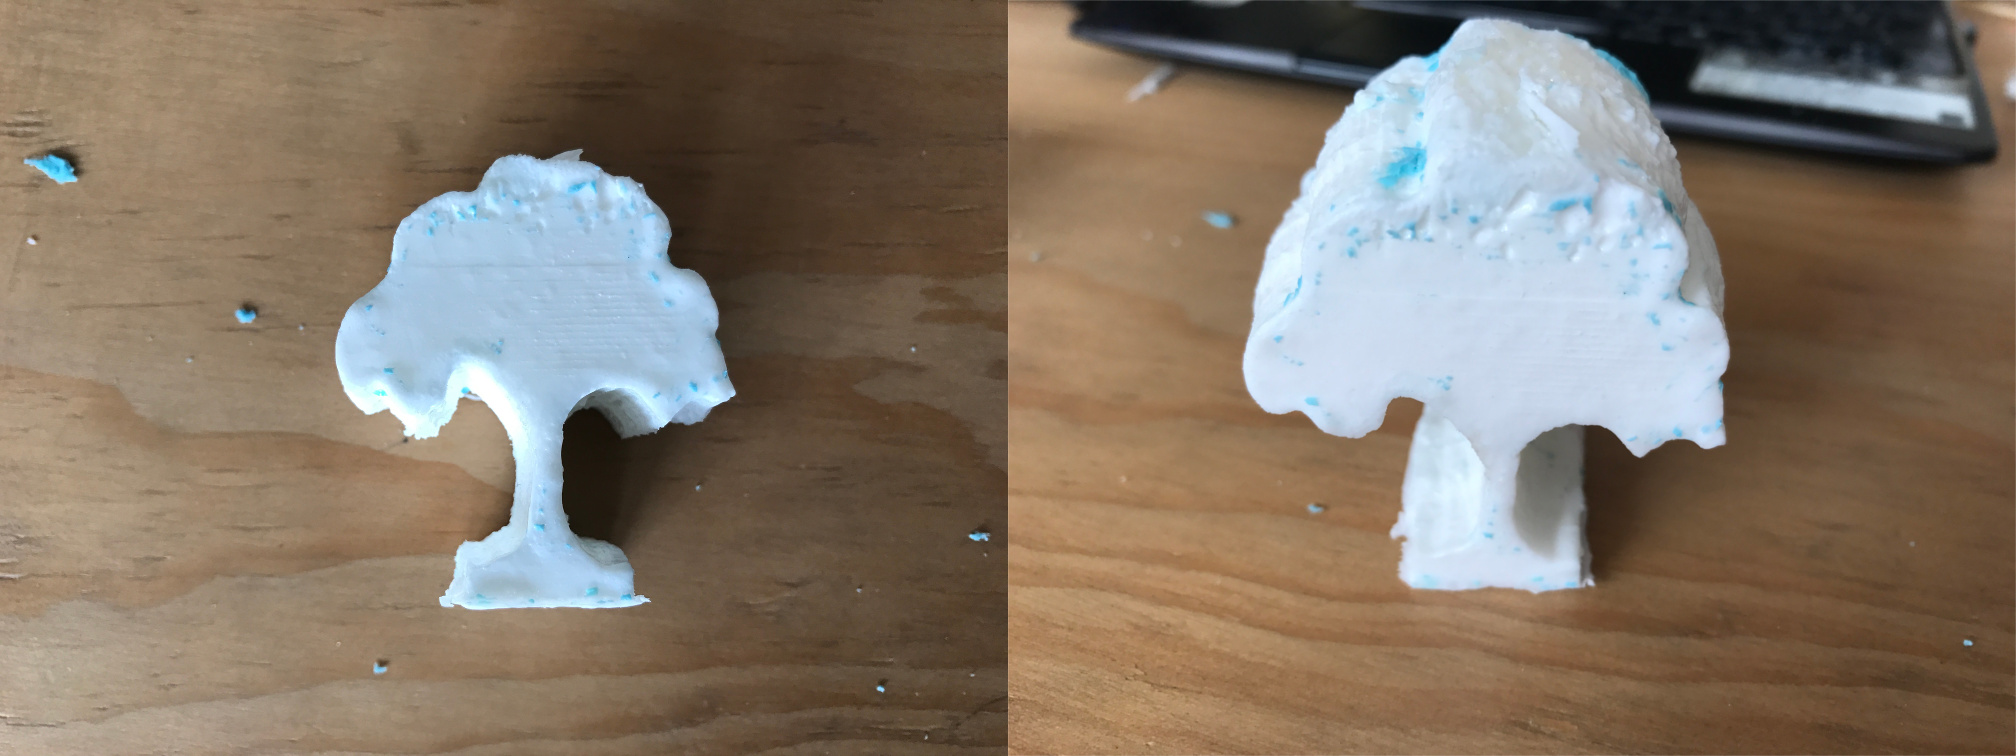
Finally, I toow out the model, wich had a defect, I assume, because of a not so good mixture of the two materials. Also, the model was too thick, so It doesn't look very good.
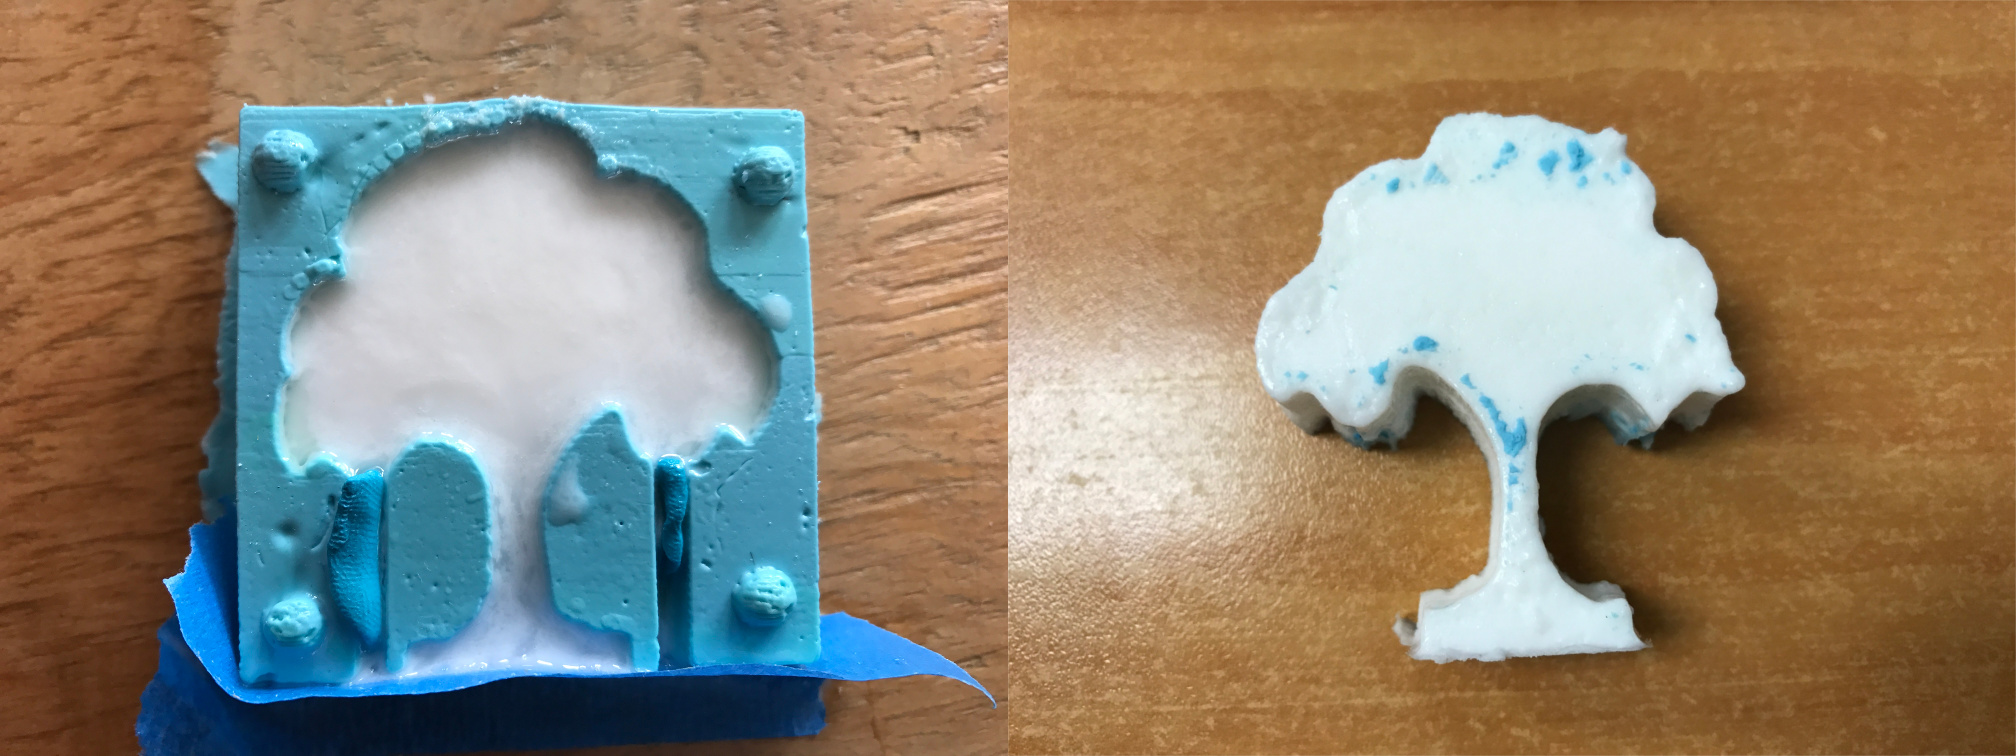
I proceeded to make another model using only one half of the rubber mould.
Back