Procedure:
0. Assessment
1. Introduction
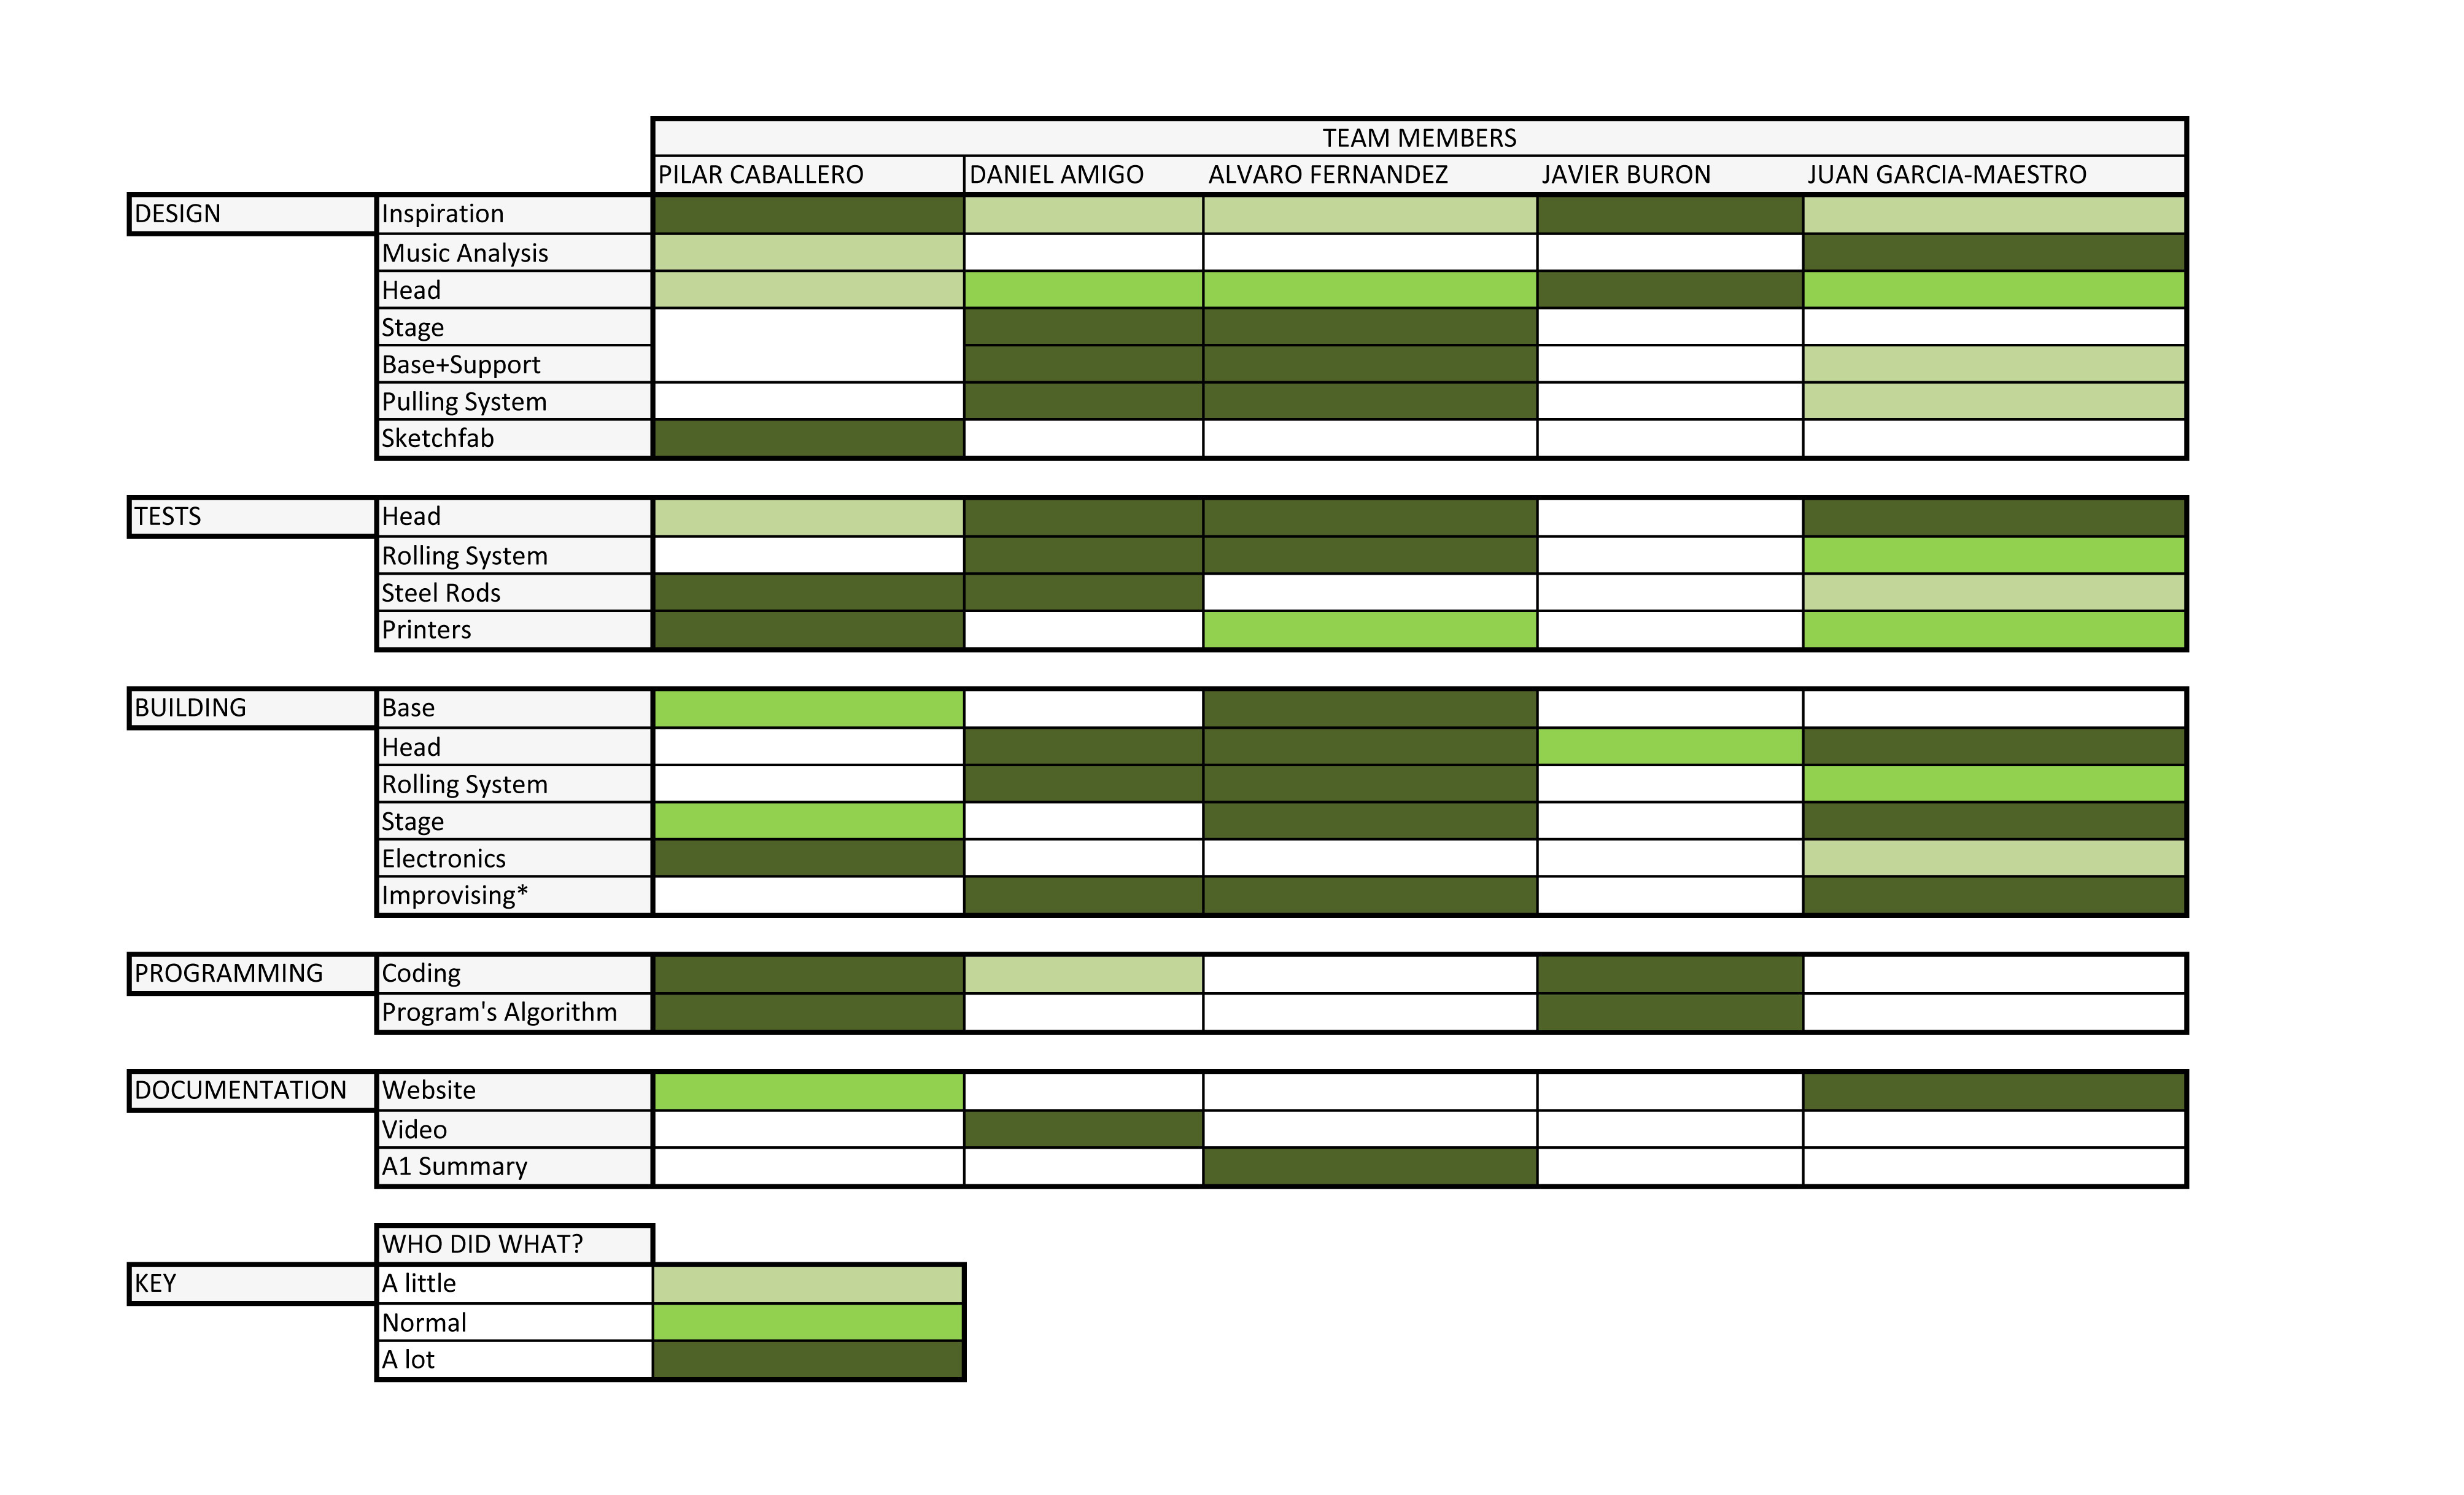
2. My Individual Contribution To The Project
2a. Leadership
2b. Music Analysis
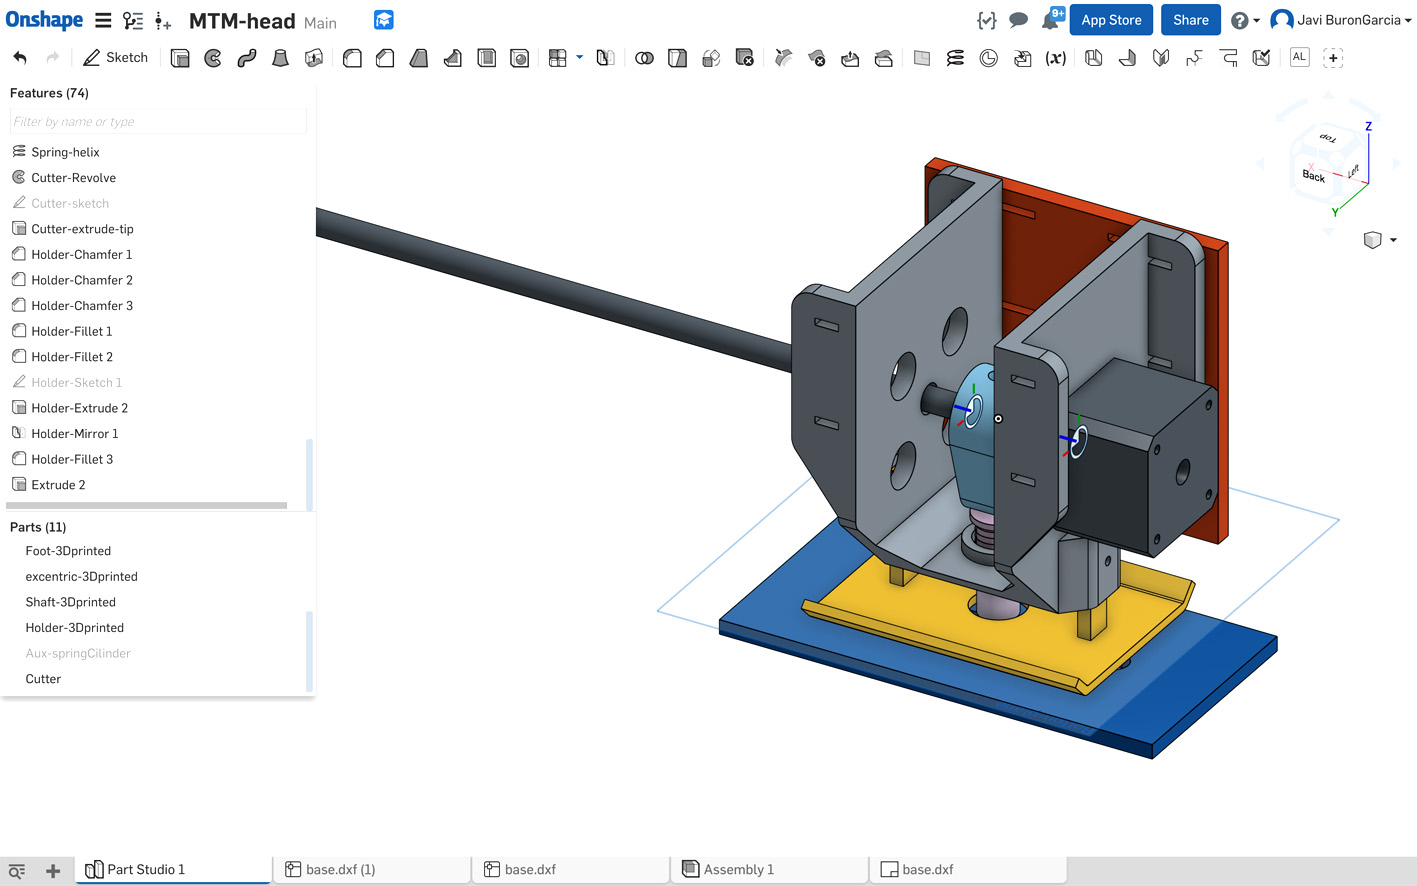
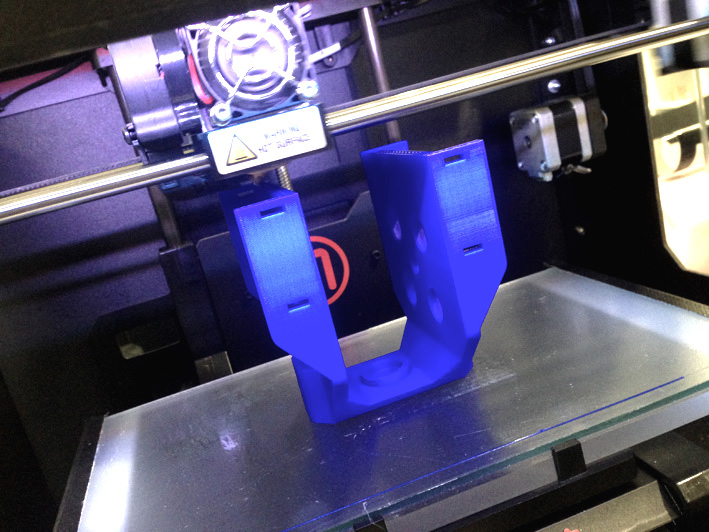
2c. Head :
2d. Base + Paper Roll Vertical Supports + Horizontal
2e. Pulling System + Steel Rods
2f. Printers
2g. Stage
2h. Punch-Hole 3mm Medium Density Wood Board
2i. Electronics
2j. Website
3. Download Files: Please go to the Team's Website
4. Fabacademy's Tutorials
0. Assessment
Make a machine, including the end effector, build the passive parts and operate it manually.
LEARNING OUTCOMES
Work and communicate effectively in a team and independently
Design, plan and build a system
Analyse and solve technical problems
Recognise opportunities for improvements in the design
HAVE YOU...
...explained you individual contribution to this project on your own website?
1. Introduction
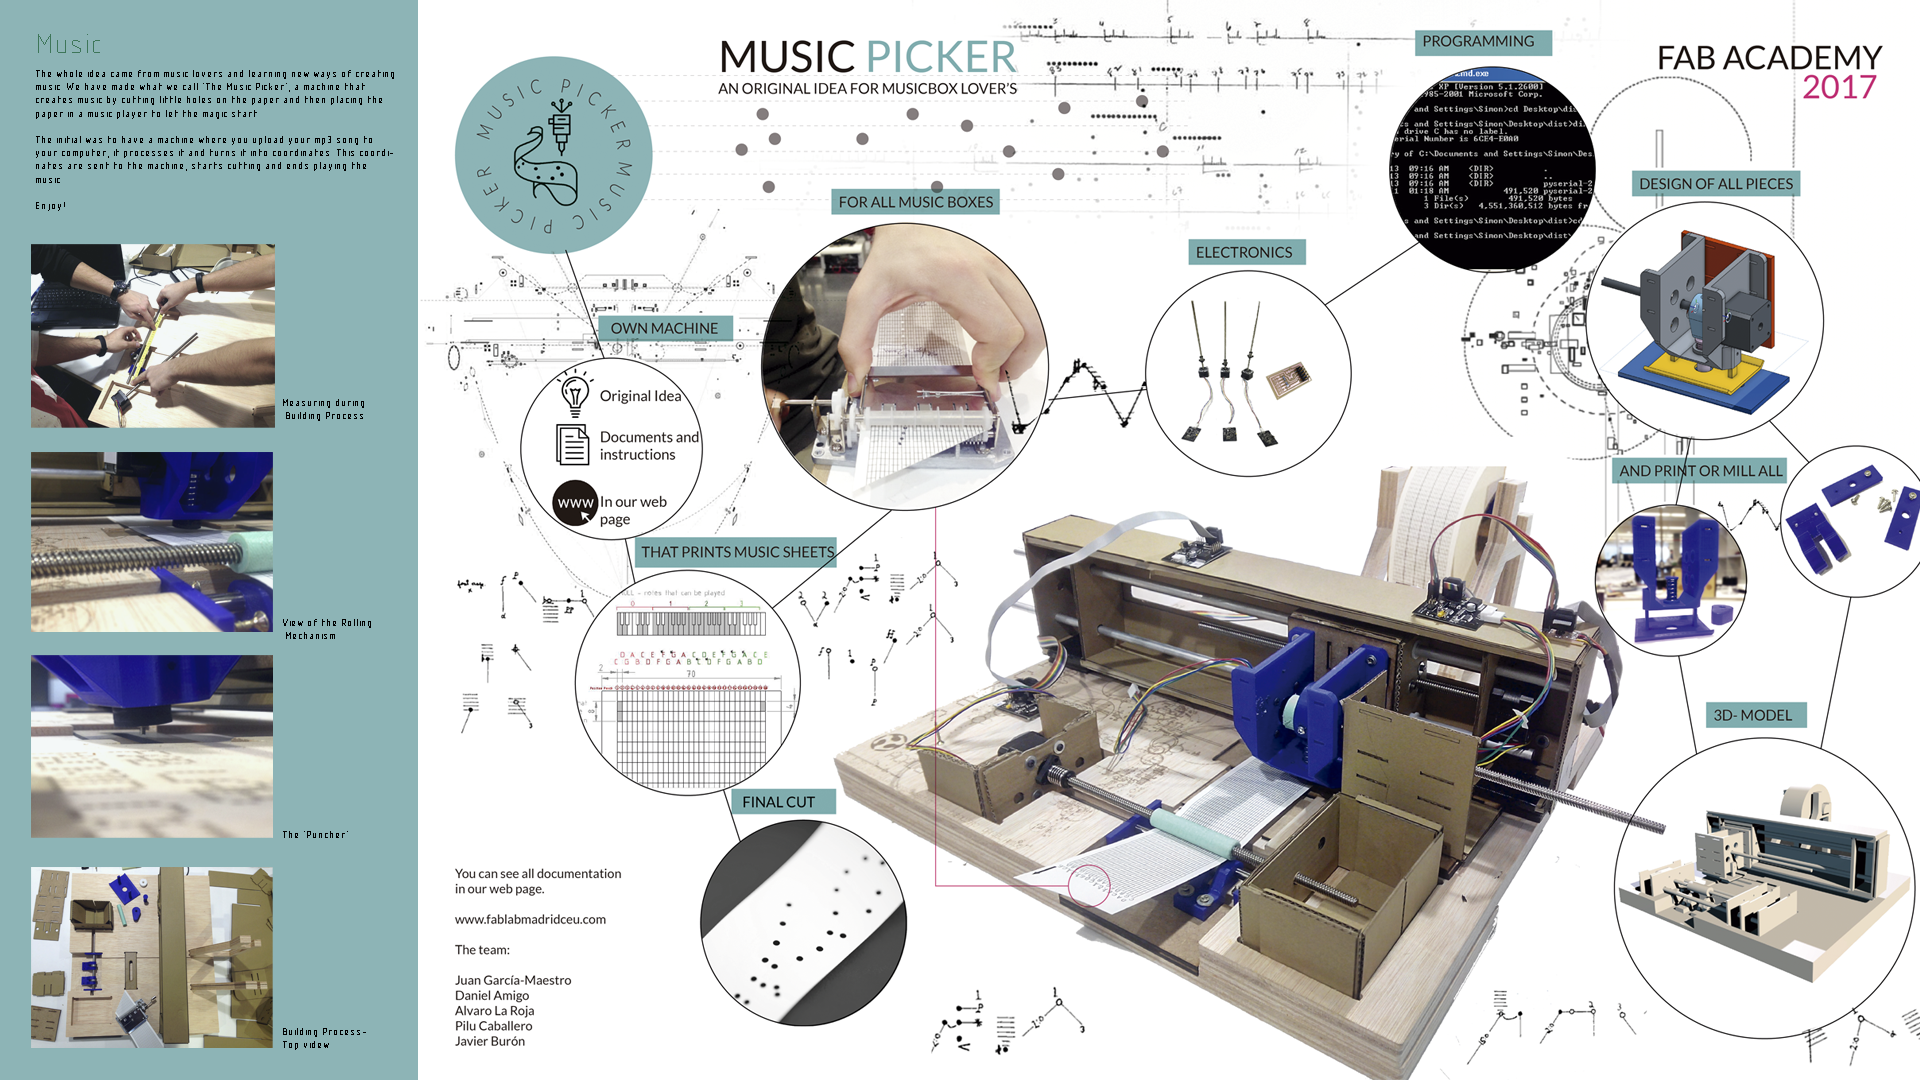
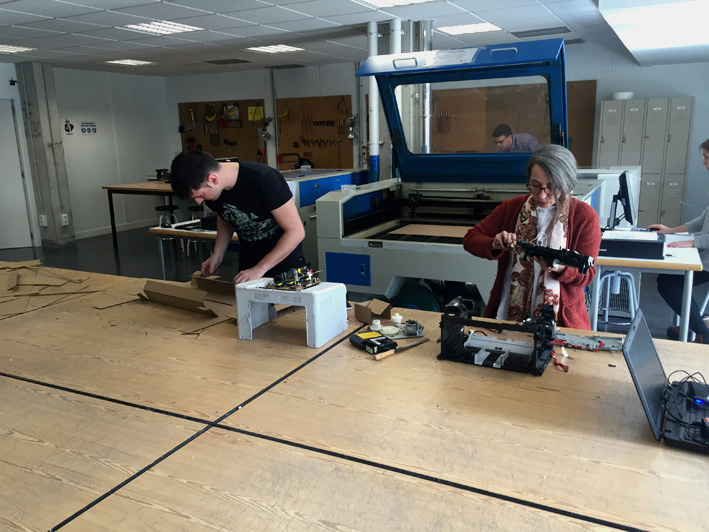
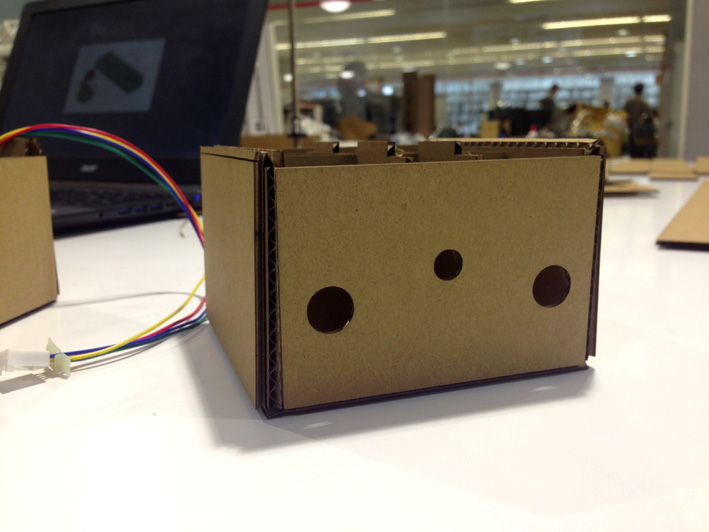
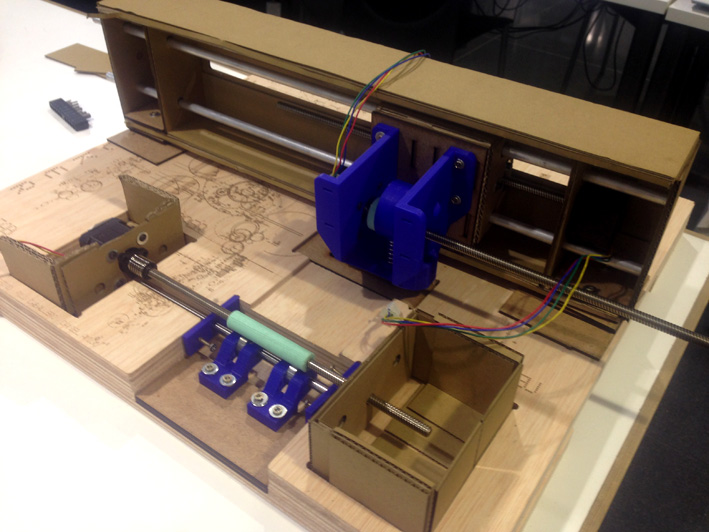
The Music Picker
The machine has taken to the group several weeks of work, where I had the opportunity to participate in most of the processes involved. We achieved to have most of the work done, as for the machine presentation we could present the machine working. The only problem we had at that time was that our punch sometimes had problems to make the holes on the paper.
Please check the website where everything is documented in detail (botón)
Please check as well week 11 - Machine Design. (boton)
The machine has taken to the group several weeks of work, where I had the opportunity to participate
in most of the processes involved. We achieved to have most of the work done, as for the machine
presentation we could present the machine working. The only problem we had at that time was that
our punch sometimes had problems to make the holes on the paper.
These were my contribution to the project:
Music Analysis: understand how the music player worked, which paper sheet dimensions used, etc.
Design: head, pulling-system, roll's support.
Testing: head, pulling-system, stage integration.
Building: head, stage, ribbon cables, improvising when things went wrong.
Programming: communicating with the machine with Nadya's example python docs.
Post-production: upload and re-design of website.
2a. Leadership
The team is made out of 5 people. From the beginning of the project, I was the leader that planned, organised and re-arranged the team when needed.
My strategy for the team is very straight:
-have weekly meetings where all of us discuss the goals for the week, problems that we had the previous week, problems we may have during the week, appointments, etc.
-once I know what we were going to do for the week, I organise the team: who does what, when, establishing deadlines during the week.
-make sure at the end of each meeting everyone knew what they had to do.
-make everyone feel part of the project.
This strategy worked for some of us, but not everyone. When the team had problems during the weekly meetings, I thought that by talking to each other and facing these problems, everyone should go back to normal and being in the same path. It did not work.
Once the machine has been finished, I analysed all the meetings and how I organised everything. I found out that the meetings were not as productive as they should have been. We were very different people working together, and I wanted to make people feel more integrated when discussing what to do, although I was the one who decided it.
My conclusion is that this integration strategy (where everyone participates in important issues) made the team fail to achieve the goals on time, failing as a leader. A stronger decisive leadership (not an 'open-listening leadership) should have been used to have more positive results.
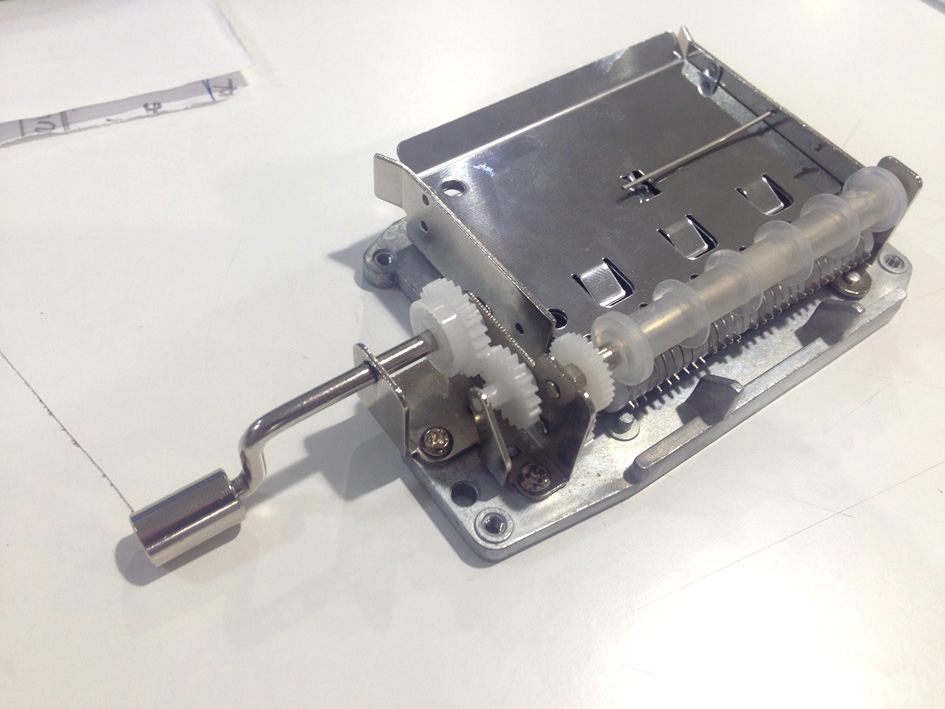
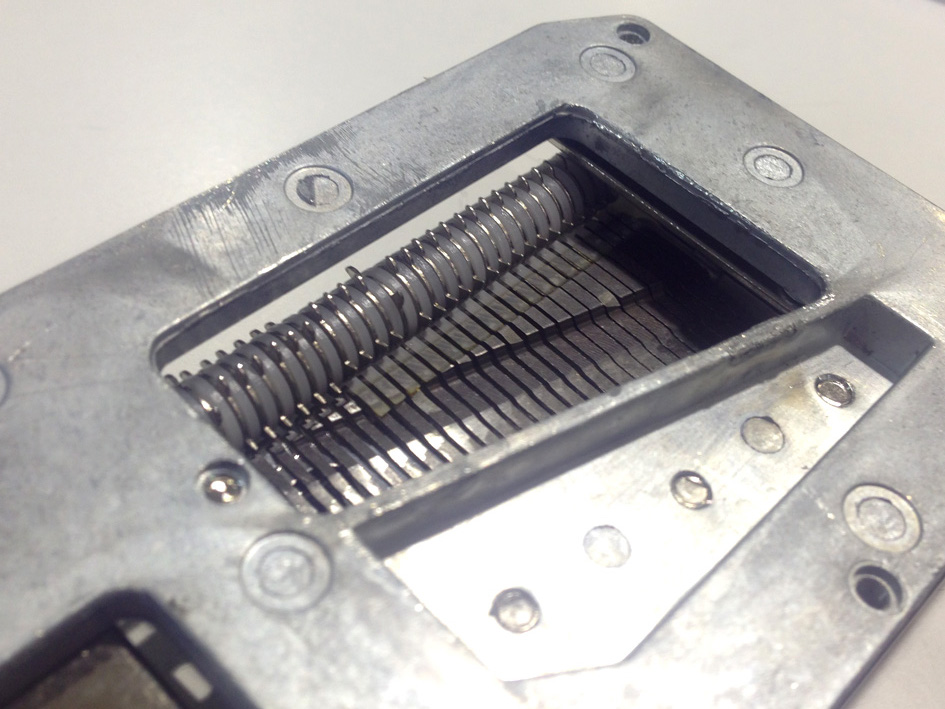
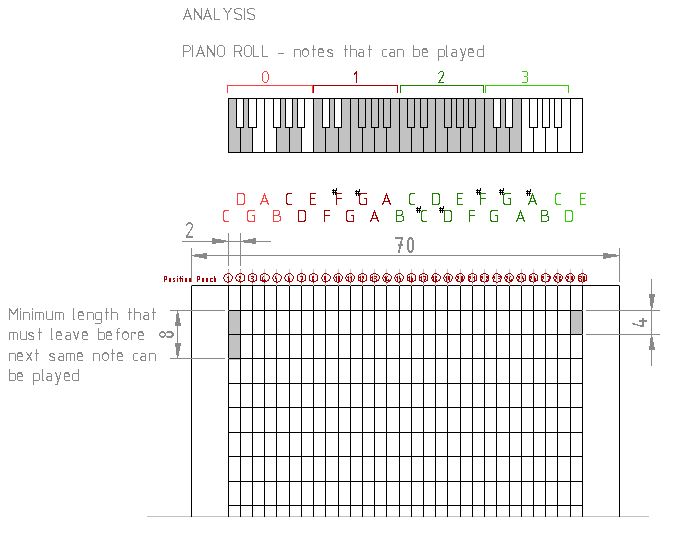
2b.Music Analysis
As a musician, I took the responsibility of the music analysis of the music player that was shipped to us (the music playe was once the paper music was drilled).
Music Player
Once the paper has been cut by the machine, the idea is to test it in a music player that we bought on the internet to see if it works correctly.
This Music Player has 30 different harmonized notes that are activated by the movement of a rotatory ring. This rotatory ring has four ‘arms’; these are introduced into the holes made on the paper making them move and ringing the metal bars on the opposite side.
video 1:
video 2:
Music Paper
The music paper is 70mm width, having , having 58mm of music space as on each side there are a 6mm blank space. Each note has a 2mm maximum space to be marked and punched.
An example of an improvised song punched directly on the paper
video:
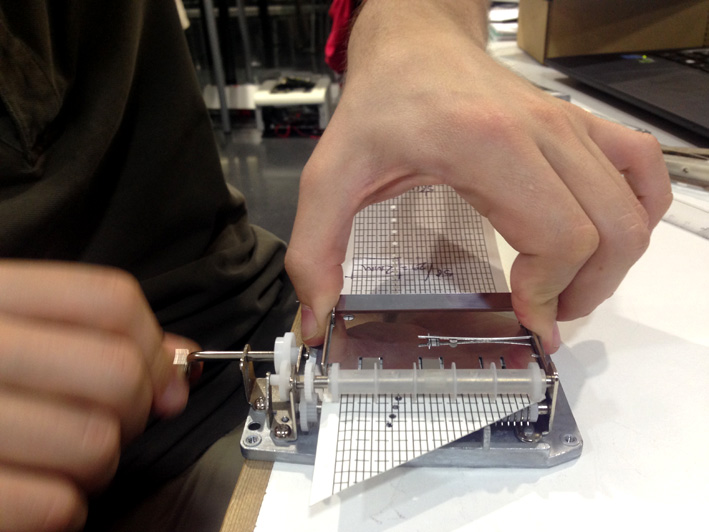
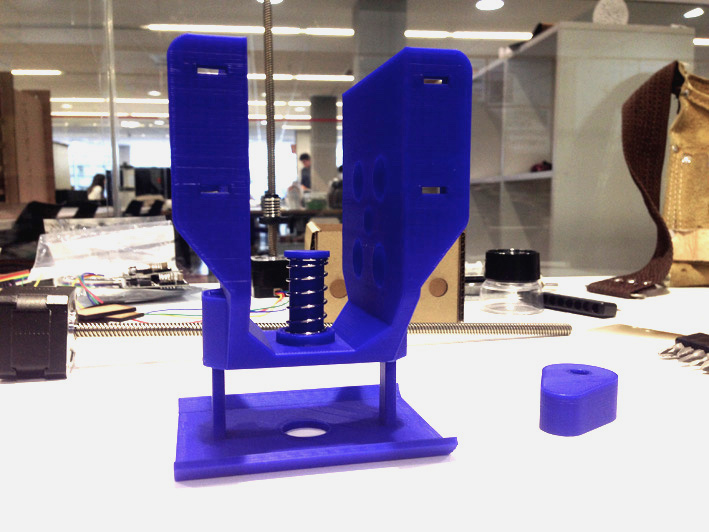
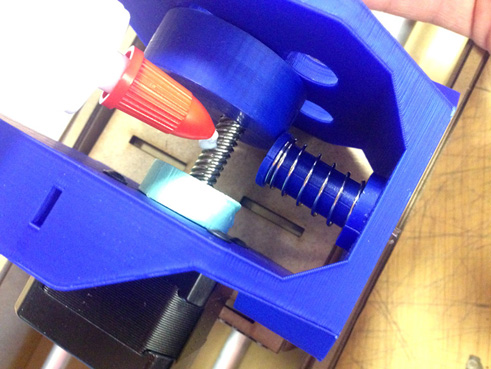
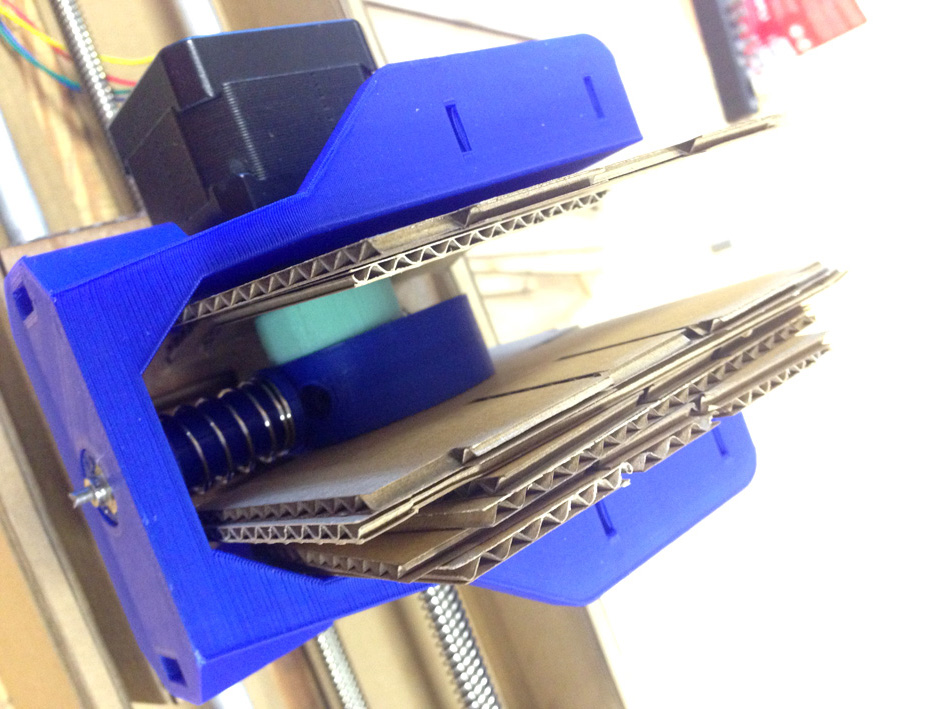
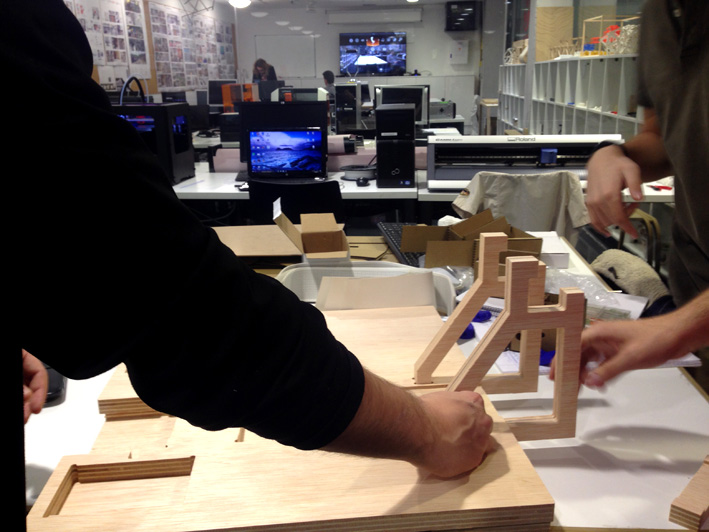
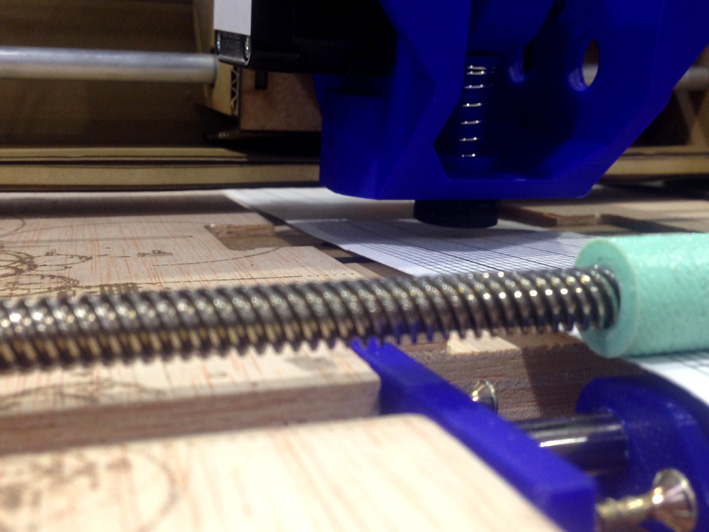
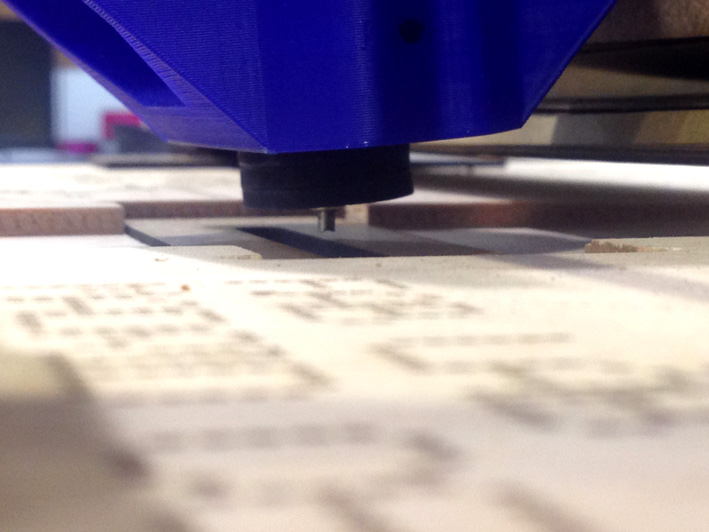
2c.Head
Redesigning the head mechanism, especially the shaft's guidance and the rotary part, that firstly had an oval shape and turned into a circular shape with an eccentric turning axis .
This is the first design done by Javier. When testing it, as Javier was not with us at that moment, I was part of the re-design of the rotary part and that shaft's guidance:
video 1: shaft's guidance
Video Testing how the rotary parts create the upper-downward movement of the punch.
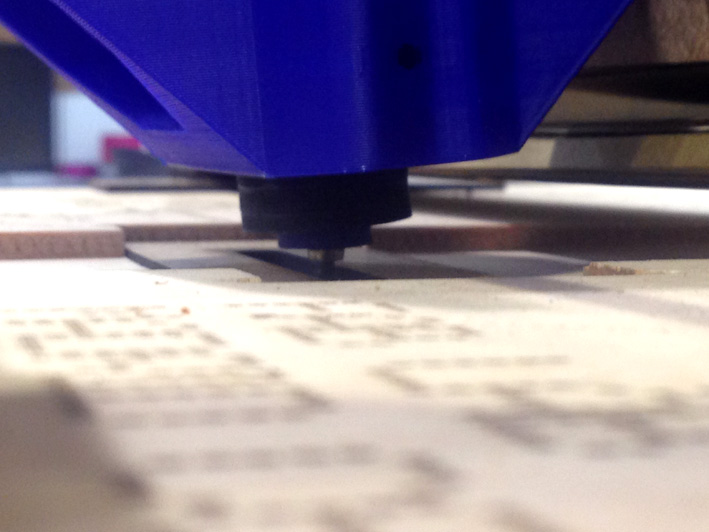
Once we assured the movement of the punch vertically, we assembled everything together and test it manually. The first tries, the machine was not making the holes on the paper. What happened all the time was then the punch came down from the head to make the hole on the paper, the force to do it turned into a backward movement for the stage, failing to punch correctly.
Testing The Head Assembled To Stage and Base
In this 3rd video, using our hands to stop the stage of moving backwards, we realised that we needed to add something to hold the head in its position while executing the command.
More Tests
Solving Several Problems
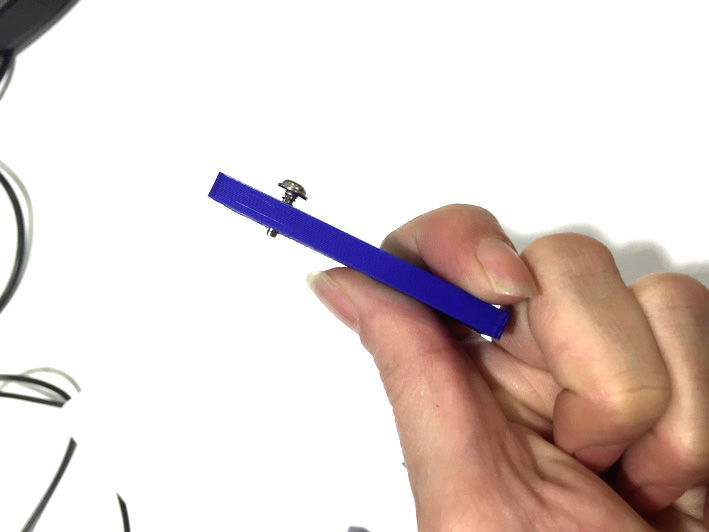
In the head mechanism, the screw inside the rotary object did not work as expected, having to improvise and use glue to fix it to a filaflex cylinder and the motor rod. It worked.
The Result:
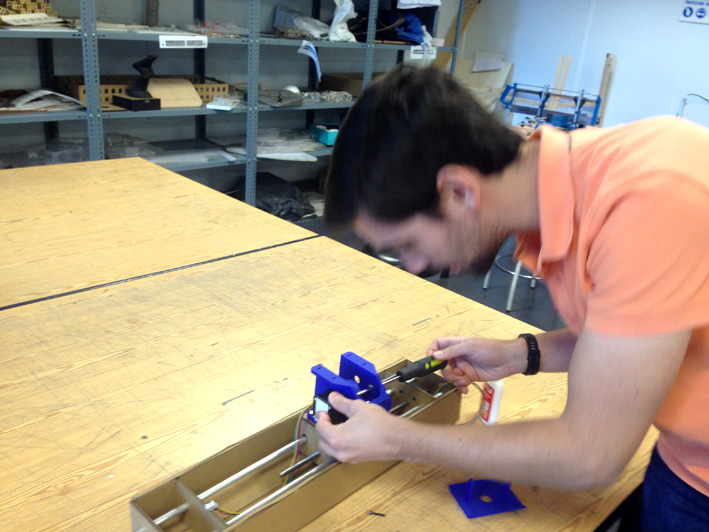
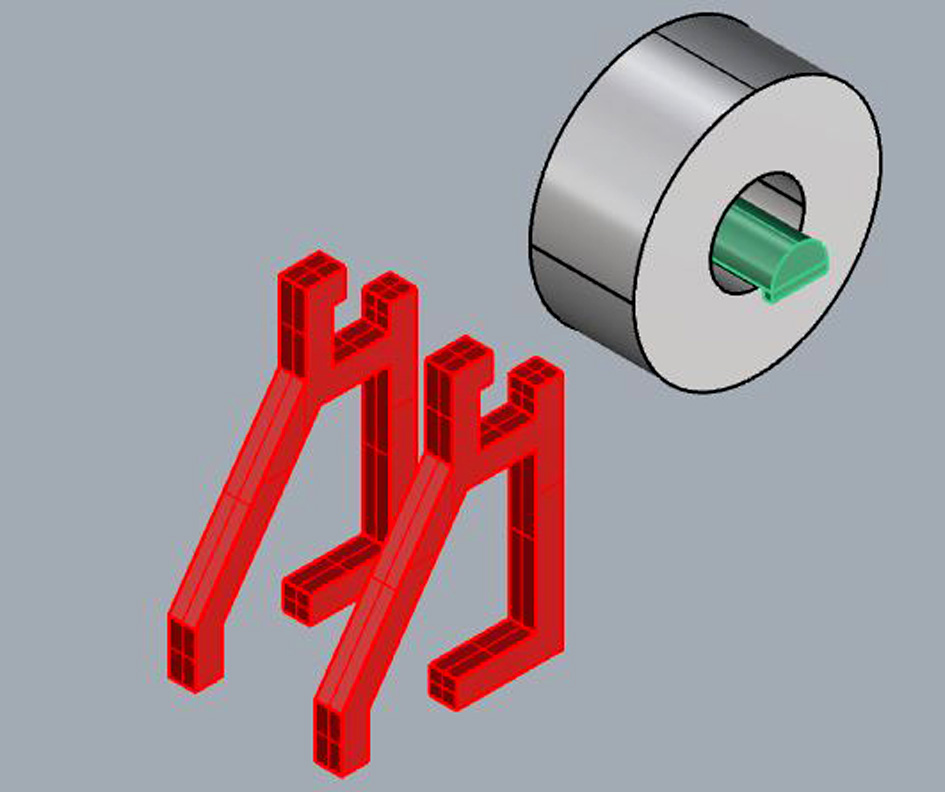
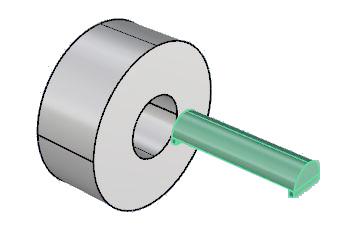
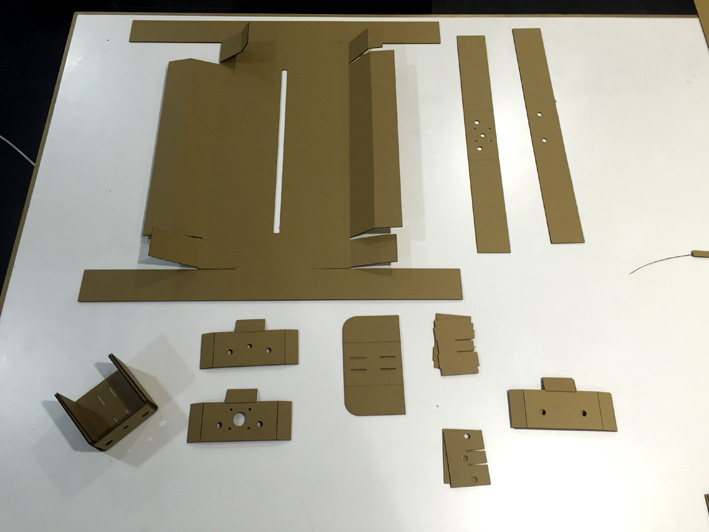
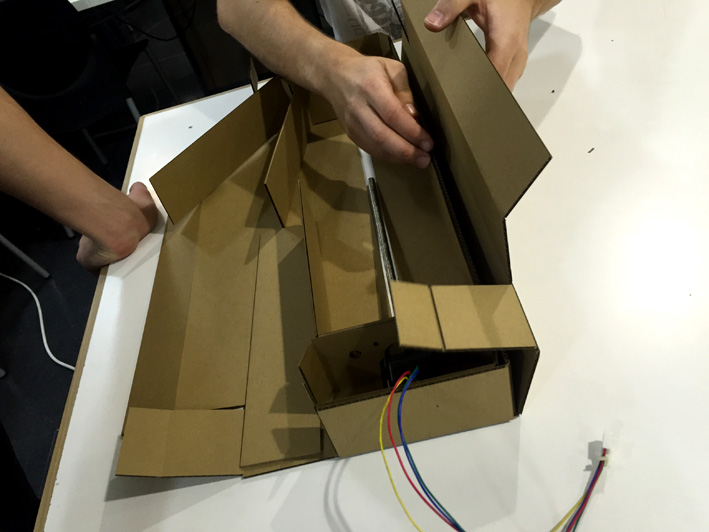
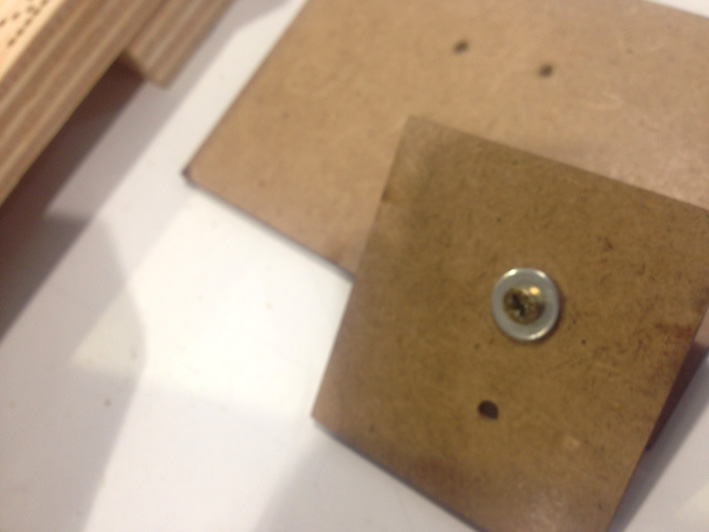
2d. Base + Paper Roll Vertical Supports + Horizontal
A 50 meter paper roll lays behind our machine ready to be cut. I designed a support that both holds and creates a continuous flow when the front motor grabs the paper to 'print it'. It is done with 20mm plywood and cut on the CNC machine. It is located at the rear side of the base.
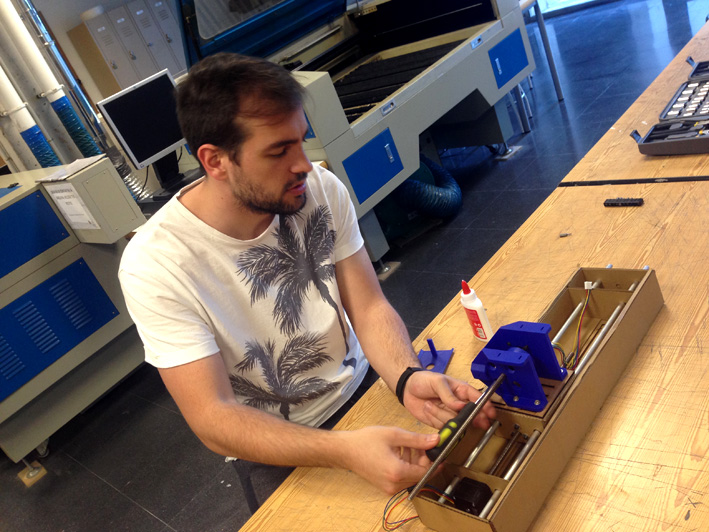
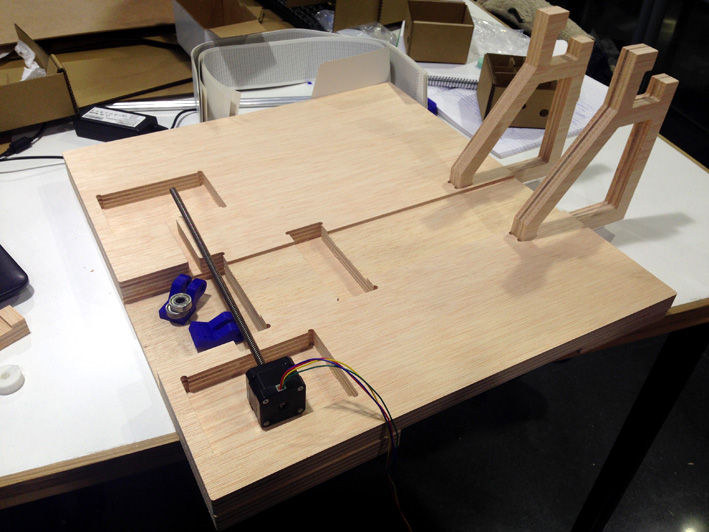
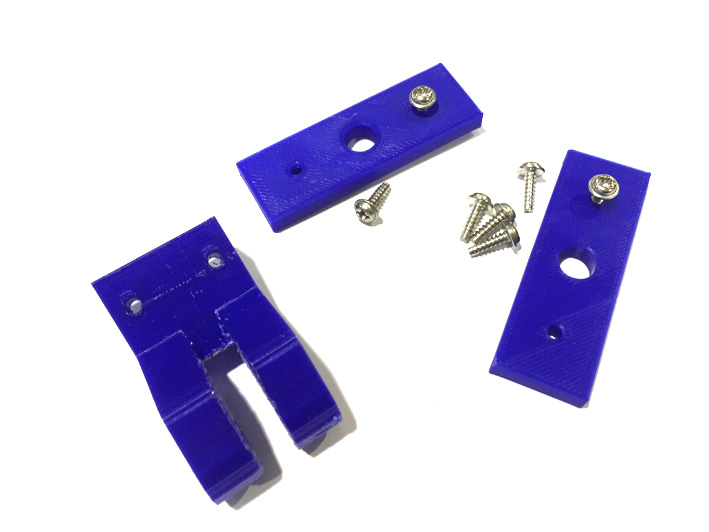
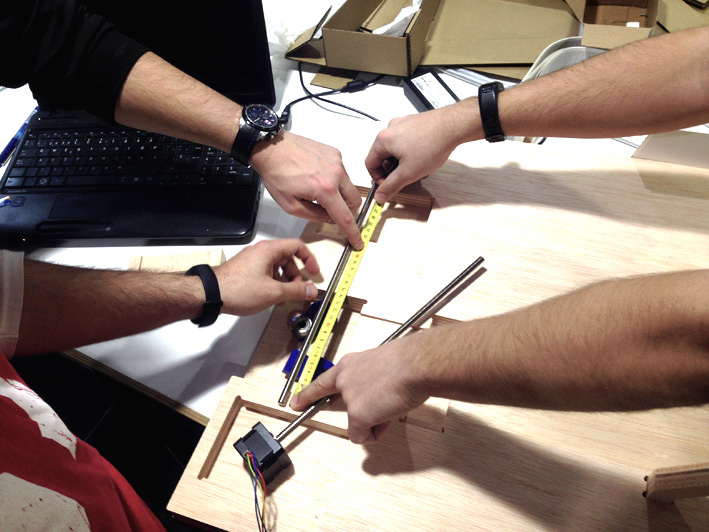
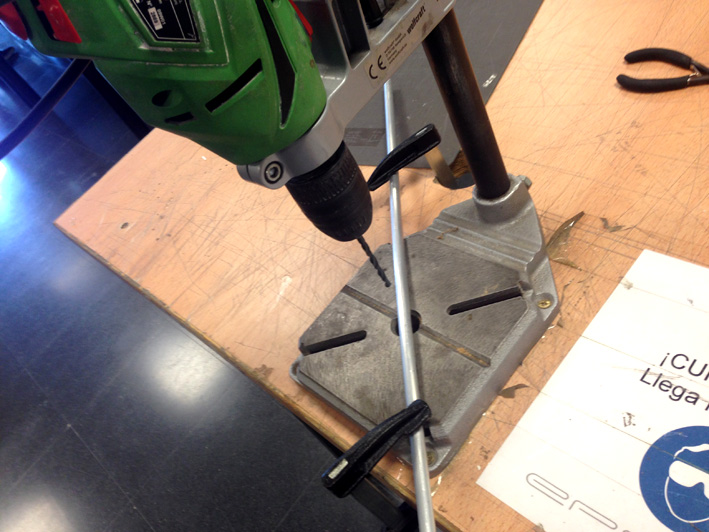
2e. Pulling System + Steel Rods
Helping out with the Paper Pulling-System Mechanism designing the vertical plates to make sure the inferior rod did not move.
Adjusting the rolling system in order the paper to be pulled by the motor.
Testing different ways of pulling the paper in order to be punched.
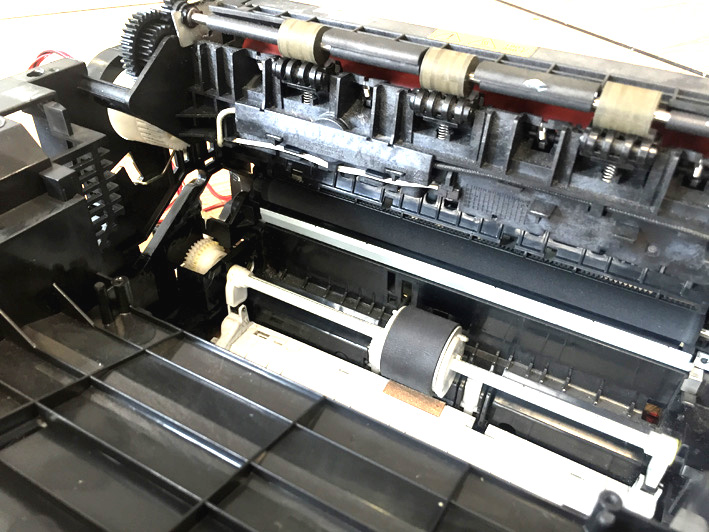
2f. Printers
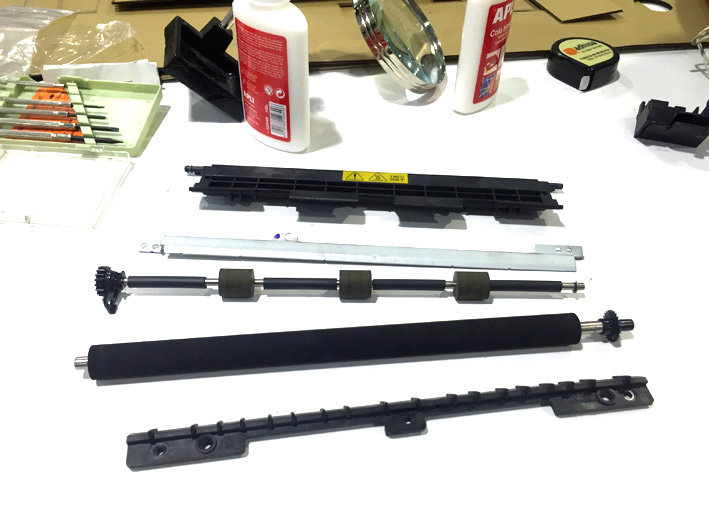
We had the idea to take an old printer and take a look inside to see if any of its parts could be reused for our machine. It was very interesting to see how many different design decision have been made with all kinds of rods so it worked correctly. Fortunately, our machine does not need as many rods as the printer needs.
2g. Stage
Building and gluing the stage The stage had several problems having a backward movement when the paper was punched. This led to use angled metal parts + duck tape + more screws. Post-production: upload and re-design of website.
video
Problems With The Stage
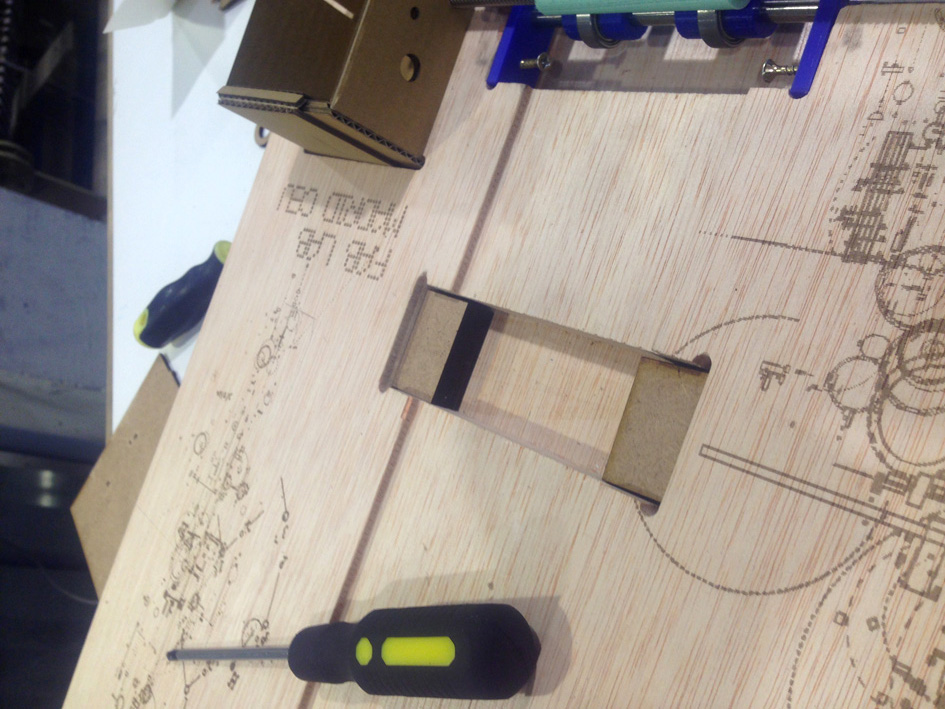
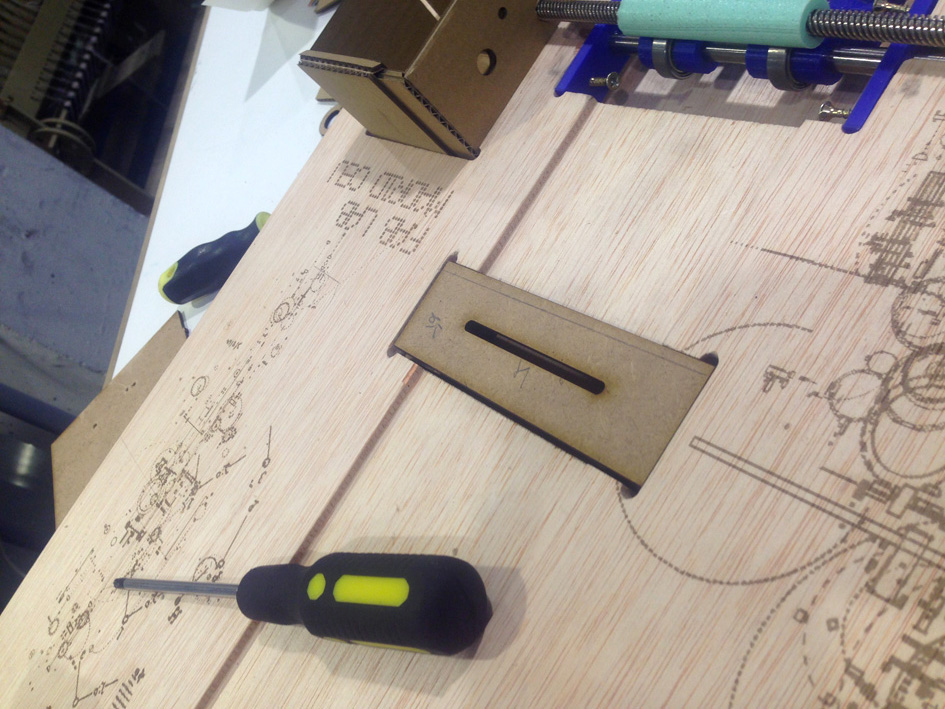
When putting together the whole machine, as the punch needed to be in a certain height for punching (but not high enough for not missing the punch), adjusting everything for it to happen was difficult. We used 3mm Medium Density Wood grouped together.
At first we thought it was working, but later on when punching the paper, the stage was not strong enough to maintain the pressure on the paper.
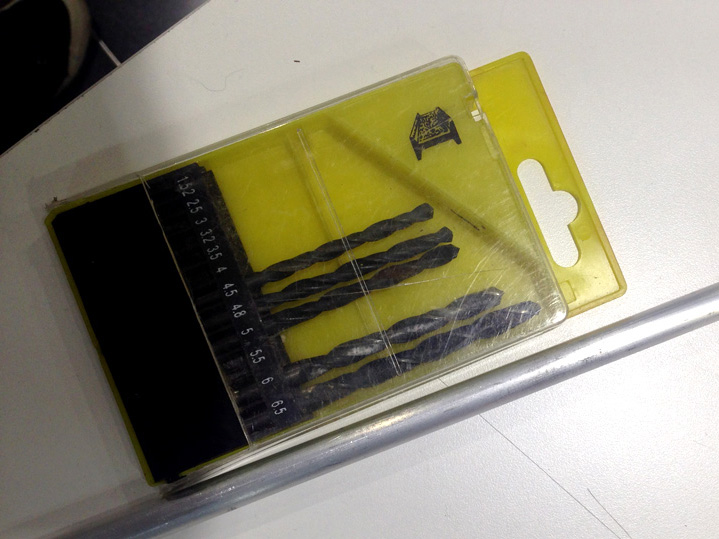
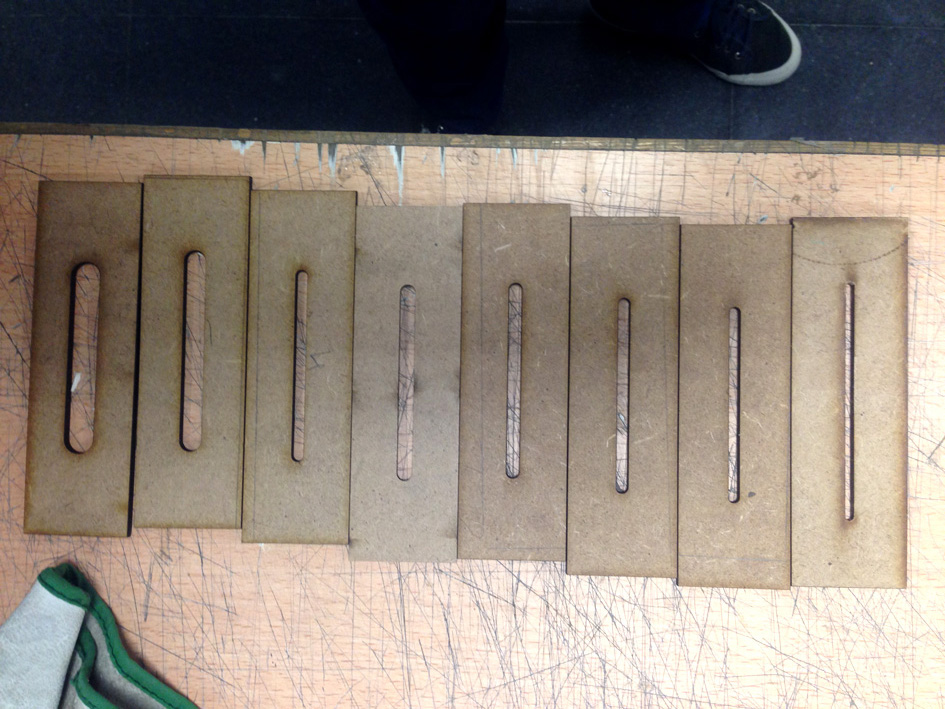
2h. Punch-Hole 3mm Medium Density Wood Board
In order to make the hole correctly, we needed a hard surface to let the punch go through but holding back the paper. We had to test which one worked correctly, so we decided to cut different widths for the punch to go through. We had 3mm, 3.5mm , 4mm, 4.5mm, 5.5mm, 6.5mm, 7.5mm, 10mm
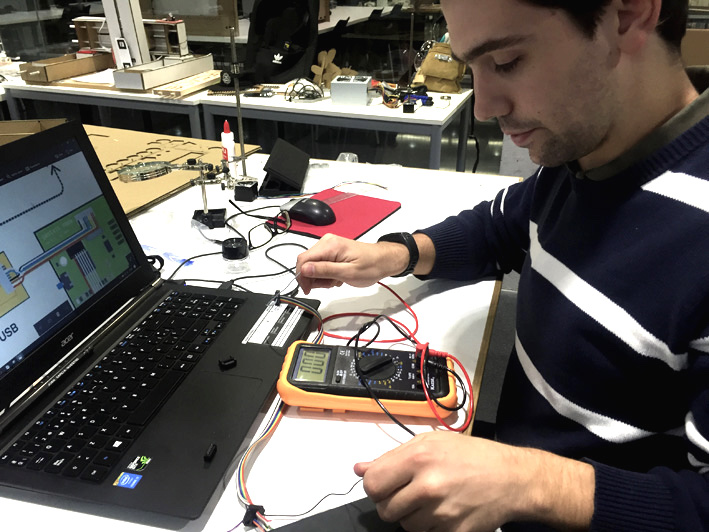
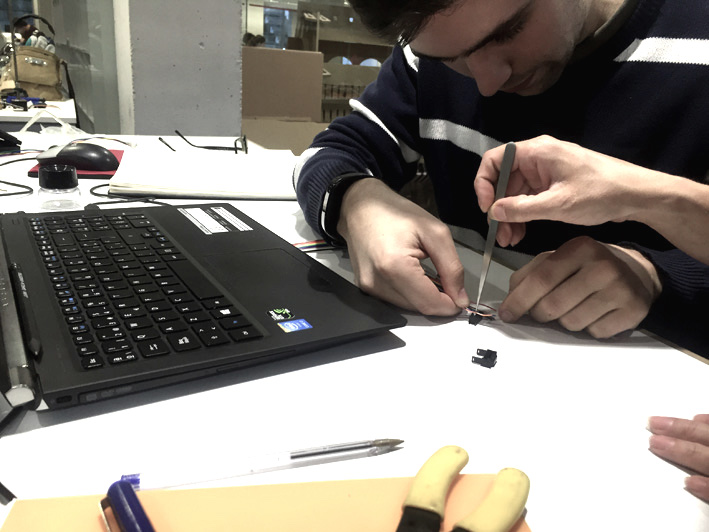
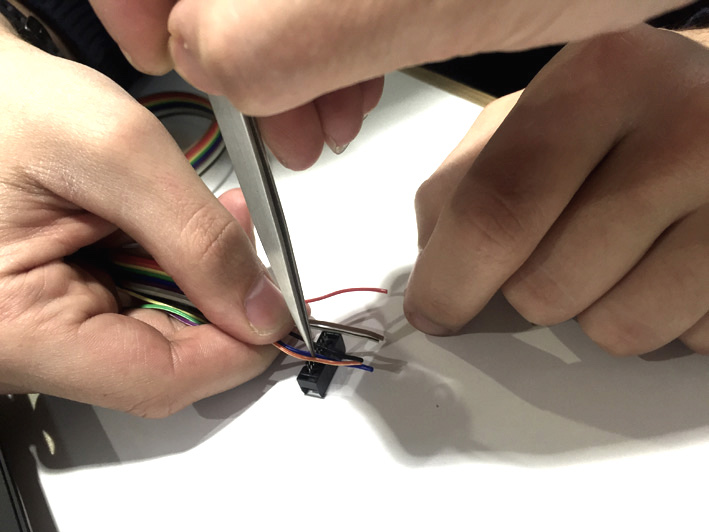
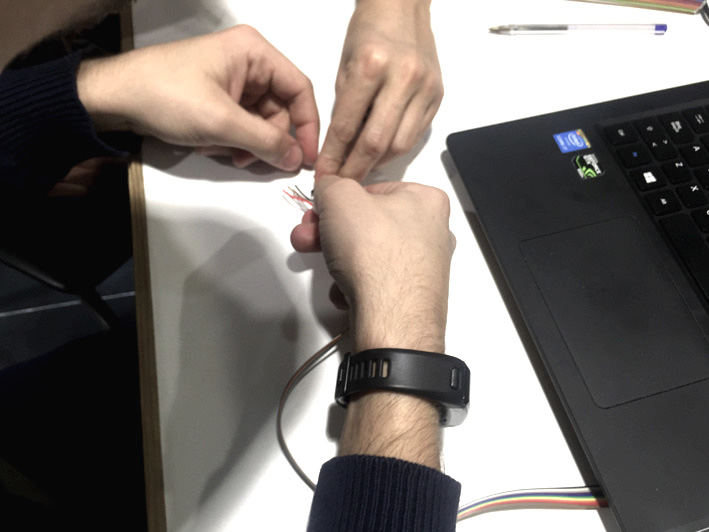
2i. Electronics
Making some ribbon cables (later one of them had a shortcut and the other ones were not used).
2j. Website
Re-designing and uploading all the documentation. The first week making the machine, Pilar uploaded part of the documentation we had so far, creating the first draft for the website.
As we had a lot more to upload and explain two weeks later, I had to re-design everything as the first version we had was no longer useful:
-A new way of organising all the information (home, desing, test, build, program, a1 summary, files, video, etc).
-On the different pages the website is divided in, how to organise everything so it does not get confusing.
-All explanations on the different parts of the process.
3. Download Files
Please check the Team's Website
4. Fabacademy's Tutorials
Fabacademy Website we had a look at:
TUTORIALS:
http://docs.academany.org/FabAcademy-Tutorials/_book/week9_machine_building/gestalt_start.html
http://docs.academany.org/FabAcademy-Tutorials/_book/week9_machine_building/gestalt_ide.html
http://docs.academany.org/FabAcademy-Tutorials/_book/week9_machine_building/machine_resources.html
http://fabacademy.org/archives/2015/doc/MachineMakingNotes.html
GitHub Openp2design and Pygestalt:
https://github.com/openp2pdesign/wxGestalt
https://github.com/nadya/pygestalt