Procedure:
0. Assessment
1. Introduction
2. My Individual Contribution To The Project (Enrionm
2a.Environment
2b. Re-designing new problems while programming the board.
3. Download Files: Please go to the Team's Website
4. Fabacademy's Tutorials
0. Assessment
Automate your machine. Document the group project and the individual contribution.
LEARNING OUTCOMES
Work and communicate effectively in a team and independently
Design, plan and build a system
Analyse and solve technical problems
Recognise opportunities for improvements in the design
HAVE YOU...
...explained you individual contribution to this project on your own website?
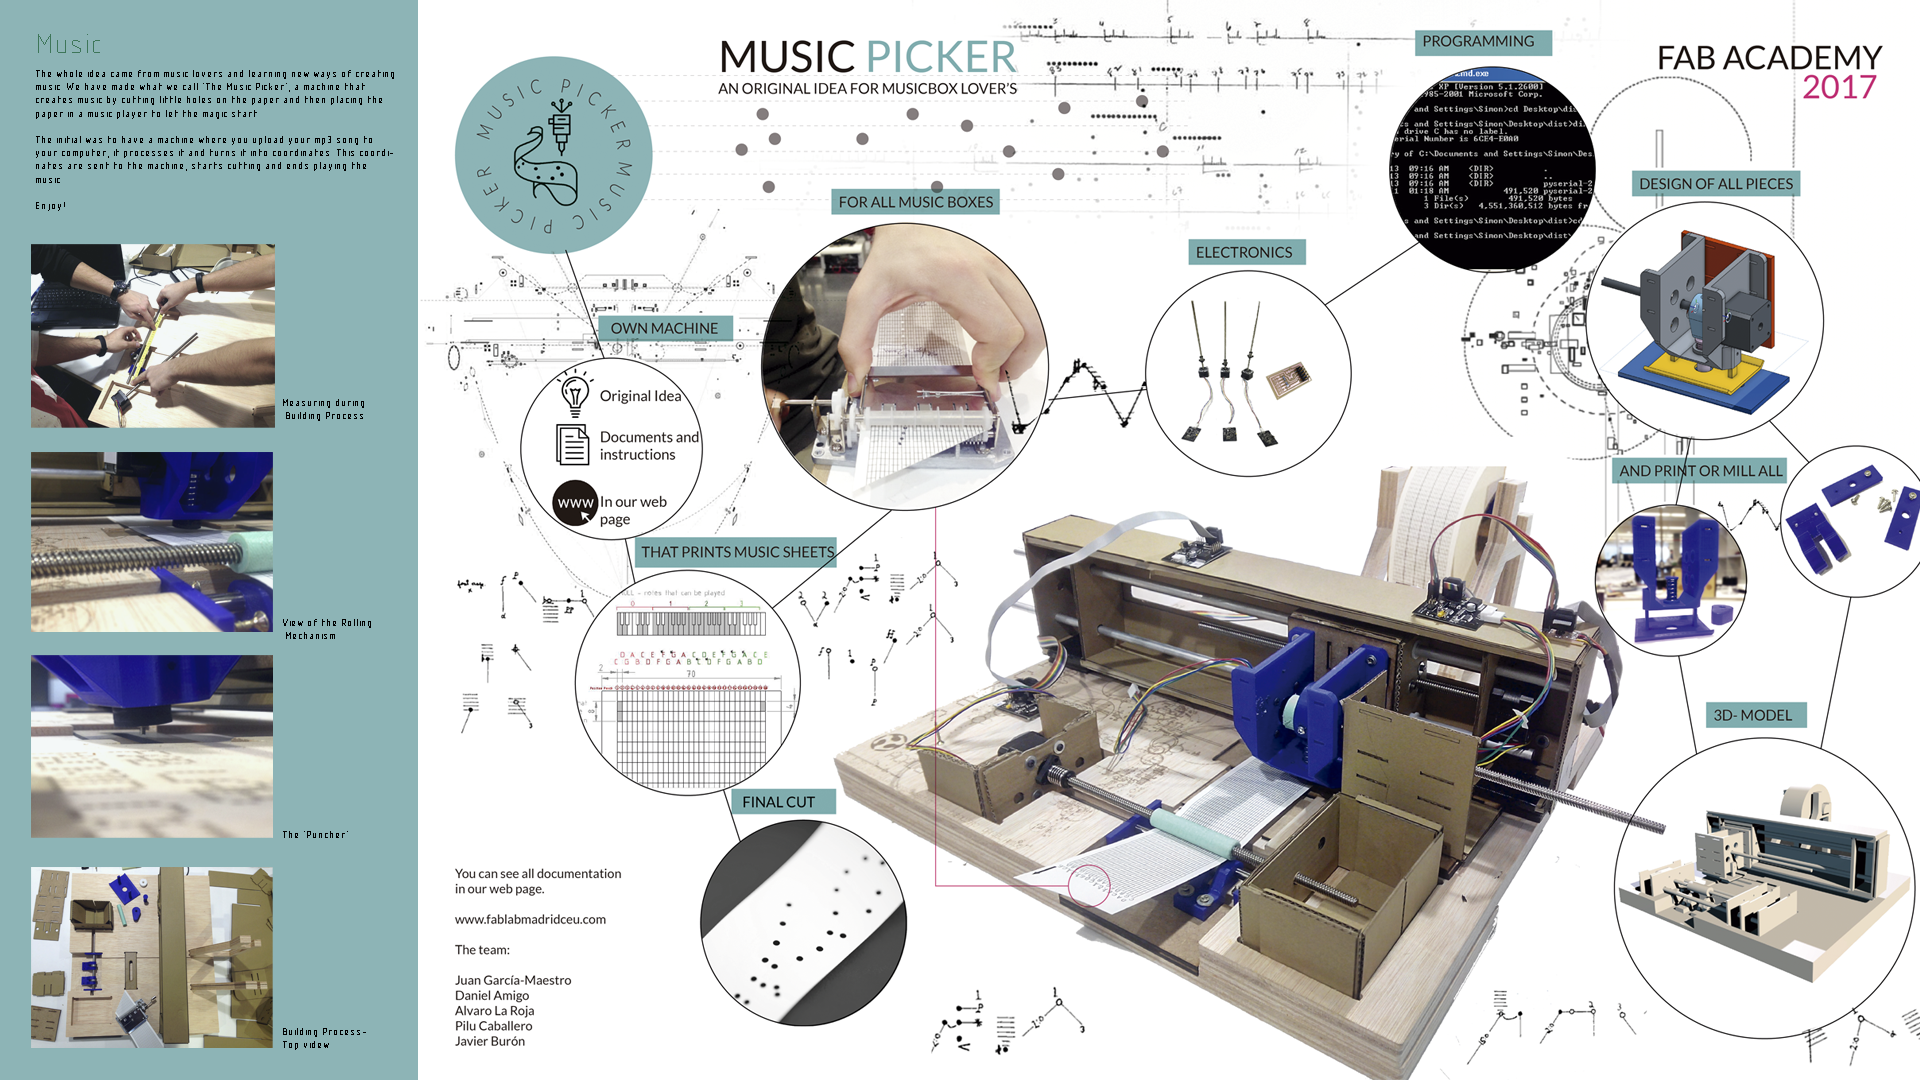
1. Introduction
The Music Picker
As we had problems with the design, when we arrived to week 11 we still had a lot of stuff to do. What I decided was to divide in two teams, Pilar and Javier started with the programming and Daniel, Álvaro and me continued solving the different problems that came up when testing the machine.
During the week, Daniel as well started helping Pilar and Javier with the programming while Álvaro and me continued with finishing the design.
My contribution to this part is not as extensive as other members of my team, but I followed the whole process as if I was doing it.
Please check the website where everything is documented in detail (botón)
Please check as well week 11 - Machine Design. (boton)
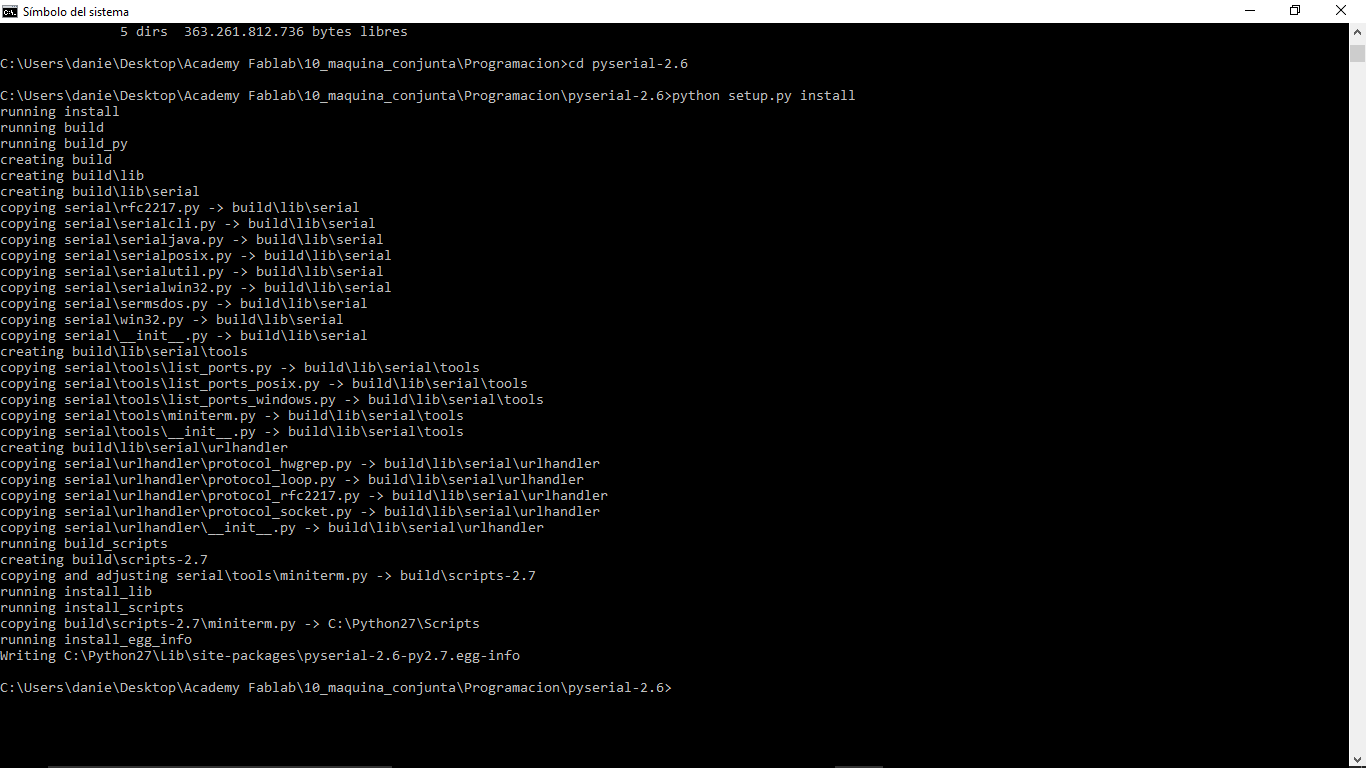
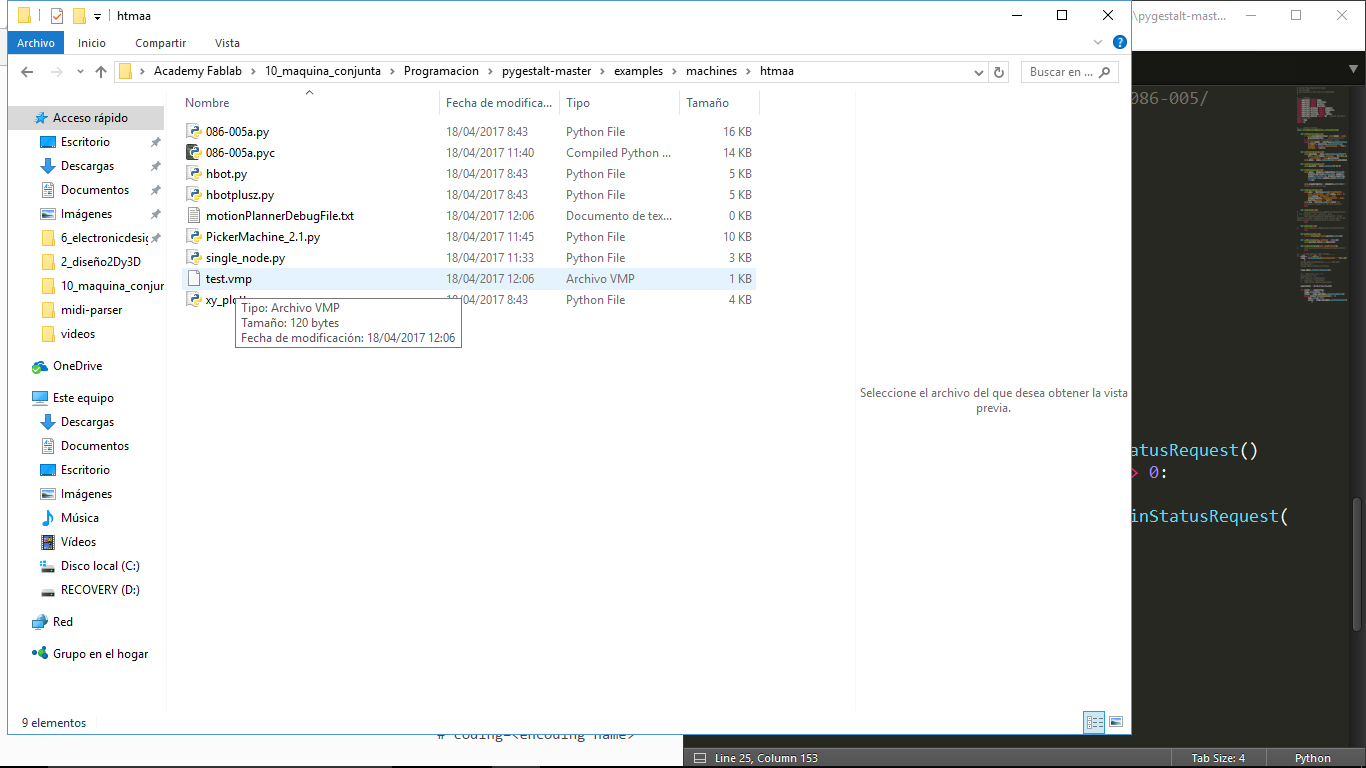
First I needed to create our environment to work properly. I downloaded and installed the following requirements (some of the pictures are from my colleague Daniel as some of the work was done on his computer while working on it):
-Python 2.7 + 'python ./setup.py install'
-Pyserial 2.7 + 'install' : type in: 'python setup.py install'
- Downloaded and installed pyserial following this
- Download pyserial-2.7.tar.gz
-FTDI Drivers + 'install'
-Nadya Peek's Gestalt Master and save it
-086 and save it
Open command Prompt wherever you have saved the Pyserial-2.7 folder:
'cd' into the pyserial-2.7 folder, then run the command: 'python setup.py install'
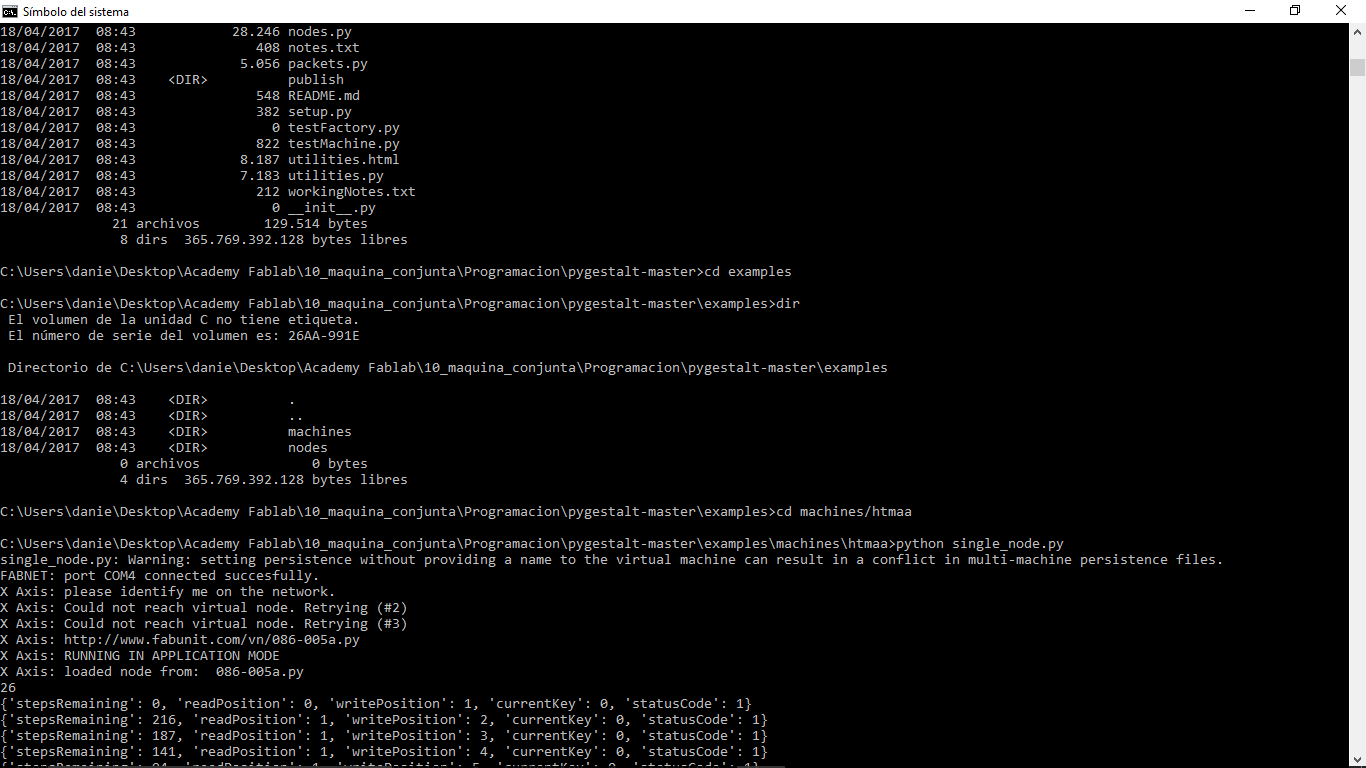
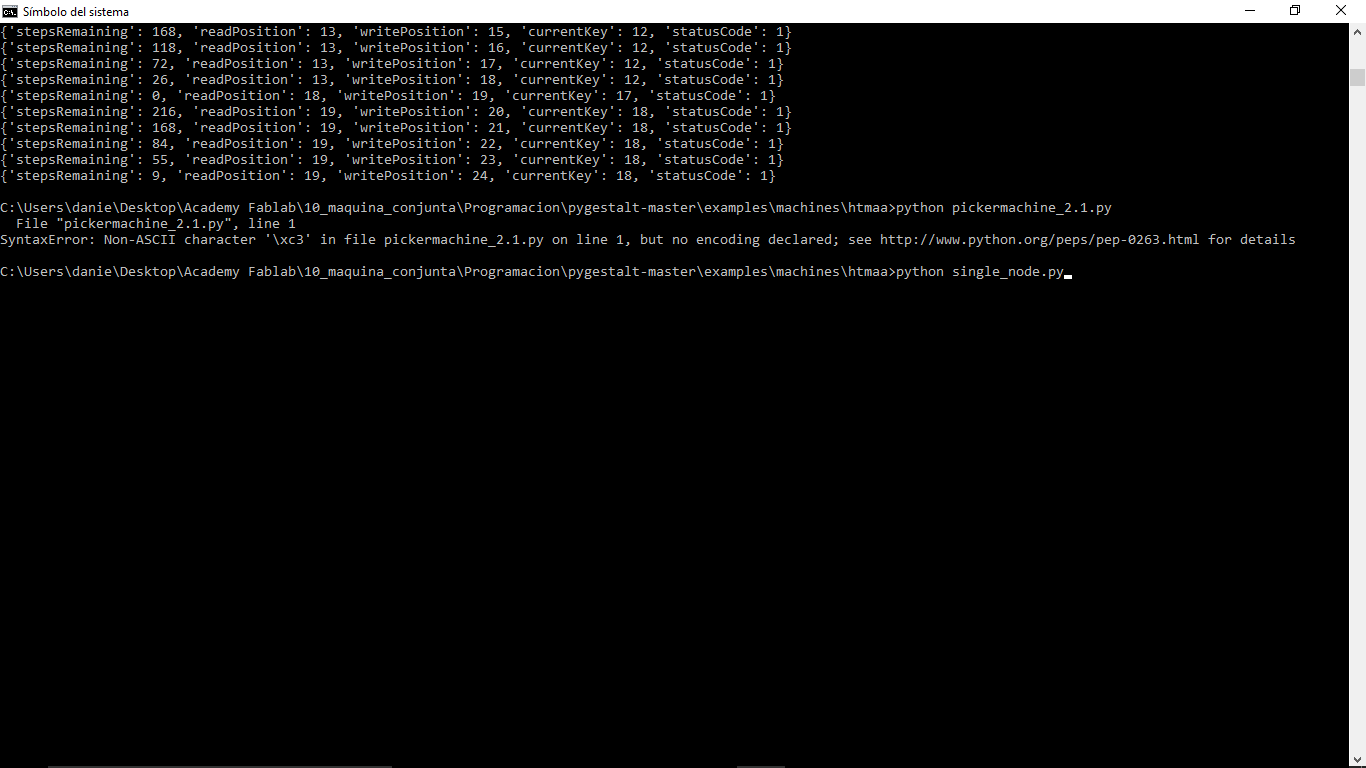
List usbPorts : 'ls /dev/.*'
In the example file, change our port's name
Testing The Nodes
During the testing, I participated when Daniel was testing them and learnt with Álvaro and him how to do it.
Loading Single Node:
Go to htmaa folder, run 'python single_node.py'. Once finished executing the command, go back to the htmaa folder and erase the temporary file created.
Repeat this process for the four motors.
2b. Re-designing new problems while programming the board.
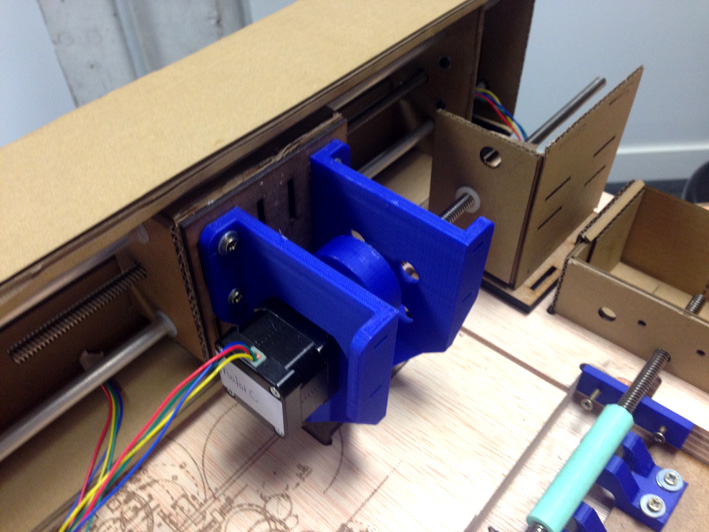
When some members of the team were with the programming, I was solving problems that came up especially with the head.
The main problem was that the head and the stage did not enough power to break the music paper. It had enough thickness to oppose enough resistance make the head move upwards.
Therefore, the final solution was to create a side-rod support at the left side of the head making it possible to have a sideways movement but not an upper movement.
(top right, the cardboard element constricting the upper rod movement.)
3. Download Files
Please check the Team's Website
4. Fabacademy's Tutorials
Fabacademy Website we had a look at:
TUTORIALS:
http://docs.academany.org/FabAcademy-Tutorials/_book/week9_machine_building/gestalt_start.html
http://docs.academany.org/FabAcademy-Tutorials/_book/week9_machine_building/gestalt_ide.html
http://docs.academany.org/FabAcademy-Tutorials/_book/week9_machine_building/machine_resources.html
http://fabacademy.org/archives/2015/doc/MachineMakingNotes.html
GitHub Openp2design and Pygestalt:
https://github.com/openp2pdesign/wxGestalt
https://github.com/nadya/pygestalt