Mechanical Design, Machine Design
Introduction
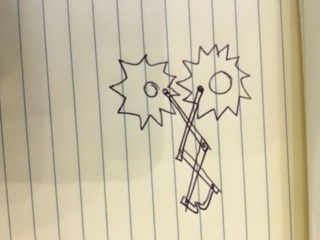
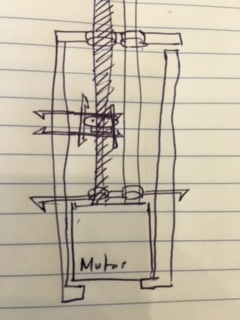
Before starting this week, our group started a discussing the process of implementing this week task. We did voting to choose the group leader for Machine Design project amd i was choosen as the group leader. Afterward we did brain storming session about the ideas of a 2-axis CNC machines. Some proposed doing plotter machine with pen holder. I proposed a X-Y shafts with an arm moves in Z axis to pick up toys or stuff, the arm moved by gears as follows.
As it might be complicated implementing the arm. The group build up an idea whitch is to design a 2 axis machine with a movable part in the middle attached with LED light to help people identifying stored parts in a tool box.
Starting the Work
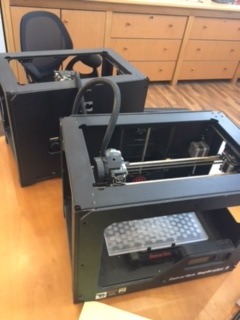
One of my colleagues brought an old used 3D printer machines and I was with the assigned team doing the dismantling of the printers to find the usable parts for our to be implemented idea.
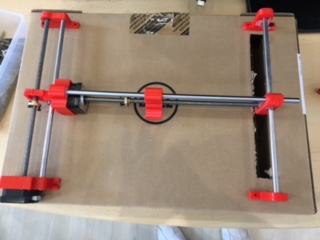
Out of the dismantling we took the following parts: smooth and threaded rods, motors, limit switches and joints. Afterward we started assigning the tasks of this week. A group started doing the basic sketch, another group started doing the designing on Onshape, and a group for documenting the work. As a leader I was involved almost in all tasks.
My Work in the Team
Dismantling:
I dismantled the required parts for this week project. Made sure to collect the matching screws and sorting the parts to be used later.
Designing:
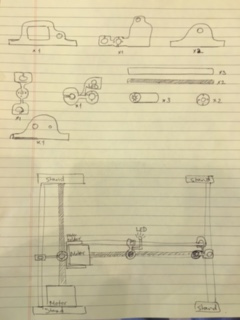
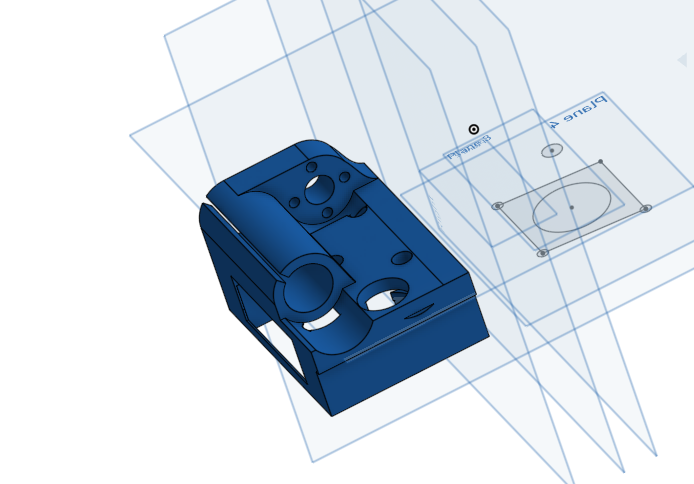
I was sharing the designing task with the design team in order to get the correct measurements. In addition to designing some test sample for the 2 axis machine.
The following is first test design for the threaded and smooth rod to be printed in the wood CNC machine. The main idea was to drill out holes on the same piece and fix the motor on top of it.

Unfortunately the CNC machine had issue and it stopped working. So I prepared sketch design to printout an acrylic 6mm holder using laser cutting machine.
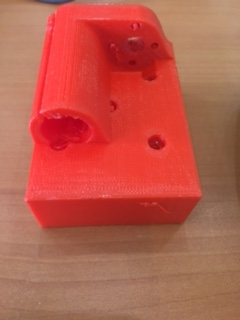
Unfortunately the laser cutting machine also had programming issue and was out of services. Therefore as a last resort we had to develop all our parts in 3D printer. So I developed a sample rod holder including a motor holder.
My contribution in the team:
Additional to what is mentioned above, The following is my Contribution in regards the project:
1- Drew initial sketch to the anticipated machine project.
2- I had identified what will be required for the project such as: Smooth Rod, Threaded Rod, Stepper Motor, Bearings, Joint for the threaded rod … etc.
3- I had De-assembled the required components for our project.
4- Designed the initial Motor Holder as shown above. Later, I enhanced the Motor holder design to have better grip and stable performance. “can be referred in week 11 LINK HERE.
5- Initial design for the Acrlyic display. "updated later by Ahmad Almutari By adding our fablab text details".
6- I mentioned the way forward to enhance the project design “in week 11” LINK HERE.
7- I modified the code created by my colleague Ahmad Alsaleh, fixed some bugs and set the coordinations of the nine locations in the code.
8- Identified the needs to have limit switches, fixed them physically, made the connections and tested them. “related code done by Ahmad Alsaleh”.
As I was Group leader in this project, I identified the additional requirements that have been raised during the implementation, Highlighted them, and assigned some tasks to my colleagues to share the effort of building the machine. Moreover, I did the presentation to Mr. Neil and highlighted the issues, problems faced, and how has been solved.
At the end we build up our project and you can find the detailed documentation in the following link:
WEEK-9 Group Project : Mechanical Design, Machine Design