Machine design
Introduction
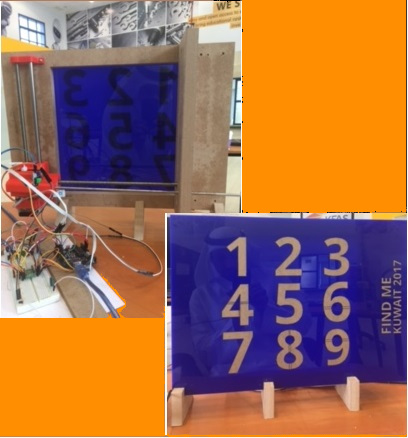
This week task is to program the implemented 2 axis machine “Find me” and solve any issues raise through the testing phase.
My Work in the Team
Manual Fixing:
As we initiated the first tests to move the motors with a test code. We faced an issue, when the motor start moving the middle part, the opposite does not move which result in stuck situation. We tried to grease the smooth rod but without any good results.
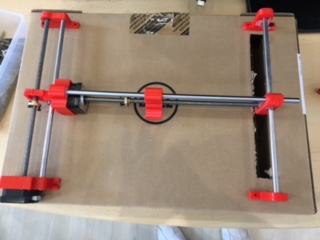
Since the main cause for the jamming issue is the friction of the moving joint with the smooth rod, I came with an idea to replace the smooth rod with a belt. This way we would eliminate the friction part. Unfortunately, this still did not fix our situation. So we had group discussion and came up the following ideas:
1) Install additional motor as shown in image B. and sync the movement with the opposite motor.
2) second idea is to shift the motion of the main threaded rod throughout the frame. In this regards we had two ideas:
(I) shift the motion to belt in the opposite direction through a belt as shown in A.
(II) Shift the motion using to additional threaded rods as shown in C & D.
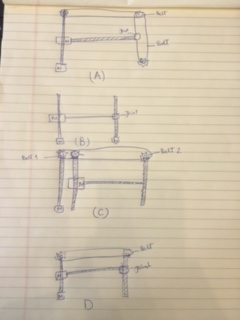
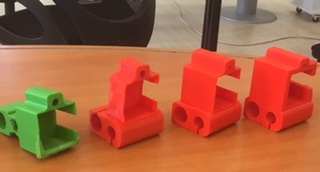
although theoretically the above would solve the issues. It could not be implemented due to the lack of resources such as threaded rods. Therefore, we redesigned the motor holder several times till we reach a scenario where a support end is not required. Below are the evolution of the motor holder.
Programming Part:
My colleagues developed the main program body. I was helping in the debugging, testing and creating test case scenarios to optimize the working behavior of the machine. Since the code is long it will be attached below. I suggested we use limit switches to reset the location every time the machine start while the motors are not in the middle. Moreover, I fixed the coordination of the numbers location in the code.
Other Involvment:
Involved in the discussion and the desing for the follwing:
1) Small box for holding arduino board and yje connections.
2) Acrollyc Board that represent the shelfs for testing purposes.
3) Stand for the Frame.
4) Use smaller smooth rod to reduce the weight and create fitting bearing for the same.
Download Files
Project Arduino Code