Week 14 - Input devices
In this week, I make a board with an input device and read the data from this device with a computer.
Making the board
I have decided to make the tmperature sensor board. I used the design provided on the class page. I am using also a NTC resistor. The milling went pretty well.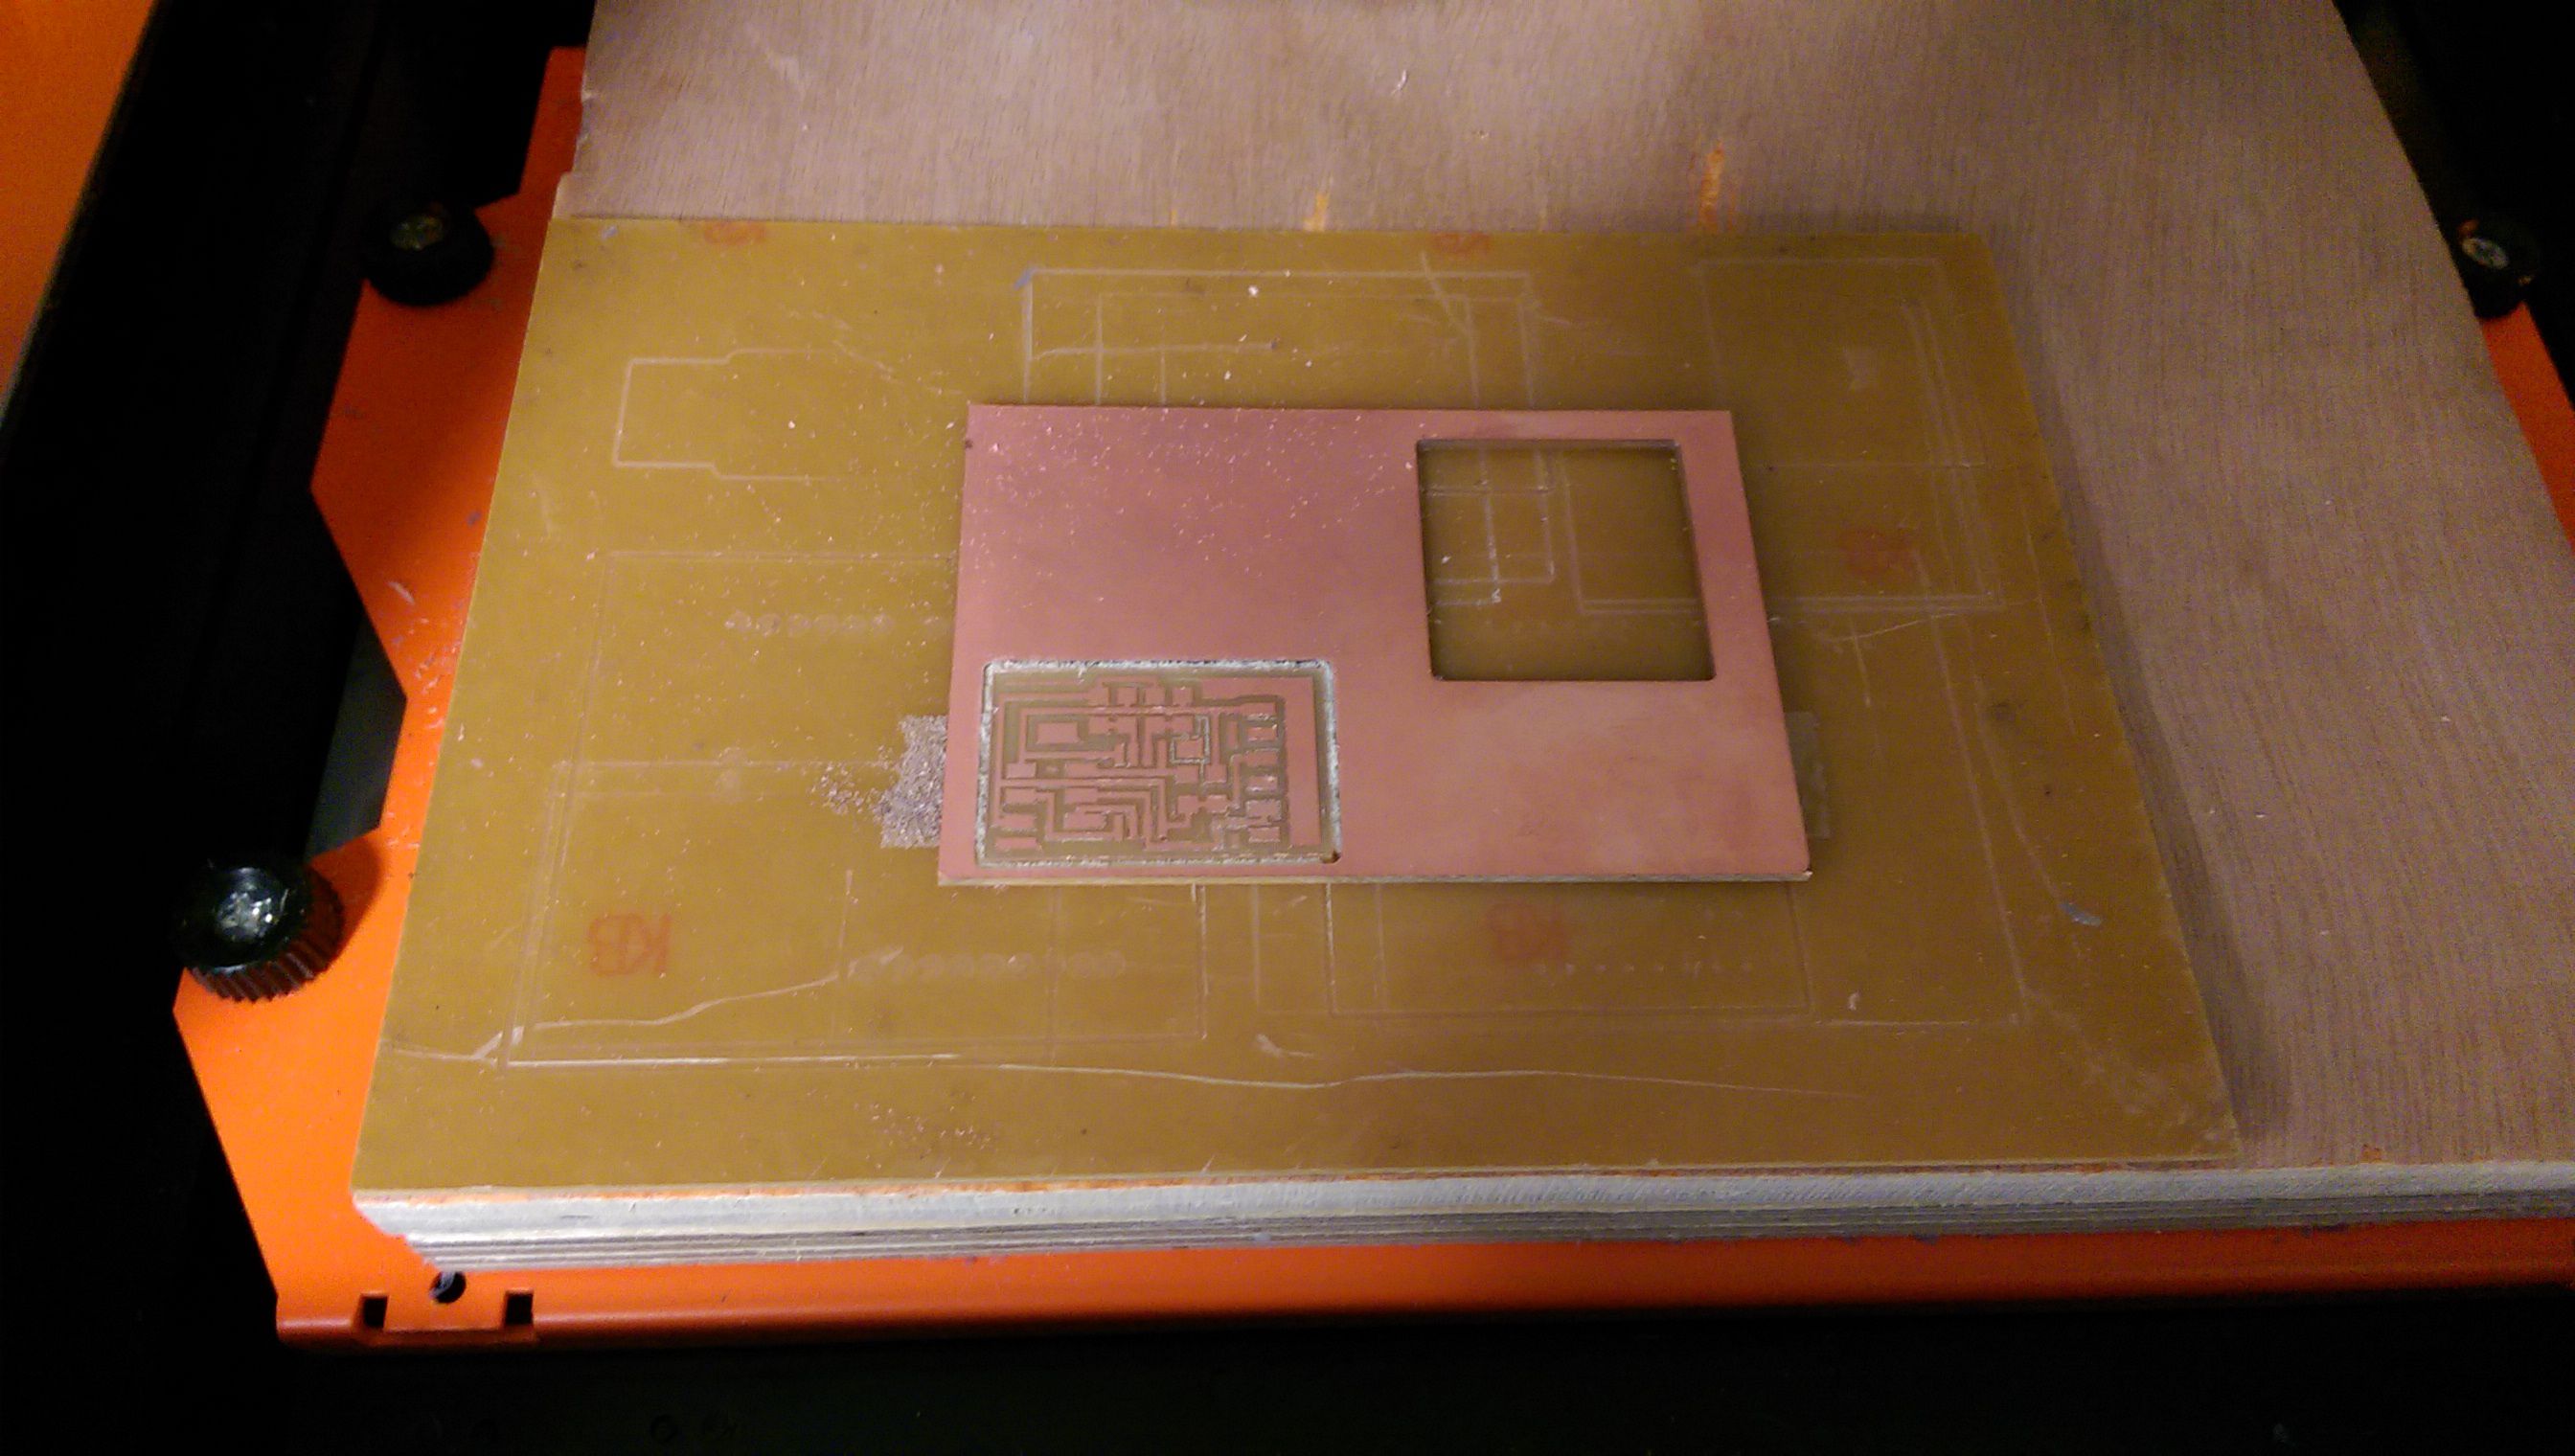
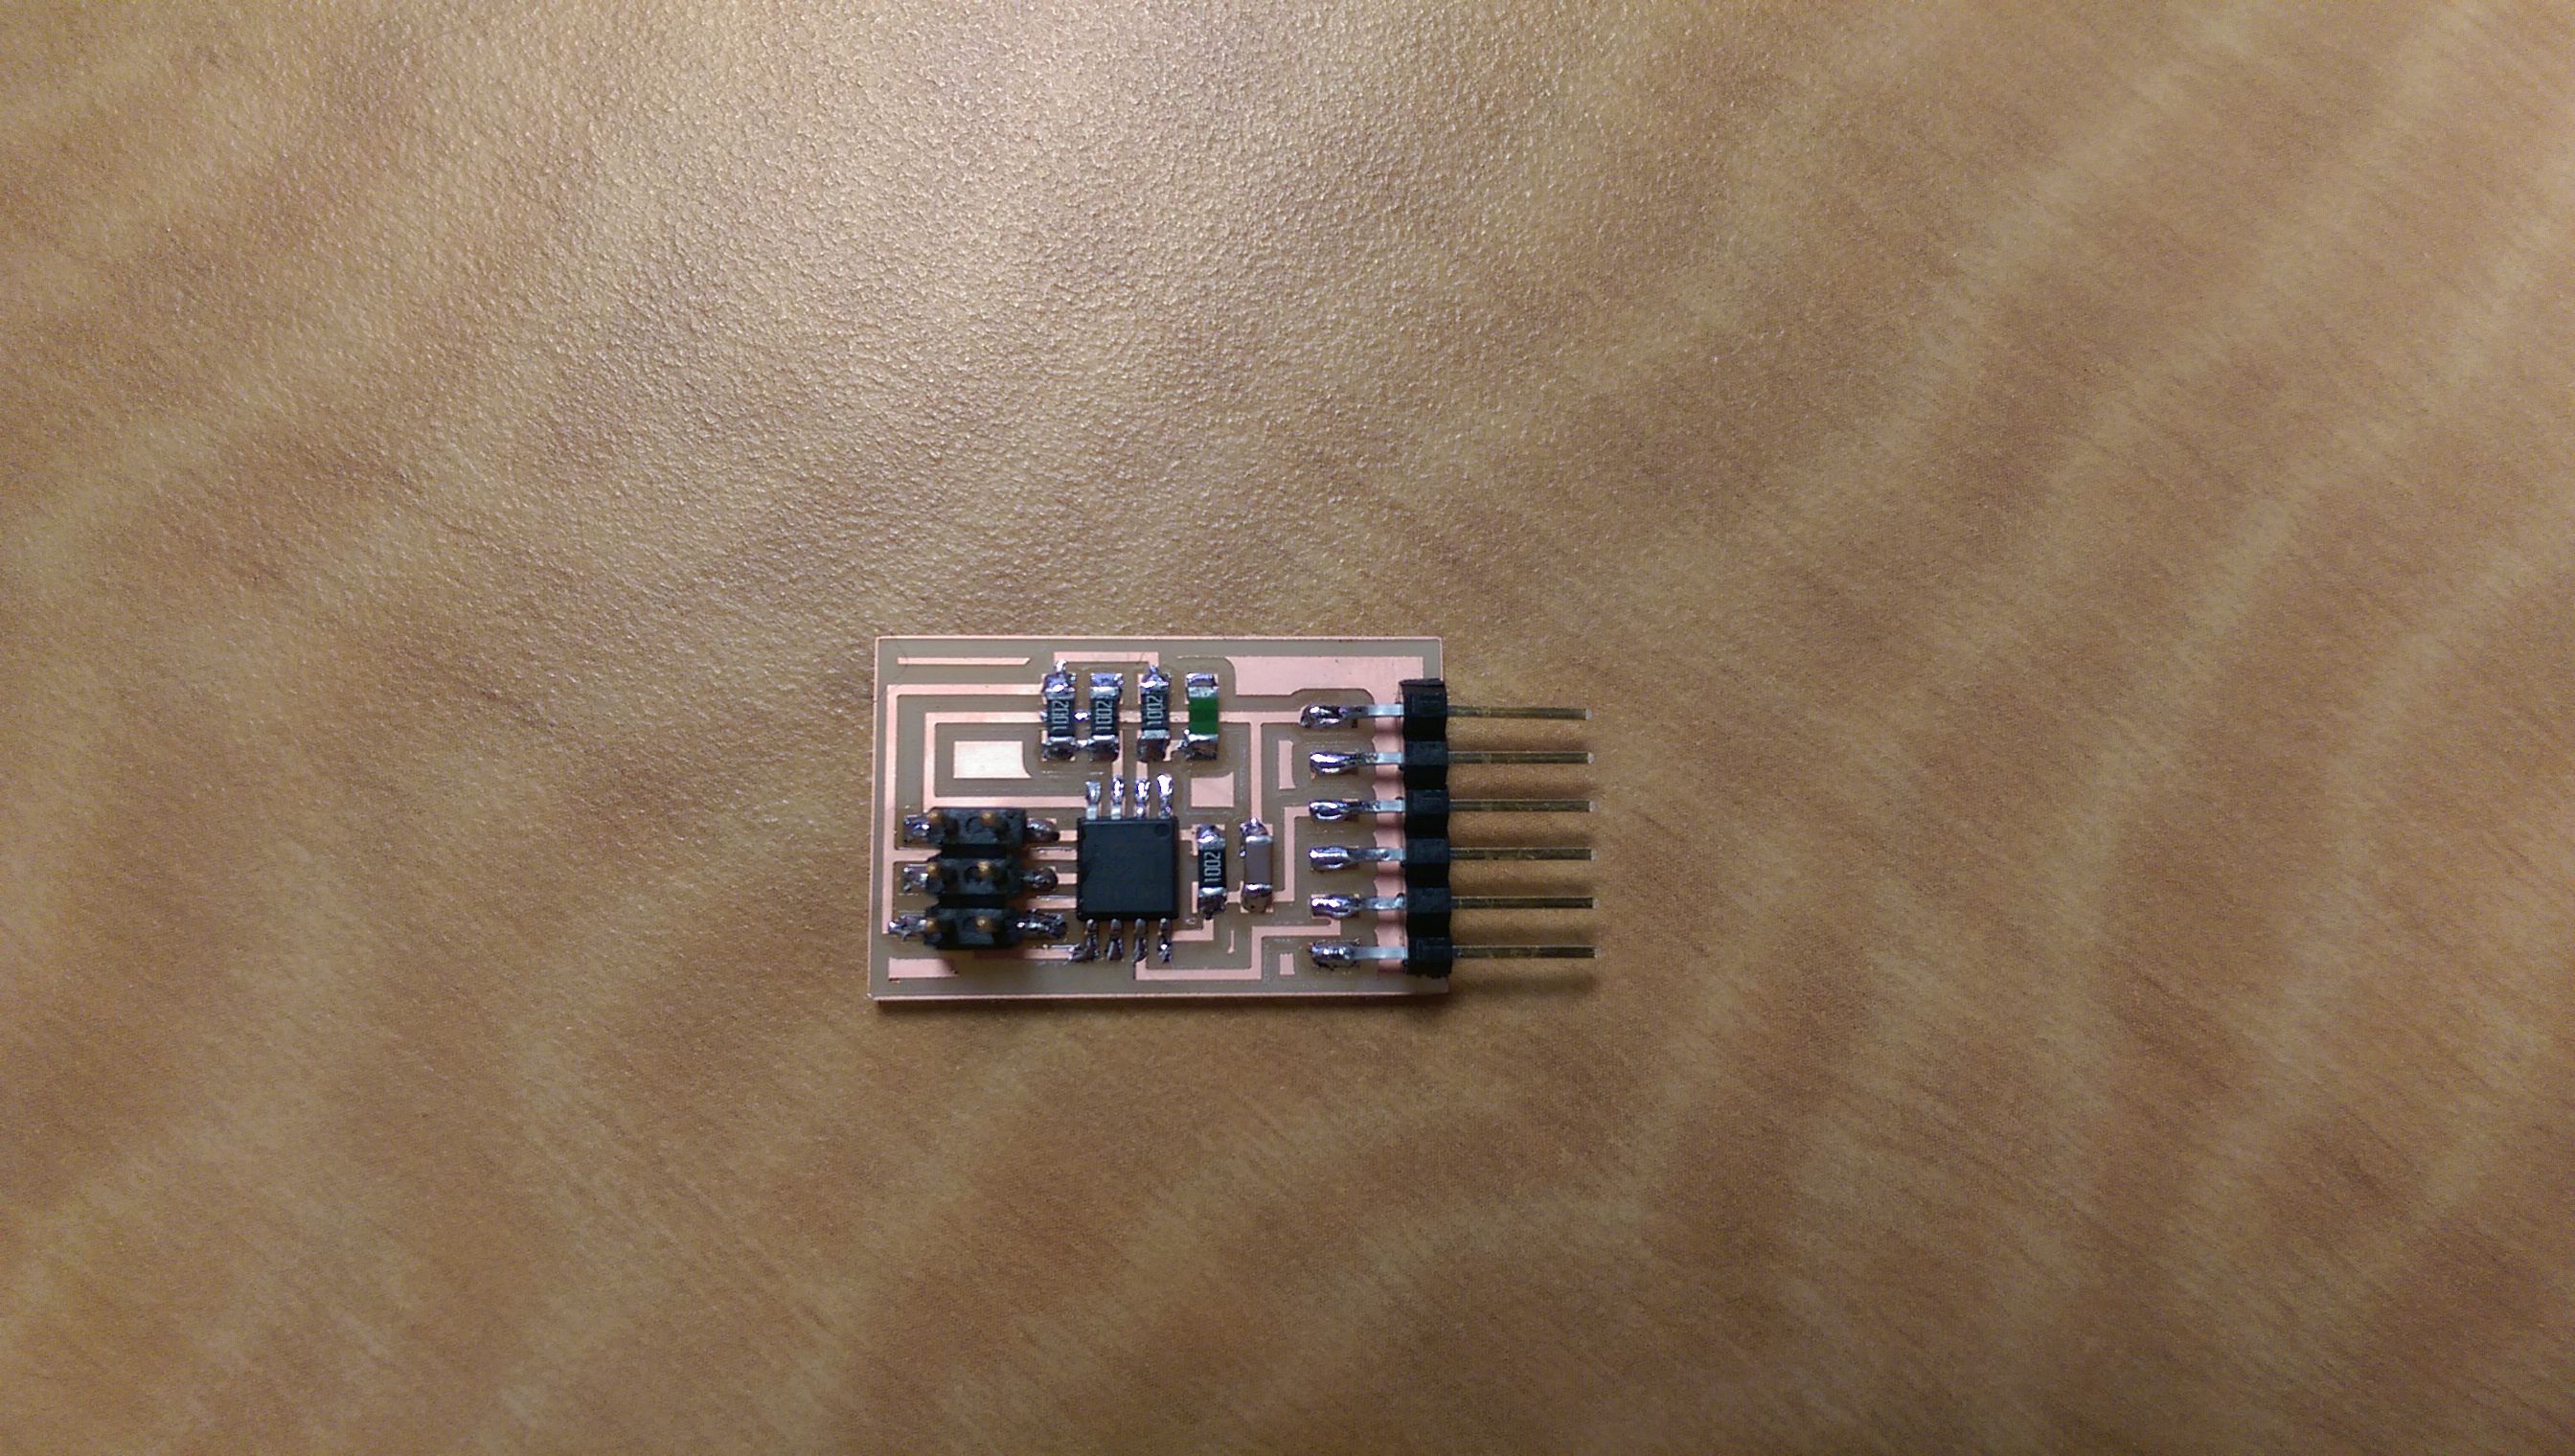
I soldered all the components and programmed it with my FabISP, using the code provided on the class page.
For communicating with the board, I will use pyserial. Installing it is pretty straight forward. On my Ubuntu machine I just used
pip install pyserial.
Communicating with the board
After installing pyserial, I looked for connected serial communication lines.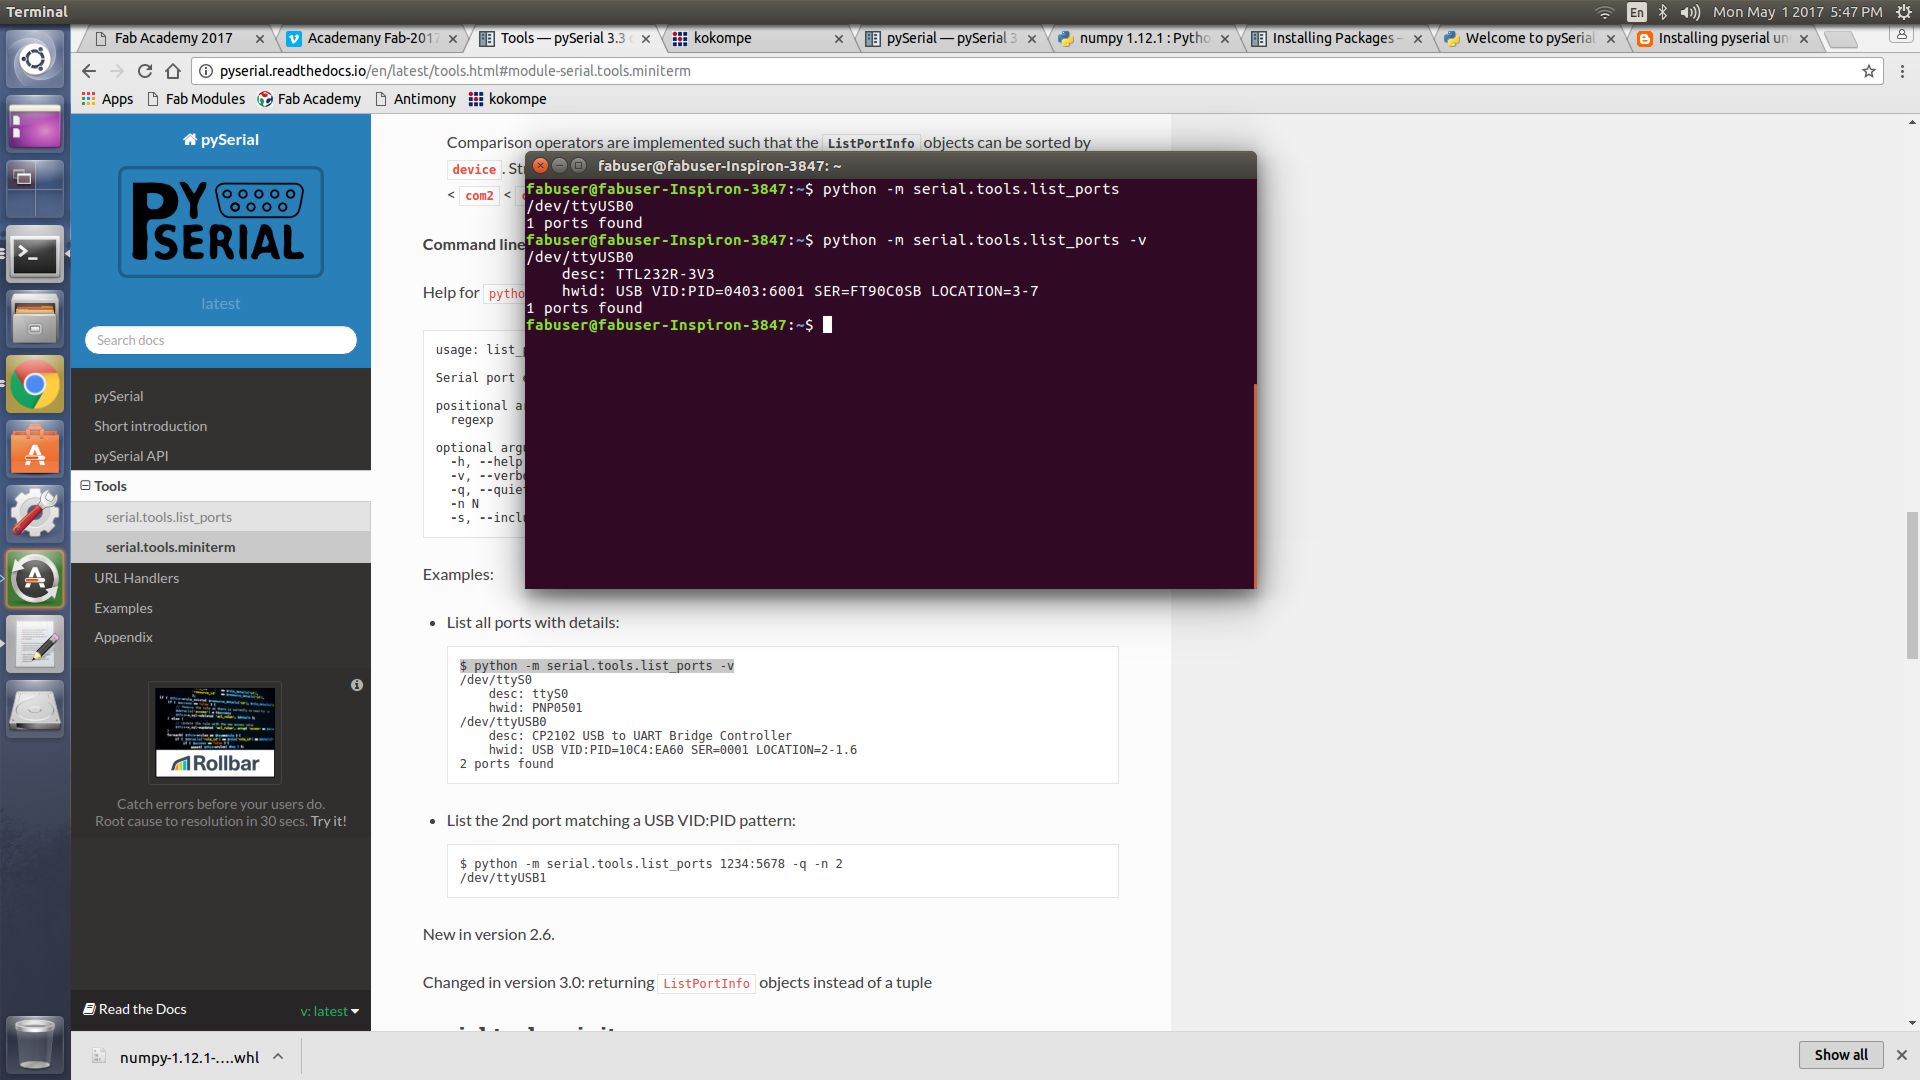
The only one in my case was /dev/tty.USB0. You need to give the python script
hello.temp.45.py the right port for
communicating with the board. After that, it worked.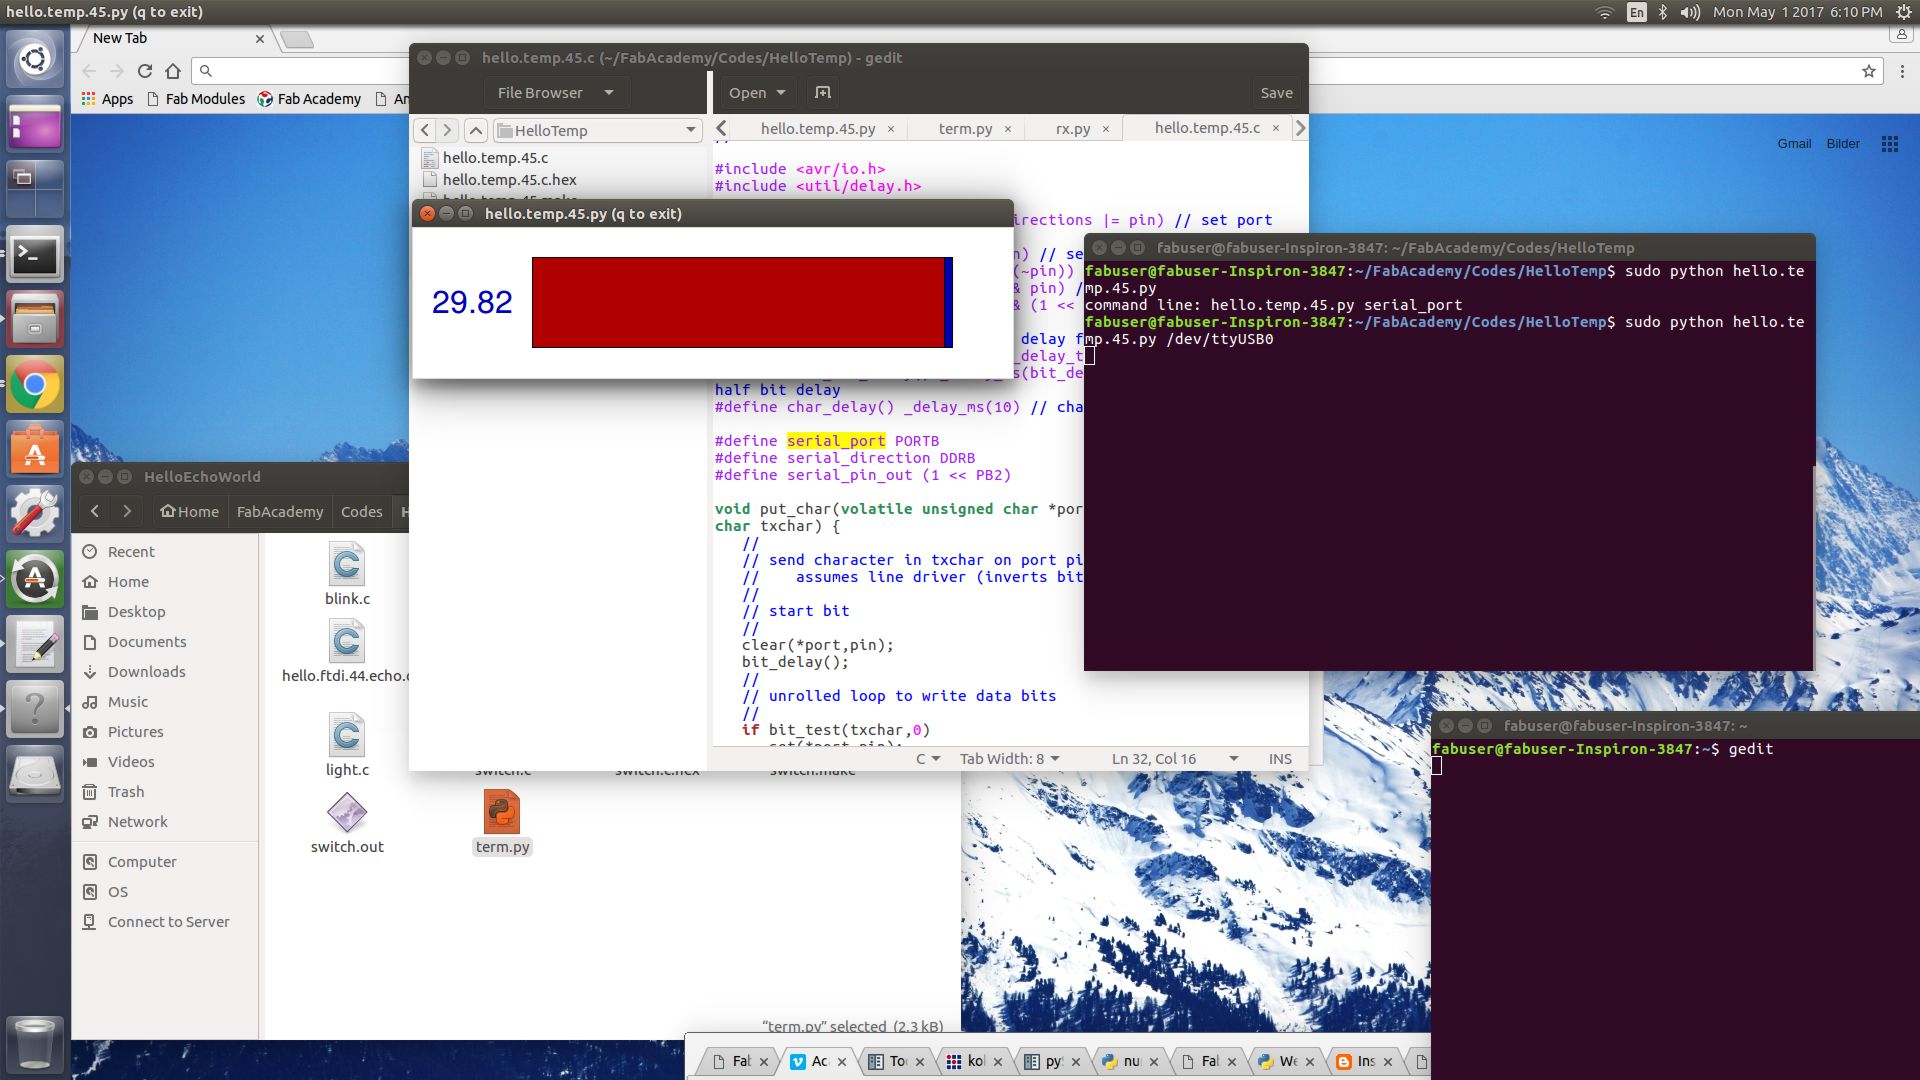
It was a very hot day, the temperature was almost 30 degree Celsius. I had to put the board in the fridge to record a movement of the temperature-bar.
The next step
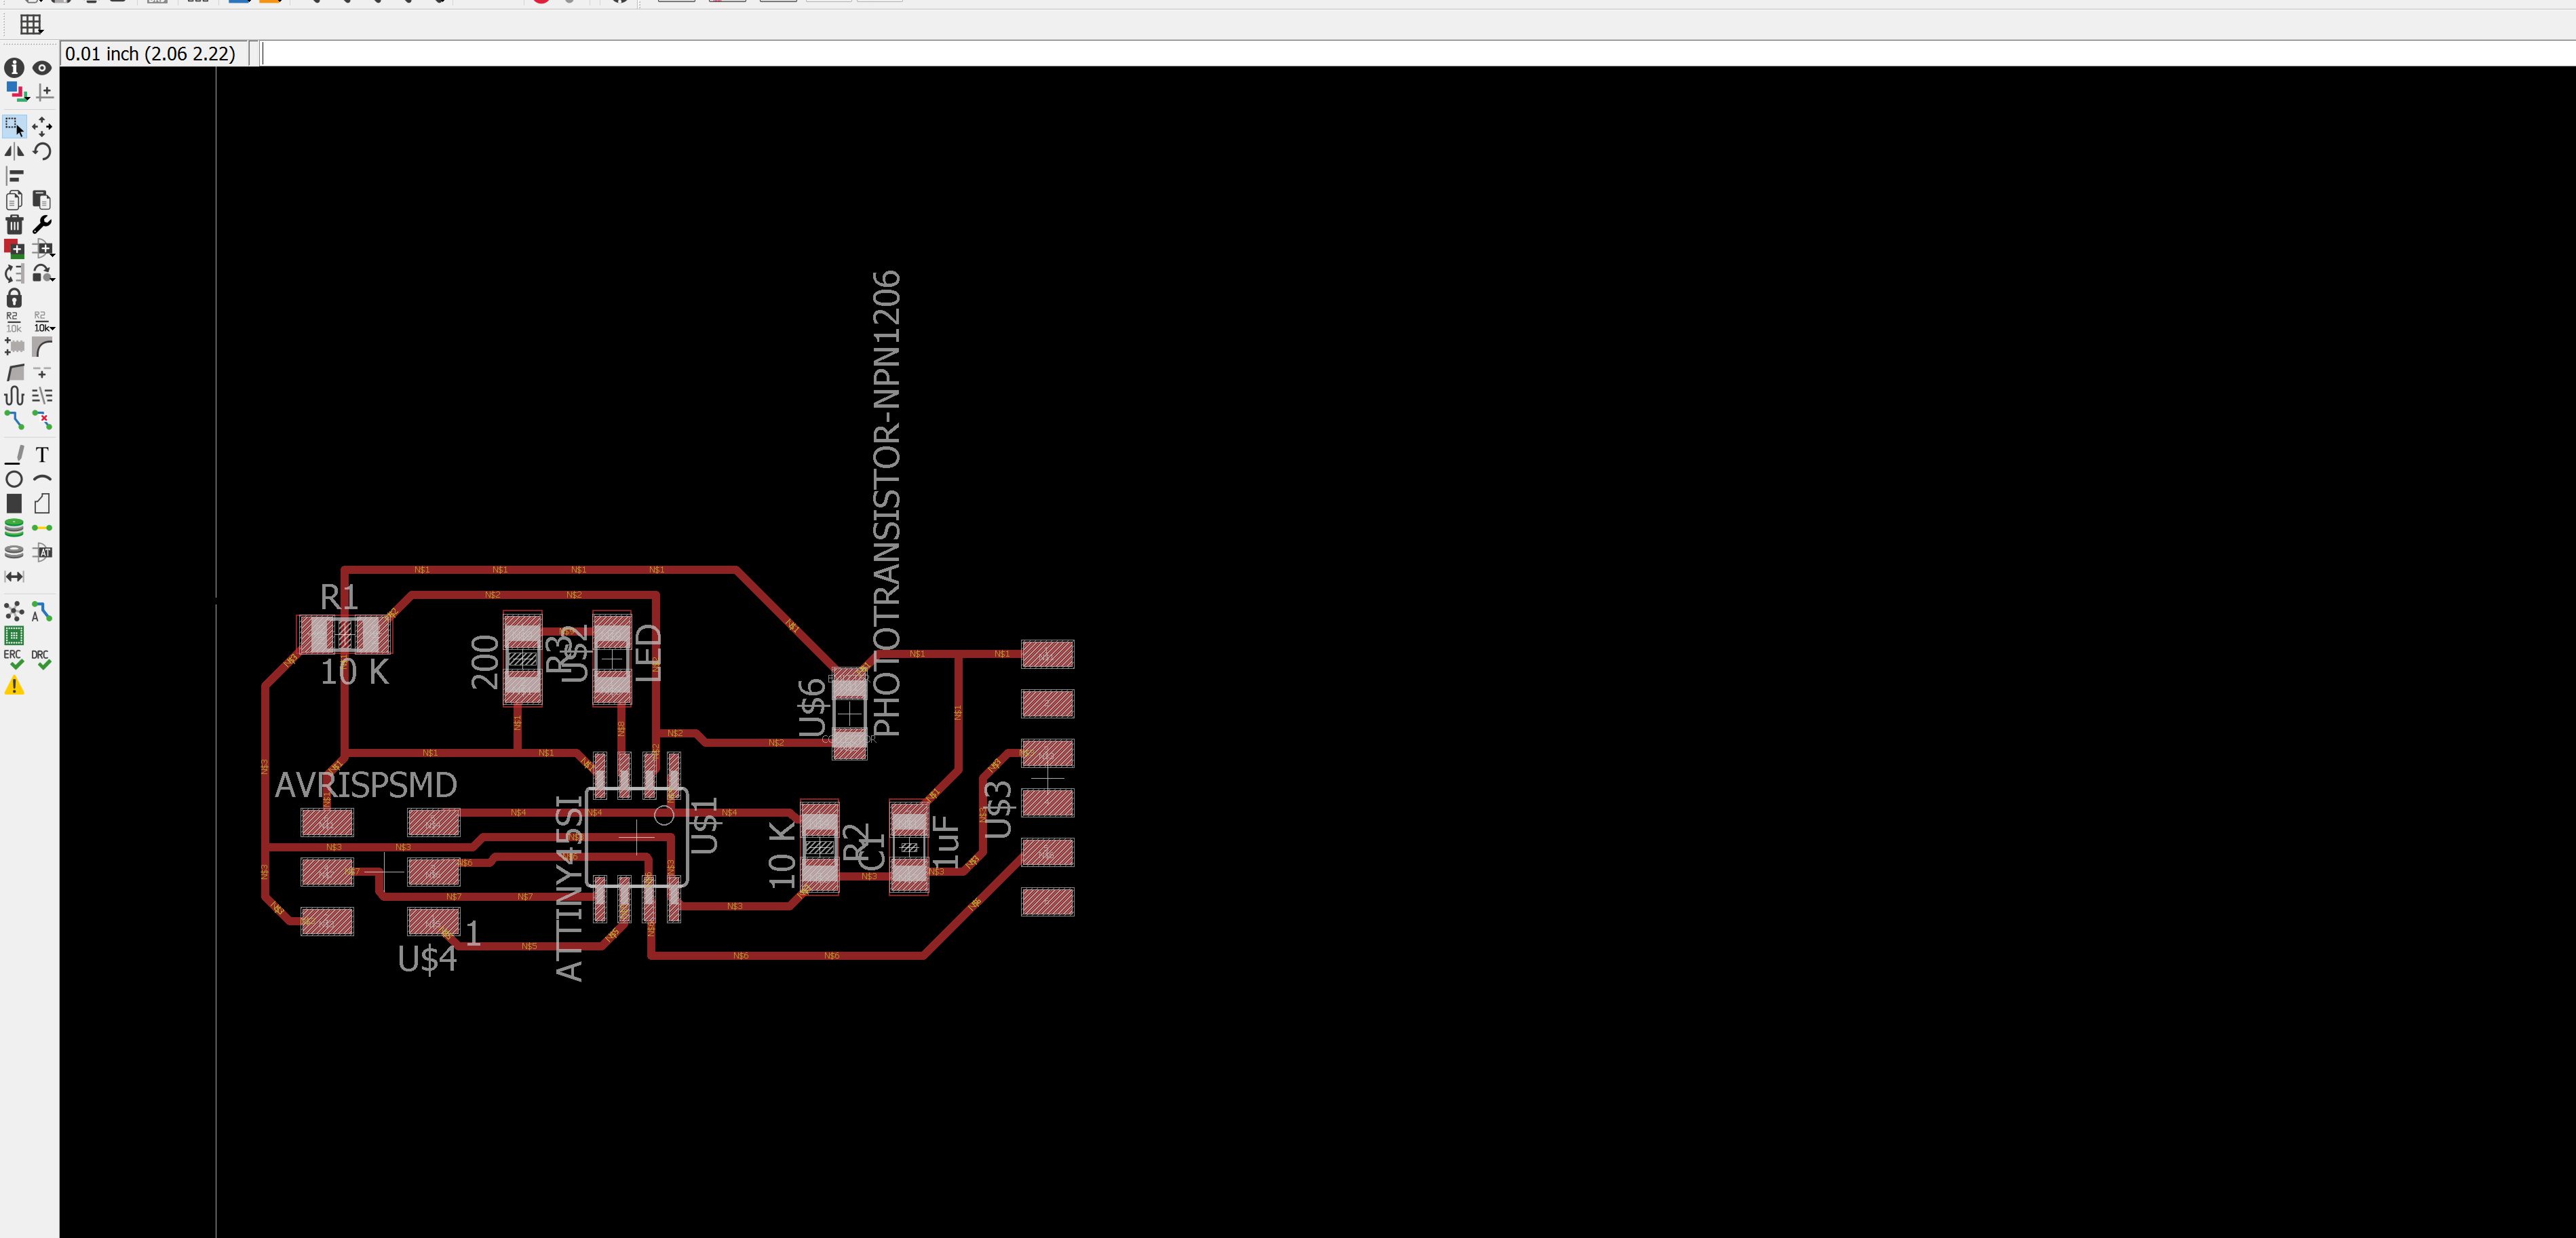
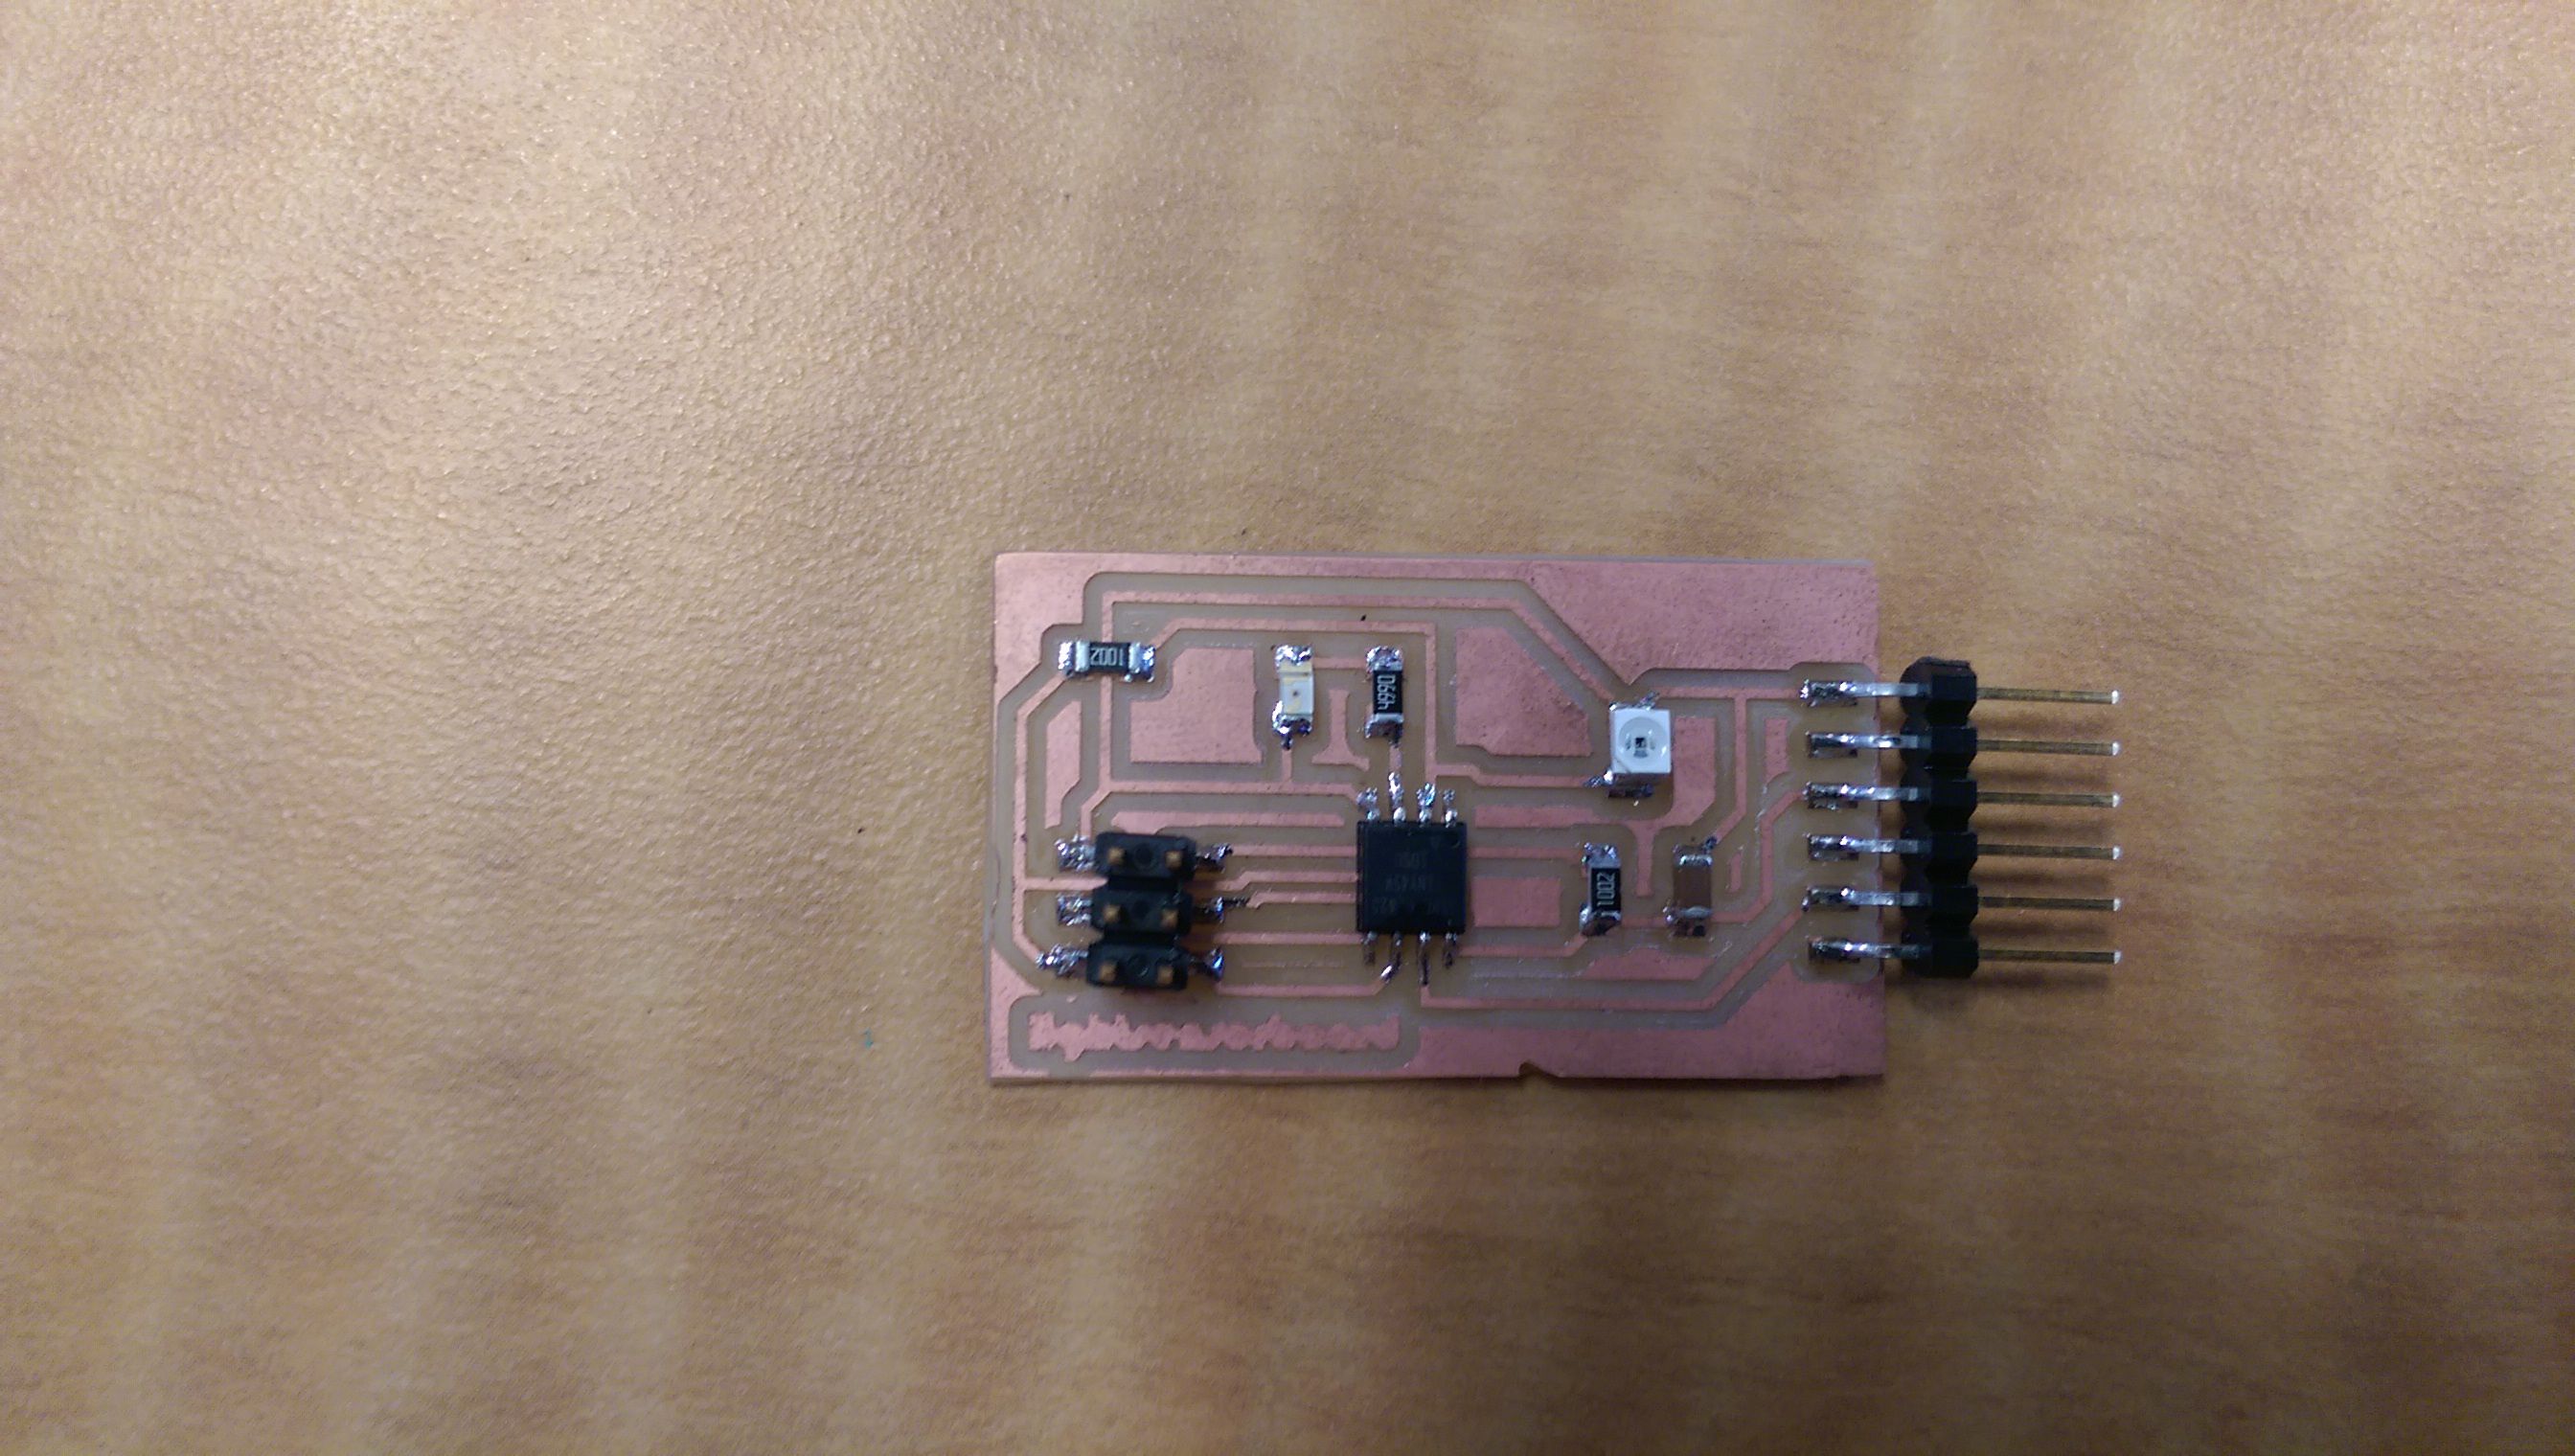
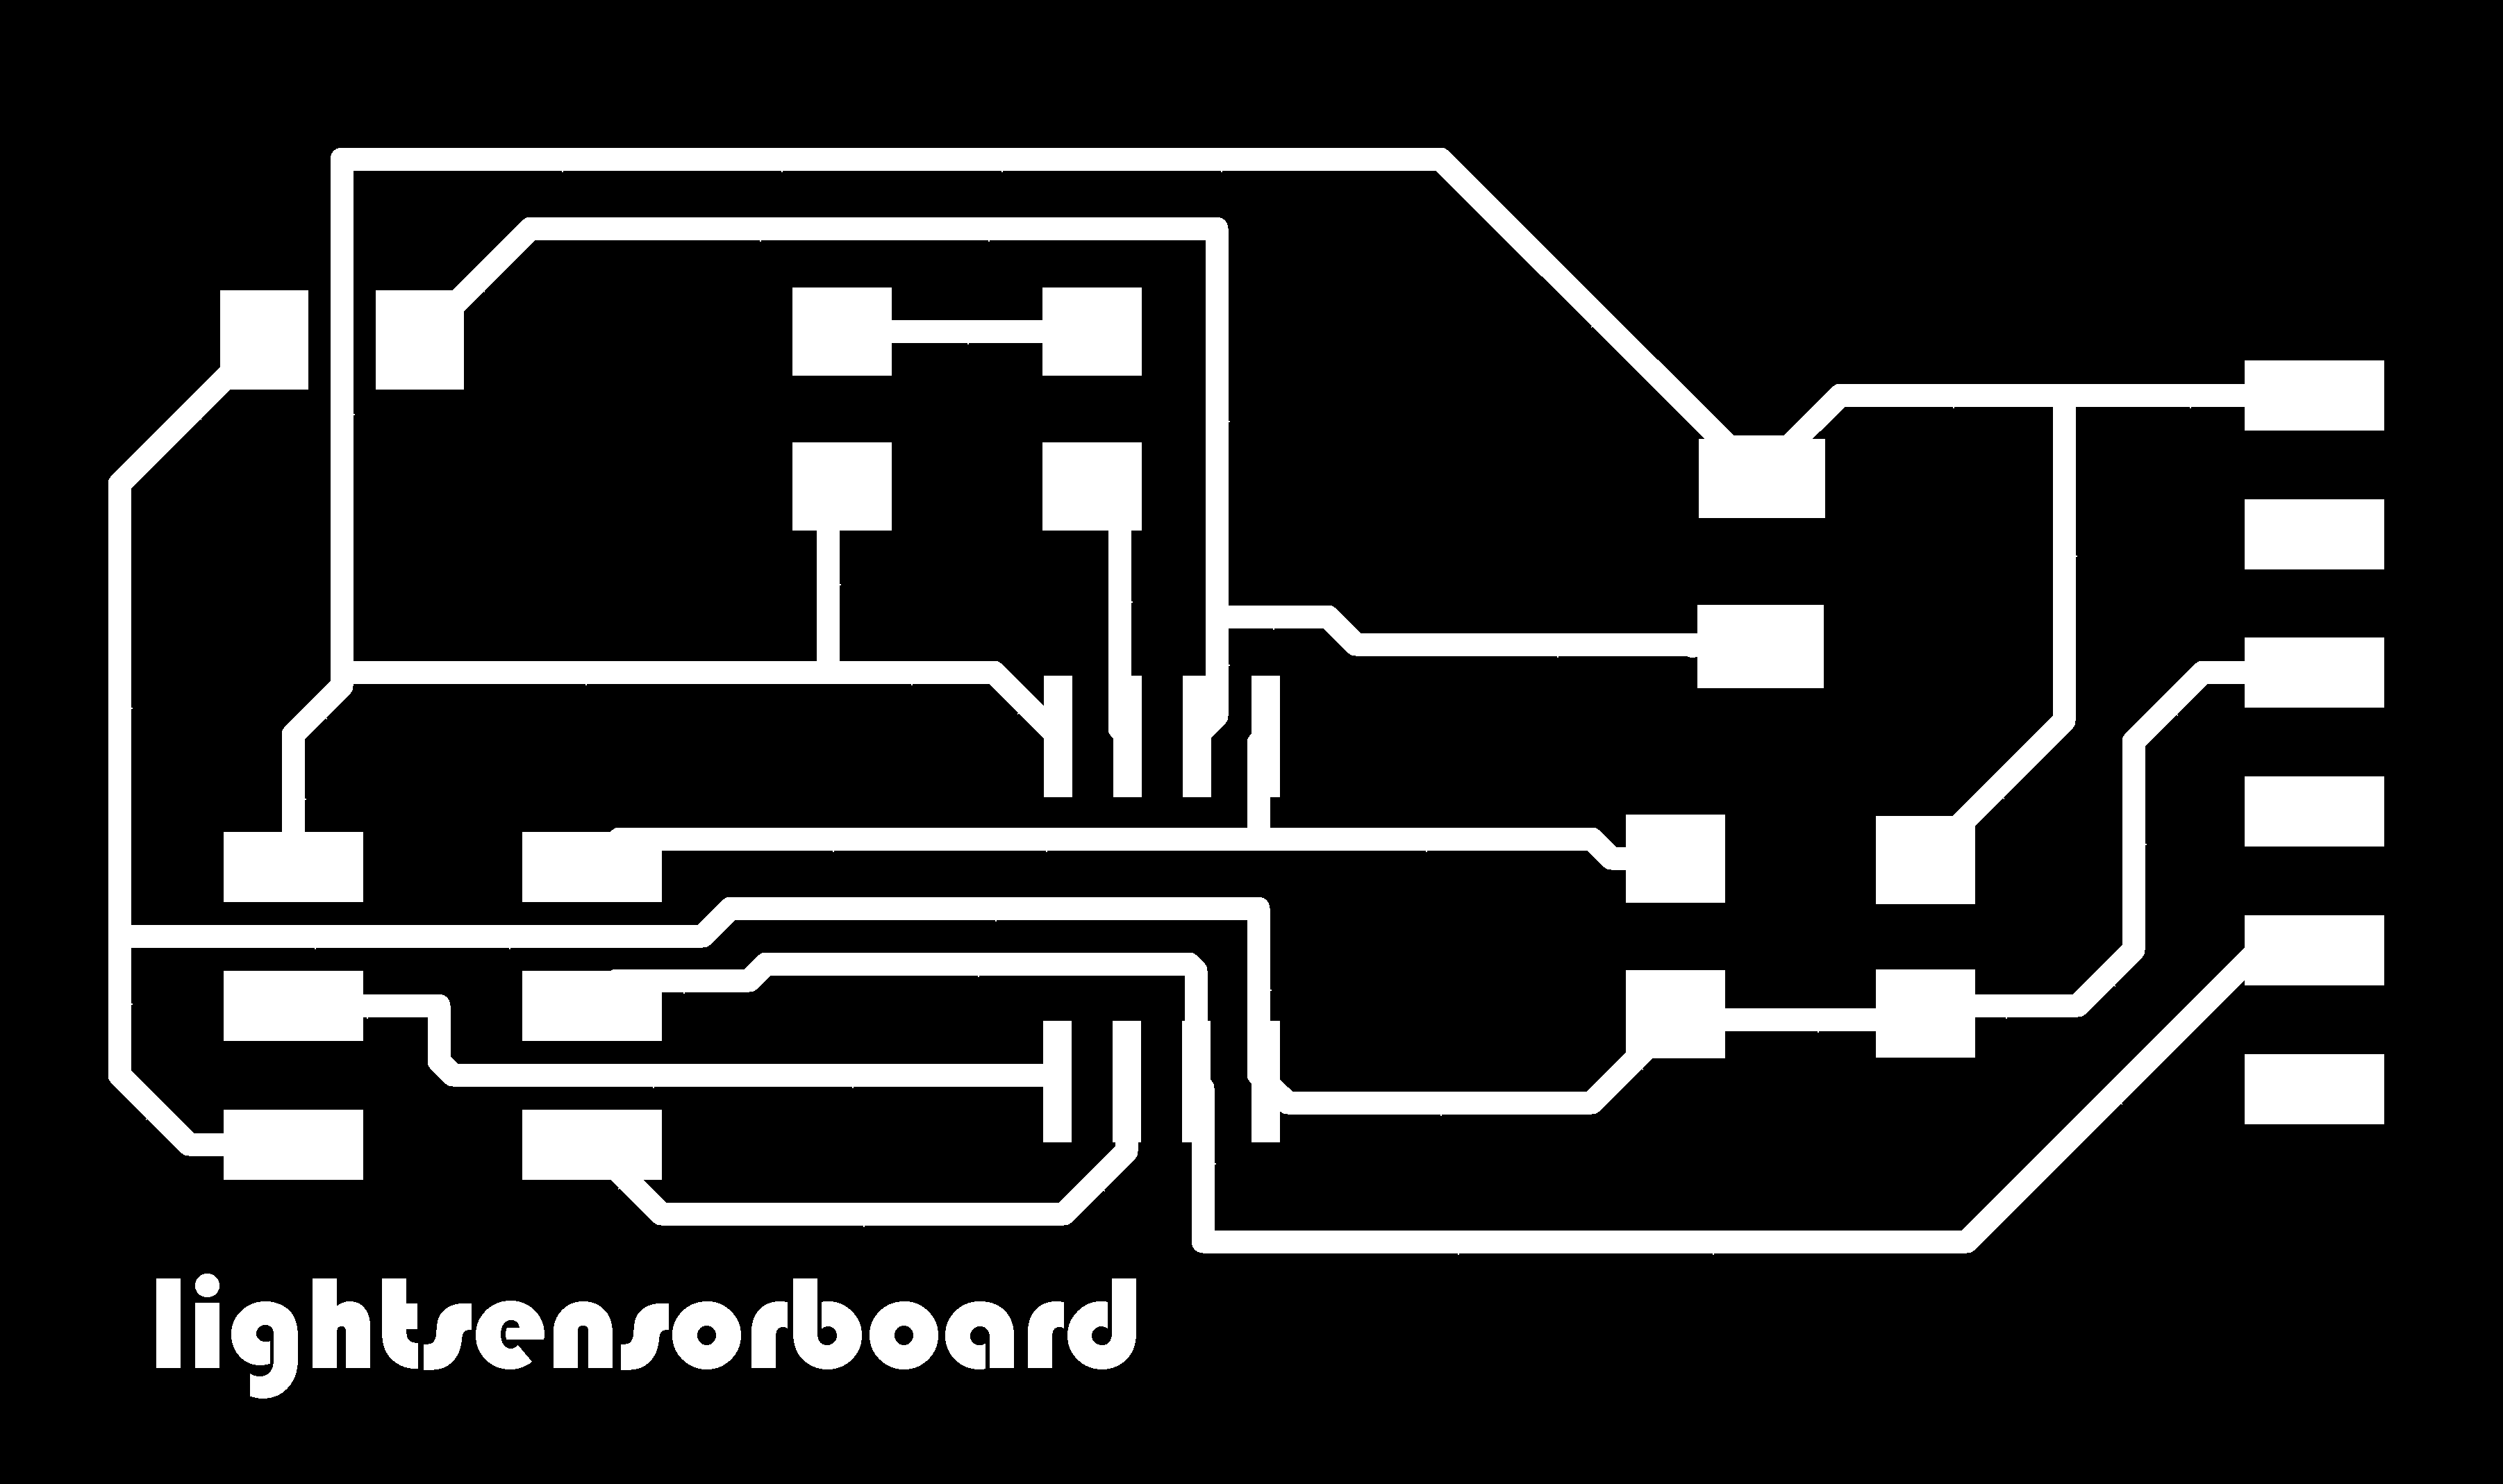
The assignment was to design our own board and apply some new features to the signal, which is created by the input. I have already done a switch, which runs a LED in week 6. I will do another board, since I like to work with Eagle. I made the board with the light sensor and attached a LED, which switches when no light is reaching the photodarlington.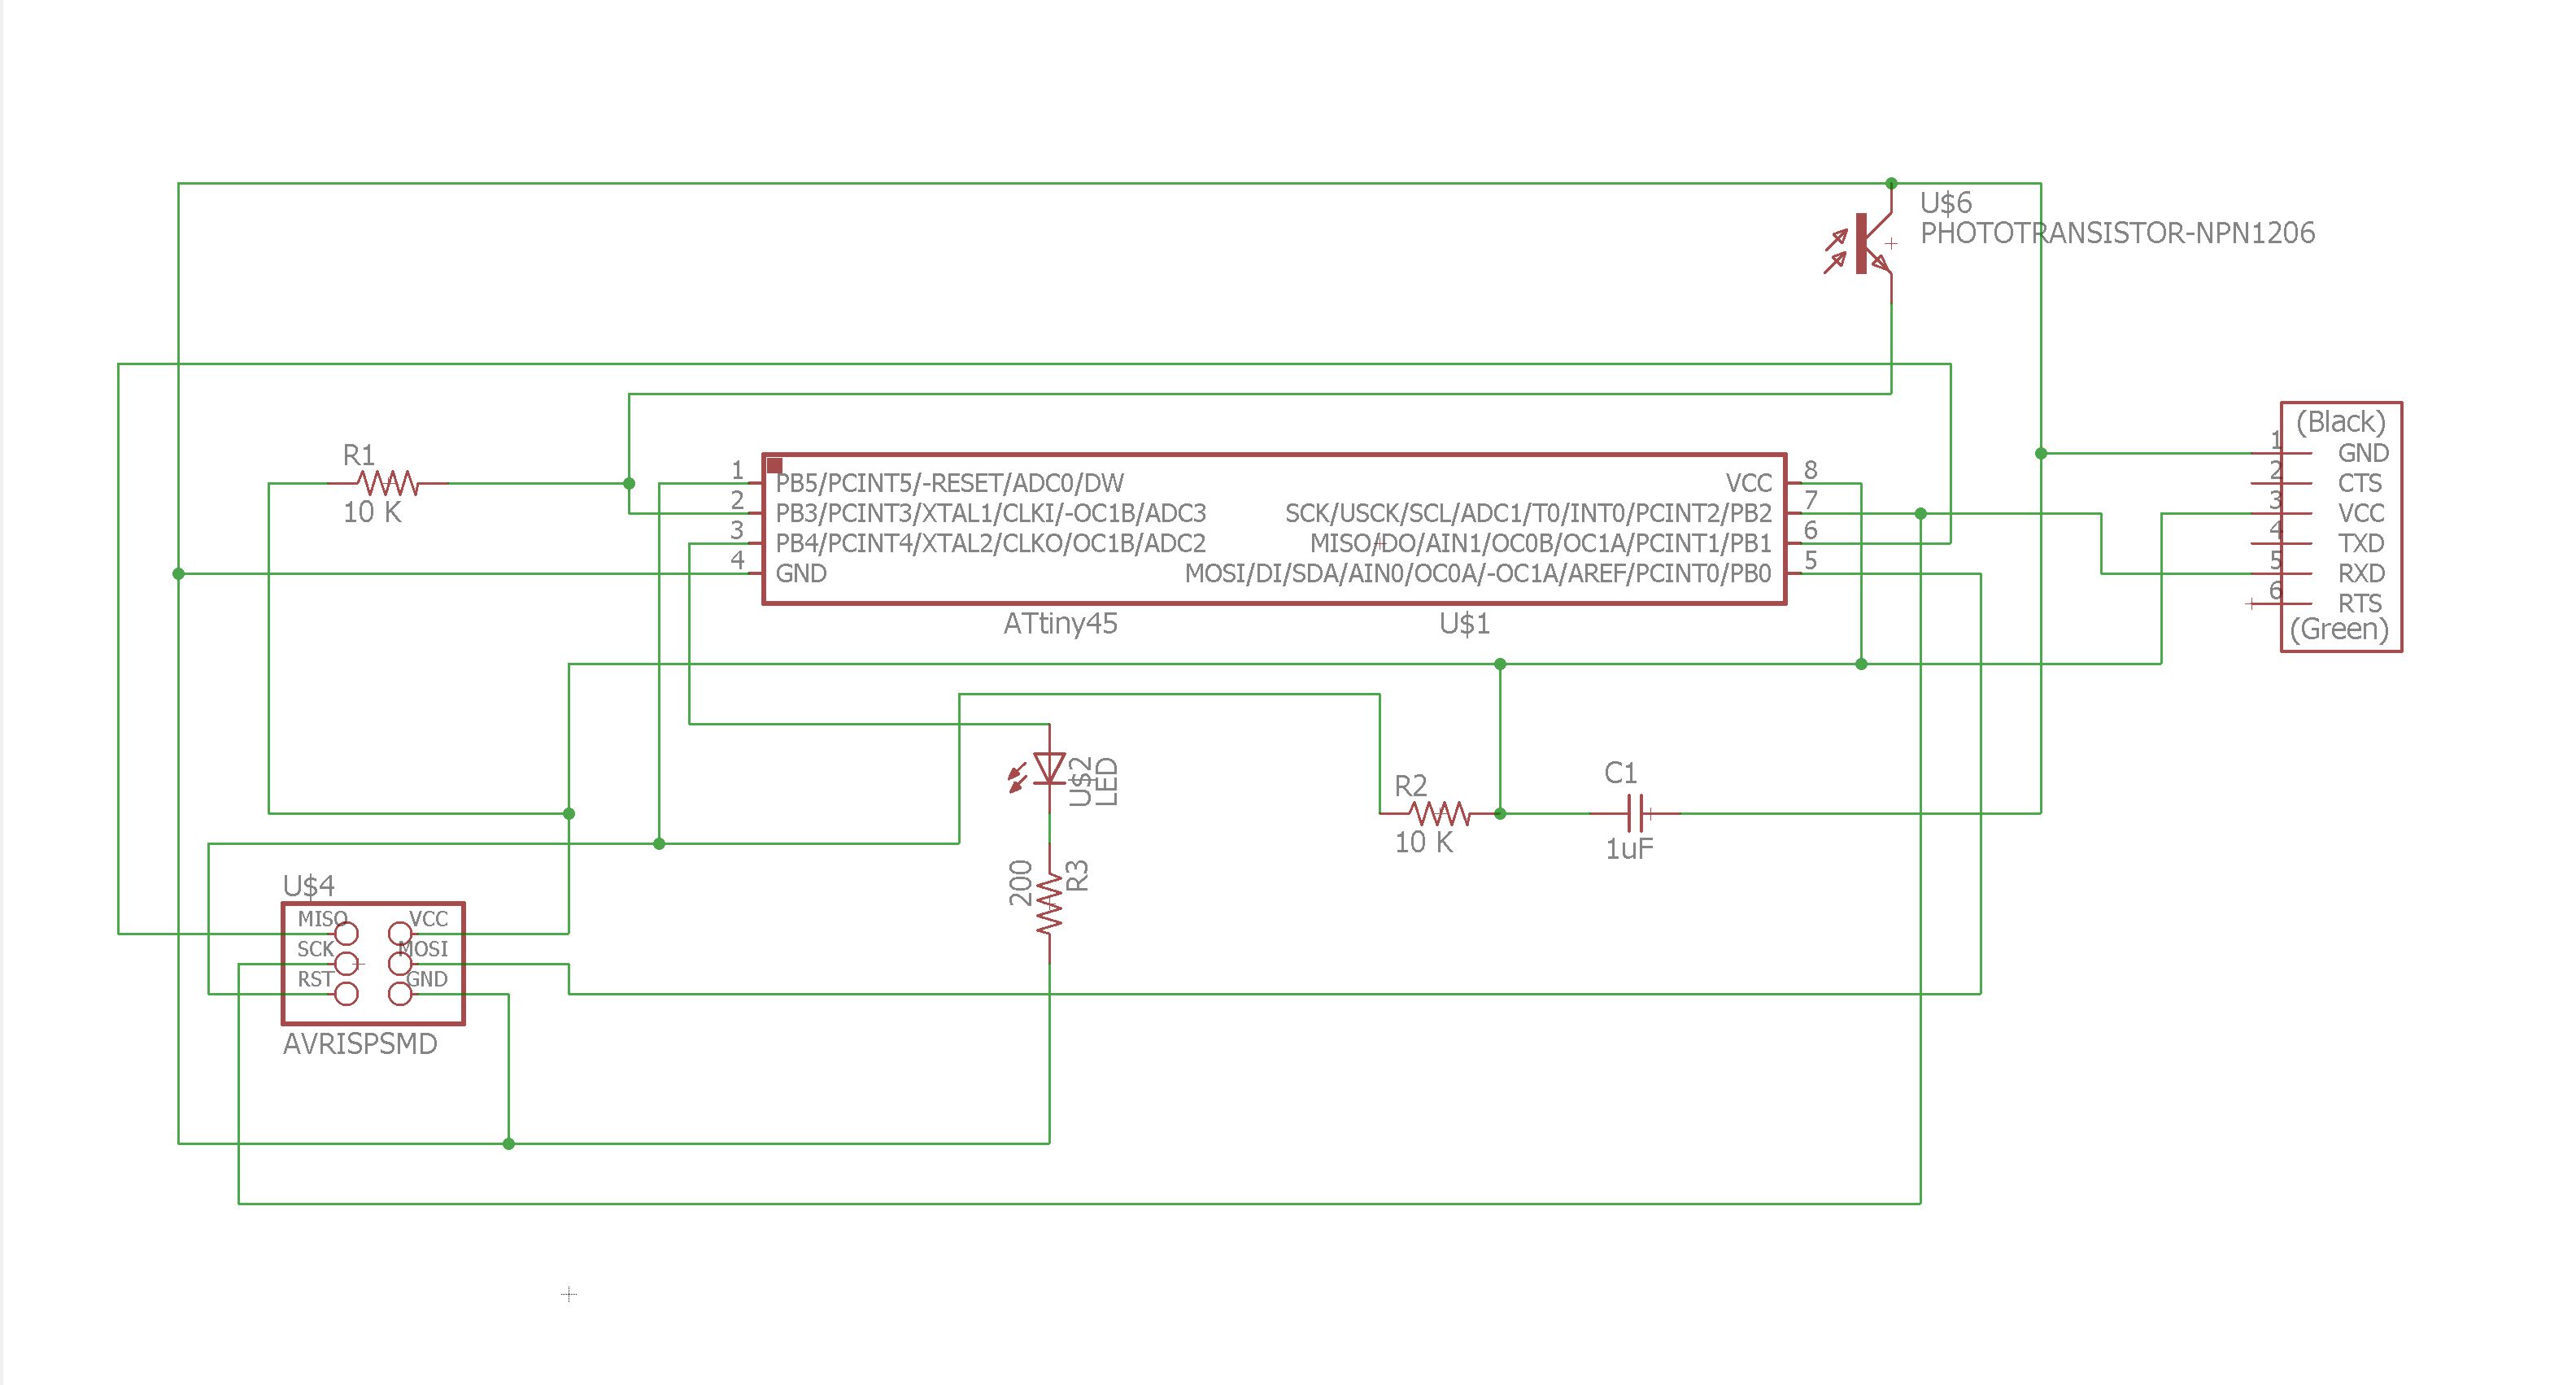
I tested the circuit before reprogram it with Neil's hello.light.45 code.
The next step, is to rewrite the code, that the LED turns on, when it gets dark. Therefore it helps to check the datasheet.
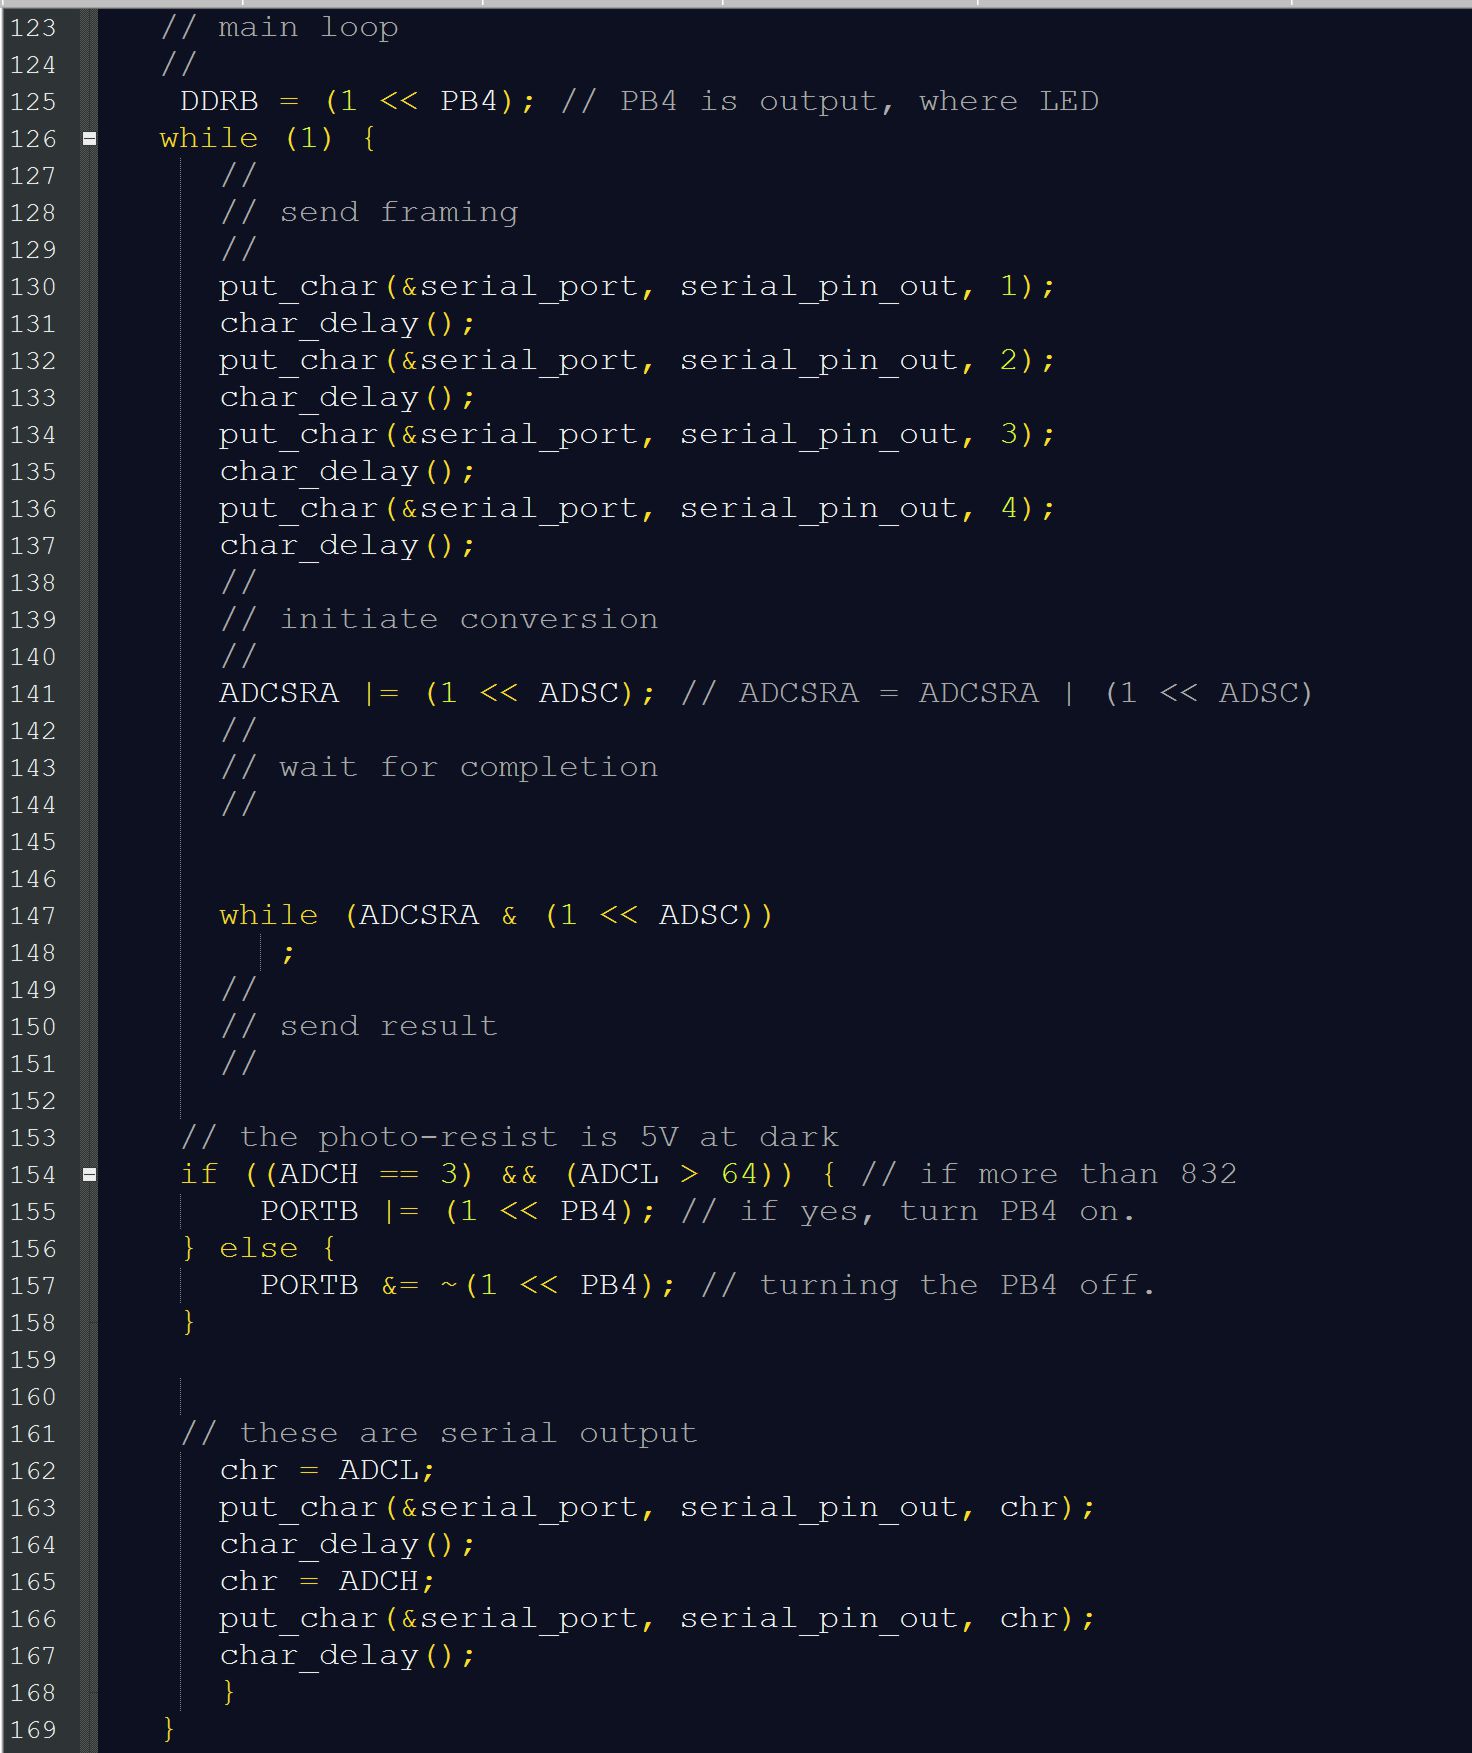
After uploading with my FabISP it works!
Here are my files. The eagle schematic and eagle board, and the traces and outline for milling. And the code. Go to top